How to Clean and Refinish Barnwood in 3 Easy Steps
I am SO thrilled to share part 1 of my dining room farmhouse shelves with everyone today. And by part 1, I mean how to clean and refinish barnwood in 3 easy steps (reclaimed wood, any old wood really) !!
One rainy, gloom and doom day in Pittsburgh (which is basically most days), I dragged took my family to an old warehouse that was right under our noses, which I had found on craigslist.
This place was the mecca of reclaimed wood.
I had scoured the internet for weeks looking for someplace that sold reclaimed wood. Apparently, all I had to do was look locally! It was meant to be 😉 (cue husband rolling his eyes)
They had tons and tons of old barnwood of all types.
I was drooling all over this place. I mean there was SO MUCH reclaimed wood everywhere. I wanted it all. Thankfully the kids were there so I couldn’t admire, and then subsequently buy, every piece of wood there.
We walked away with two giant pieces of wood about 13 feet long each. We paid $80 total, BUT, I’m getting two farmhouse shelves and 2 giant frames out of the wood. So, that’s $20 for each project, which makes it more budget-friendly. Or at least that’s what I’m telling myself.
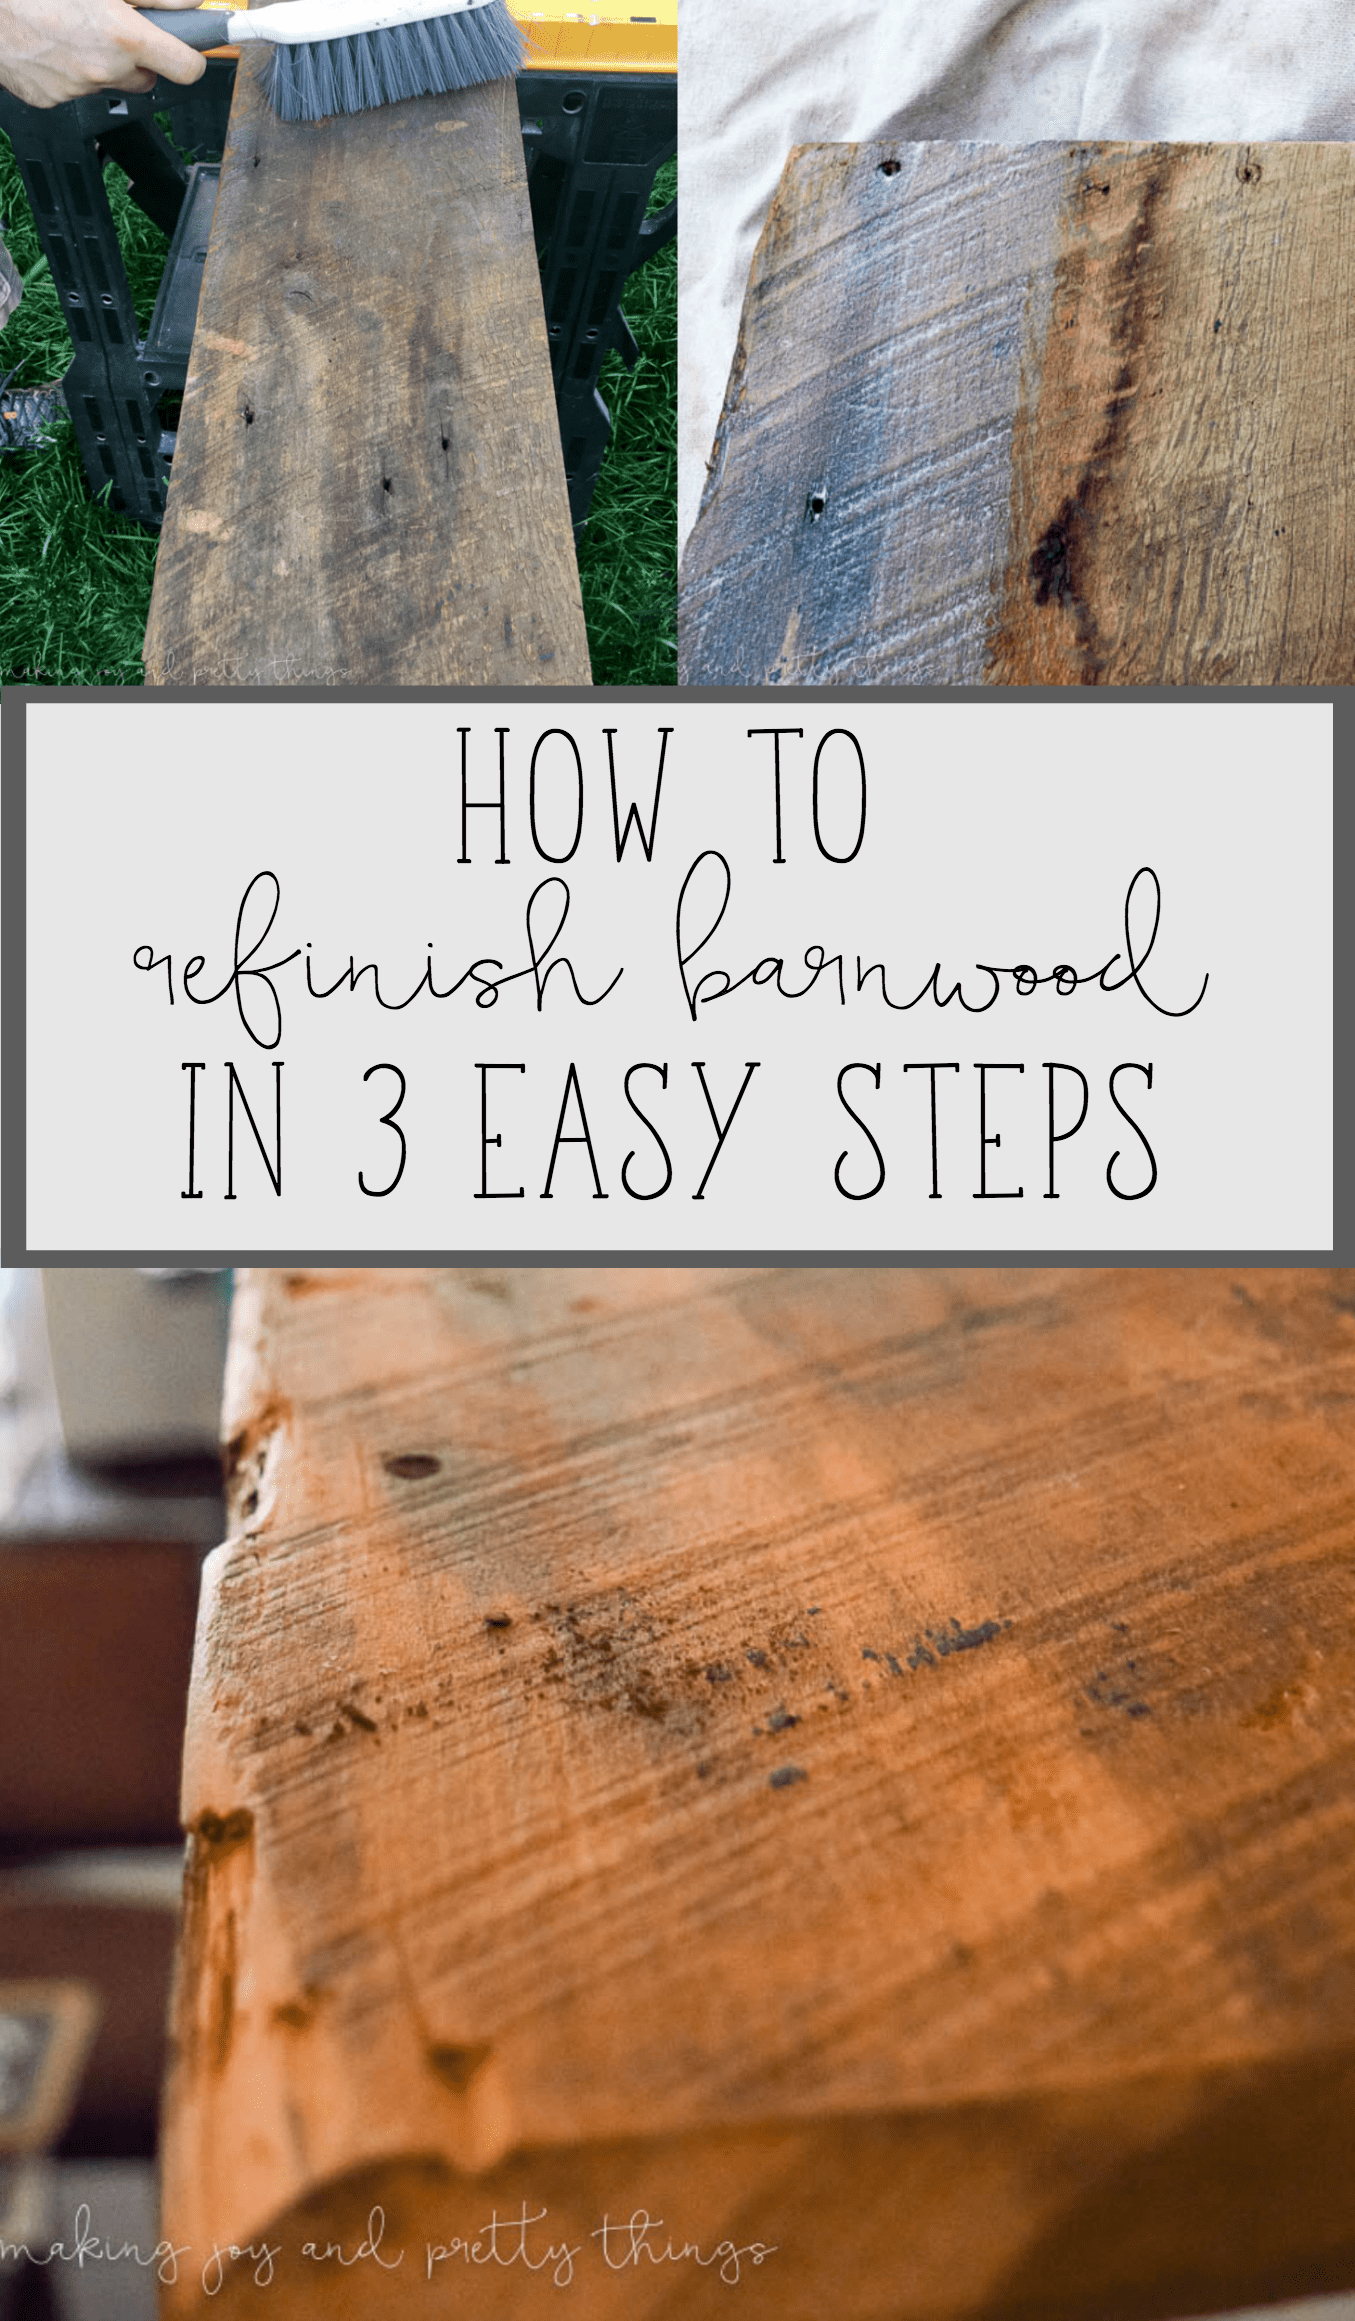
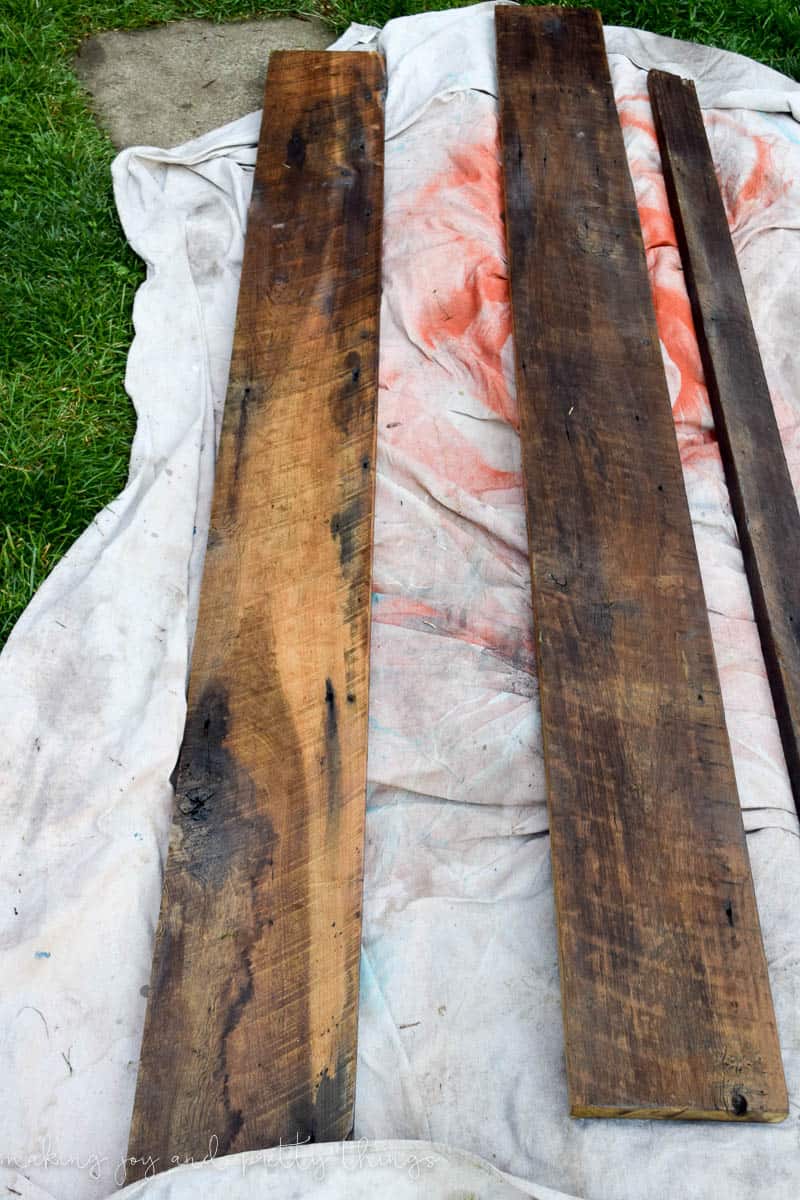
Here are a few pictures of the uncleaned, unfinished wood:
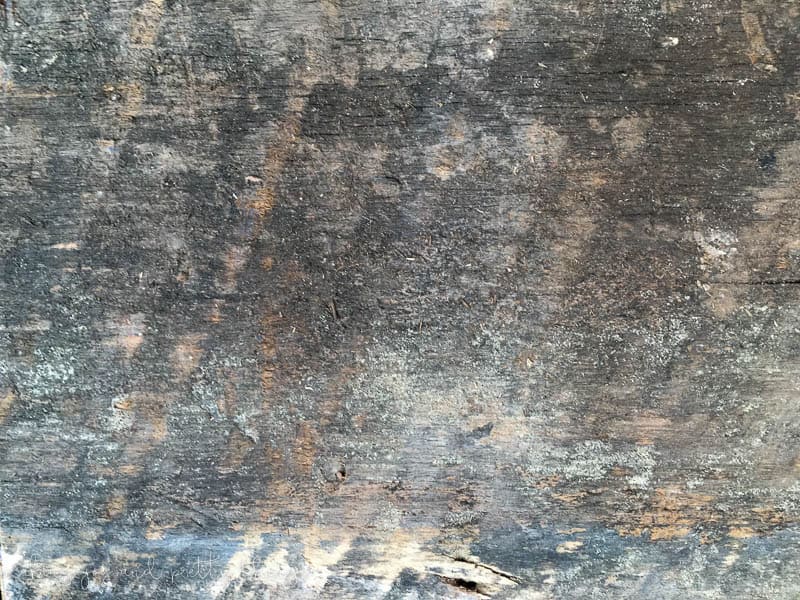
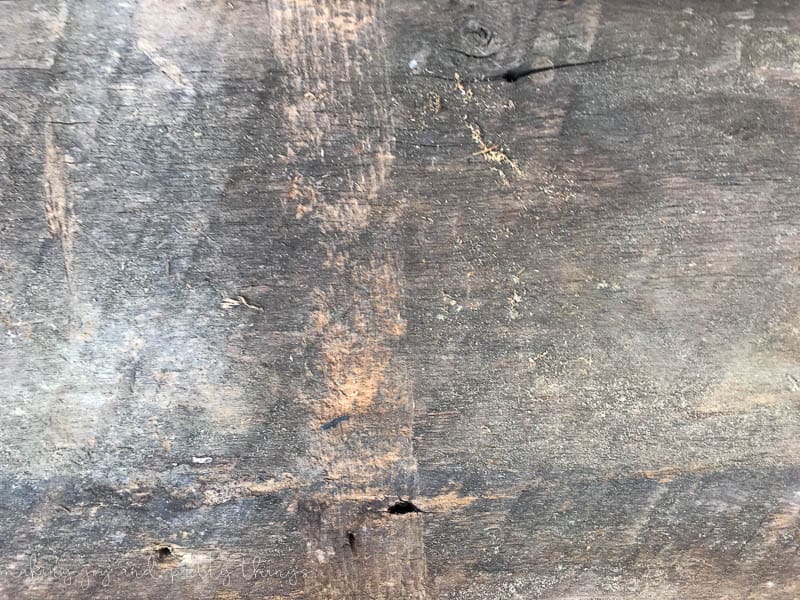
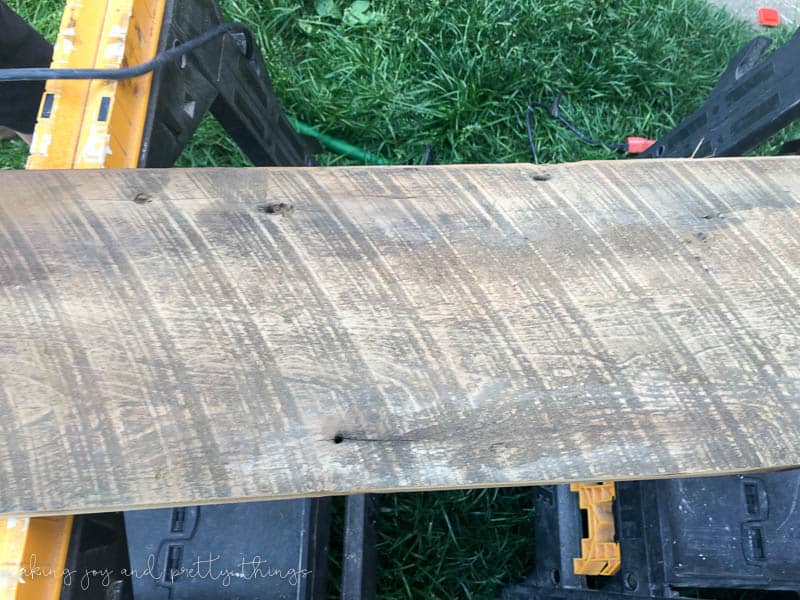
It’s ok, I won’t judge you if you have all the heart eyes right now.
Now, these boards were DIRTY. I kind of liked the dirt, though, in a weird way. It makes you wonder where did it all come from? These boards would have such a story to tell, you know, if they weren’t made of wood 😉
Step 1: Cut and Sand
First, cut your wood down to the length/width you need. We cut both boards down to an equal width that fit our dining room shelf idea. We had the perfect amount left over to make two frames, too (DIYs for those coming soon!)
Next, sand that edges of the wood. You don’t want any splinters hanging out ready to jab you! I used a power sander around all edges of the wood. I then used a large brush to brush away any excess dirt in preparation to clean them.
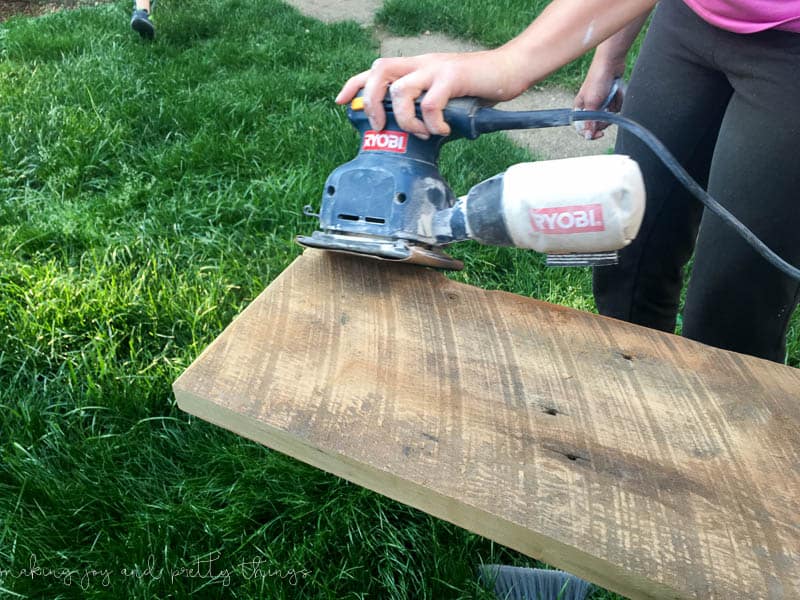
Step 2: Clean
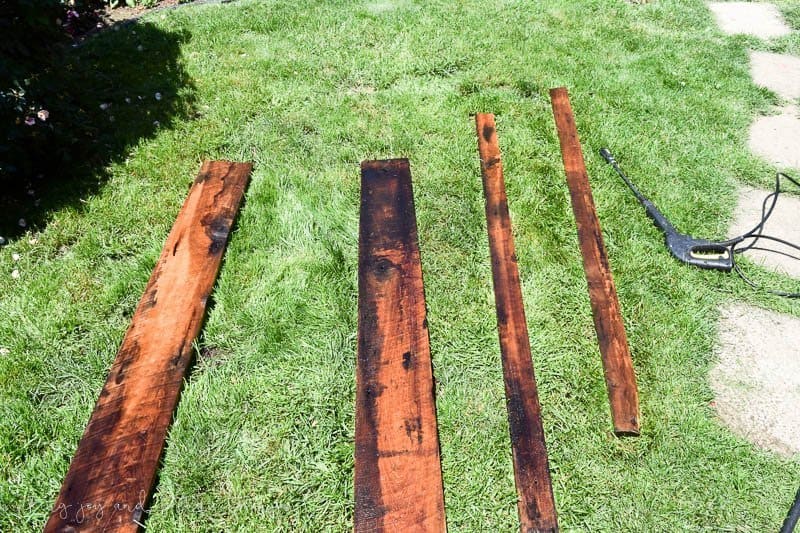
Now, you guys, I tried a few different ways to clean the boards. But, the fastest and most effective way is to use a power washer.
I know it’s not something everyone just has lying around (unless you’re married to my husband and have my FIL, since, between the two of them, we could open our own Home Depot).
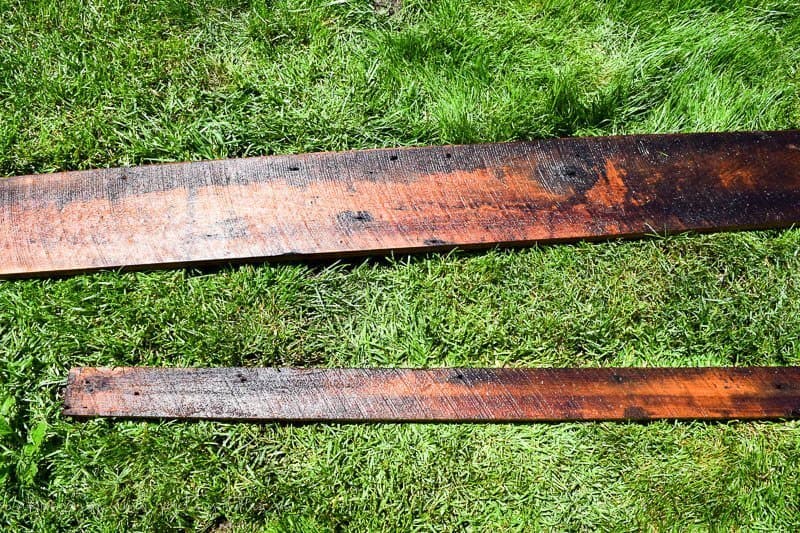
The wood isn’t going to be smooth. There will probably be nail holes, cracks in the wood, and maybe even chunks missing out of it. It’s just too hard to scrub clean every nook.
It took me maybe 10 minutes to power wash each board.
If you’re thinking “I don’t have a power washer and I’m not buying one” I totally understand. But, good news! I checked a few hardware stores and you can rent pressure washers!! So, this is an added expense but well worth it, in my opinion.
I was even more in love with them once they were sparkly clean. I was so worried that washing away the dirt would wash away the character, but it really helped the true beauty of the wood shine through.
Step 3: Seal
The last step to clean and refinish your reclaimed wood is to properly seal the wood.
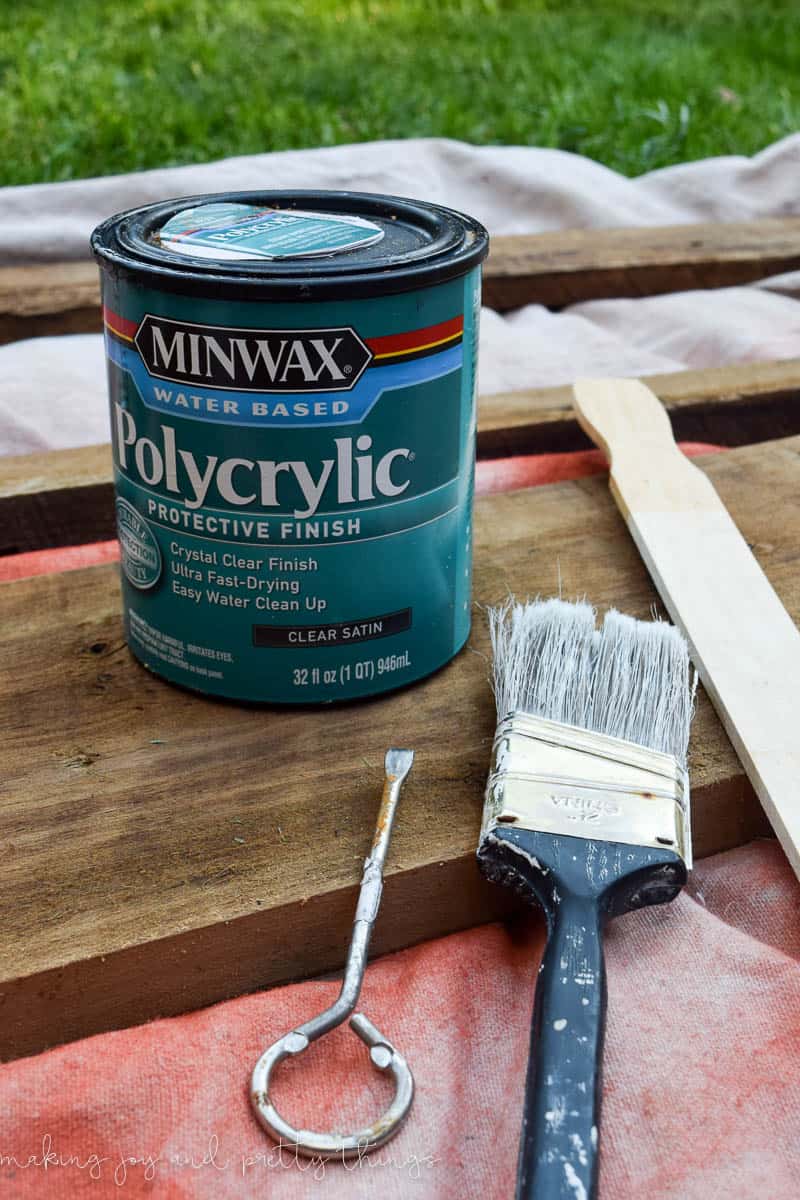
I used Minwax Polycrylic Water Based Protective Finish in Clear Satin. You guys, this stuff is AMAZING.
Once the wood was dry from its cleaning, I used a regular paint brush and sparingly applied the Minwax finish. Make sure not to use too much.
I only needed one coat of the finish to completely transform the wood into store-bought quality. I’m telling you, I cannot believe how well it turned out.
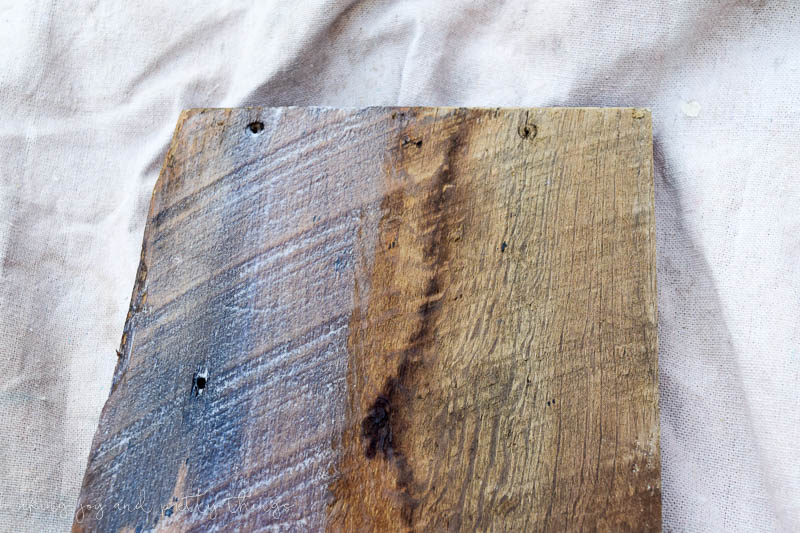
You can see below, the finish goes on white so you can see where you’ve applied it and then magically dries into the most beautiful finish ever.
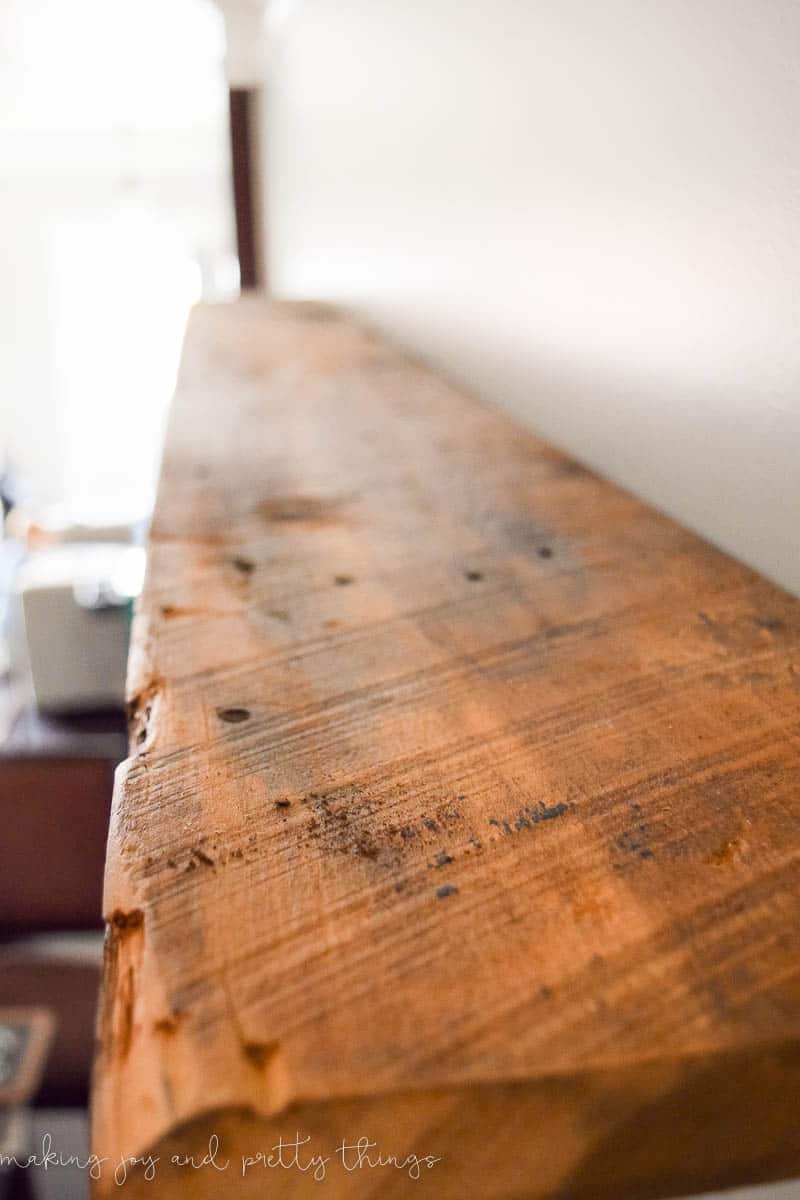
I don’t want to show you too much of the finished product. You’ll see the result this weekend when I FINALLY reveal my farmhouse shelves that I’ve been swooning over.
Here’s a little sneak peek :
I was so pleasantly surprised at how pain free it was to completely transform the barnwood. All 3 steps were completed in one afternoon!
I hope this tutorial is helpful! Please let me know if you have any questions 🙂
Check craigslist, ask a friend, get some reclaimed wood! It’s not a scary project at all and the end result … beautiful doesn’t begin to describe it.
I cannot wait to show everyone the farmhouse shelves!
Wishing you a joyful day!





Ha ha…you’ve searched all over and that place was only a few blocks away! Reminds me of a time last year when I was searching all over Craigslist for antiques for our home and came across a store just down the street from us. Who knew? I don’t think I have ever came across free barnwood in recent years. Thank you for sharing how easy it is to clean and polish!!
Thank you!! Isn’t is fun when you find what you were looking for right under your nose?
I always thought that those ugly old molded planks are just junk but I can see such a difference it looks absolutely gorgeous, and with the new finish will last forever too.
Thanks, Alina!! I knew I could get the original beauty to shine through somehow haha.
Ohmygoodness. I just refinished my deck (cleaning it with the pressure washer) but I don’t think I would have ever even thought about using the pressure washer to clean and prep barnwood. So smart. Pinning!
Thanks, Lora! I can’t even claim credit for the idea…it was my father in law!! He’s a genius!
That is so funny! Totally something that would happen to me haha
Loving the look already! Can’t wait to see them all fancy and decorated!
Thanks, Colette!! If I had only known the store was right down the street I would probably be done with them by now 🙂
I live in the area and was wondering: is the shop called Construction Junction? If not where is the place you got the barn wood at?
Thanks for stopping by, Amanda! So happy to have a local reader 🙂 It was actually not Construction Junction, though, I am moderately obsessed with that place too. It’s on Butler Street in Lawrenceville across from Neid’s Famous Fish. They don’t have a website and the original Craigslist ad where I found them isn’t still posted. From what they told us, they are open on Saturdays from 11am-4pm. Hope this helps!
Thanks for sharing!!! I am currently working on a couple of reclaimed wood projects. We got the wood out of my great grandfather’s house that is falling down and has about 50 years of dirt on it.
I myself don’t own a pressure washer and for jobs like this I run down to my local car wash and pop in a few quarters and pressure wash away. I’ve cleaned several rusty, crusty, nasty barn finds that way. It may not be quit as “pressurey” as a pressure washer but it sure does the trick!
Easy and cheap way to clean without a pressure washer!
Wow, Kelly that is SUCH a good idea! I never even thought of using a car wash. Brilliant! Thanks so much for stopping by!
Thanks Kelly for that tip. Just finished cleaning my barn wood at the car wash. Now they are drying and will be finished off tomorrow.
Anyone who reads this and lives in the Reno, NV area – great barn wood source – Red Barn Antiques in Minden!! Tons of barn wood!!
Sarah, I think you’ve convinced me to try our power washer on a stash of barn wood I’ve been hoarding! Thanks for the inspiration – and the nudge!
Thank you SO much Pam!! It took 5 minutes to clean each piece of wood instead of HOURS scrubbing it. Plus, the before and after of the wood was insane!! I wouldn’t do it any other way. Bust out that power washer!! 😉
HI! I love this post. Do you think the shelves would work as well with reclaimed barnwood Black Walnut wood?
Hi Anna!!! Absolutely I think they wood! Different kinds of wood would just look a bit different. Good luck!
I also don’t have a pressure washer, but would a steam cleaner work as well? If not I could try the car wash idea! I just bought an old piece of wood from a mine that was built in 1910. I’m hoping to turn mine into a shelf as well!
Hi Emily! I don’t think a steam cleaner would work unfortunately. It’s the pressure that really gets into all the little nooks of the wood. I’m SO jealous of your old wood finding! What a perfect shelf! You can rent a pressure washer from most home improvement stores. And girl, pressure washing is seriously so fun haha. We have siding on our house and I love to pressure wash it. Also good for a deck or patio! So you can make good use of renting one!
I found a table, large and heavy that someone was throwing out, it is completely weathered and grey. Just out of curiosity I took a hand planer to it in just one spot, the results were amazing! It’s a beautiful red wood. What kind I’m still not sure of but it is bright red! I have searched the internet looking for a way to get it back to its natural beauty without me having to hand plane the entire piece. Grueling and tedious work by hand. This is the only article I found that returns wood to its natural beauty! Everyone else is trying to do the weathered look! Thank you so much!
Aww thank you SO SO much Noel! You are too sweet. I’m so glad my tutorial worked for you. There was no way I was scrubbing any wood by hand haha 😉 Jealous of your thrifted table find! I bet it looks gorgeous now!
I’m obsessed too! How long did you let the wood dry before you applied the finish?
Gin
Hi Virginia!! We waited until the wood was completely dry which was just a few hours. But the day I did this was like 90F degrees and full sun and no humidity. So it dried very quickly.
Hi, Enjoyed your tutorial. I’m wondering when you power washed the wood did you use any kind of soap in the cleaning process? Thanks,
Hi Judy! We didn’t use any soap, just the power washer. I was amazed how clean the wood was after the power washing!
When pressure washing barn wood, use the medium setting, not the highest pressure. This medium setting will help keep you from damaging softer species of these old treasures. I had to learn the hard way in the past, but this is how I always clean my boards also. Great website you have here.
Thanks so much for the tip!! Our power washer only has one setting but luckily the wood was in good shape so we didn’t have to worry about damaging it. But definitely something to keep in mind!
I have a beatiful piece of barn board that my SIL gave to me in hopes that I would turn it into a beautiful hanging piece for her cottage (with her favourite saying painted on it). Thanks for the tips on cleaning the board. I have a question about cleaning a paritially painted board. While the board has definite signs of aging and is flakey, the bottom portion has weathered red paint- its beautiful and I’d love to keep as much of the paint as possible. Any tips on cleaning to preserve the paint (thinking a stiff brush?). Once cleaned, if using the minwax as you suggested, are you able to paint/scribe or stencil over the minwax?
Thanks for the helpful tips.
Nat
So how do we see the finished product?
Don’t have a pressure washer and don’t want to rent one? Go to the coin op car wash. They have pressure washers that will cost a few bucks for 5 minutes vs the cost of renting.
What PSI is your pressure washer? Does it matter? Thinking of investing in one but I don’t want to get one that’s too strong and/or too weak if that matters. Thank you!
Very happy to have come across this blog. How often do you post?
That looks great! Gotta a question…doing a fireplace mantle in a big piece of reclaimed barn wood. I’m going to sand it slightly because of the splinters, also don’t want to lose the look. Does the poly and/or the amount of finish you did allow for easy cleaning such as dusting?
These steps are so simple! As soon as you said to use a pressure washer I thought, ok we have one but maybe I’ll go to the car wash instead of hauling it out. We have a HUGE old barn. Built in early 1900’s & as far as I’m concerned, the whole thing can be torn down. People ask if they can take pictures of it. So I managed to get a window frame out, clean it up, put a bare black tree vinyl decal behind it & a vertical flower pot with fake lavender or something under it for my wall.
Never thought of the car wash haha! That’s amazing that you have so much old barn wood at your disposal! The possibilities are endless 😉
Hi there, do you have any concerns about any woodworm type beasties that might still be in the wood, unseen?
I love the fact that you can still see the saw marks in the wood.
isn’t that SO neat?! I loved that, too!
Hi was wondering if you did anything special with the fresh cut ends? I have a piece of gray barnwood and my ends have the fresh cut look now that we cut the board down
Hi! I did not do anything different with the ends. While they don’t look “old” I guess? I think it still looks great!
Wonderful blog! I have learned so much! I have a ton of projects because we are remodeling a very old home…it also has a barn! I don’t know about you but I see old wood and my head is swimming in ideas. I also wonder about the back story of the wood…is that weird? Thanks so very much, I thoroughly enjoyed this blog!
Hi! Do you think this product would work for exterior steps on our front stoop?
Do you mean the sealant? Polyacrylic isn’t strong enough to stand up to outside use.
Great tips for cleaning… But are there any concerns about insects nested deep inside old barnwood? We are making indoor shutters from 100+ year old barnwood.
I honestly didn’t even think about that. I guess it is possible. If they were nested deep inside I would assume the wood would be rotted!
Thanks Sarah
We just bought an old farm and one of the buildings is full of old barmwood. Now my summer will be spent cleaning and preparing the wood for some projects. 🙂
Looks great! How did you hang the wood shelves? We are doing a similar project and are struggling with floating shelf brackets. Thanks!
Hi Danielle – we just used brackets from Home Depot!I think you put the screws in the wall then slide the metal brackets over top
Where is a pic of the final project?
You can see the finished shelves here: https://www.makingjoyandprettythings.com/diy-farmhouse-shelves/
Useful post, I really liked your post. Thanks for sharing such useful information with us.
What grit of sandpaper did you use? My wood is quite rough and am concerned about dusting it and leaving pieces of dust cloth behind. Not sure how far down it can be sanded without the wood losing its character. I don’t want to mess this up! 🫨
I’d recommend a medium grit sandpaper and just go slow to make sure you don’t oversand! 🙂
Sweetie, we are in the process of rebuiding what once was my grandparent ranch in the High desert of Arizone. We really lucked out. We are building a huge China cabinet and found, just laying in deep sand and dirt 200 pieces of 1 X 6 X 28 inches of planking. We’re cleaning and using them for shelving. Thank you for the tips.