6th Day of Craftmas: DIY Farmhouse Style Ornaments
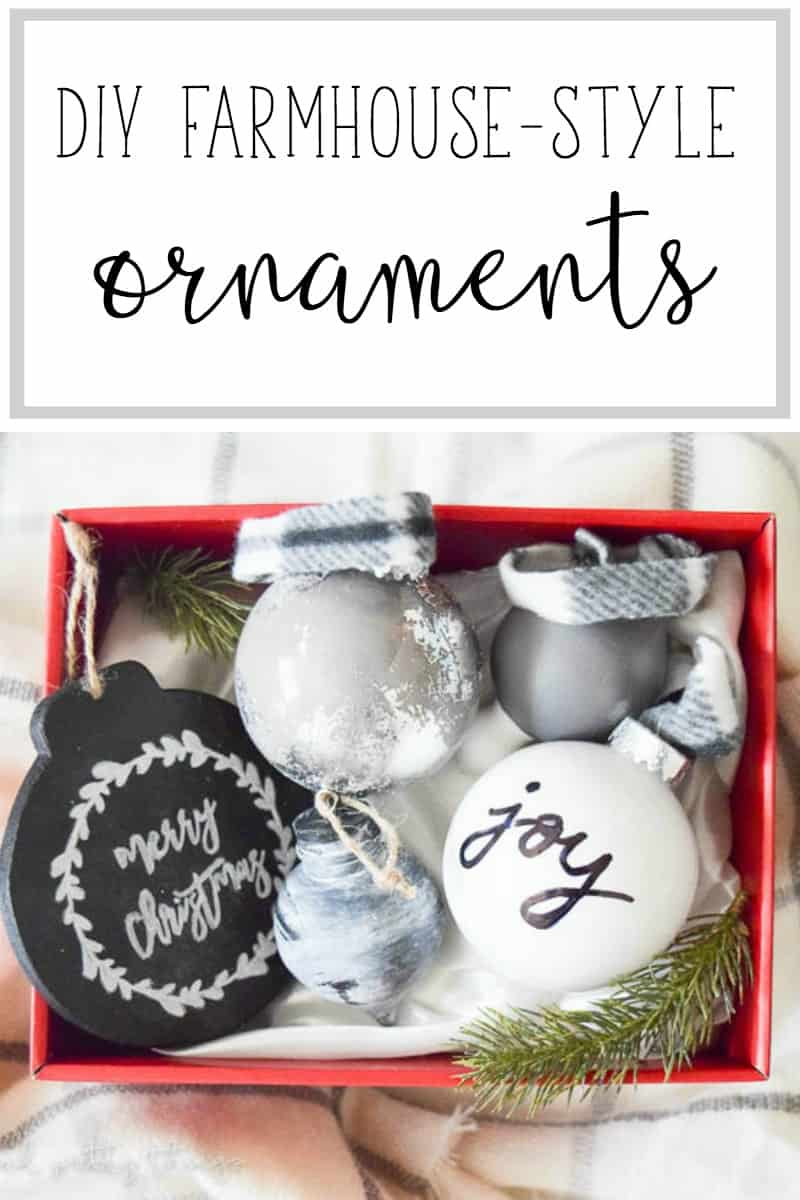
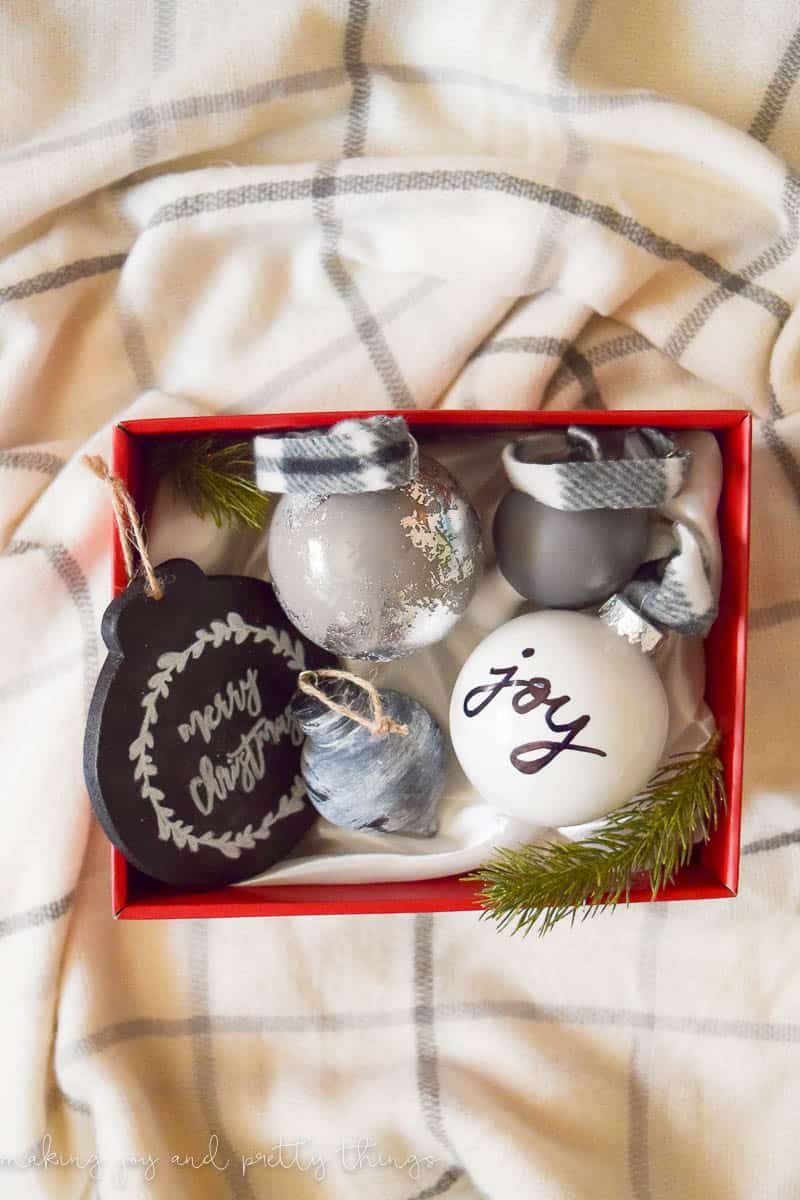
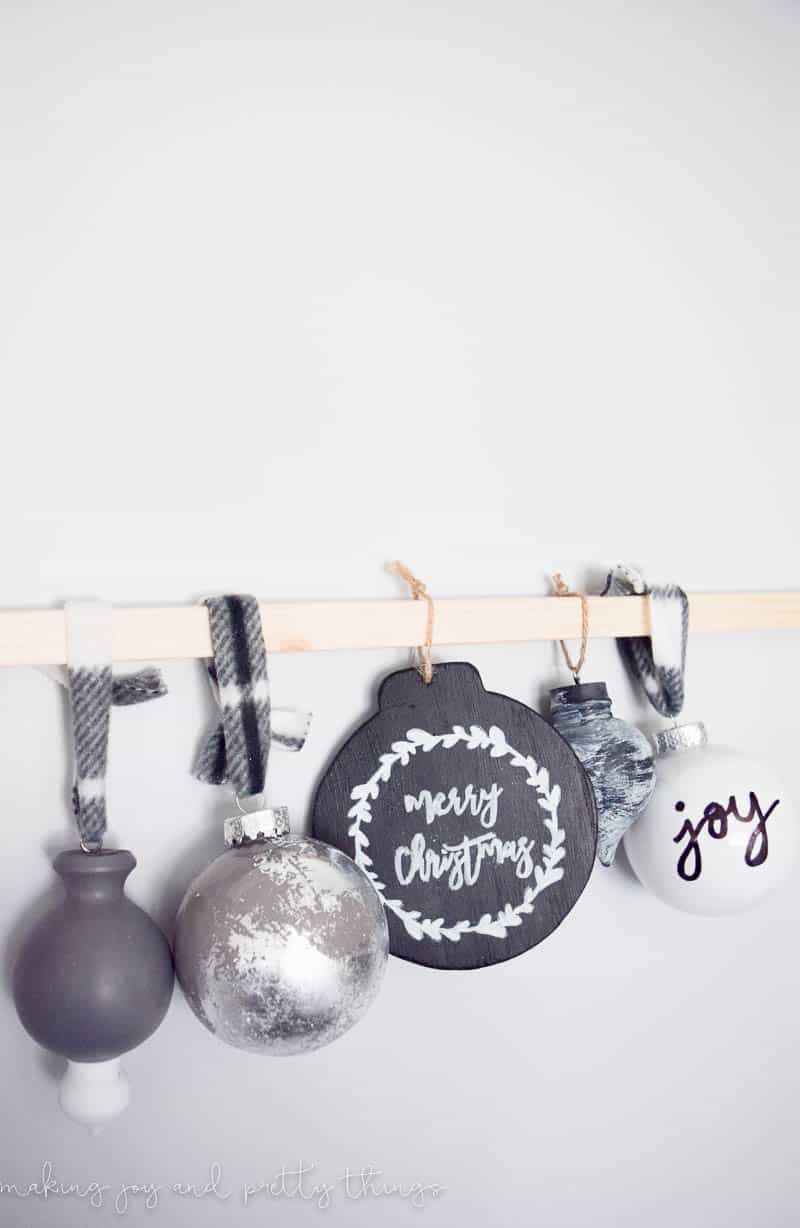
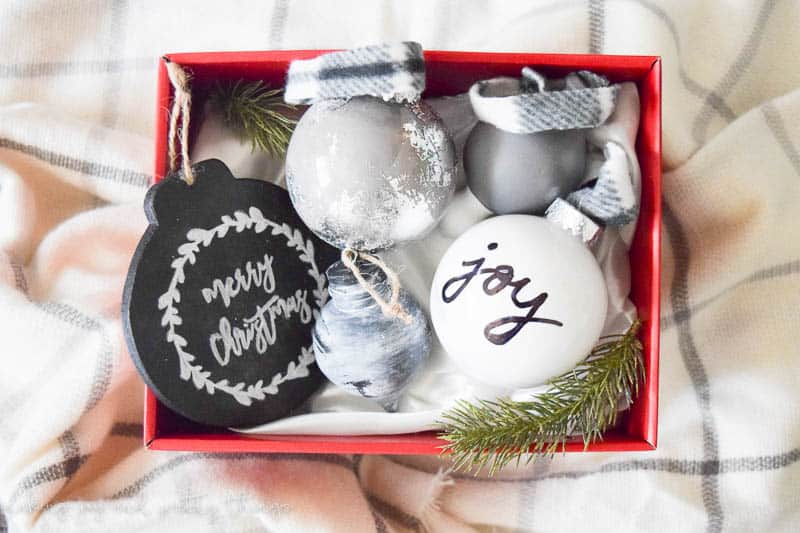
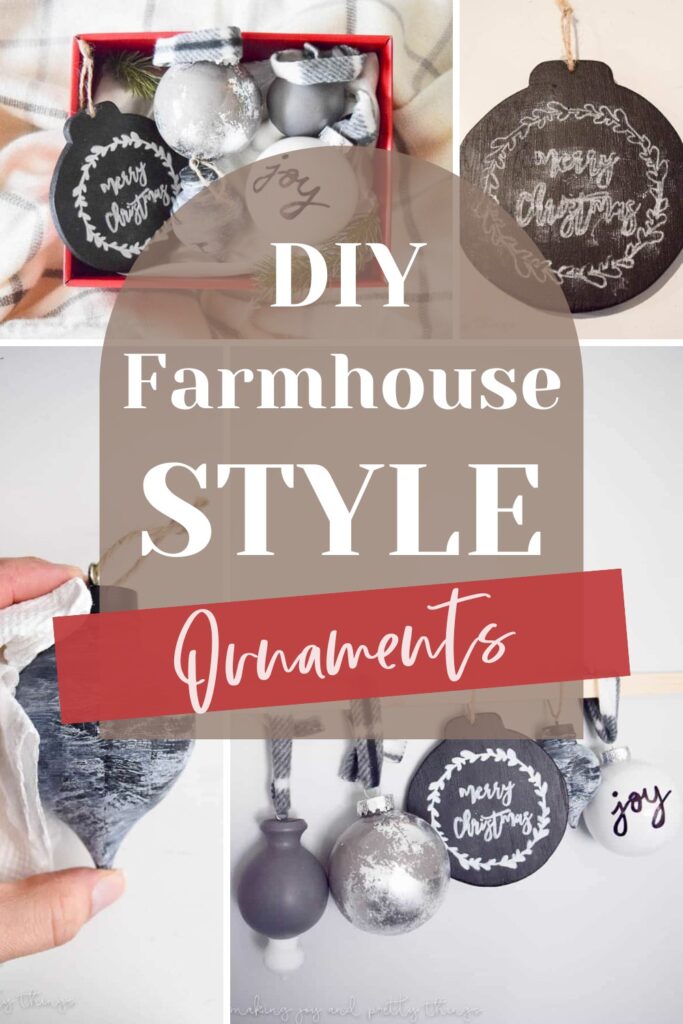
On the 6th Day of Craftmas, we made for you a set of DIY Farmhouse Style Ornaments! Here are some of my favorite painted Christmas ornament crafts for Craftmas.
Hello and welcome back for the 6th day of Craftmas!
I am so excited to be participating in a fun little series called the 12 days of Craftmas with my blogging friends (Craftivity Designs and North Country Nest).
Throughout the first 12 days of December, we will share a DIY or craft each day that would be perfect as a gift this Christmas.
12 Days of Craftmas Projects!
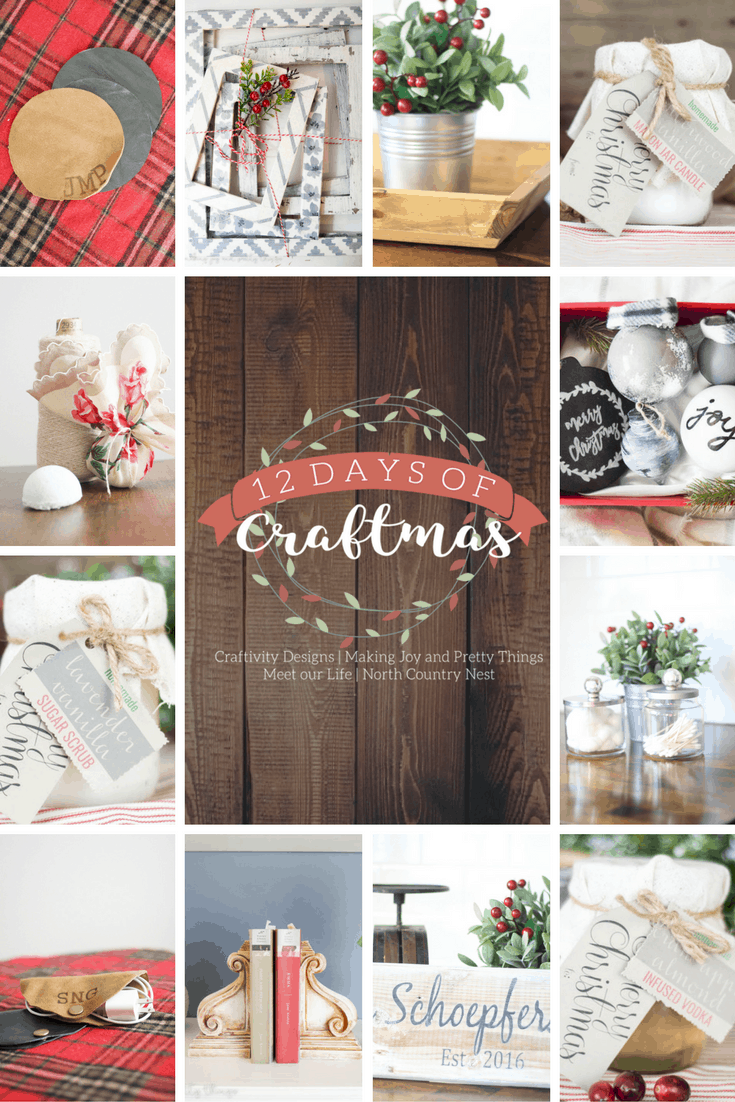
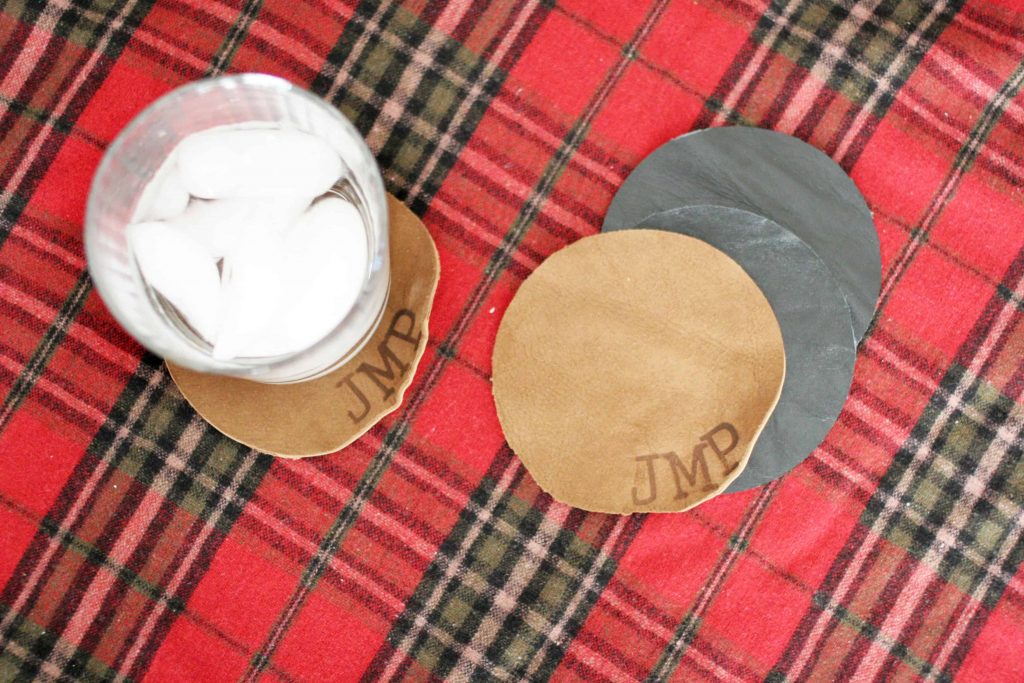
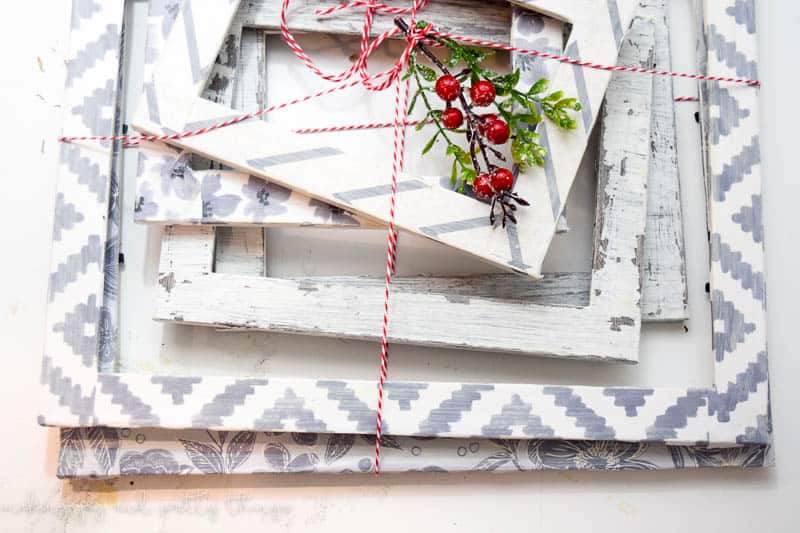
Here are the DIY Christmas crafts we’ve completed so far:
For the 6th day of Craftmas, it’s my turn again to share a fun DIY/craft idea.
I posted early this week a few farmhouse-style ornaments I absolutely loved. So, I decided to stick to my farmhouse theme and make a cute set of farmhouse-style painted Christmas ornaments myself!
I’m going to go over how I made each ornament individually since they were all a bit different. Other than the ornaments themselves, I didn’t have to buy any other supplies. That puts the total cost of this gift idea at less than $15! Woo!
This post contains affiliate links. Please, click here to read my disclosure policy.
How to Make 5 Different DIY Painted Christmas Ornaments
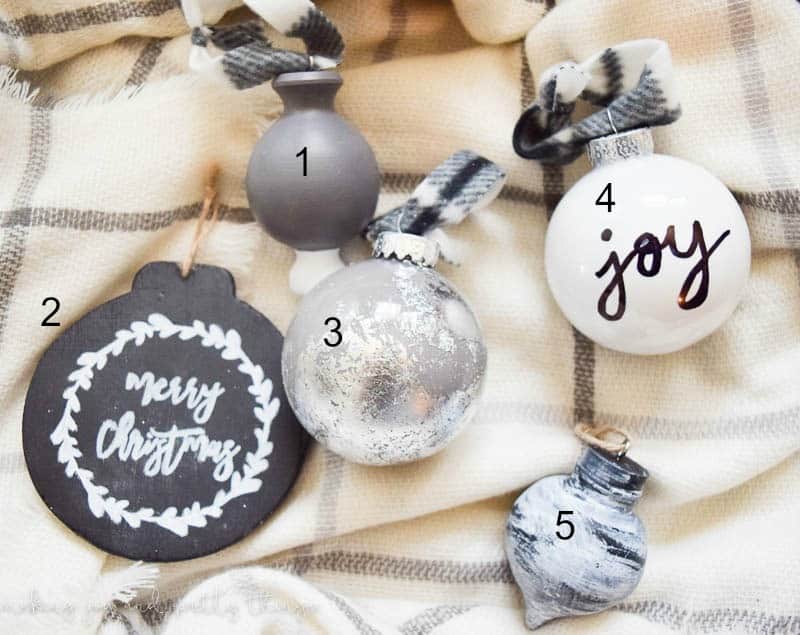
1. Color Block Wooden Ornament
The first ornament was a simple color-block wooden ornament. I got the unfinished wooden ornament at Michaels for just a few dollars.
I used Milk Paint in Driftwood for the top half of the ornament (it’s like the perfect farmhouse gray color) and Rustoleum Chalked Paint in Linen White for the bottom little part.
2. Chalkboard “Merry Christmas” Ornament
I purchased the plain chalkboard ornament from Michaels and made the design using some art I had previously purchased from Creative Market.
A simple wreath and “Merry Christmas” seemed perfect for the chalkboard ornament. After resizing a few different times to fit the ornament, I printed the design out on my printer.
I then used my favorite transfer method to get the pretty design onto the ornament. Basically, color the back of the design with white chalk and use a pencil to trace the outline of the top of the letters/design onto the ornament.
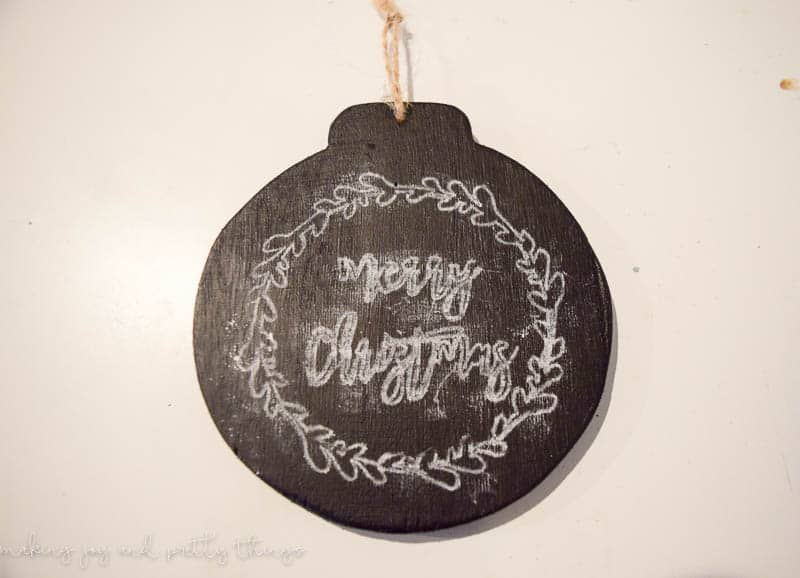
The chalk magically transfers to the ornament and then just traces over the chalk with a paint pen.
I cover the entire chalk transfer process more in detail here.
3. Silver Foil Gray Plastic Ornament
This ornament may be my favorite! I’ve been dying to silver foil something ever since I made some gold foil-painted pots back in the summer. There’s copper foil, too!!
I started with a plastic ornament and used the same Driftwood paint from the first ornament. Instead of painting the outside, which may not stick since it’s plastic, we painted the inside!
For the silver foil, I used some spray glue and gloves (because it sticks to everything) and rubbed some silver foil sheets over the glue. I used the glove to rub some off to create a blotchy, rustic look. (Check out the gold foil painted pots post for a more detailed explanation).
4. Joy Plastic Ornament
This ornament was painted in the same way as the silver leaf ornament. Instead of the dark gray color, I went back to the Chalked Paint in Linen White as the interior paint color. It had to be diluted a bit to cover the entire interior of the ornament since it’s a bit thicker than normal paint.
I used a pen to write out the word “joy.” It’s easy to erase since the exterior of the ornament is shiny plastic. If you don’t like how it looks, just wipe it off with a paper towel.
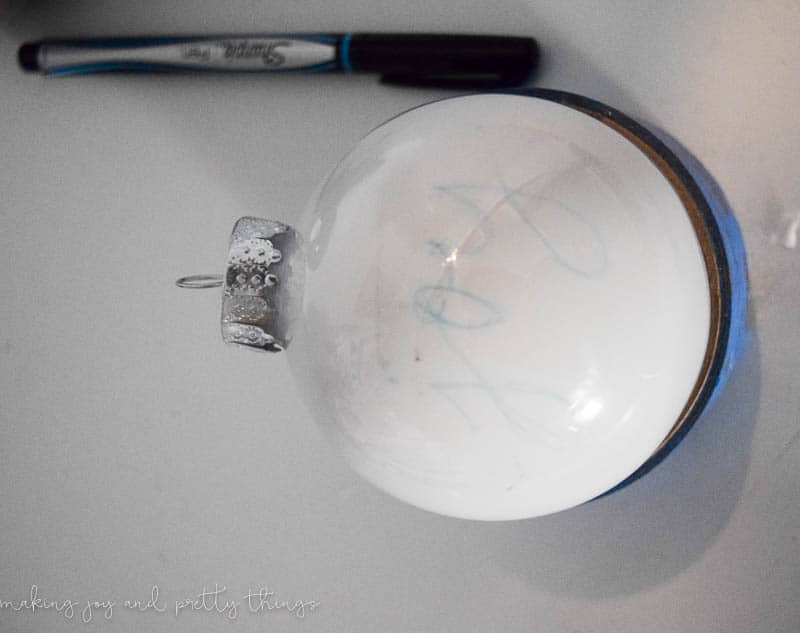
Once I was satisfied, I traced over the pen with a thick, black sharpie.
5. Whitewashed Wooden Ornament
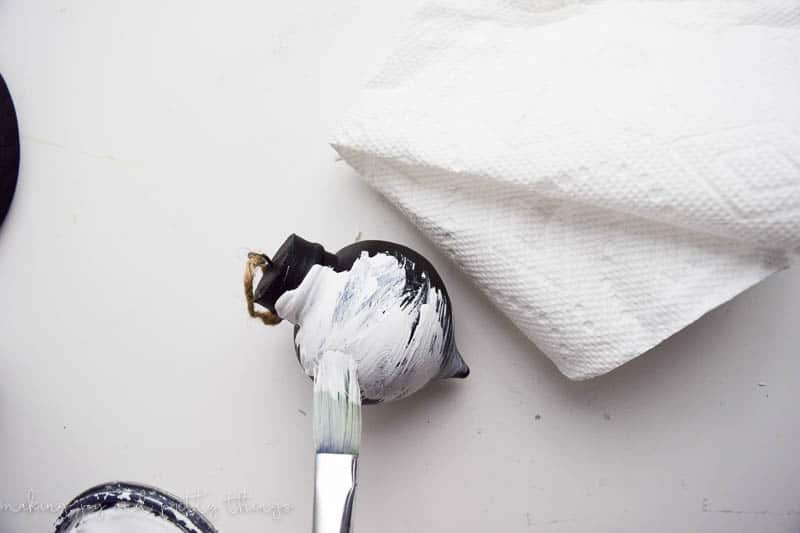
The last ornament was another wooden one purchased from Michaels. First, it was painted using black chalkboard paint.
Once dry, I used the Chalked Paint in Linen White to quickly brush on a little paint, then wipe off the excess with a dry paper towel. The result is a whitewashed effect!
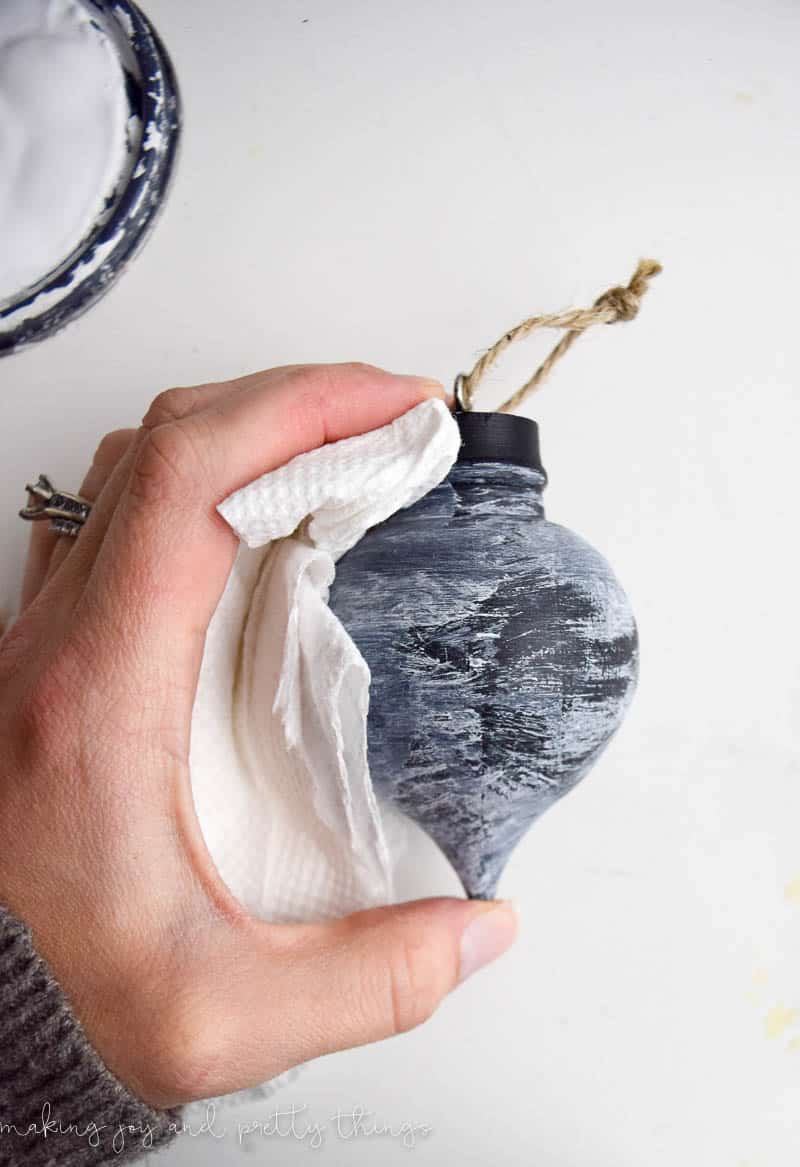
One last detail, I picked up some plaid/buffalo check fabric from Joann that I’ve been using for random projects this holiday season. For 3/5 ornaments, I cut a small strip of the fabric to use in place of twine to hang the ornaments on the tree.
And that’s seriously it! Very little work, and almost no cost, and you have a custom-made farmhouse style painted Christmas ornaments set! I’m not gonna lie, I wanna keep these for myself!
That’s all for today, friends! Do you like the painted Christmas ornaments?
And, come back tomorrow for another great crafty gift idea!
Wishing you a joyful day!

These are so simple, but so gorgeous! I would love to give a set as a gift. Also, love that you used the buffalo check fabric as a tie.
I am loving these ornaments! The silver is my favorite, what a fabulous DIY!So excited
I would love to have a whole tree filled with these. Saving this post.
Maria
Oh, I love all of these! They’re so cute!!
I like the idea of creating a whack of ornaments that coordinate, but are all different. Well done!
You are always coming up with some brilliant idea. I love this set of ornaments – they go so well together. This is such a nice gift to any one – and they’ll seriously cherish it!! BTW: I checked out the gold foil post and the post are so beautiful – never done anything like it!!
Love all of them but #3 may be my favorite too. I love that they are each stunning yet simple to make.
They all turned out great, but I love the silver foil one especially! Great idea!
XO, Vanessa
All these ornaments turned out so beautifully. I love all the gift ideas.
How fun! I love the chalkboard ornament and the joy ornament, but the whole set goes together so well. Anyone who gets this will love it!
Love the ornaments but have a question. How did you paint the inside of ornament.
You just squeeze paint inside (a little goes a long way) and spin the ornament around until the whole thing is covered. I let it sit with the open part on top. You inevitably get a little pooling at the bottom of the ornament just because of gravity but as long as you don’t use a ton of paint it’s not noticeably since it’s at the bottom.