DIY Vertical Herb Garden Planter Made With 2×4’s
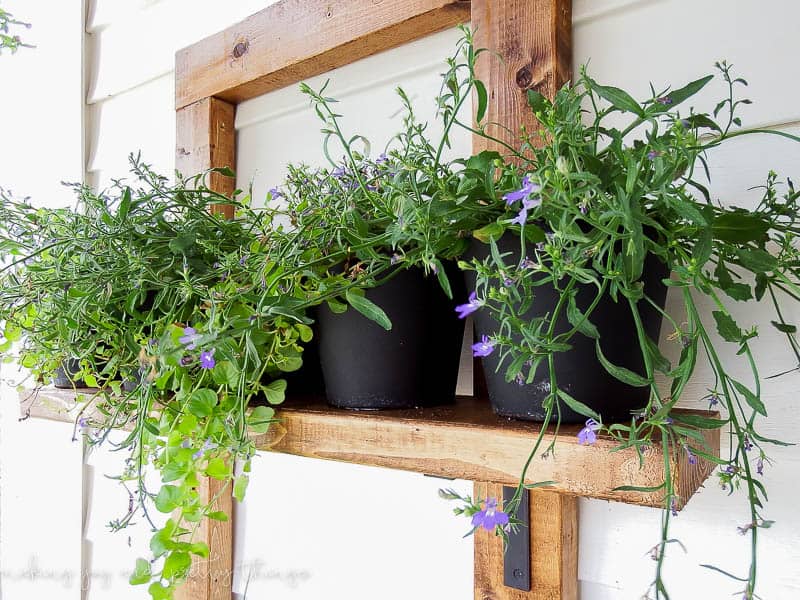
Learn how to make a hanging DIY vertical herb garden and planter using 2×4 lumber! It’s perfect for small space gardening, apartments, and patios.
You guys!! I am SOOO excited to share this DIY vertical herb garden today. I’ve teamed up with a bunch of talented bloggers to kick off the #2x4andMore structural lumber building week on Remdelaholic!
Over on Remodelaholic, there will be so many 2×4 project tutorials and ideas. AND at the bottom of my post, I’ve linked to 13 other 2×4 projects that I just LOVE!
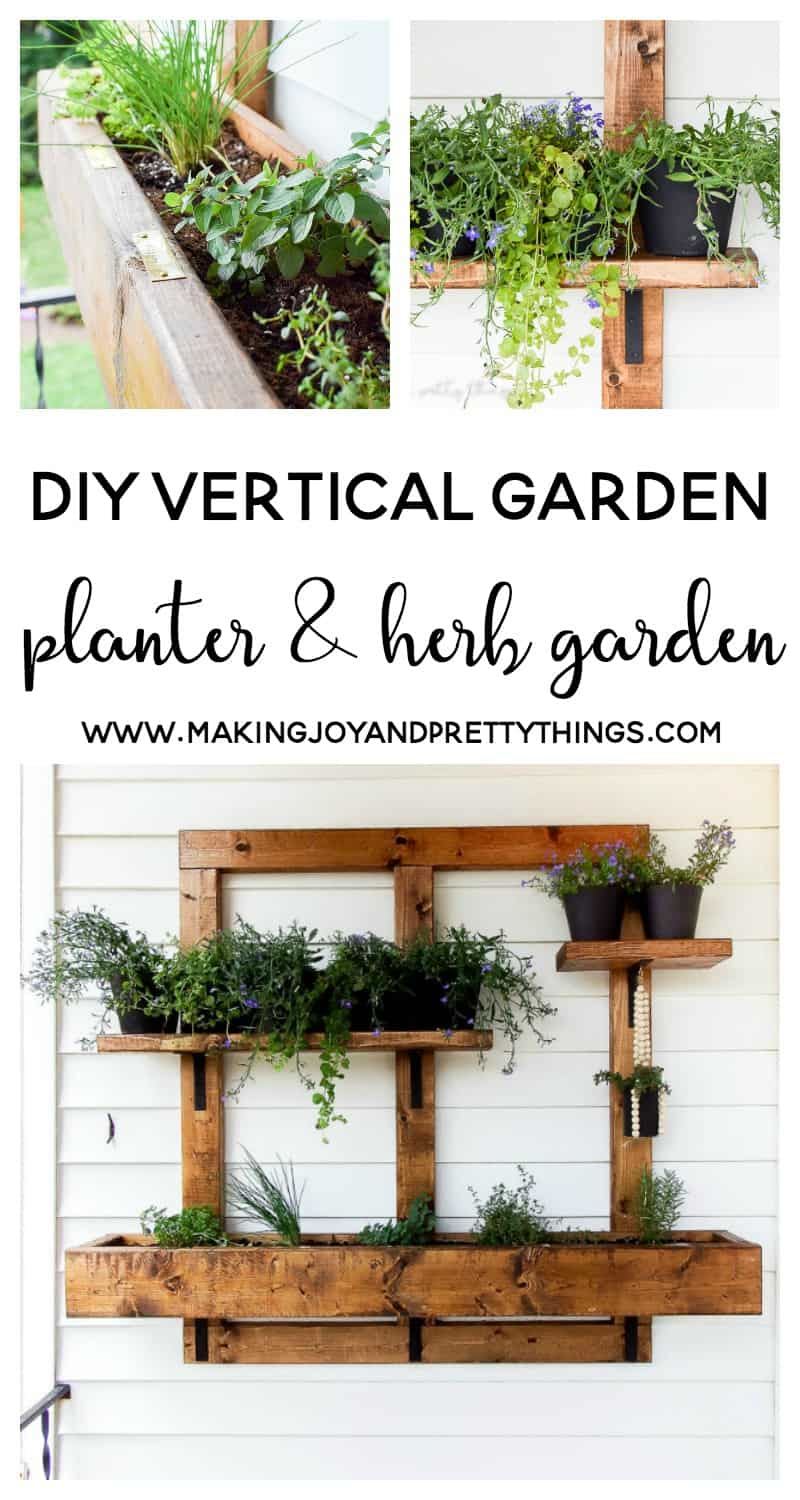
Head over to Remodelaholic to check out all the 2×4 projects!
Onto my DIY Vertical Herb Garden Planter!
Ahhhh, you guys!! I’m totally in love with it!!!
A little back story…
We have this cute little balcony porch area off of our dining room. I love sitting out there with the kiddos while they have a popsicle!
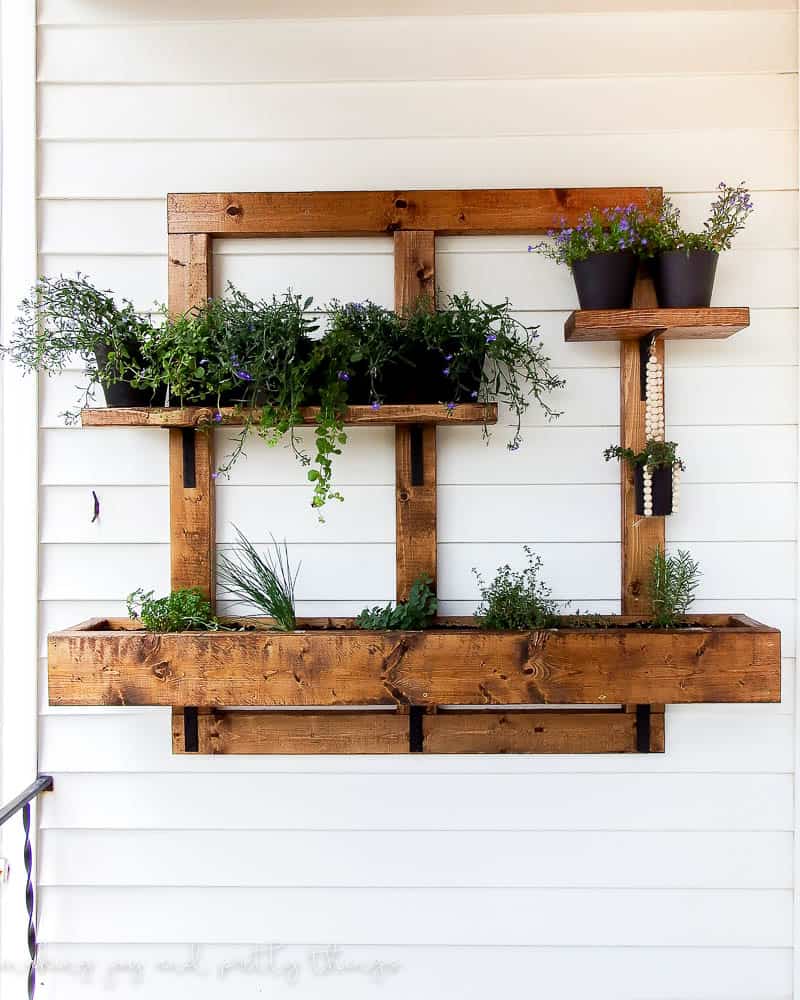
In a perfect world, I’d be sitting out on it having coffee, and painting something. I guess popsicles will do 😉
The operative word for the balcony is just that though…little. There’s barely room for two chairs let alone any type of planters.
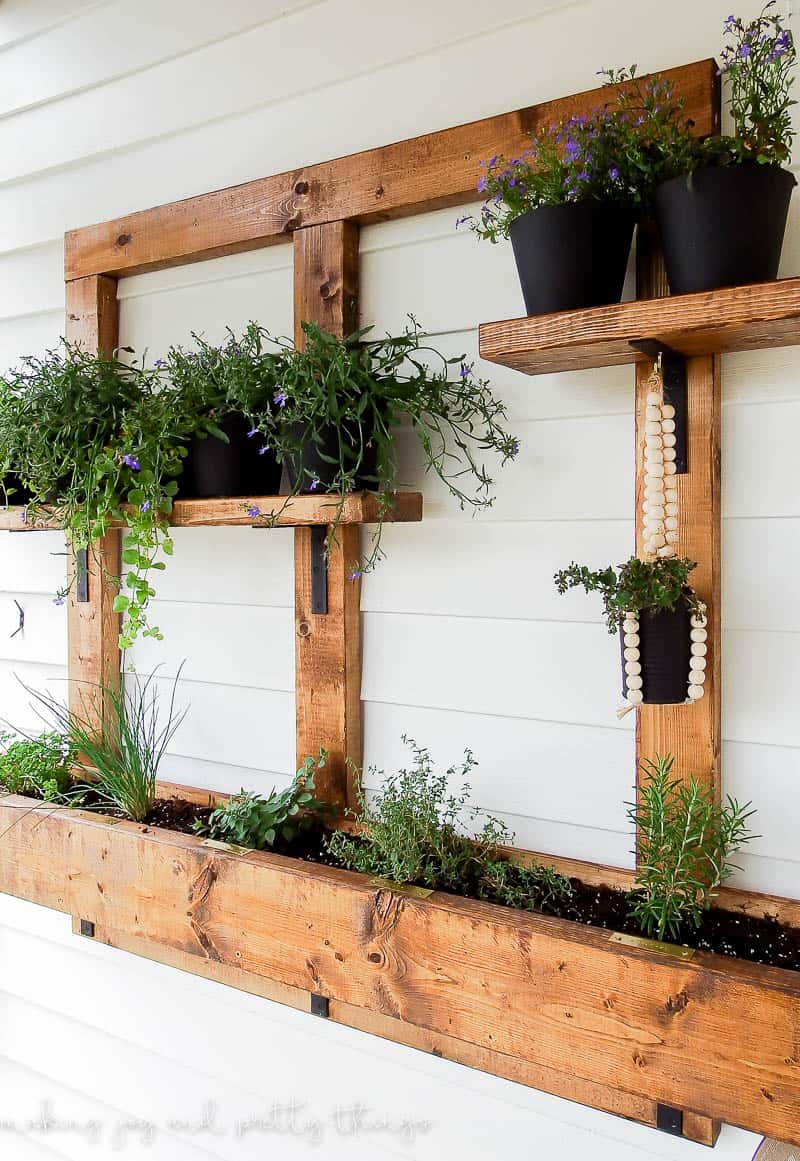
And, since I’m on a quest to become a plant lady after I got the perfect beginner-friendly houseplant that I haven’t killed yet, I figured I had to have some kind of plants out there!
Because if I just keep getting more, something will always be alive, right?!
But seriously, I loved the idea of making a vertical garden of sorts! I know a lot of people don’t have any yard or green space at all!
Or maybe they don’t want a huge garden to tend in the yard and want something more manageable.
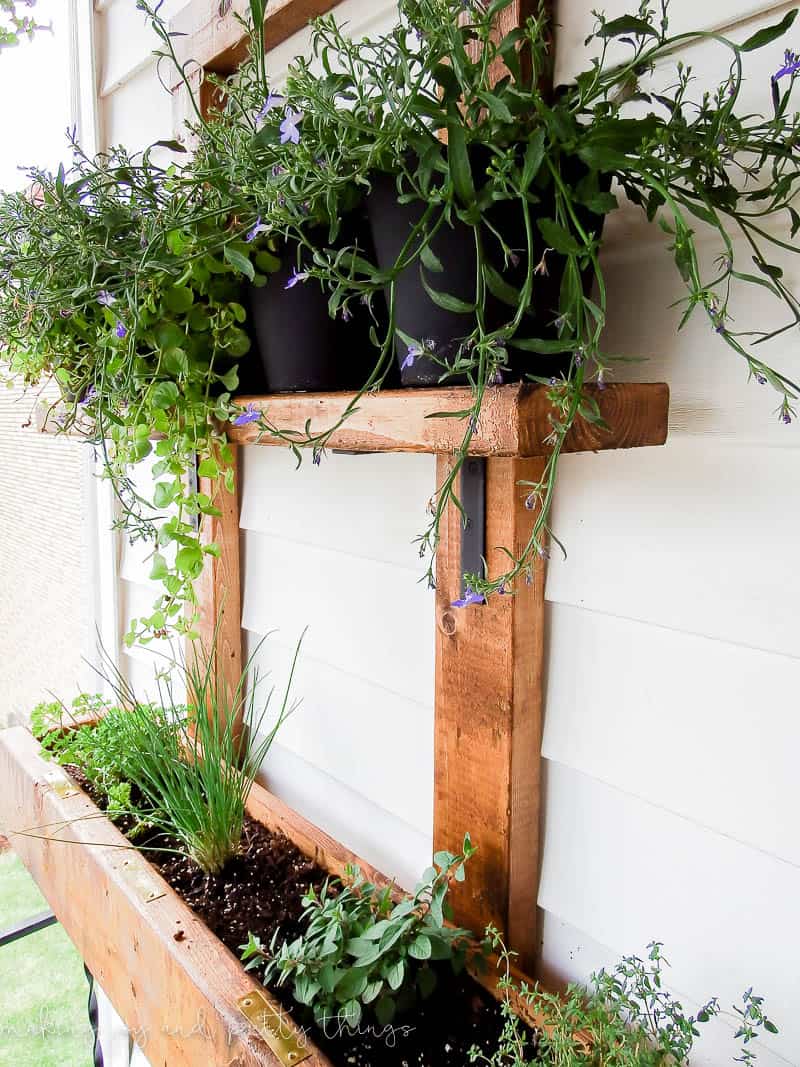
This project is perfect for apartments or small balconies or for anyone who wants a small vertical garden.
I’m using it for both herbs and plants but what you plant is completely up to you!
BONUS! It’s not hard at all to build! We did this in one weekend!
This post contains affiliate links. Please, click here to read my disclosure policy.
DIY Vertical Herb Garden: Step-by-Step Tutorial
Supply List for DIY Vertical Herb Garden
- Wood
- Frame
- (2) 2×4 .. cut to 42″
- (3) 2×4 .. cut to 41″
- Planter Box
- (1) 2×6 .. cut to 55″ (front)
- (1) 1×6 .. cut to 55″ (back)
- (2) 2×6 .. cut to 5.5″ (sides)
- (1) 2×6 .. cut to 52″ (bottom)
- Shelves
- (1) 2×6 .. cut to 13.5″
- (1) 2×6 .. cut to 32.5″
- Frame
- Miter Saw
- Square
- Drill
- Screws for assembly
- Screws for mounting
- 7 Corner Brackets
- Screws for Corner Brackets
- Stain
- Water Sealer
- Spade Bit
- 7 Plant Pots
- Spray Paint
- Potting Soil and plants of your choice!
- Weed block landscaping fabric
- Hanging Wood Bead Planter (we made this with wood beads and string)
- Eye Hook
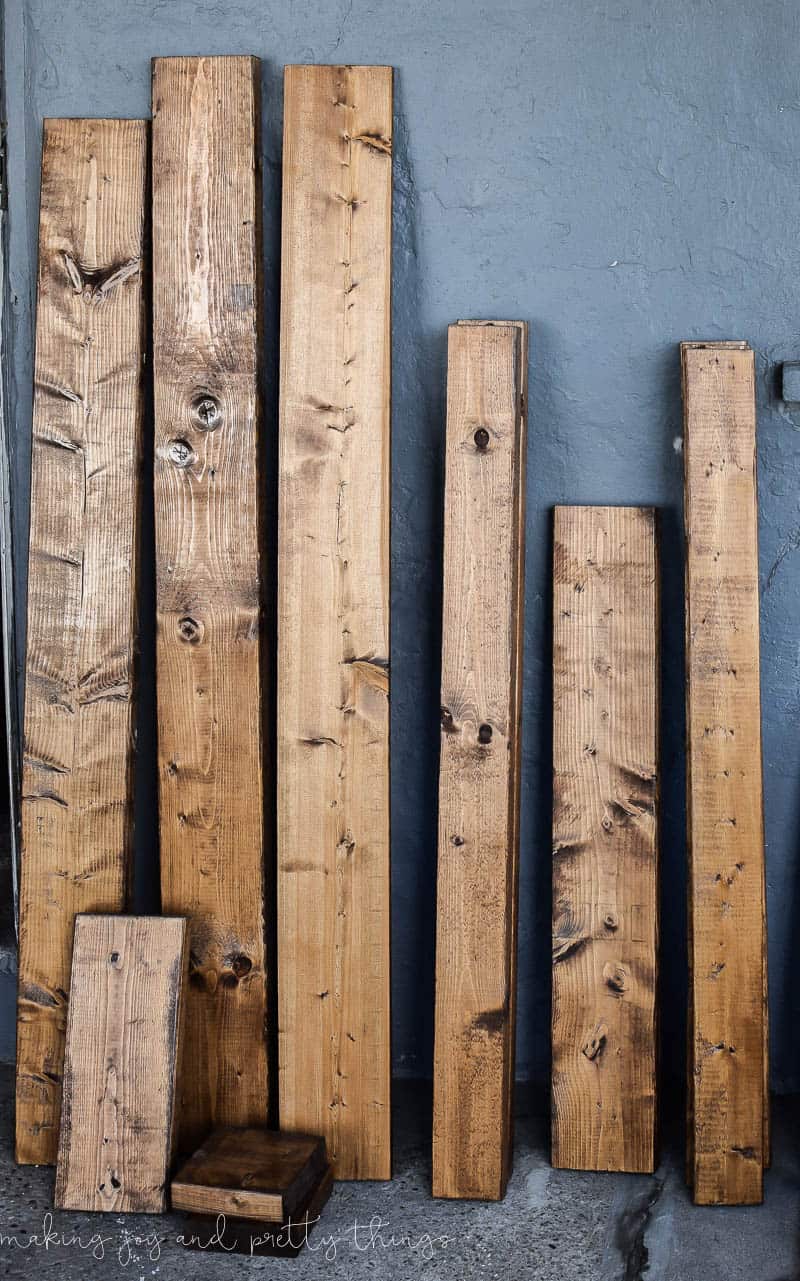
Step 1. Cut Wood for DIY Vertical Herb Garden
We started by cutting all of the wood to the lengths listed above with a miter saw.
I chose not to sand the wood because I wanted it to look rough and rustic. You totally could though!
Step 2. Stain & Seal Wood
I then applied two coats of my new favorite stain.
Once the stain was dry I applied a coat of water sealer. A little goes a long way with that stuff!!
Step 3. Spray Paint Brackets and Screws
We then spray-painted all the brackets, screws to hold the brackets, and planter pots in a matte black color so they had plenty of time to dry before final assembly.
Step 4. Assemble DIY Vertical Herb Garden Frame
I’ll start by saying that I did a lot of this by myself, but it would’ve been significantly easier with a helper. So, make it a two-person job if you give this a shot and you’ve got a spare person hanging around.
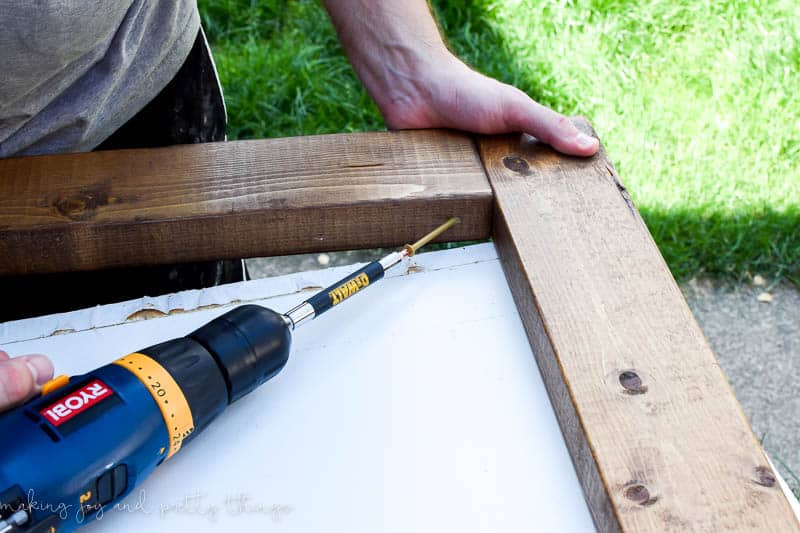
I decided to use deck screws on a 45-degree angle instead of a Kreg Jig to assemble the frame, but if you have a pocket hole jig, you could definitely use that for a beginner-friendly joinery technique.
First, line up the pieces that need to be assembled with a square, drill a pilot hole for the screws to avoid splitting the wood, and then drive the screws through both pieces.
Make sure to go far enough to counter-sink the head of the screw. Alternatively, you could use a countersink bit to drill the top of the hole out for the screw head.
Repeat this process until all four pieces of the outer frame are assembled.
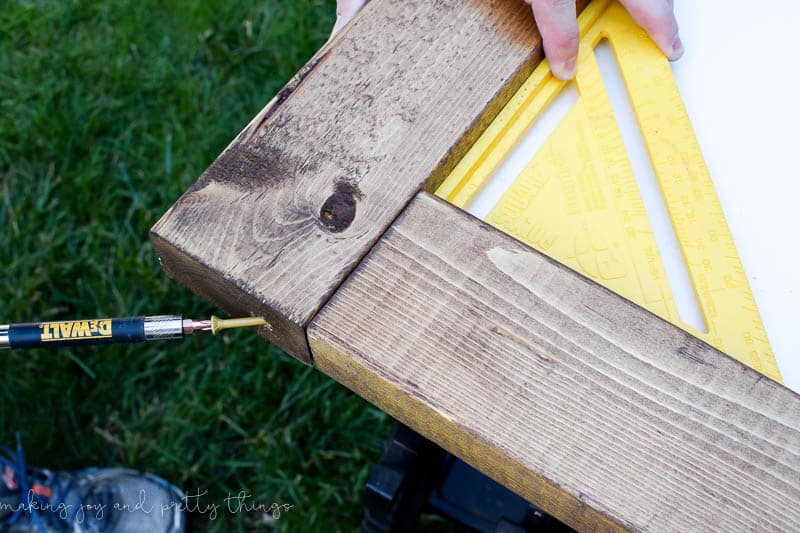
I used two screws per joint, making sure to drive the screws parallel to each other from opposite sides to avoid having the screws run into each other.
Step 5. Add Center Beam to Garden Frame
After the outer frame was assembled, I had to make sure the center beam was, well, centered!
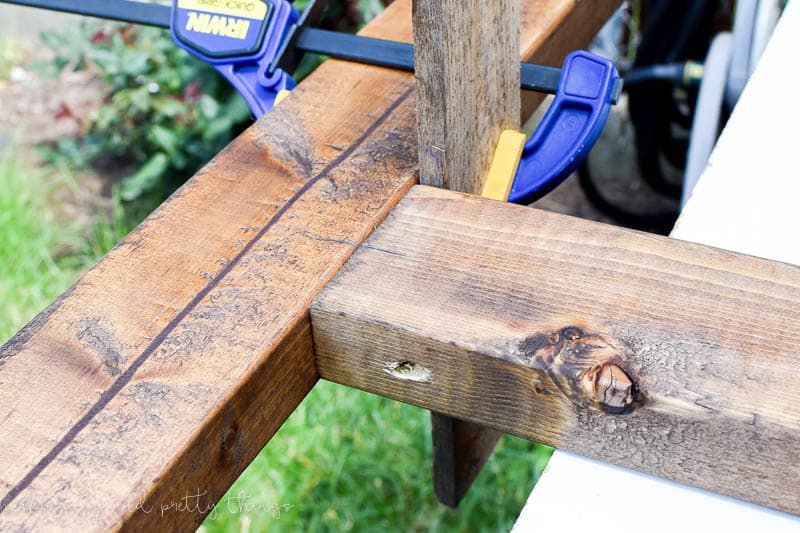
I used a combination of the tape measure and the square to line it up so that the center of the beam was in the center of the outside frame, then used the same method of drilling pilot holes and then driving angled screws to attach the center beam to the frame.
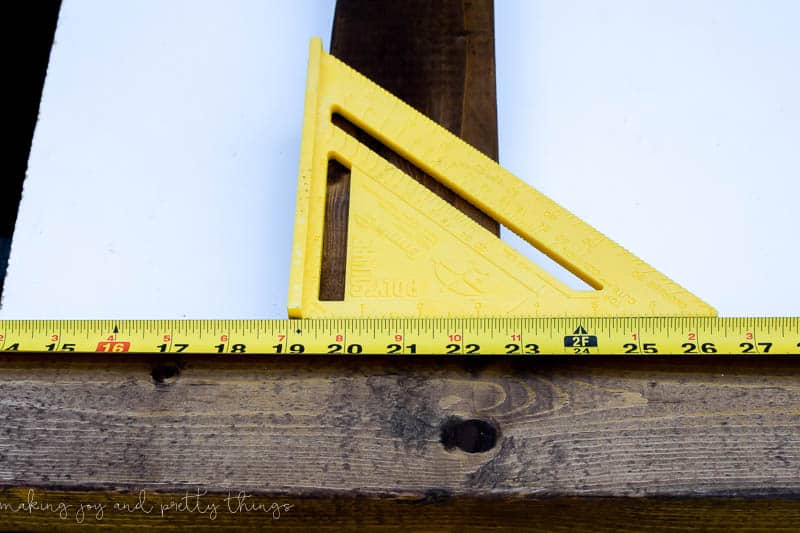
As you can see in the picture below, I did use a scrap piece of wood and a clamp to keep the beam from pulling when I drove the screw in at an angle.
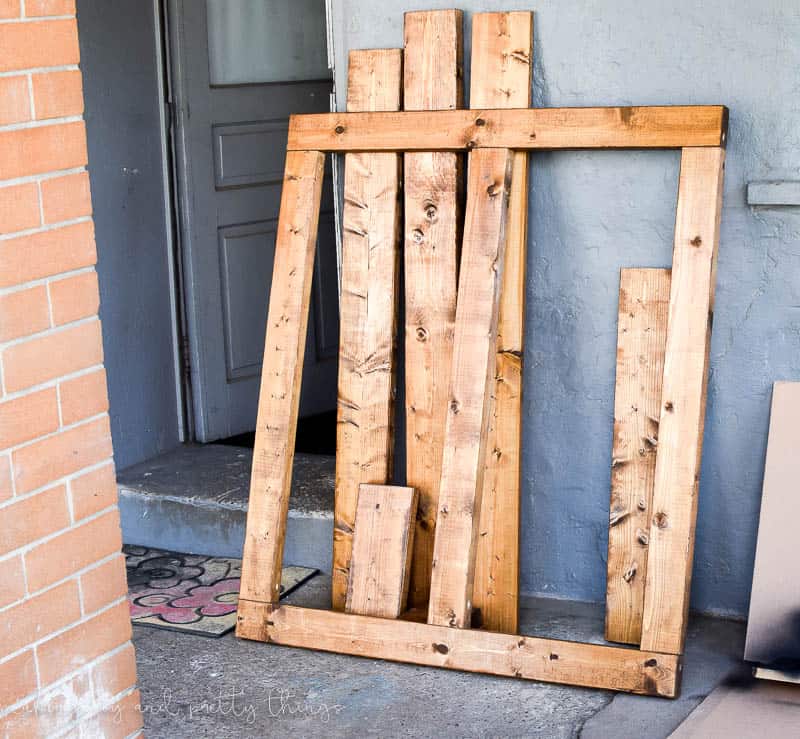
Here’s the finished frame!
Step 6. Create the Herb Garden Planter Box.
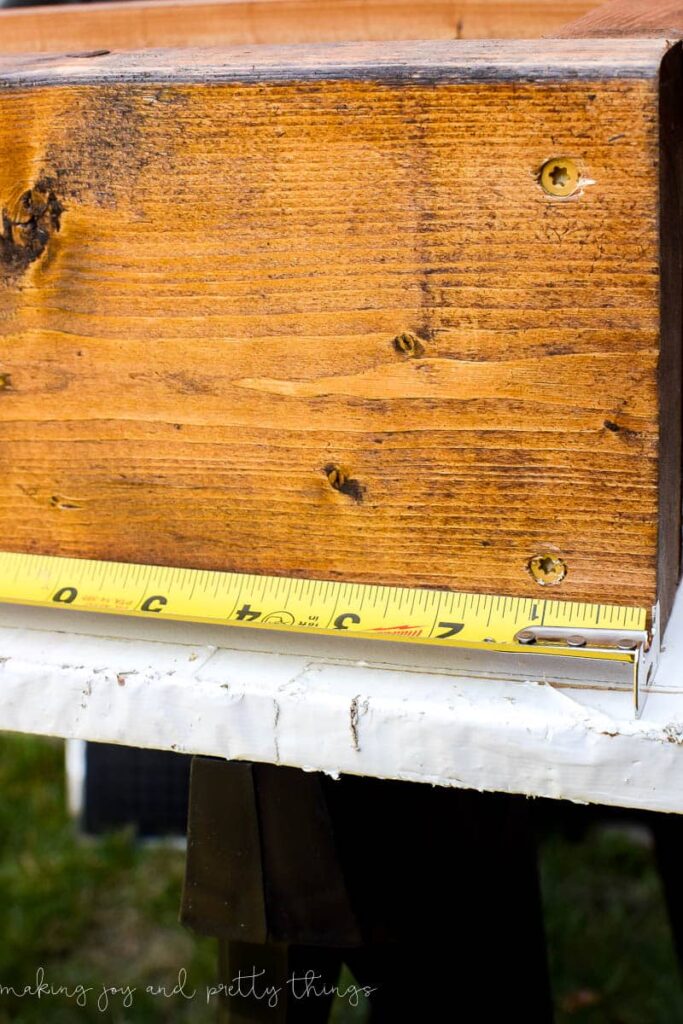
The bottom, sides, and front of the planter box were made out of 2×6 boards, and the back was a 1×6.
Start by laying the bottom piece on your work table and standing the front piece up in front of it. Then use the sides to make sure it is lined up correctly.
Then, drill pilot holes and add two deck screws on each side to attach the front to the sides.
Next, add several screws across the bottom to attach the front of the box to the bottom of the box.
Repeat the same process for the back of the box!
Step 7. Drill Drainage Holes
Now that we had a planter box, we needed some drainage holes.
You can accomplish this by using a 1.5″ spade bit to drill six holes across the bottom center of the planter box. This seemed to be more than enough.
After the final assembly was complete, add some weed block landscaping fabric in the planter box before planting any herbs so you don’t have dirt pouring out of the drainage holes.
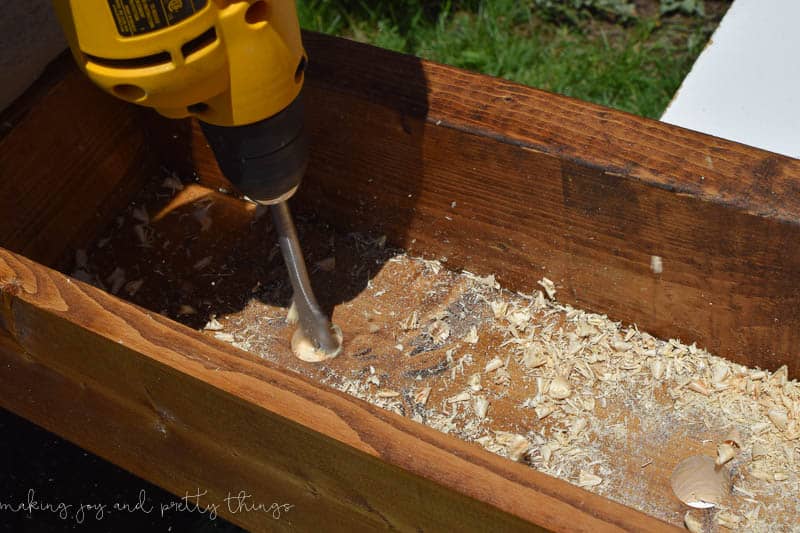
Step 8. Attach the DIY Planter Box and Shelves to the Herb Garden Frame!
We had sketched out where we wanted to place the box and the shelves, so it was just a matter of measuring accurately and using the galvanized (and spray-painted) screws to attach the brackets to the frame.
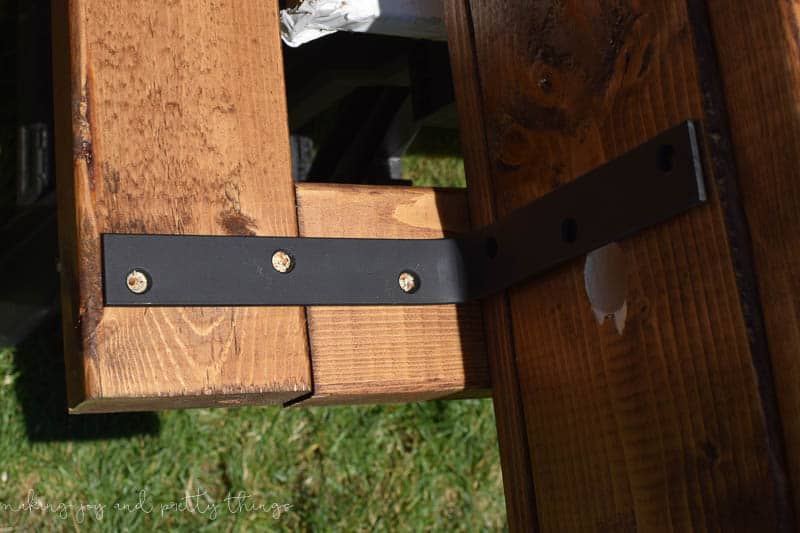
After attaching all the brackets, I did a “dry-fit” of the box and shelves to make sure we were happy with everything. Spoiler alert: WE LOVED IT.
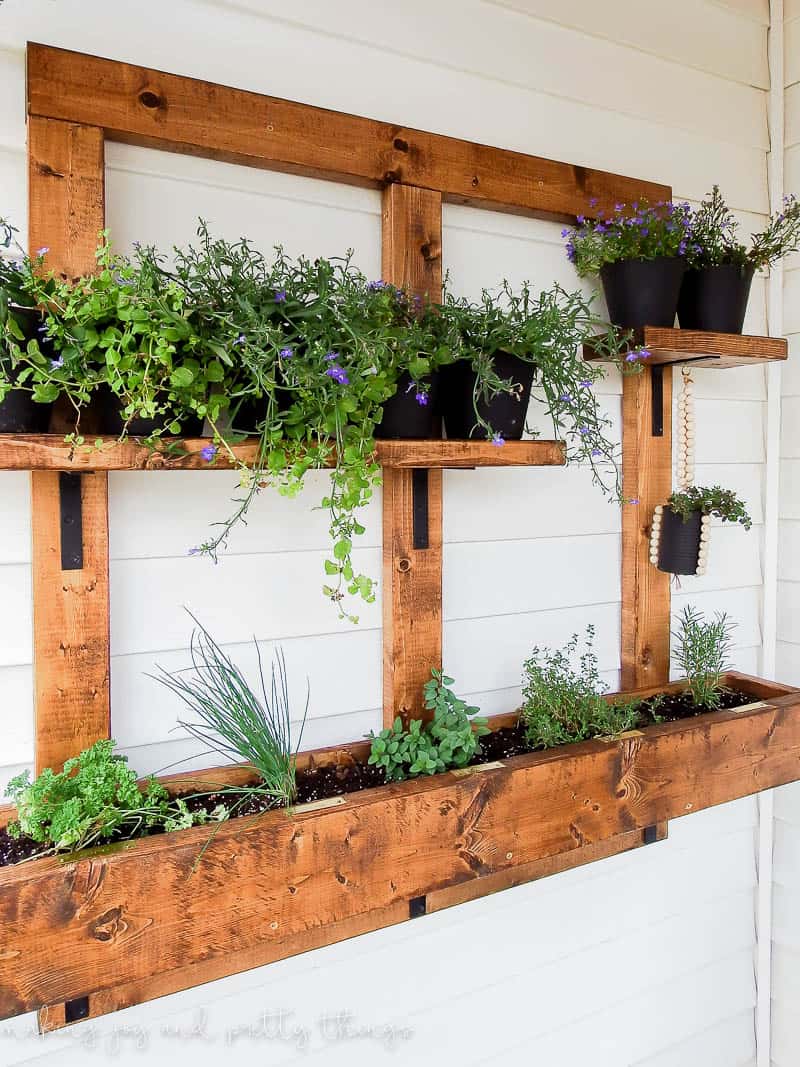
Note that for the smallest shelf, we only used 2 screws. In the middle hole of the corner bracket (where there would normally be a screw), we manually twisted in an eye hook to hang the wood bead planter.
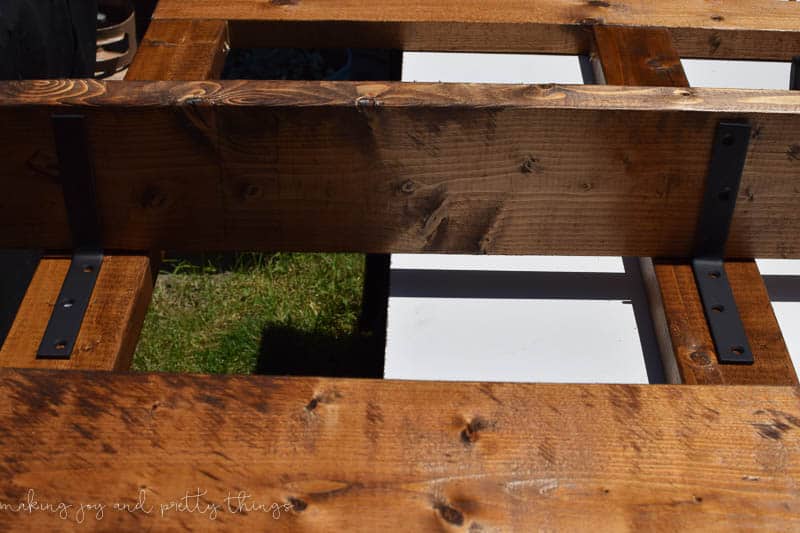
Step 9. Attach the DIY Vertical Herb Garden Frame to the Exterior Siding.
Since it was going to be almost impossible to find studs from the outside of the house without many, many exploratory holes being drilled, that wasn’t really an option.
We also knew we were dealing with a wooden house, so we didn’t necessarily need to drill into the studs.
After doing the math on all the material we had to get through, we determined that 4″ screws would get us into the 3/4″ wooden siding that was the original exterior of the hours before the vinyl siding was a thing.
We used self-tapping screws, so I got a 4′ level and went for it. We used two screws on the top of the frame and two screws on the bottom.
If you have vinyl siding, be careful not to drive the screws in so far that the vinyl siding gets crushed. Also, make sure you check the level again after the first screw so you can make adjustments.
After the frame was attached to the wall, it was time to install the planter box and the shelves.
We checked for the center and screwed the galvanized screws into the corner brackets to hold the shelves and planter box in place. Before you knew it, the whole thing was assembled and on the wall!
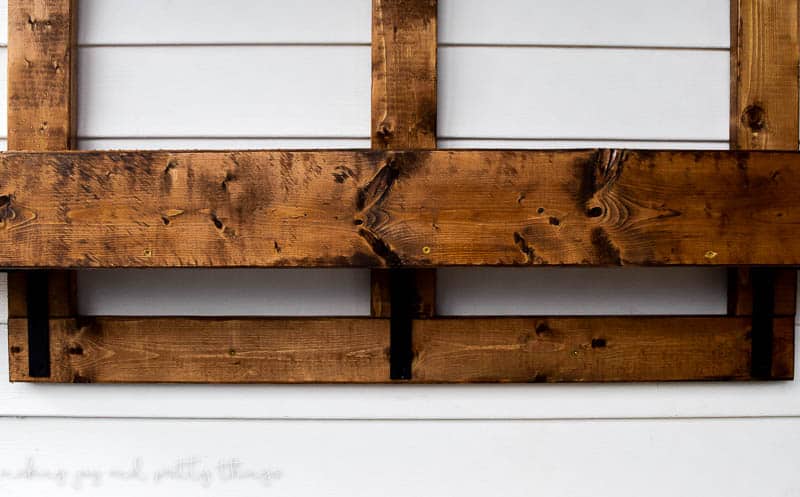
And that was it!!
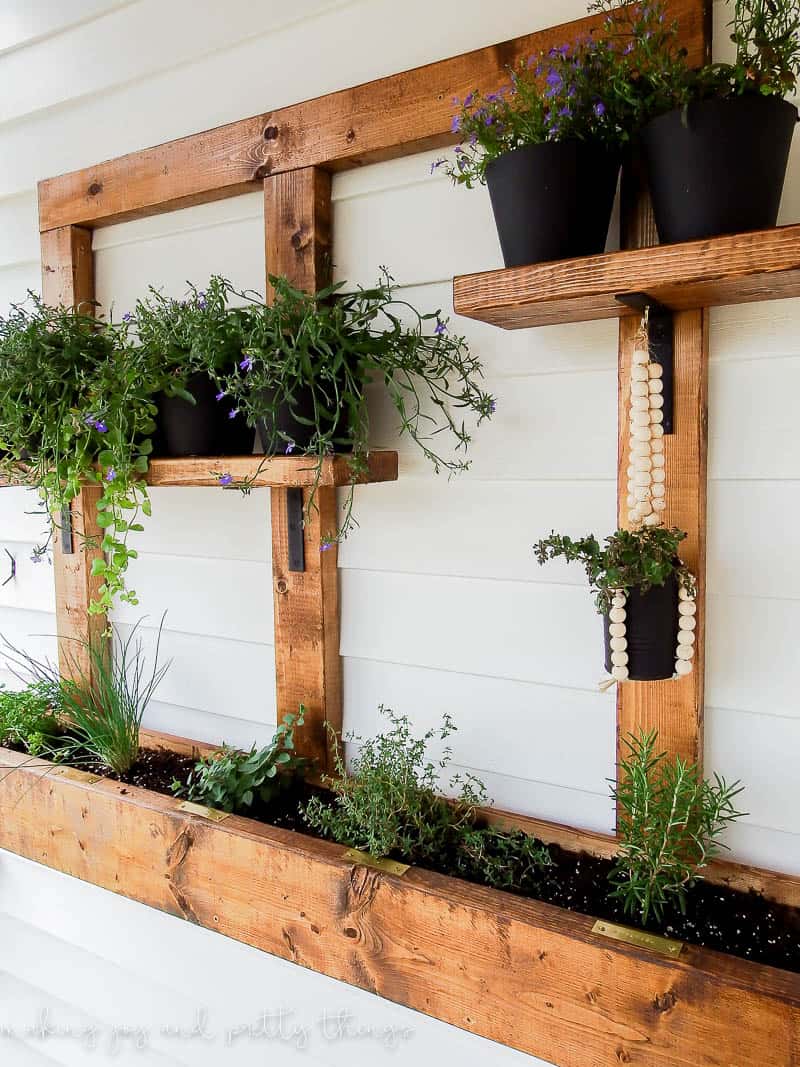
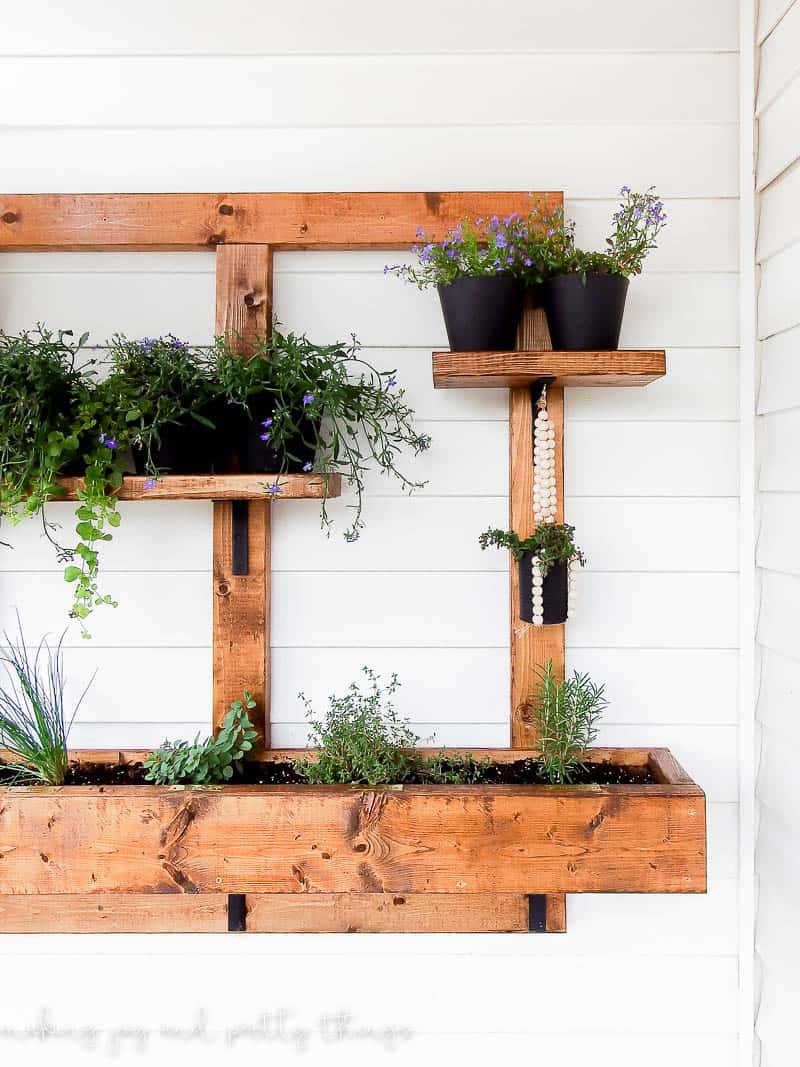
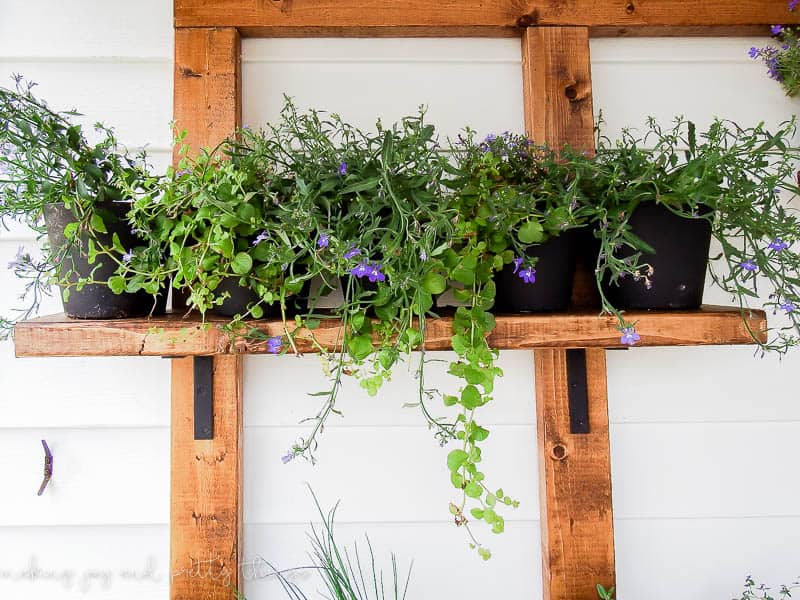
I know I say I love every project we do but seriously, this vertical herb garden planter may be my favorite yet!
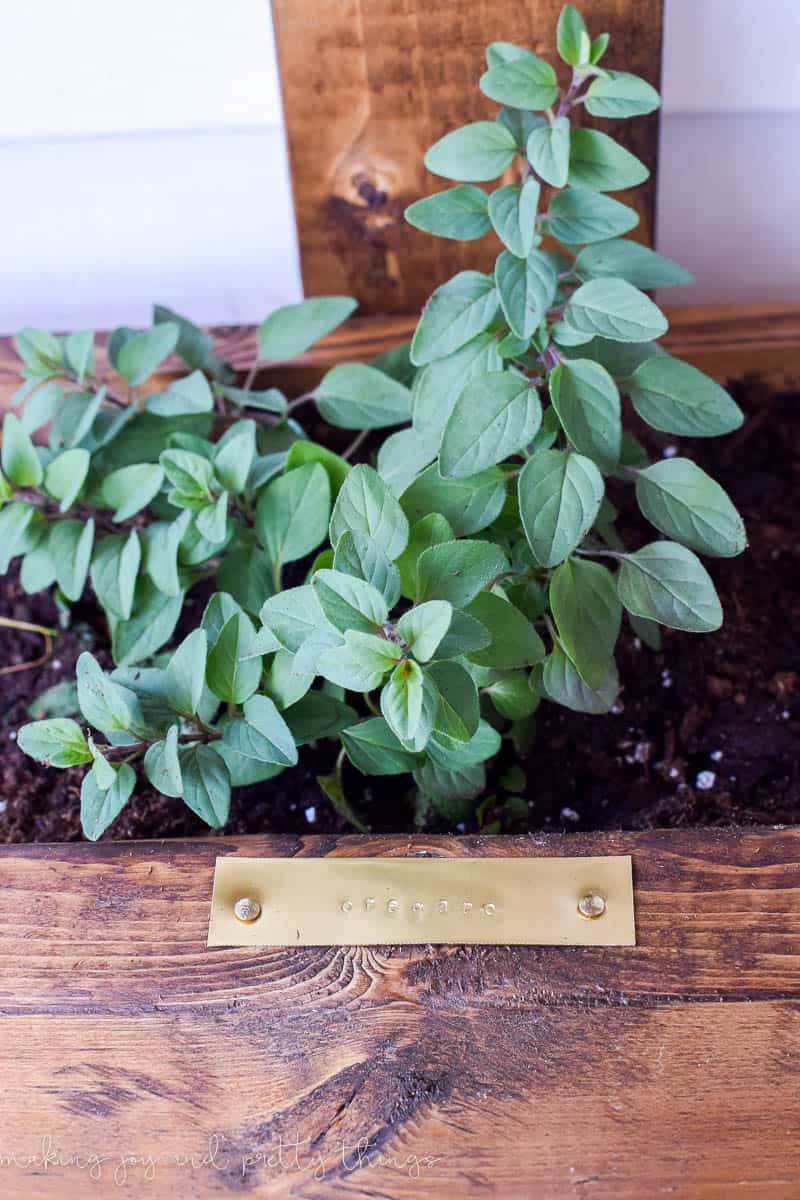
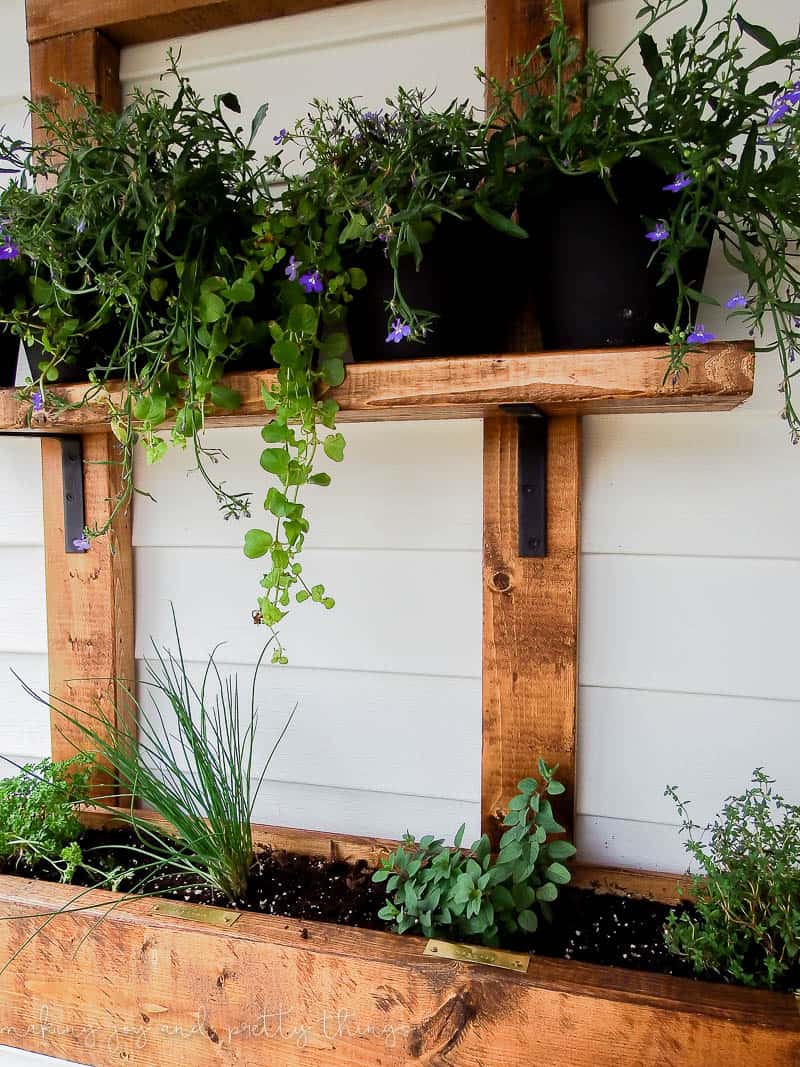
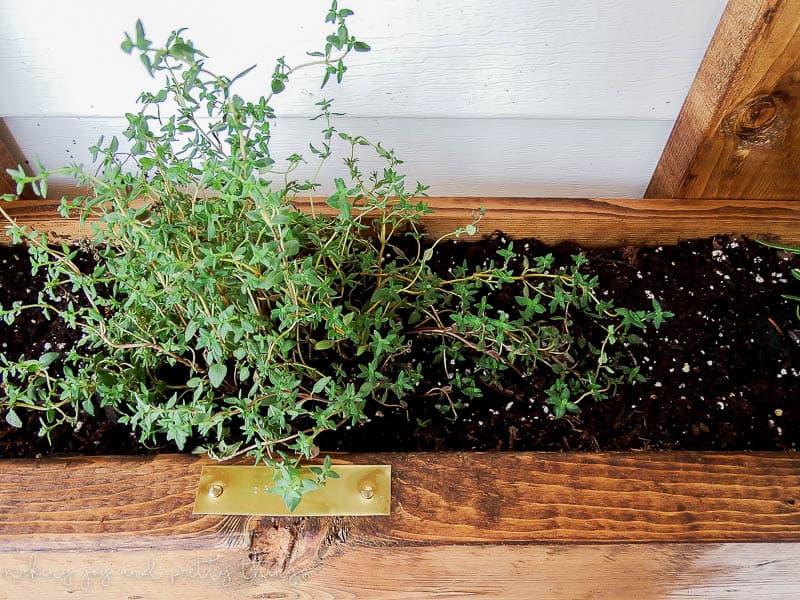
These stamped metal herb garden markers that I made are just PERFECT for the vertical herb garden planter.
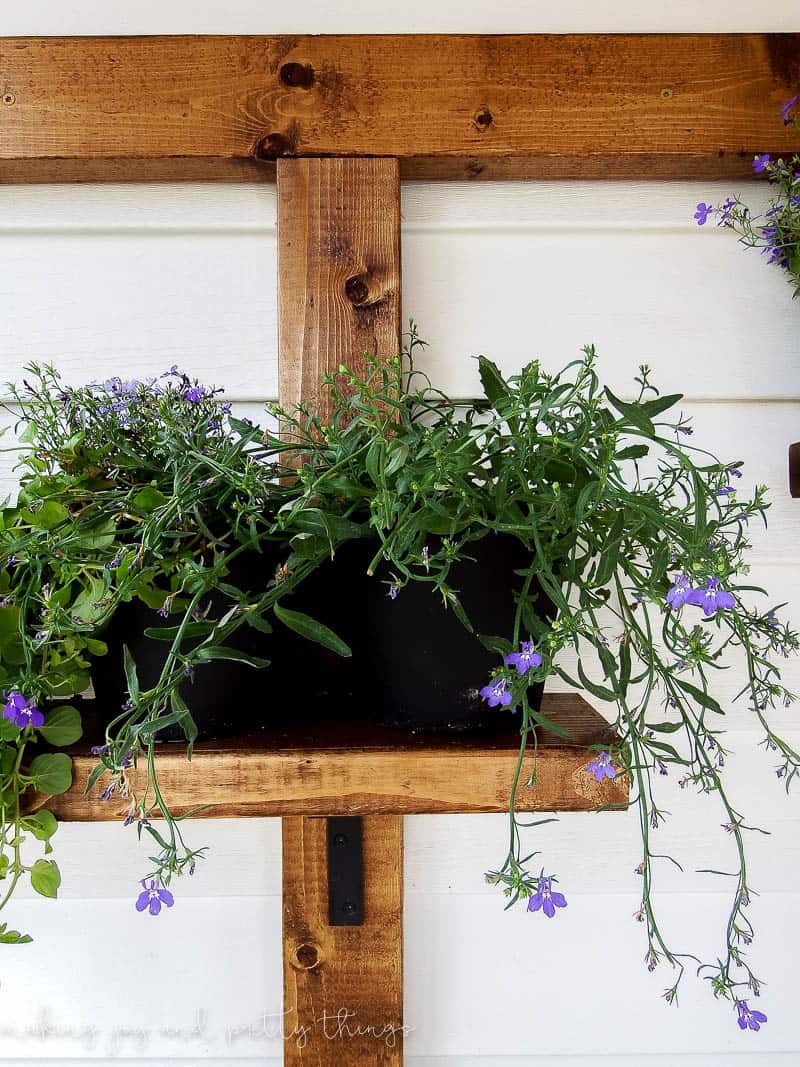
I just love the combination of brass, black, and stained wood.
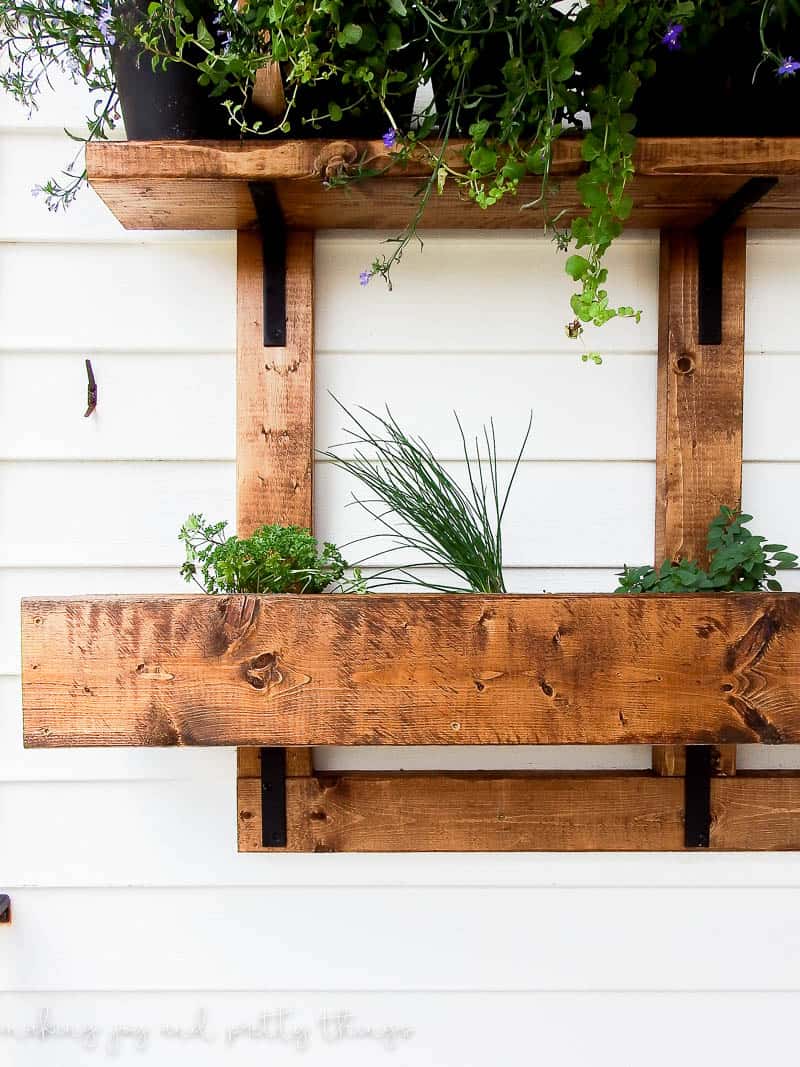
I also love the wood bead hanging planter I made! With the two shelves being separated a bit, I needed something on the right side to balance it out.
It was so simple to make just by stringing wooden beads onto string!
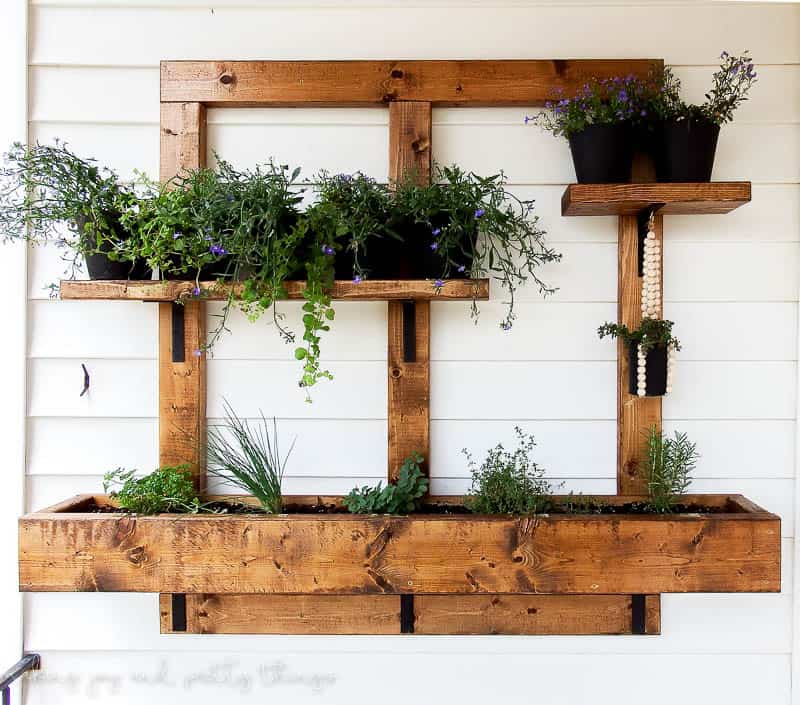
Now, you HAVE to check out some other amazing 2×4 projects!! Who knew you could make so much from 2x4s?!
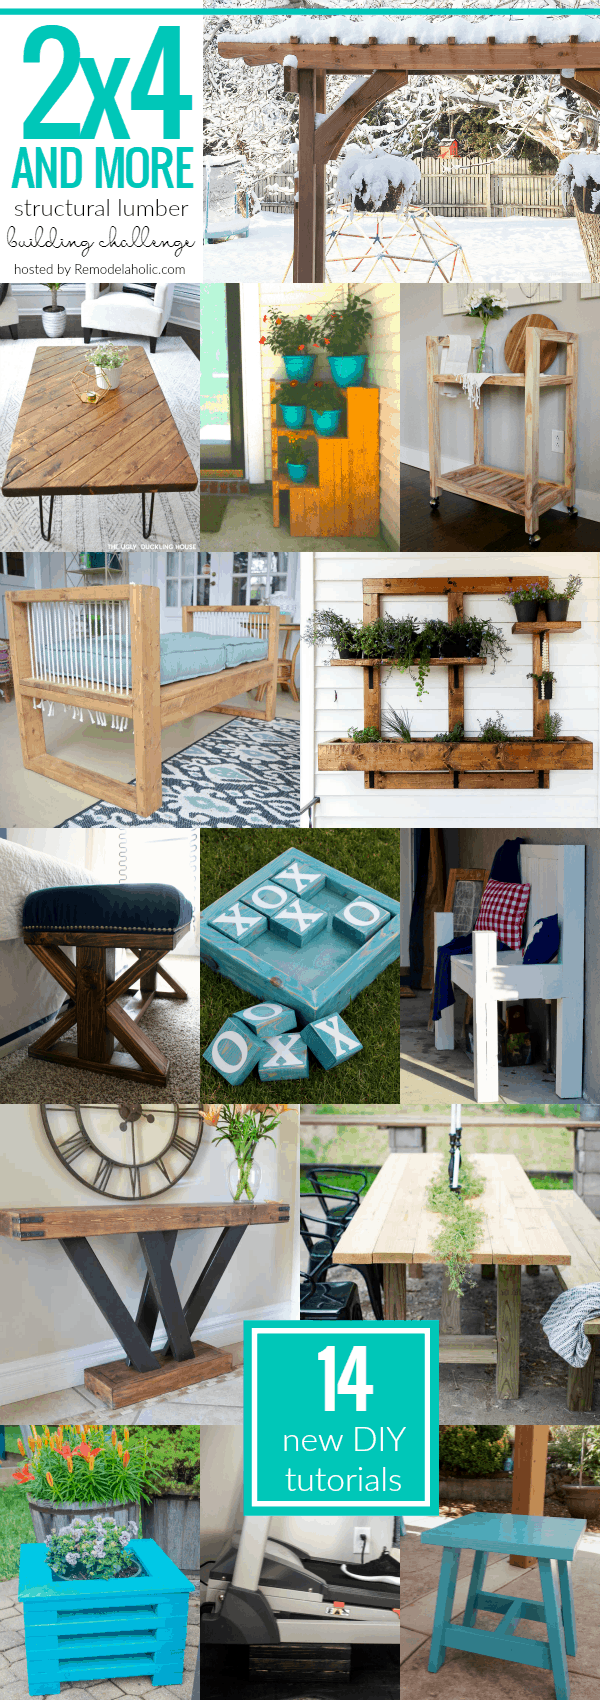
garden arbor | Remodelaholic
15 minute coffee table | The Ugly Duckling House
tiered corner plant stand | Charleston Crafted
single-board rolling bar cart | Woodshop Diaries
outdoor bench w/rope detail | At Charlotte’s House
upholstered x-base bench | Frazzled Joy
jumbo tic tac toe | Ginger Snap Crafts
porch bench | Everyday Party Magazine
console table | Hertoolbelt
farmhouse patio table | North Country Nest
easy flower planters | Our House Now a Home
treadmill incline | Practical and Pretty
patio side table | Small Home Soul
Wishing you a joyful day!
DIY Vertical Herb Garden
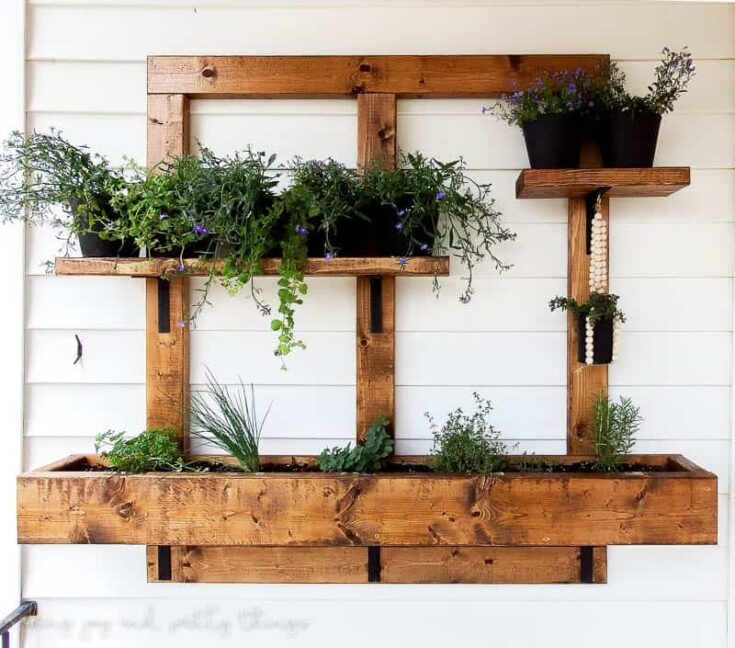
Make a hanging vertical herb garden and planter using 2x4 lumber! It's perfect for small space gardening, apartments and patios.
Materials
- Wood according to the supply list
- Miter Saw
- Square
- Drill
- Screws for assembly
- Screws for mounting
- 7 Corner Brackets
- Screws for Corner Brackets
- Stain
- Water Sealer
- Spade Bit
- 7 Plant Pots
- Spray Paint
- Potting Soil and plants of your choice!
- Weed Block
- Eye Hook
Instructions
- Cut Wood for DIY Vertical Herb Garden
- Stain and Seal Wood
- Spray Paint Brackets and Screws
- Assemble DIY Vertical Herb Garden Frame
- Add Center Beam to Garden Frame
- Create the Herb Garden Planter Box
- Drill Drainage Holes
- Attach the DIY Planter Box and Shelves to the Herb Garden Frame
- Attach the DIY Vertical Herb Garden Frame to the Exterior Siding


Wow this is gorgeous. I love every detail. That stain is the prettiest finish. Why have I never heard of provincial?! Beautiful. I also loved that black hardware. Those stamped metal details are the CUTEST. I subscribed because I HAVE to know how you made those!!
Thanks so much Anna! I had never used provincial before but it’s my new favorite stain!
Absolutely beautiful! 🙂
Thank you!
I LOVE this. And I also got a light bulb idea for a doggie station. Thank you for sharing. (I’m excited that I have most of the supplies in the garage.)
Awesome!!! Thanks so much Alicia!
It’s SO cute! I love the hanging beaded planter you have there. What a great arrangement for all your pots!
Thanks so much Charlotte!!
This is such a brilliant idea! And turned out so beautifully! LOVE it Sarah!!!
Aww thank you Kristi!!
LOVE how this turned out girl! It’s gorgeous!
Thank you Chelsea!!
Sarah this is so beautiful, you should be in love with it! Great job, and I bet it really livens up your porch area. The shelves are perfect and the planter box is great for a little herb garden. Love it, great job!
Thank you Toni!! It really does liven up the little balcony porch area without taking up any space for sitting!
This planter is absolutely AMAZING!!! I love the black braces against the dark wood – so fun and industrial. You two nailed it [pun intended – ha!]
Best,
Kelly
HAHAHA!!! Thanks so much Kelly!!
Such a unique project! I love the stain color and the black brackets – great contrast! Beautiful and perfect for a small space! Great job 🙂
Thank you Denise!! The black brackets are a favorite of mine, too!
I love how this turned out, fantastic idea! Thanks for sharing at Share Your Style.
Great post! I am featuring you today at Thursday Favorite Things. I hope you will join us again this week!
https://followtheyellowbrickhome.com/spring-flowers-garden-style-at-thursday-favorite-things/
wow, i LOVE this!
This is such a fantastic idea! Do you think I could use pallet wood for this project? Also when assembling the frame did you drill pilot holes for the screws? Thanks for sharing Sarah!
I want this but don’t want to make it myself! Do you know where I could order one?
Hmm I don’t know? I came up with the design/idea myself so I’m not sure! Sorry!
I love it! I think this is totally appealing and unique. What an excellent and creative idea
These are amazing and valuable knowledge information because of useful for me, thank you so much for share this wonderful article.
Excellent DIY project for a vertical herb garden! The 2×4 challenge is a clever way to maximize your herb-growing space.