5 Best Beginner Woodworking Tools For DIYers
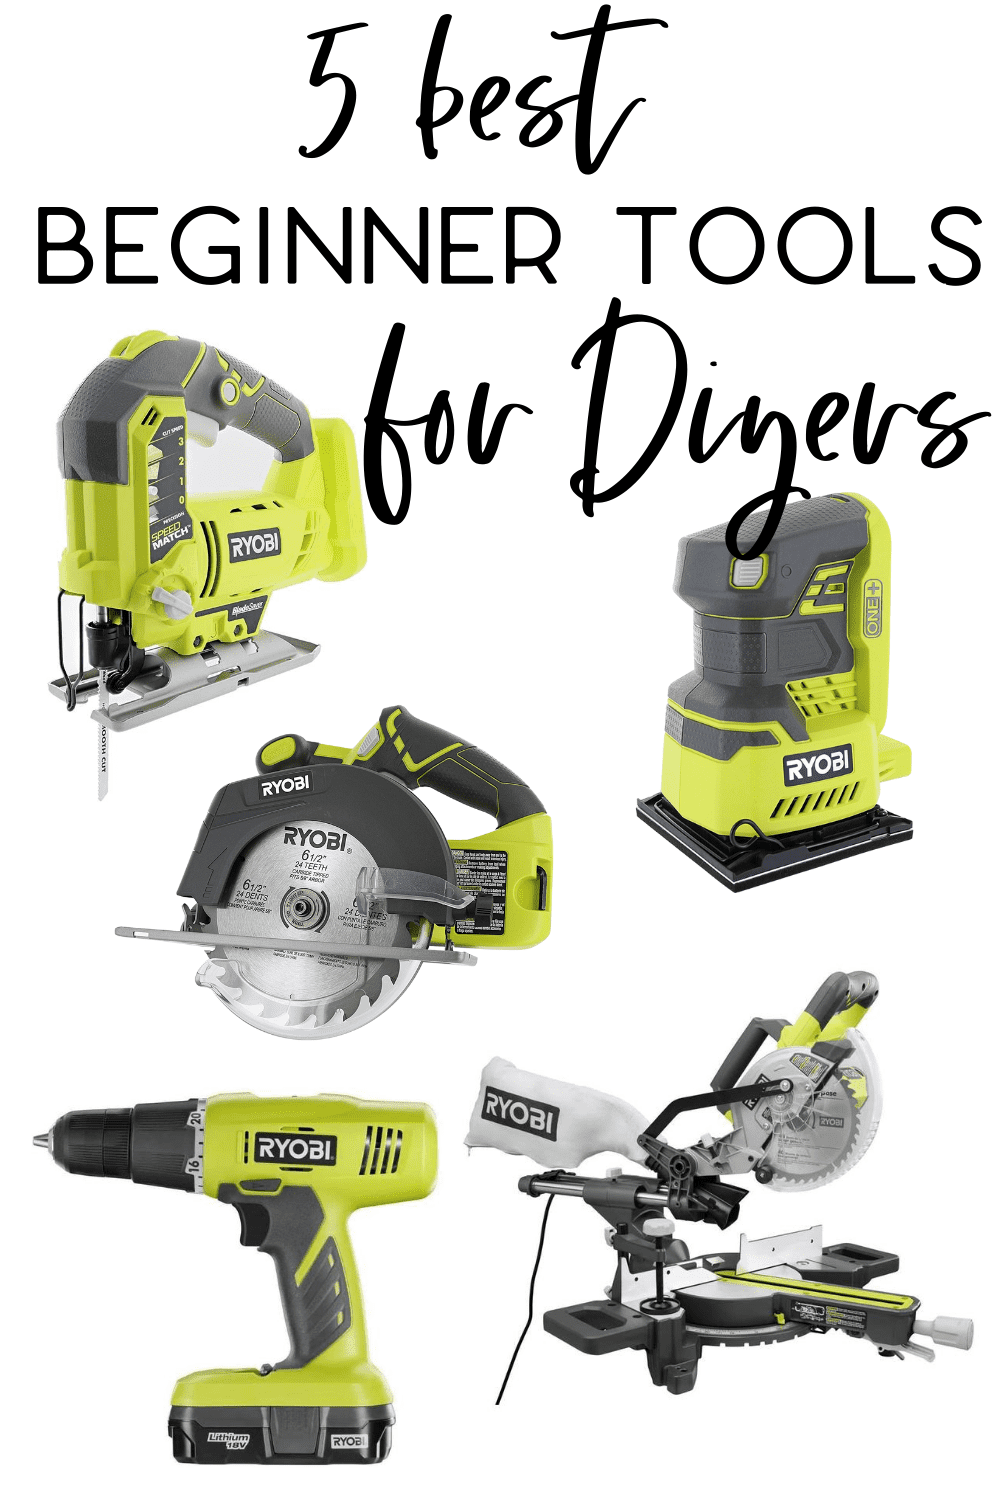
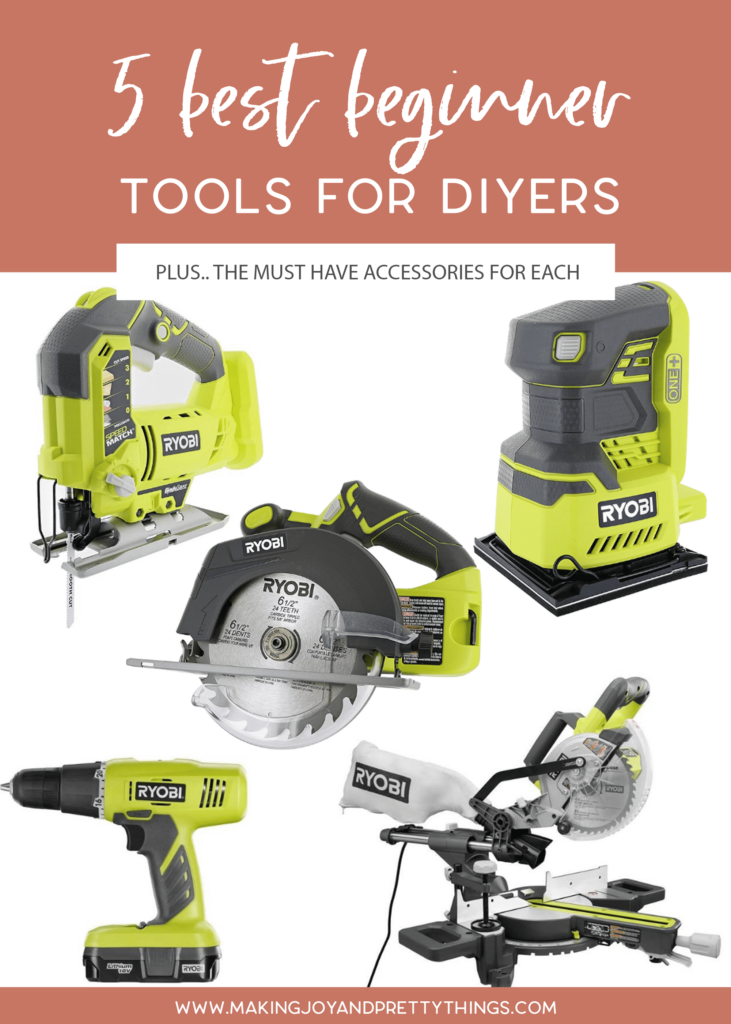
Ever wonder what are the best woodworking tools for beginners? Today, I’m sharing the top 5 best beginner tools for DIYers!
Kick off your DIY career with these woodworking tools for beginners. If you don’t own many power tools this is the list for you to get started.
It can be frustrating to see all these DIY projects on Pinterest you want to tackle only to realize you need tons of tools that, as a beginner woodworker or beginner DIYer, you just don’t have.
So, instead of going out and buying a ton of new tools, you just don’t do the project. Bummer!
If you’re just getting started as a DIYer or woodworker and are completely overwhelmed by all the beginner woodworking tools out there, I’m here to help!
We started out with a drill and a circular saw and have expanded slowly since then. We borrowed tools from my father-in-law a lot! And, most recently, we’ve started adding to our collection whenever we needed a new tool for a project.
Buy the tools you need as you need them to spread out the cost. If you want a “starter kit” these 5 will serve you well.
Tip For Buying Cordless Tools
When buying cordless tools, pick a brand and stick with it. Battery compatibility is key to keeping your costs down as you expand your toolkit. We’ve bought into the Ryobi One+ ecosystem and LOVE it.
The great thing about Ryobi power tools is that the batteries are compatible with all of their power tools. You use the same battery with your nail gun and power drill!
The tools often don’t come with a battery. You’ll have to buy the battery and charger separately. We currently have 4 batteries and 3 chargers and it works out well for us!
You do have to remember to charge the battery. Going to start a project only to realize the battery is dead is probably the worst feeling!
This post contains affiliate links. Please, click here to read my disclosure policy.
5 Best Woodworking Tools for Beginners
1. Cordless Power Drill / Driver
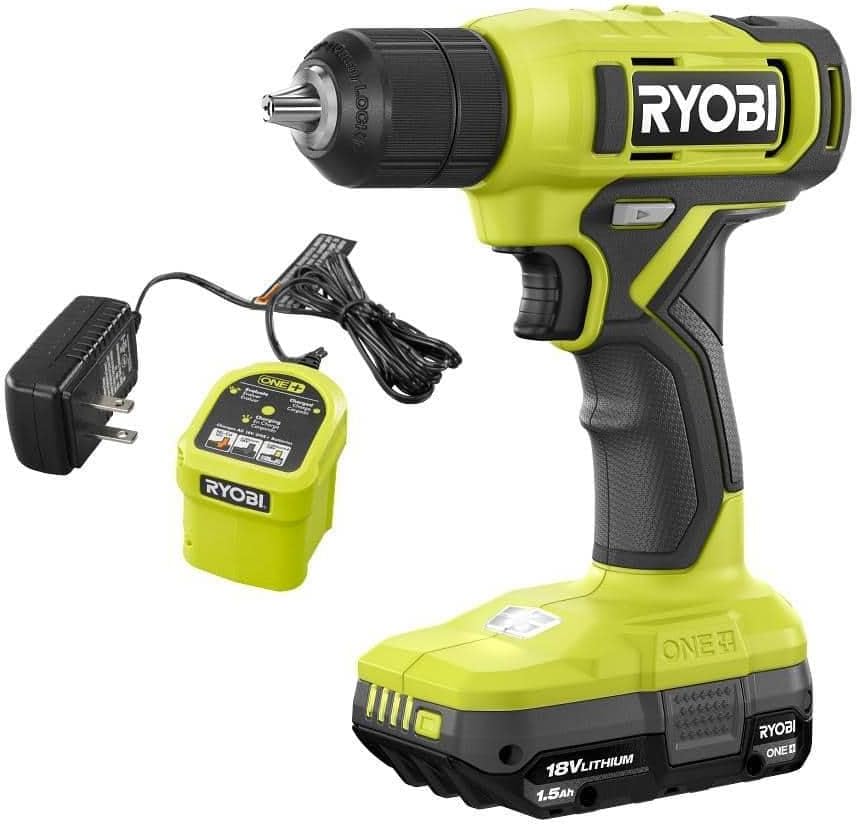
The one thing you’re guaranteed to need is a solid drill/driver. At this point, while there are still plug-in power drills, you’re going to want something cordless.
The power drill/driver is absolutely essential for starting DIY projects or beginner woodworking projects at home. We use it in almost every DIY project and plenty of random jobs around the house ranging from hanging shelves to replacing door knobs to mounting light fixtures.
This is the first tool I’d recommend getting if you’re a beginner DIYer or beginner woodworker. Make sure you pick up a good set of drivers and drill bits along with the drill/driver itself.
DeWalt makes my husband’s favorite drill bits, but Milwaukee and Ryobi bits are fine as well (according to him).
A set of Ryobi driver bits is a good idea as well, and if you’re just learning getting a separate pack of #2 Phillips bits is a good idea.
2. Circular Saw
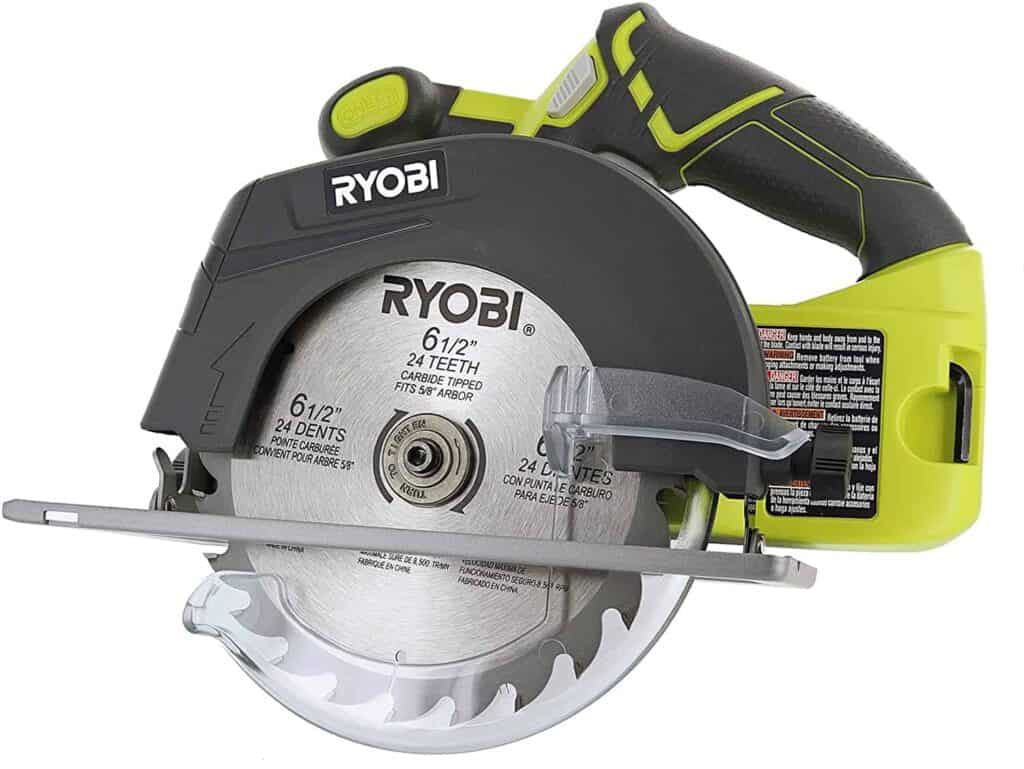
Circular Saws are critical when it comes to cutting long, straight lines.
A 6.5″ blade is the minimum size to be able to cut 2-by materials. We use this any time we’re cutting long or wide pieces of wood that a Miter Saw can’t handle.
Circular Saw Projects
- Modern Office Reveal – used Circular Saw to cut desktop and side panels
- DIY Oversized Polaroid Photo Booth – used Circular Saw to cut out the center of the plywood
- IKEA Closet Hack – used Circular to cut new plywood backs for the IKEA Pax closet wardrobes
It can sometimes be confusing to people when to use a table saw and when to use a circular saw. A good guideline is that anything wider than two feet is easier to manage with a circular saw, but that’s not a hard-and-fast rule.
To help keep your rip cuts straight with a circular saw, a nice straight edge is essential. Empire makes a good 98″ cutting guide that comes with clamps that I have used and love.
Kreg has an awesome tool that attaches to your circular saw, but we haven’t tried that just yet.
3. Miter Saw
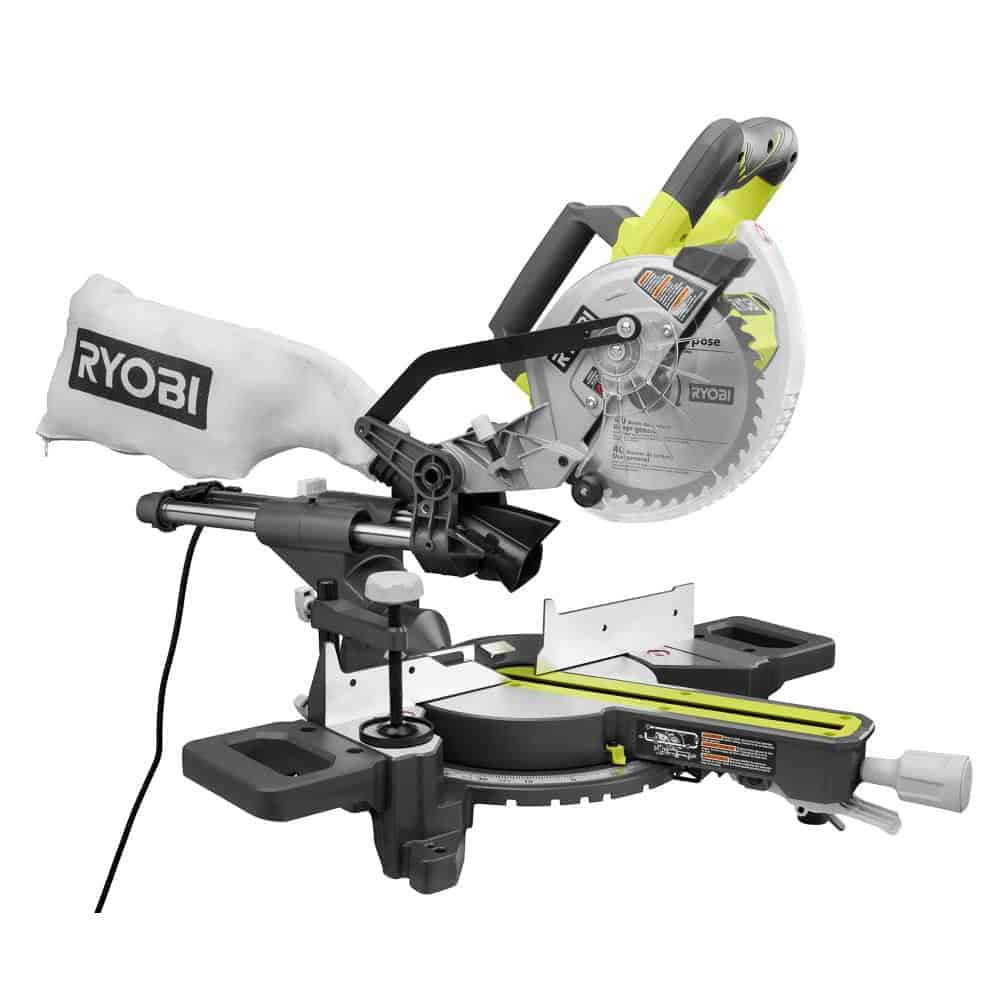
A Miter Saw is the ideal tool for cross-cutting lumber and is absolutely essential for accurately cutting board lengths, baseboards, crown molding, etc.
A sliding model allows you to cut larger pieces of wood with a smaller blade. We use this any time we’ve cut wood that is less than 12″ wide.
The model I have uses a light that casts a shadow on the material to be cut from the blade. This seems to be far more accurate than the models that have laser guides.
Miter Saw Projects
- How to Plank a Wall for $30 (DIY Shiplap) – used the Miter Saw to cut the boards to length
- DIY Vertical Herb Garden and Planter
- Farmhouse Neutral Floral Centerpiece
When using your miter saw to cut longer molding or lumbar, it can be difficult to line your cuts up properly without supporting the full length of the wood.
Along with a miter saw, it’s a great idea to get one or two rolling wood stands to support the material you’re cutting. We have three, but that might be because my husband is extra.
You can also use a miter saw stand, though they’re significantly more expensive.
4. Palm Sander
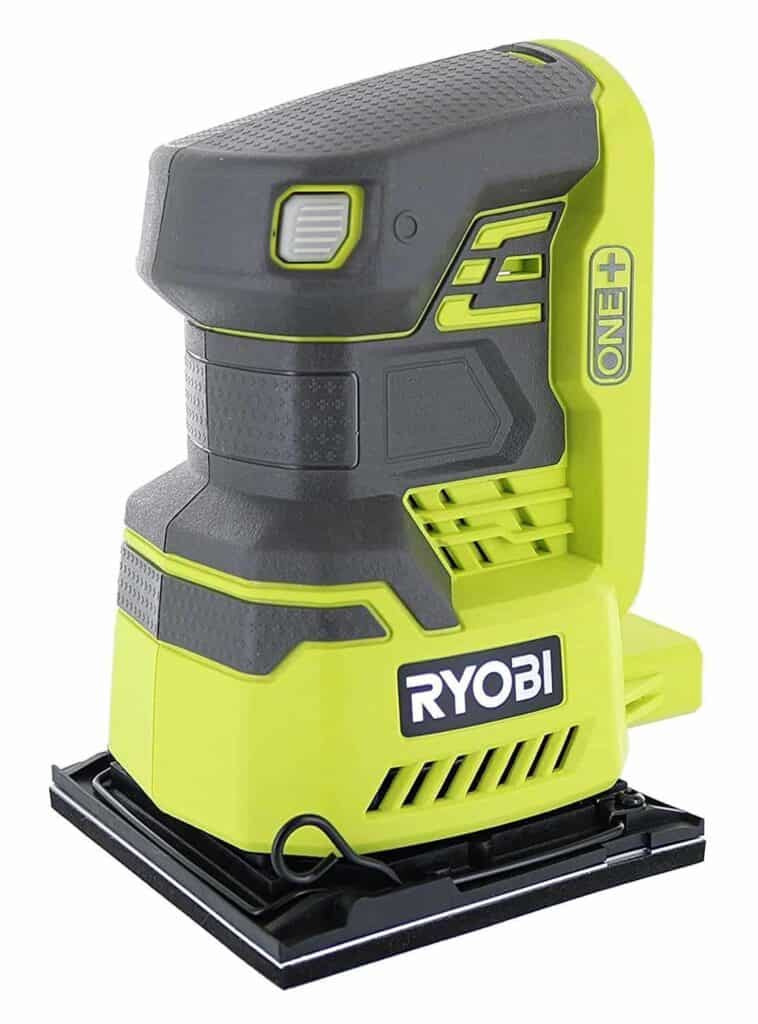
Using power tools on wood leads to rough cuts and splinters. You’ll need a good sander to smooth that stuff out.
Palm sanders are great because they’re extremely versatile. Remember to sand with the direction of the grain of the wood when you’re using a palm sander. If you get an orbital sander you can just do whatever.
We use our sander every time we cut wood, and any time we finish wood that is not pre-finished.
Palm Sander Projects
1. How to Make A DIY Shadow Box
2. How to Clean and Refinish Barnwood in 3 Easy Steps
3. DIY Oversized Polaroid Photo Booth
When you get your sander, pick up a variety of different grits of sandpaper as well. Grit is how rough your sandpaper is. The lower the number, the more coarse the sandpaper.
Common grits from most coarse to least coarse are 60, 150, 220, and 320 and up. This is a great starter pack.
After sanding, you’ll have a ton of dust everywhere. A lot of times, we’ll stand the wood straight up and use a broom to dust off the wood. Then, to get rid of the rest of the dirt, we’ll use a tack cloth.
Whatever method you use, you have to remove all the dust before painting or staining the wood.
5. Jigsaw
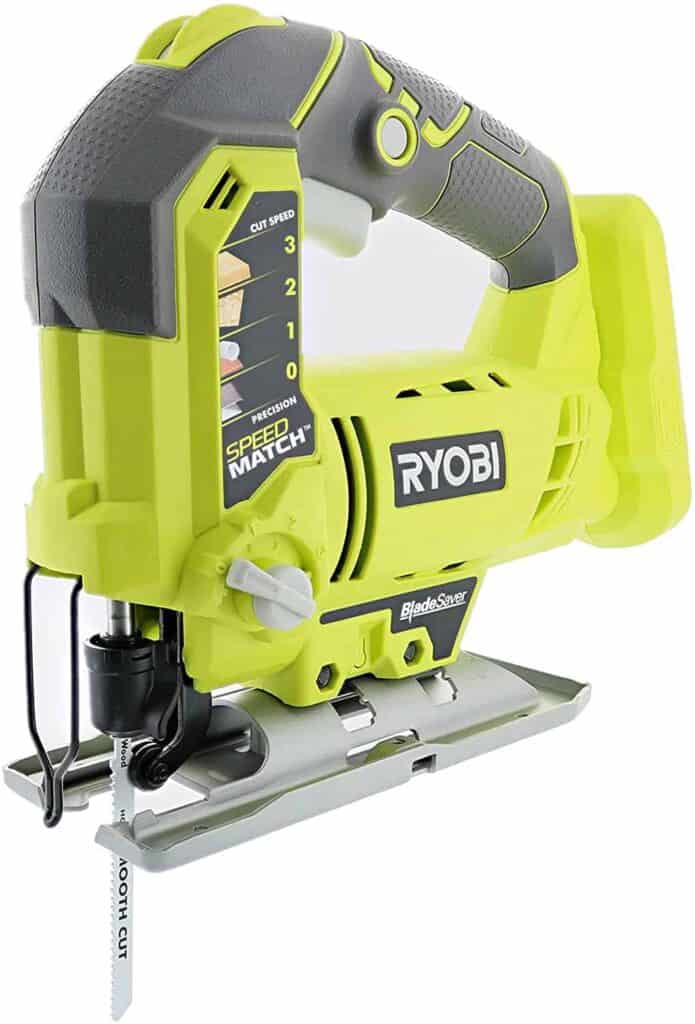
Jig saws give you the ability to cut in something other than a straight line.
Slightly more advanced than circular saw work, it’s great to have the flexibility, but it really is something you need to practice with to get the hang of it.
One tip that is extremely helpful is to buy really good blades, and don’t use dull blades on cuts you need to be clean and accurate.
If you’re doing rough cuts for, say, outlet boxes in drywall no big deal. If you’re doing finishing work on a final piece, you want a sharp blade that is going to cut clean and accurately.
Jigsaw blades are specialized for different materials. There are blades for metal, for cutting fast through wood, for doing detailed, finishing style cuts through wood, and various other specialized blades.
Make sure you do your best to match the blade to the work you’re trying to do. You’ll avoid ruined materials and busted blades if you do.
Jigsaw Projects
- How to Plank a Wall for $30 (DIY Shiplap) – used the Jigsaw to cut out the wood around electrical outlets
- Modern Office – used Jigsaw to cut out outlets in the back of the IKEA Cabinets
Tools to Get After the First 5 Woodworking Tools for Beginners
Now, once you’ve become more of a pro with DIY projects and woodworking, I’d venture out and get a few more beginner woodworking tools that we use frequently.
- Table Saw – we used the Table Saw to rip the underlayment plywood for our DIY Shiplap wall. A table saw is a little more advanced but once you get the hang of it it’s a little easier to cut long, straight lines with a table saw. You also need more space to work with a table saw because you’re moving the material through the saw instead of moving the saw through the material.
- Nail Gun – we use our nail gun pretty frequently. Like when we nailed the planks for our DIY shiplap wall or hung baseboards and crown molding in our old house. It basically takes the place of a hammer and makes projects go MUCH faster.
I hope this list of the best woodworking tools for beginners helps you out! Getting started in the world of DIY can be daunting but these 5 tools are a great base to get you started.
I promise once you get into more DIYs you’ll pick up more and more tools along the way until one day your garage is full and you’ll wonder where they all came from!

