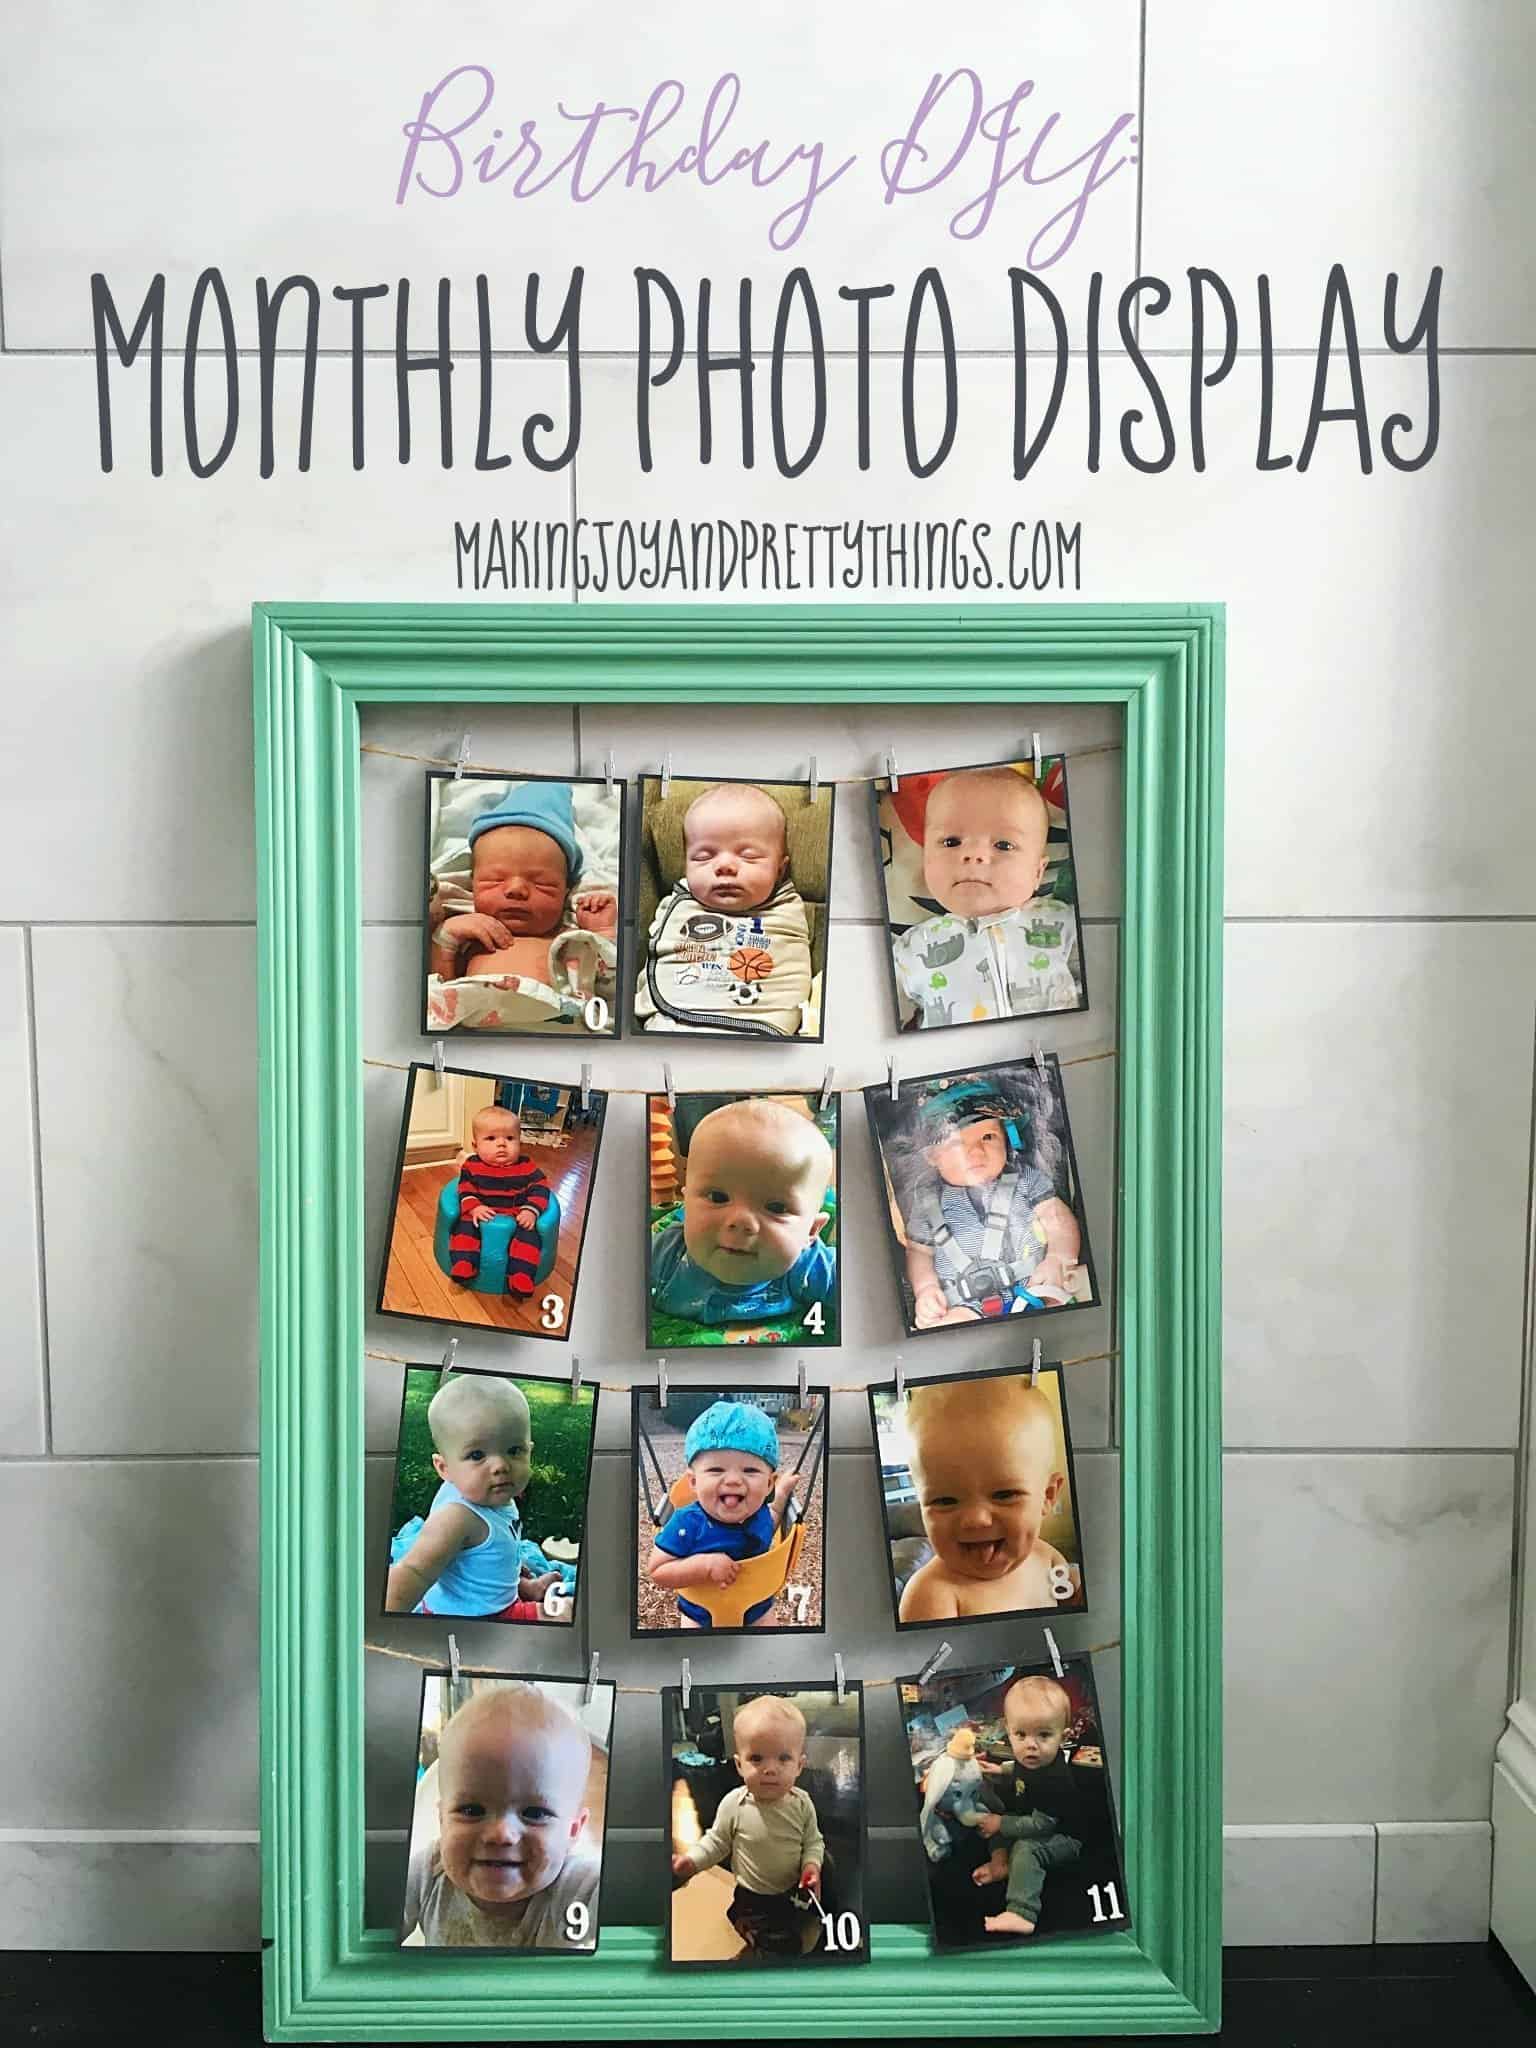
Birthday DIY: Monthly Photo Frame Display
A monthly photo frame to display the first year of your kiddo’s life is a fun way to remember that first year.
Hi everyone! Sorry I’ve been MIA lately. We finally have some awesome spring weather here in PA and I’ve been soaking up every minute with my little men.
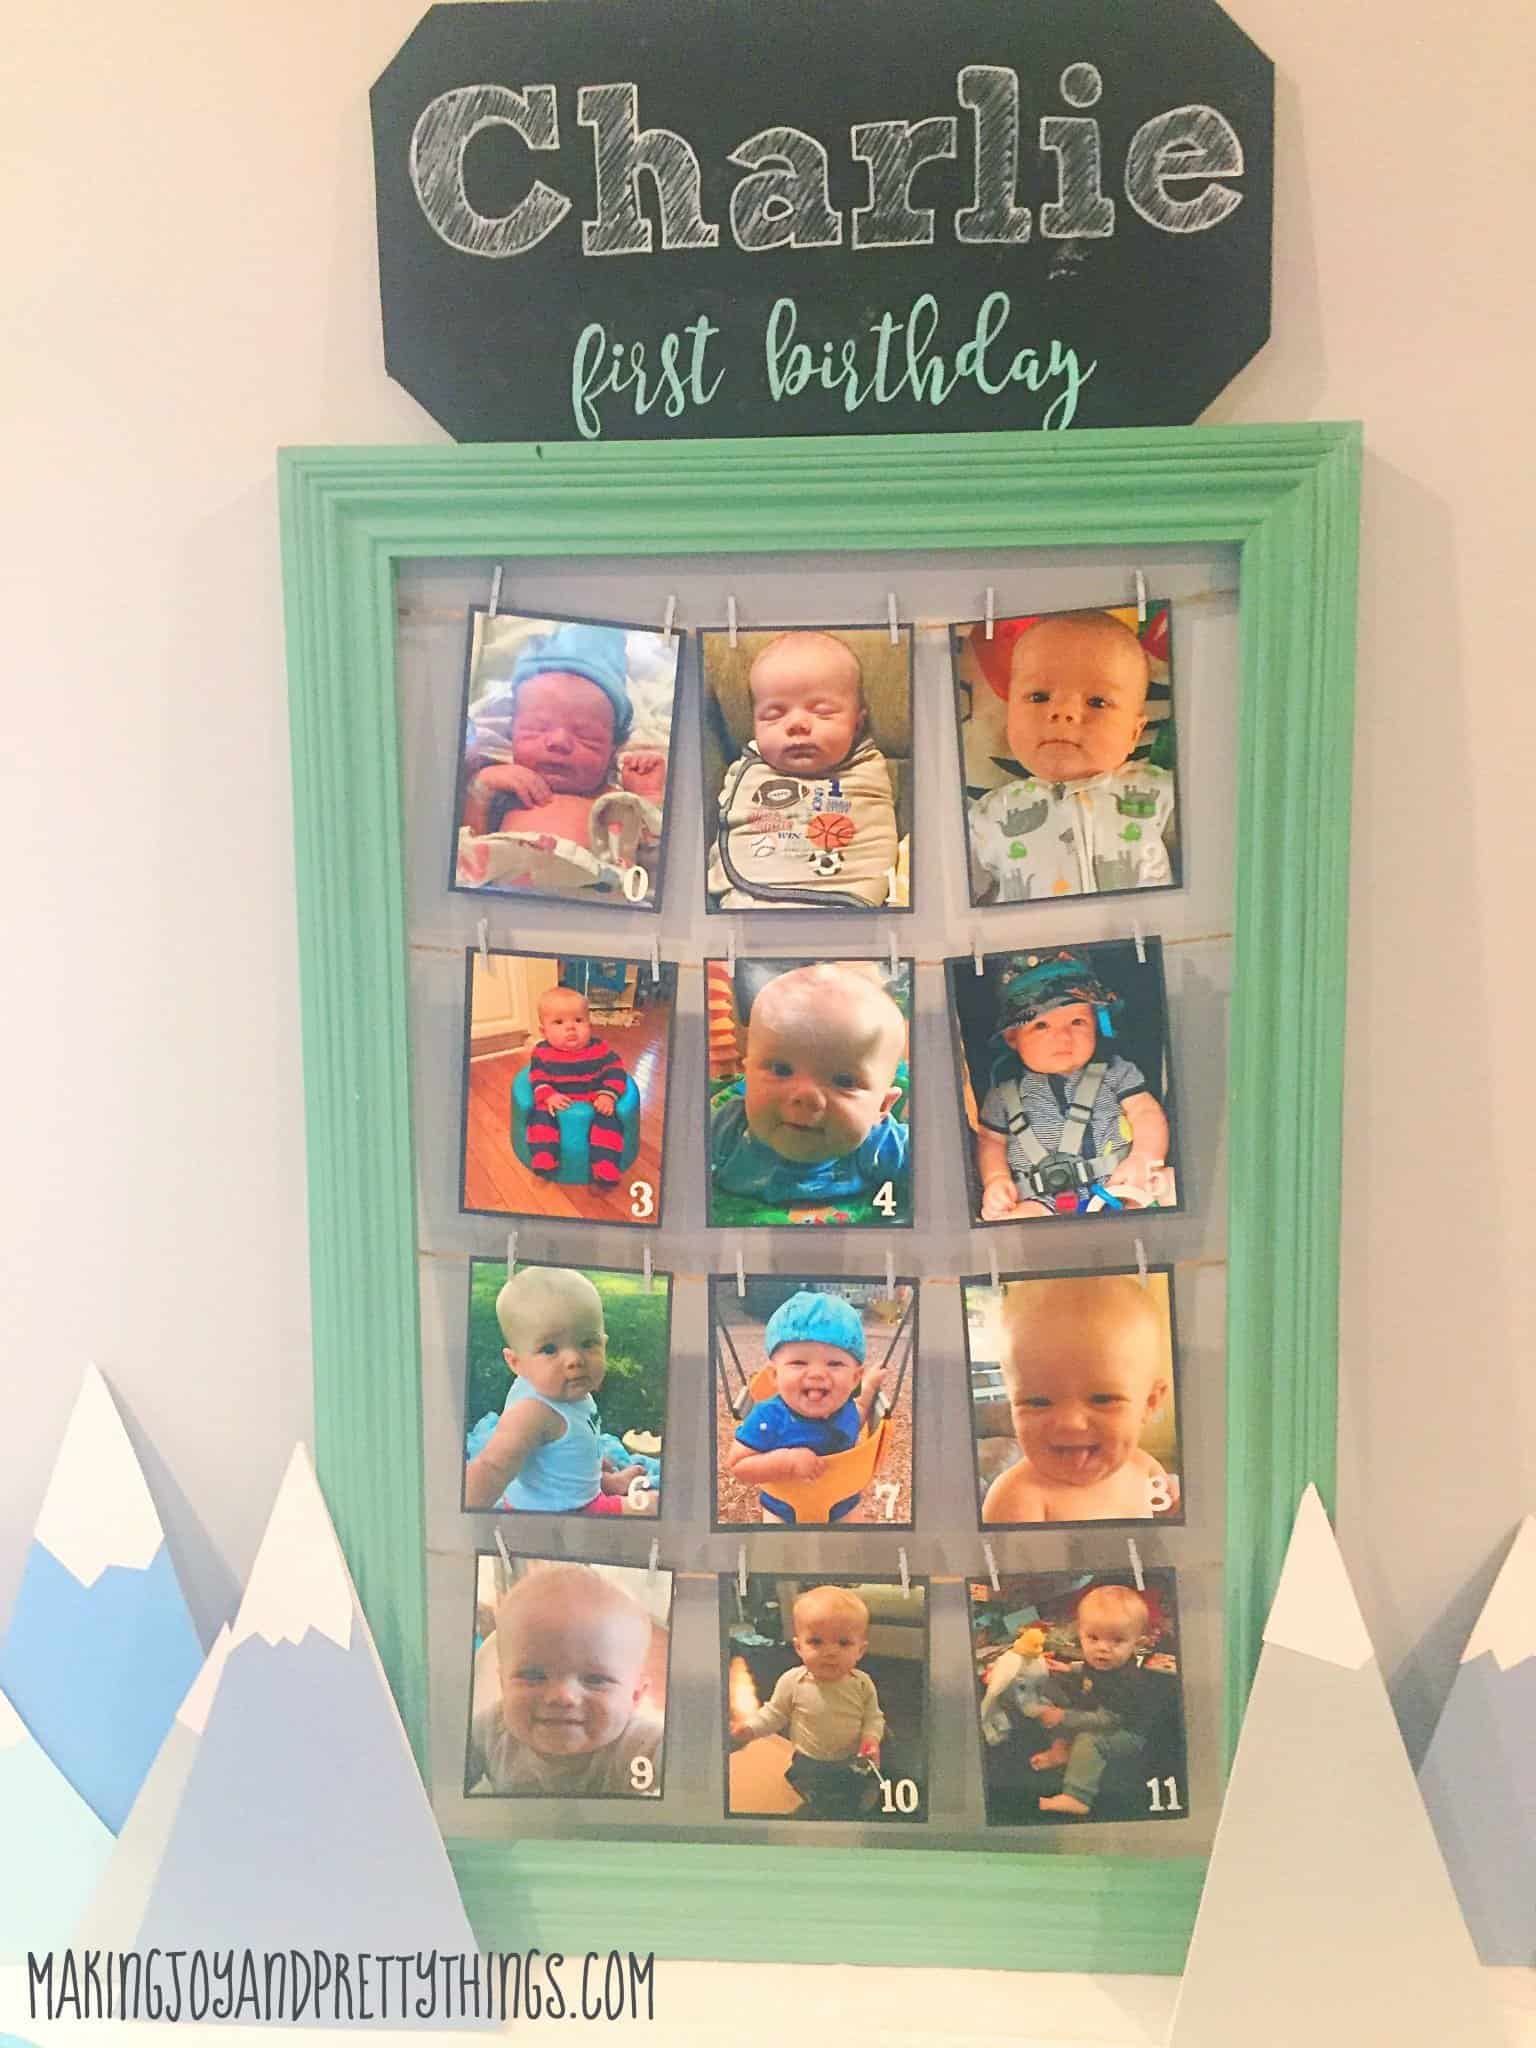
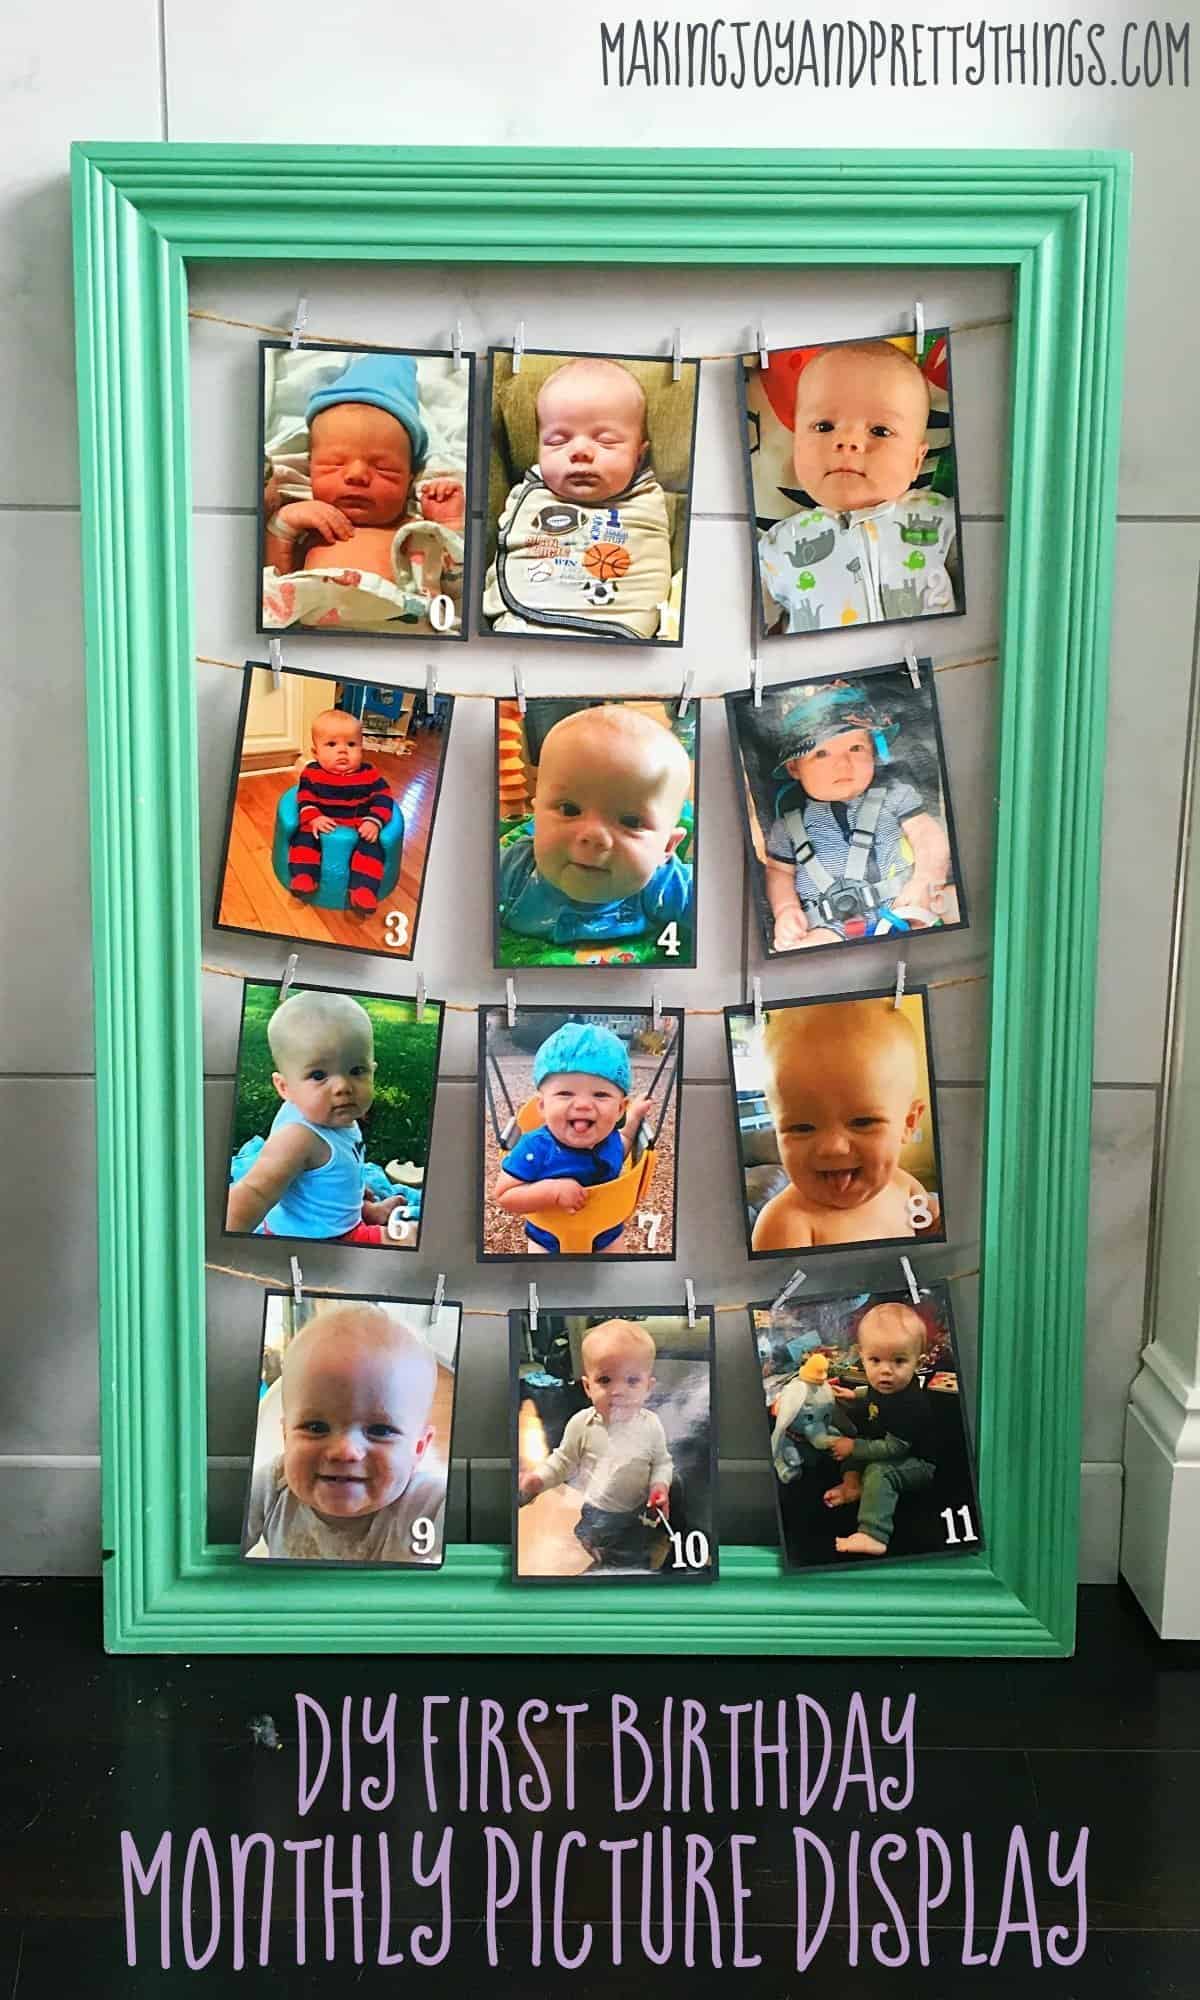
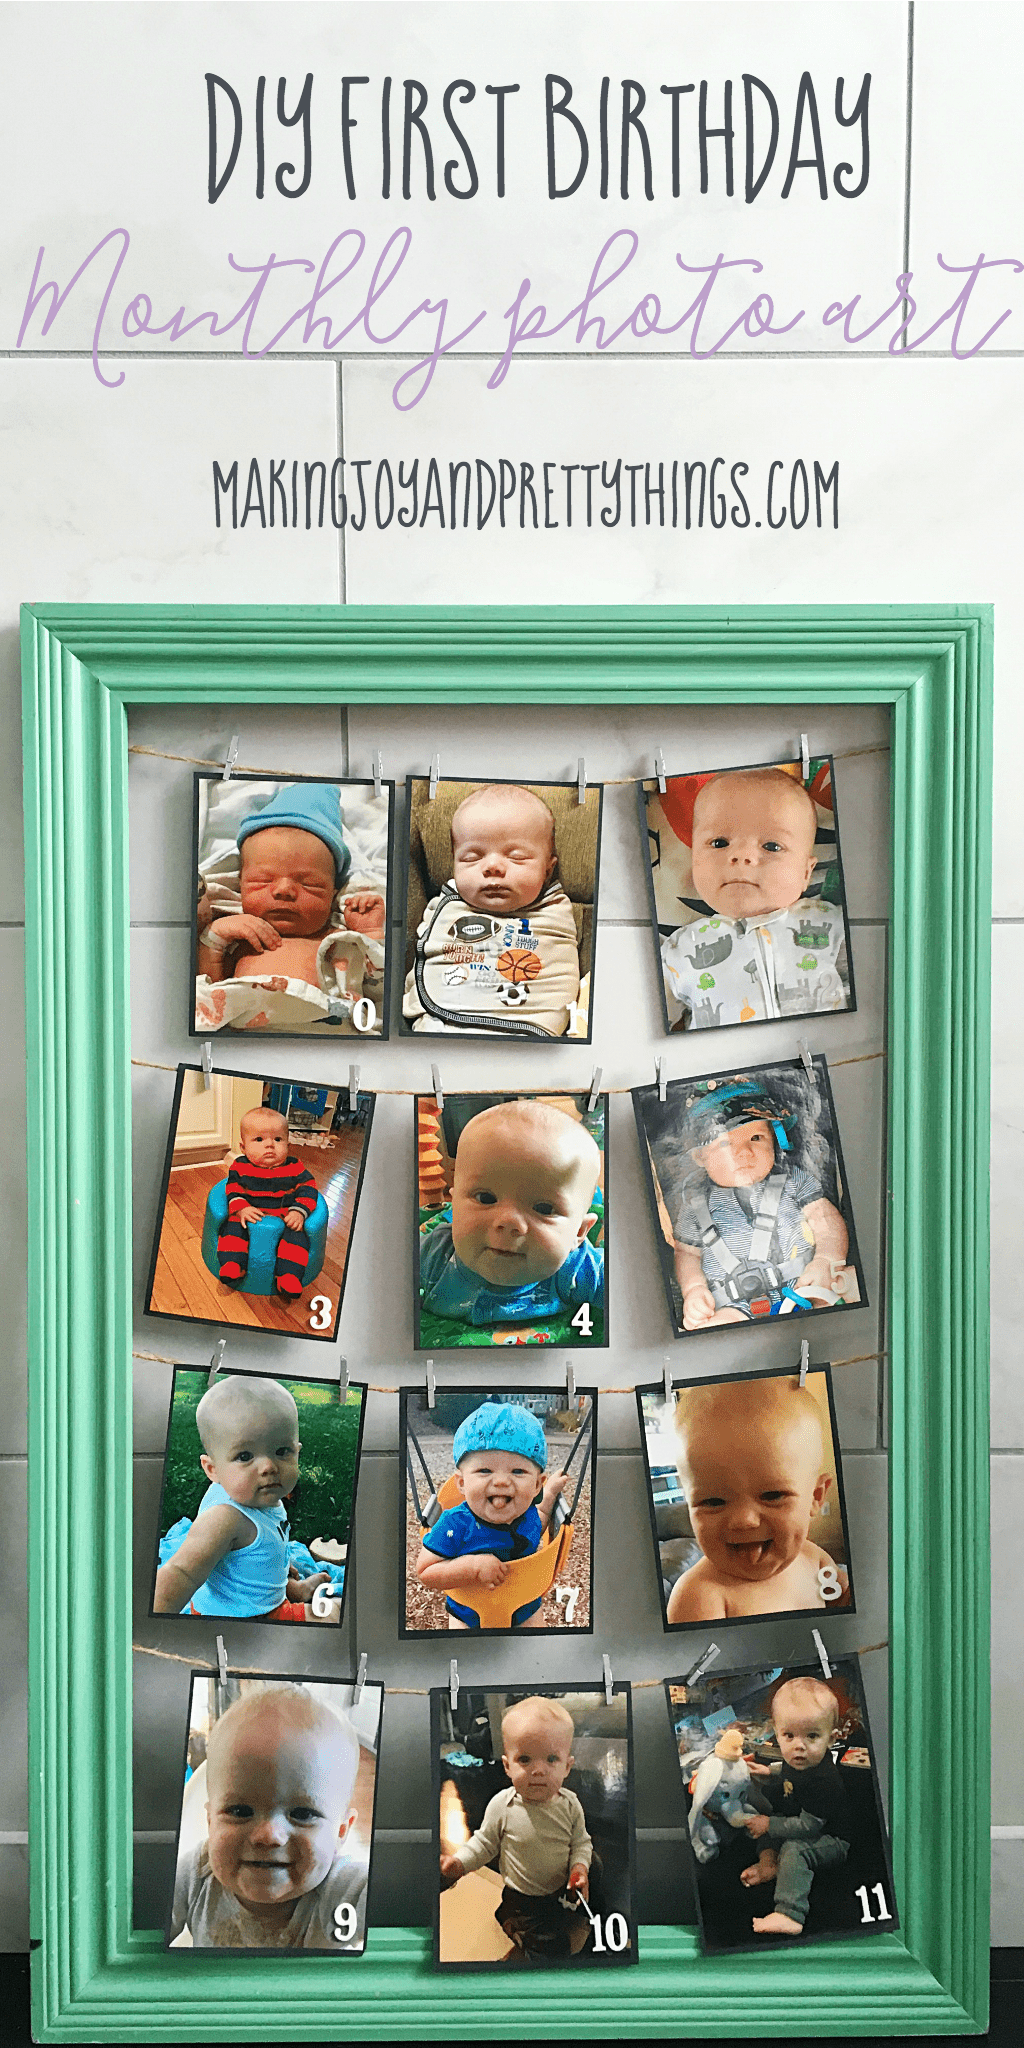
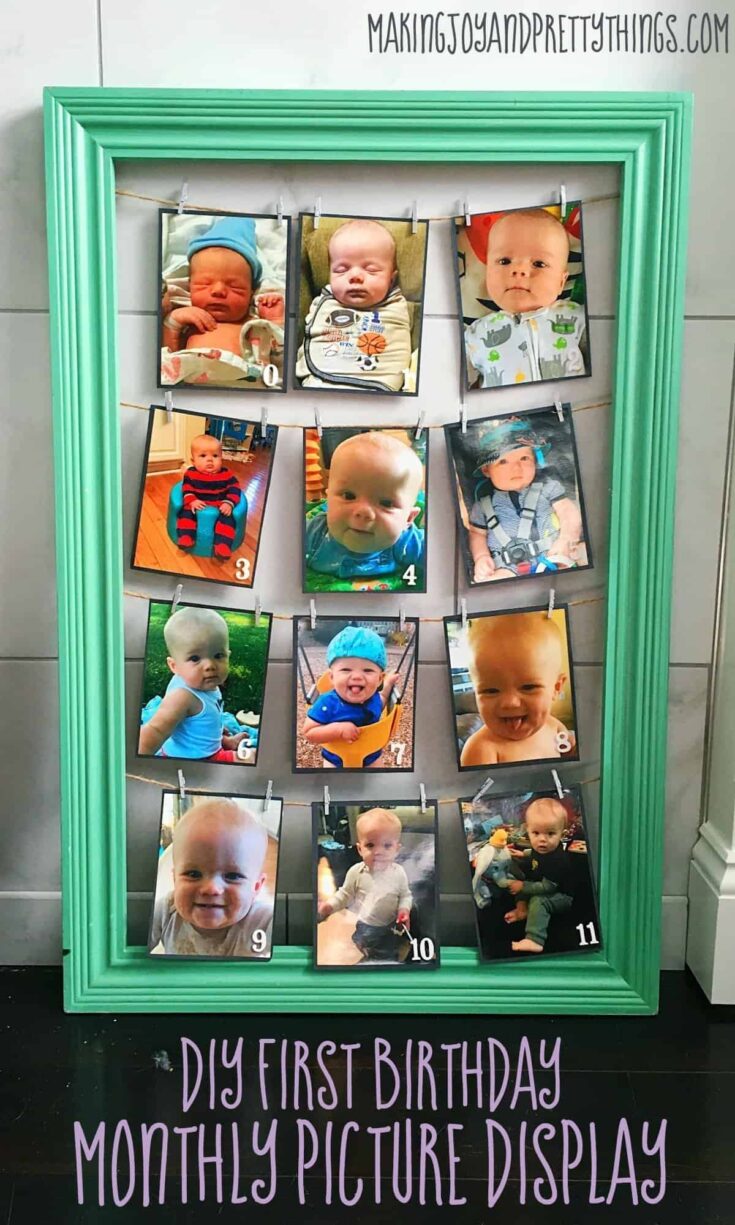
My littlest, Charlie, turned one this past January and I found the best way to remember his first year with this monthly photo frame!
We celebrated his birthday with both of our families and a few friends. I didn’t want something too “themed?” if that makes sense. So we went with a woodland/mountain/winter theme.
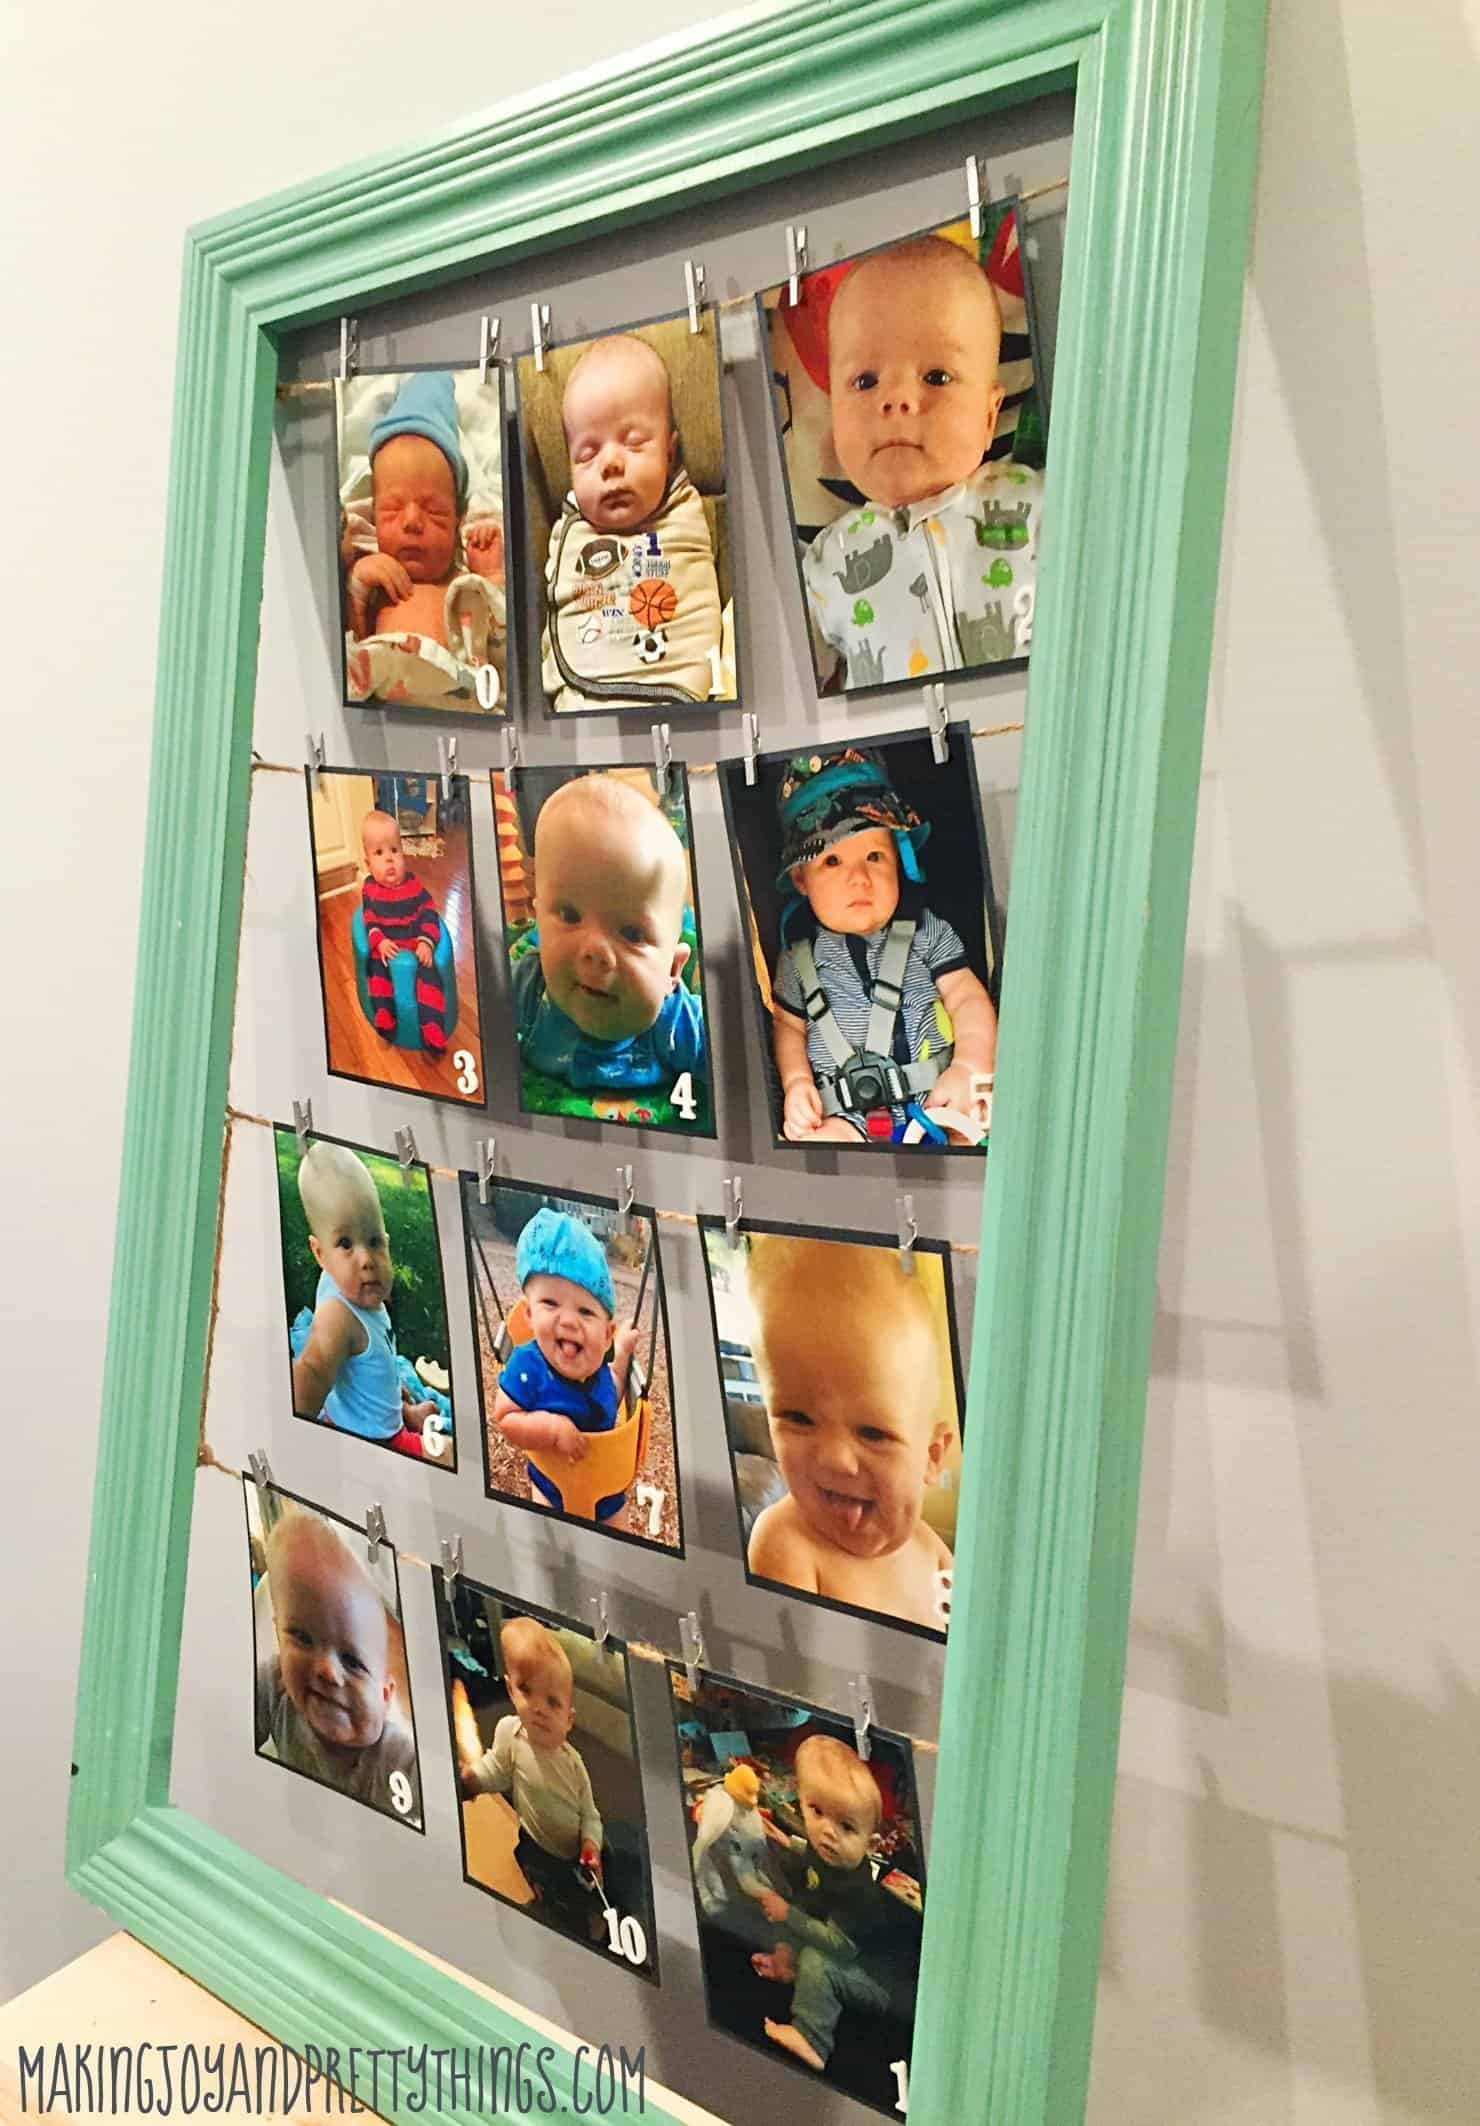
If you look at Pinterest and search “winter wonderland” there are so many cute ideas and that was the basis for my party!! Anyway, this was my FAVORITE part of his party: the Monthly Photo Frame Display.
A Monthly Photo Frame Display Captures that First Year Perfectly
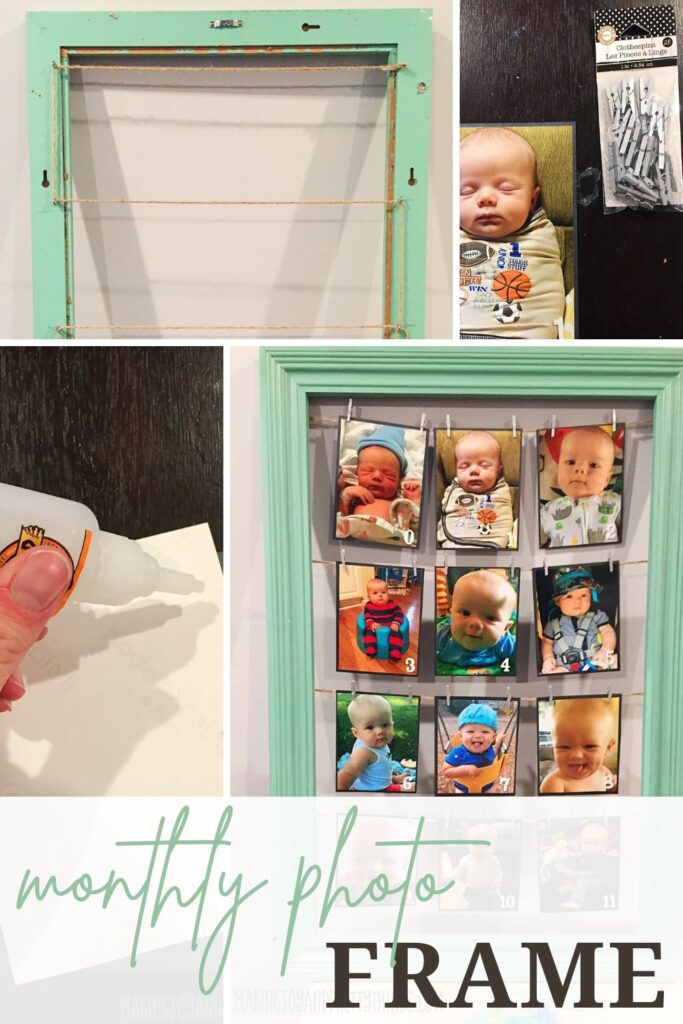
Let’s face it, that first year drags on, I mean flies by. But seriously, it does!! You look at the tiny baby every day and it seems as though nothing changes. Same crying, same diapers, same sleepless nights.
Then one day you’re celebrating his birthday and you see a little boy in front of you. How did that tiny baby become a toddler?? I love love love the idea of taking monthly pictures and having them on display for their first birthday.
For Liam, my oldest, I took pictures on the 18th of every month (he was born on August 18th). For Charlie, it was plus or minus a week from the actual date every month haha.
I actually did this same DIY for Liam’s first birthday! I loved using the same template/idea from Liam and making it unique to Charlie. And guys, this is so easy. I would give it a 2-3 nap times to complete.
This post contains affiliate links. Please, click here to read my disclosure policy.
Supply List for Monthly Photo Frame:
- Picture frame (mine is 16in x 26in)
- Twine
- Eyehooks
- Sturdy cardstock
- 4×6 pictures of your cutie from birth to 11 months (12 pictures total)
- Foam sticker numbers
- Mini clothespins
- Scissors
- Glue
Step 1. Find a Frame for Monthly Photo Display
I’m going to give instructions based on my picture frame size. Keep in mind this can be customized to any frame size. Don’t feel limited to my design!
This is such a great way to use an old picture frame!
I found this super cute frame at Hobby Lobby years ago. It actually used to be a chalkboard! I popped the chalkboard part out and just used the frame.
I didn’t have to paint or distress the frame at all, which saved so much time! But, if you have an old frame at home don’t be afraid to paint and distress it to give it a unique look.
Step 2. Attach Eye Hooks to the Frame
The frame measured 16in x 26in. My hubby put the first row of eye hooks in 3/4in from the top of the opening. The subsequent hooks were separated by 6.5in. Except for the last row, which was separated by 6in, since apparently, my husband can’t do math haha.
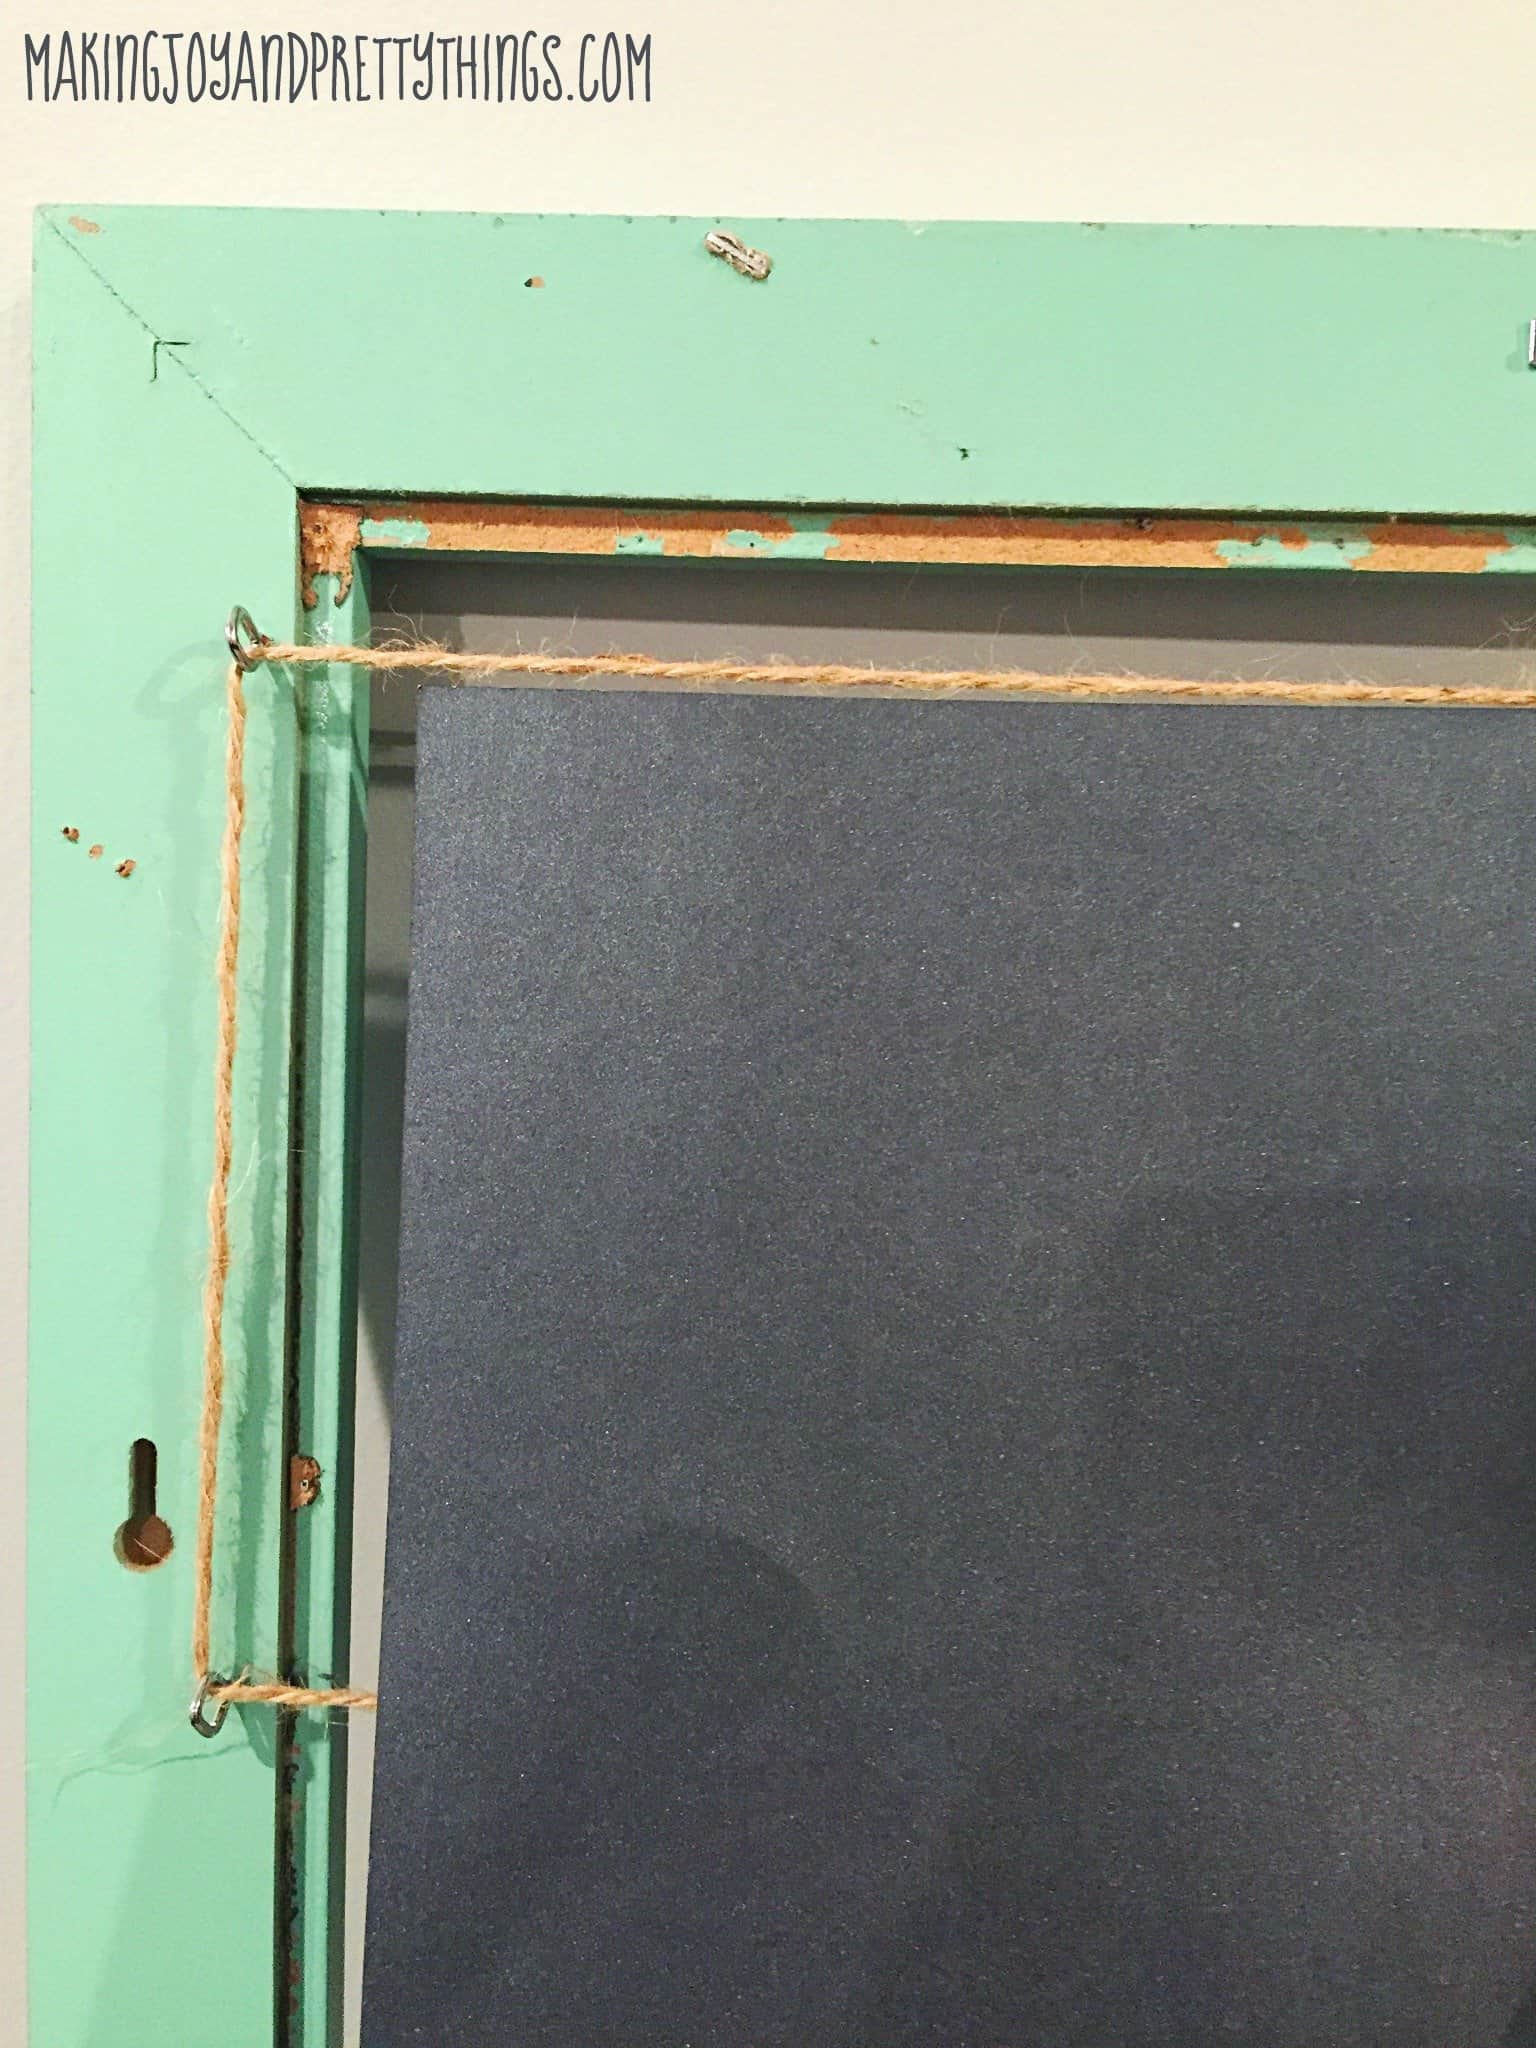
Step 3. String Twine through Eye Hooks
I tied the twine off at the first hook and thread it across for the first row, through the hook on the other side, then down to the next row. Alternatively, you could have a piece of twine for each row, but that would require lots of cutting and tying knots.
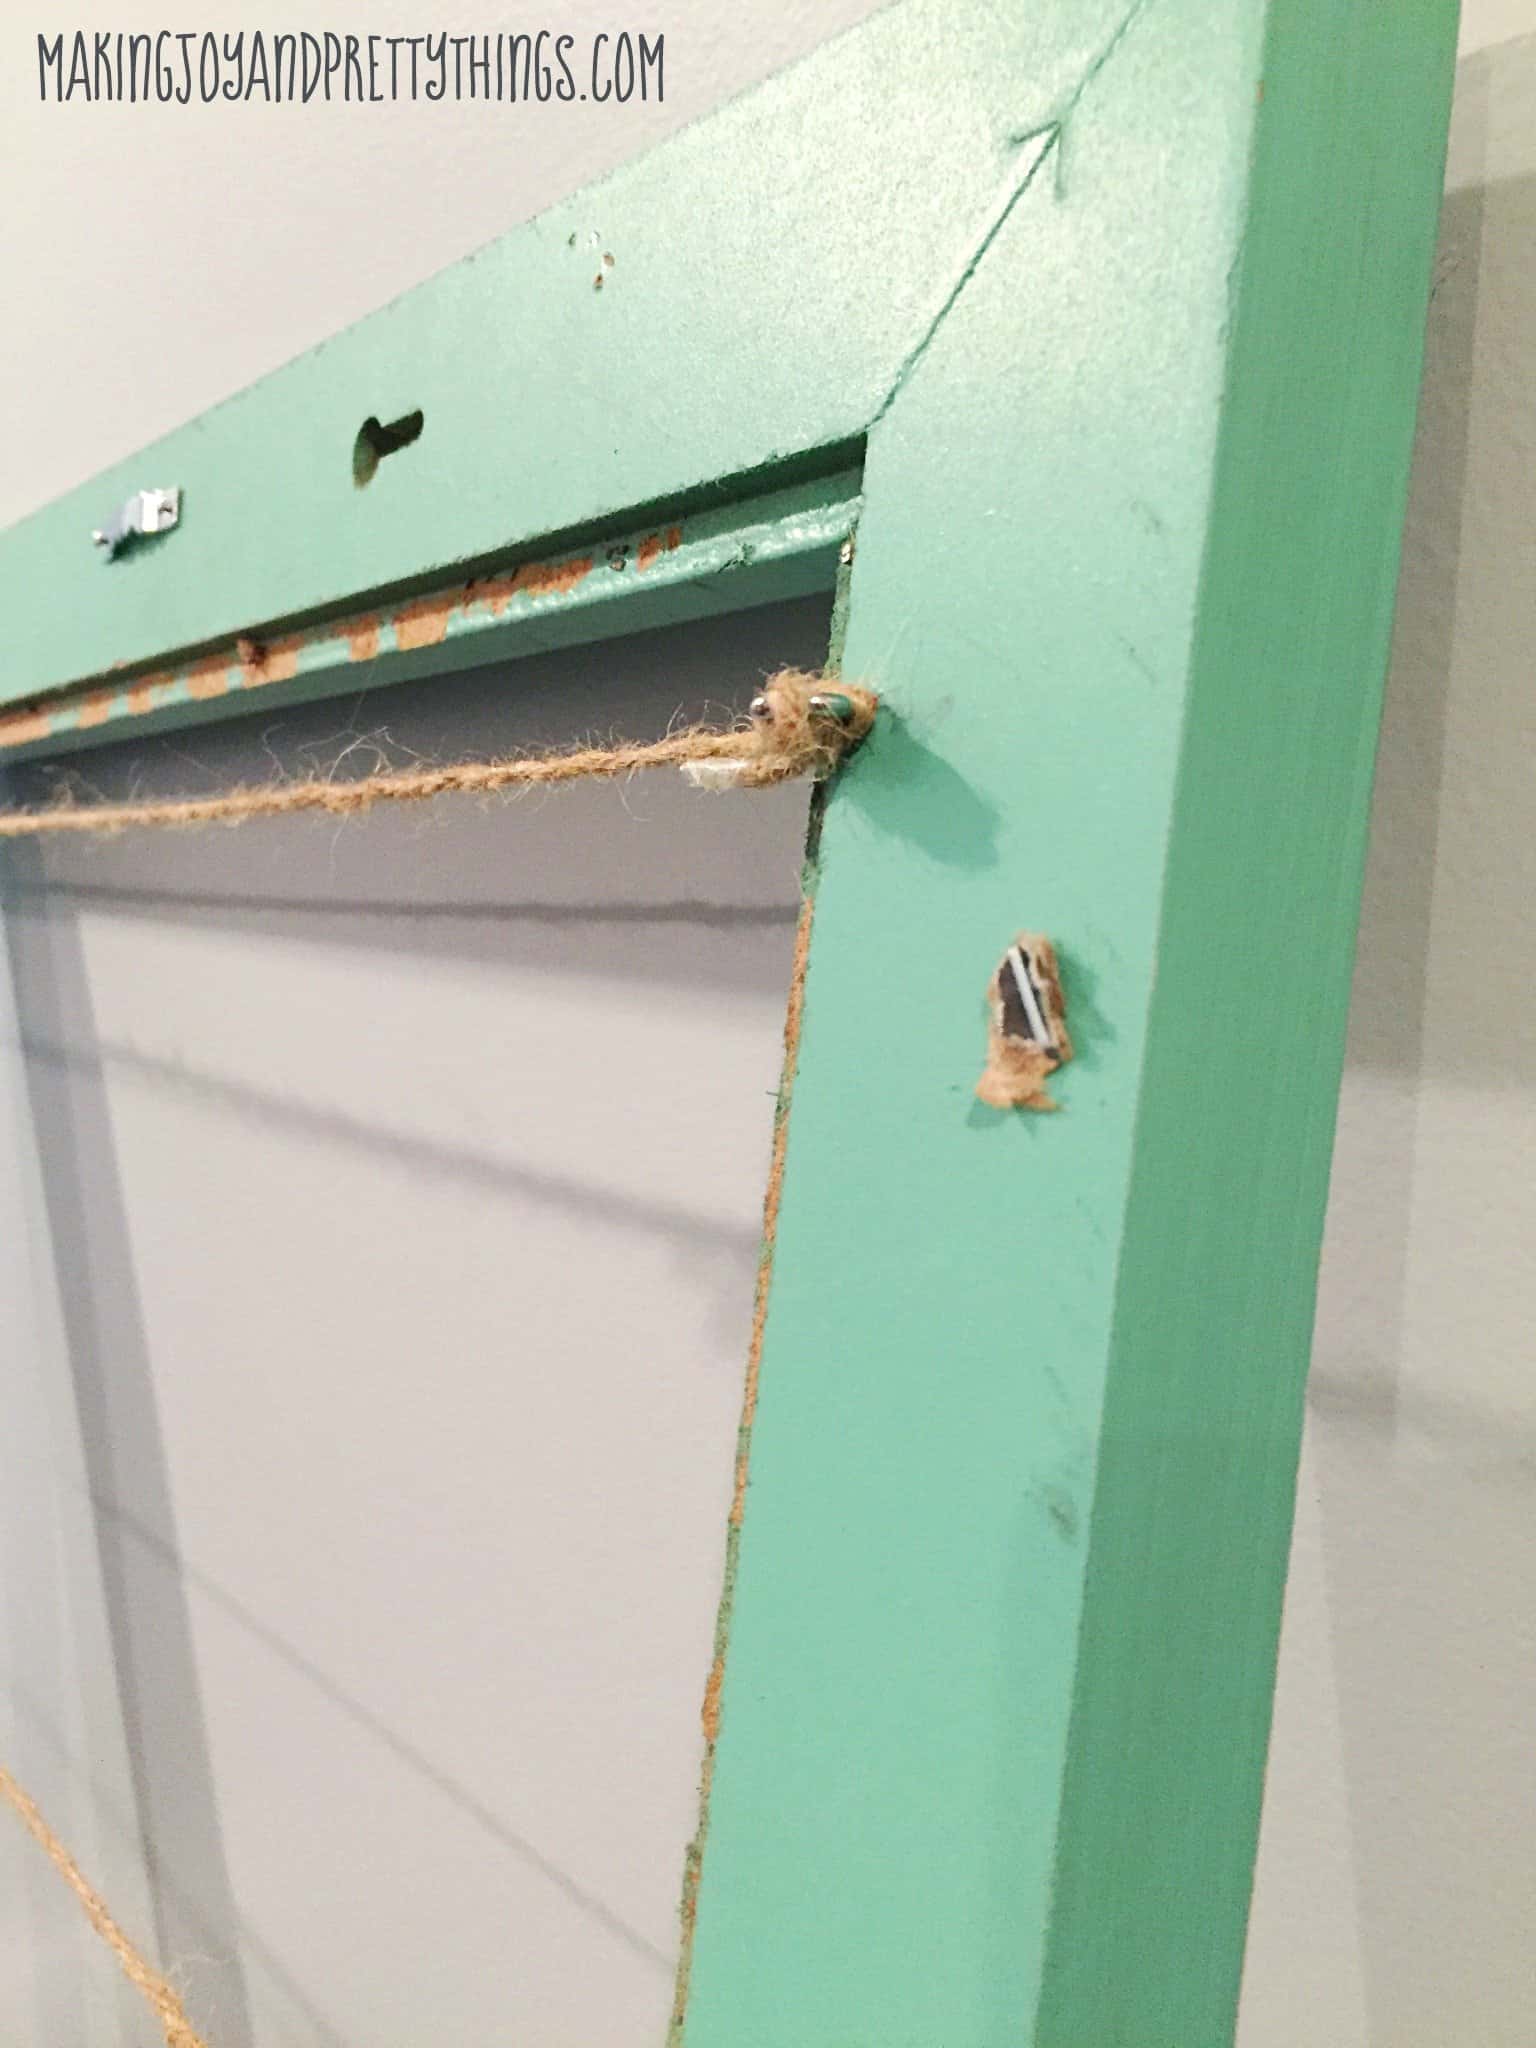
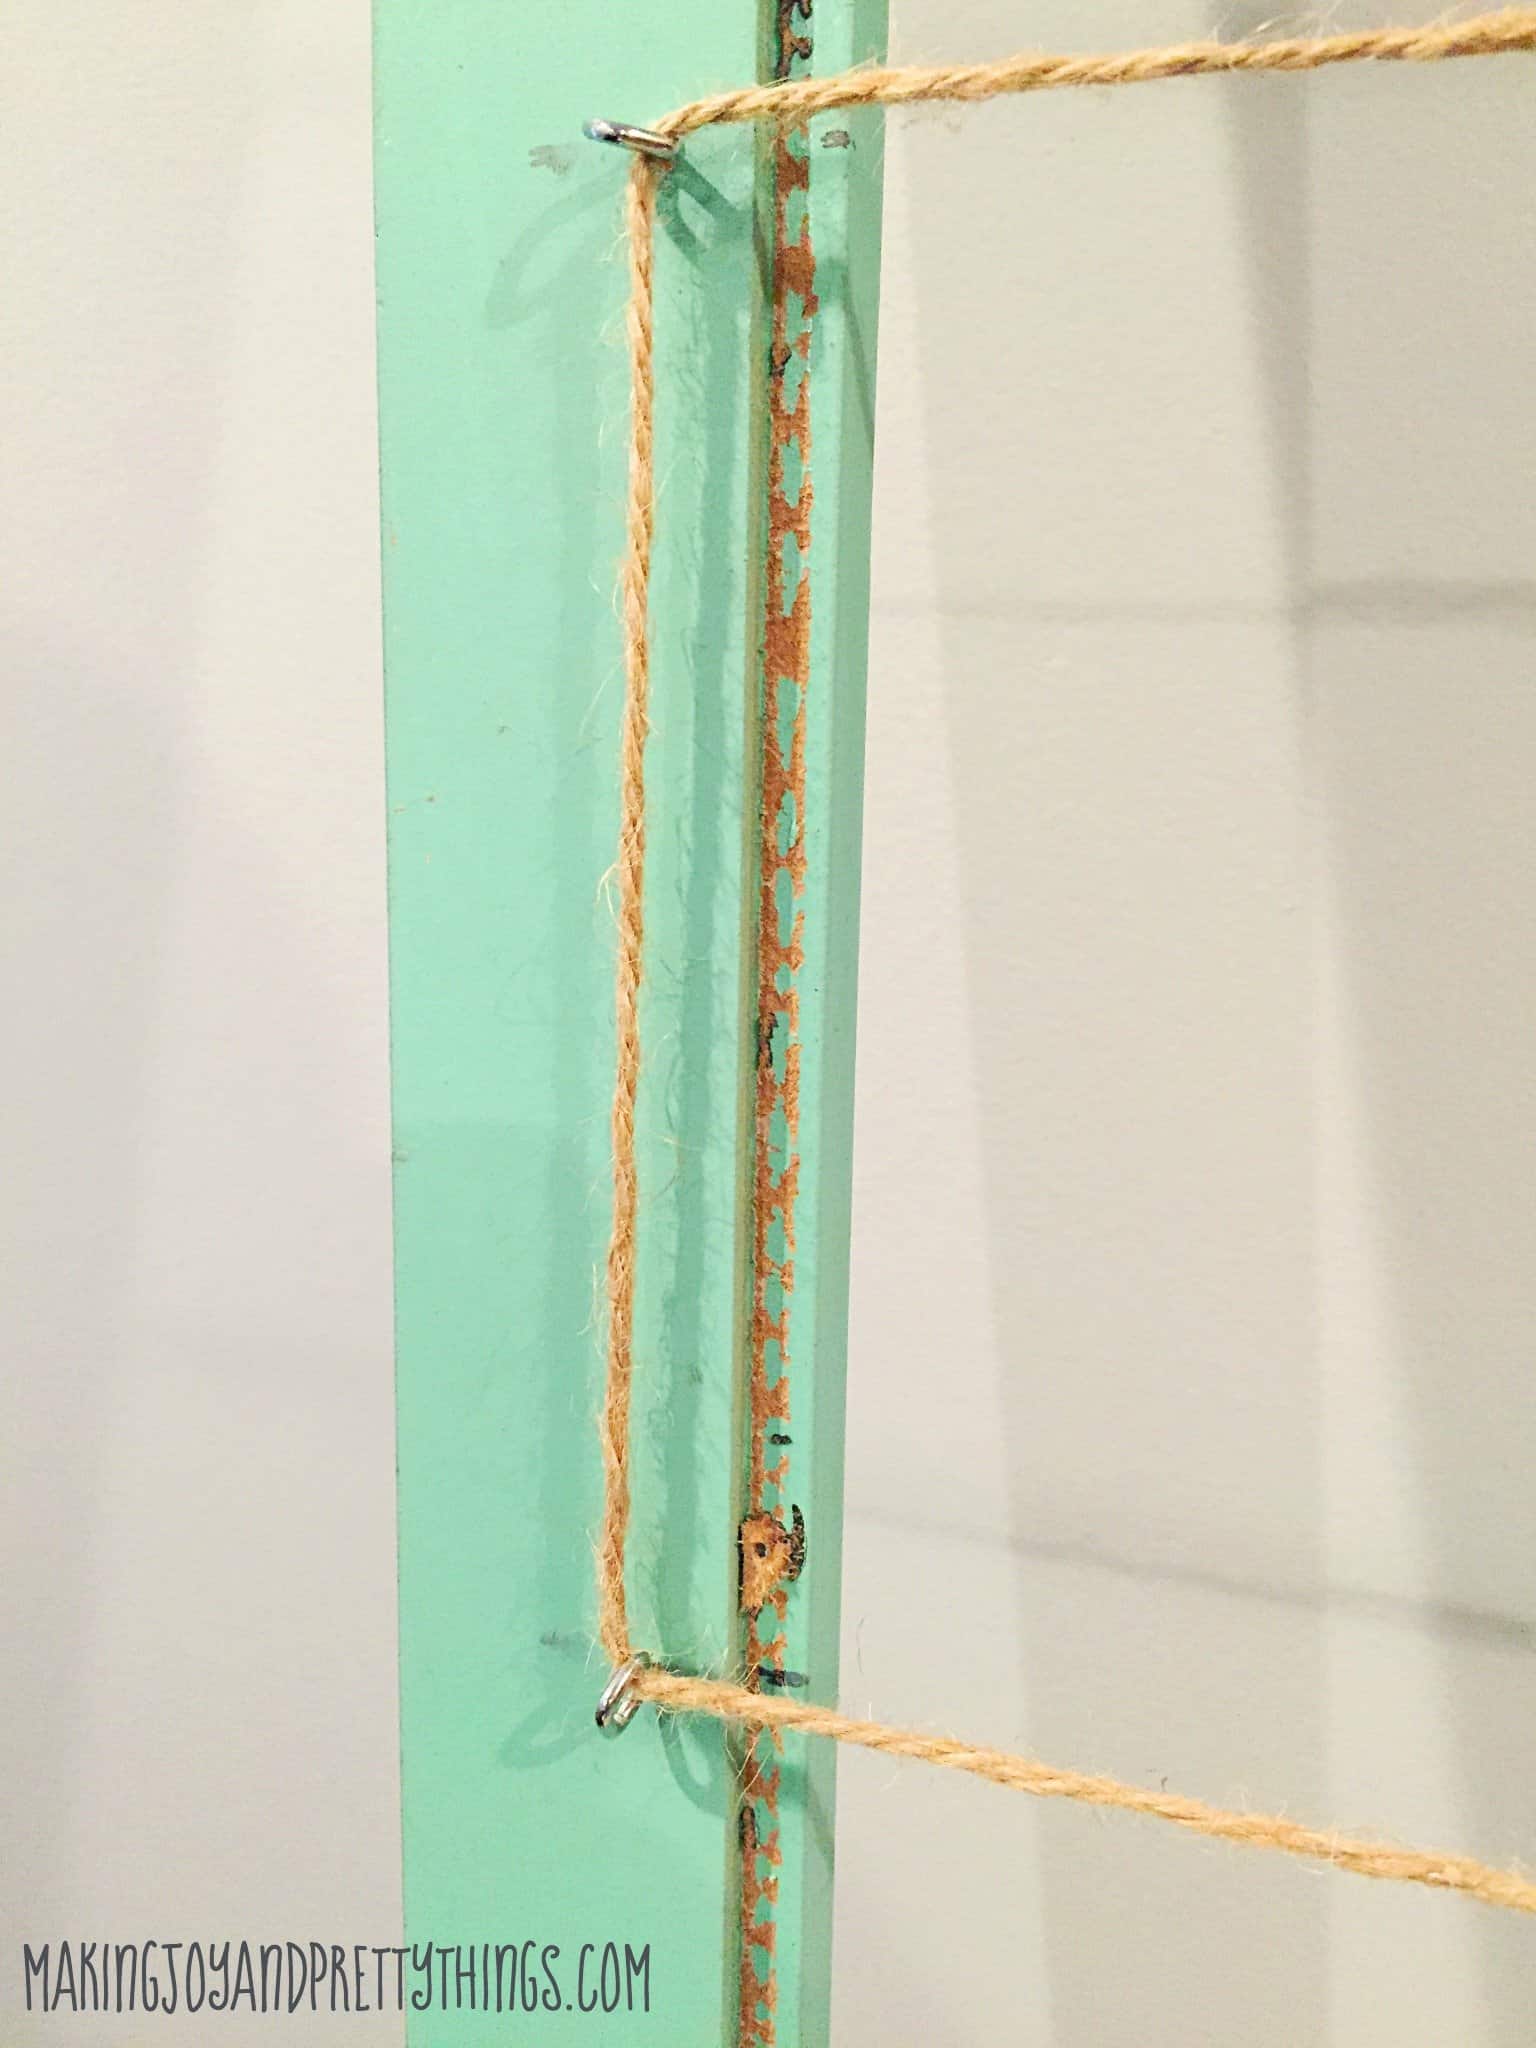
In this picture, you can see if we used one piece of twine and strung it the whole way down, tying knots at the tops and bottom. Make sure to pull the twine tightly to minimize sagging.
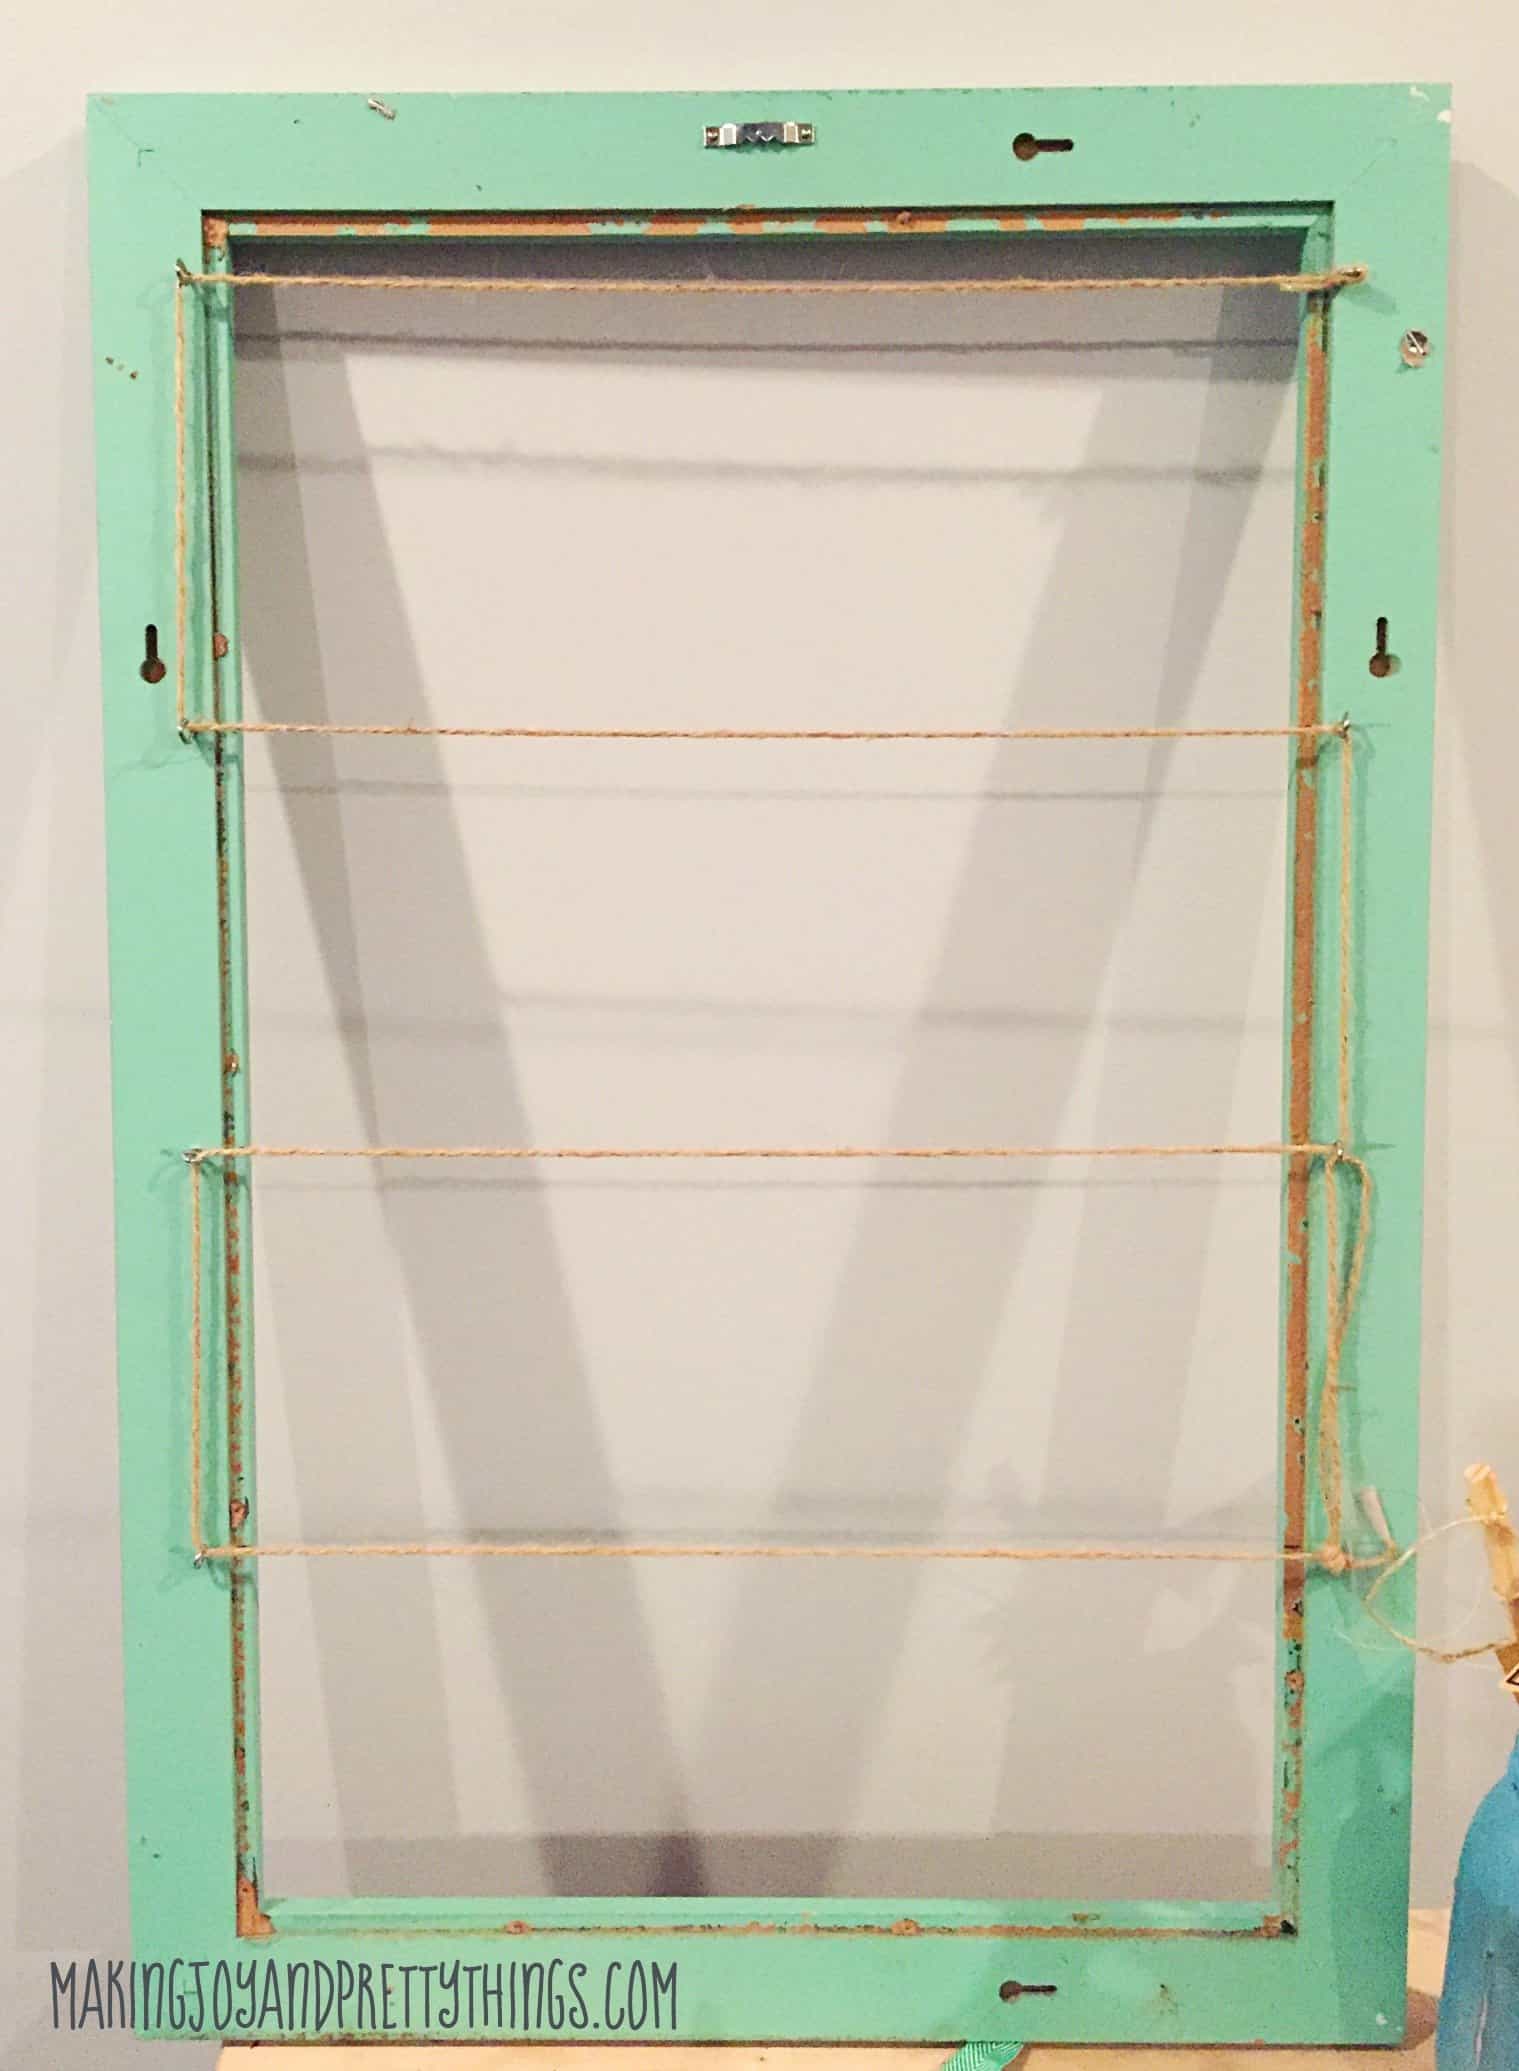
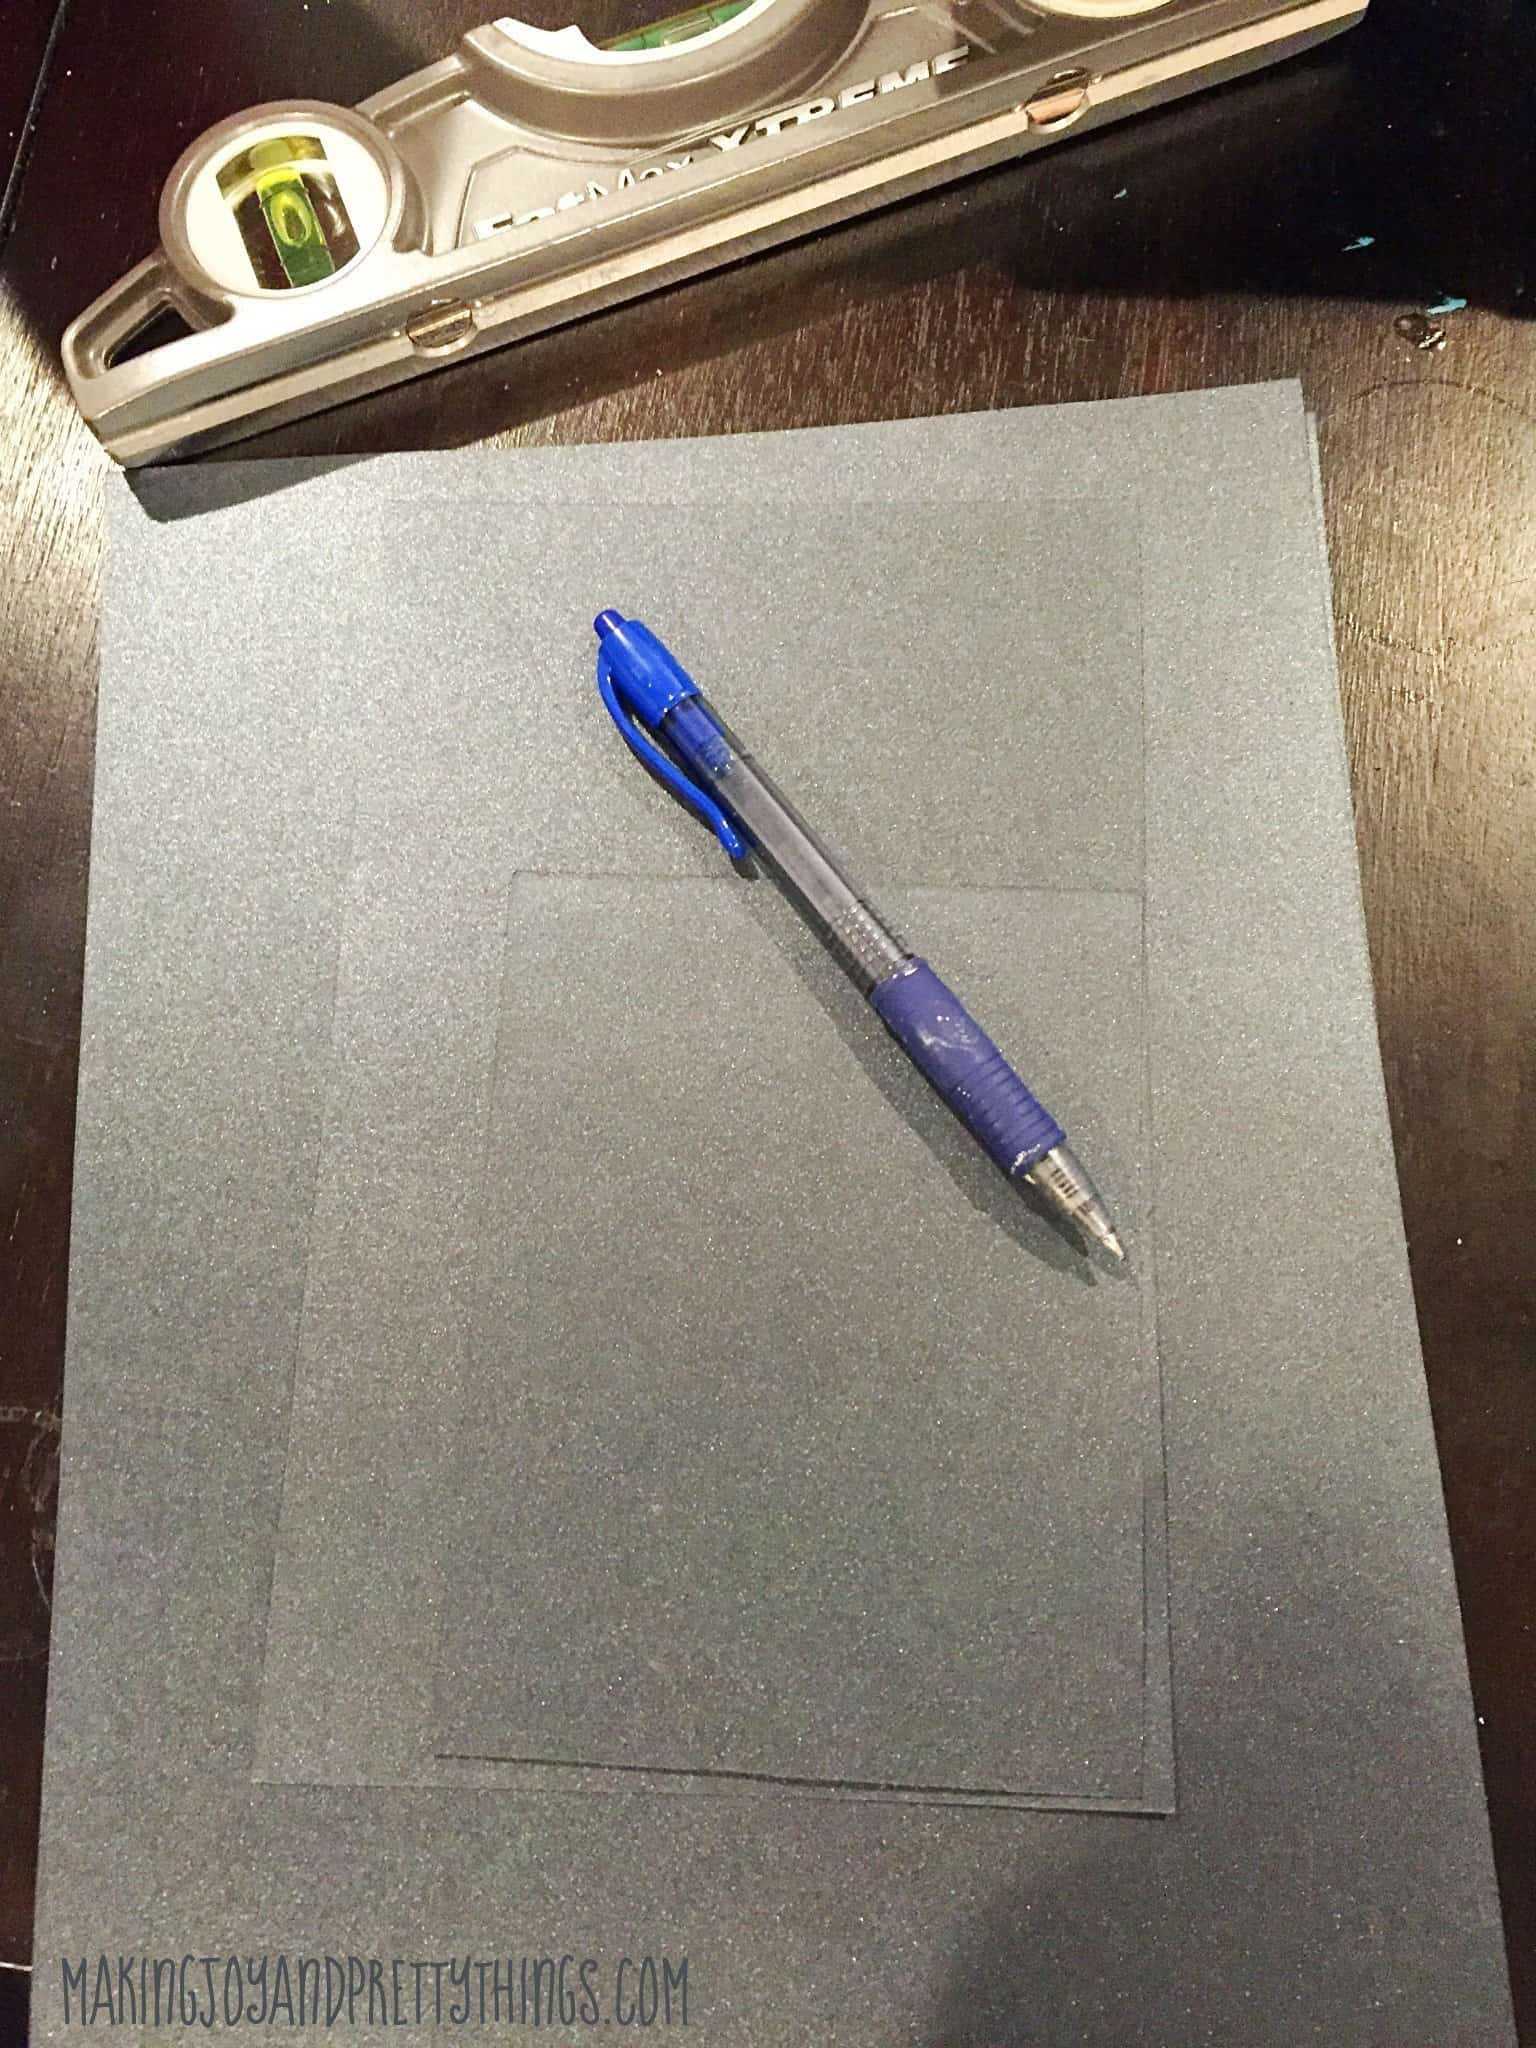
Step 4. Cut Cardstock for the Back of Each Photo
The openings for each picture were a little less than the 4×6 size I had printed. I wanted to mount each picture on sturdy cardstock so that there would be a uniform backing on each photo and just to make it look nicer.
I’m not going to win any physics award with how I measured this. It’s actually kind of embarrassing. As you can see in the picture below, I held up the piece of cardstock and marked where I wanted it to hang, and then cut it. I have no idea how big the piece actually measured, oops!!
I then traced the initial piece of cardstock I had fit into the frame and cut the remaining 11 pieces from this template.
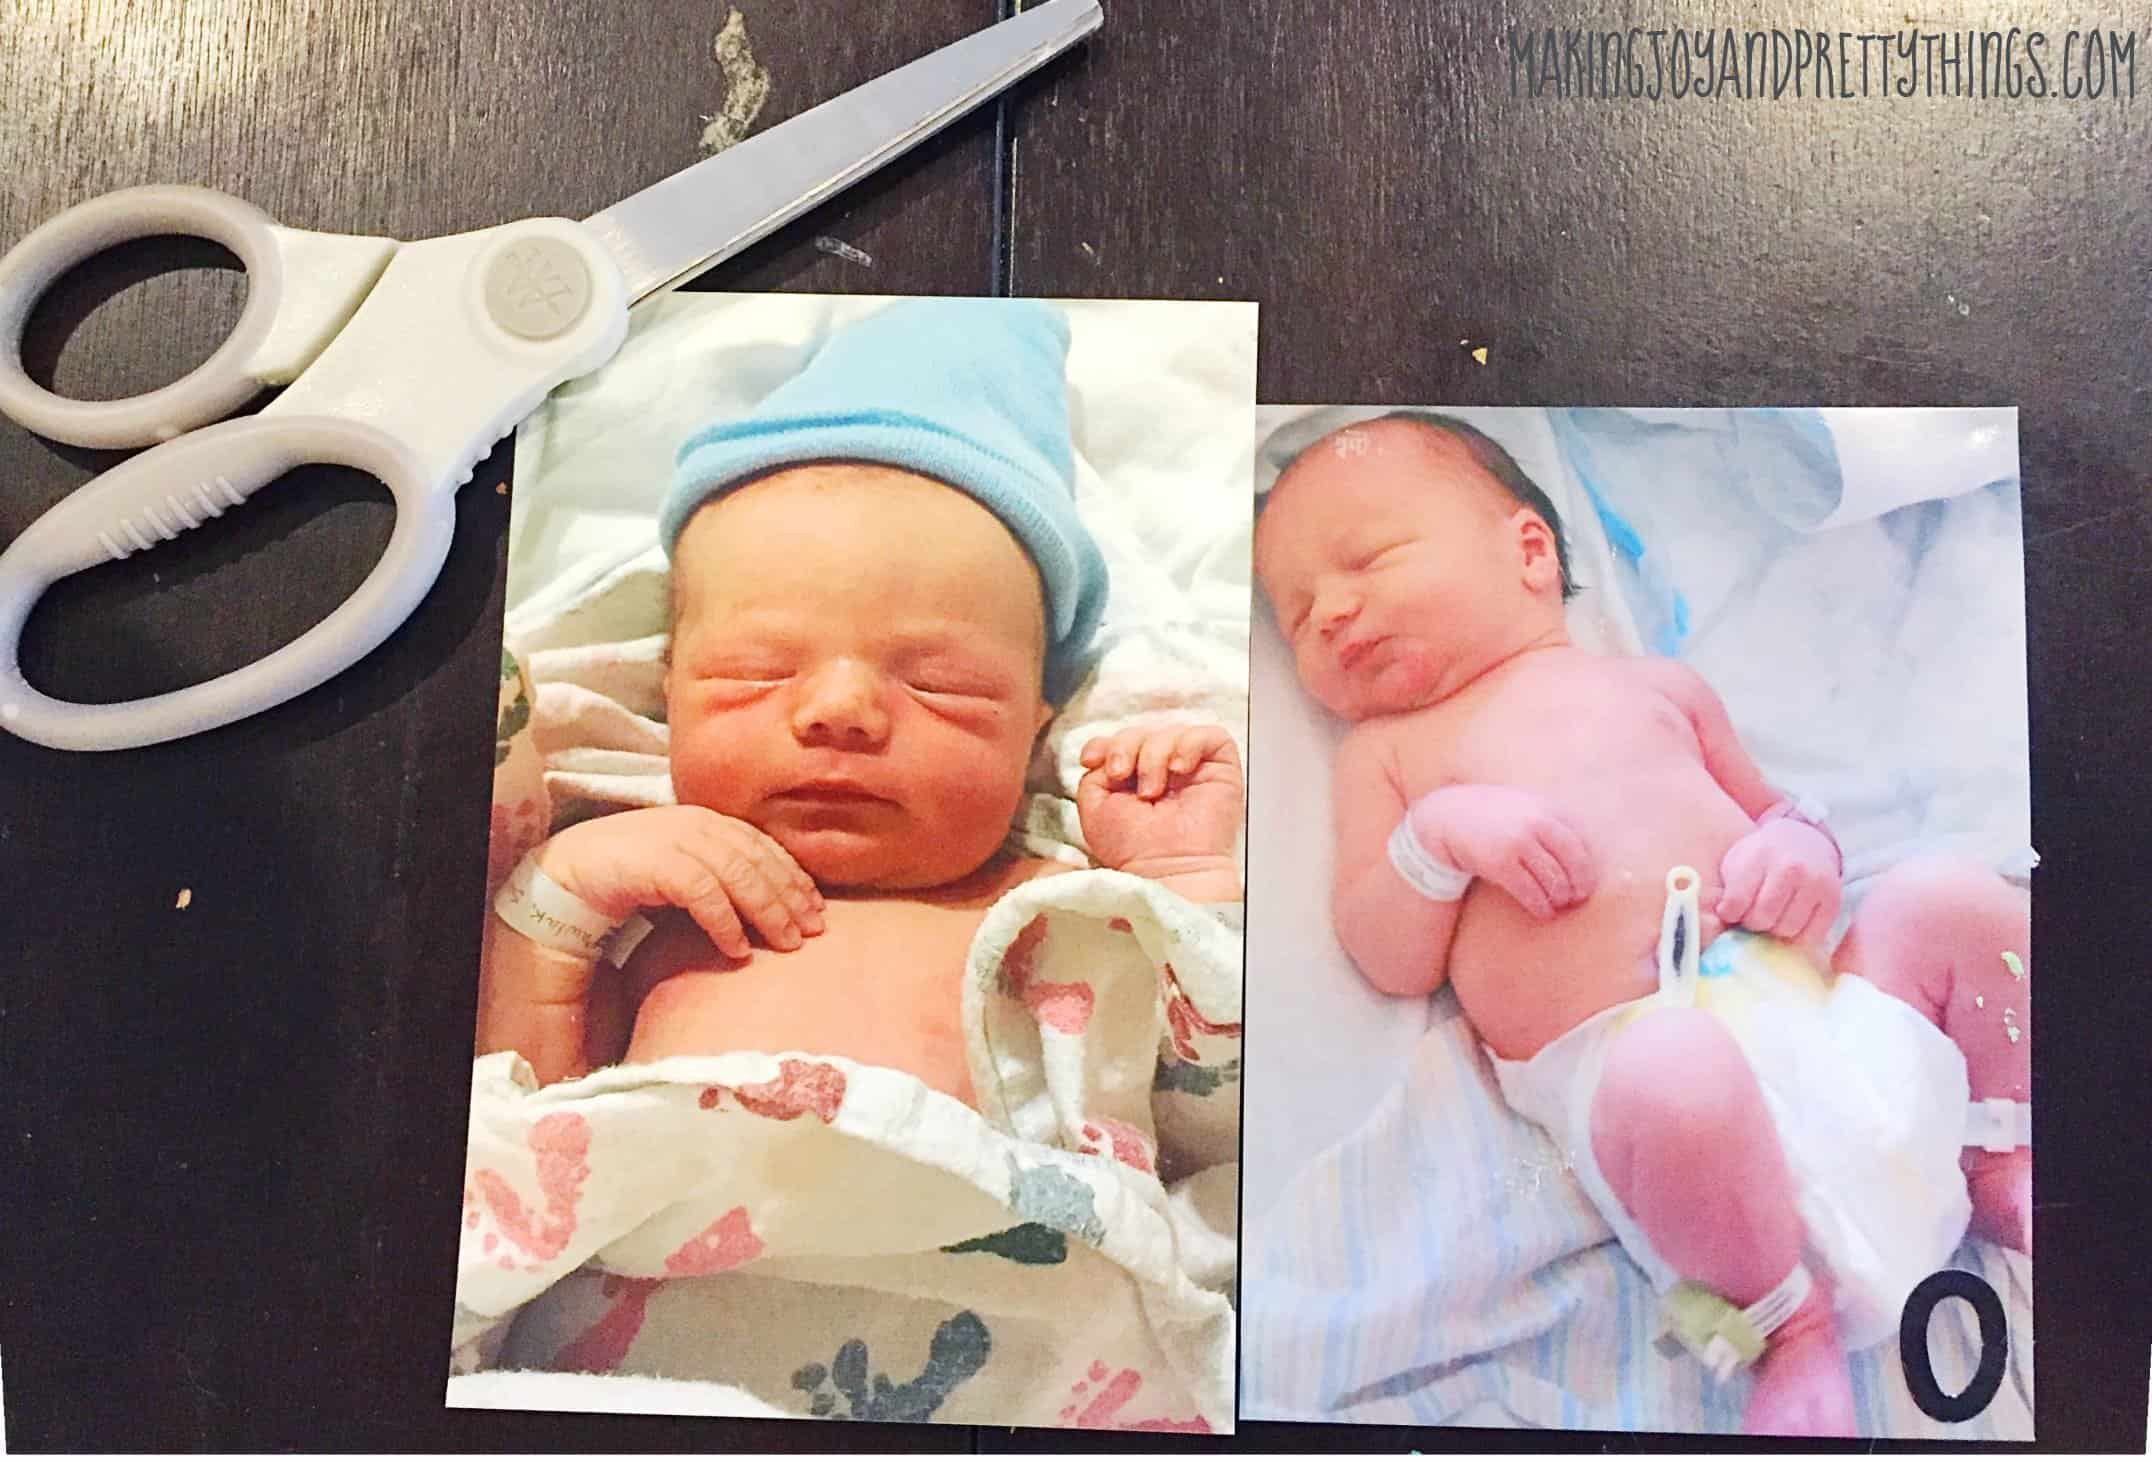
I had to cut the pictures to match the cardstock, leaving a little room so that the cardstock was visible around the outside. Again, I didn’t measure, which is horrible I know. I eyeballed it and cut probably 1/4in off each side of the photo. The photo on the right is cut to fit the cardstock and the photo on the left is an original 4×6 print.
Step 5. Add Foam Numbers to Photos
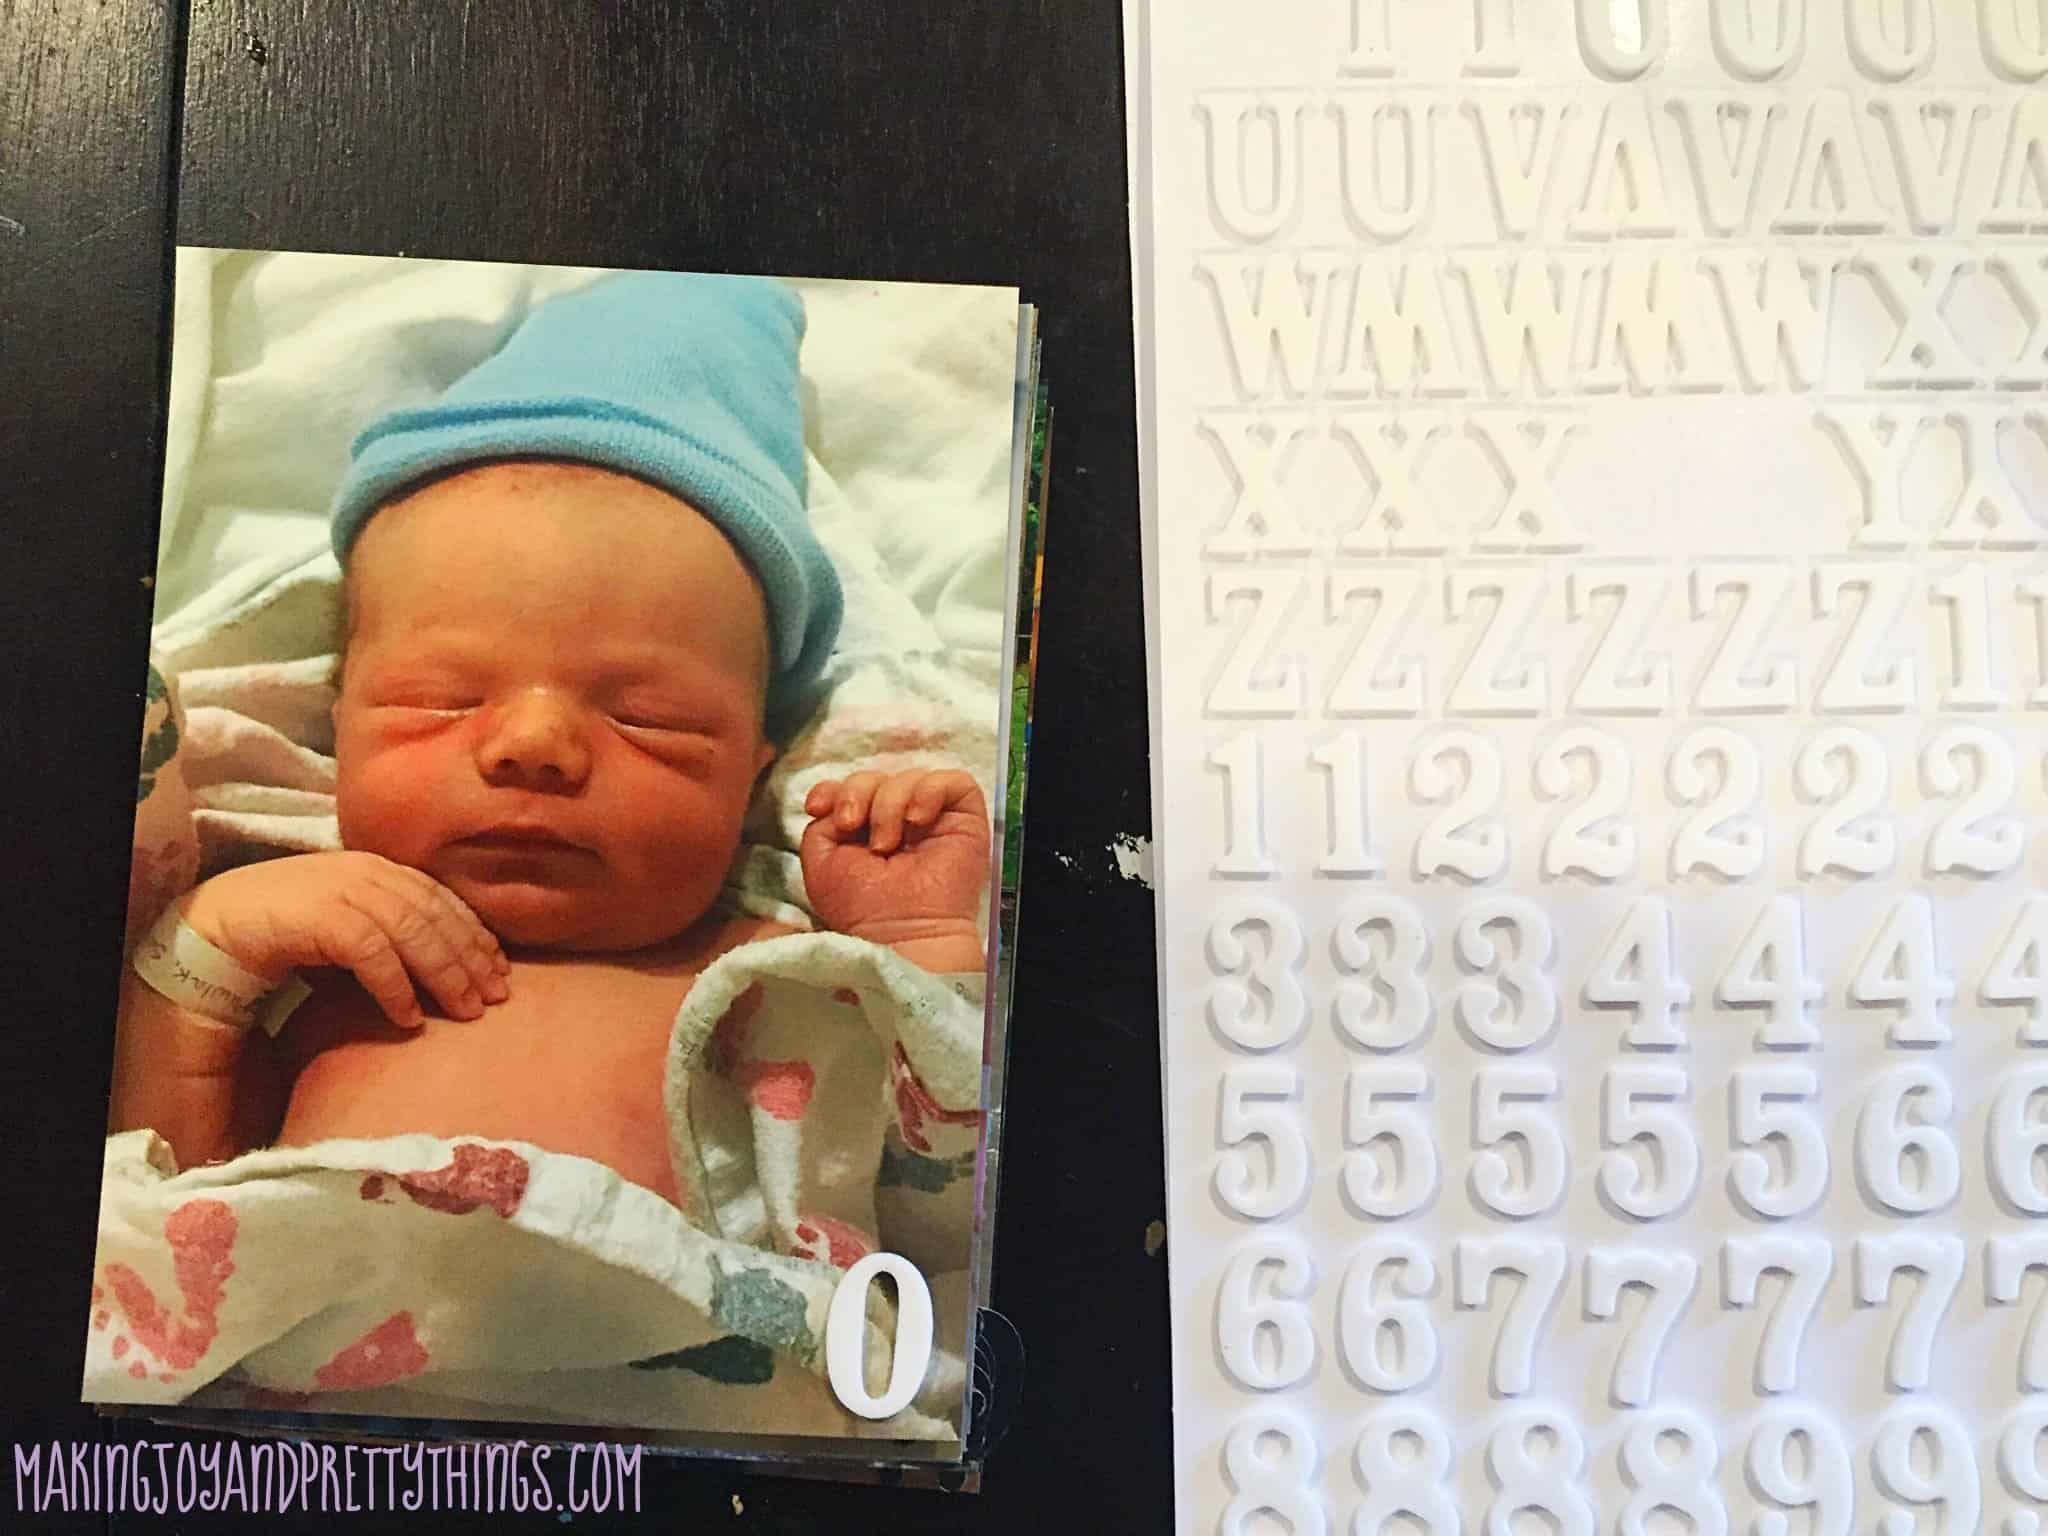
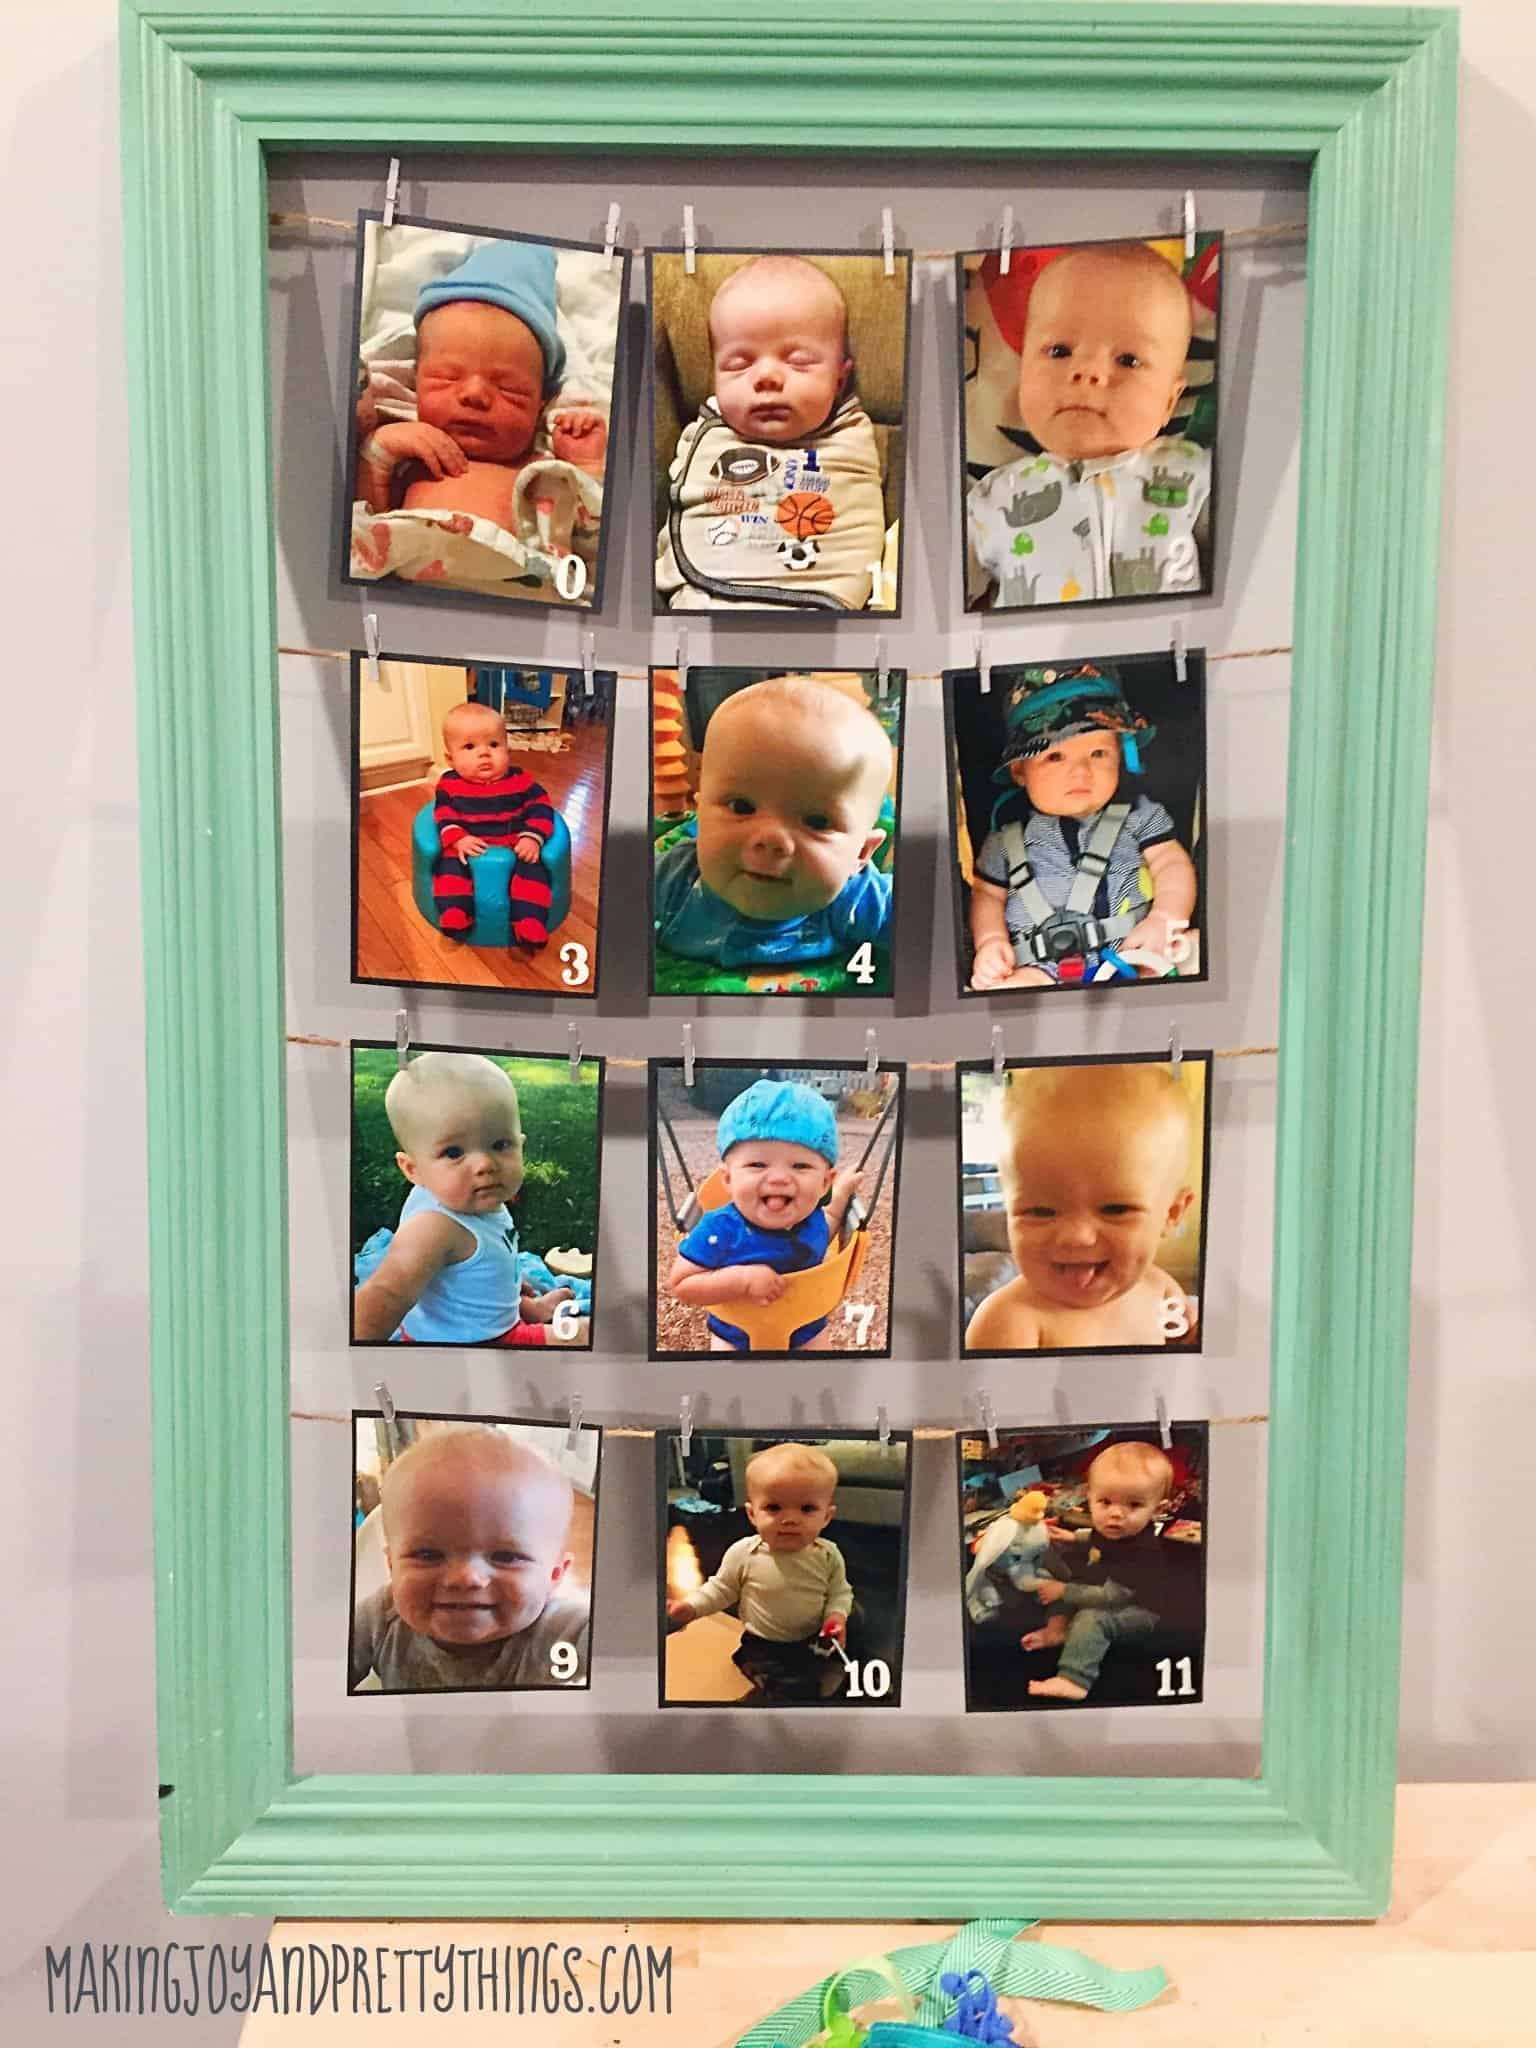
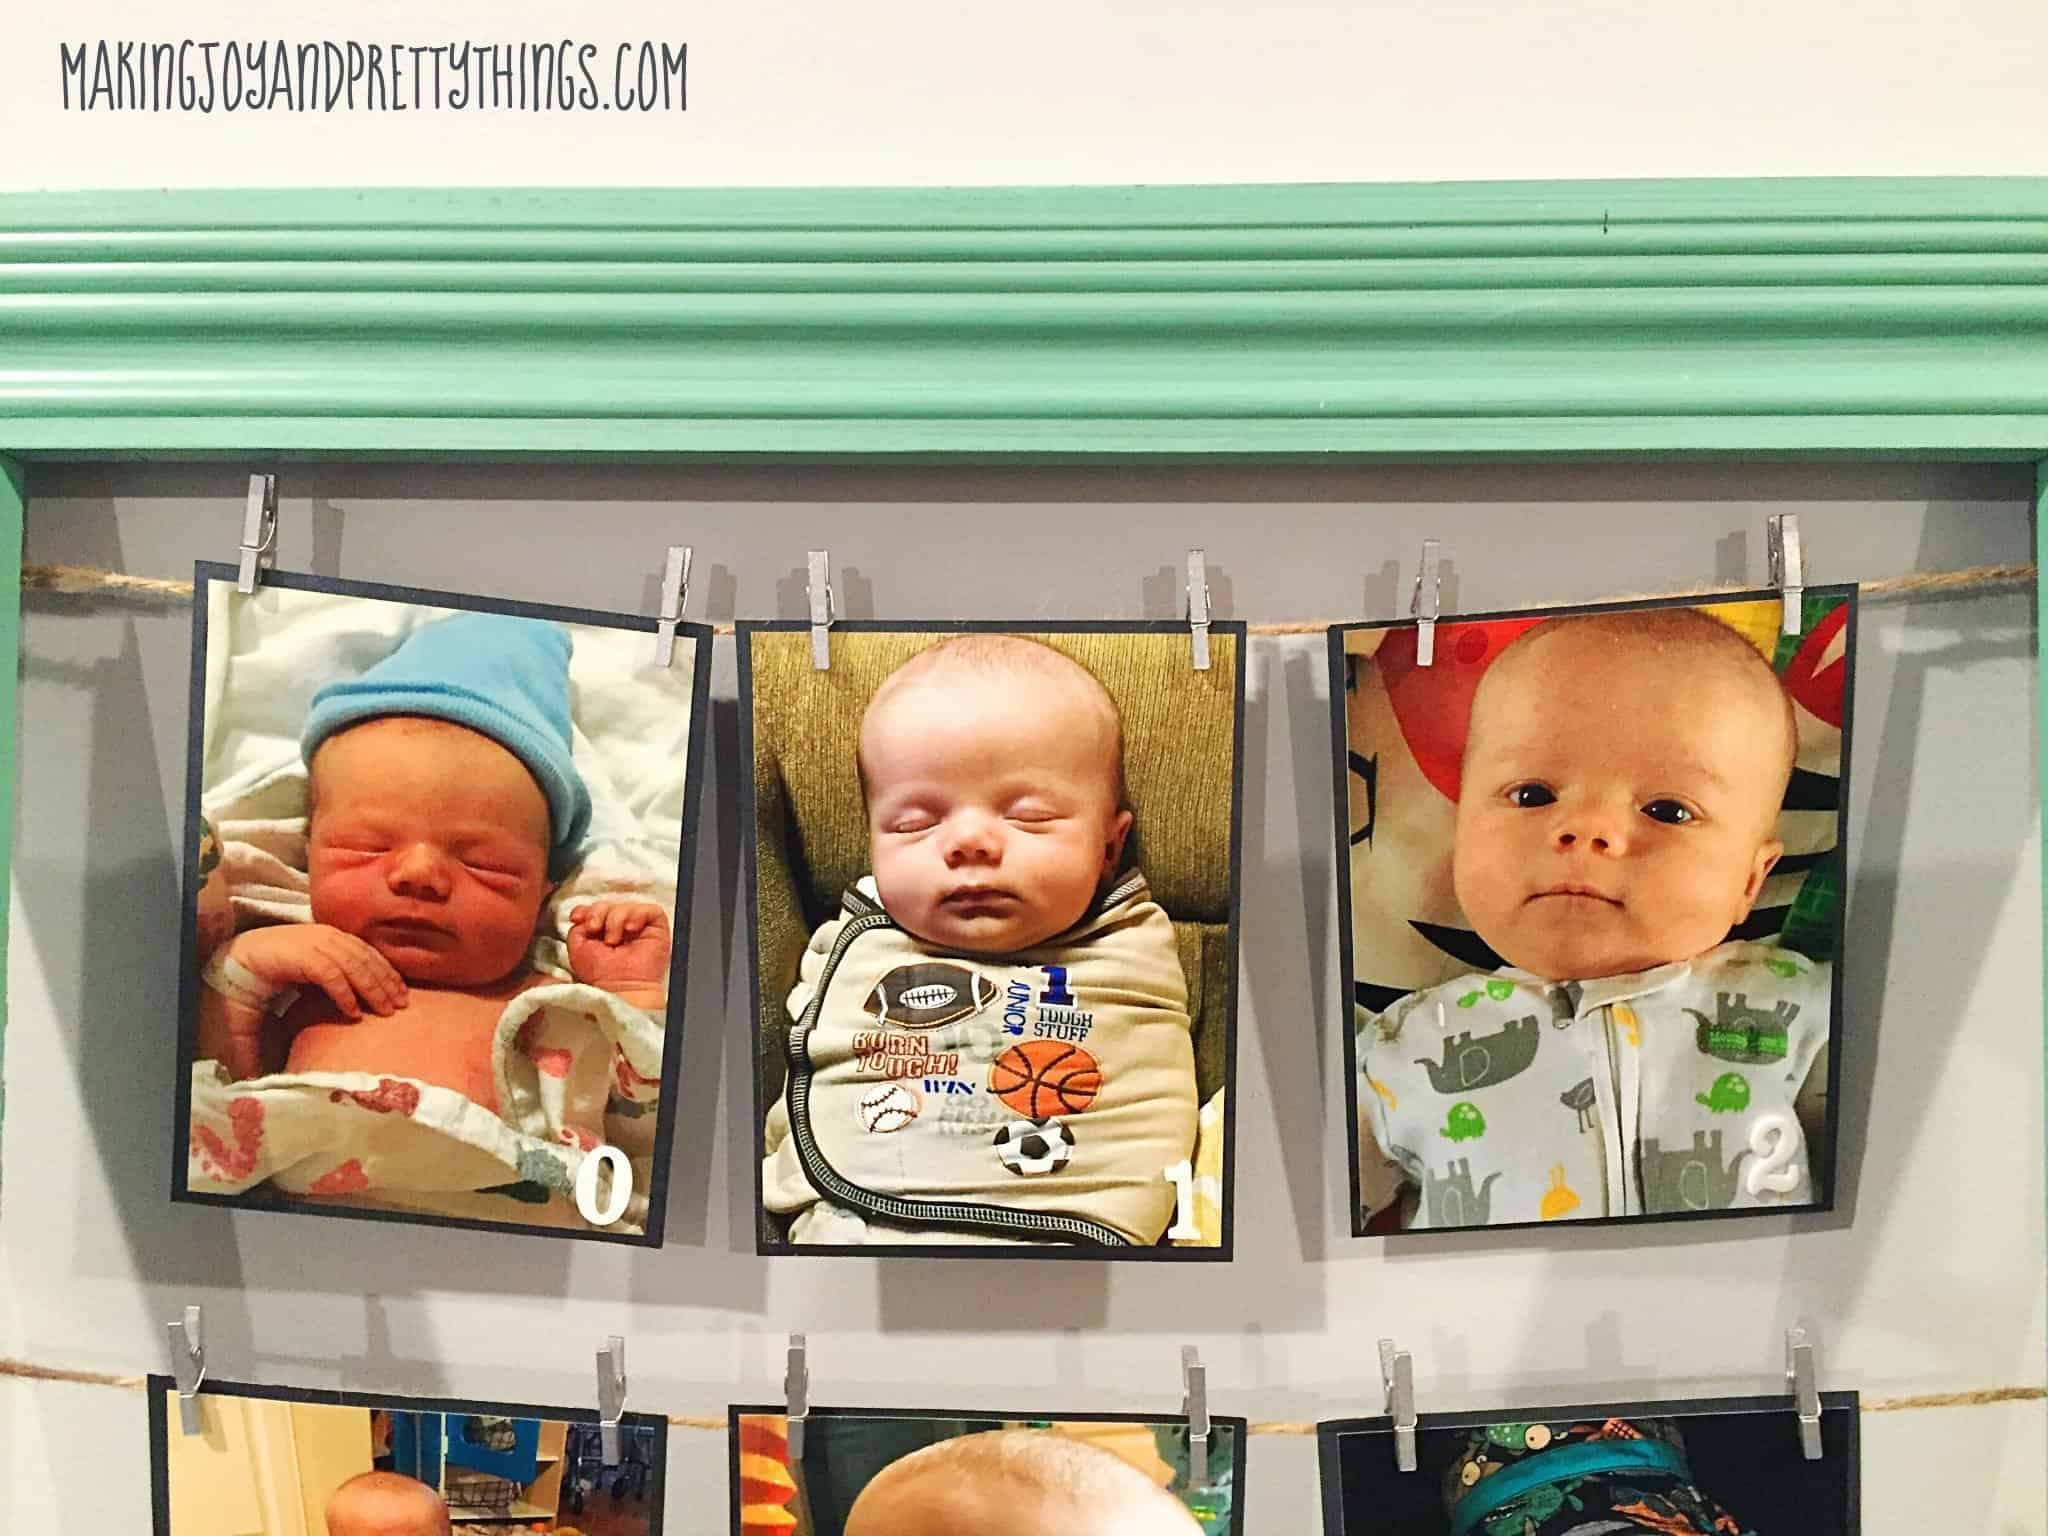
Once they were all cut, I used these awesome foam stickers (from Michaels) to mark the month each photo was taken. I love these because it adds some dimension to the display and people don’t have to count each picture to try and figure out what month the photo was taken.
Start at 0 for the hospital photo, 1 for 1 month old, etc all the way until 11 months totally 12 pictures!
Step 6. Glue Cardstock to Monthly Photos
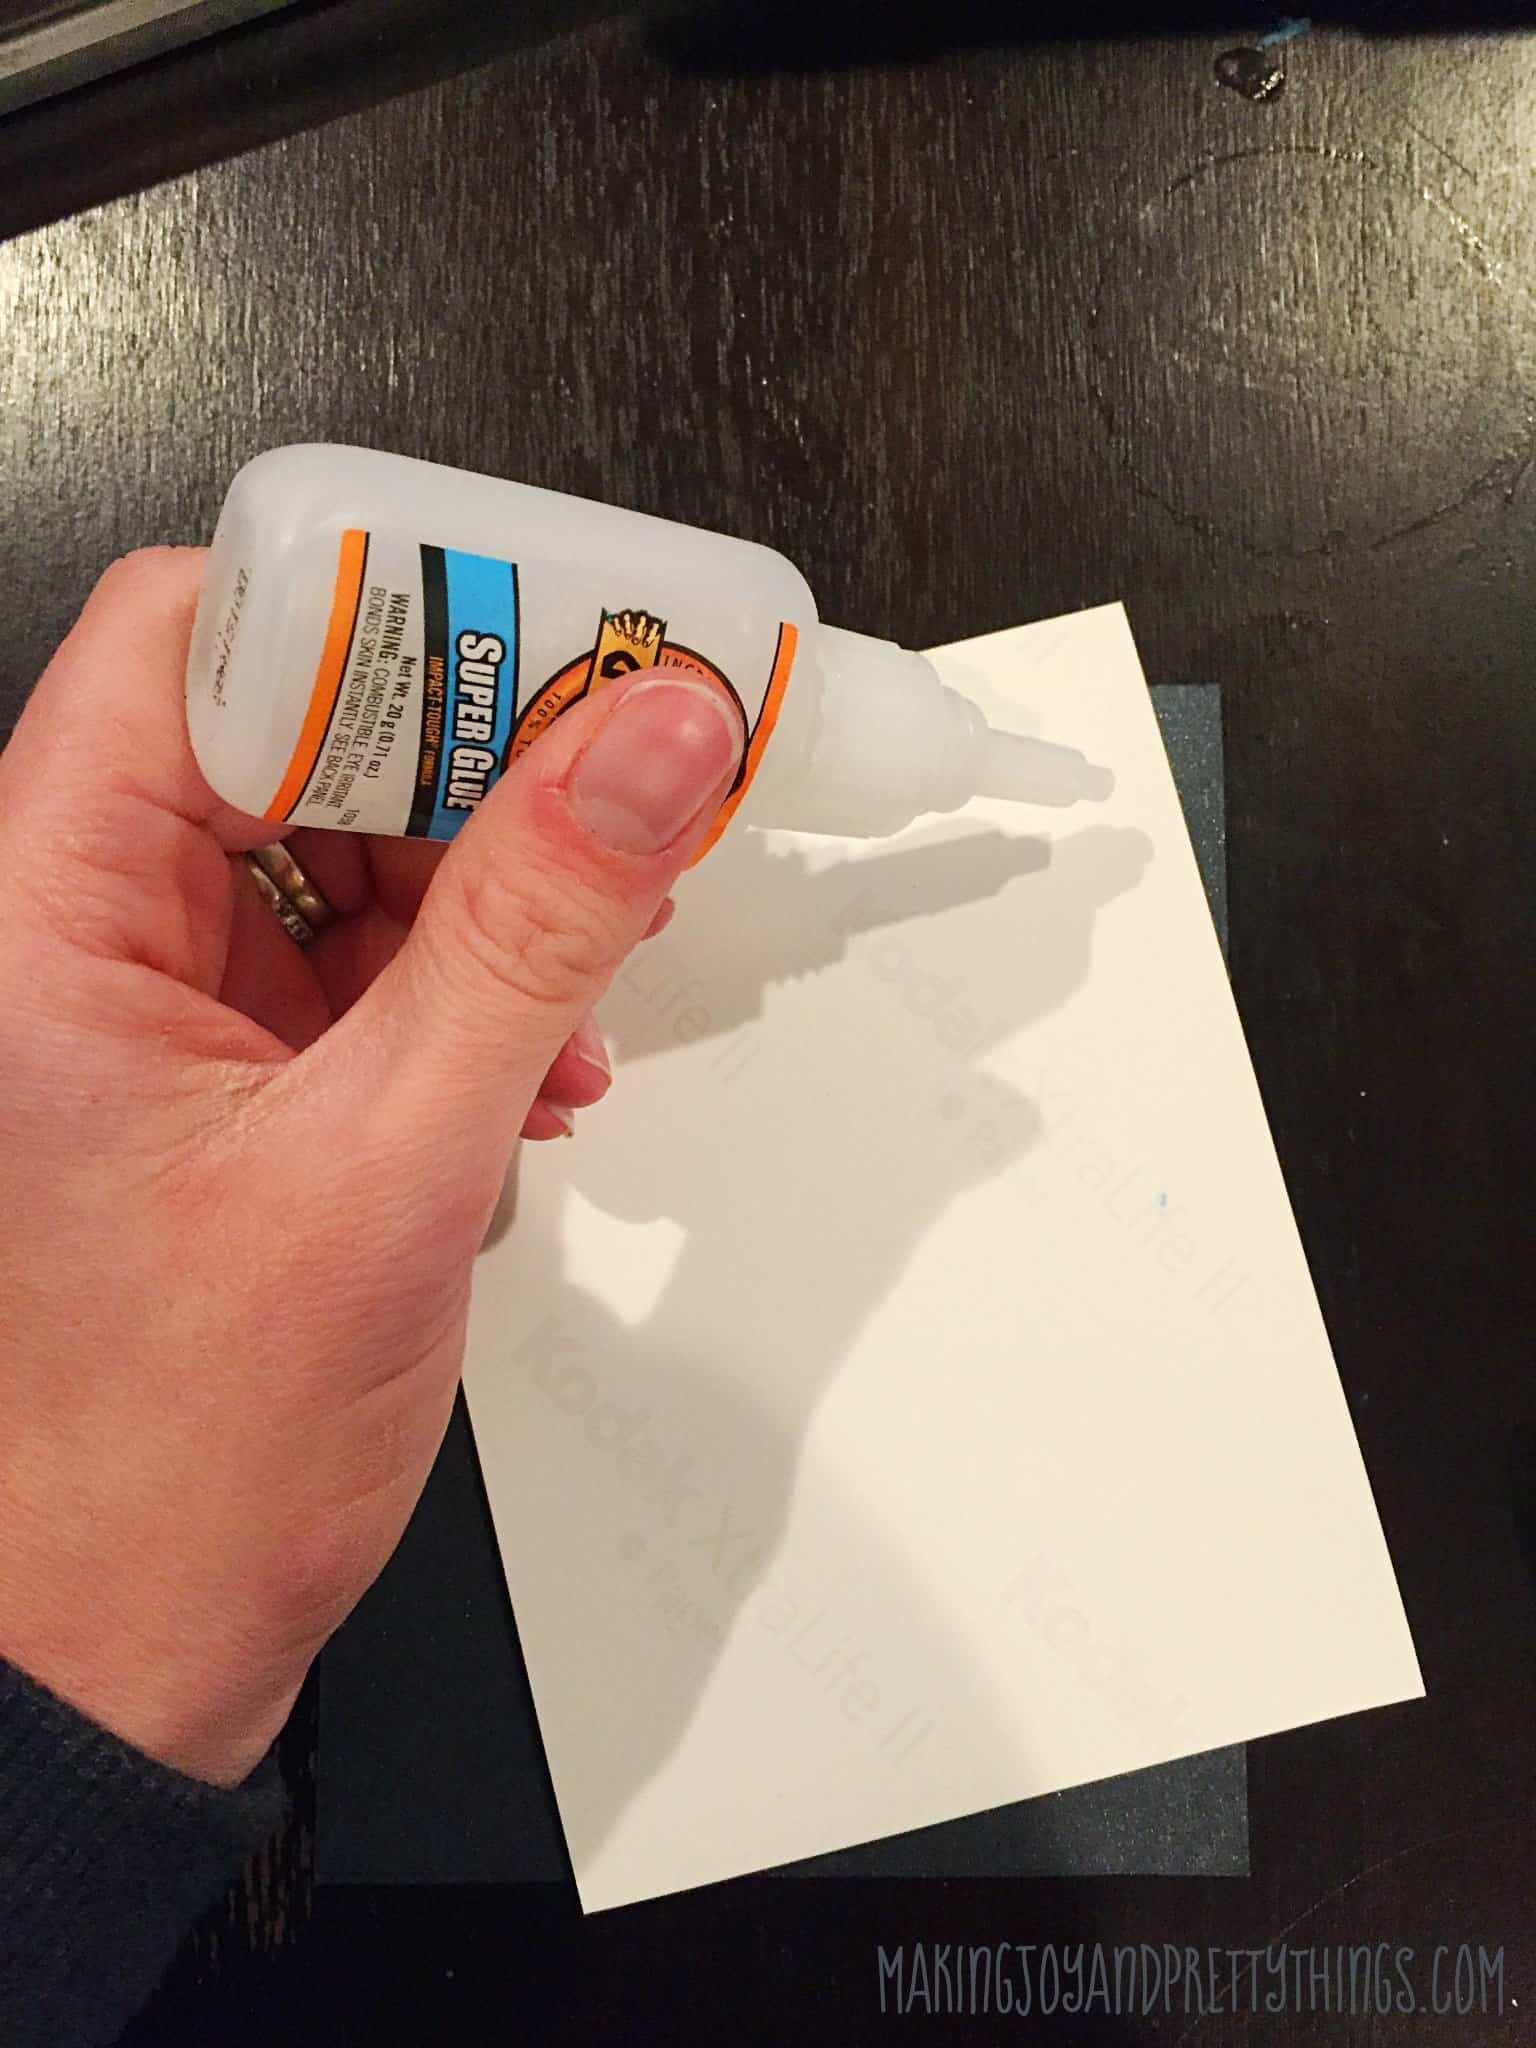
Next, I mounted the pictures onto the cardstock using Super Glue. I love Super Glue for this because it doesn’t leave that rippled or bubbled effect in the picture. You could also use spray adhesive or other glue you have on hand. Just keep in mind regular white glue may leave the pictures looking rippled.
Look at this cute squishy baby face at 1 month old!!
Step 7. Attach Images to Monthly Photo Frame
I found these silver clothespins at Michaels. They come as a 25-count pack which is perfect since you need 24 for the project! They come in a few different colors, too!
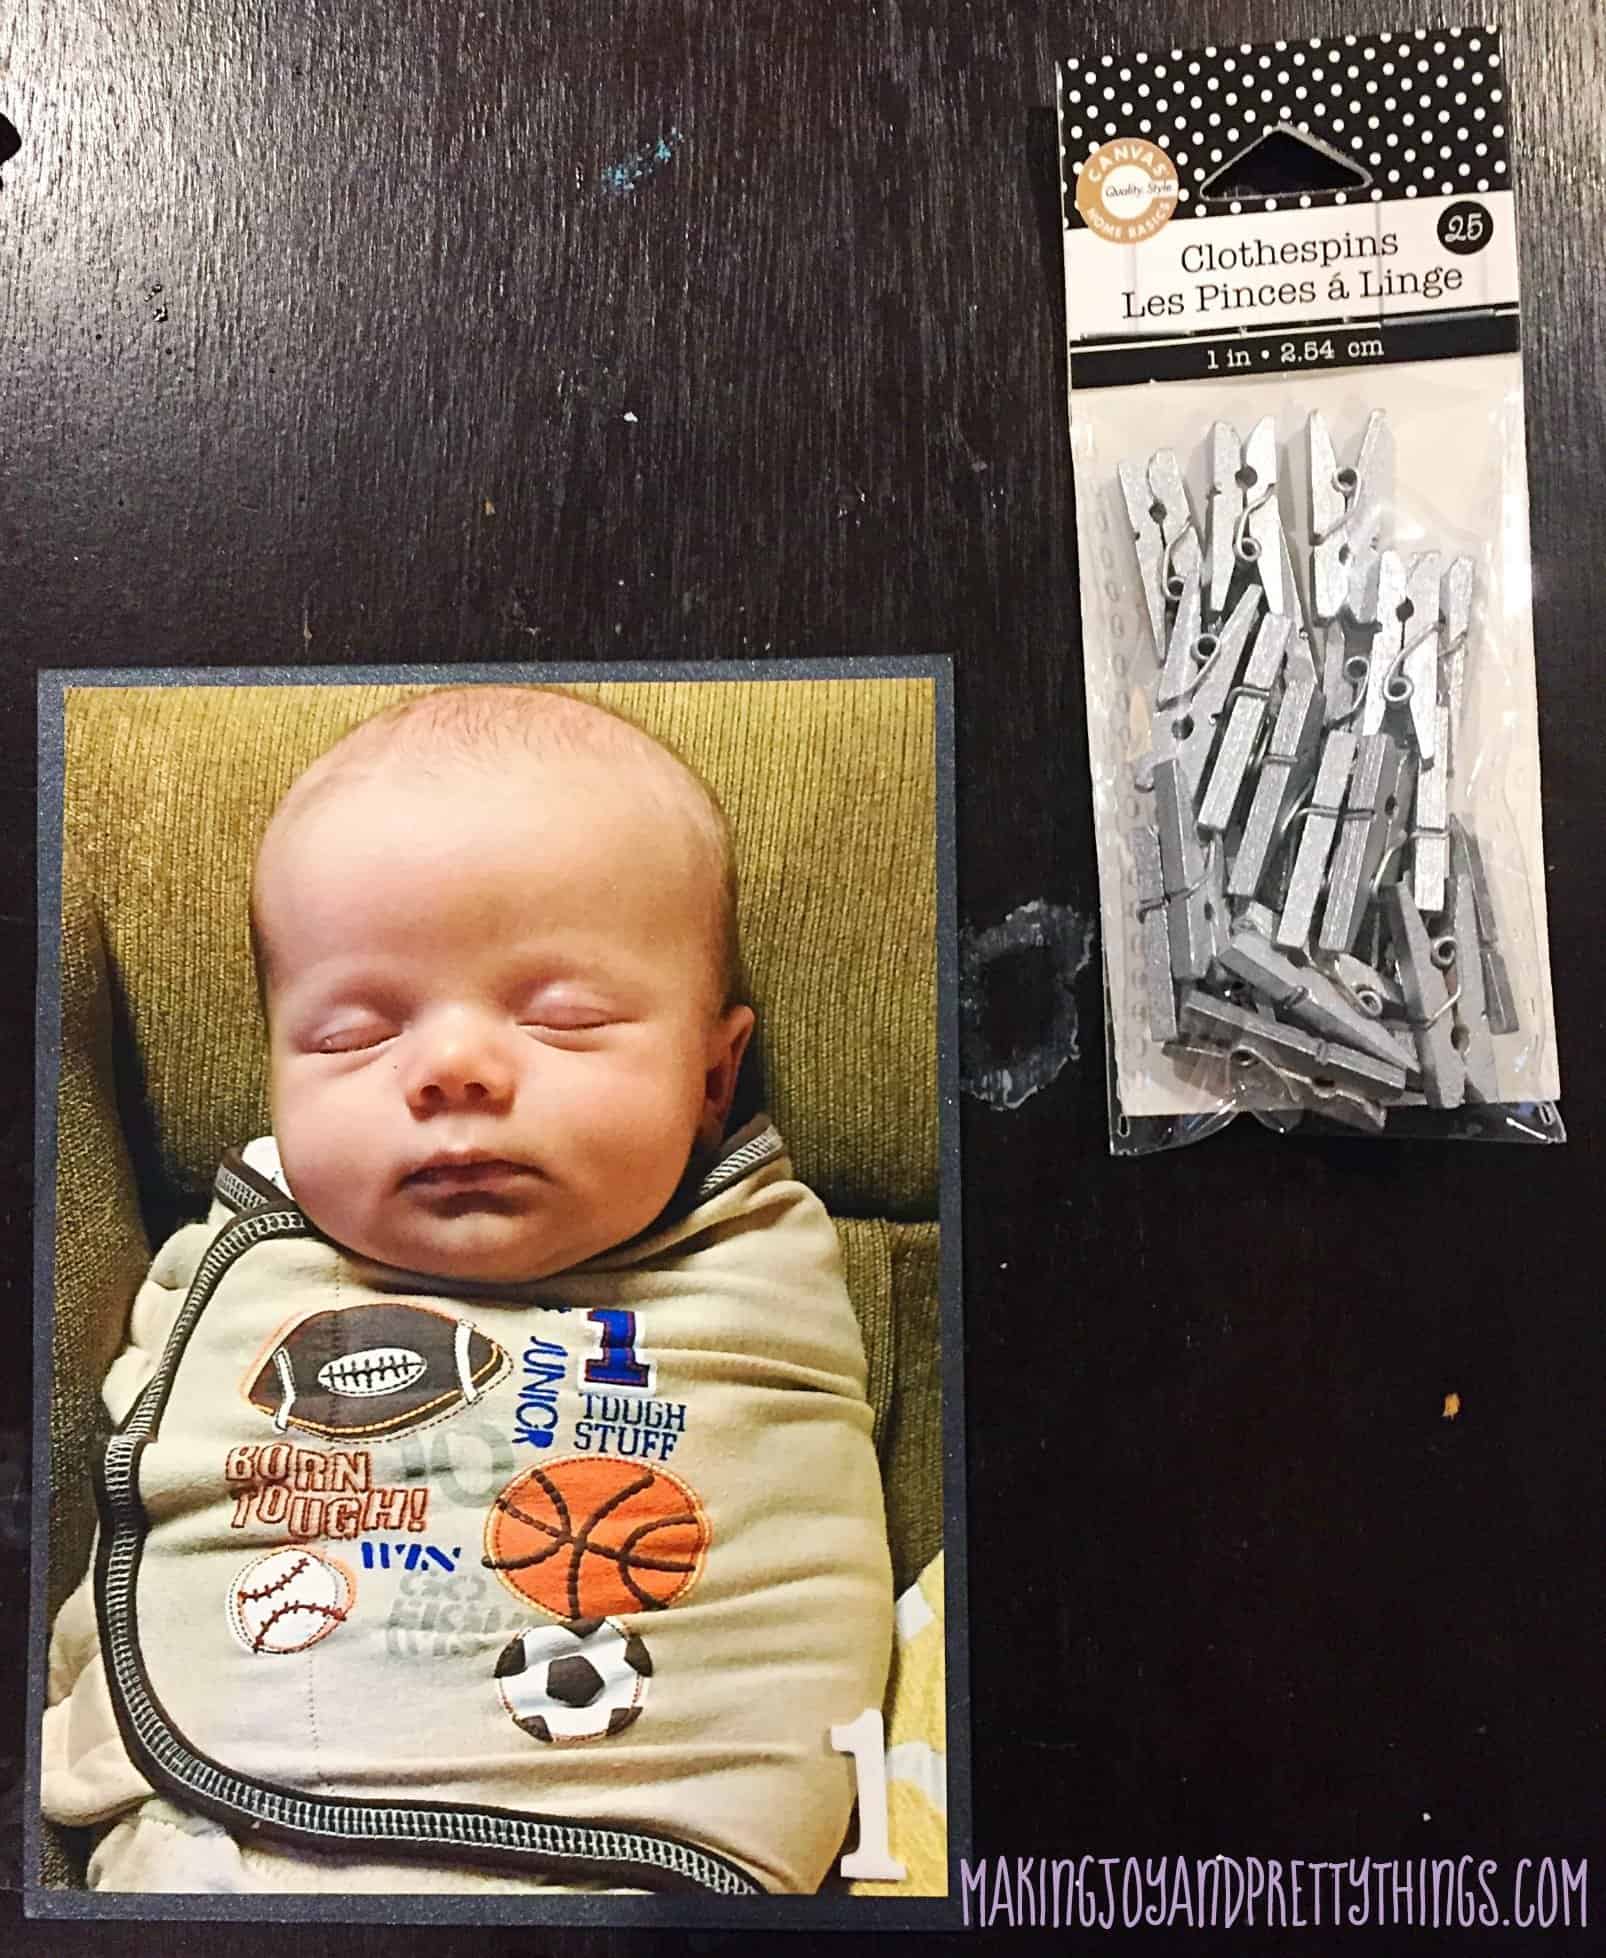
Last step: hanging the mounted pictures!! Again, no specific measurements are required. Just place them on and adjust as needed. That’s the beauty of clothespins!
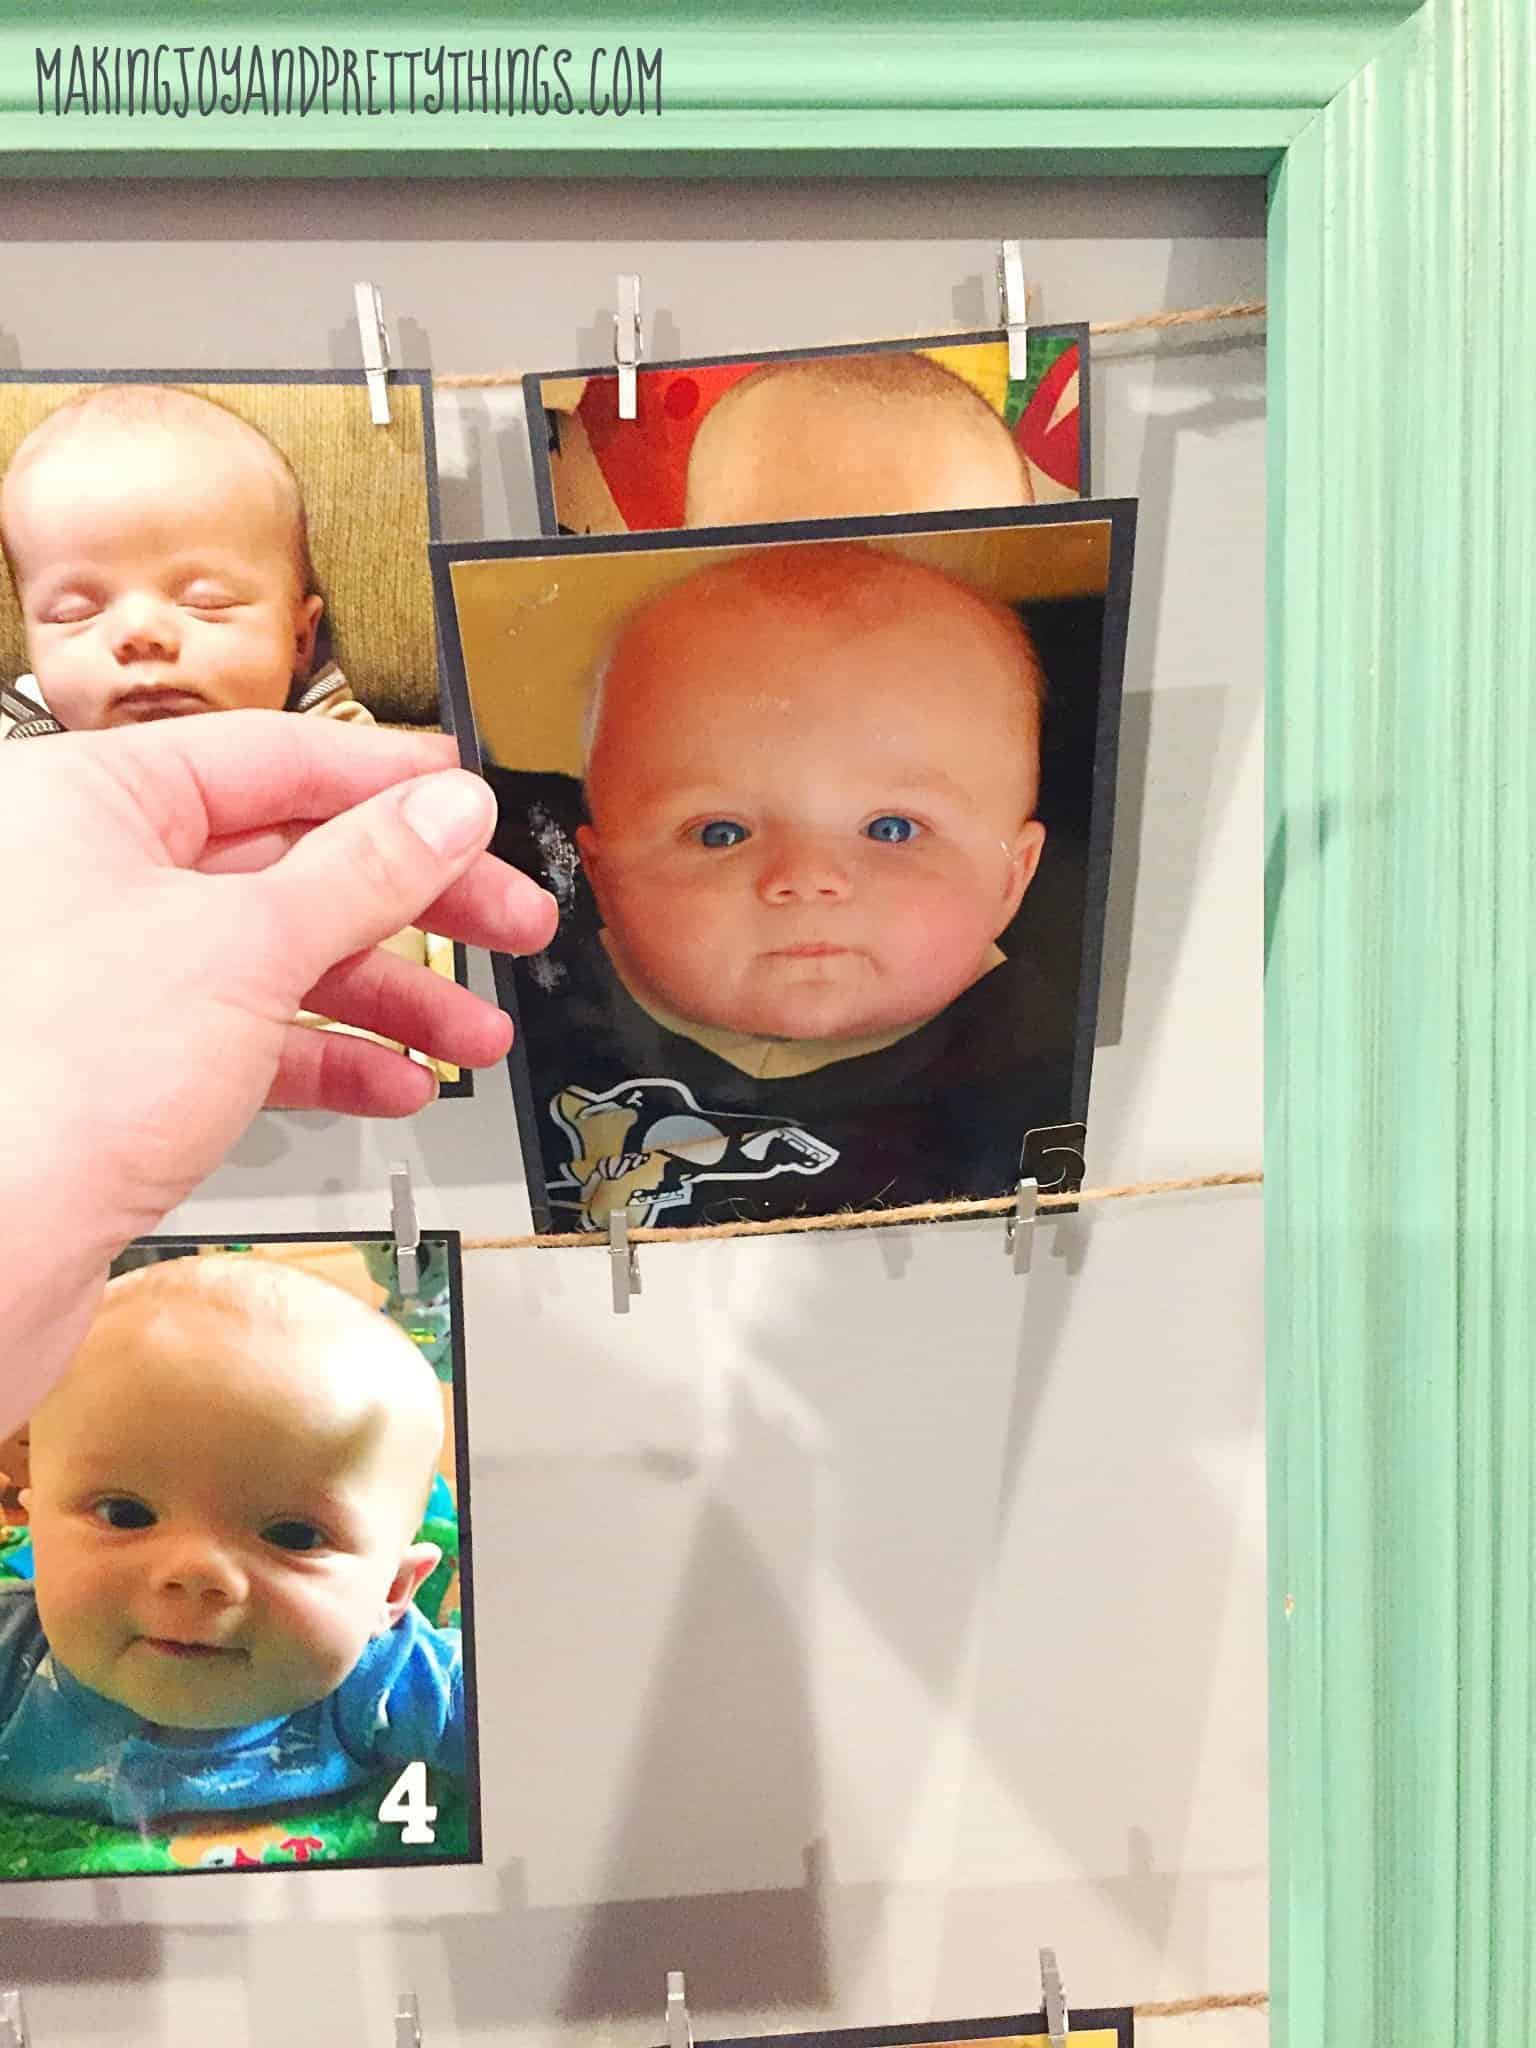
On the flip side of each of Charlie’s monthly pictures, I had the same monthly picture of Liam! It was great being able to compare my two little boys. Although, honestly there’s not much to compare. They look absolutely nothing alike! 🙂
Aren’t DIYs for your little ones the best? I just love the moment they capture and how they get your littles involved with the art of making!
Check out these other ideas for some crafts to do with/for them.
- DIY Flower Crown by me!
- DIY Dress Up Storage by Making Manzanita
- Shaving Cream Easter Eggs
I hope you guys love this idea as much as I do.

How to Make A Monthly Photo Frame
DIY to create a monthly photo frame from an old chalkboard to celebrate a kid's first birthday
Materials
- Picture frame (16" x 26" in photo)
- Twine
- Eyehooks
- Sturdy cardstock
- 4x6 pictures of your baby from birth to 11 months (12 pictures total)
- Foam sticker numbers
- Mini clothespins
- Glue
Instructions
- Find a Frame for Monthly Photo Display
- Attach Eye Hooks to the Frame
- String Twin through Eye Hooks
- Cut Cardstock for the Back of Each Photo
- Add Foam Numbers to Photos
- Glue Cardstock to Monthly Photos
- Attach Images to Monthly Photo Frame

Super cute! I loved it…
aww thanks so much, Kay!!
Where did you get the picture frame?
Gosh, I *think* we got it at Hobby Lobby as part of a chalkboard. We removed the chalkboard portion to use just the frame. But that was at least 5 years ago!! You can use any ole’ frame 🙂
What size eye hooks did you use?