Side Table Makeover: How to Distress Furniture with Chalk Paint
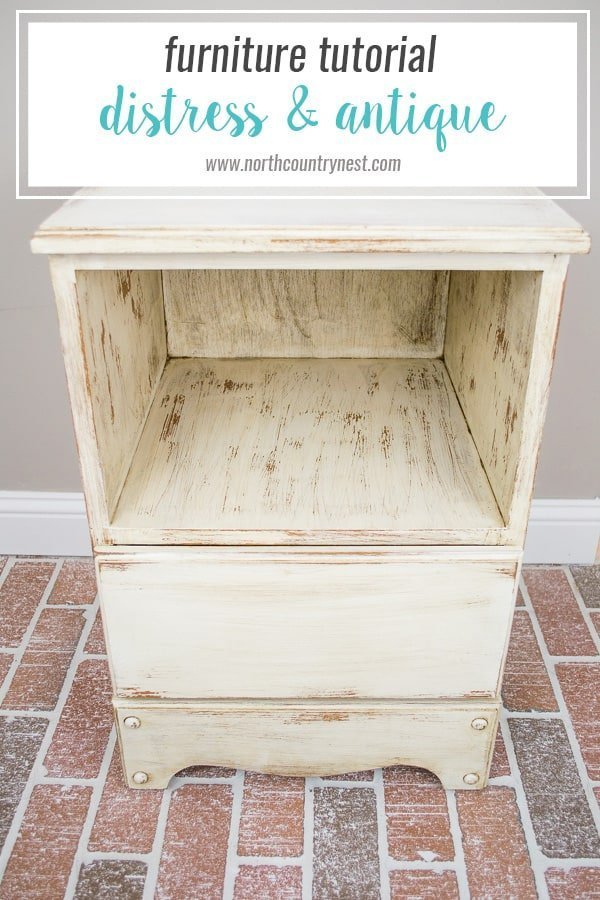
Do you love finding furniture at the thrift store? Learn how to distress furniture with Chalk Paint with this side table makeover! Get ready to be inspired!
Hi again! Kelly here from North Country Nest, back with another DIY project.
Like most farmhouse-style lovers out there, I often find myself swooning over a good antiqued and distressed piece of furniture. But achieving this look isn’t always easy and there are SO many different techniques out there.
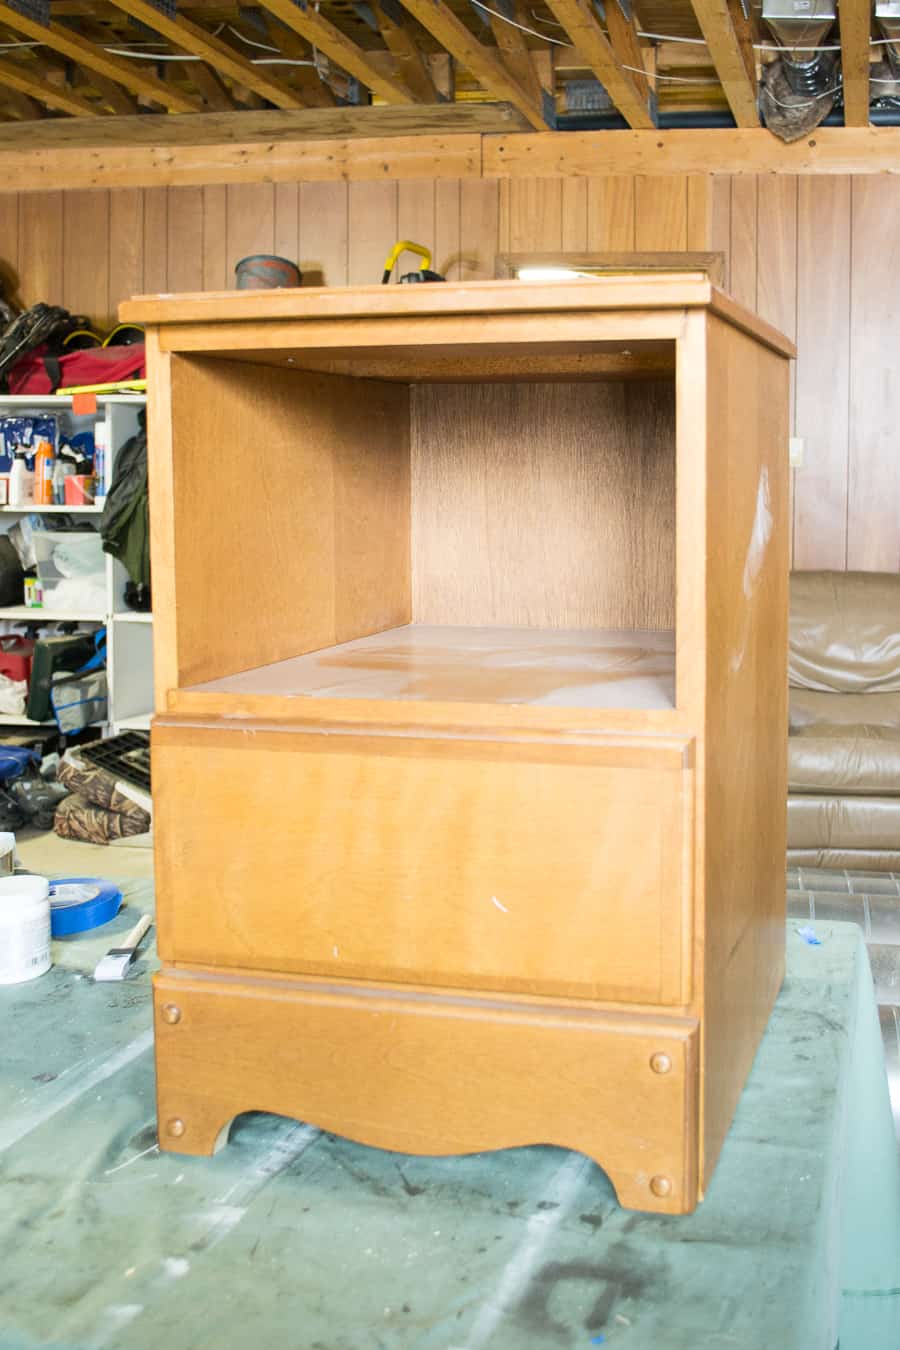
Today I’d like to share my version of the distressed and antiqued furniture makeover, featuring a side table I picked up at our local thrift store for $10.
How to Distress Furniture with Chalk Paint: Step-by-Step
This post contains affiliate links. Please, click here to read my disclosure policy.
Step 1. Paint the entire piece of furniture with chalk paint
To help the paint stick here be sure to clean and sand the old piece of furniture. This helps clean up the piece a bit and helps the paint you will be using adhere much better. I used Rust-o-leum Chalk Paint in Linen.
Step 2. Distress Furniture with Sandpaper
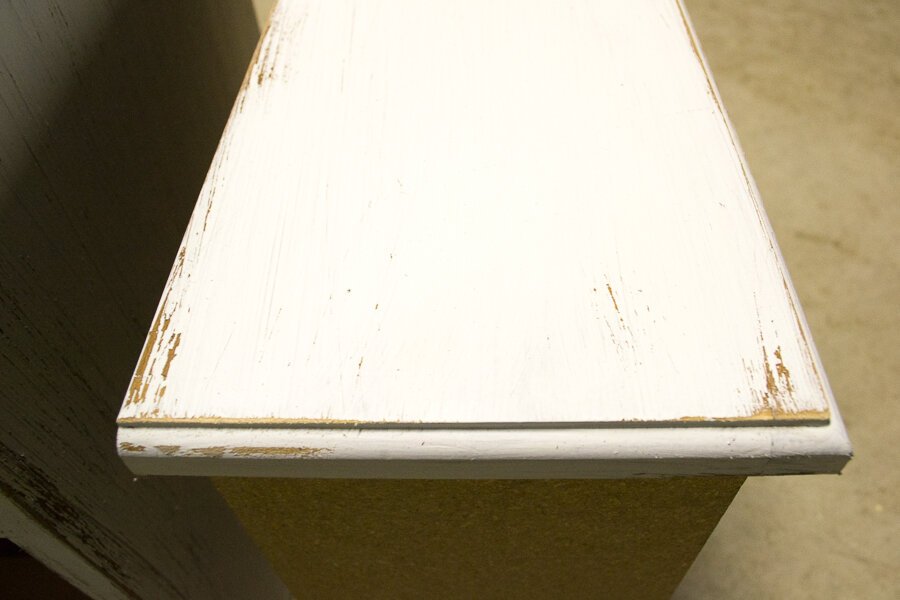
Once the paint is dry, go over the entire piece with sandpaper, distressing to the level you desire. For this piece, I went for the heavily distressed look and used a lot of pressure when sanding.
Step 3. Clean up Furniture to Remove Chalk Paint
When you distress furniture you will inevitably make a mess and in order to do the next step, you will need to have a clean piece of furniture. Wipe the entire piece down with a damp cloth to remove any dust or debris from sanding.
Step 4. Antique your Furniture with Wax
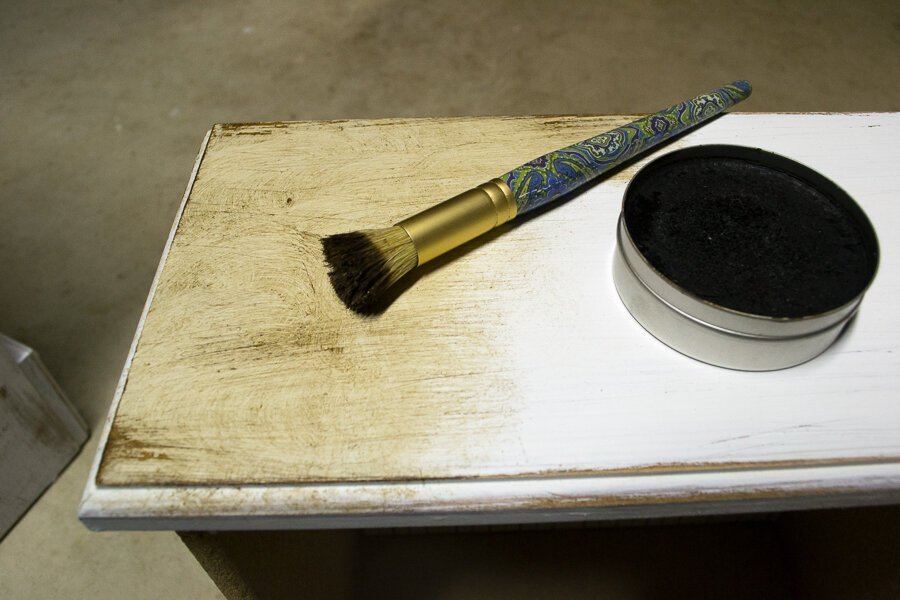
Using the antiquing paint brush, tap the bristles into the wax several times. Using a circular motion, apply the wax to the furniture surface. It helps to work in sections.
This gives the furniture that antique look by contrasting it with the white chalk paint. Your furniture will start to get that aged distressed look we are going for.
Step 5. Work Wax into Furniture to Complete the Distressed Look
Grab a cotton rag and using the same circular motion, wipe off the wax with medium pressure so the wax can get in the grooves of the wood and paint. You want to work this into your furniture to here to acquire the distressed furniture look we will worry about cleaning off excess wax later
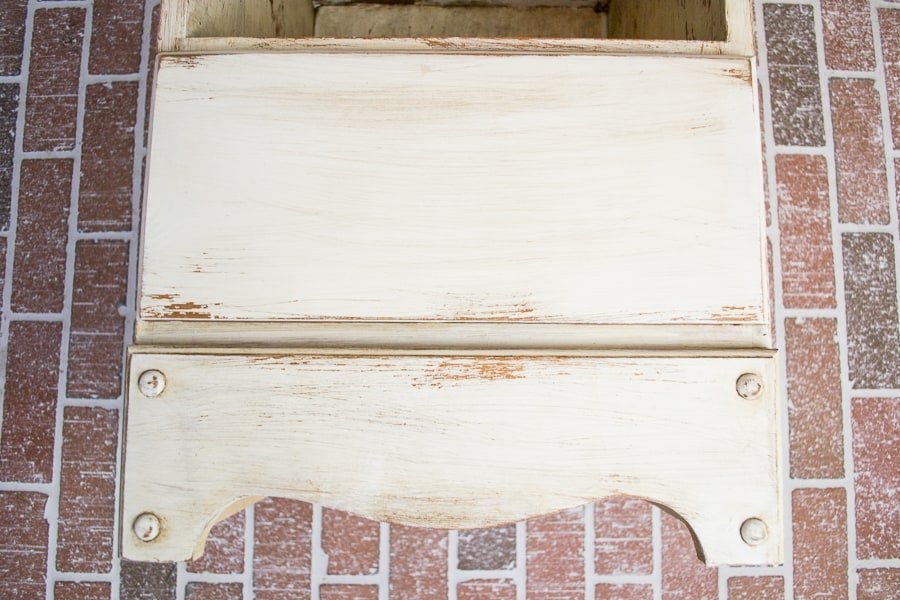
Step 6. Remove Excess Wax and Seal Distressed Furniture
Using a clean cloth, go over the entire piece once more to remove any excess wax. The wax doubles as a protective shield, so a clear coat isn’t necessary unless you are expecting heavy wear and tear.
If this was a dining table, I would probably go over it with a coat of polyurethane, but since it’s just a side table I decided to leave it as-is.
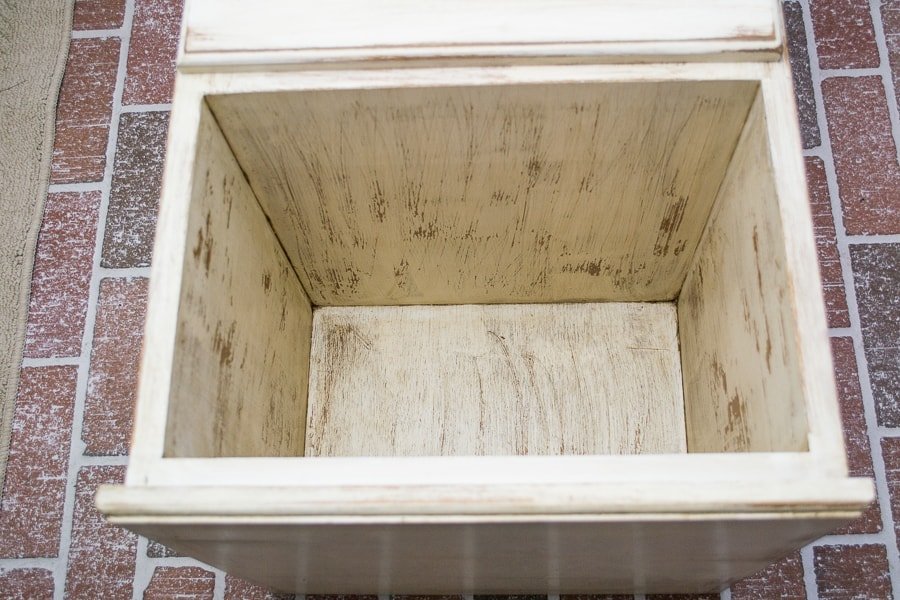


This antiquing technique is very basic and a great place to start if you’re just jumping into DIY’ing furniture.
We’d love to see your creations, so tag us on Instagram @northcountrynest!
All my best,
Kelly
WOW! isn’t that just the most fantastic side table makeover? I was so thrilled to have Kelly on be sure to check out her blog for some serious inspiration.
If you are looking for some other ideas be sure to check out my other makeover projects below:
Wishing you a joyful day!
How to Distress Furniture with Chalk Paint

Materials
Instructions
- Paint the Entire Piece of Furniture with Chalk Paint
- Distress Furniture with Sandpaper
- Clean up Furniture to Remove Chalk Paint
- Antique your Furniture with Wax
- Work Wax into Furniture to Complete the Distressed Look
- Remove Excess Wax and Seal Distressed Furniture


This will be my first piece. It is a buffet do I need to use clear wax first. Painting it black with white doors to match my kitchen decor