How to Build a Cedar Raised Garden Bed
If you are looking for how to build a cedar raised garden bed then this tutorial is the place to look. Raised garden beds are a great way to start gardening.
Hello, friends! Today I have a very special guest post from … my husband!! When it comes to decorating and fun little DIY/crafts around the house, I’m your girl. If it requires power tools and exact precise measurements, well, I am most certainly NOT your girl.
My awesome husband loves to make stuff almost as much as I do. I always have lofty goals and crazy project ideas that he just rolls his eyes at. When I came up with the idea to make a raised garden bed he was super excited, or moderately excited, or maybe just tolerated the idea.
Probably because he had to do all the work and figure out all the logistics while I sat and watched. My kind of project 🙂
I’ll let him show you how to build a cedar raised garden bed from here! I’ll throw in my two cents, of course (my comments will be in purple)
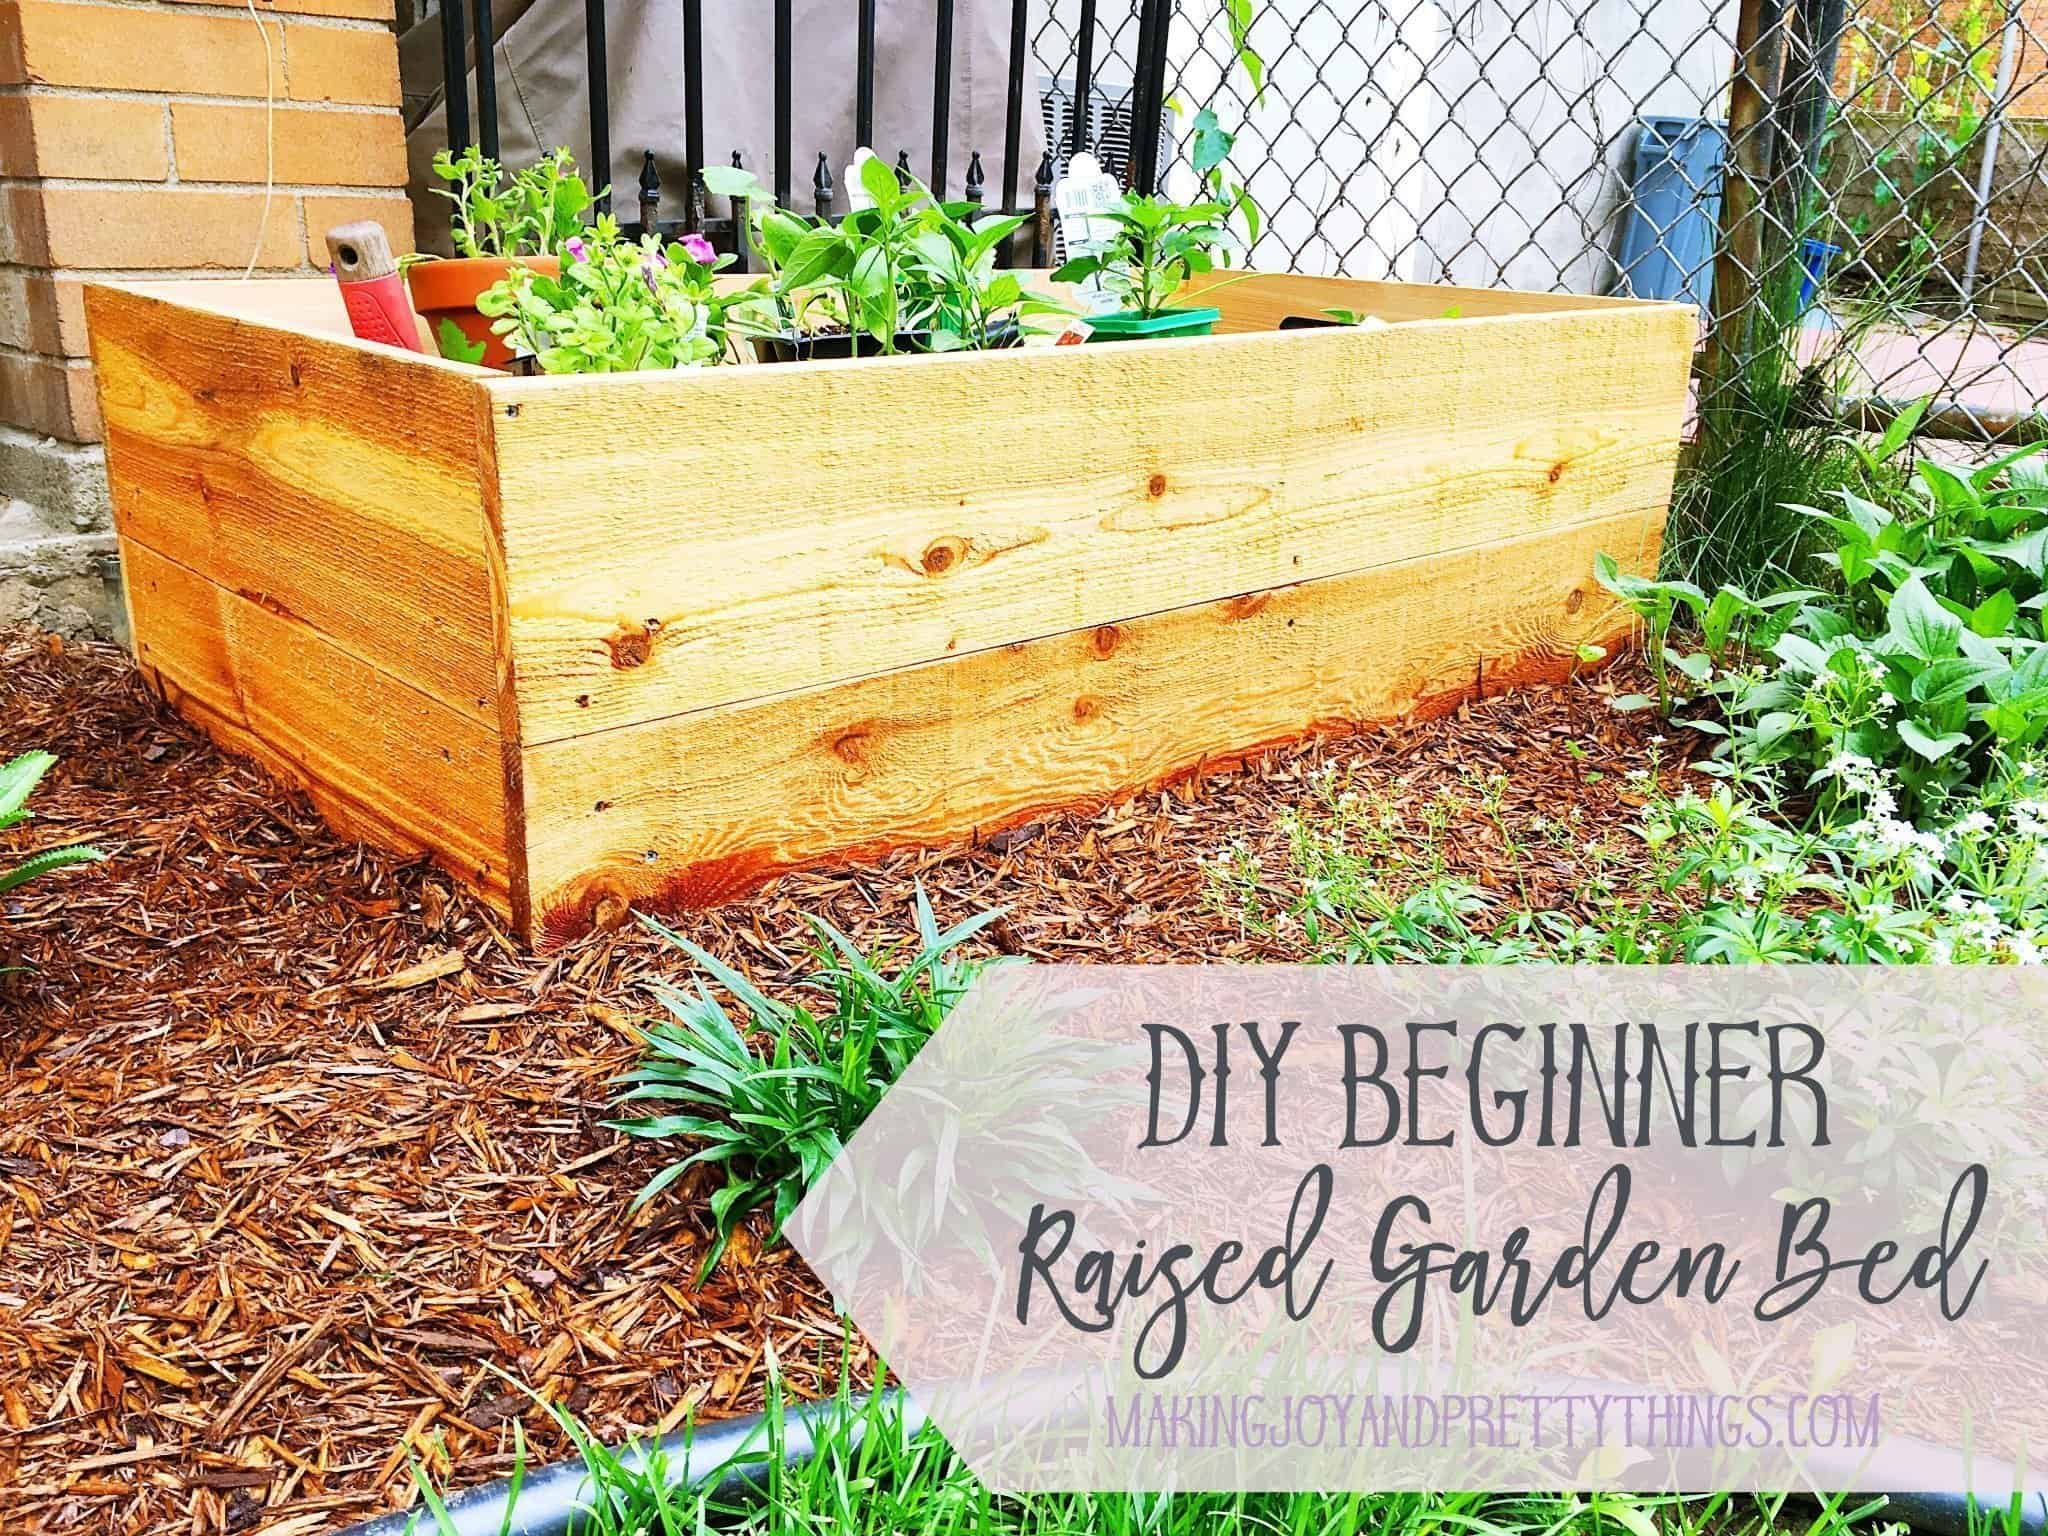
Hi, everybody! I feel like I’ve been given homework for the first time in like 8 years, but I’m actually really excited to write this post.
The reason being, this is one of the only projects IN MY LIFE that I’ve undertaken that went exactly as I planned it out and took within 10% of the amount of time I guesstimated it would take.
It was pretty amazing. And, as you can tell from the picture, the results were pretty amazing too – of course, I am a bit biased.
Before I show you how to build a cedar raised garden bed let’s start with a few lists.
Tools you will need:
- Compound Miter Saw
- Cordless impact driver
- 1/8″ drill bit.
- Phillips # 2 Impact bit
- A tape measure.
- A carpenter pencil.
- A staple gun.
Supplies you will need:
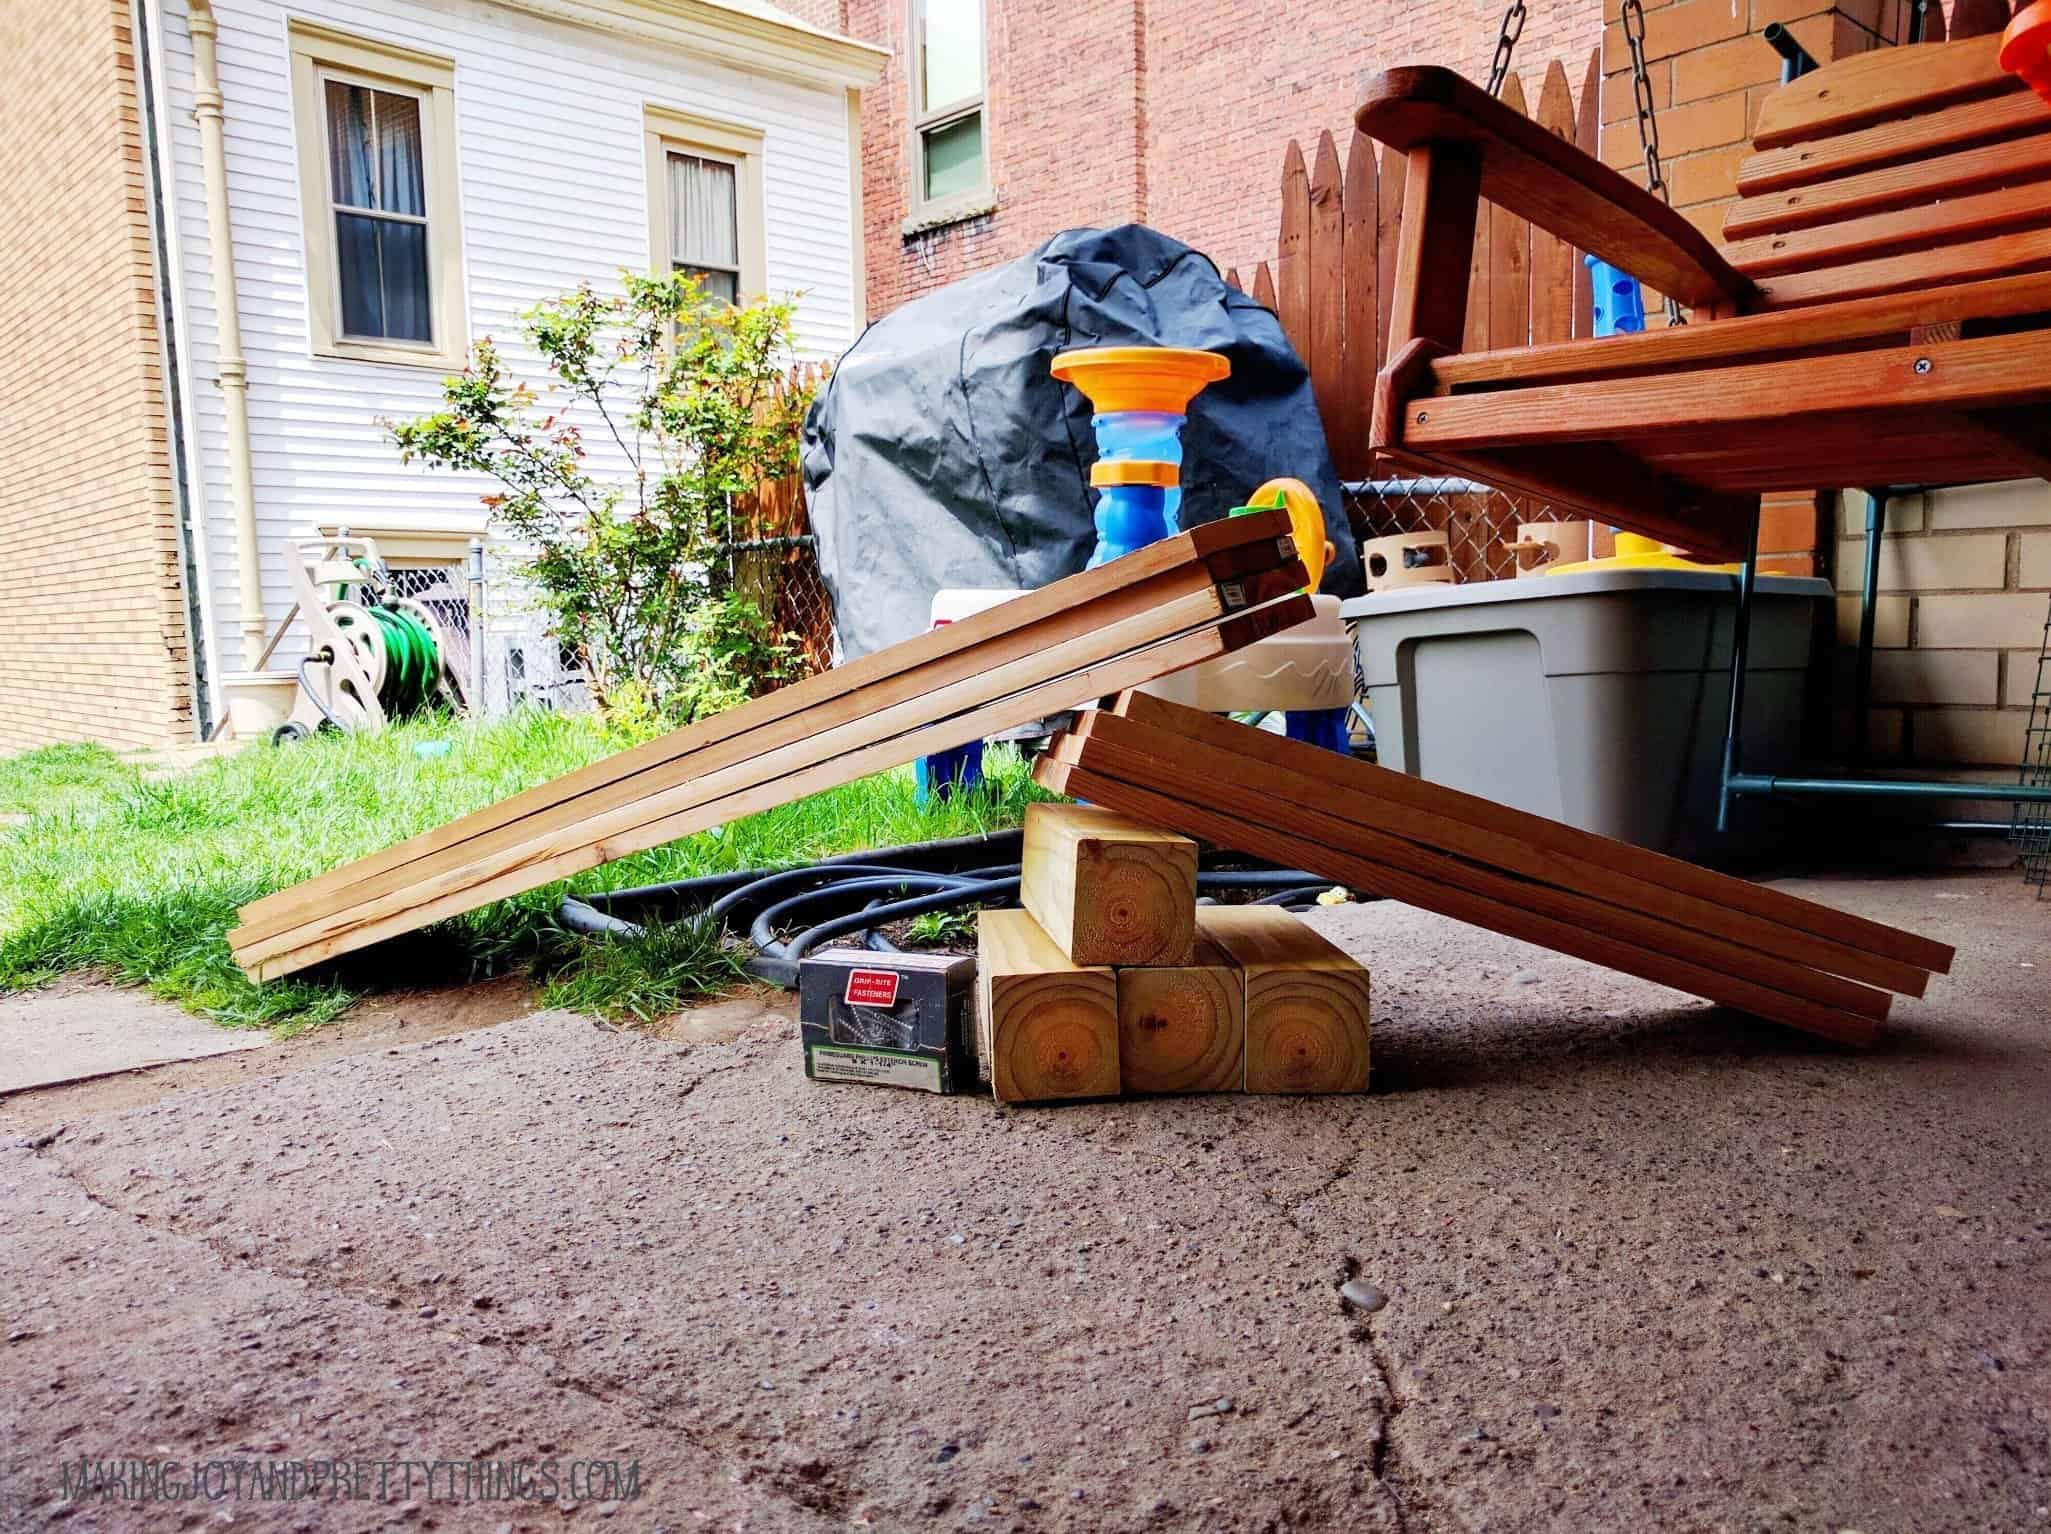
- Safety glasses & ear plugs. Especially if you’re using a power saw. Those are loud and sharp. This is number one for a reason. Never get lazy when it comes to protecting your ears and eyes. {Unless you’re me and sit close by Pinteresting and watching him work}
- 4 feet of 4″x4″, pressure-treated wood.
- 24 feet of 1″x8″ cedar boards. We bought three (3) 8 ft long boards.
- 2″ outdoor screws.
- 8 cu. ft. of planting soil. (2′ x 8′ bed, filled 12″ high. MATH! I told you this was homework)
- Weed block.
Step 1. Build a cedar box for the garden bed
The first thing you’ll want to do is prepare your work area. You’ll find it a lot easier to get things done efficiently if you have everything laid out and plenty of space to work. Once that’s done, prepare to cut your boards. (Let’s be real, I NEVER prepare my work area. I just start. Which is probably why my craft supplies are all over the place. Noted.)
You’ll need to measure and cut four 4′ pieces of cedar and four 2′ long pieces of cedar. If you got eight-foot boards it’s easy enough to cut two of them in half and then cut the third into 2′ pieces.
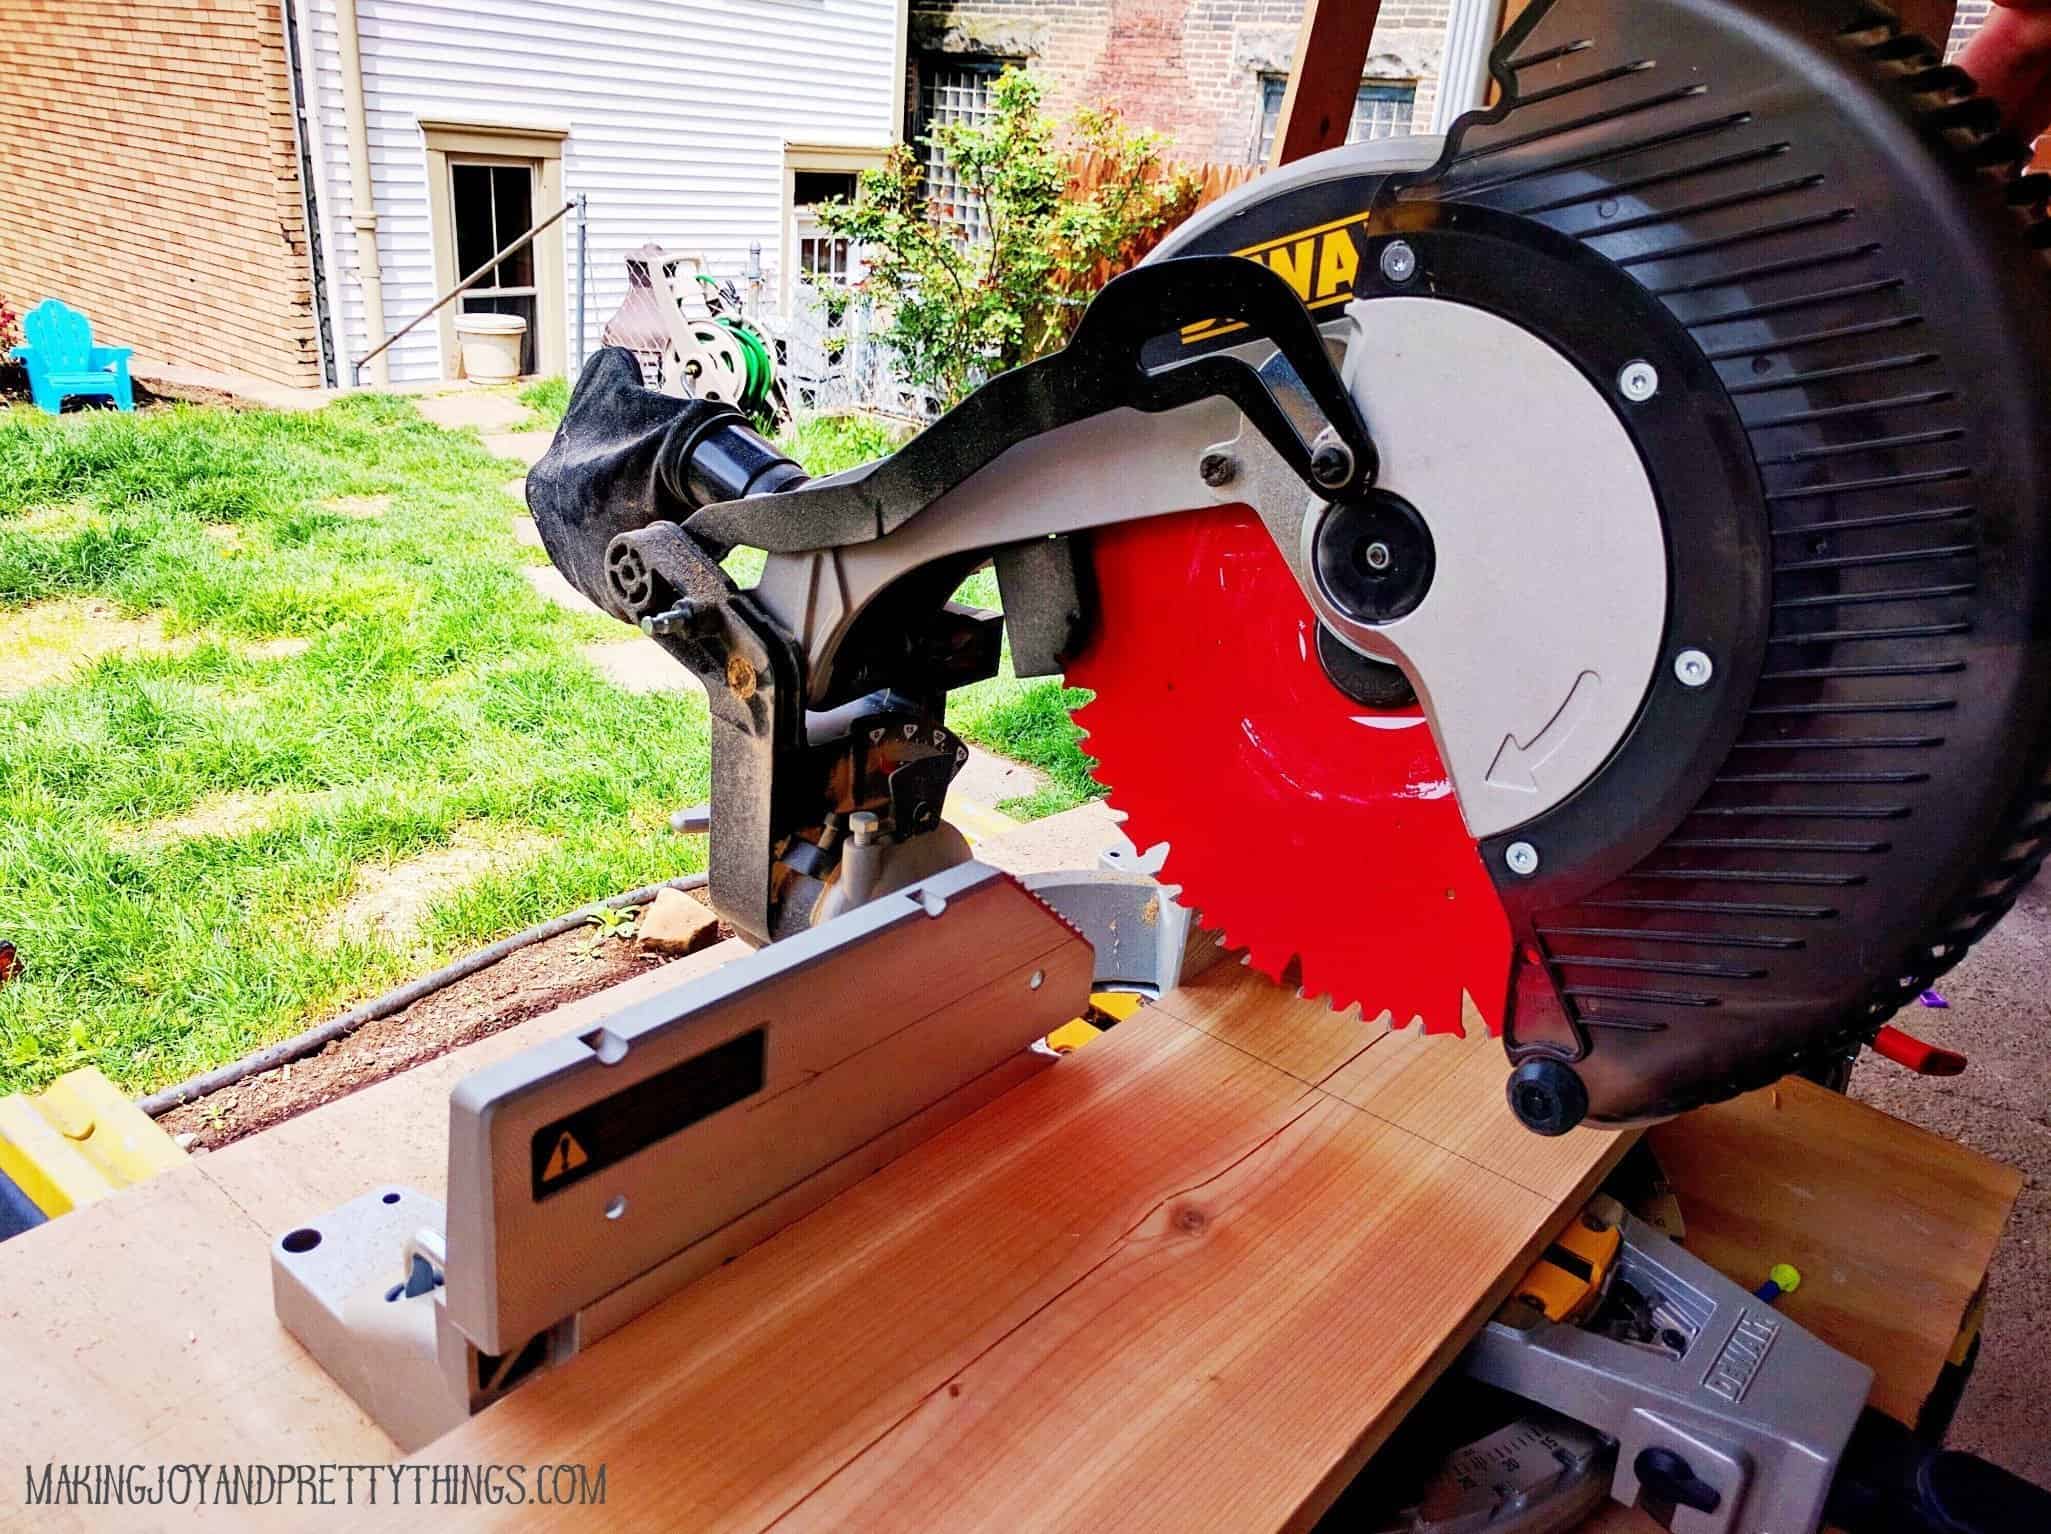
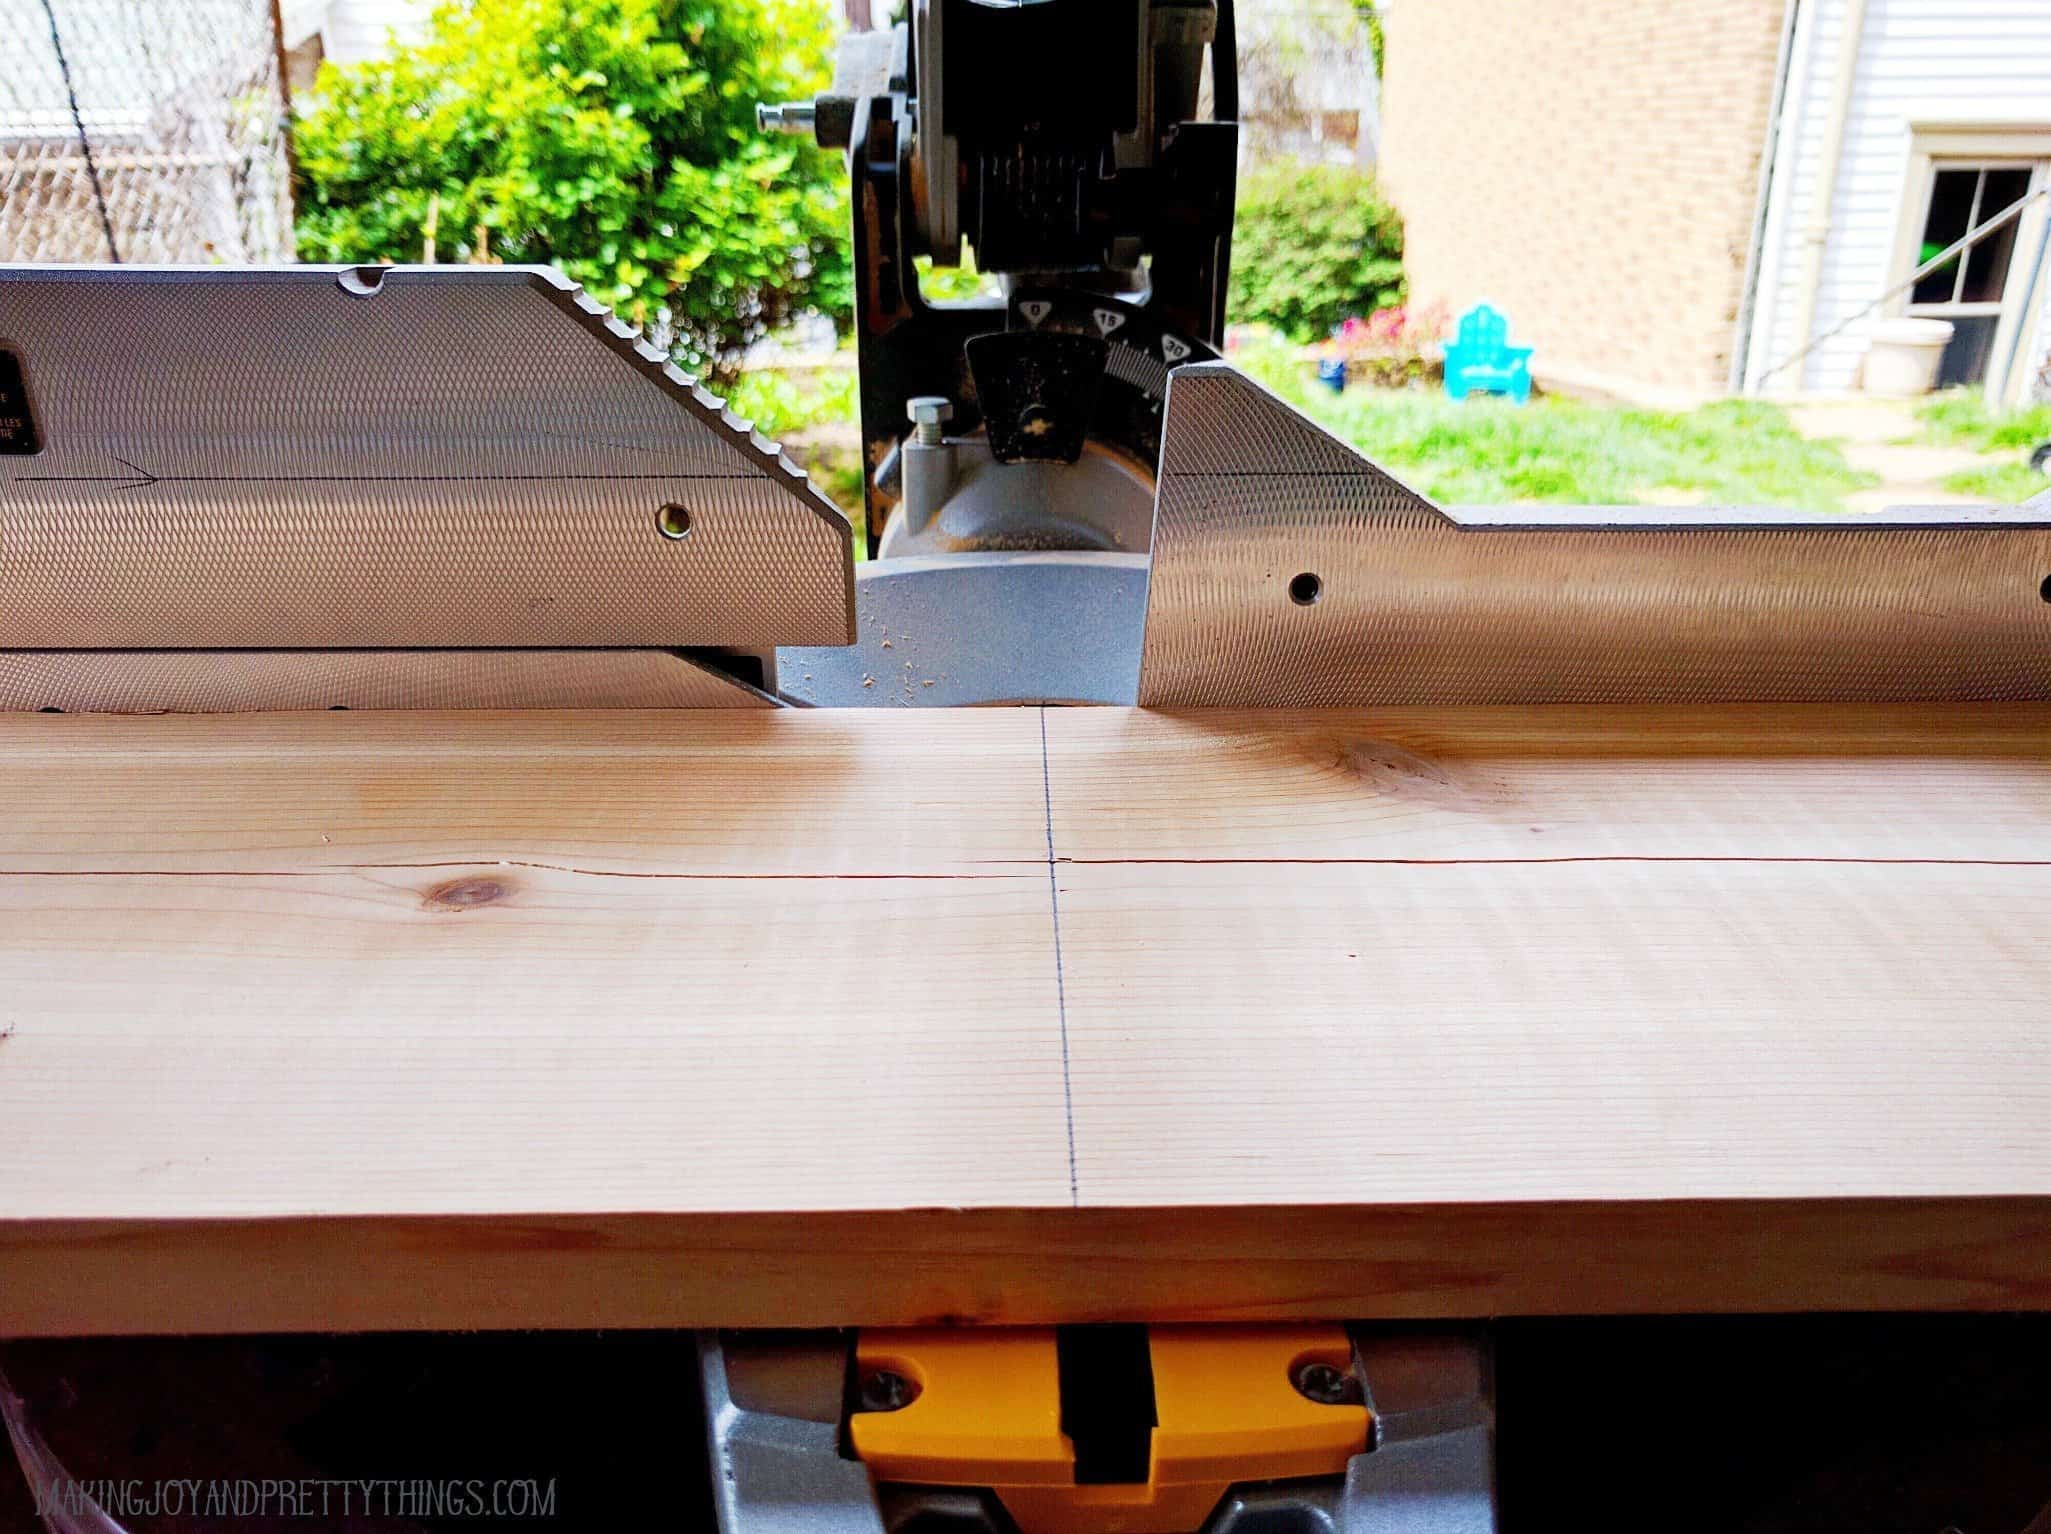
Once you have your cedar cut, you can go ahead and cut your 4″x 4″ into four 12″ pieces. These are going to be the supports on the inside corners of the cedar box you’ll be building. The dog in the background is optional but highly recommended.
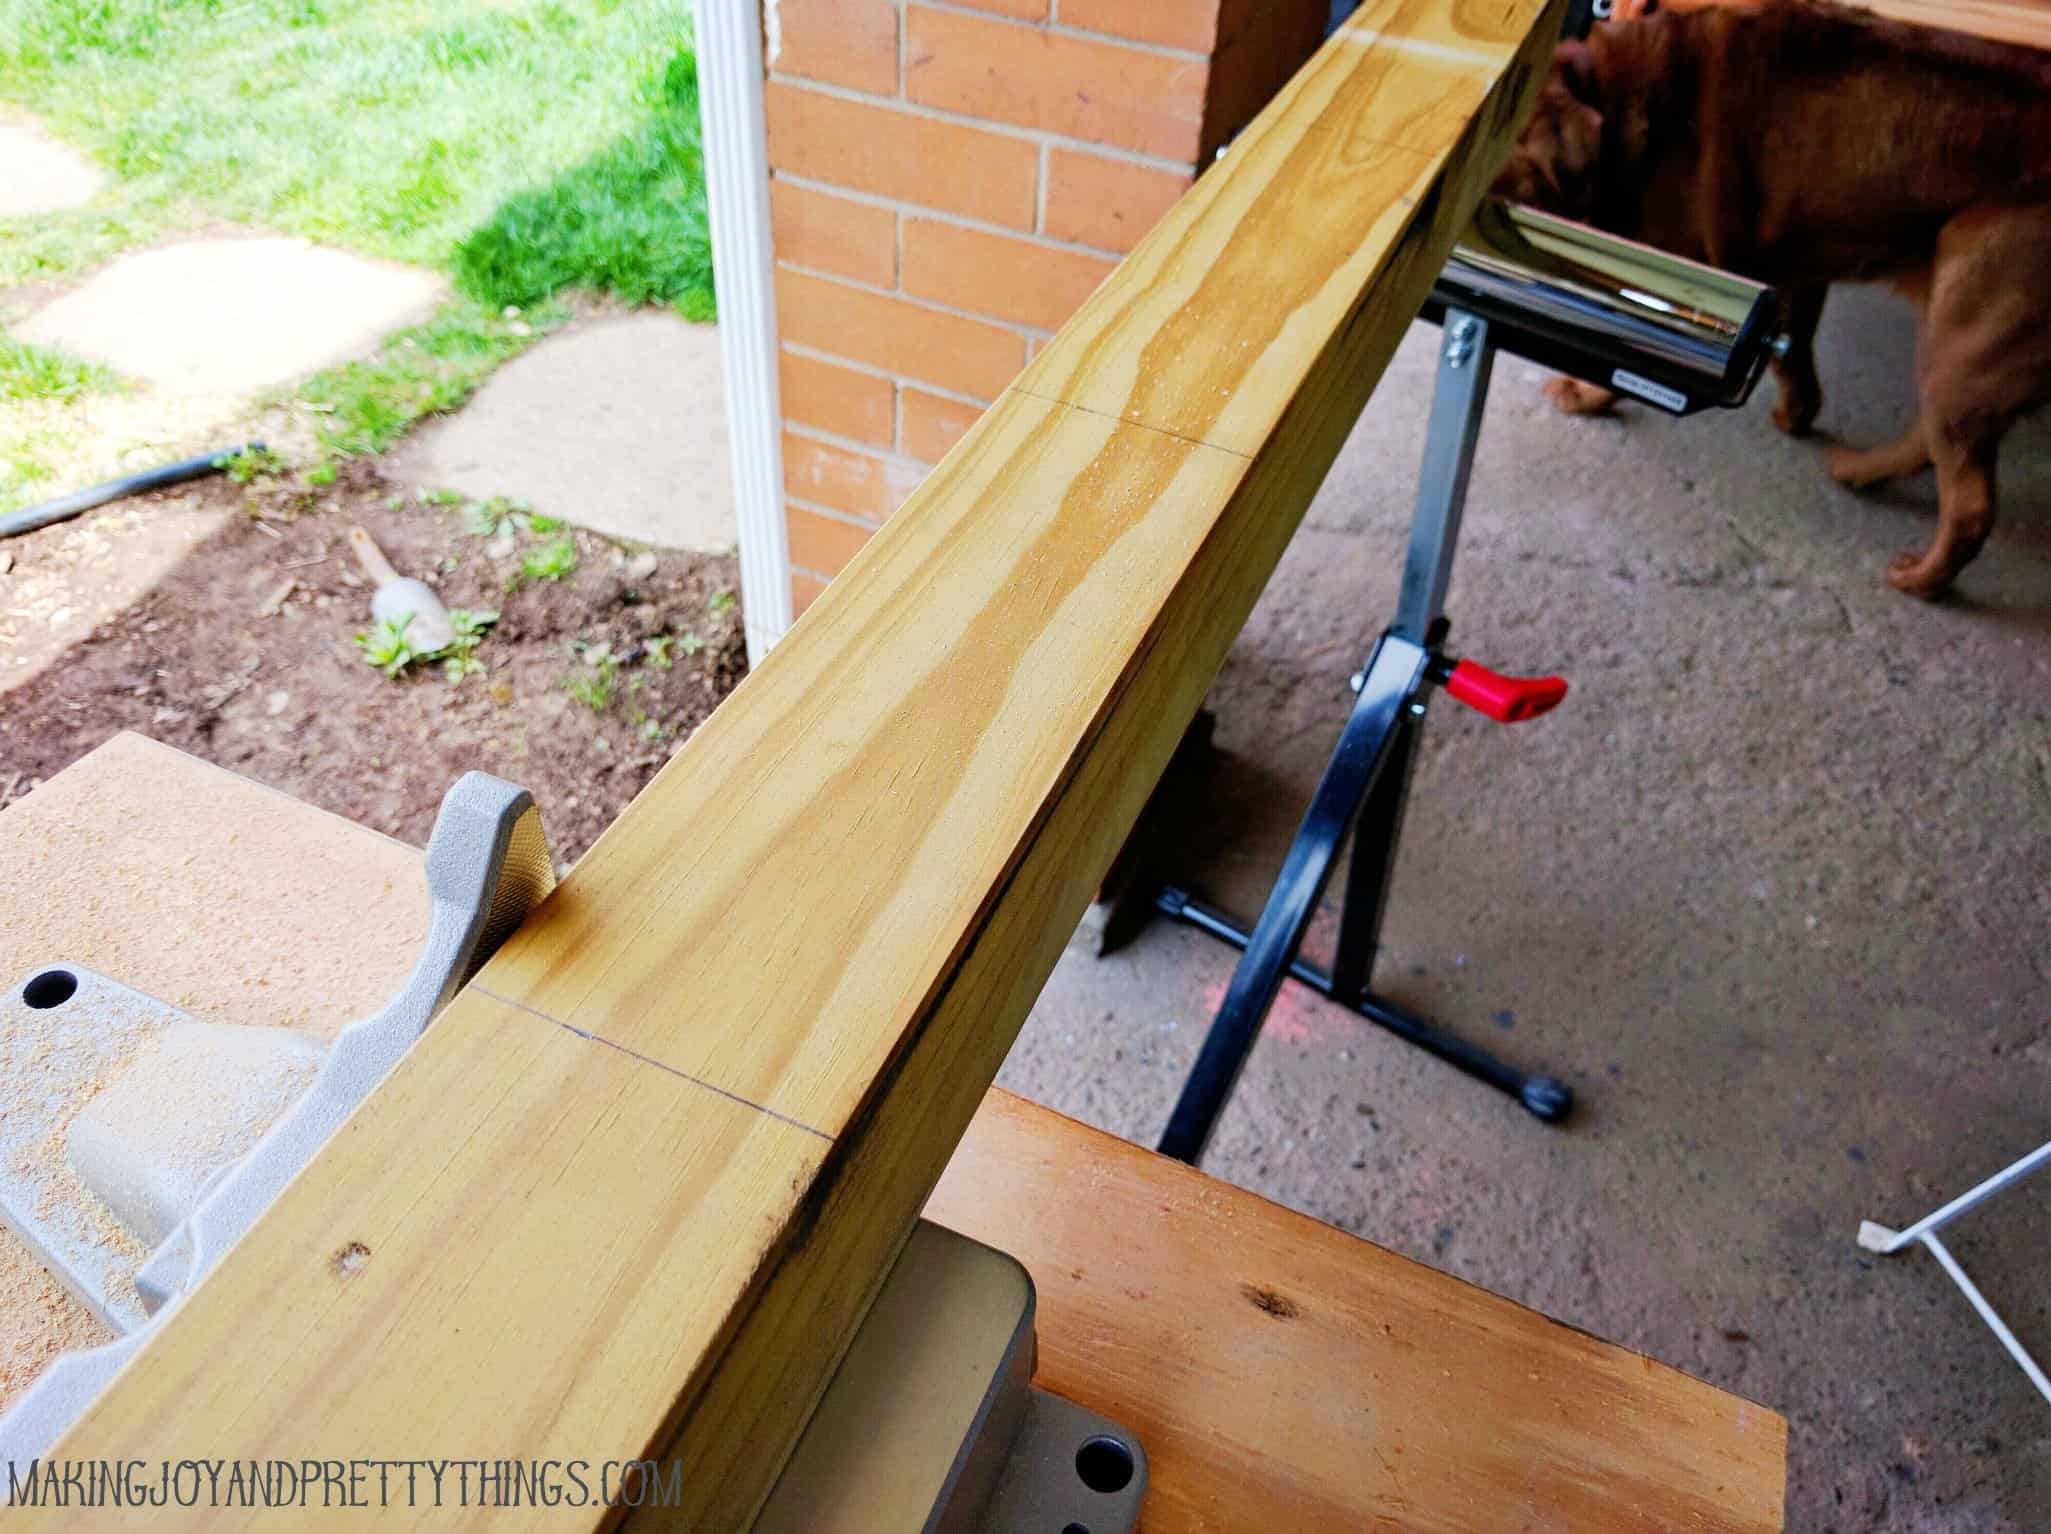
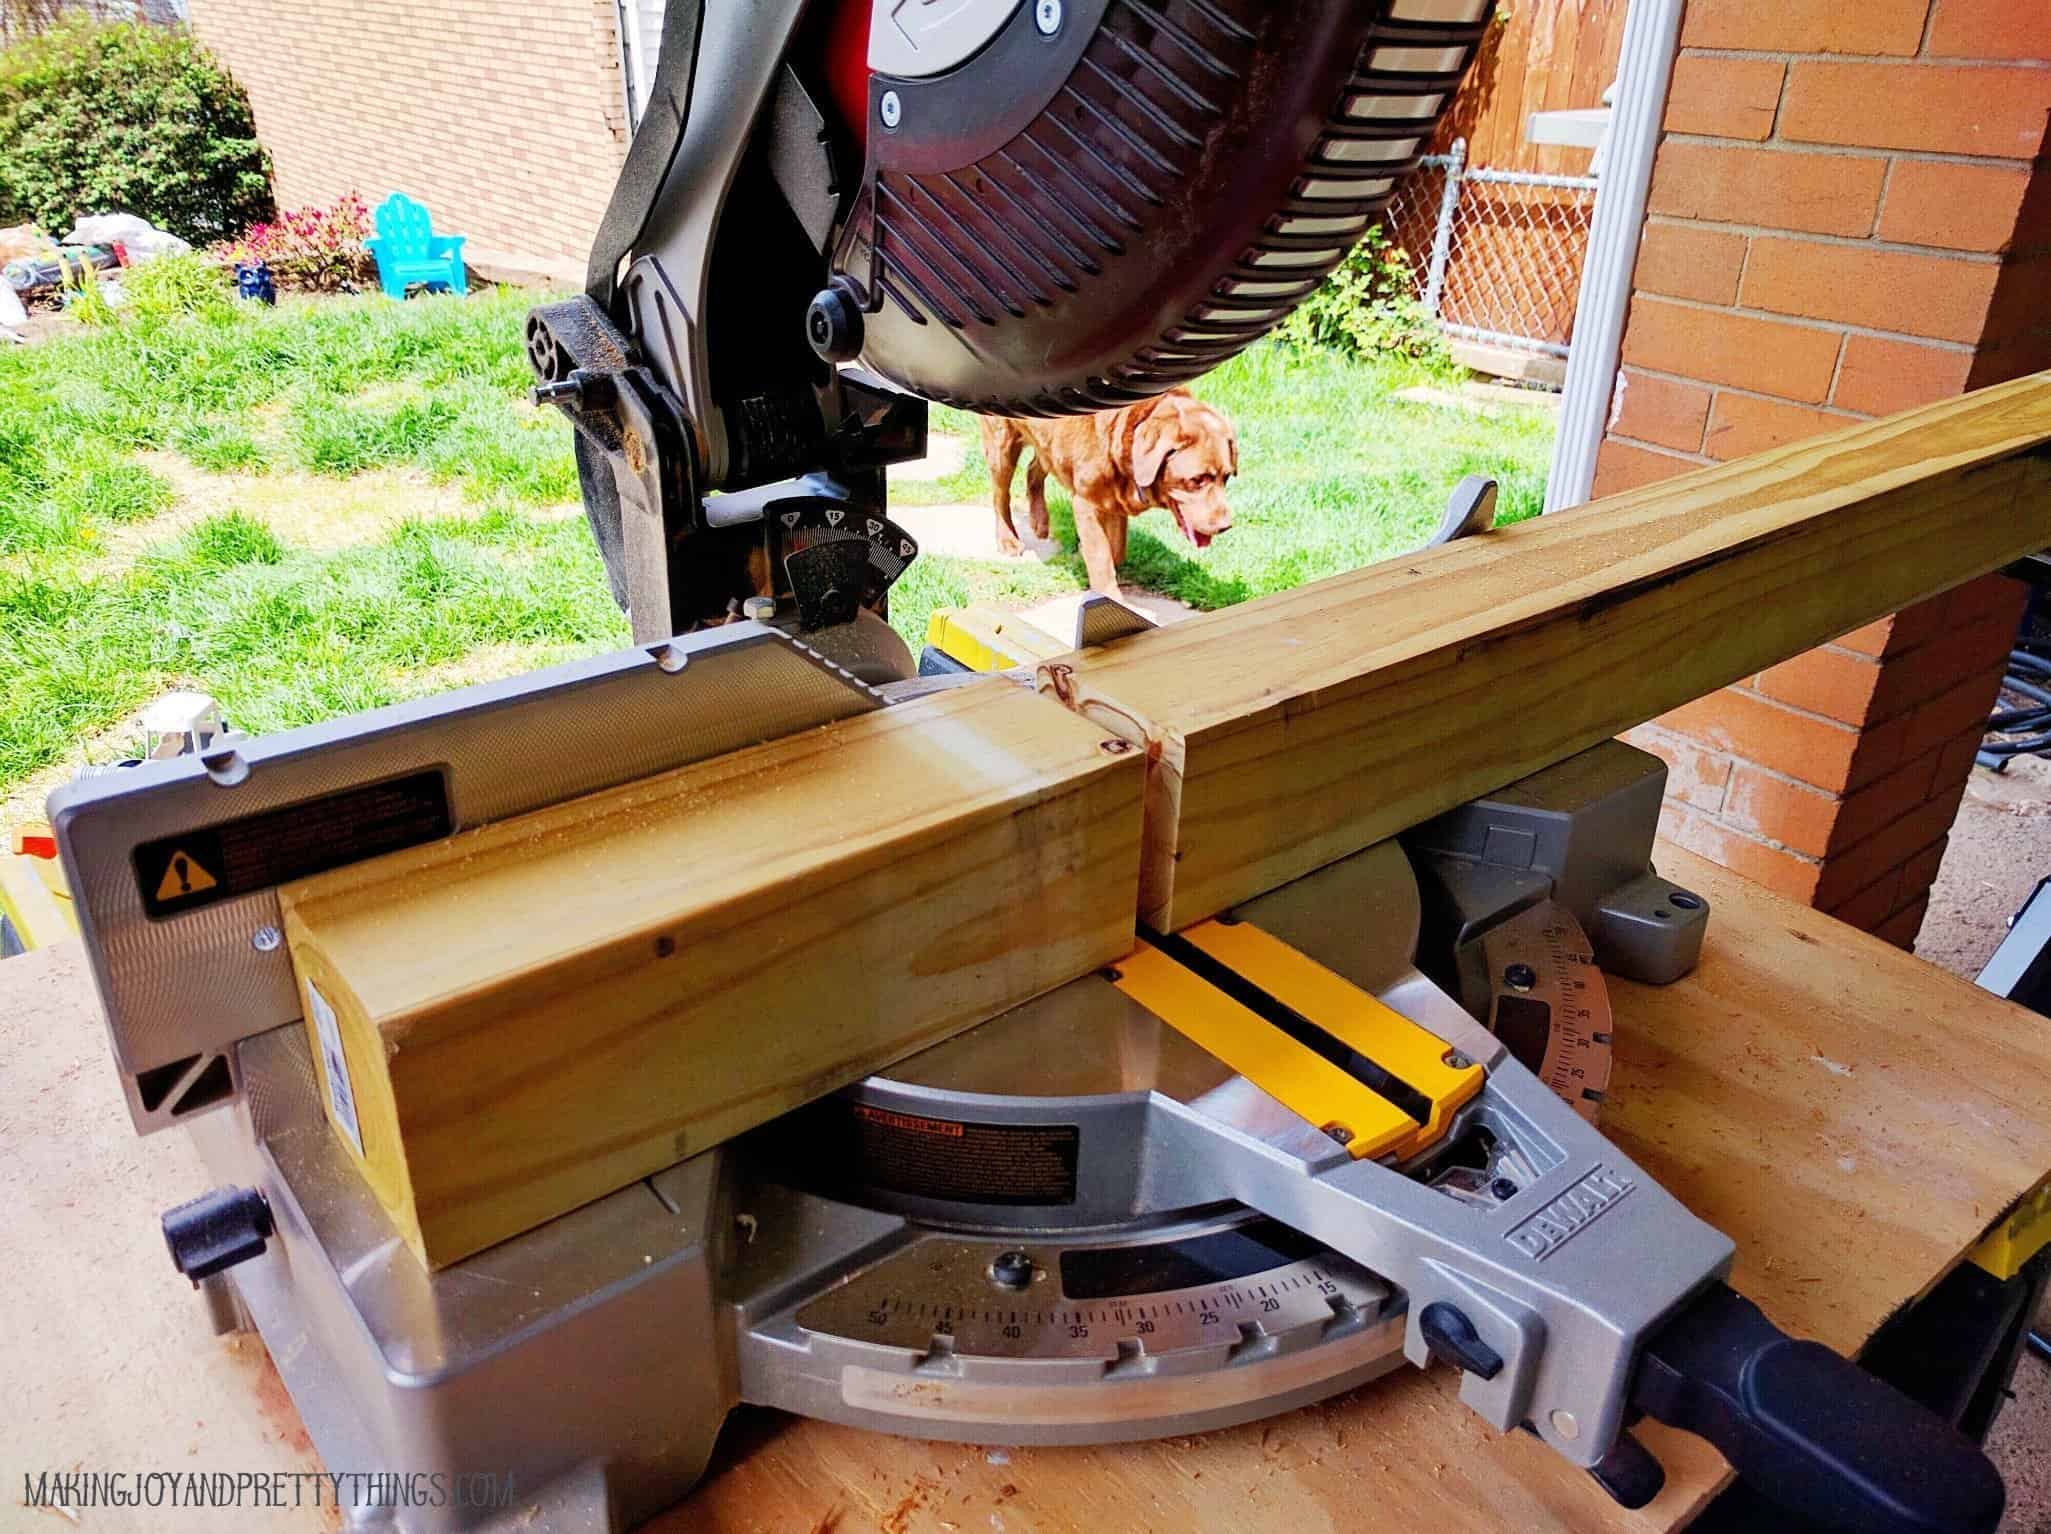
Step 2. How to assemble the sides of the raised garden bed
The wood is cut and now it’s time for assembly. The goal here is to end up with a 2′ x 4′ box that is 16″ high. You can start with a long side or a short side, it doesn’t really matter, but you’ll have to decide if you want the boards on the long side to overlap the short side or vice versa.
I chose to have the boards on the long side overlap the short side, so I attached two pieces of 4″ x 4″ to one of the 2′ pieces of cedar lined up to the bottom and edge of the board, as detailed in the picture below.
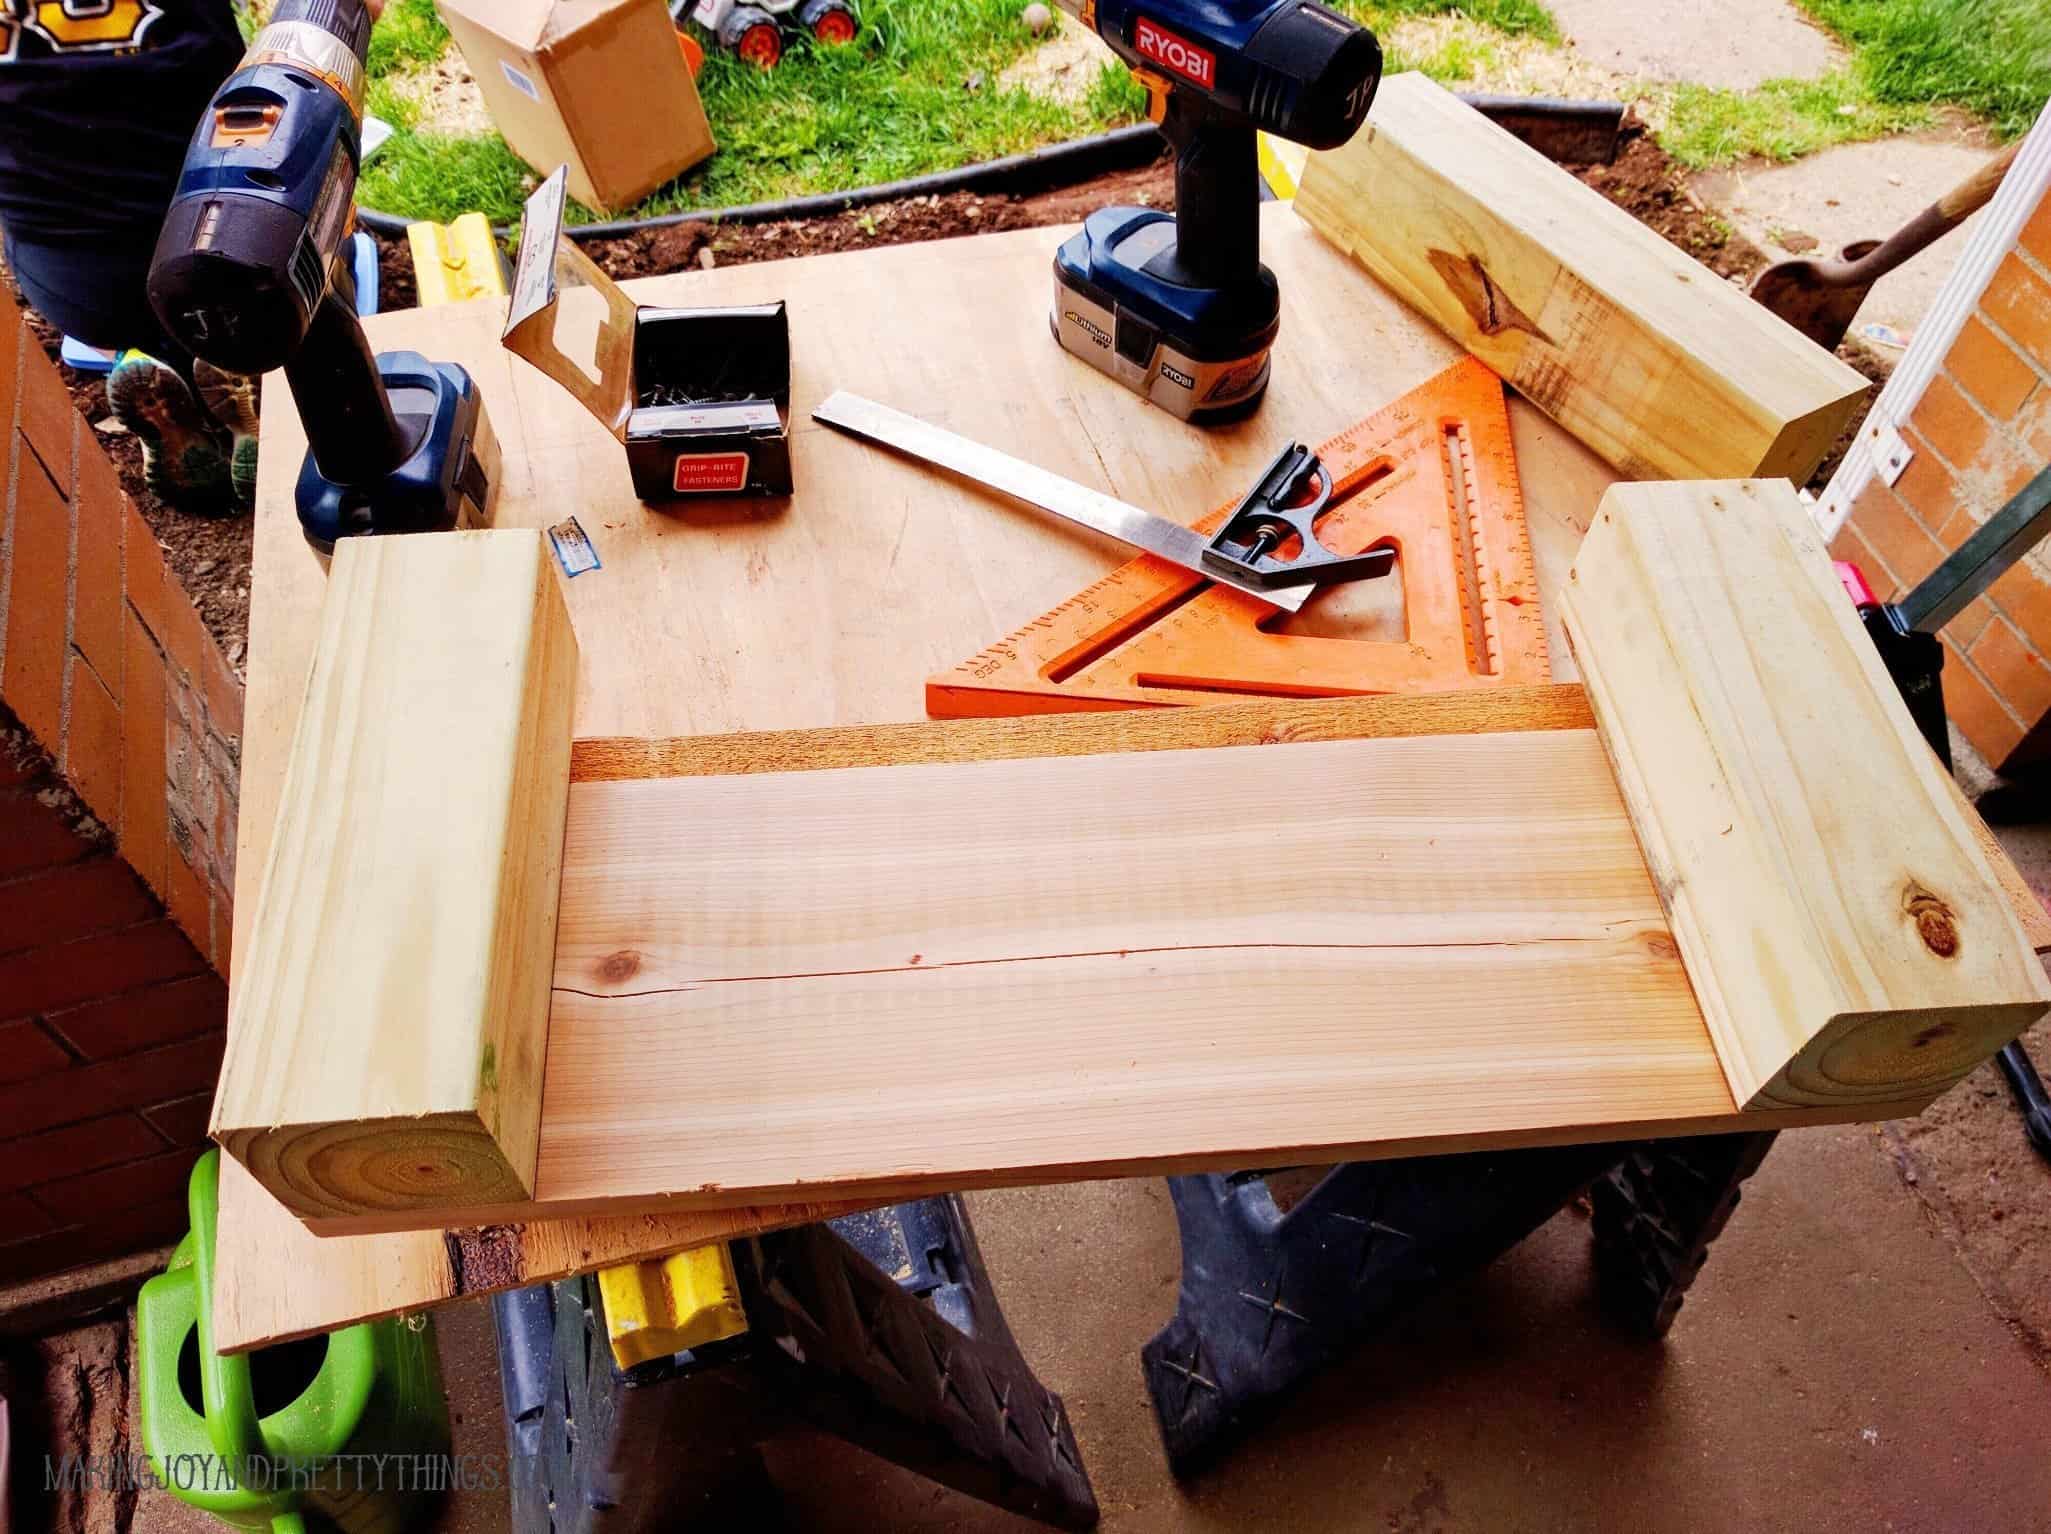
I attached the cedar to the 4″ x 4″ by first drilling pilot holes in the cedar to prevent it from splitting. I wasn’t worried so much about pre-drilling the 4″ x 4″, but it wouldn’t hurt – especially if your 4″ x 4″ is a little on the dry side.
As you can see below, I prefer to use a triangle pattern when I screw things in like this.
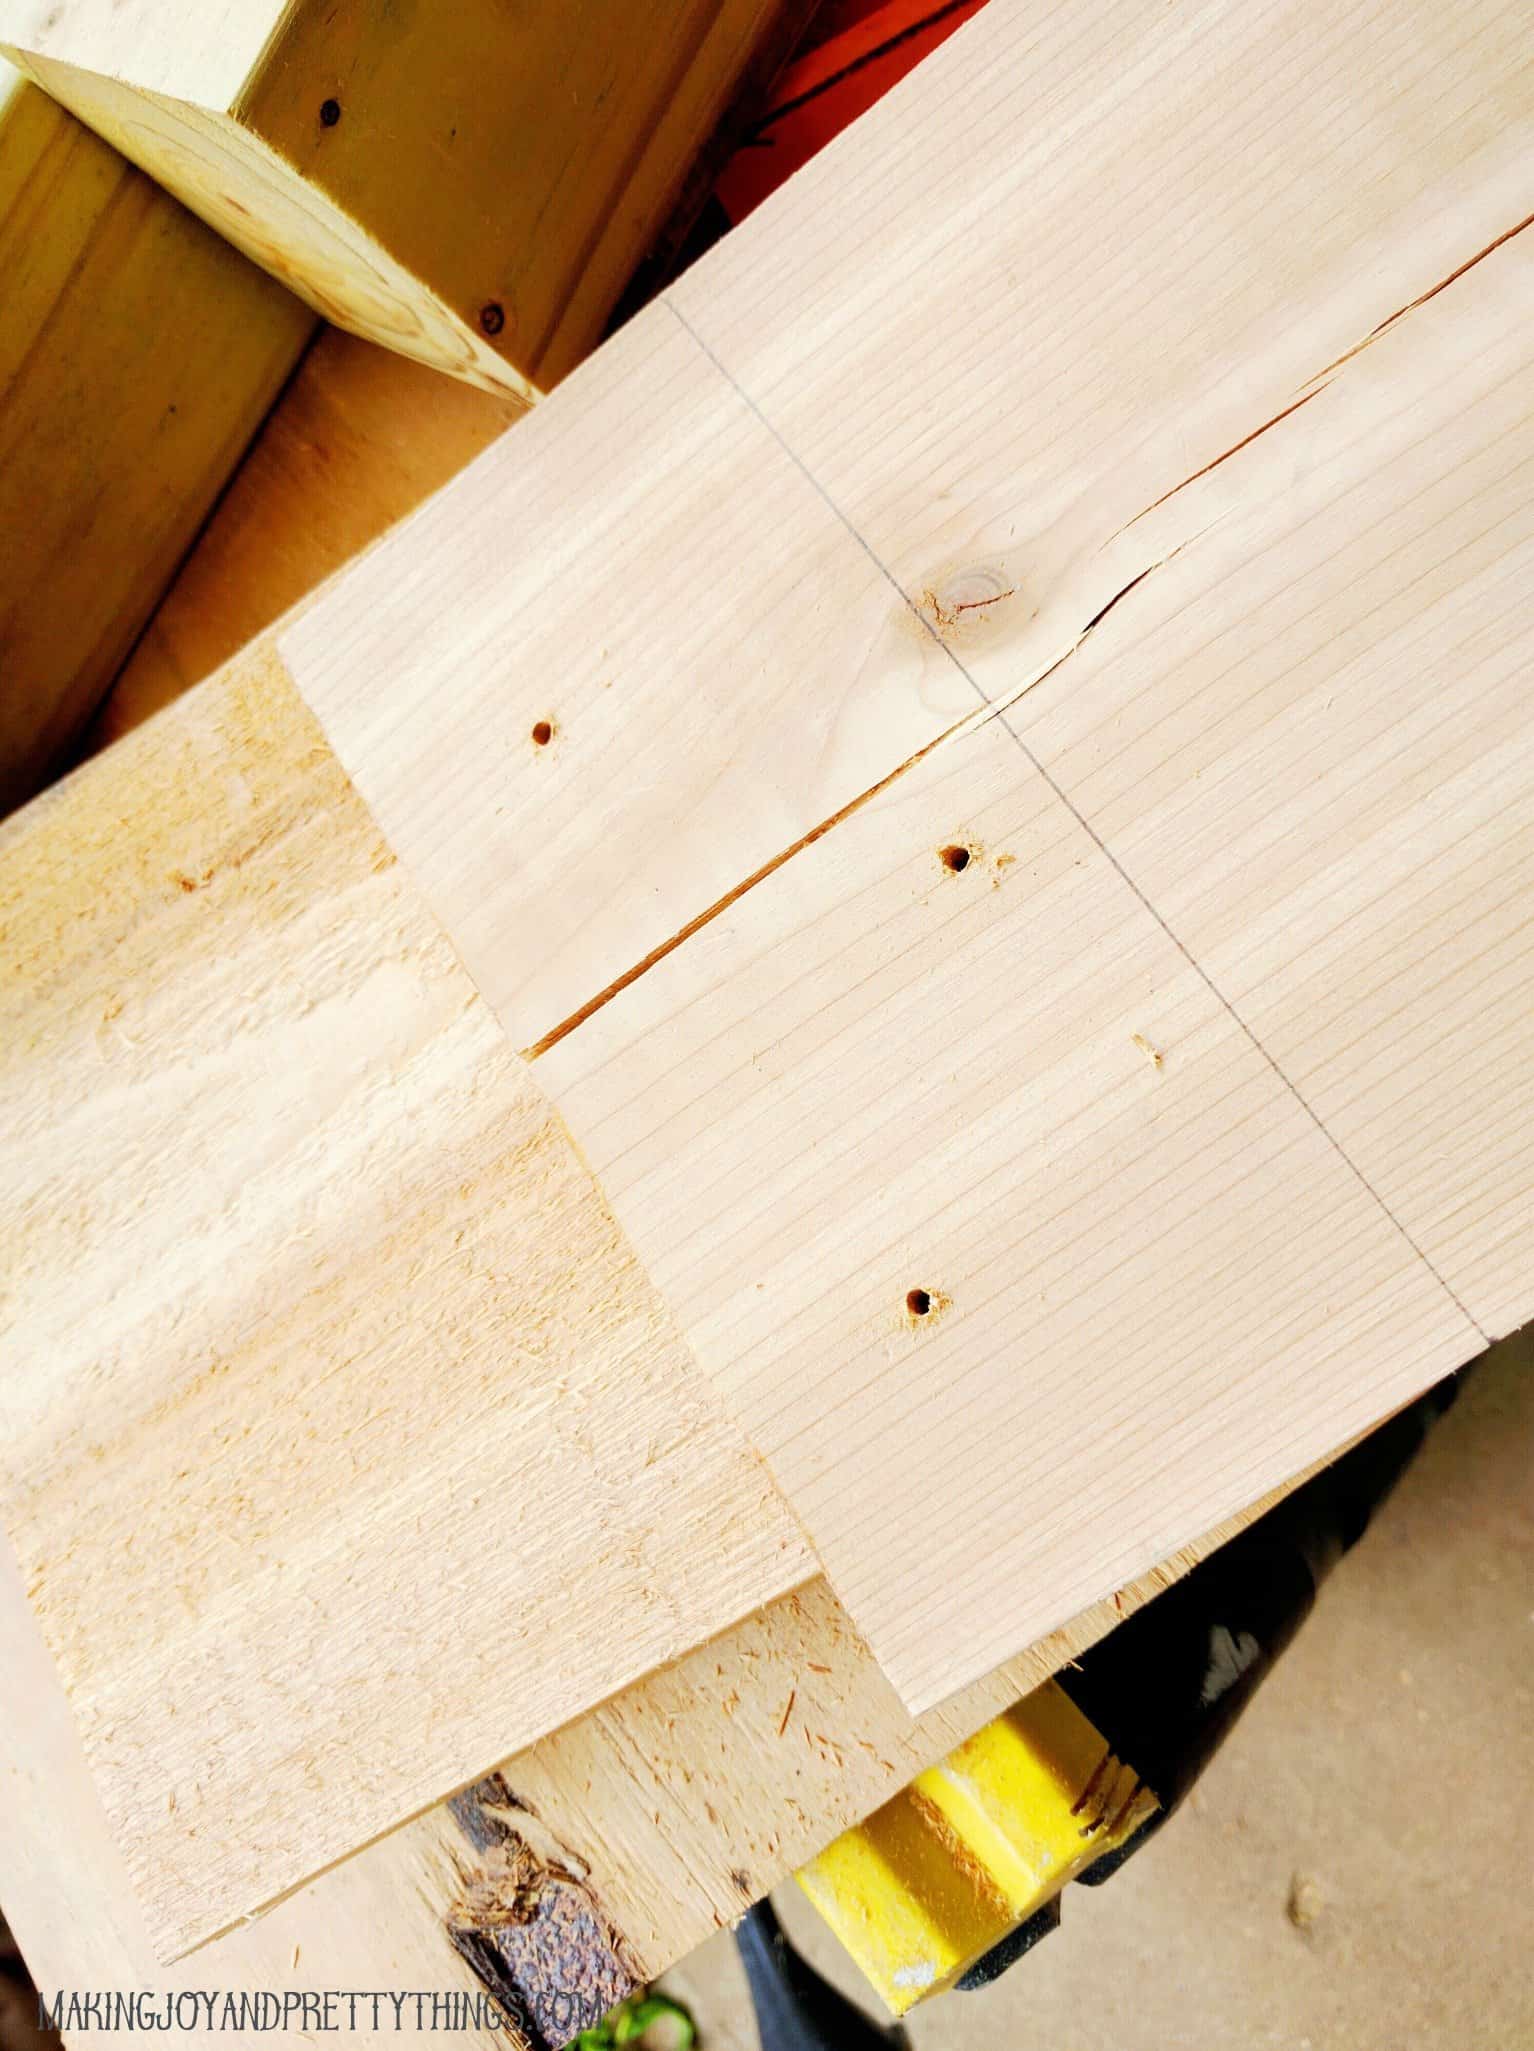
I start with one screw at least an inch from the bottom of the board and left-of-center on the 4″ x 4″, another one a few inches up right-of-center on the 4″ x 4″, and then a third about an inch from the top back left-of-center.
I personally believe this provides a little more stability. It’s overkill for this particular project, but I’m a fan of overkill. {Yes, yes he is. He gets that from his dad. The two of them could sit and ponder a project for a good 24 hours straight and get nothing accomplished.}
Step 3. Assemble the sides of the cedar raised garden bed
You pretty much repeat this process four times to attach the four pieces of 4″x4″ to the two short pieces of cedar. Next, you can attach your longer cedar pieces to the two side pieces to make your box.
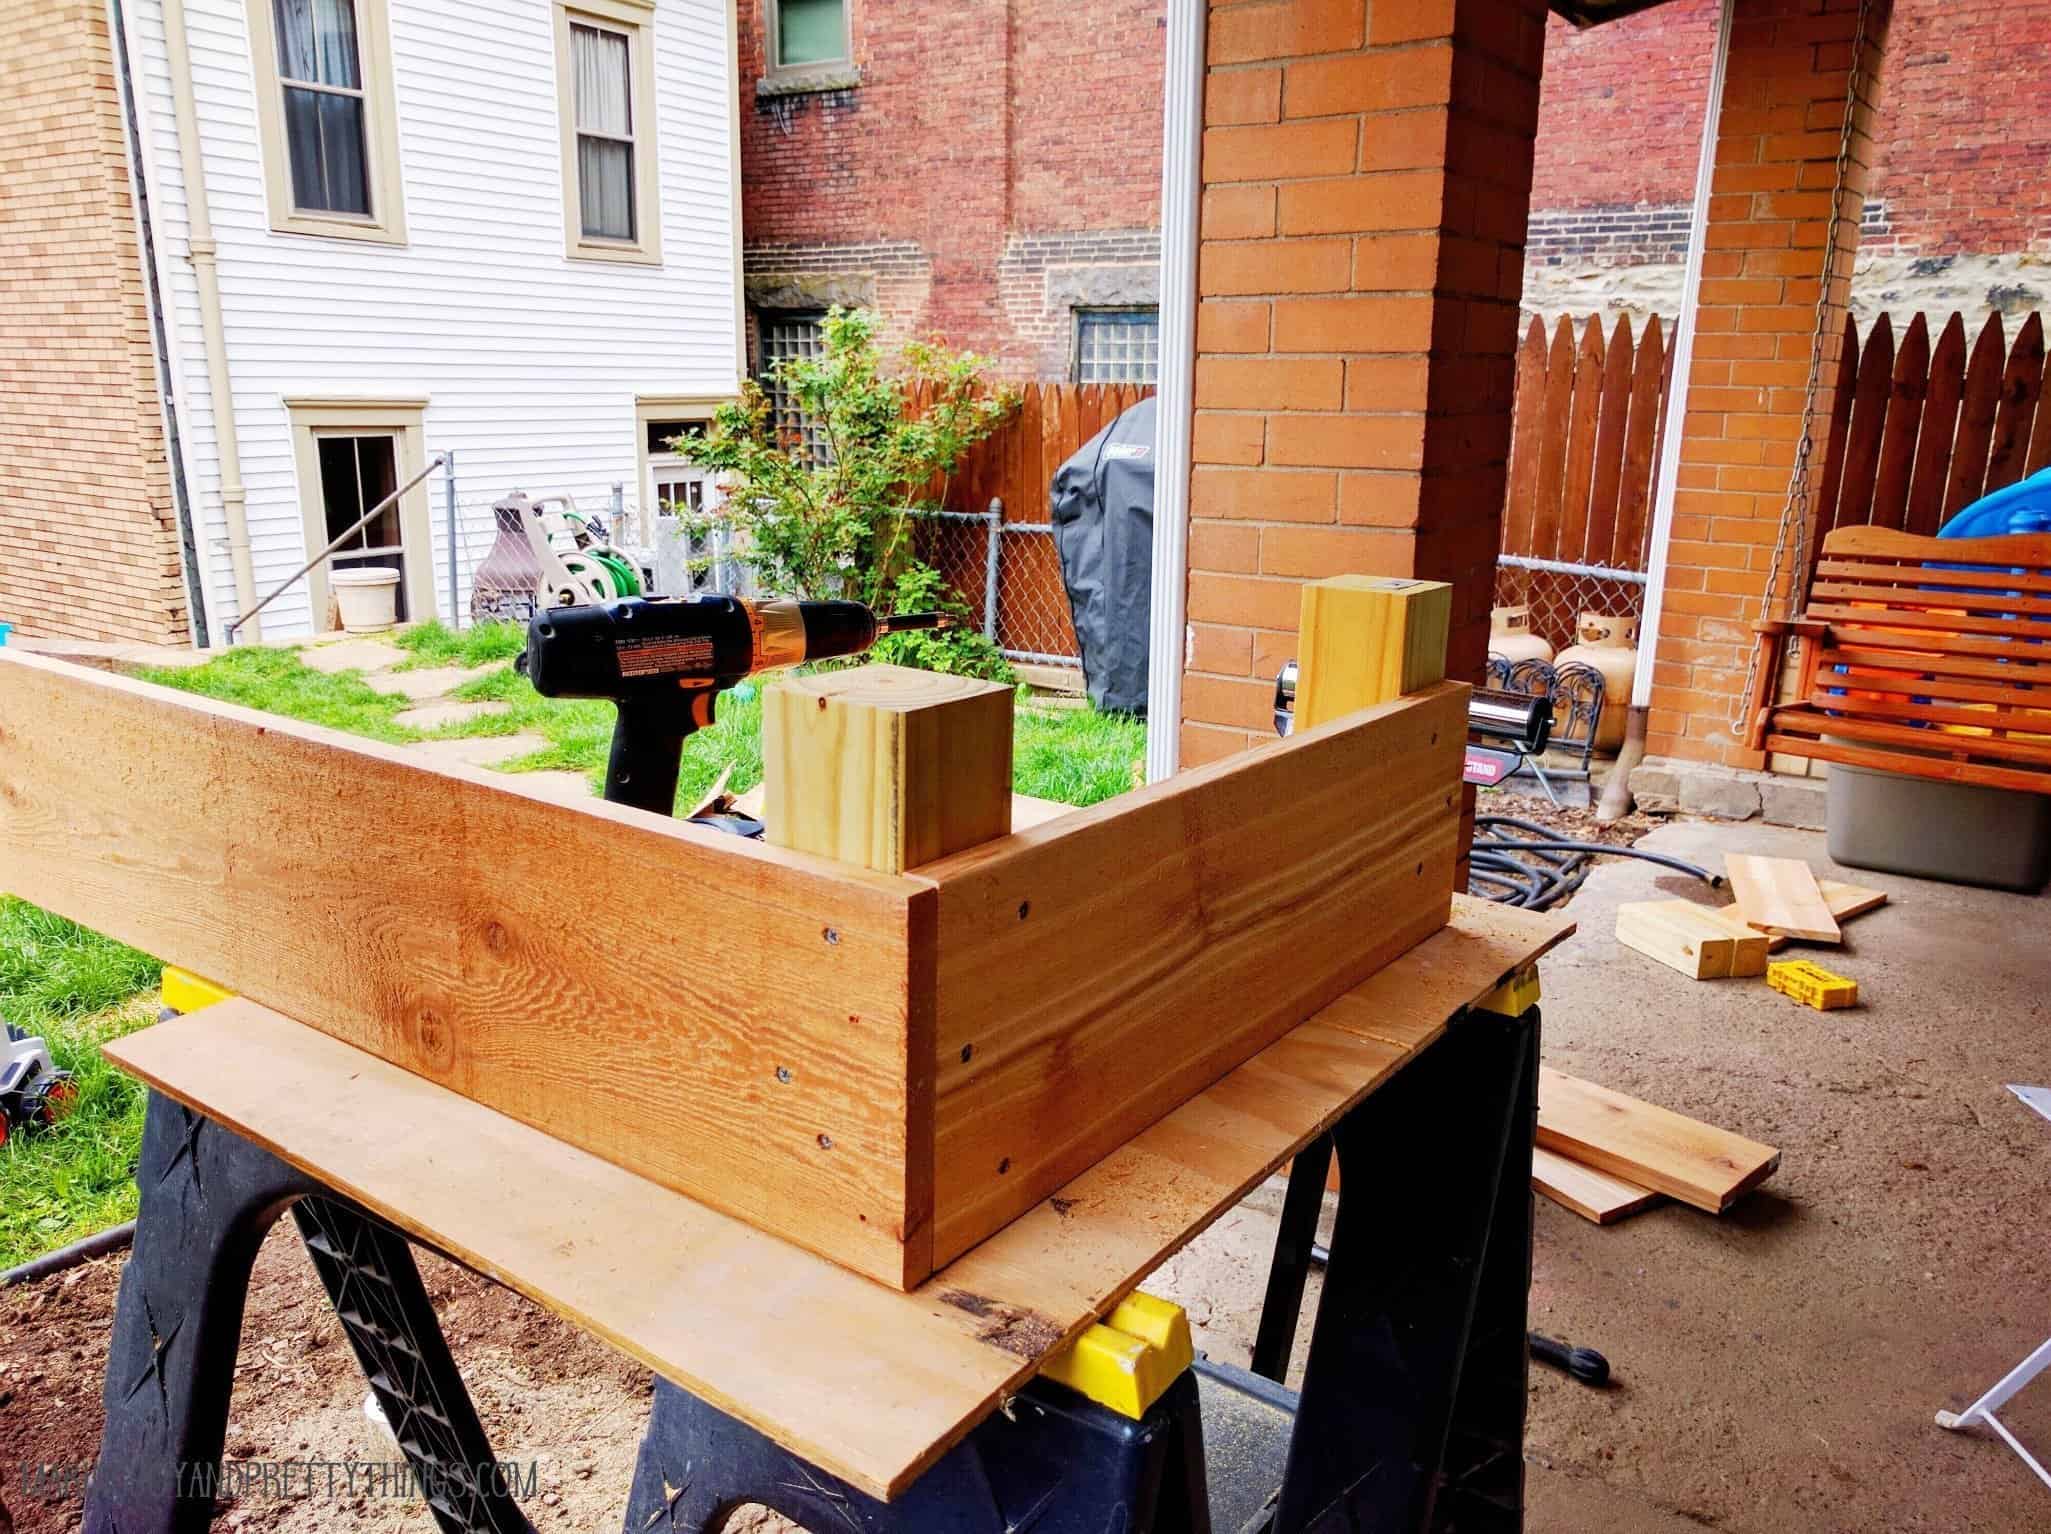
Step 4. Add the top cedar to the raised garden bed
After you finish your initial box, you can start attaching the second tier of cedar boards to bring the planter up to its full height. I did this by drilling pilot holes and using two screws to attach the cedar board to the top of the 4″x4″ that was sticking up above the first tier of cedar.
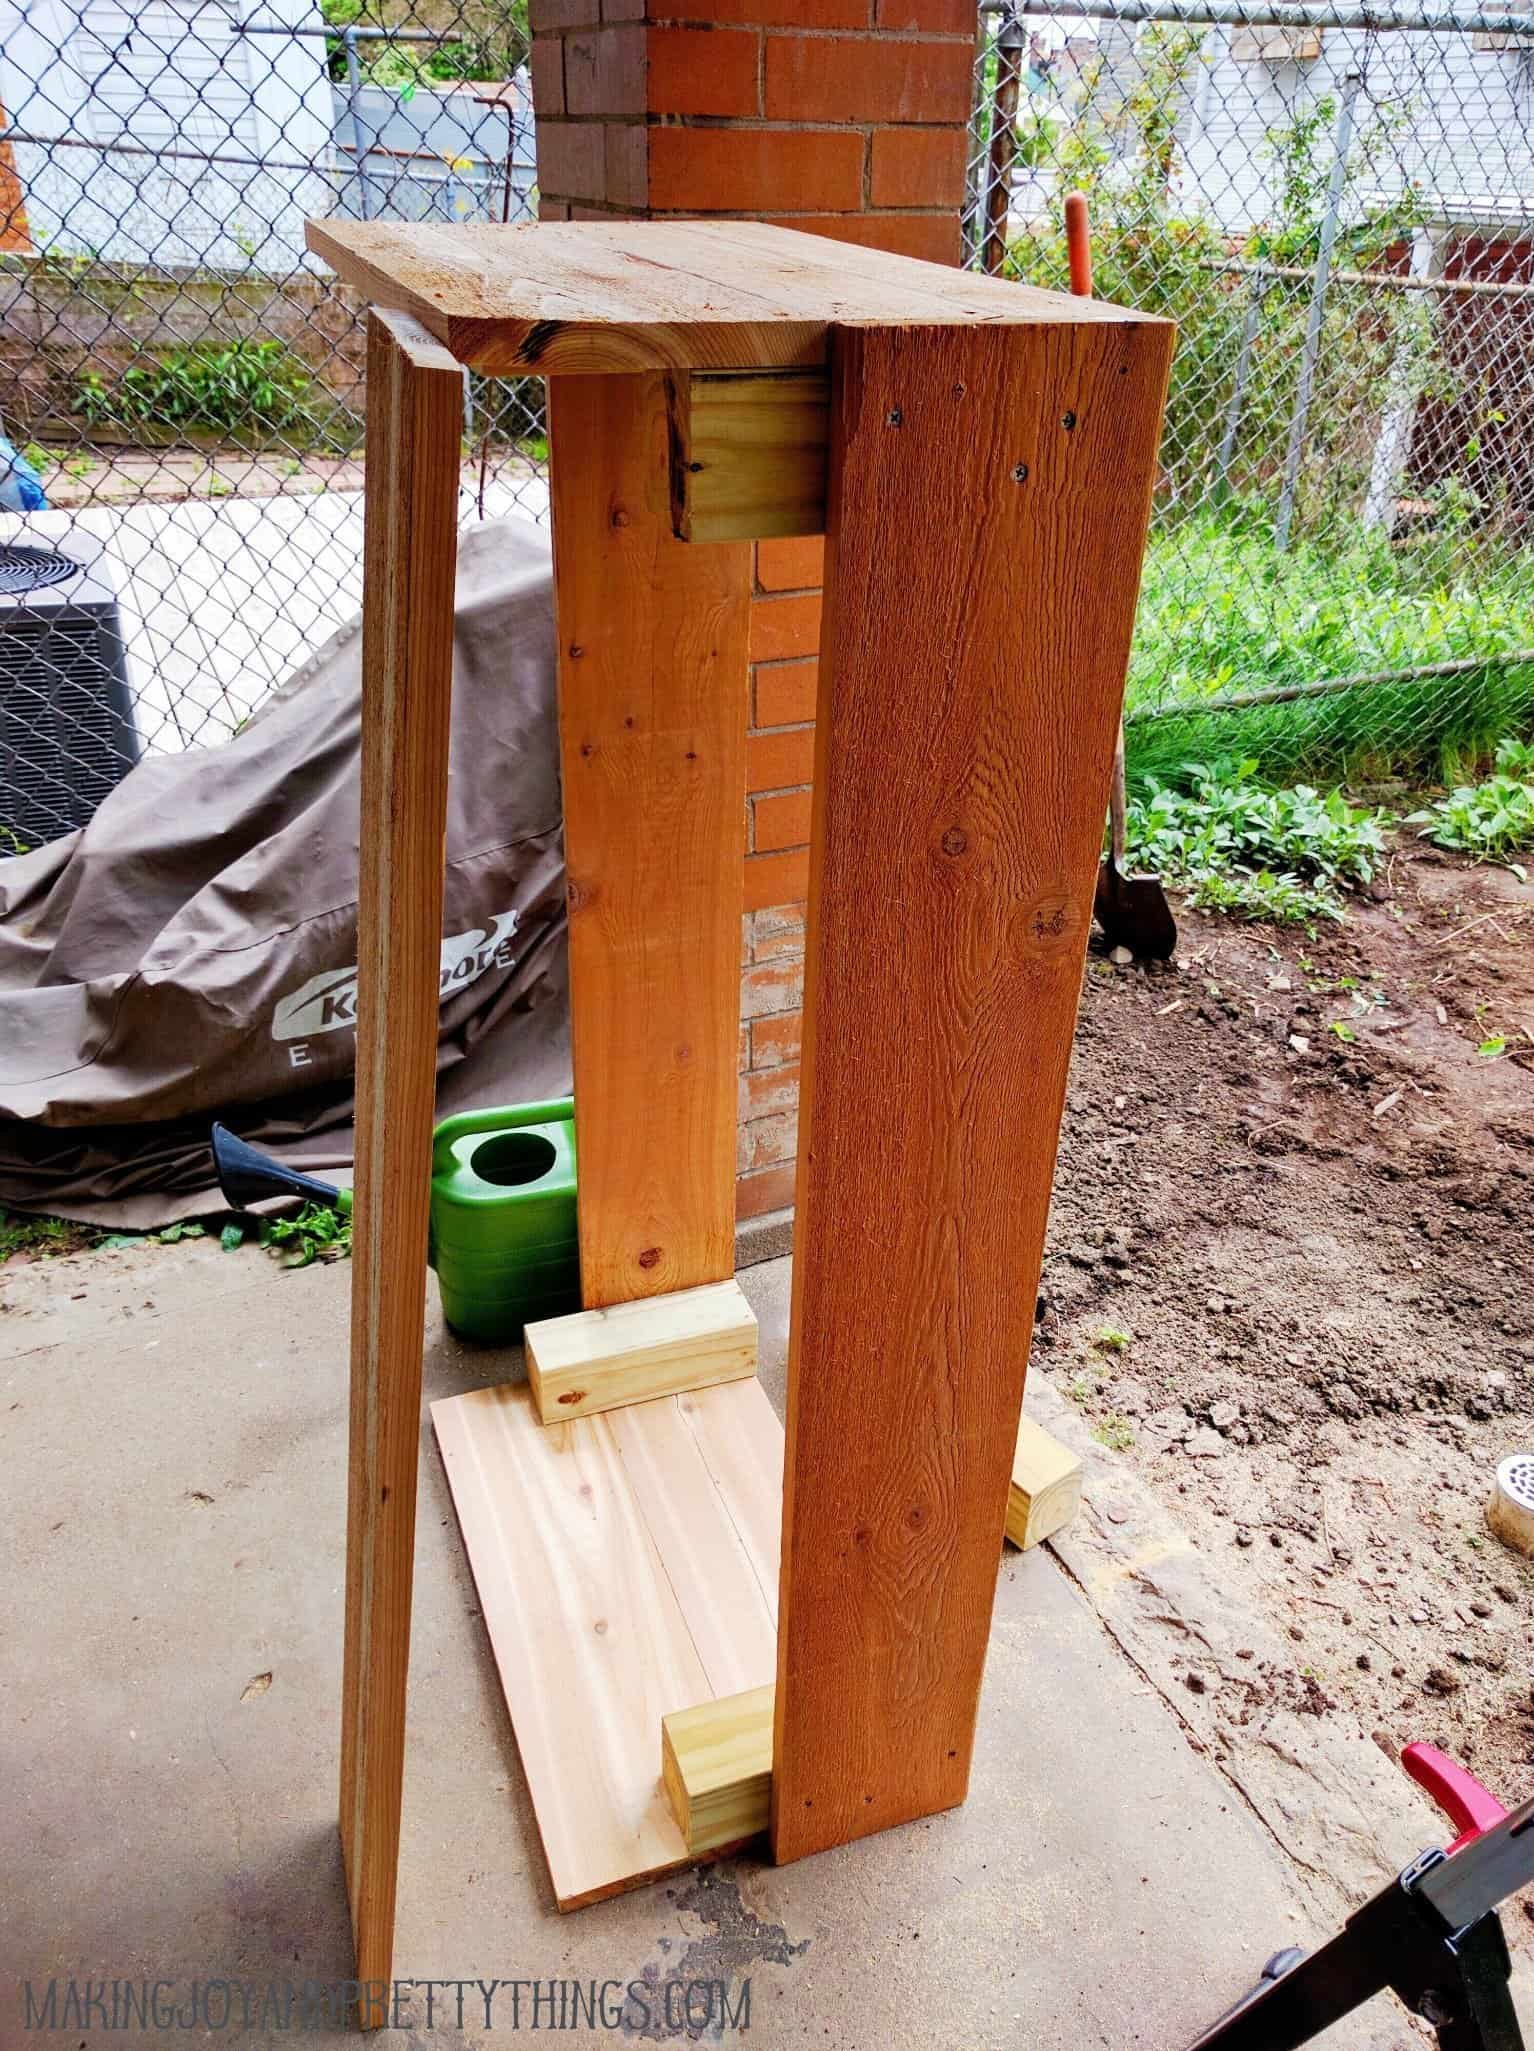
After attaching the second tier of cedar to the 4″x4″ pieces, I drilled holes through the faces of the top of the cedar pieces into the pieces behind, so the top of the box was held together as well.
Unfortunately, I got a little over-excited about how well things were going and I forgot to stop to take a picture of this step. {Rookie mistake}
Step 5. Place and finalize your cedar raised garden bed
Now that the box is built you can place it where you want it. We picked a little section of our planting bed in a corner that had enough space for our 2′ x 4′ box.
We made sure the spot was (mostly) level and was dug in just a bit to prevent the dirt in the box from running out through the bottom. It probably was, again, overkill, but better safe than sorry or something like that.
{Notice the ridiculous amount of cordless drills one man has. Is that necessary?? Almost comparable to my craft paint selection}
Step 6. Attach cedar support pieces
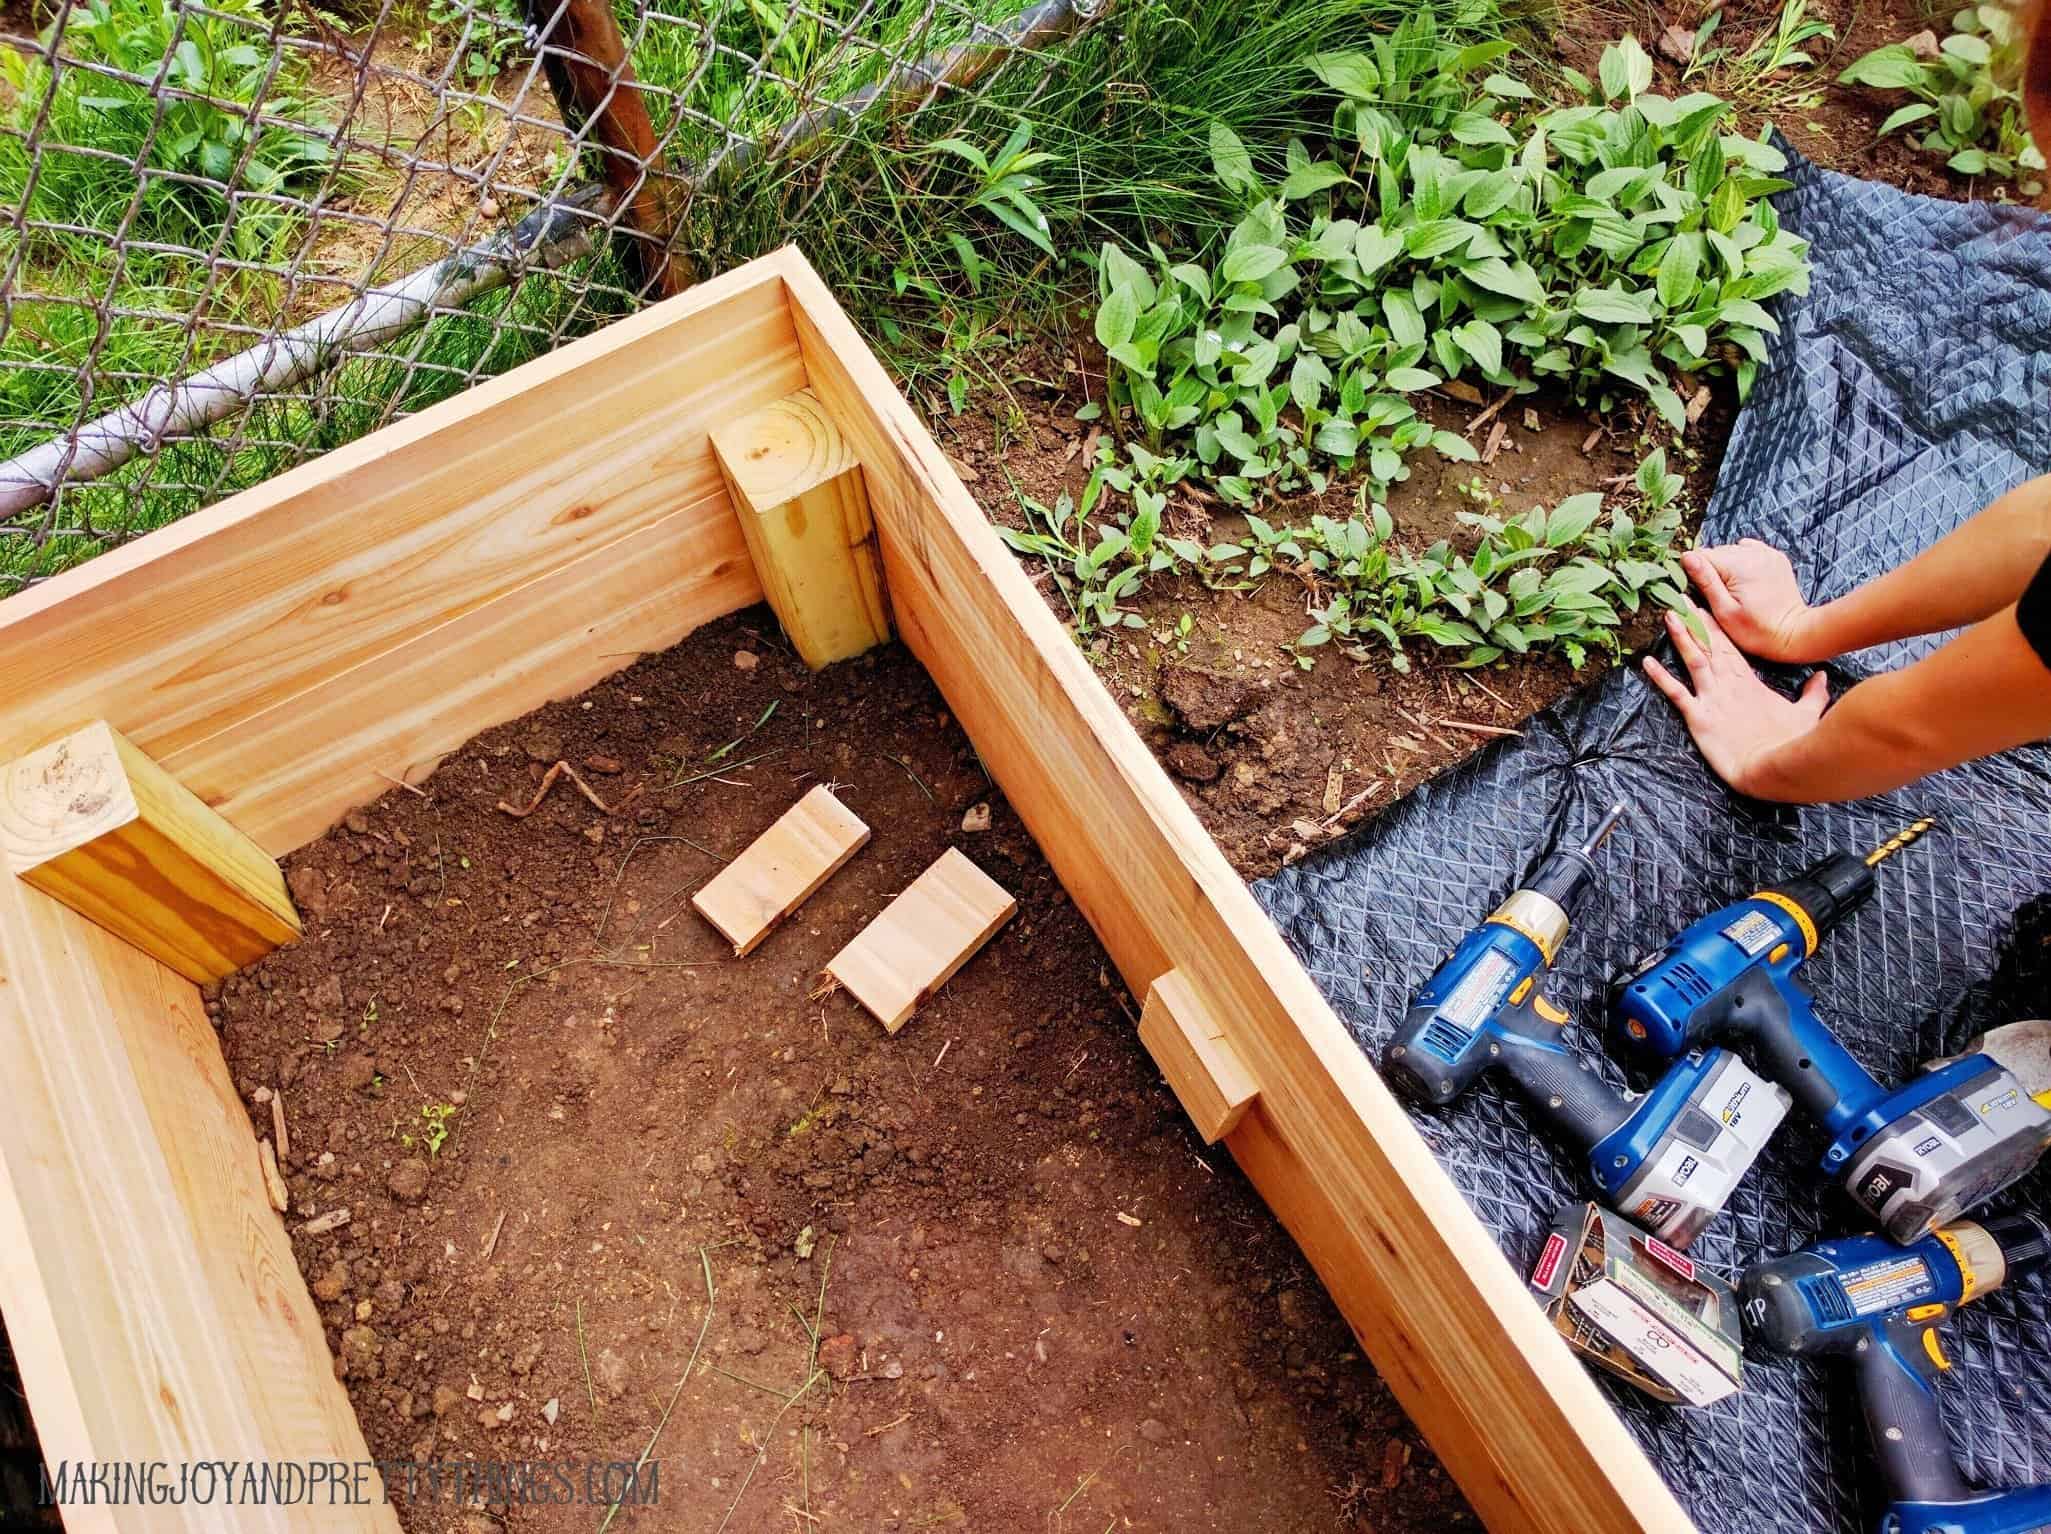
You can see in the picture above that I used a few scrap pieces of cedar to hold the two tiers of cedar together. I didn’t want any bulging to happen and distort the shape of the box.
Step 7. Attach weed block to the raised garden bed
After adding in those scrap pieces, I used a staple gun to attach some weed block to the inside of the planter to keep the dirt from running out through the two pieces of cedar, as you can see below. I wasn’t super exact with this at all.
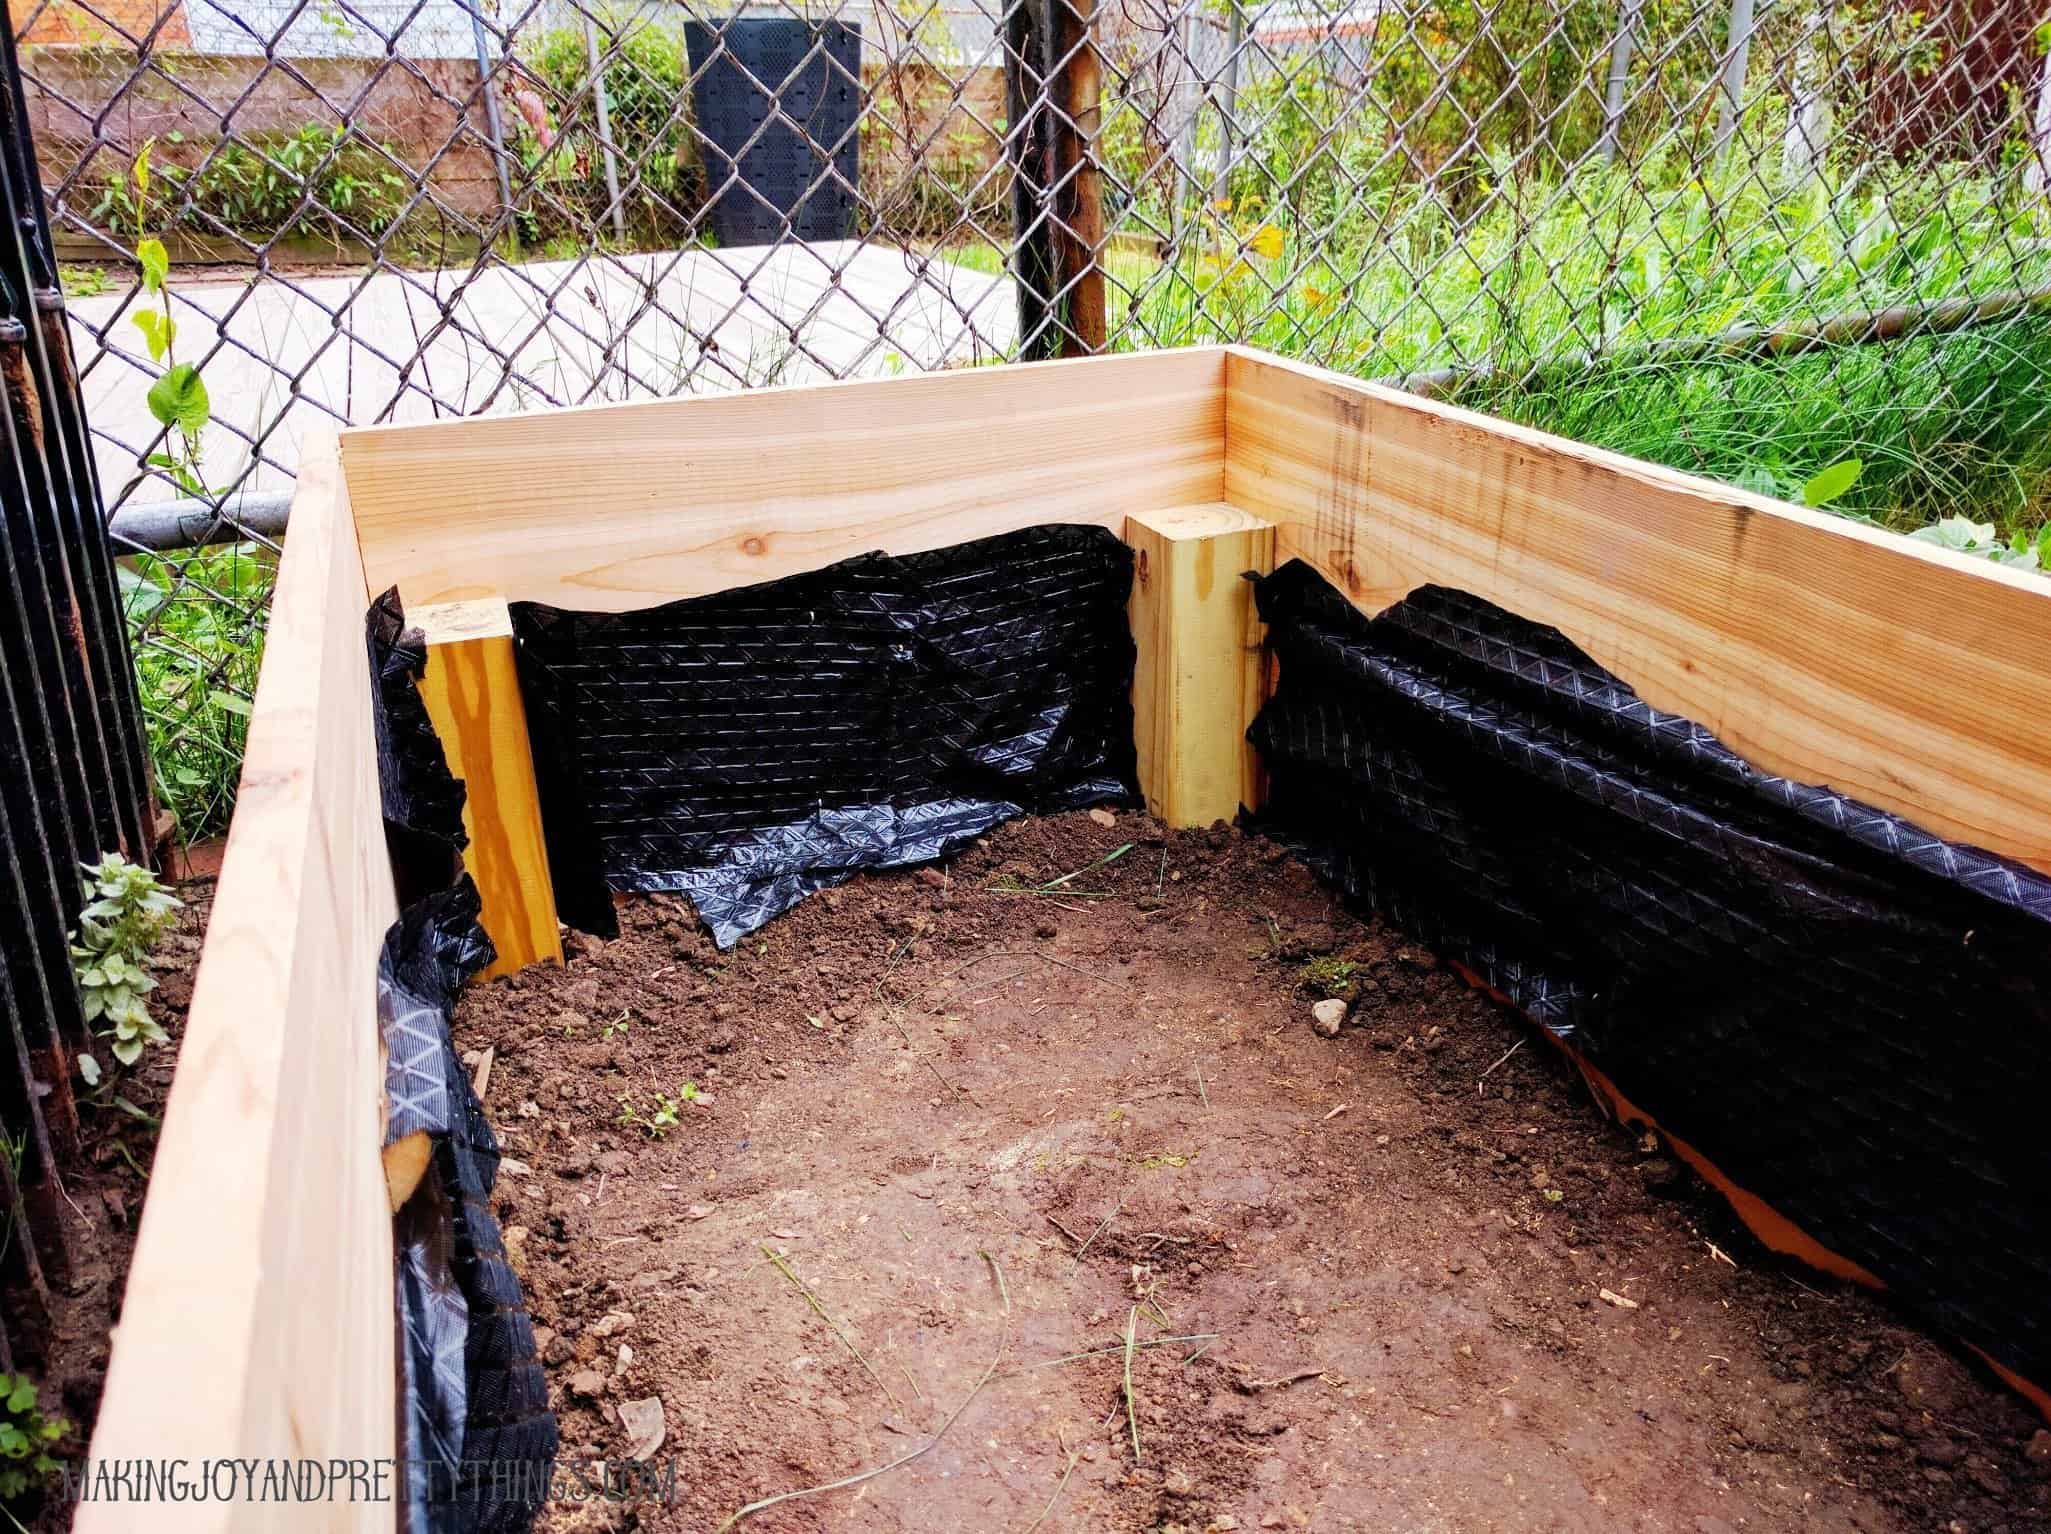
Okay! Now you have a 16(ish)” high raised bed placed on a level area and lined with weed block to keep the dirt in. You’re ready for dirt!
Step 8. Fill the bed with planting mix
We used the organic Planting Mix in the picture below that we purchased from a local garden shop. You could certainly use whatever planting mix you’d like.
I do want to point out that the expert at the shop said to never use Potting Soil in a raised bed, as that would retain way too much water and would end up drowning your plants/vegetables.
{Side note: we bought organic planting mix and non-organic veggies hahaha}
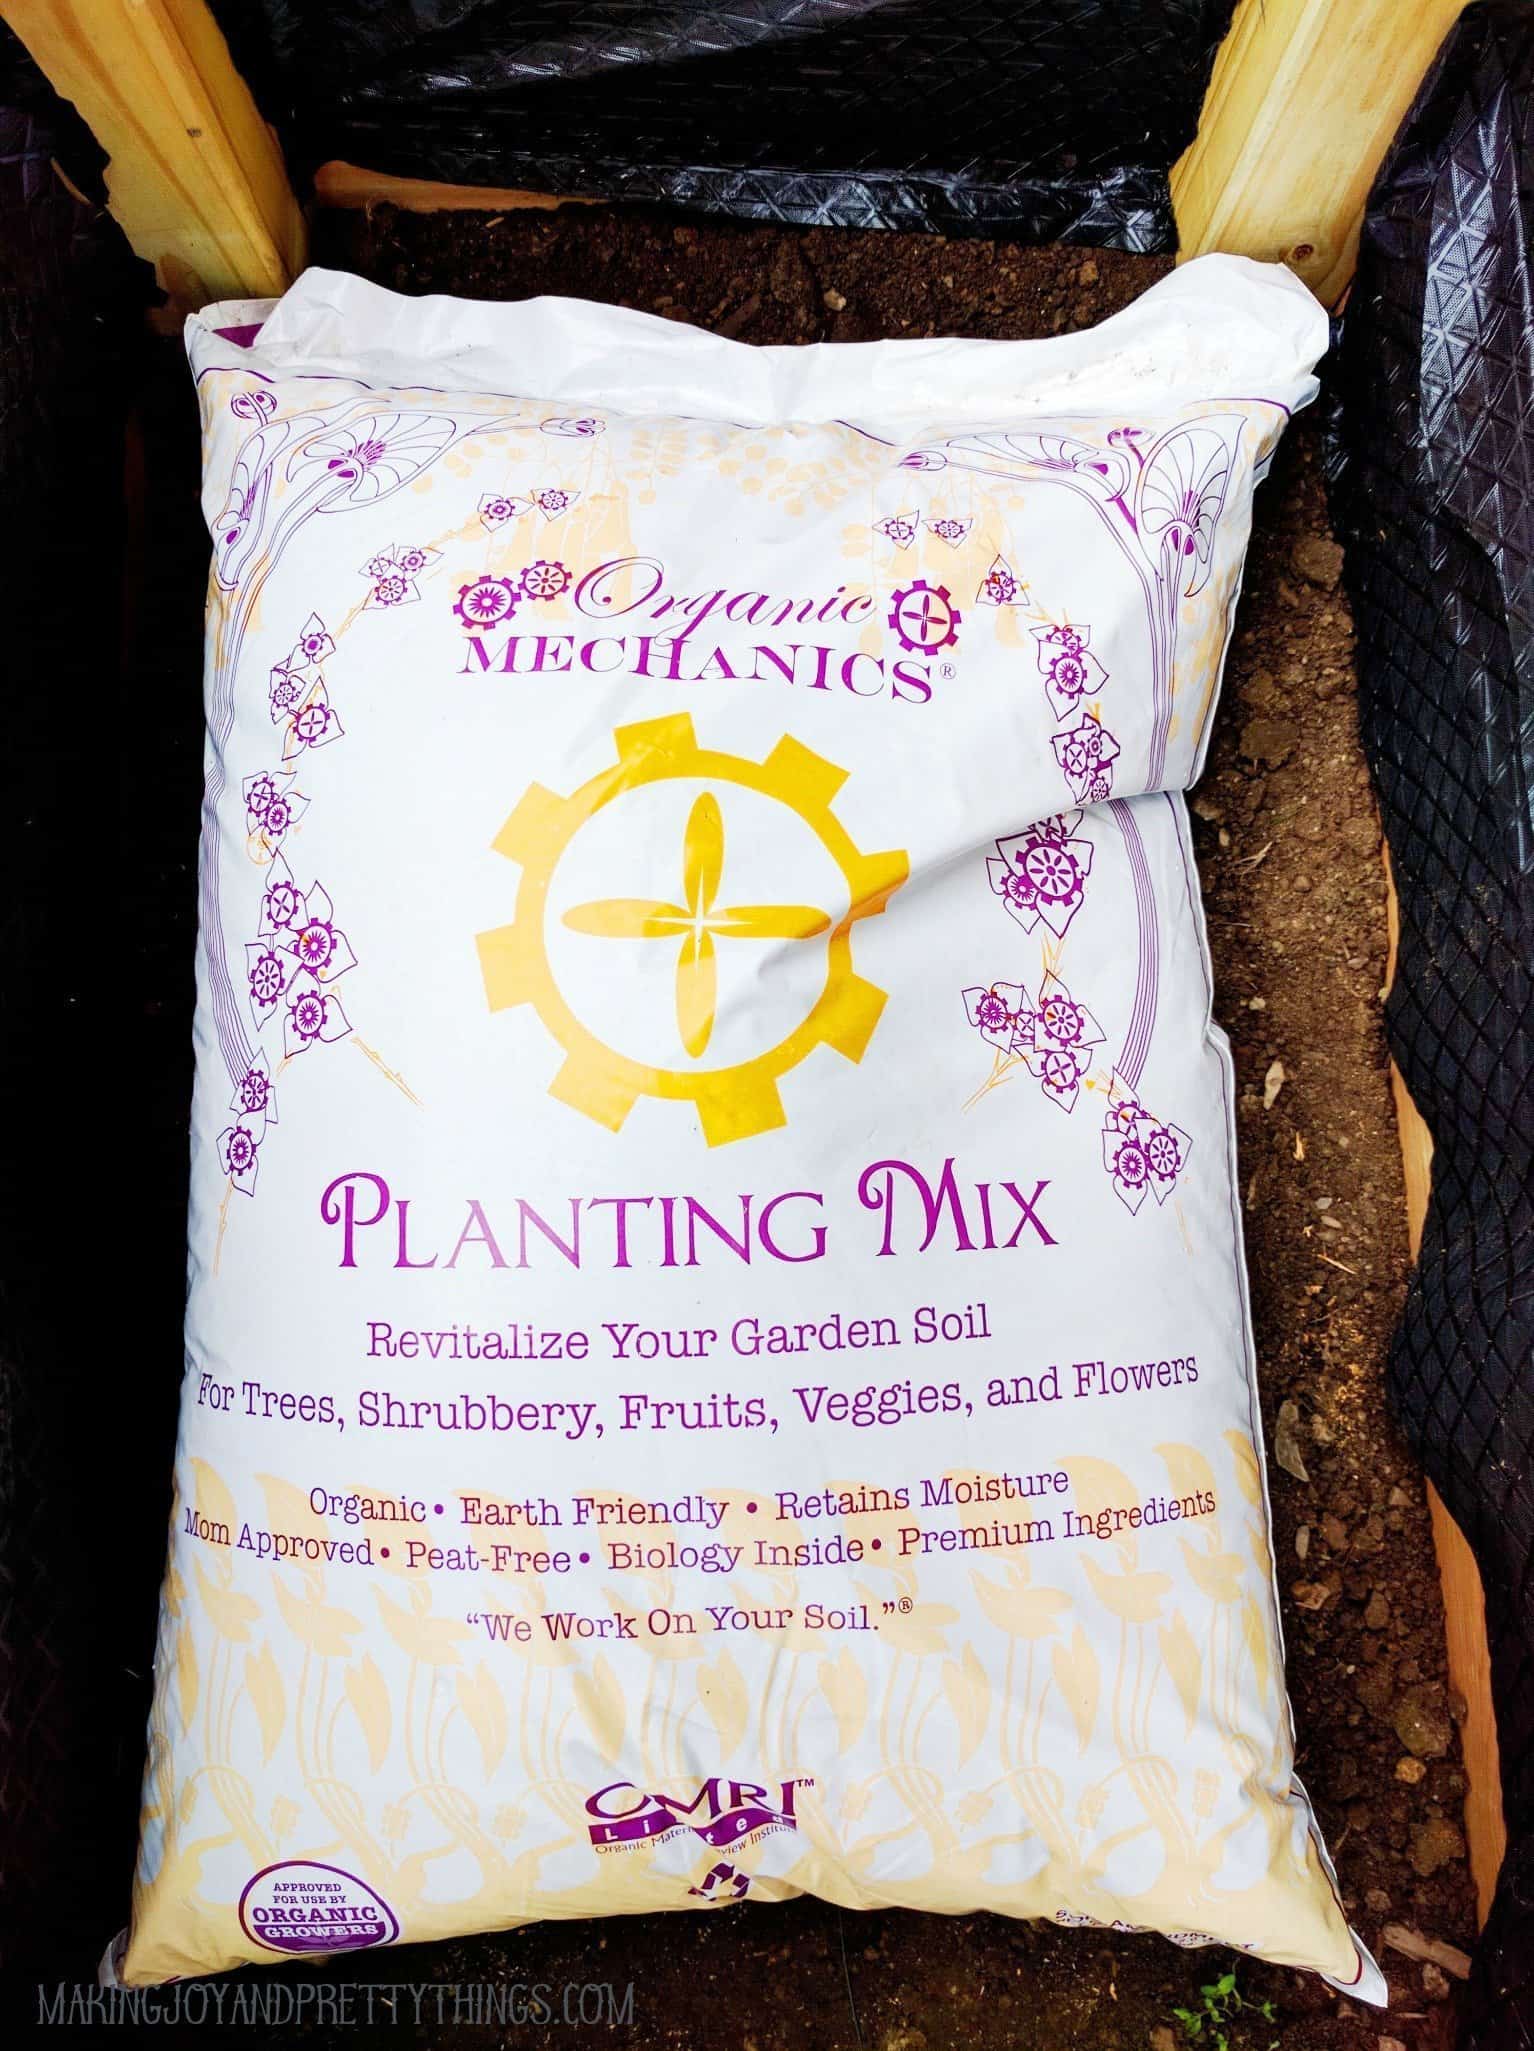
We used 8 cubic feet of soil, so we had about 4″ from the top of the dirt to the top of the planter. You could use a little more, but I wouldn’t use any less.
Congratulations! You’re ready to plant and enjoy your garden bed!
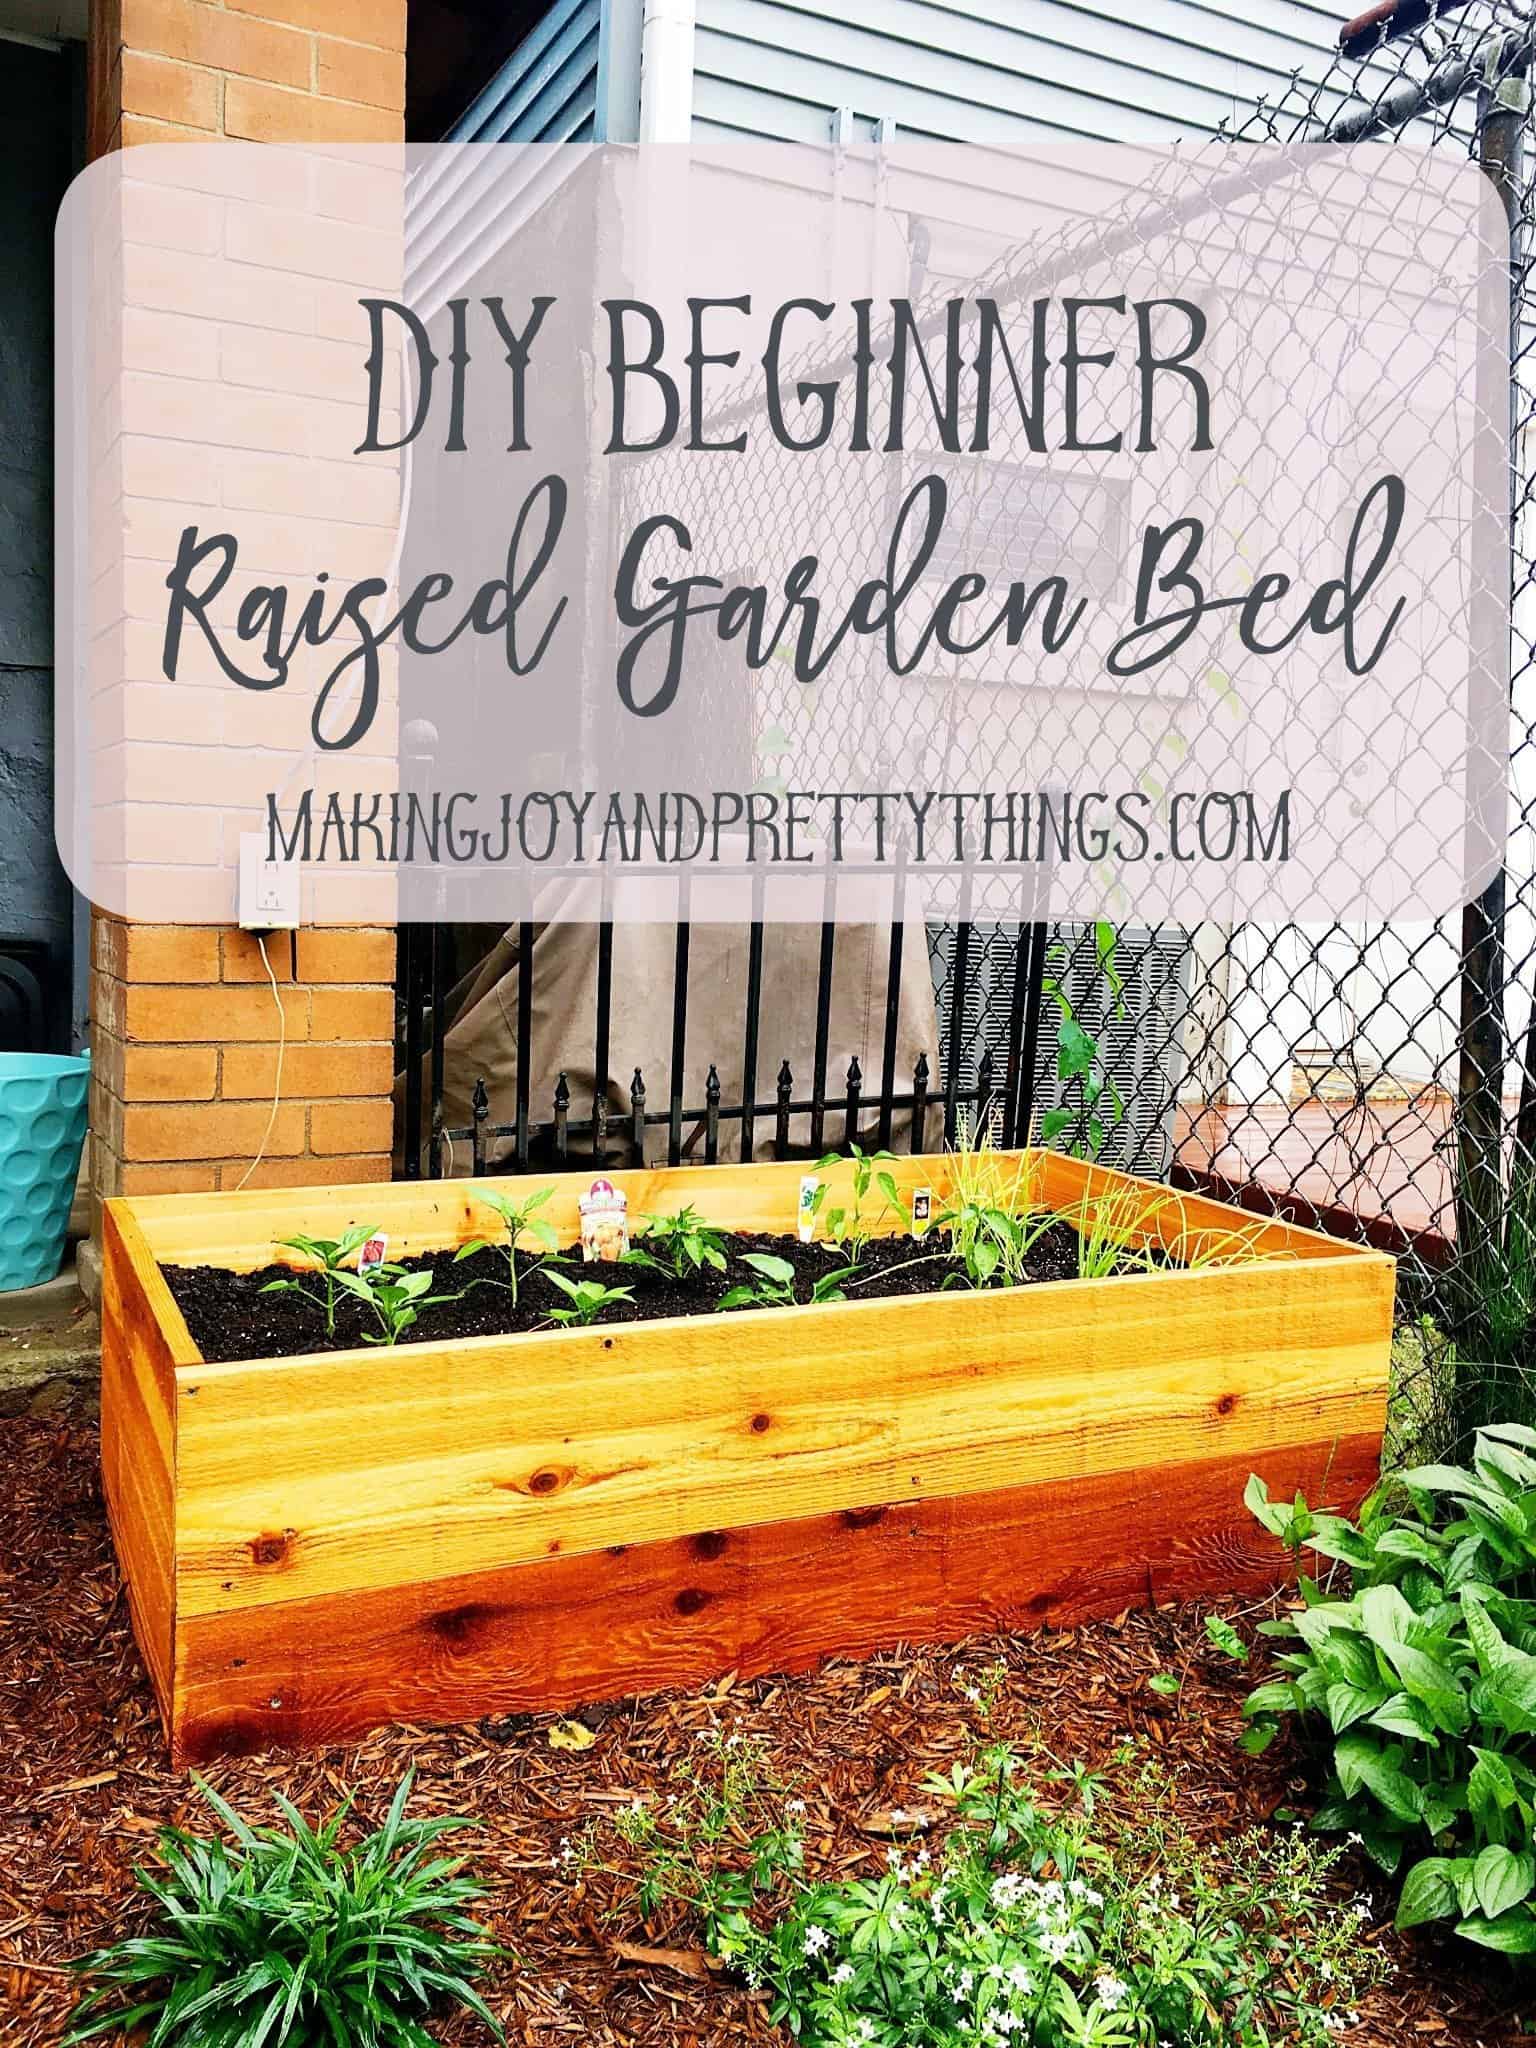
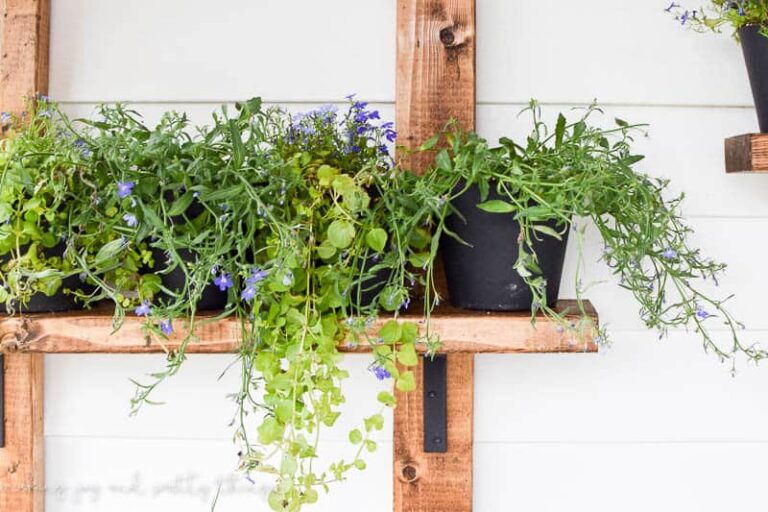
I hope this post was helpful and I promise to take more pictures next time! Hopefully, you are confident about how to build a cedar raised garden bed. And if you are looking for something off the ground check out our hanging herb garden.
I’m so so happy with how this turned out. I’m not exaggerating when I say it took TJ 2 hours to complete this. And he is a PERFECTIONIST. We don’t have a huge space to grow veggies.
But, it was really important for me to have this mini garden space not just to grow our veggies but to show our kids the process of “where food comes from”.
Please don’t hesitate to reach out with comments or questions. Of course, I can’t answer any of them … I’ll have to get hubby to do that 🙂
Happy planting, friends!

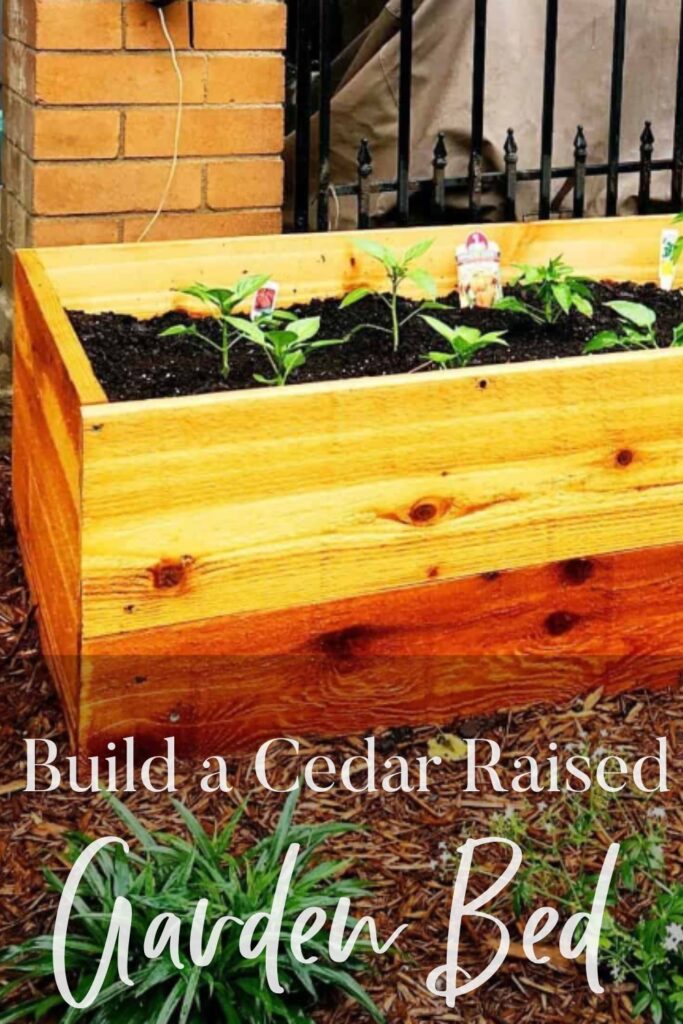
How to Build a Cedar Raised Garden Bed
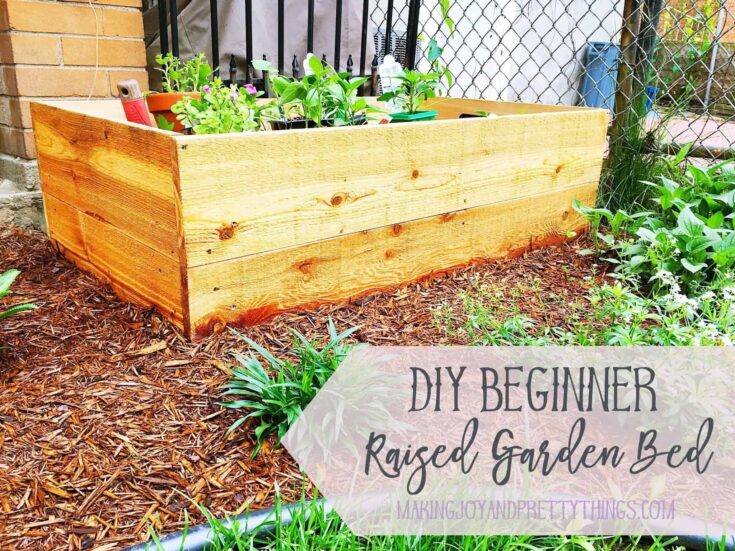
Materials
- Safety glasses & ear plugs
- 4 feet of 4"x4", pressure-treated wood.
- 24 feet of 1"x8" cedar boards. We bought three (3) 8 ft long boards.
- 2" outdoor screws.
- 8 cu. ft. of planting soil
- Weed block.
Tools
Instructions
- Build a cedar box for the garden bed
- How to assemble the sides of the raised garden bed
- Assemble the rest of the cedar raised garden bed
- Add the top cedar to the raised garden bed
- Place and finalize your cedar raised garden bed
- Attach cedar support pieces
- Attach week block to the raised garden bed
- Fill the bed with planting mix




It looks great! We’ve been planning to do a raised bed the last few years but haven’t got it done yet.
Thank you!!! You know, it was one of those things that we have been meaning to do and just never did. One day I said to my husband let’s do this TODAY. And we did!! I was totally surprised at how quickly it was assembled and ready to go. Sometimes when you start a project it takes 100x longer than expected. 🙂
How sweet that he decided to build this for you iin such a short amount of time! I’m like you, I tend to have big ideas in mind but cannot really come through with them. My husband is no kind of DIY guy either….So I tend to opt for things on the smaller side. But what a great idea to grow a garden all in this one spot. He also did a great job explaining the tutorial.
Thanks 🙂 It was kind of shocked we were able to pull it off in one day. The peppers and onions are growing well!! (I’m not gardener, only a DIYer). I’ll let him know you said that, he was stressing about his wording haha
My best friend just made something very similar! What a great tutorial! People will LOVE this 🙂
Thank you!! I had been looking for a good tutorial but then decided to DIY it … or have my husband DIY it for me 😉