
DIY Spring Mantel Garland
I am so excited to share a fun farmhouse-inspired DIY today. This spring mantel garland took no time at all to make (like seriously 10 minutes) and looks so perfect hanging on my mantle.
As you know, last week I completed decorating our farmhouse summer mantle. It was such a fun challenge and I love how it turned out. I was so scared to decorate with bright colors!!!

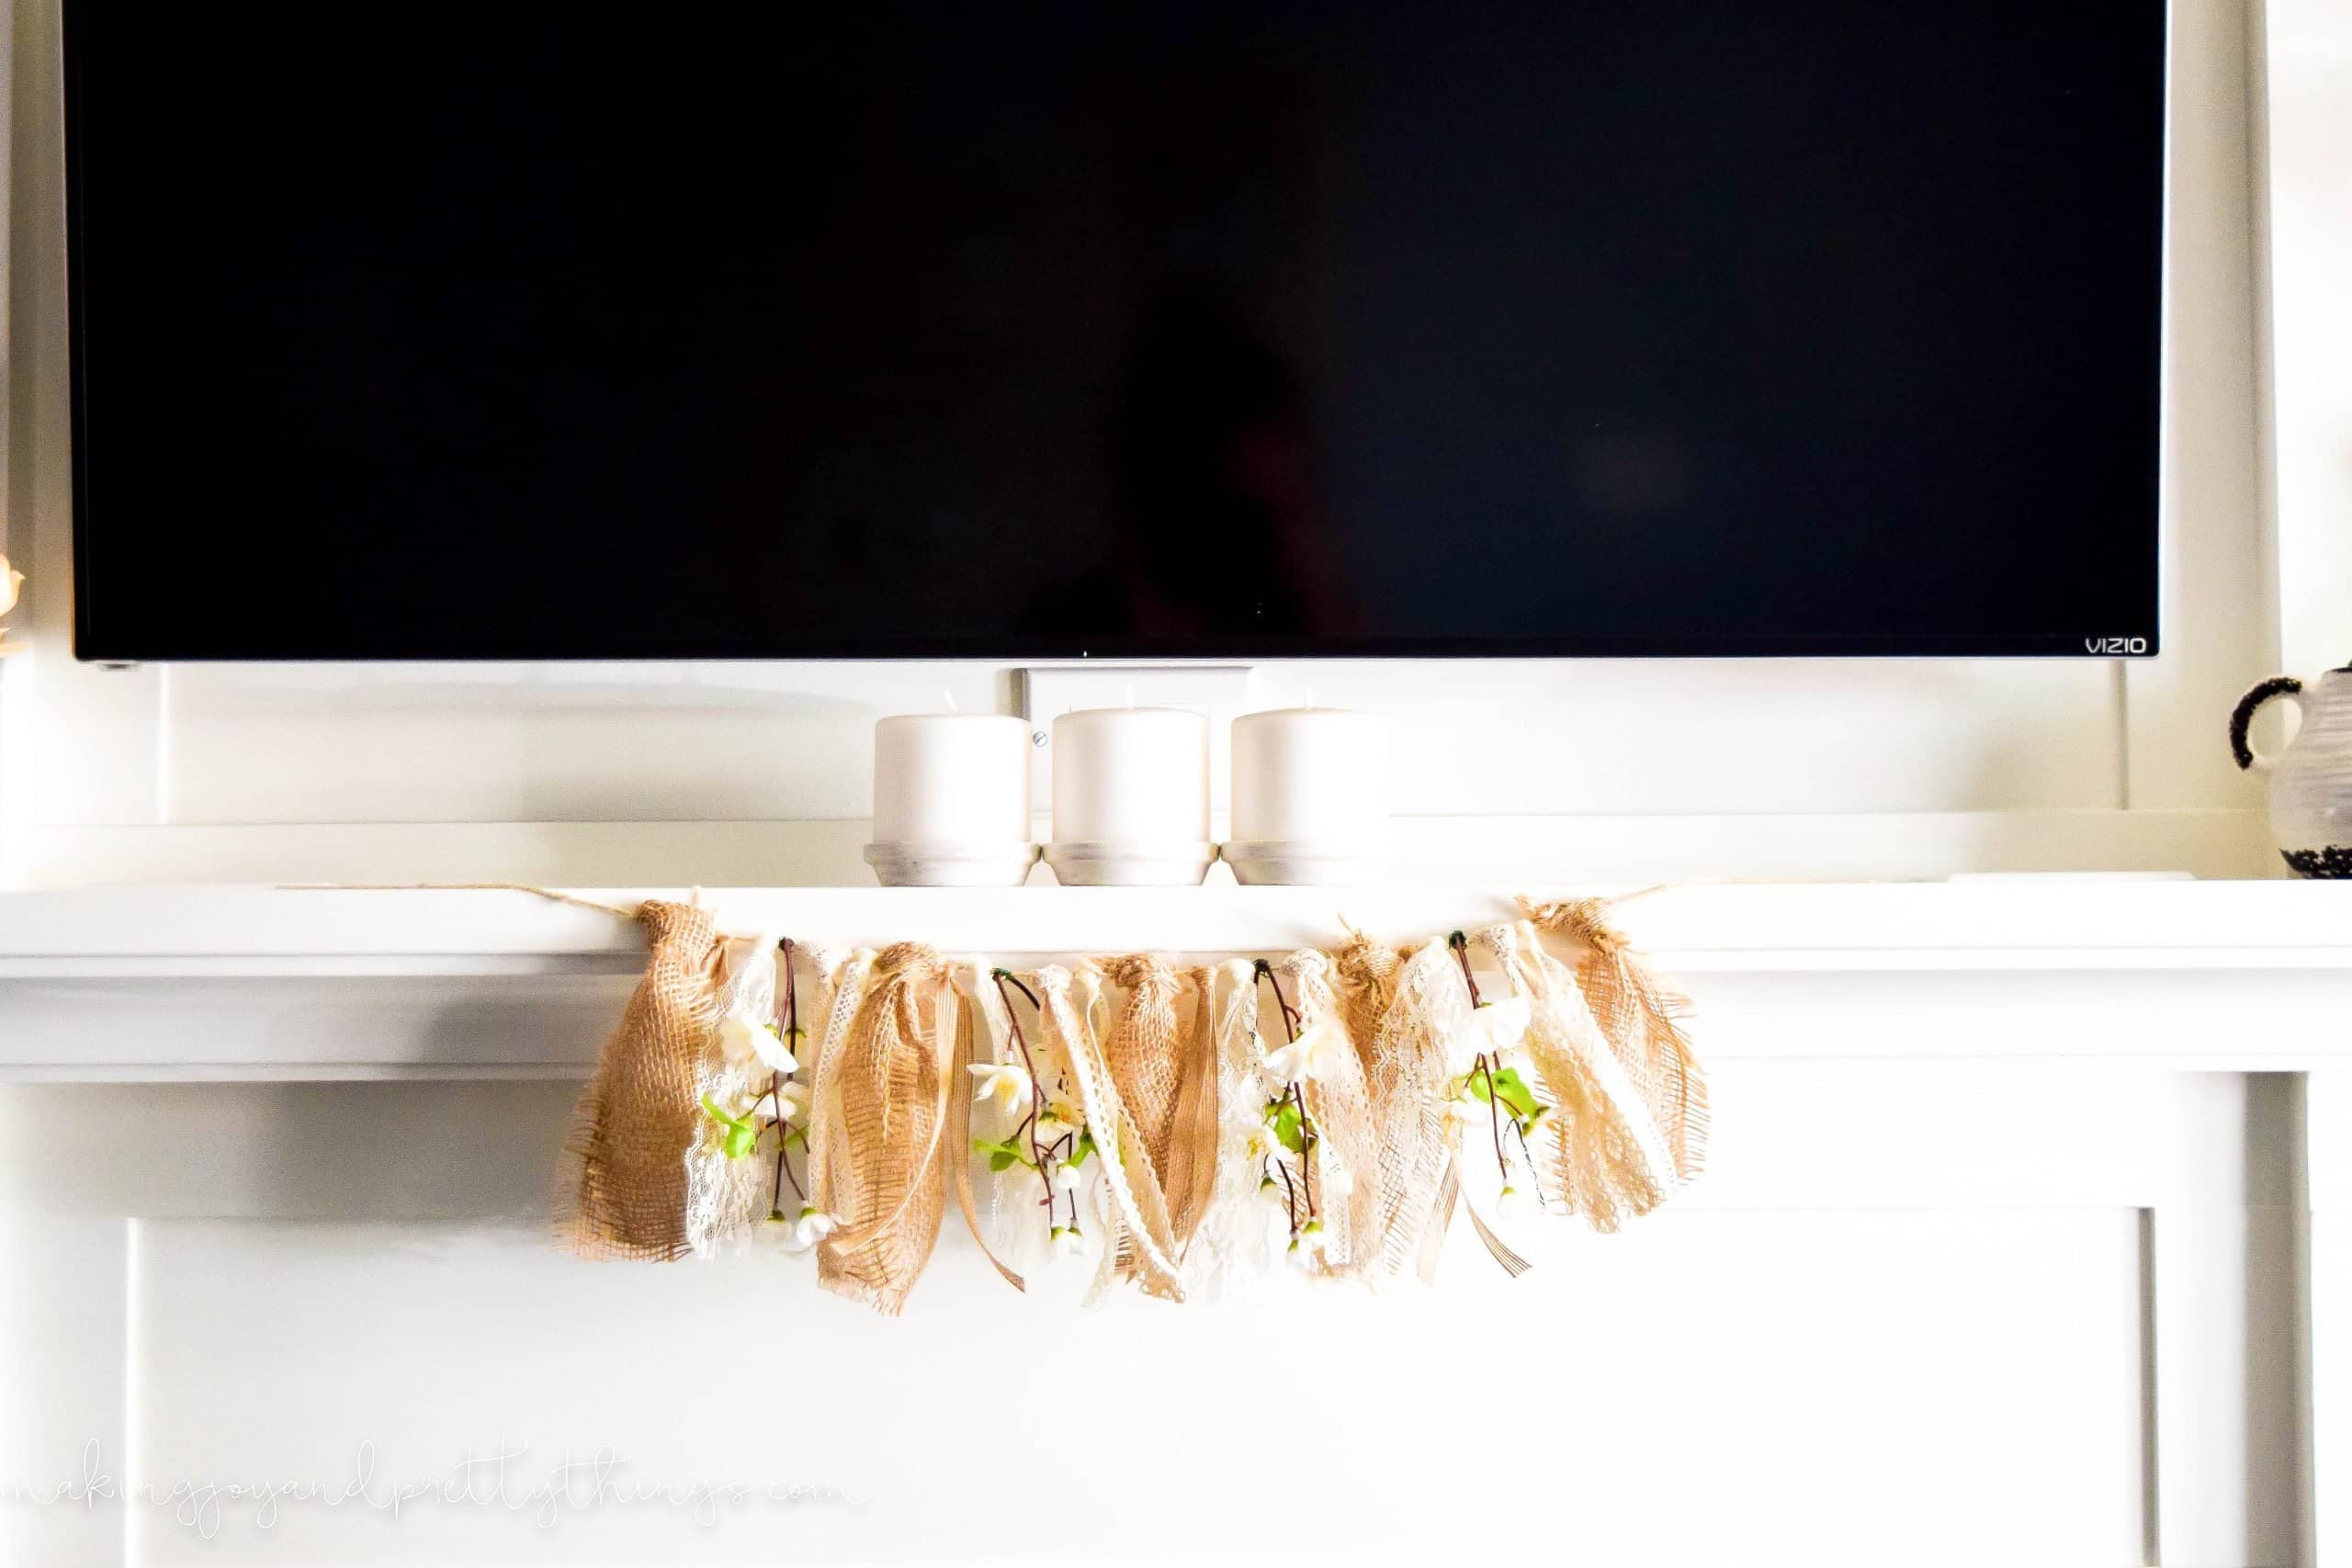
The rustic banner was one of the first ideas I had in mind when I was asked to participate in the challenge. You see, I have a giant TV mounted right in the middle of my mantle. Great for watching TV, but not so great stylistically.
I needed something that would tie either side of the TV together so that it looked like one cohesive and styled mantle.
That’s where the garland banner comes in!
This post contains affiliate links. Please, click here to read my disclosure policy.
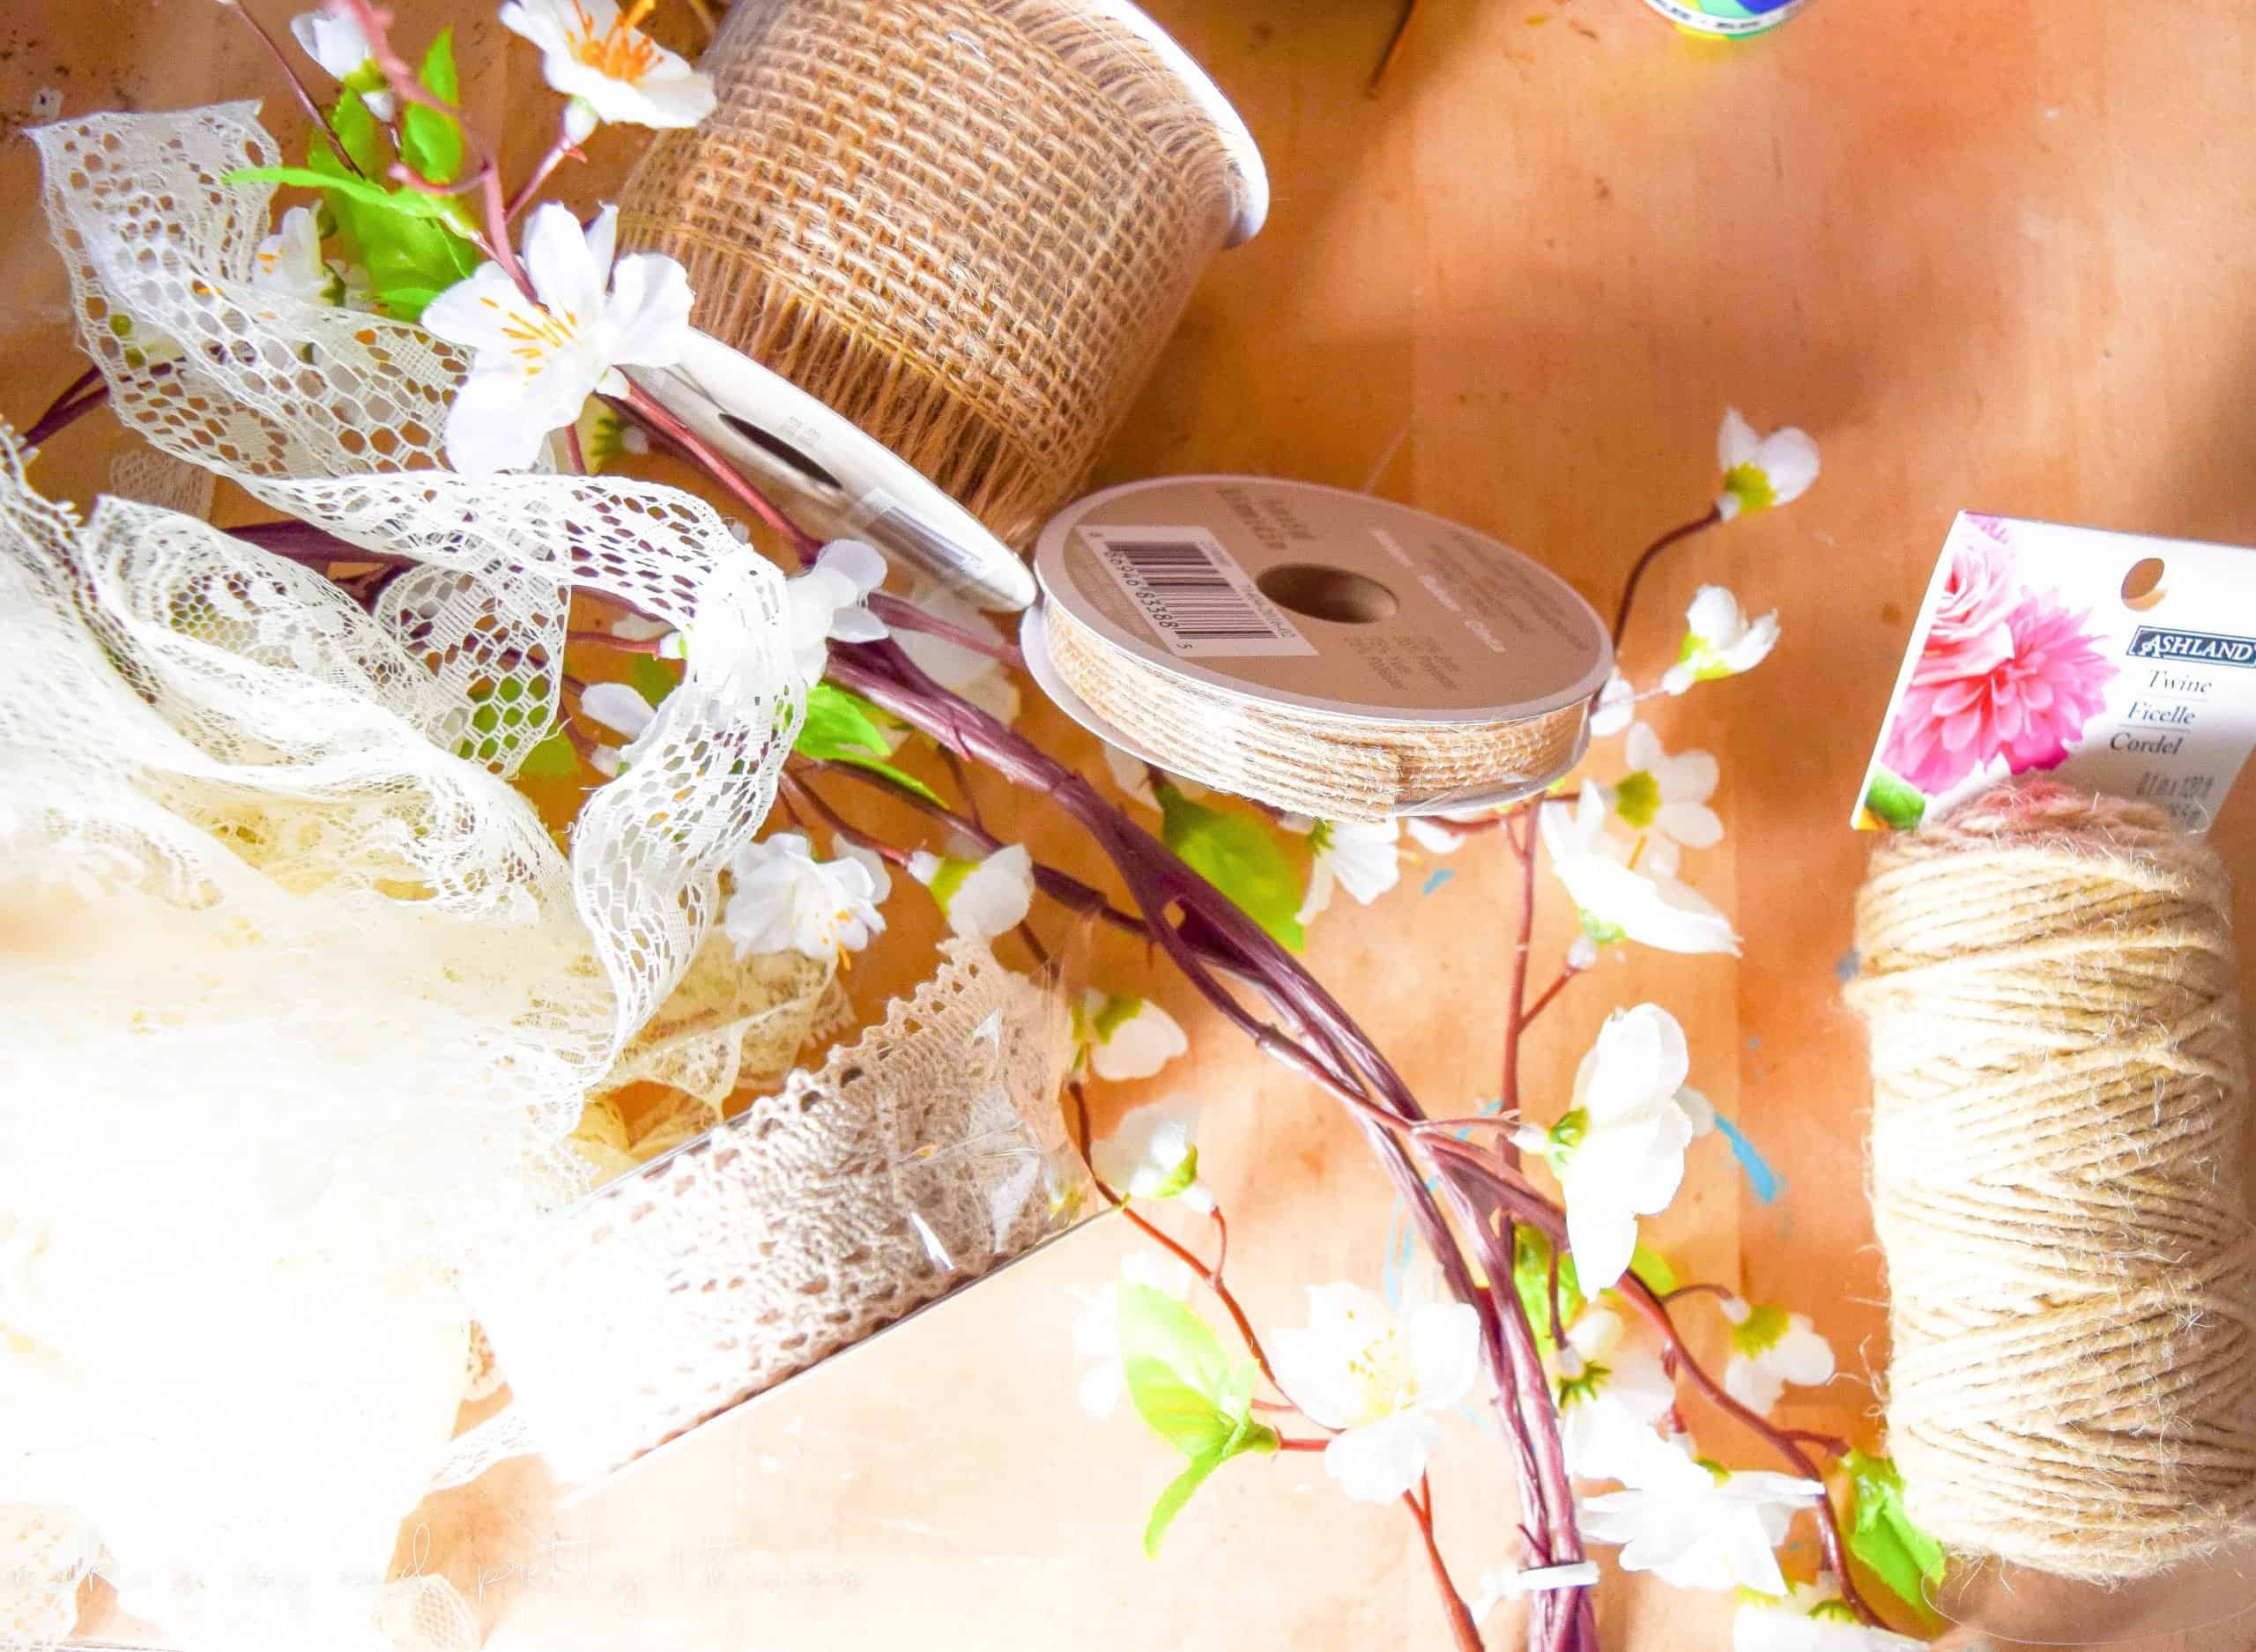
Supplies for spring mantel garland:
- Twine
- Assorted lace
- Assorted burlap (similar item here and here)
- Peach blossom stems (or other floral stems of your choice)
- Floral wire
- Scissors
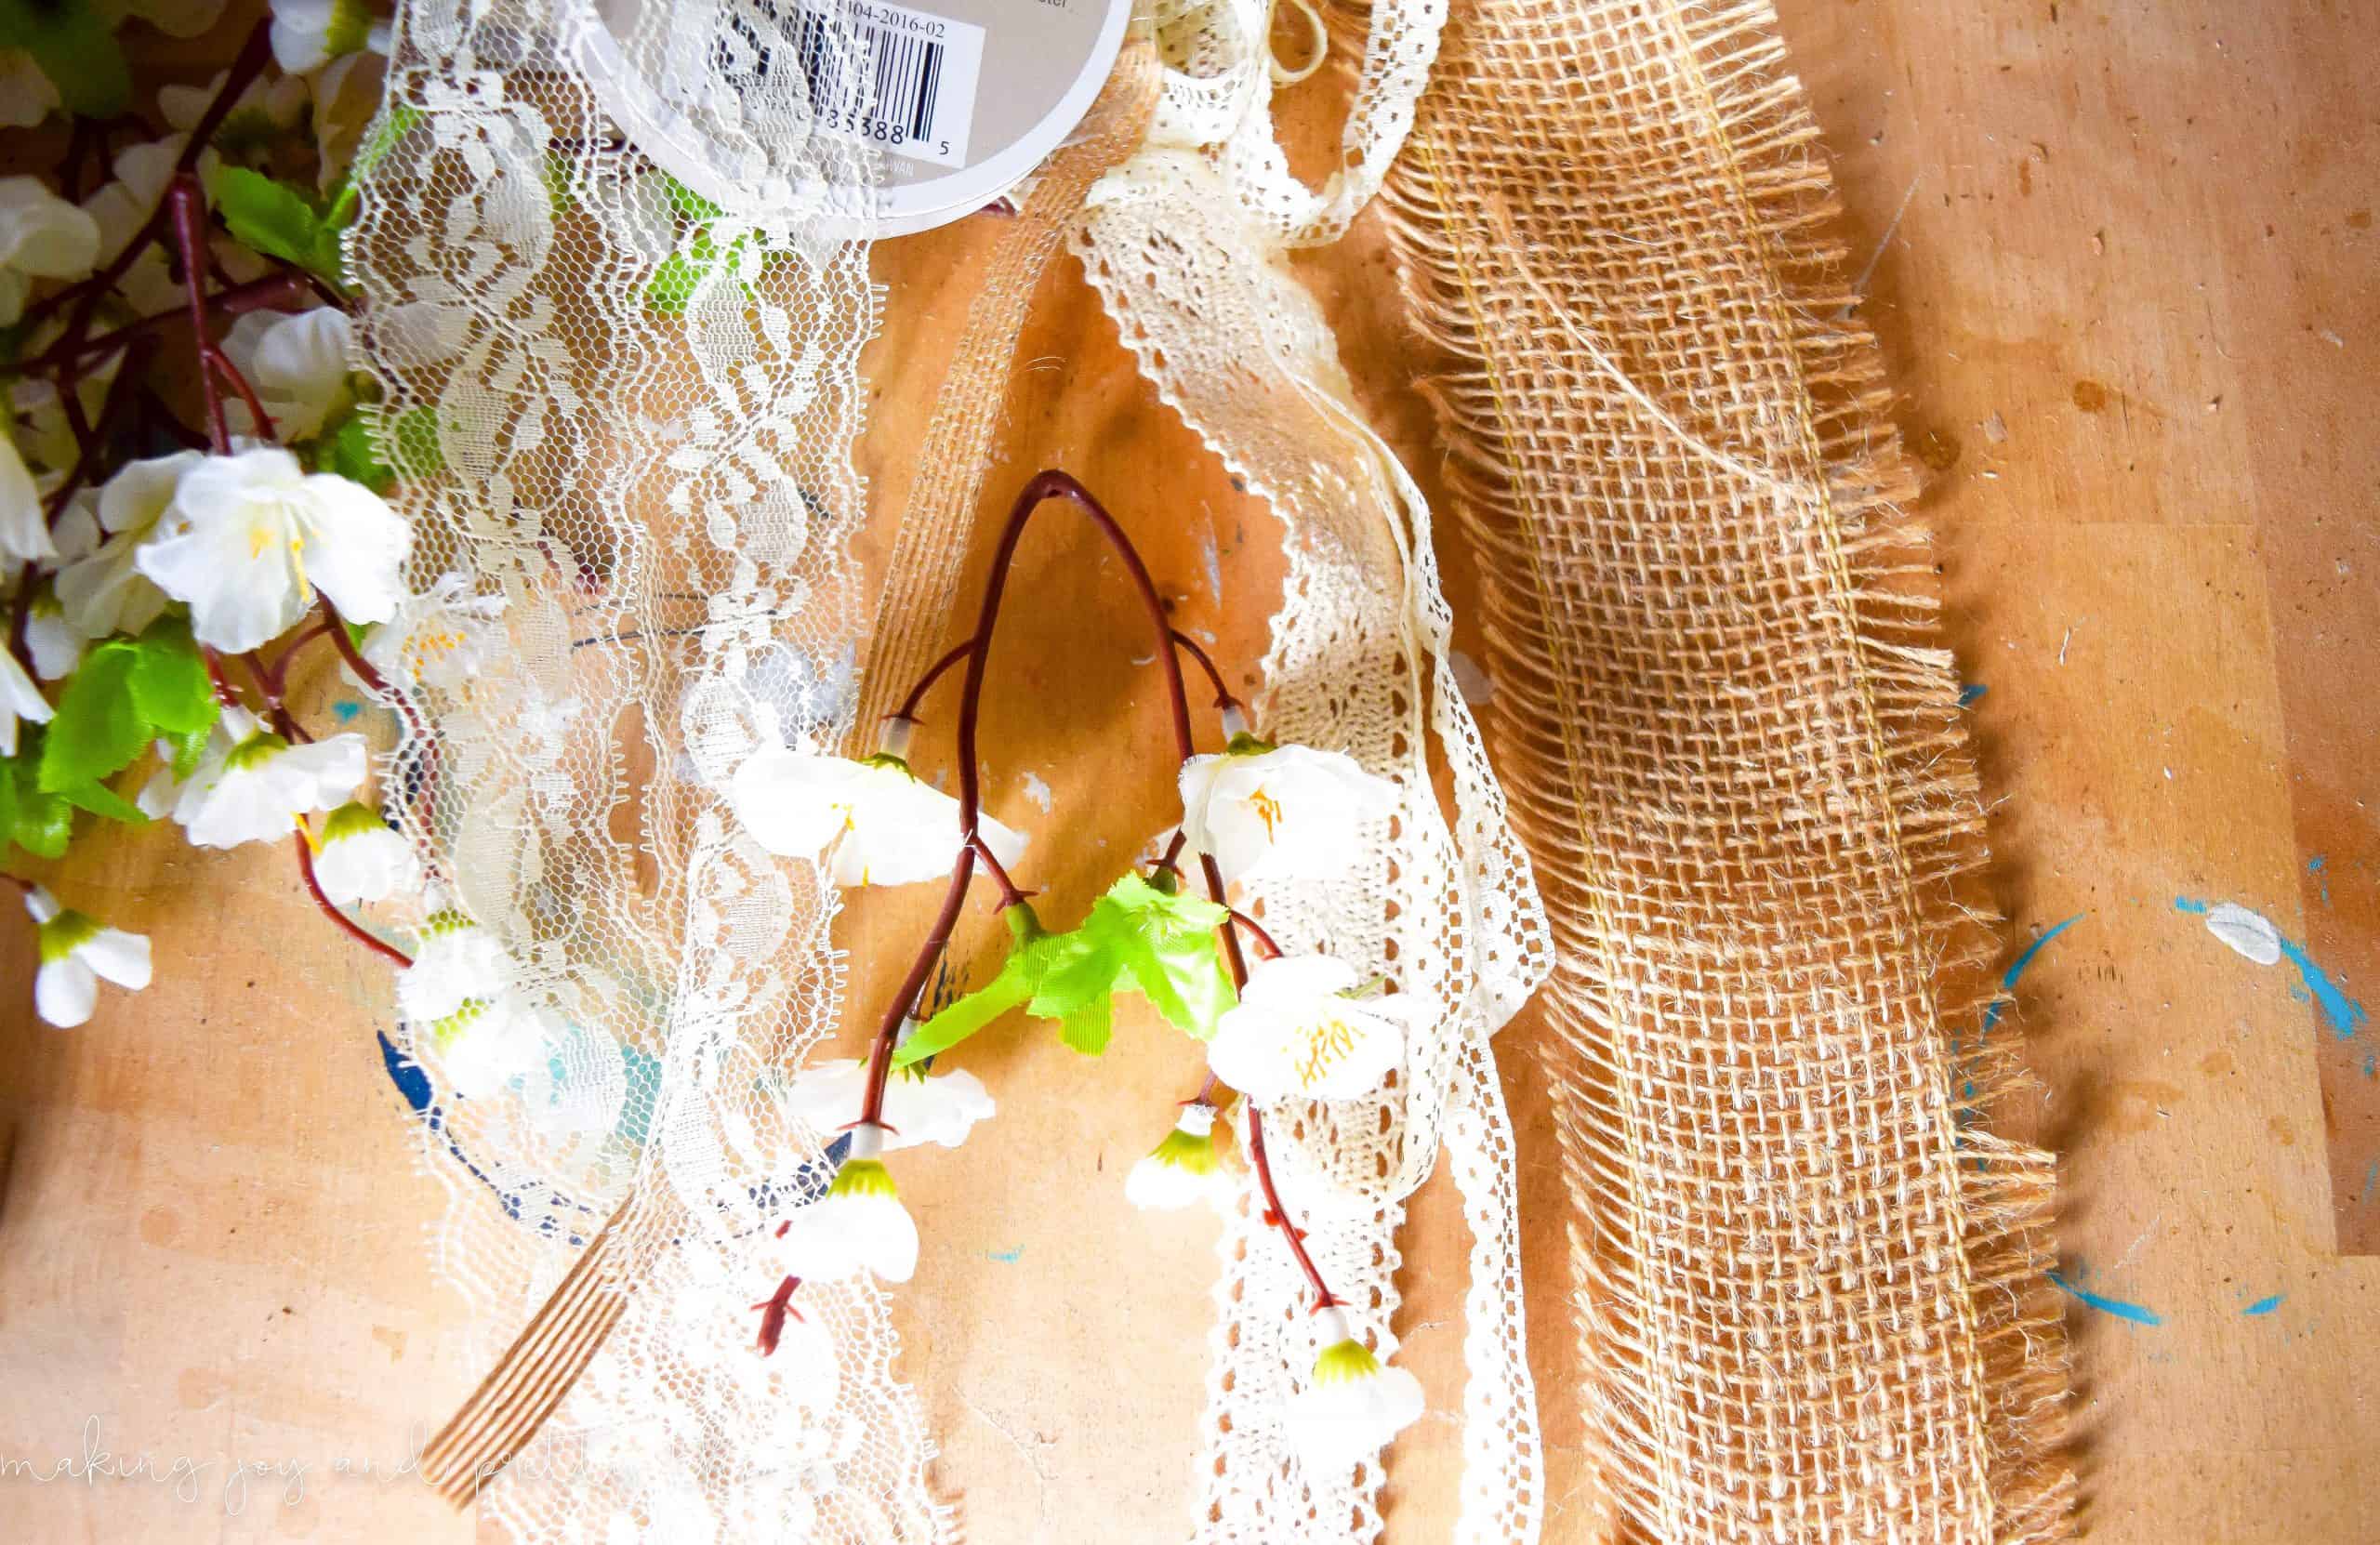
Step 1. Cut garland supplies to equal length
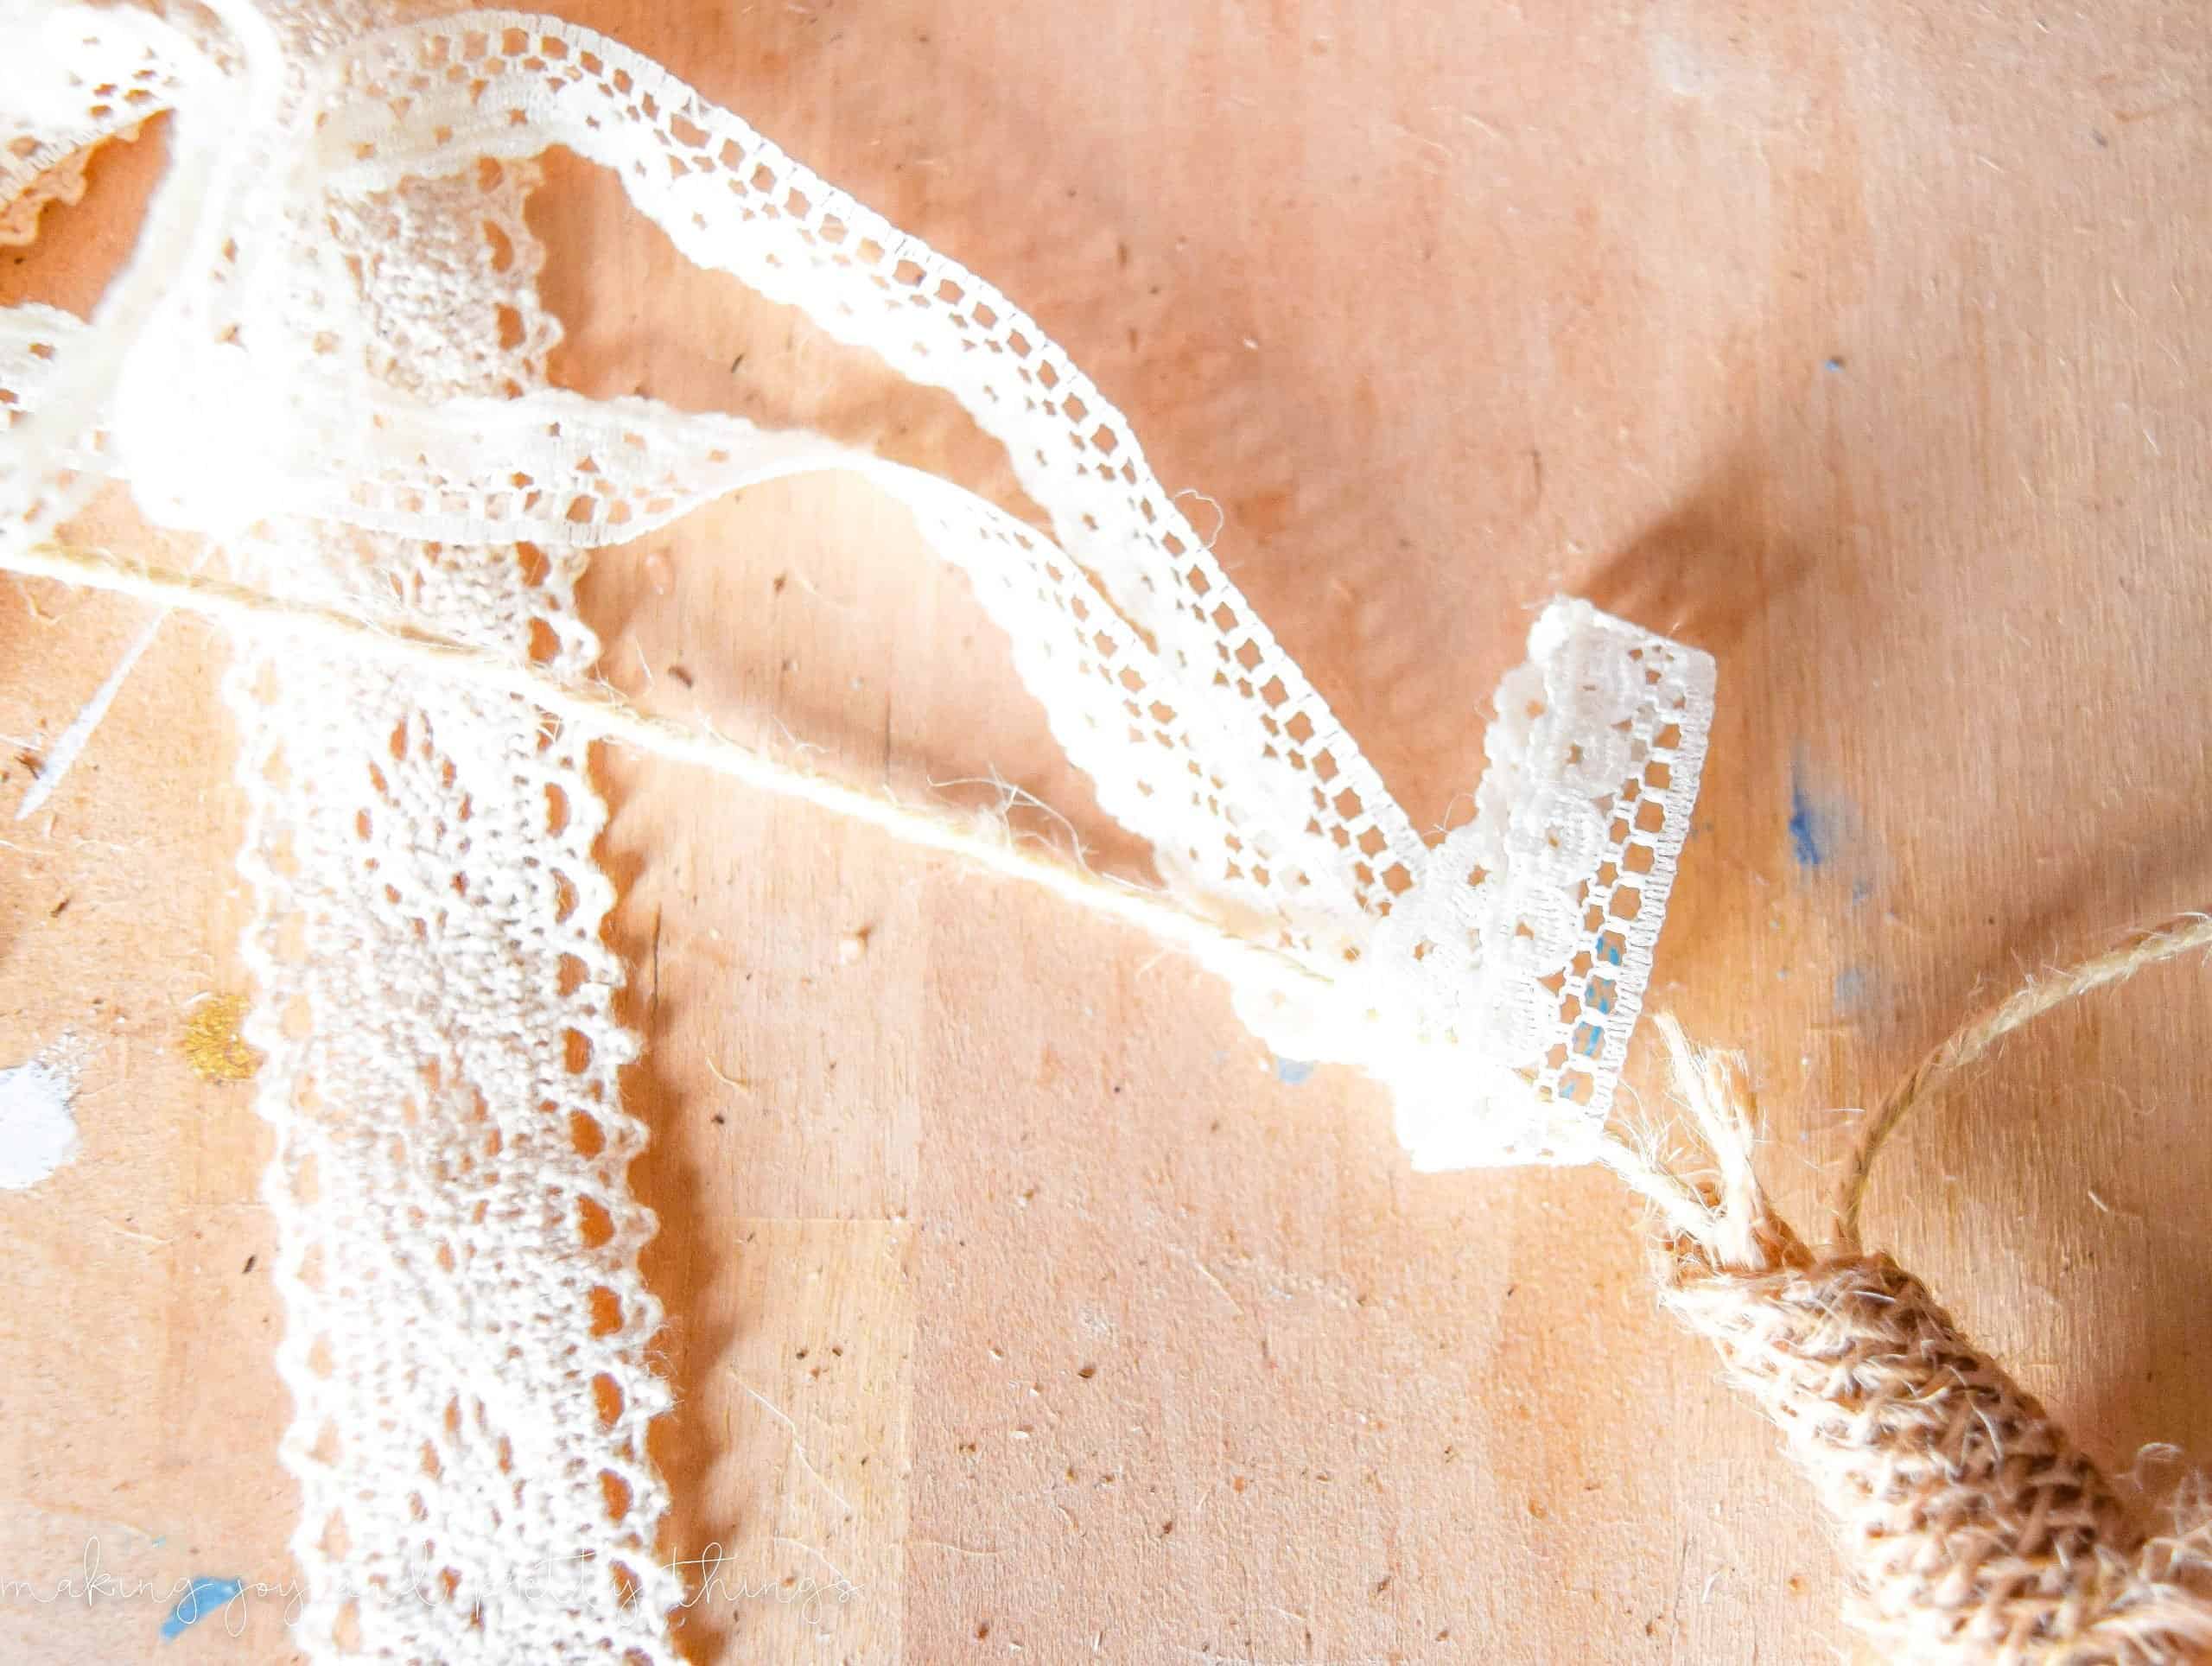
After I pulled some of the peach stems off of the garland, I started cutting my lace and ribbon to an equal length.
This is going to be highly variable depending on how long you want the banner to be and how long your selected floral stems are. I cut mine to about 12 inches each.
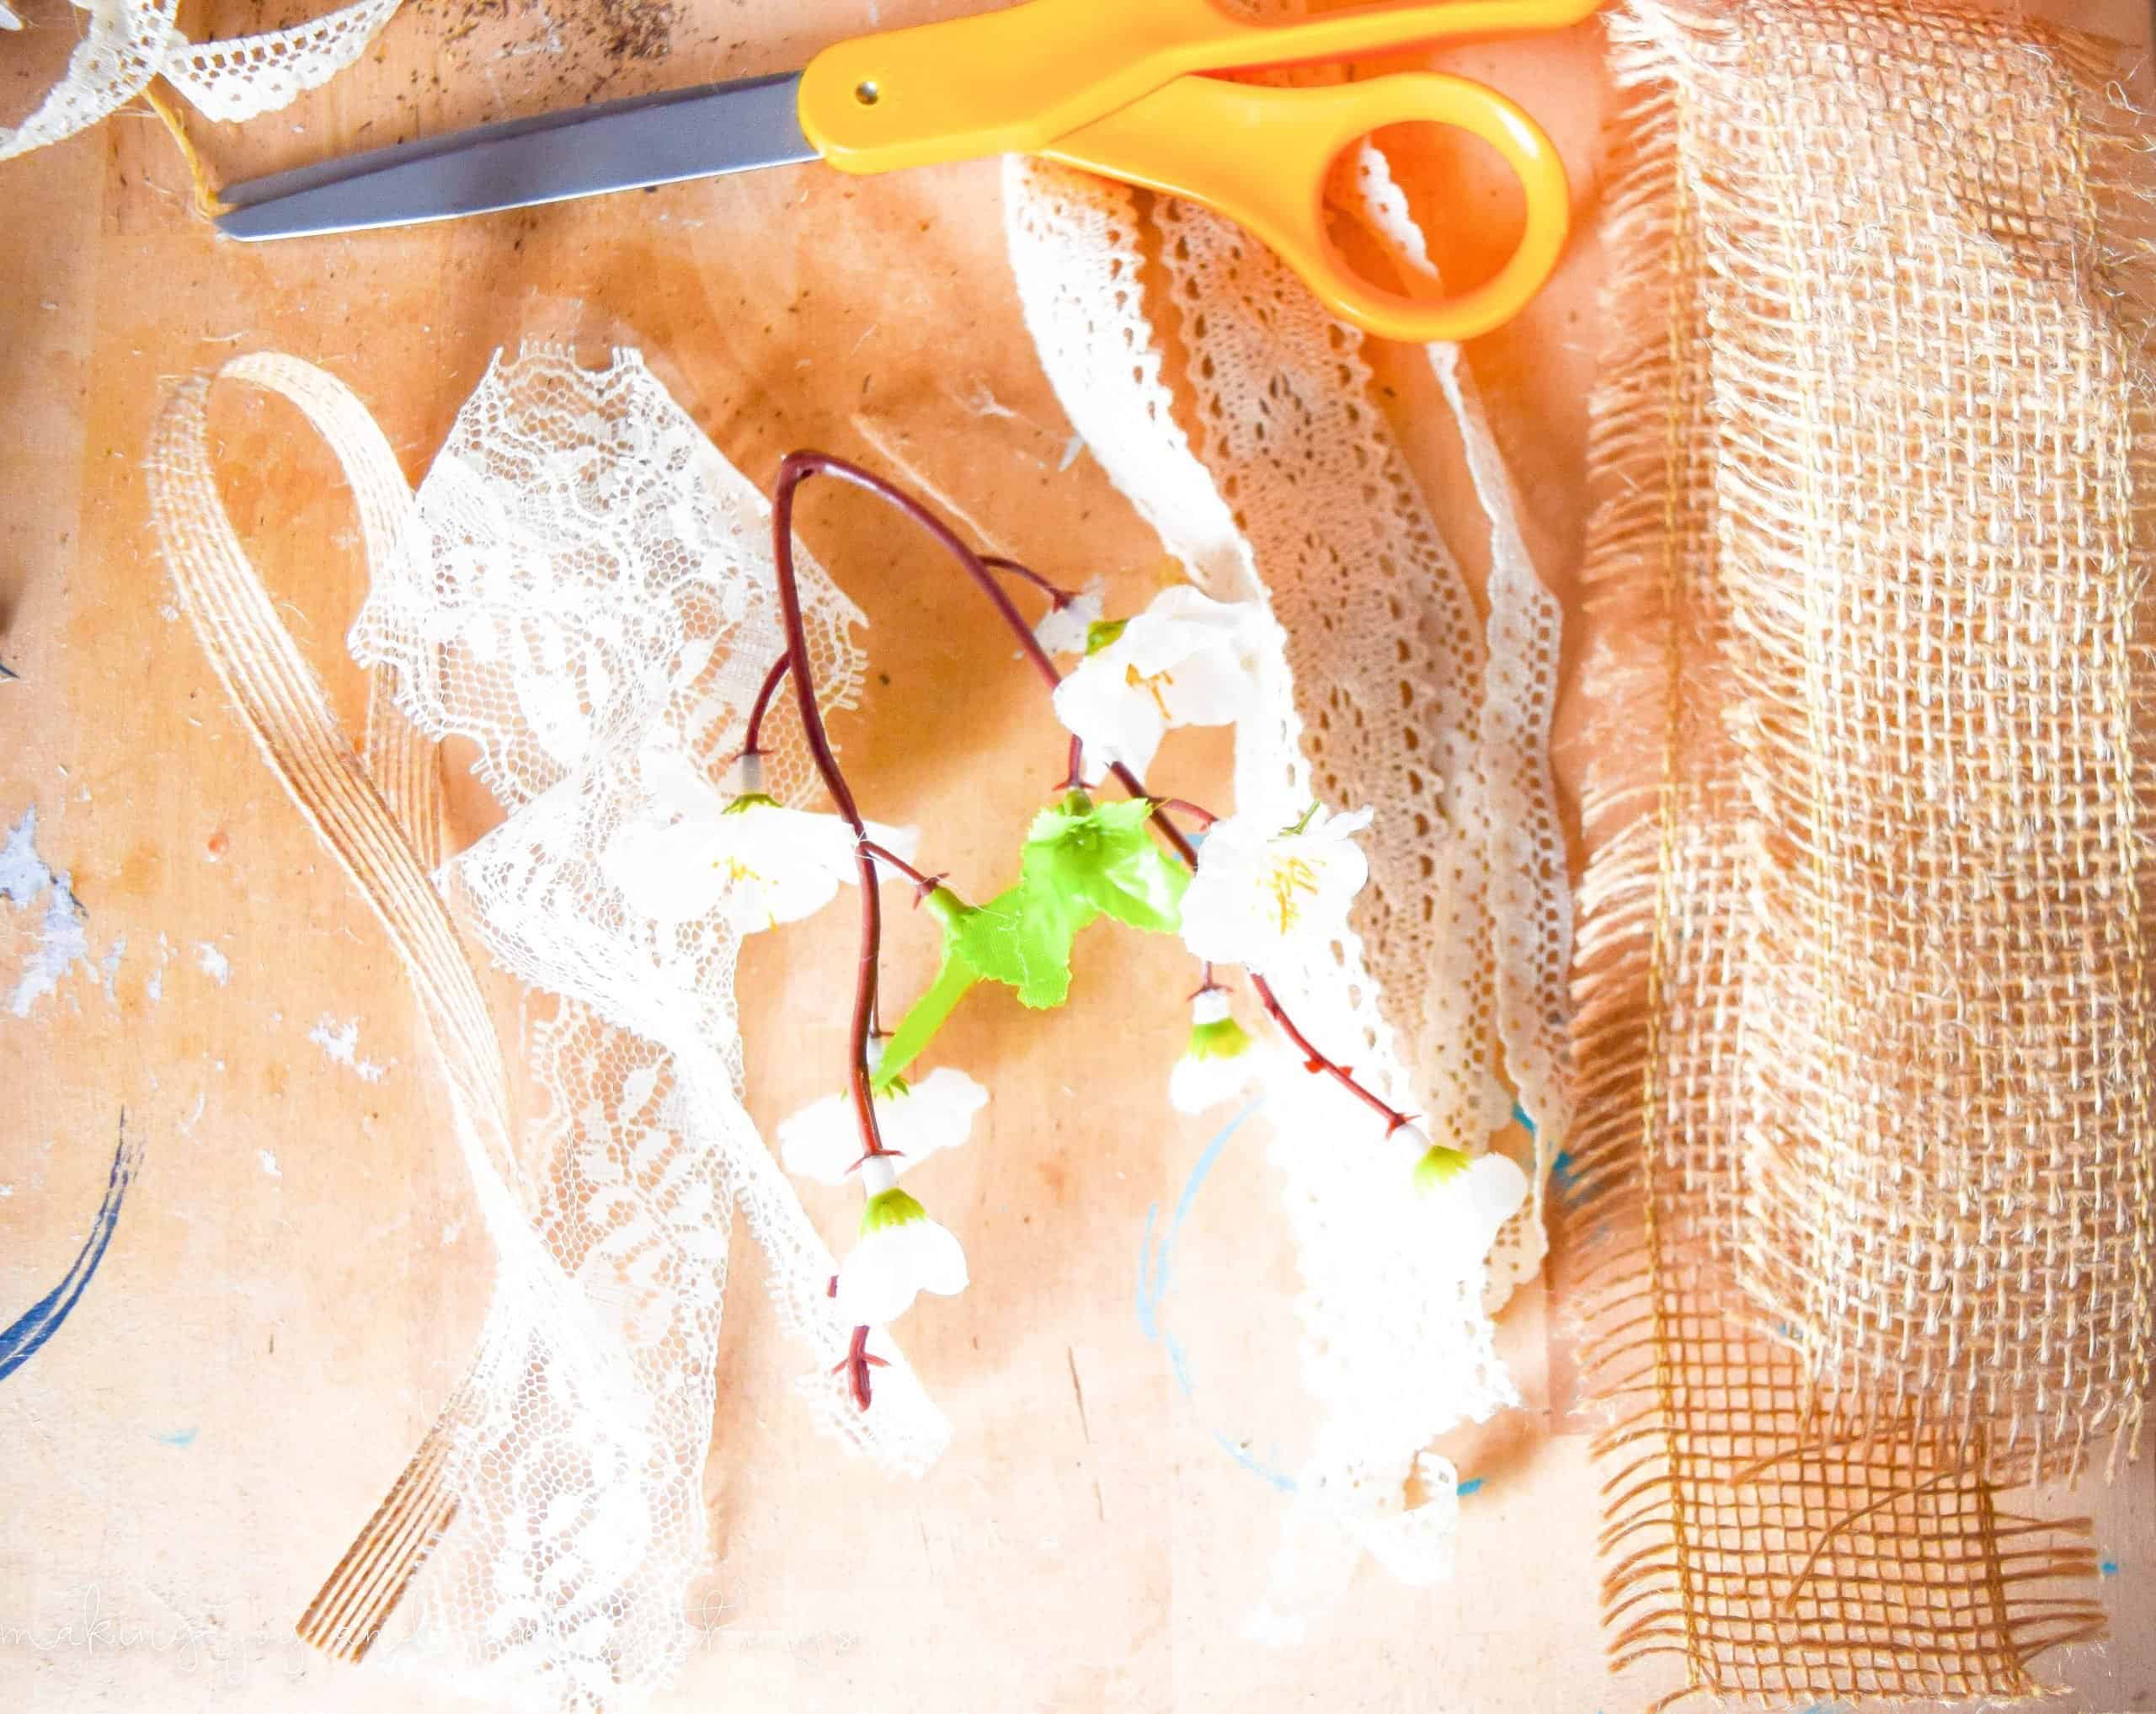
Step 2. Pick an order for the spring mantel garland
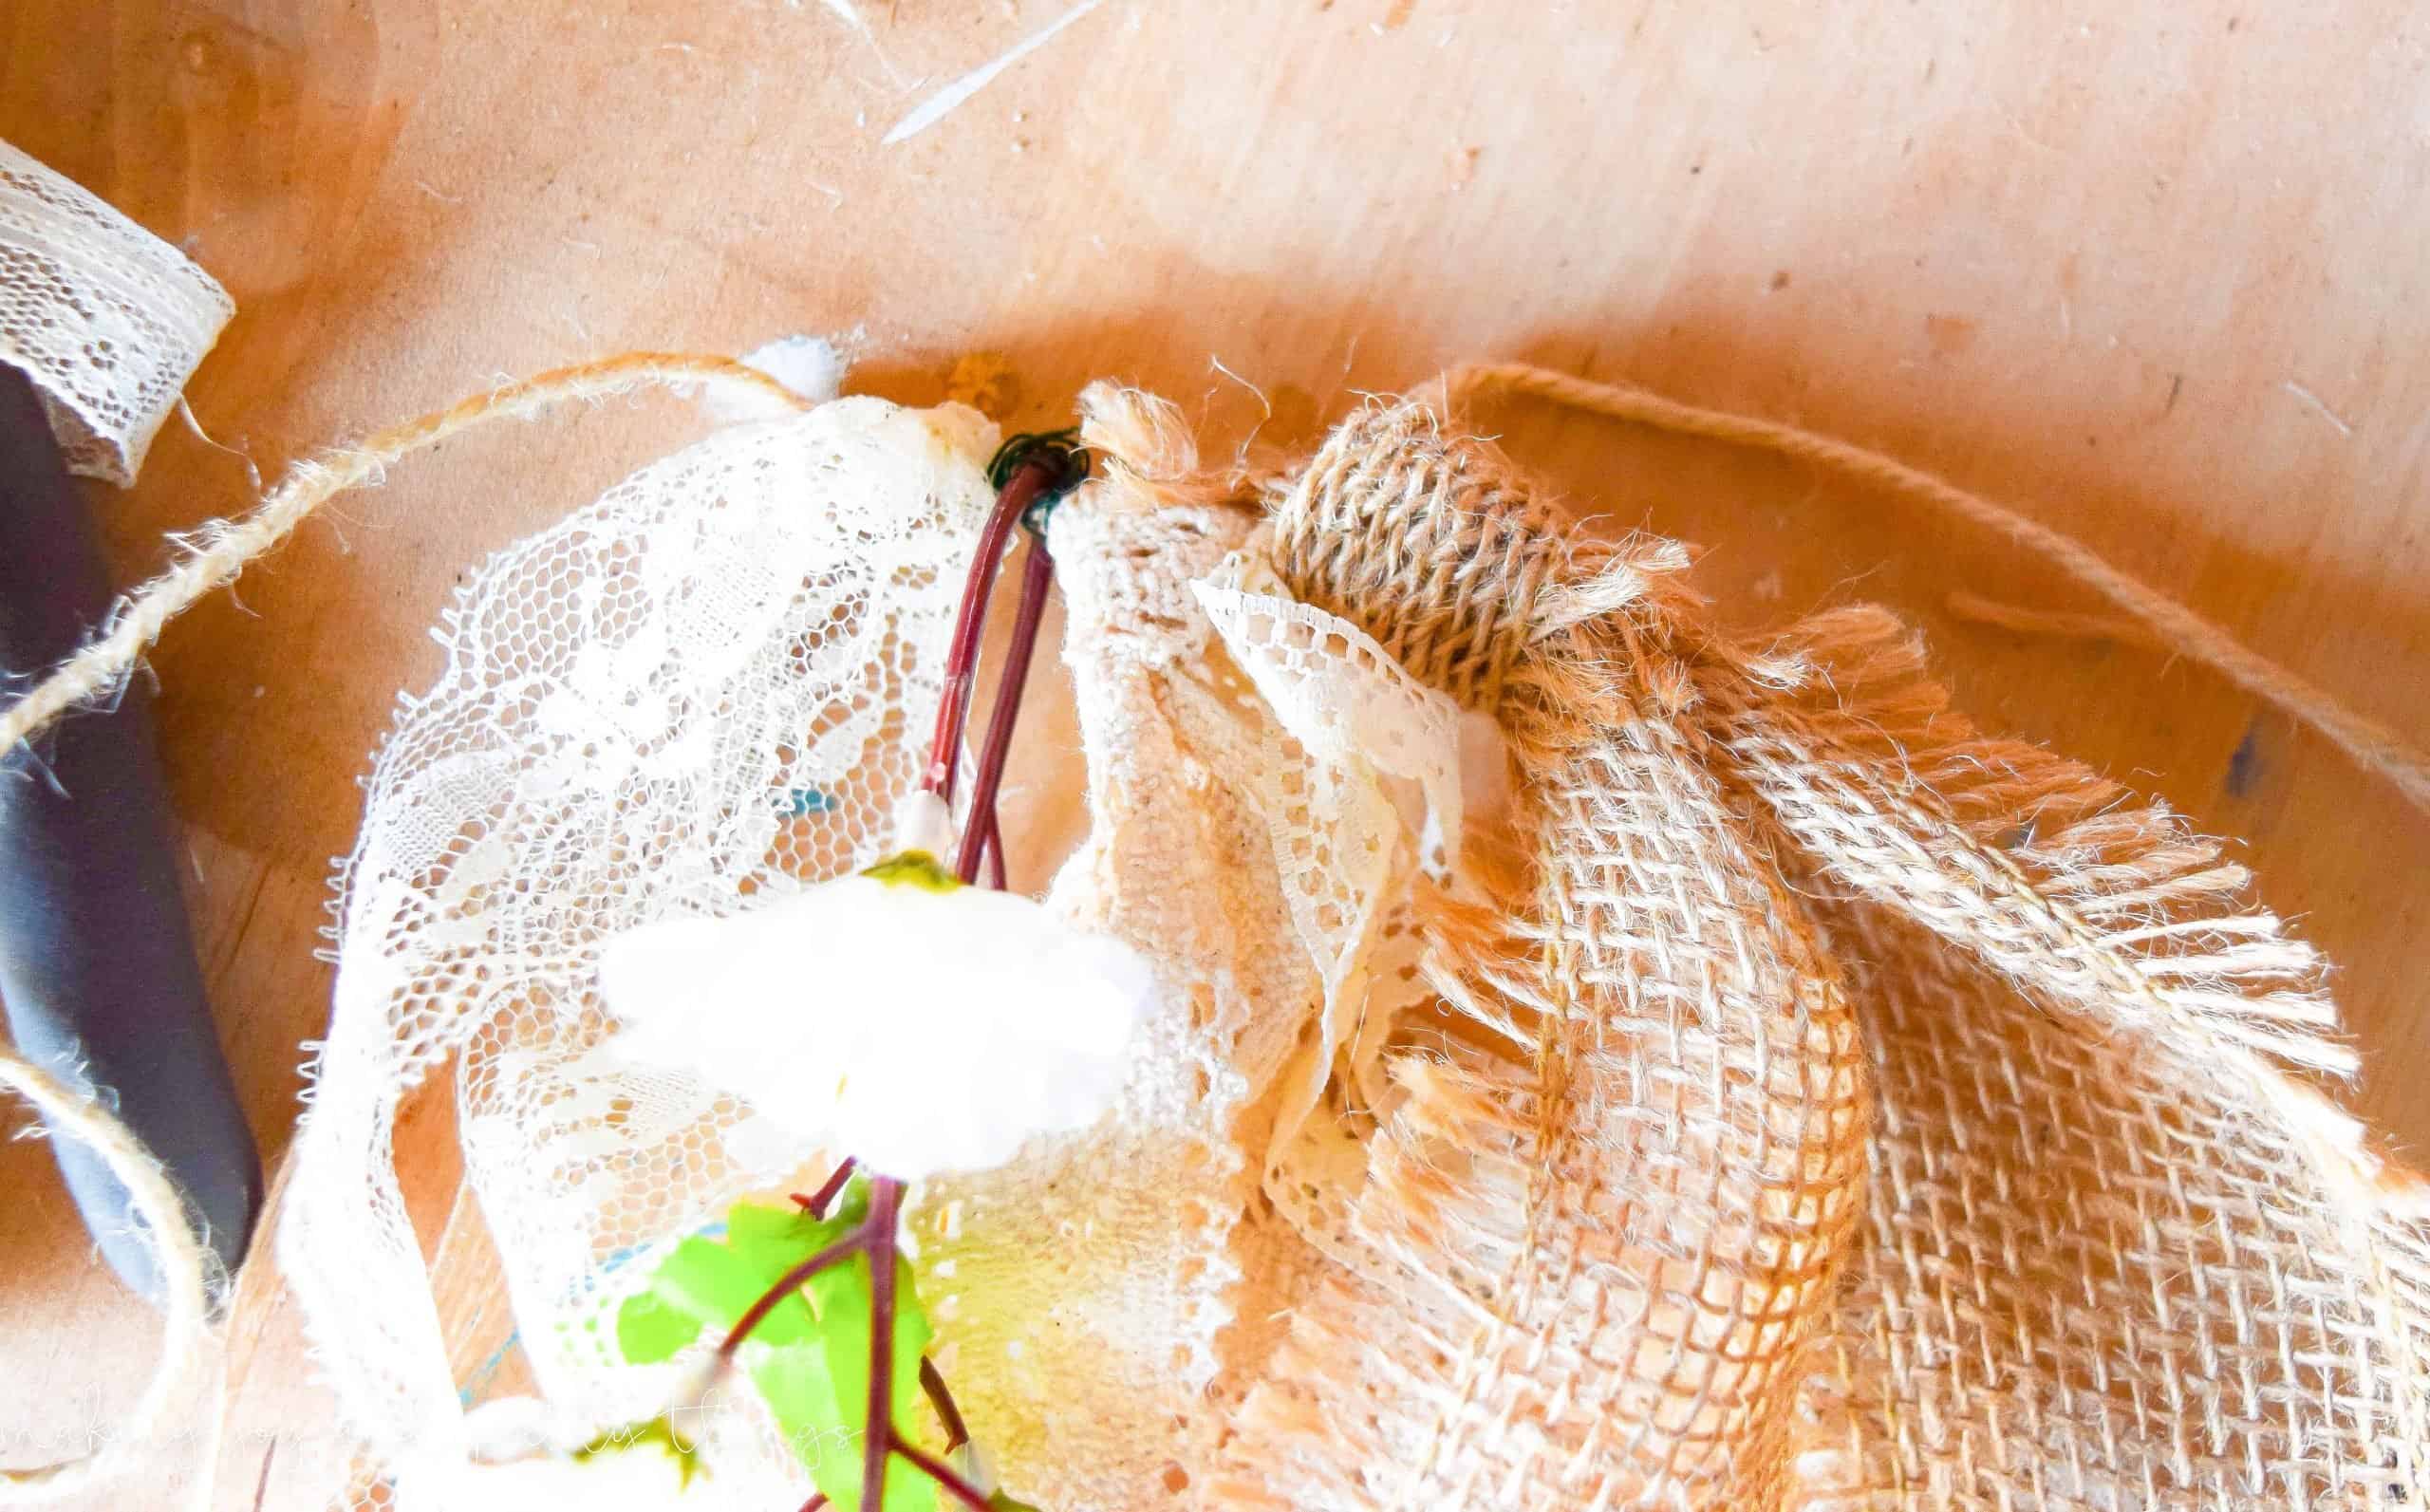
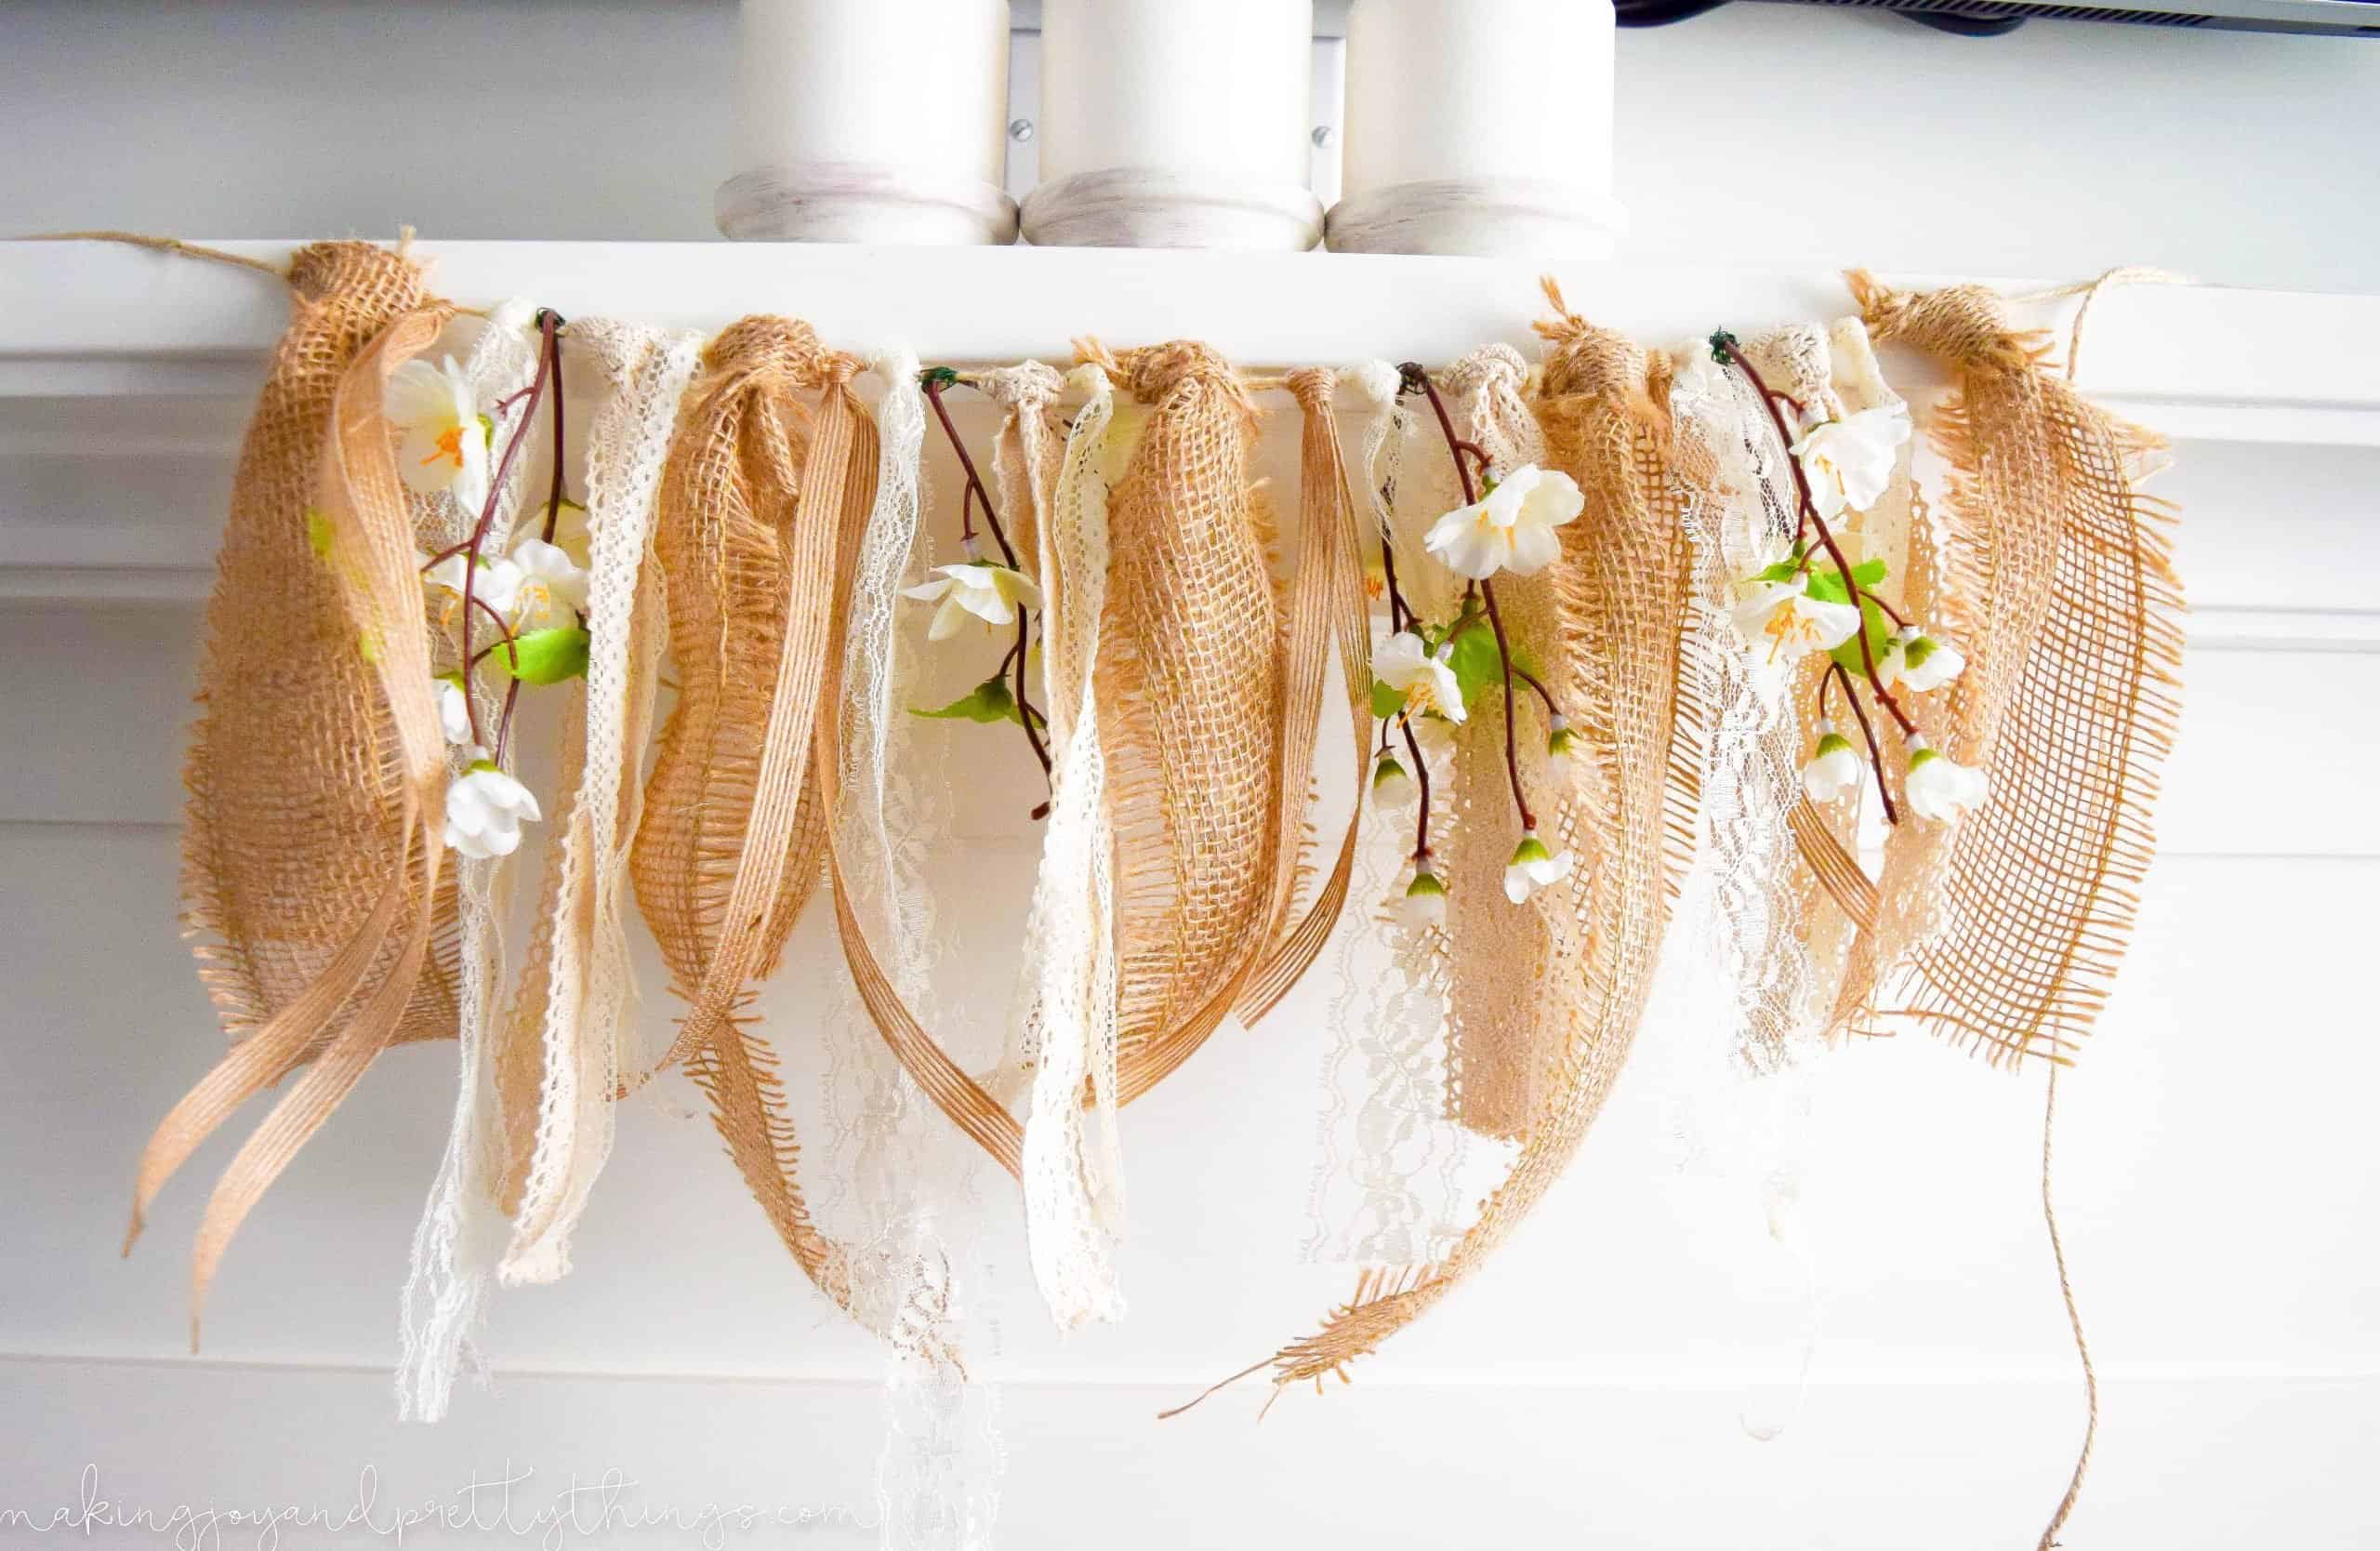
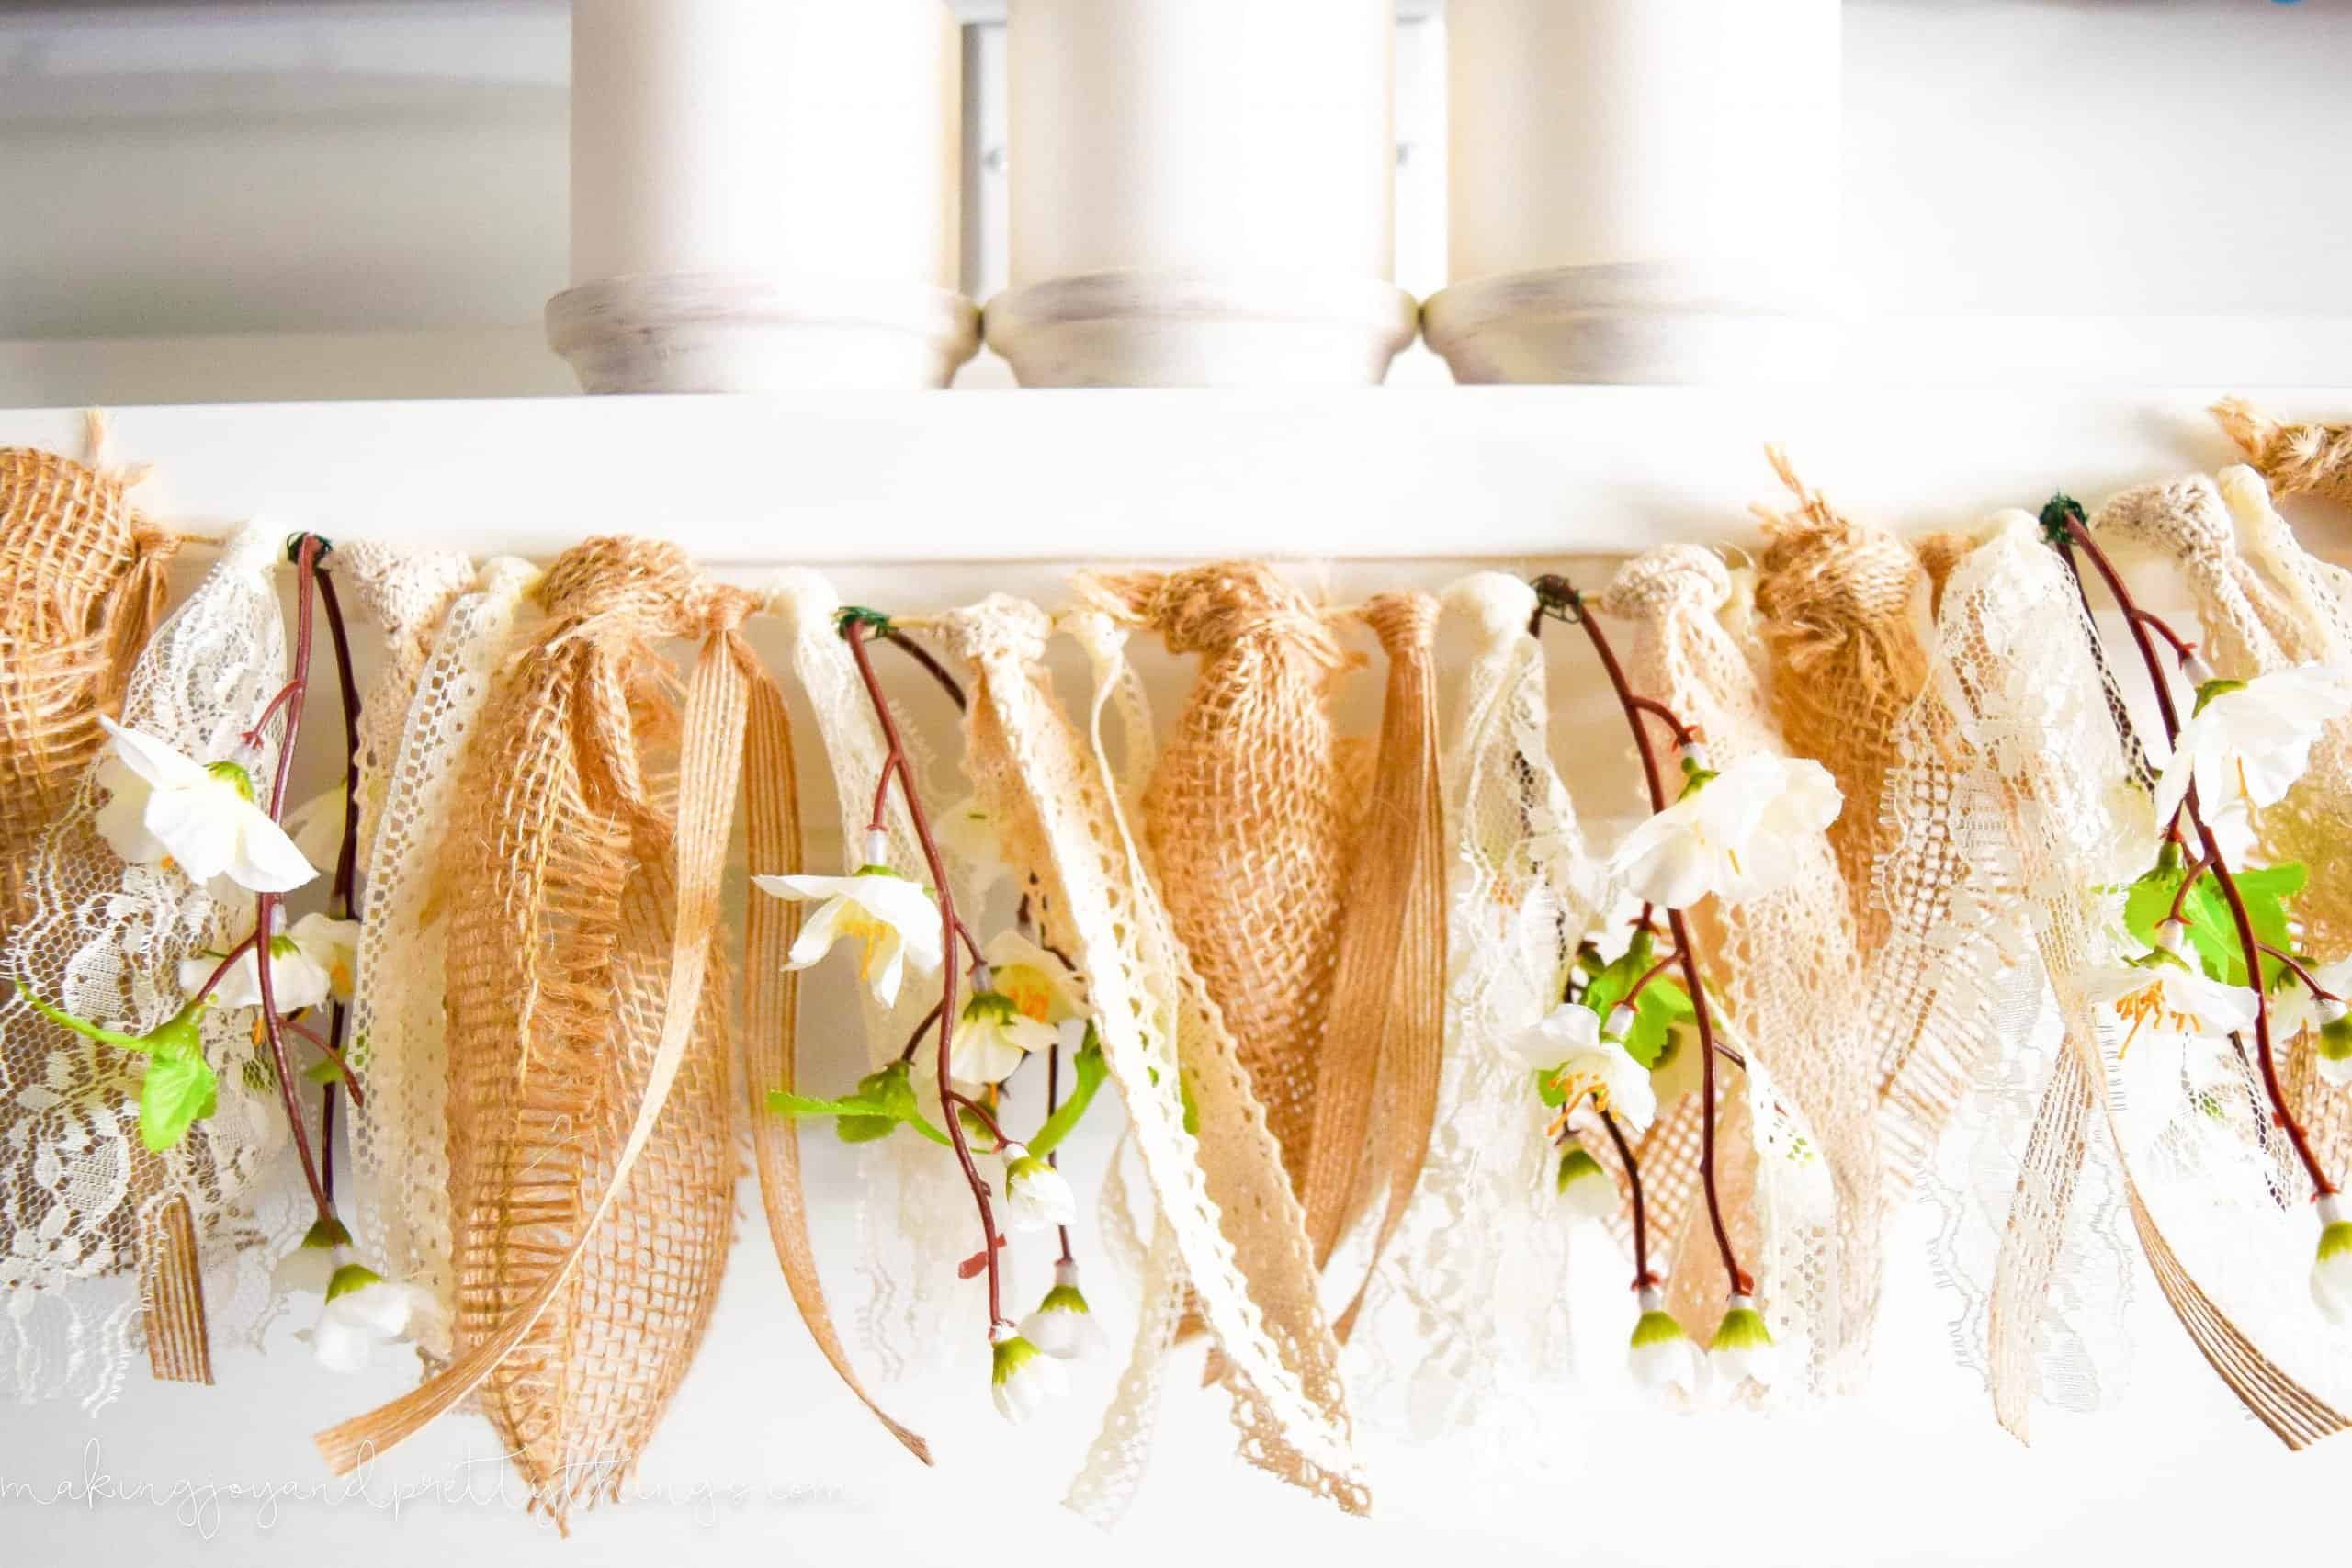
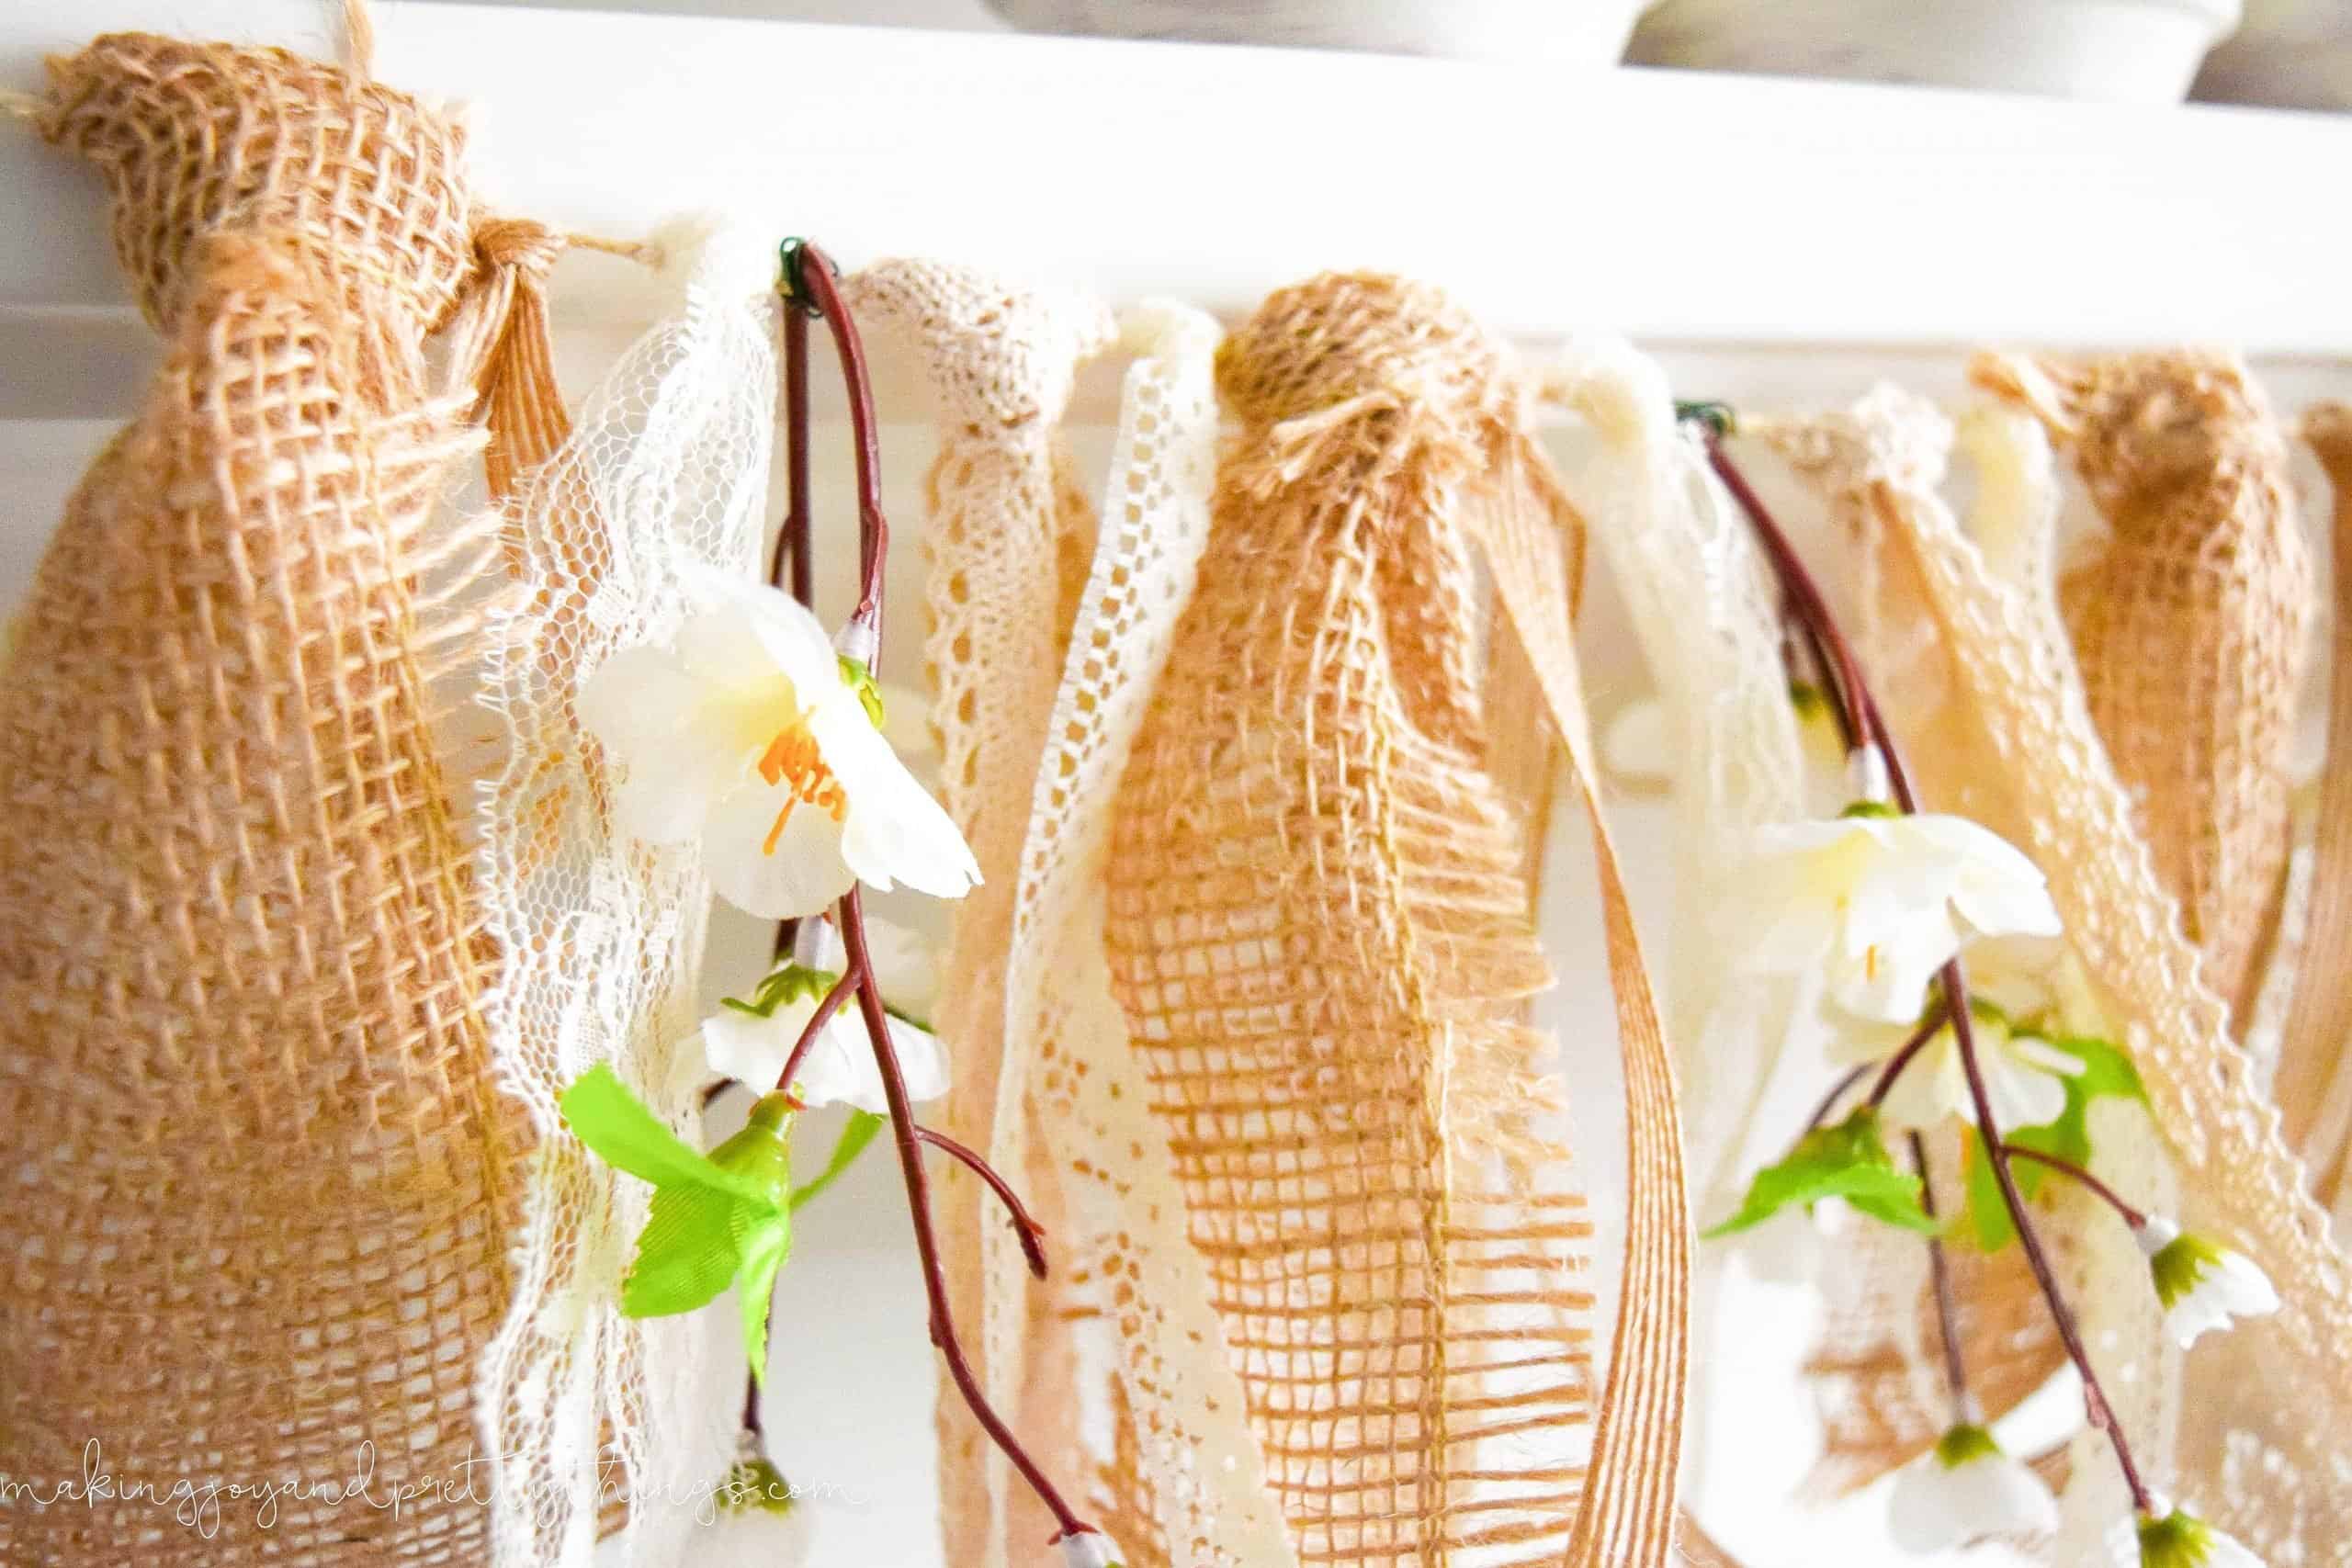
Once everything was cut, I arranged a set of all my supplies in the order I wanted them to hang on the banner. You don’t technically have to arrange everything in a repeating pattern, but, I thought this would look best.
I tried to keep everything equally spaced. So, not having 2 lace pieces not to each other, 2 burlap pieces together, etc. I also tried to keep varying widths of lace/burlap so that there weren’t two chunky burlap pieces together or two tiny lace pieces either.

Here’s the pattern I decided looked best:
Step 3. Cut twine to length
Once I was satisfied with my layout, I cut a piece of twine that fit the width of my mantle. This again will be different for you depending on where you want to hang it.
Step 4. Decorate the spring mantel garland
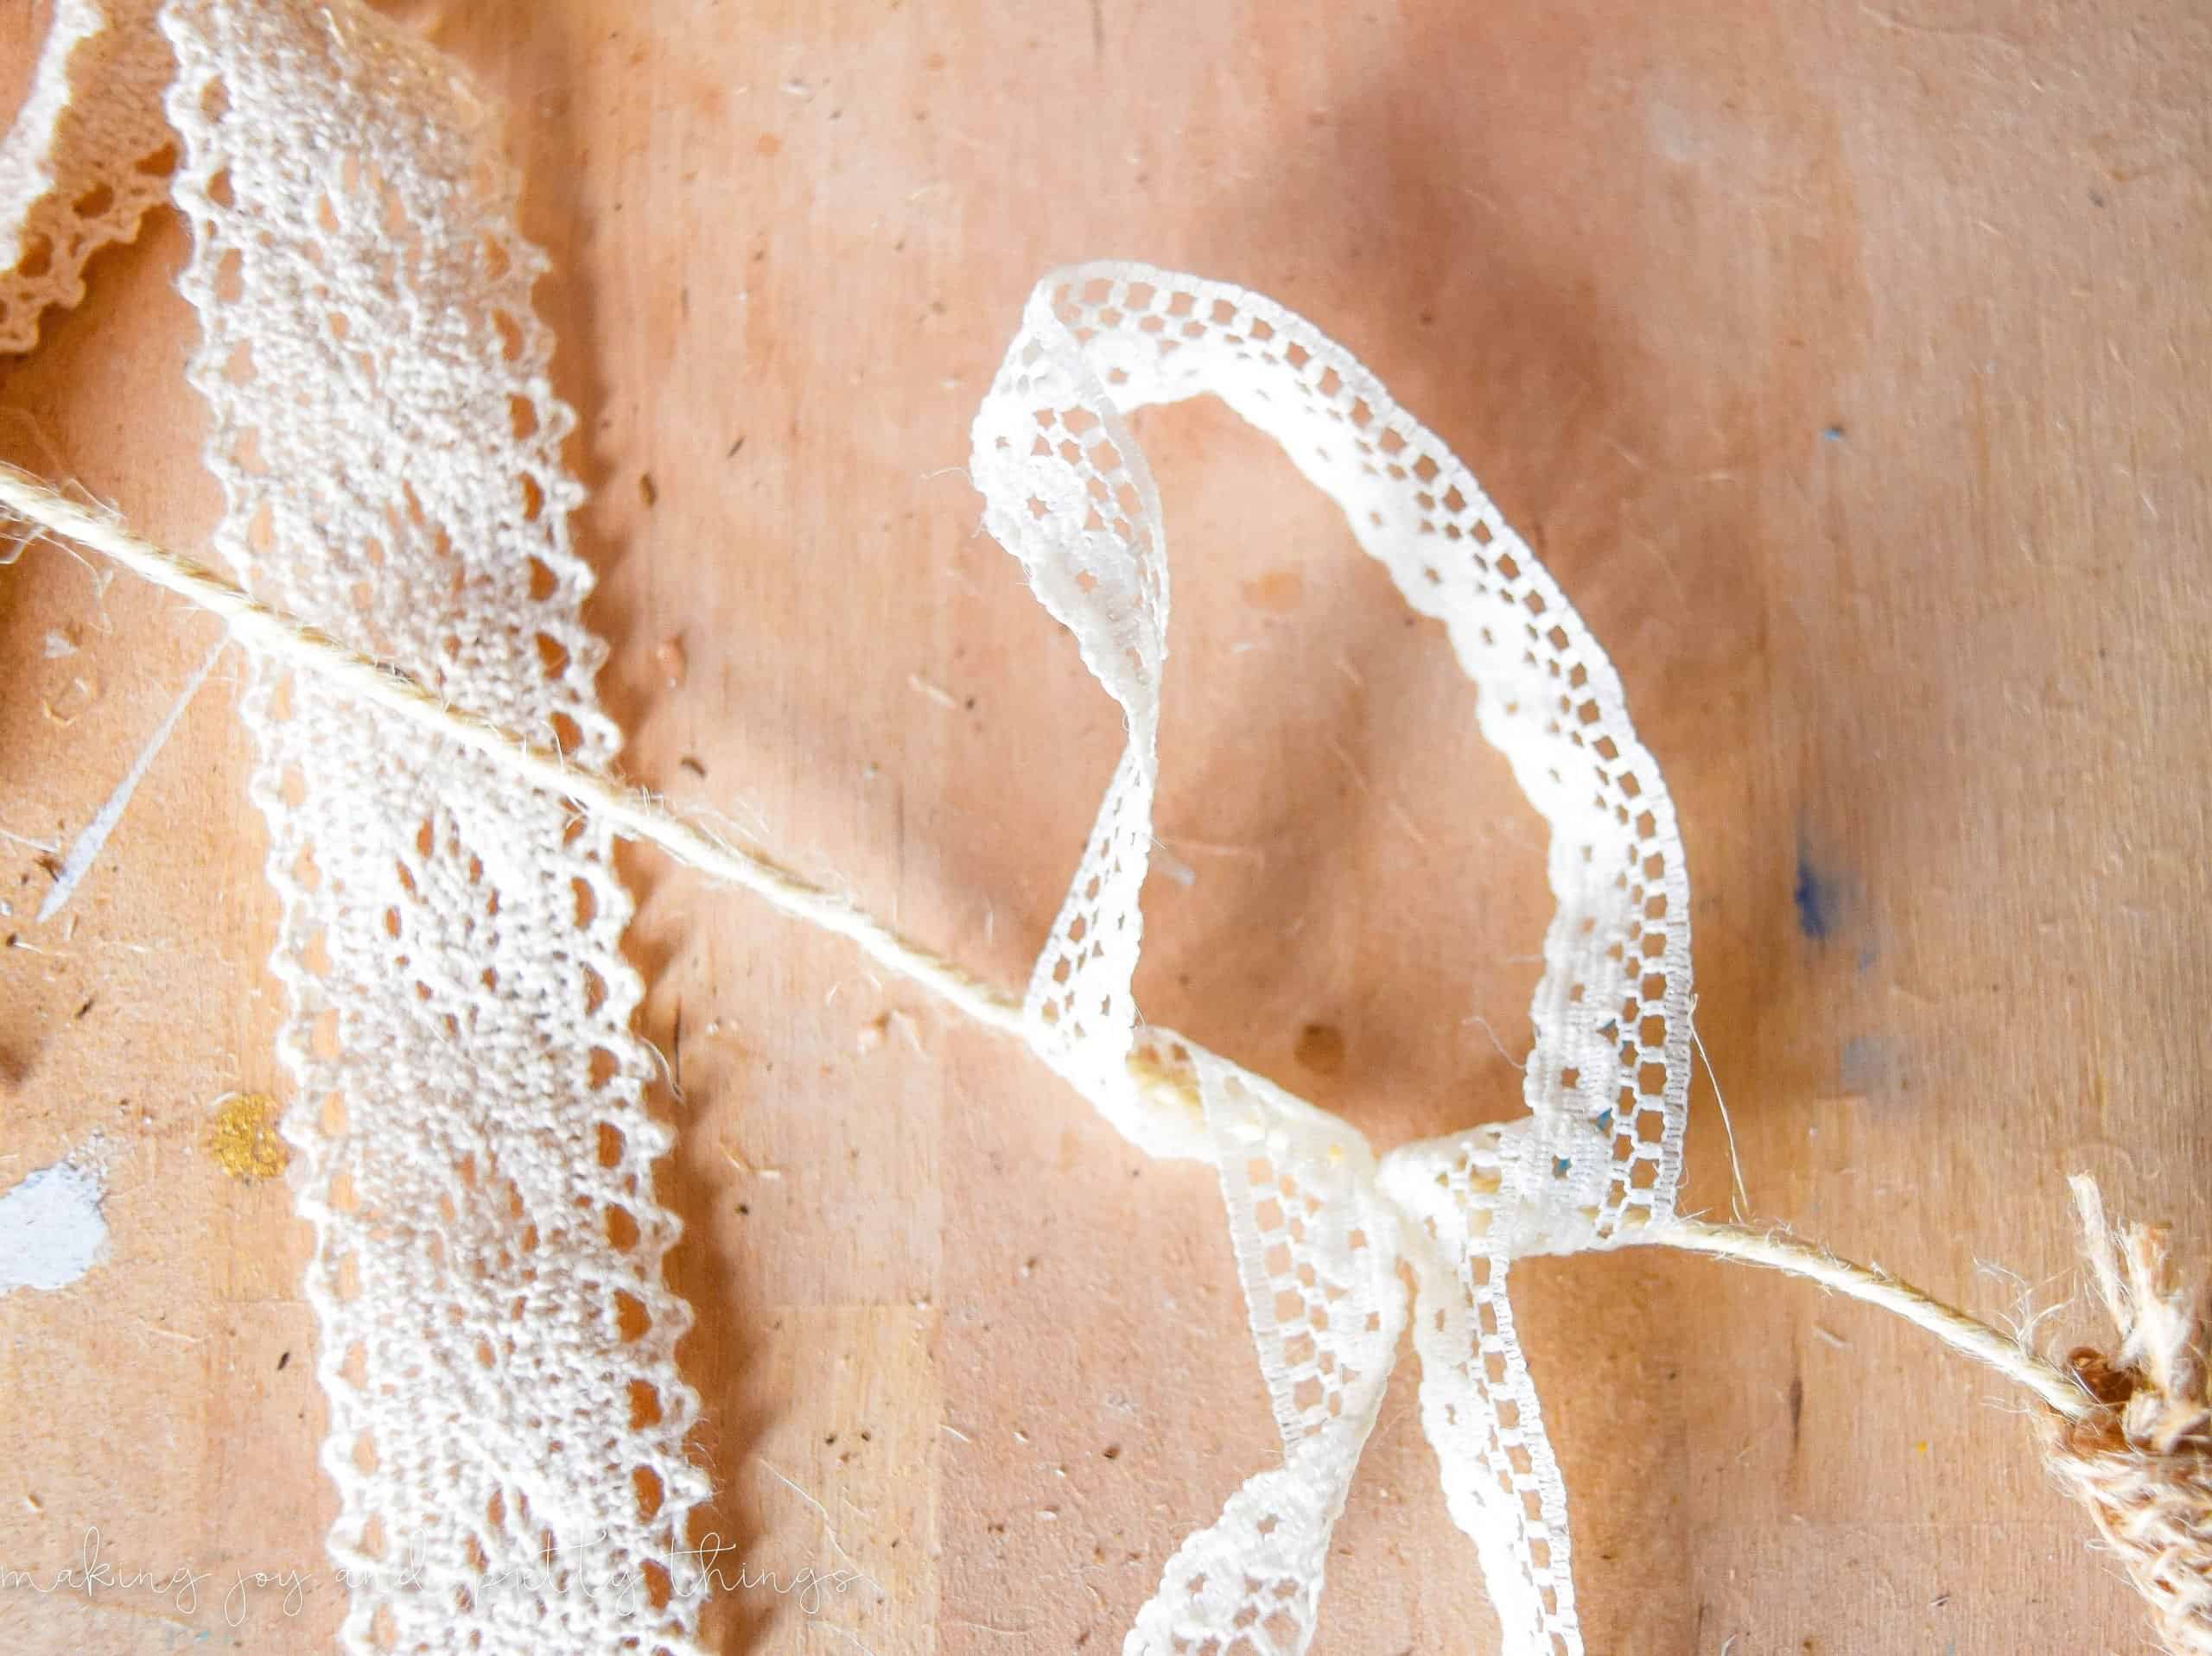
I started towards the middle of the twine.
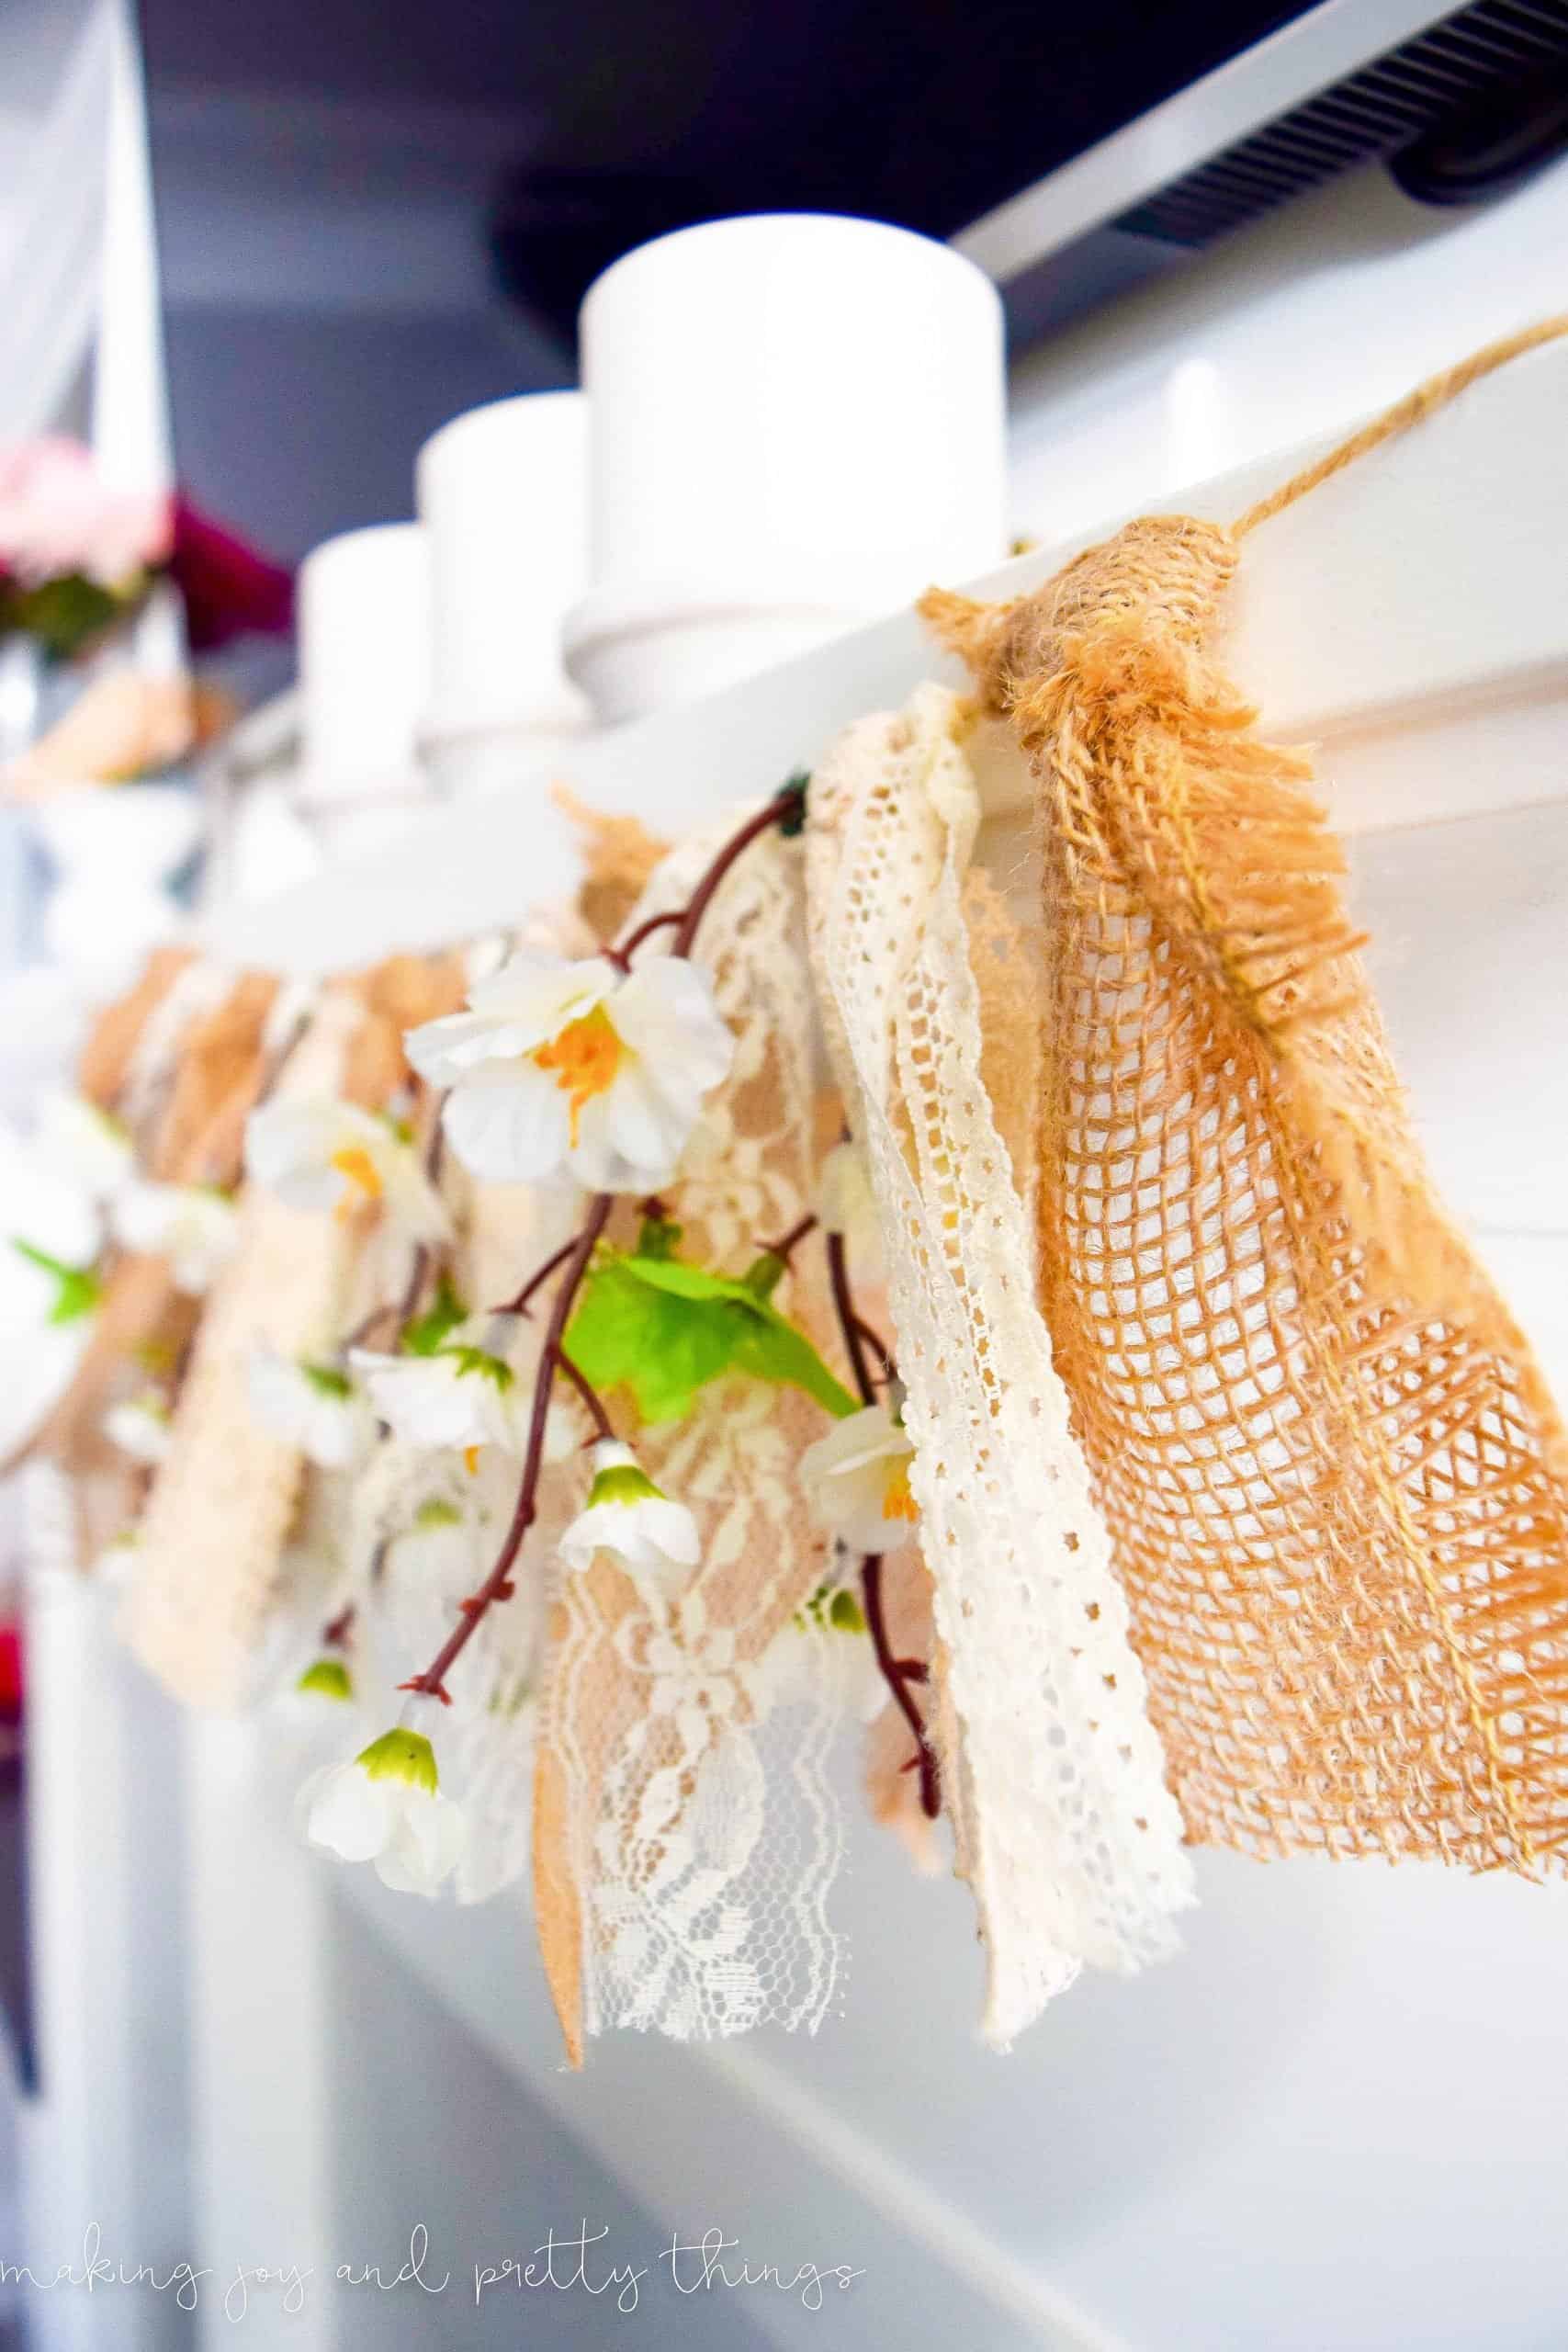
First, fold your lace/burlap in half and place it over the twine, having about an inch hanging over the top of the twine.
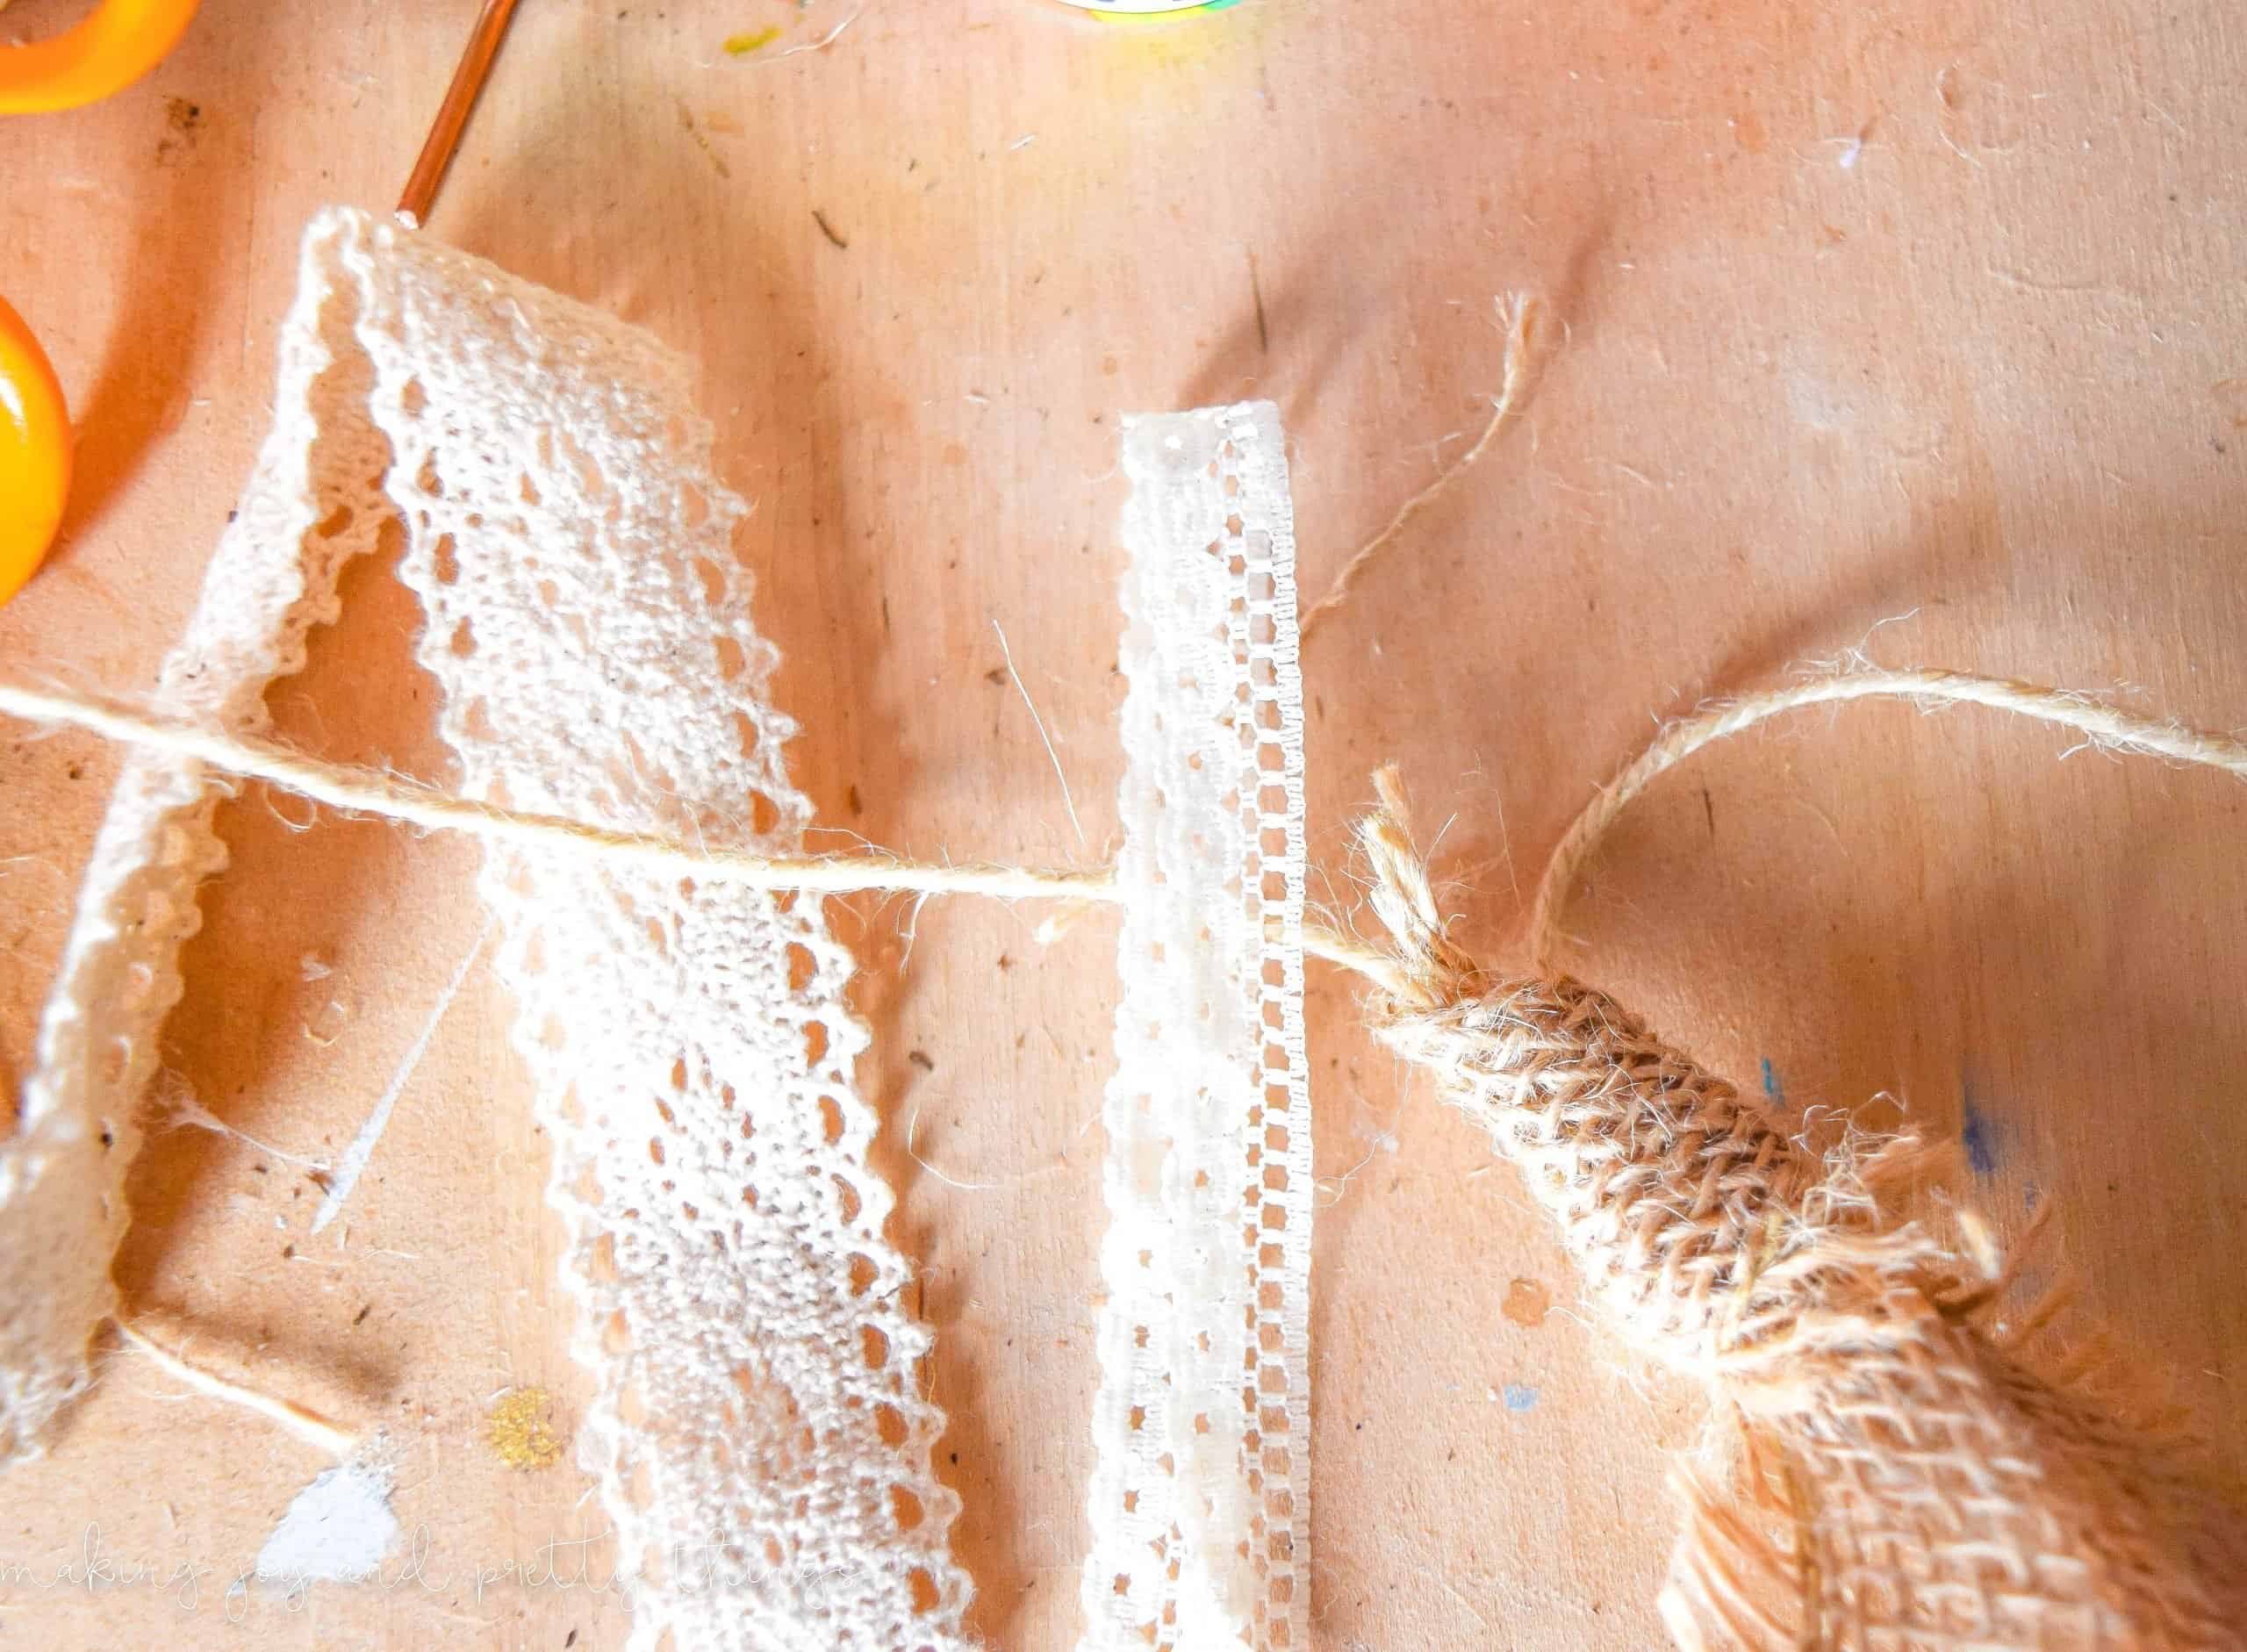
Then, loop the longer ends under the twine.
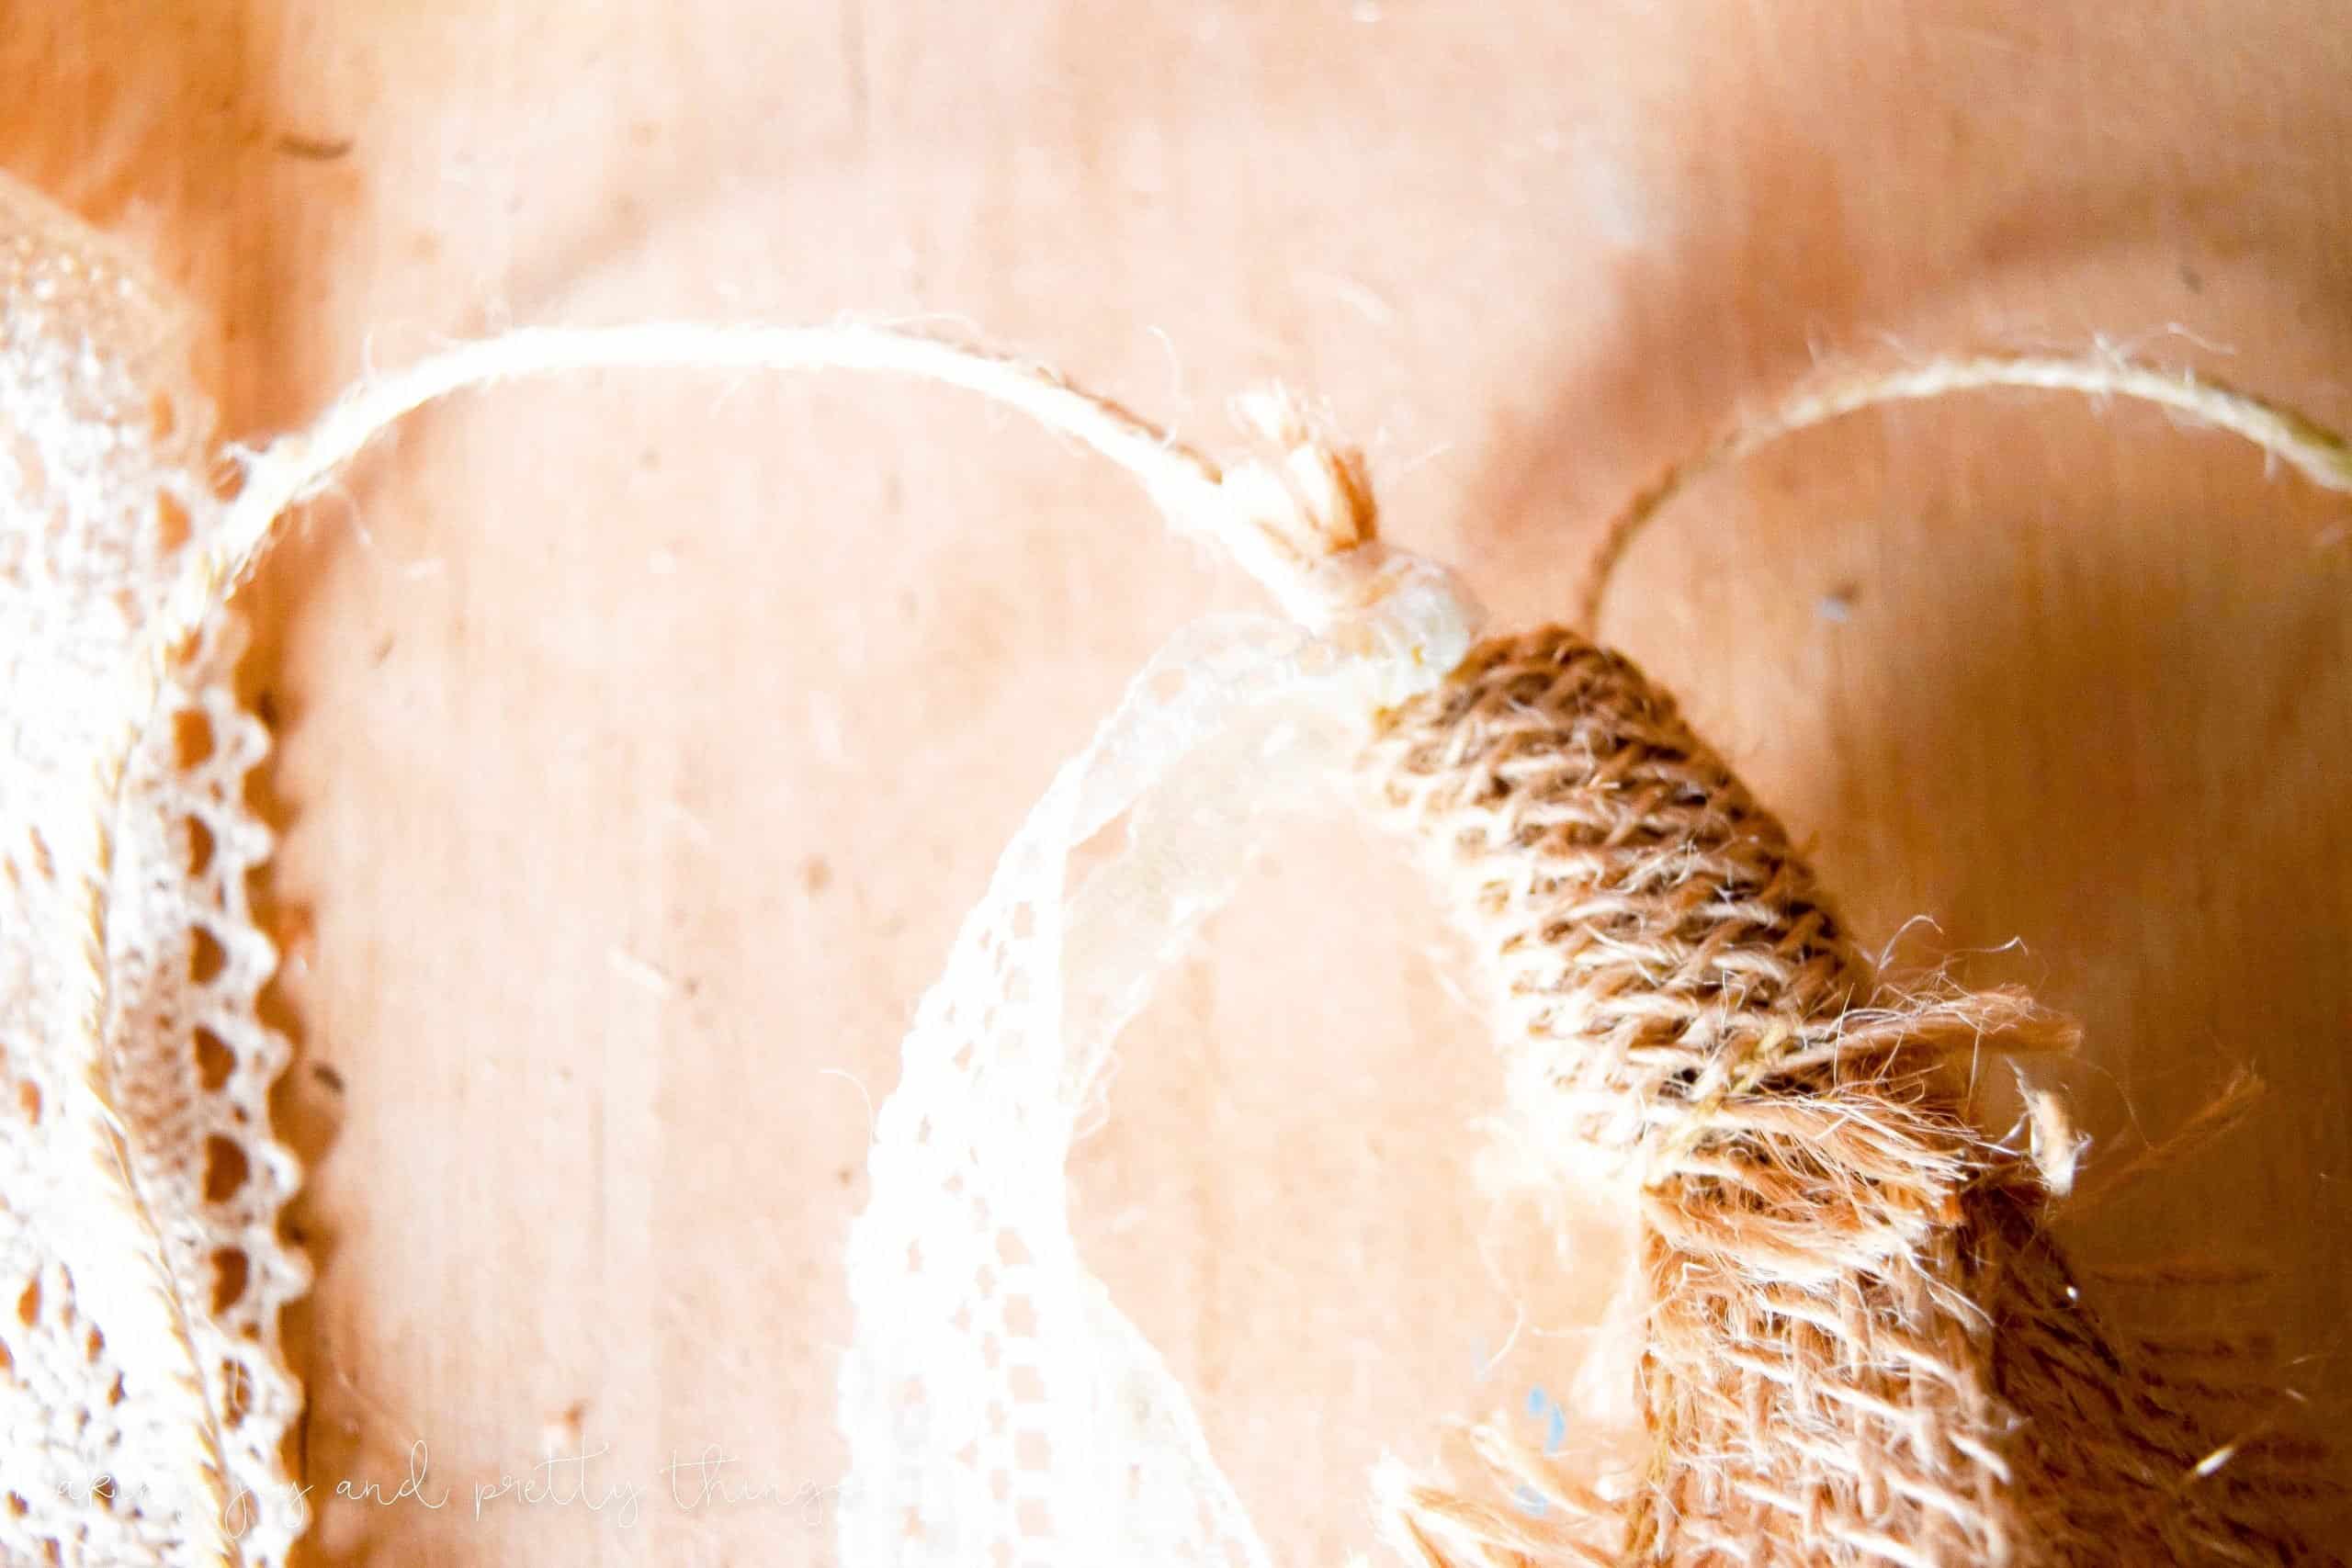
Finally, string the longer ends through the loop and pull tightly to complete the knot! Keep in mind, if you don’t pull too tightly the lace/burlap can still be moved. {Hint hint, do that, I learned the hard way!!!}
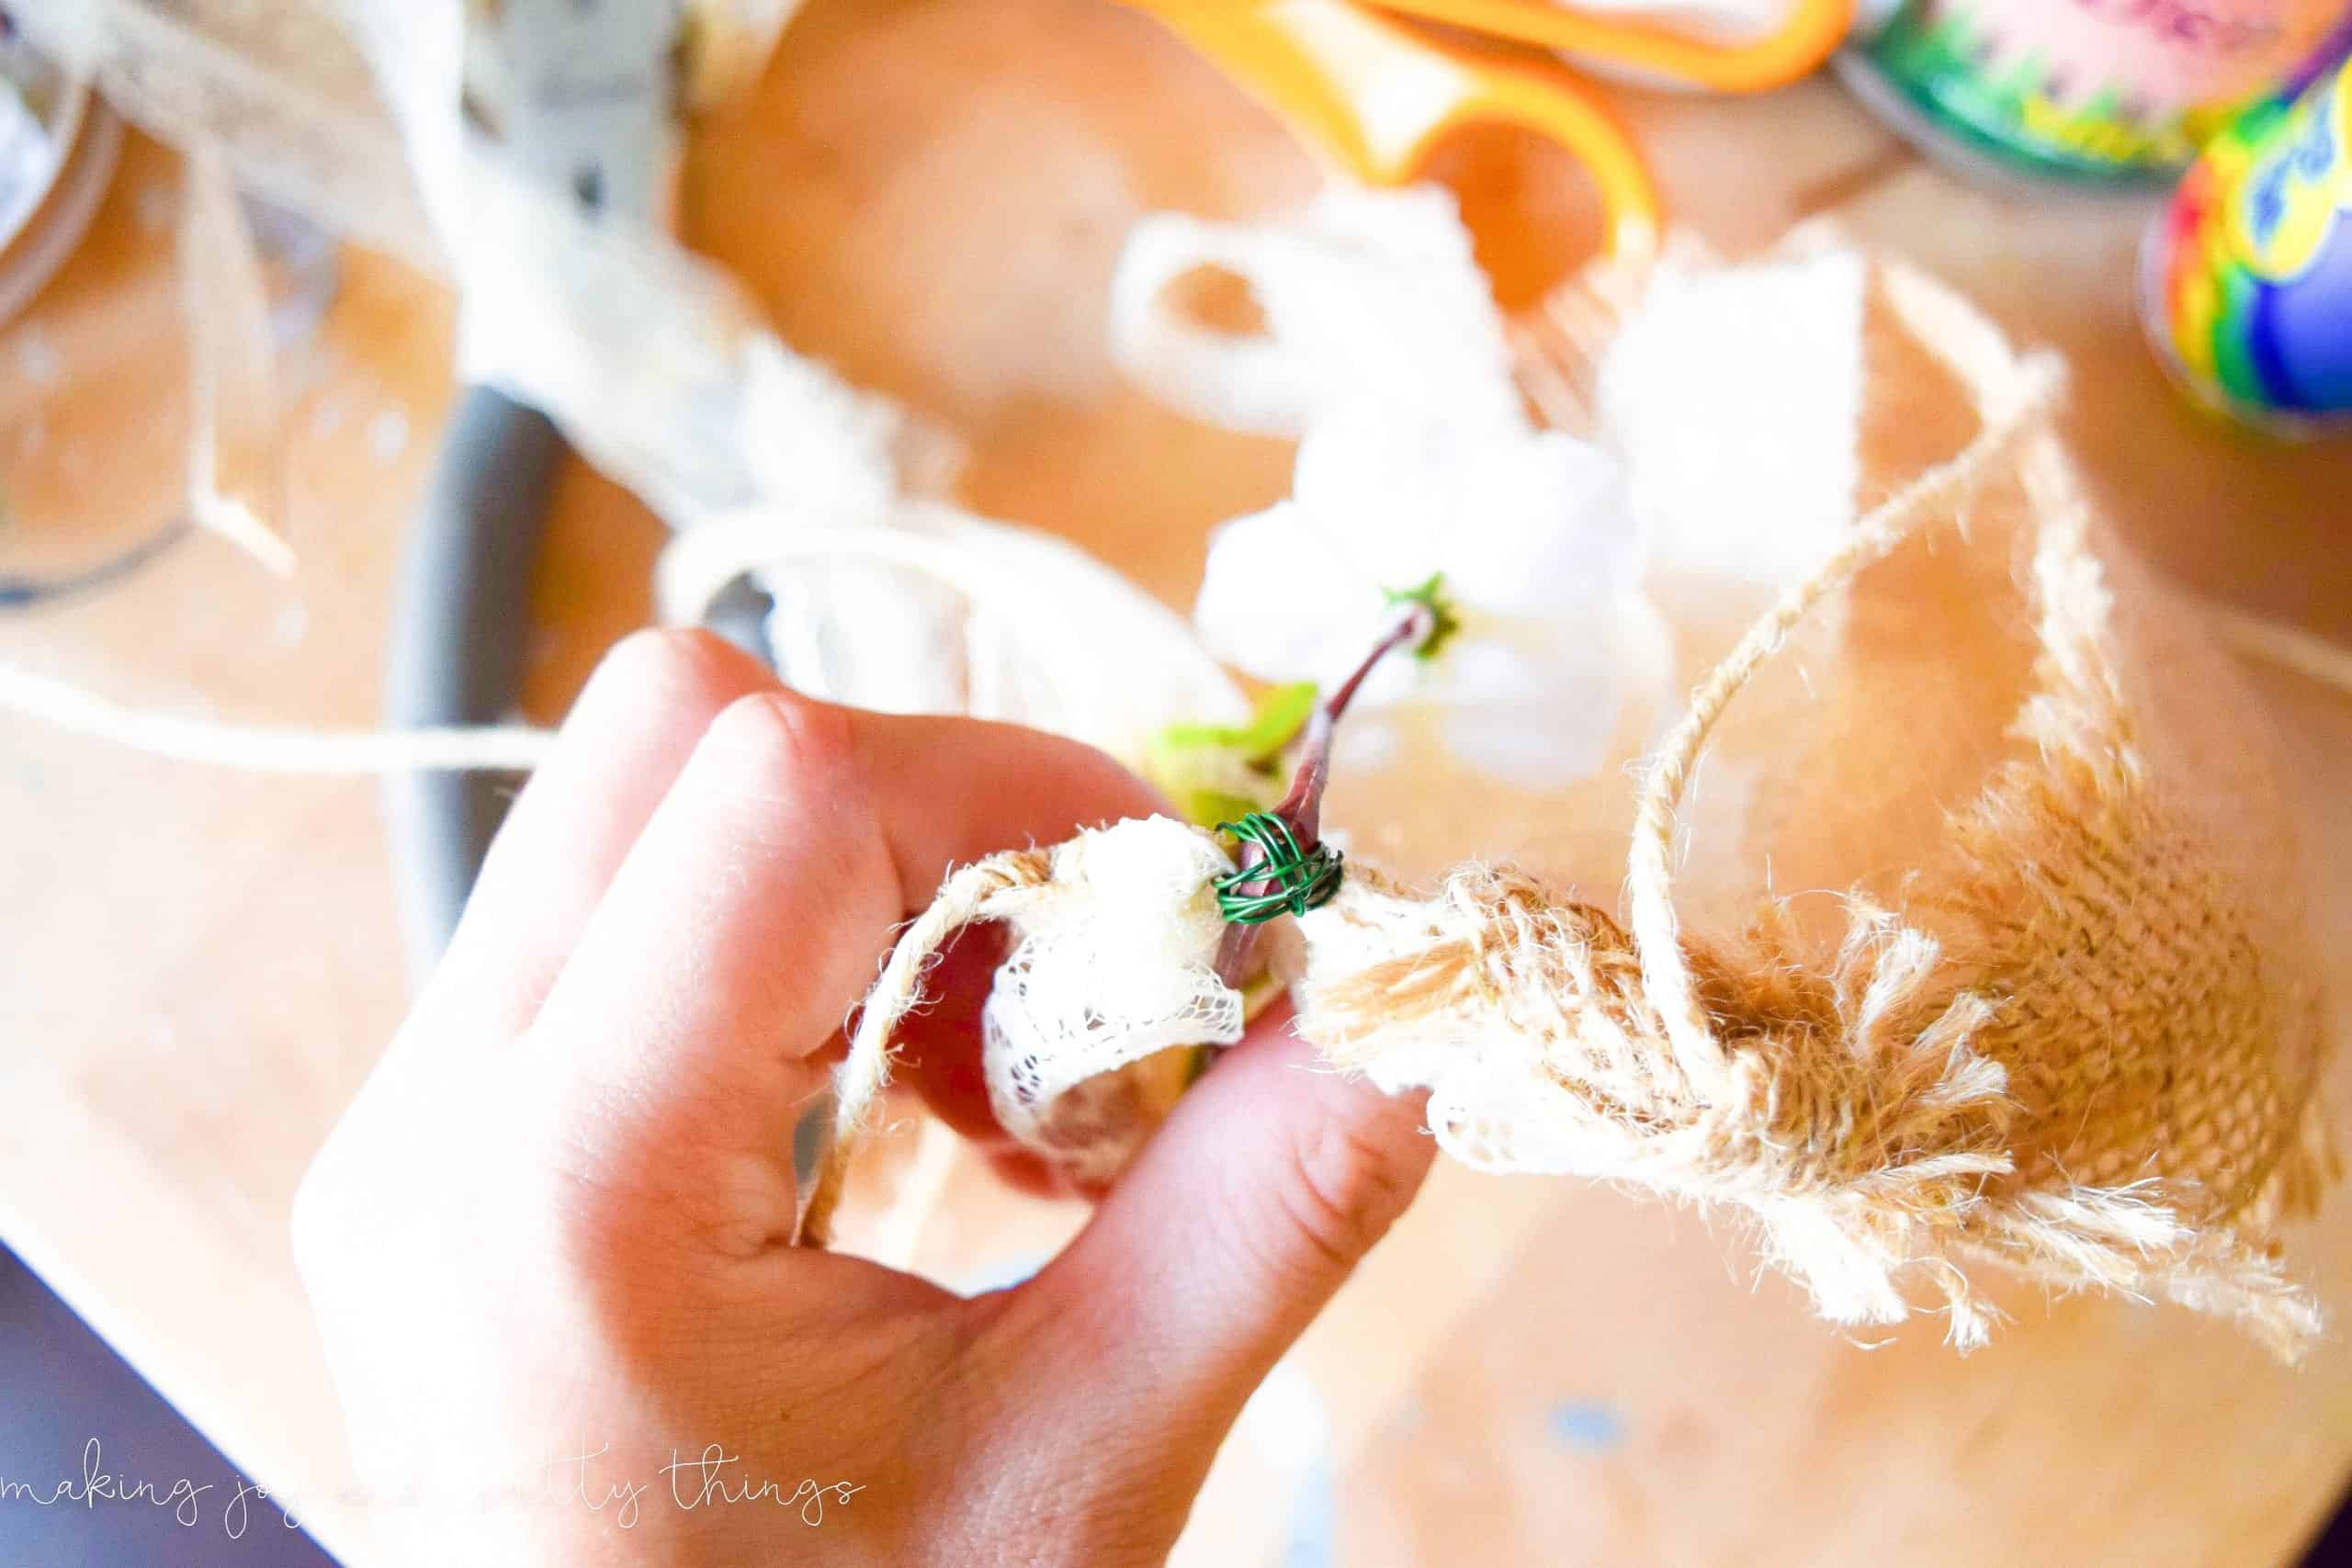
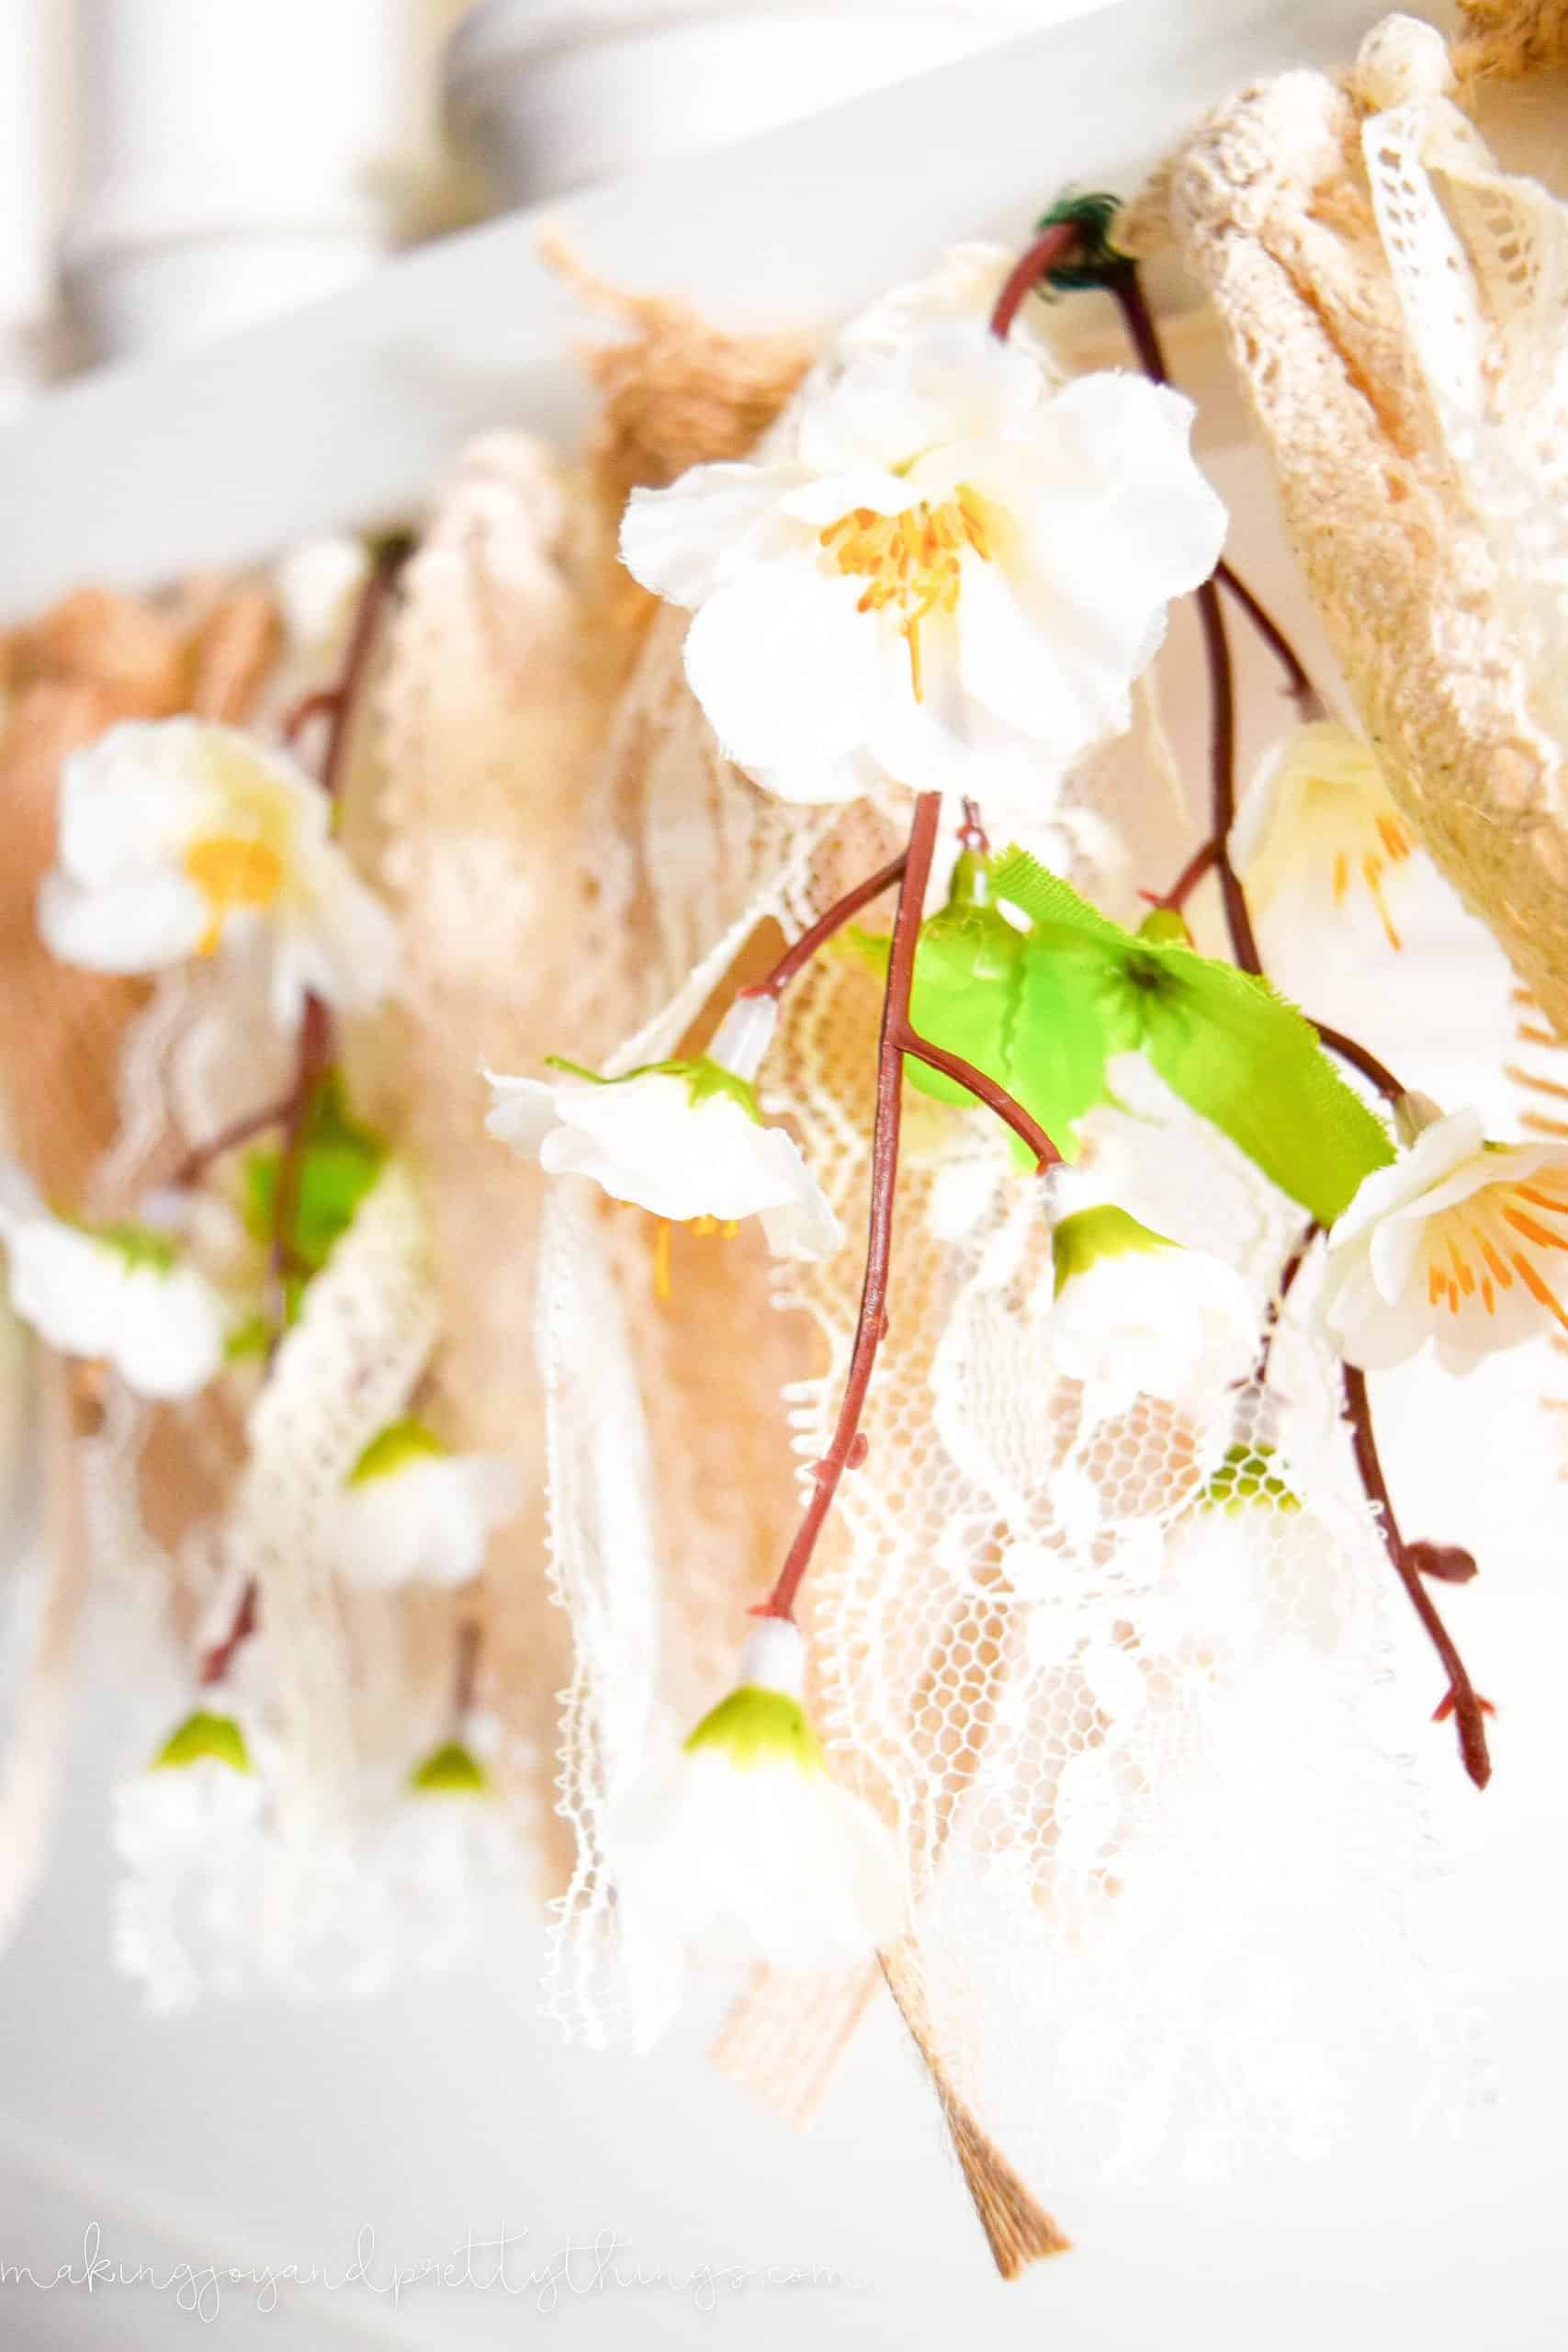
Step 5. Attach floral stems to the garland twine
I used floral wire to attach the peach stems then cut off about 3 inches of thin floral wire and used a completely haphazard wrapping method to attach them.
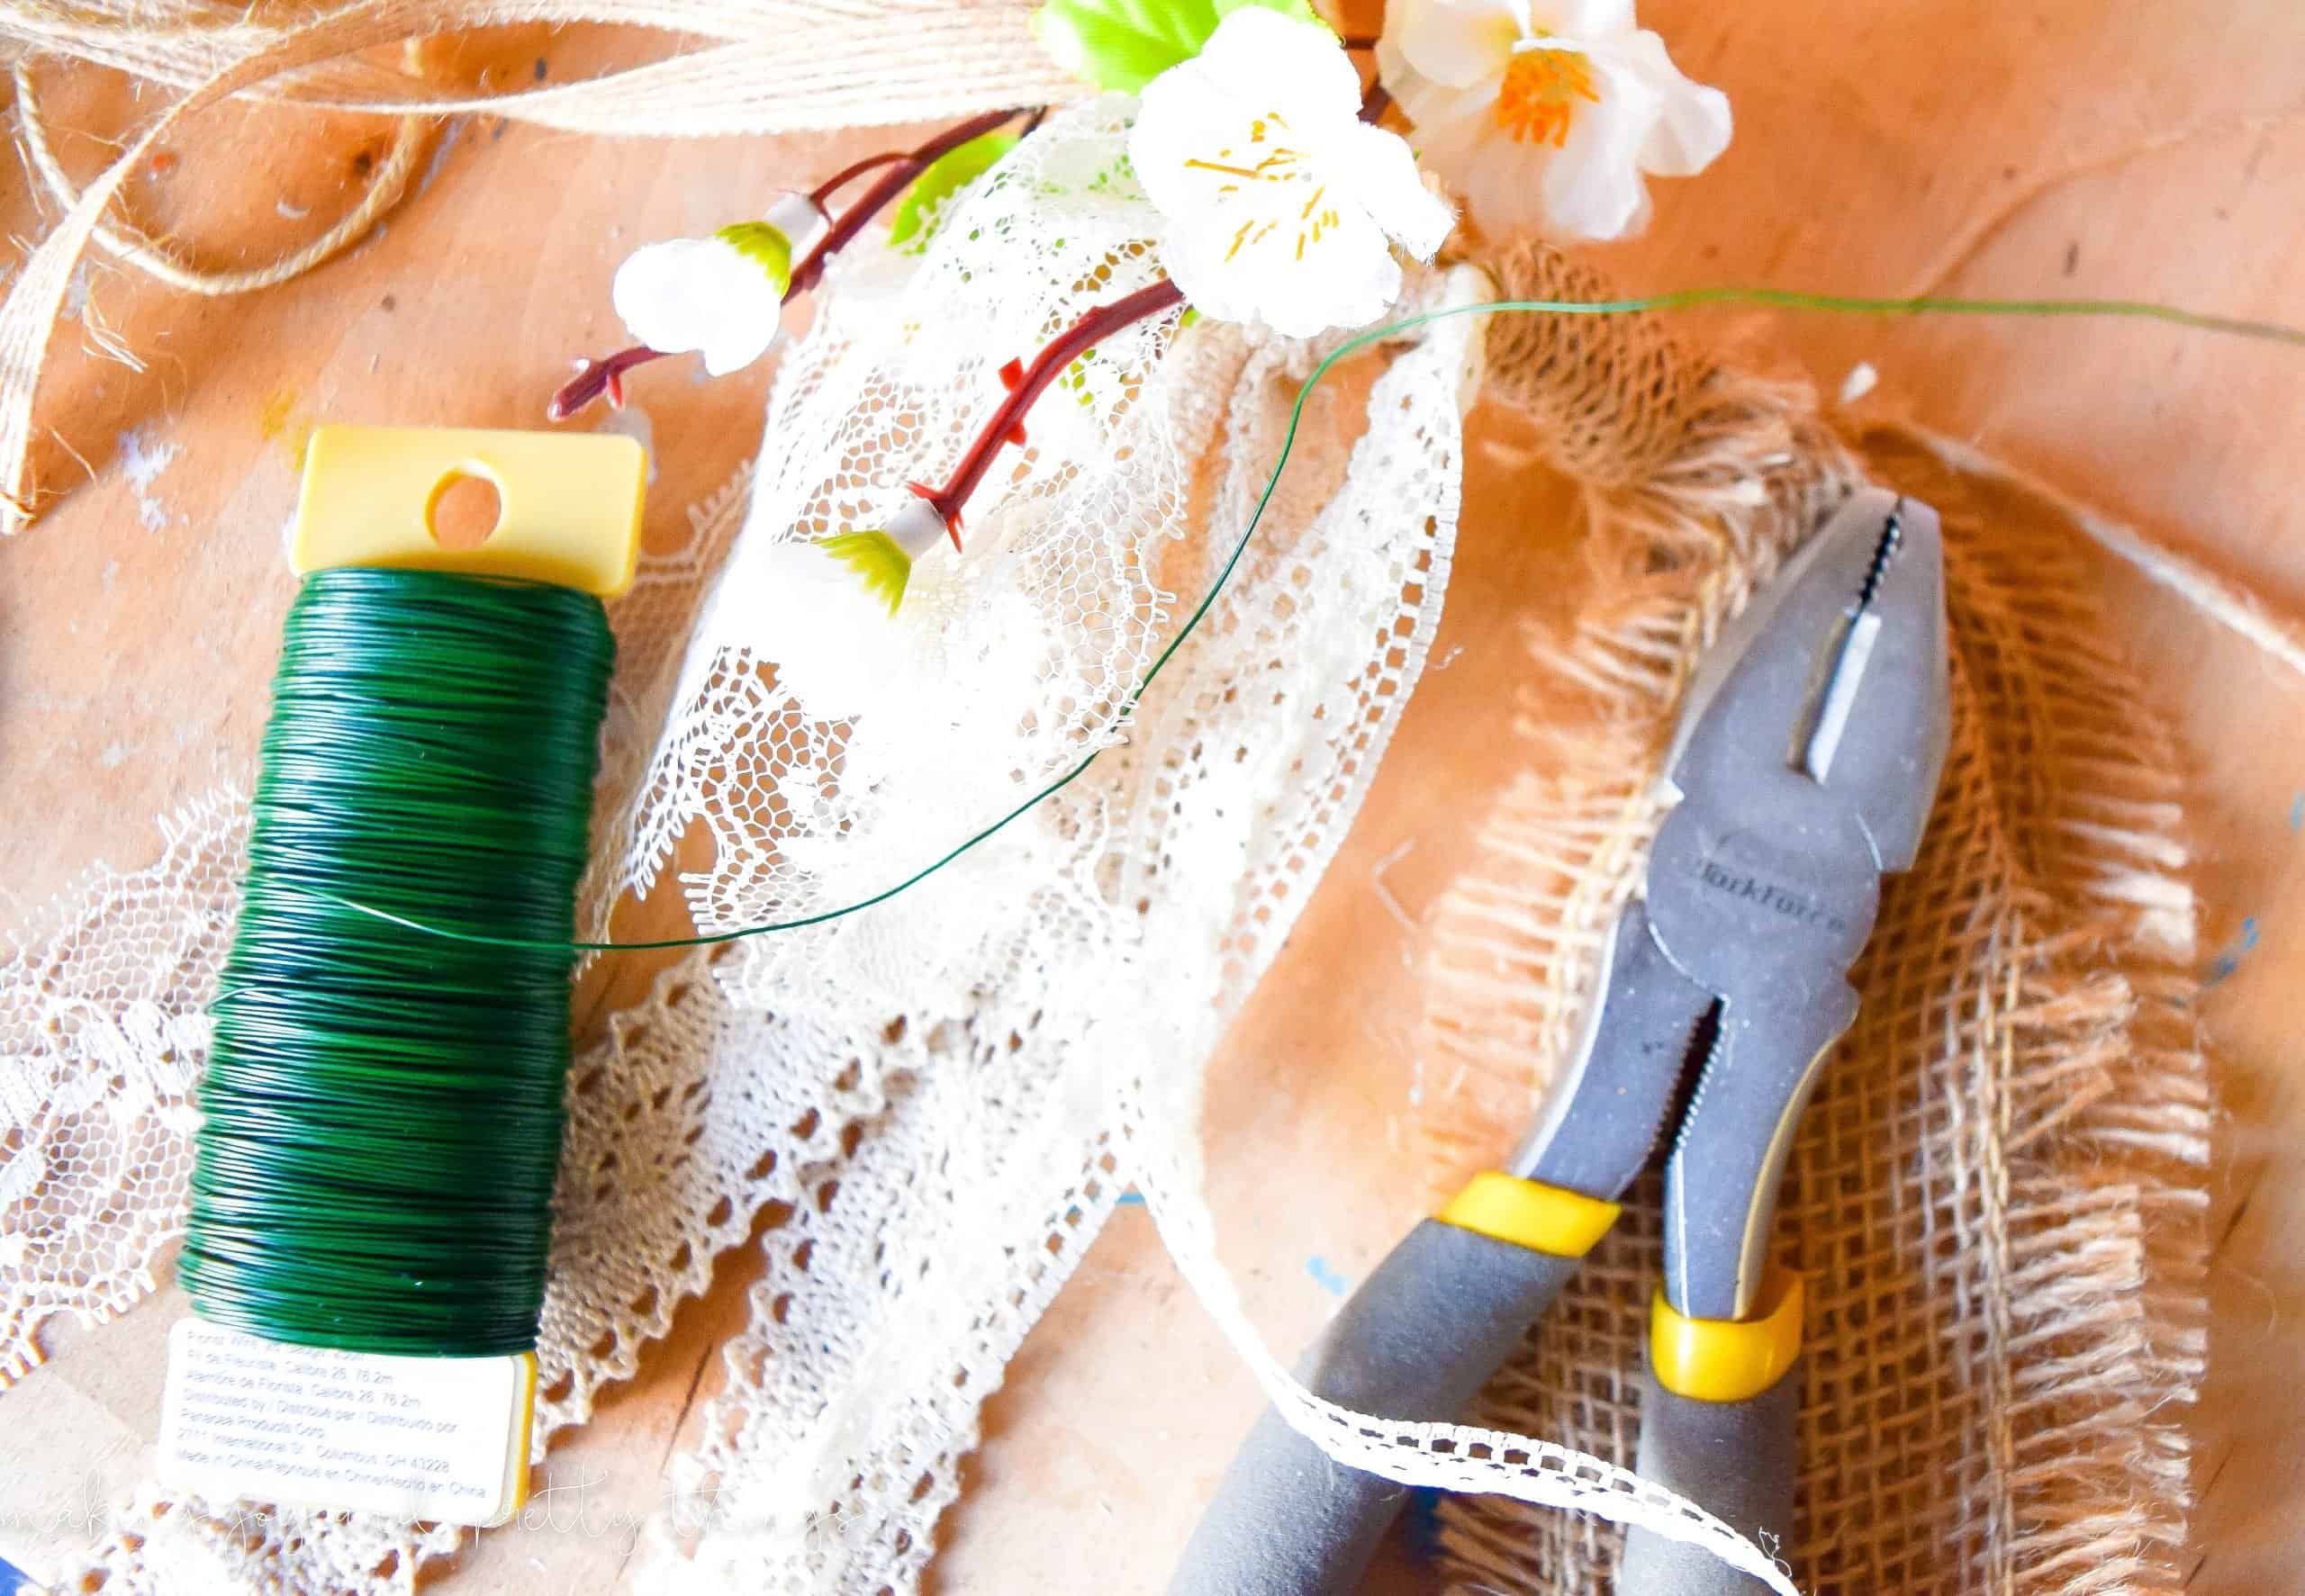
I wrapped the floral wire around and around and around. How’s that for a precise method?? haha
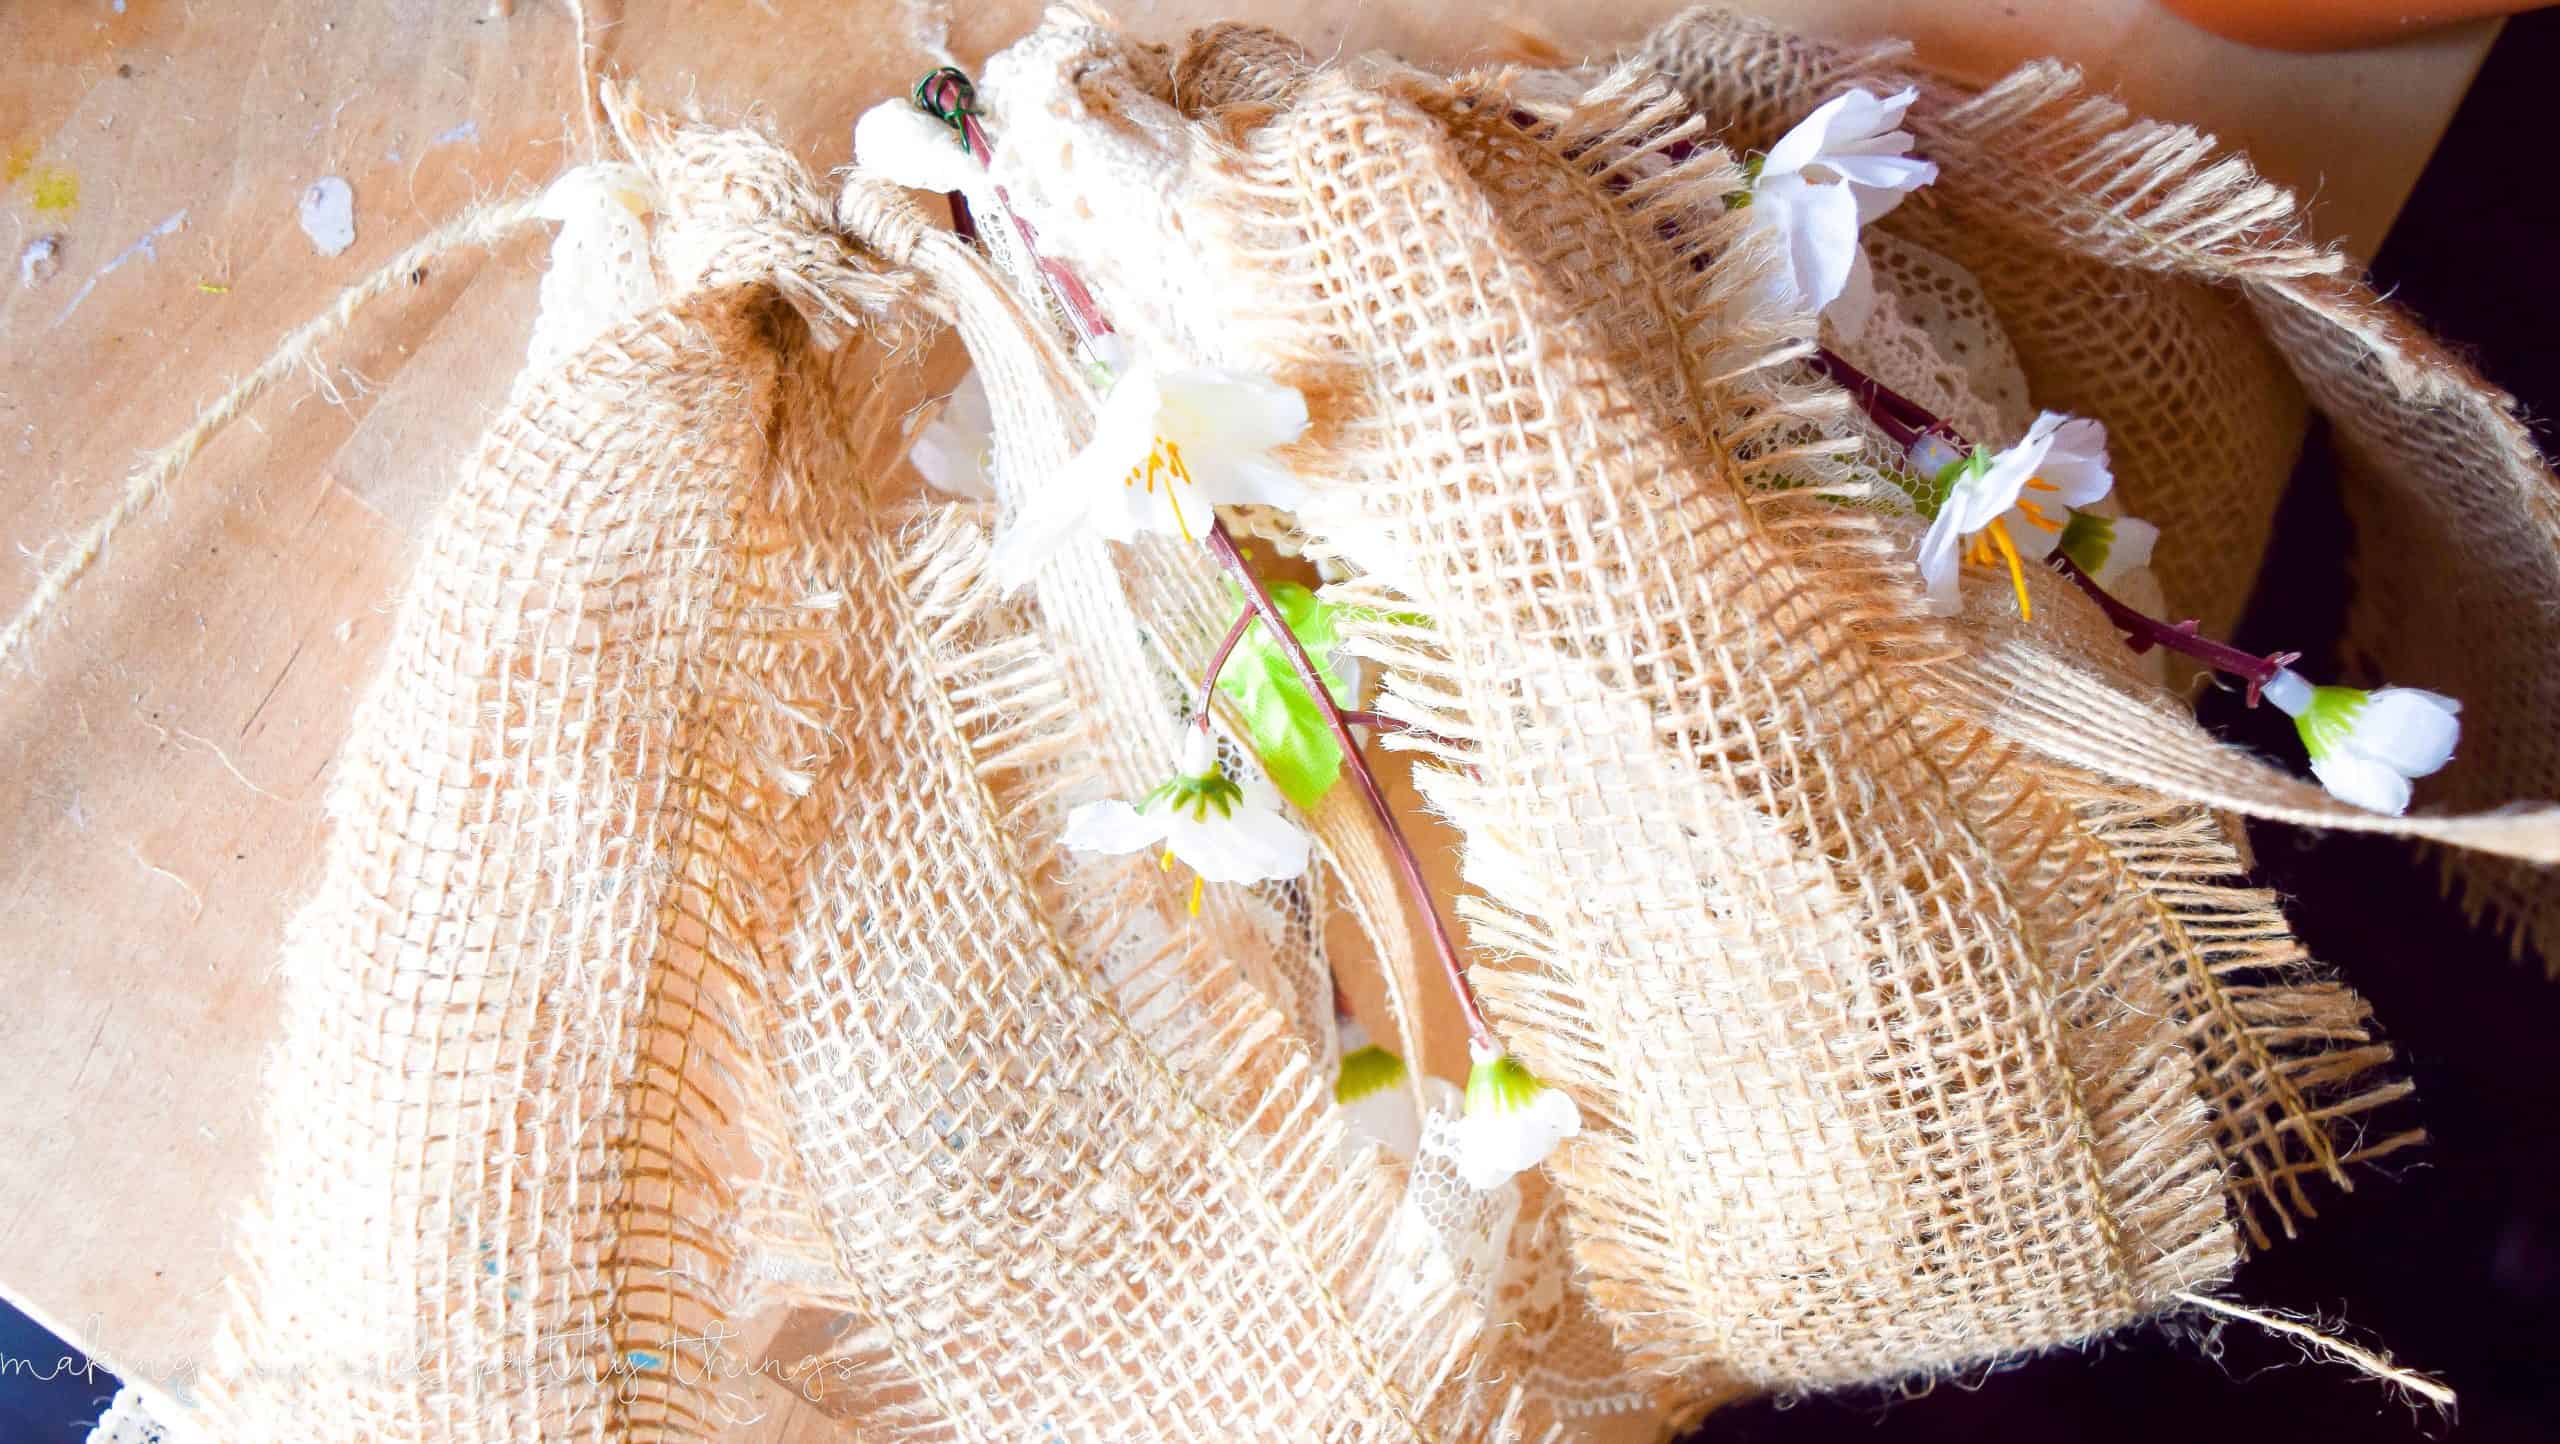
I repeated the pattern 5 times total then hung it up on the mantle!!
I simply used tape to attach the banner. It’s not very heavy so I only needed two pieces per side. I made sure to center the banner on the mantle, too.
It looks like a hot mess in that picture, huh?
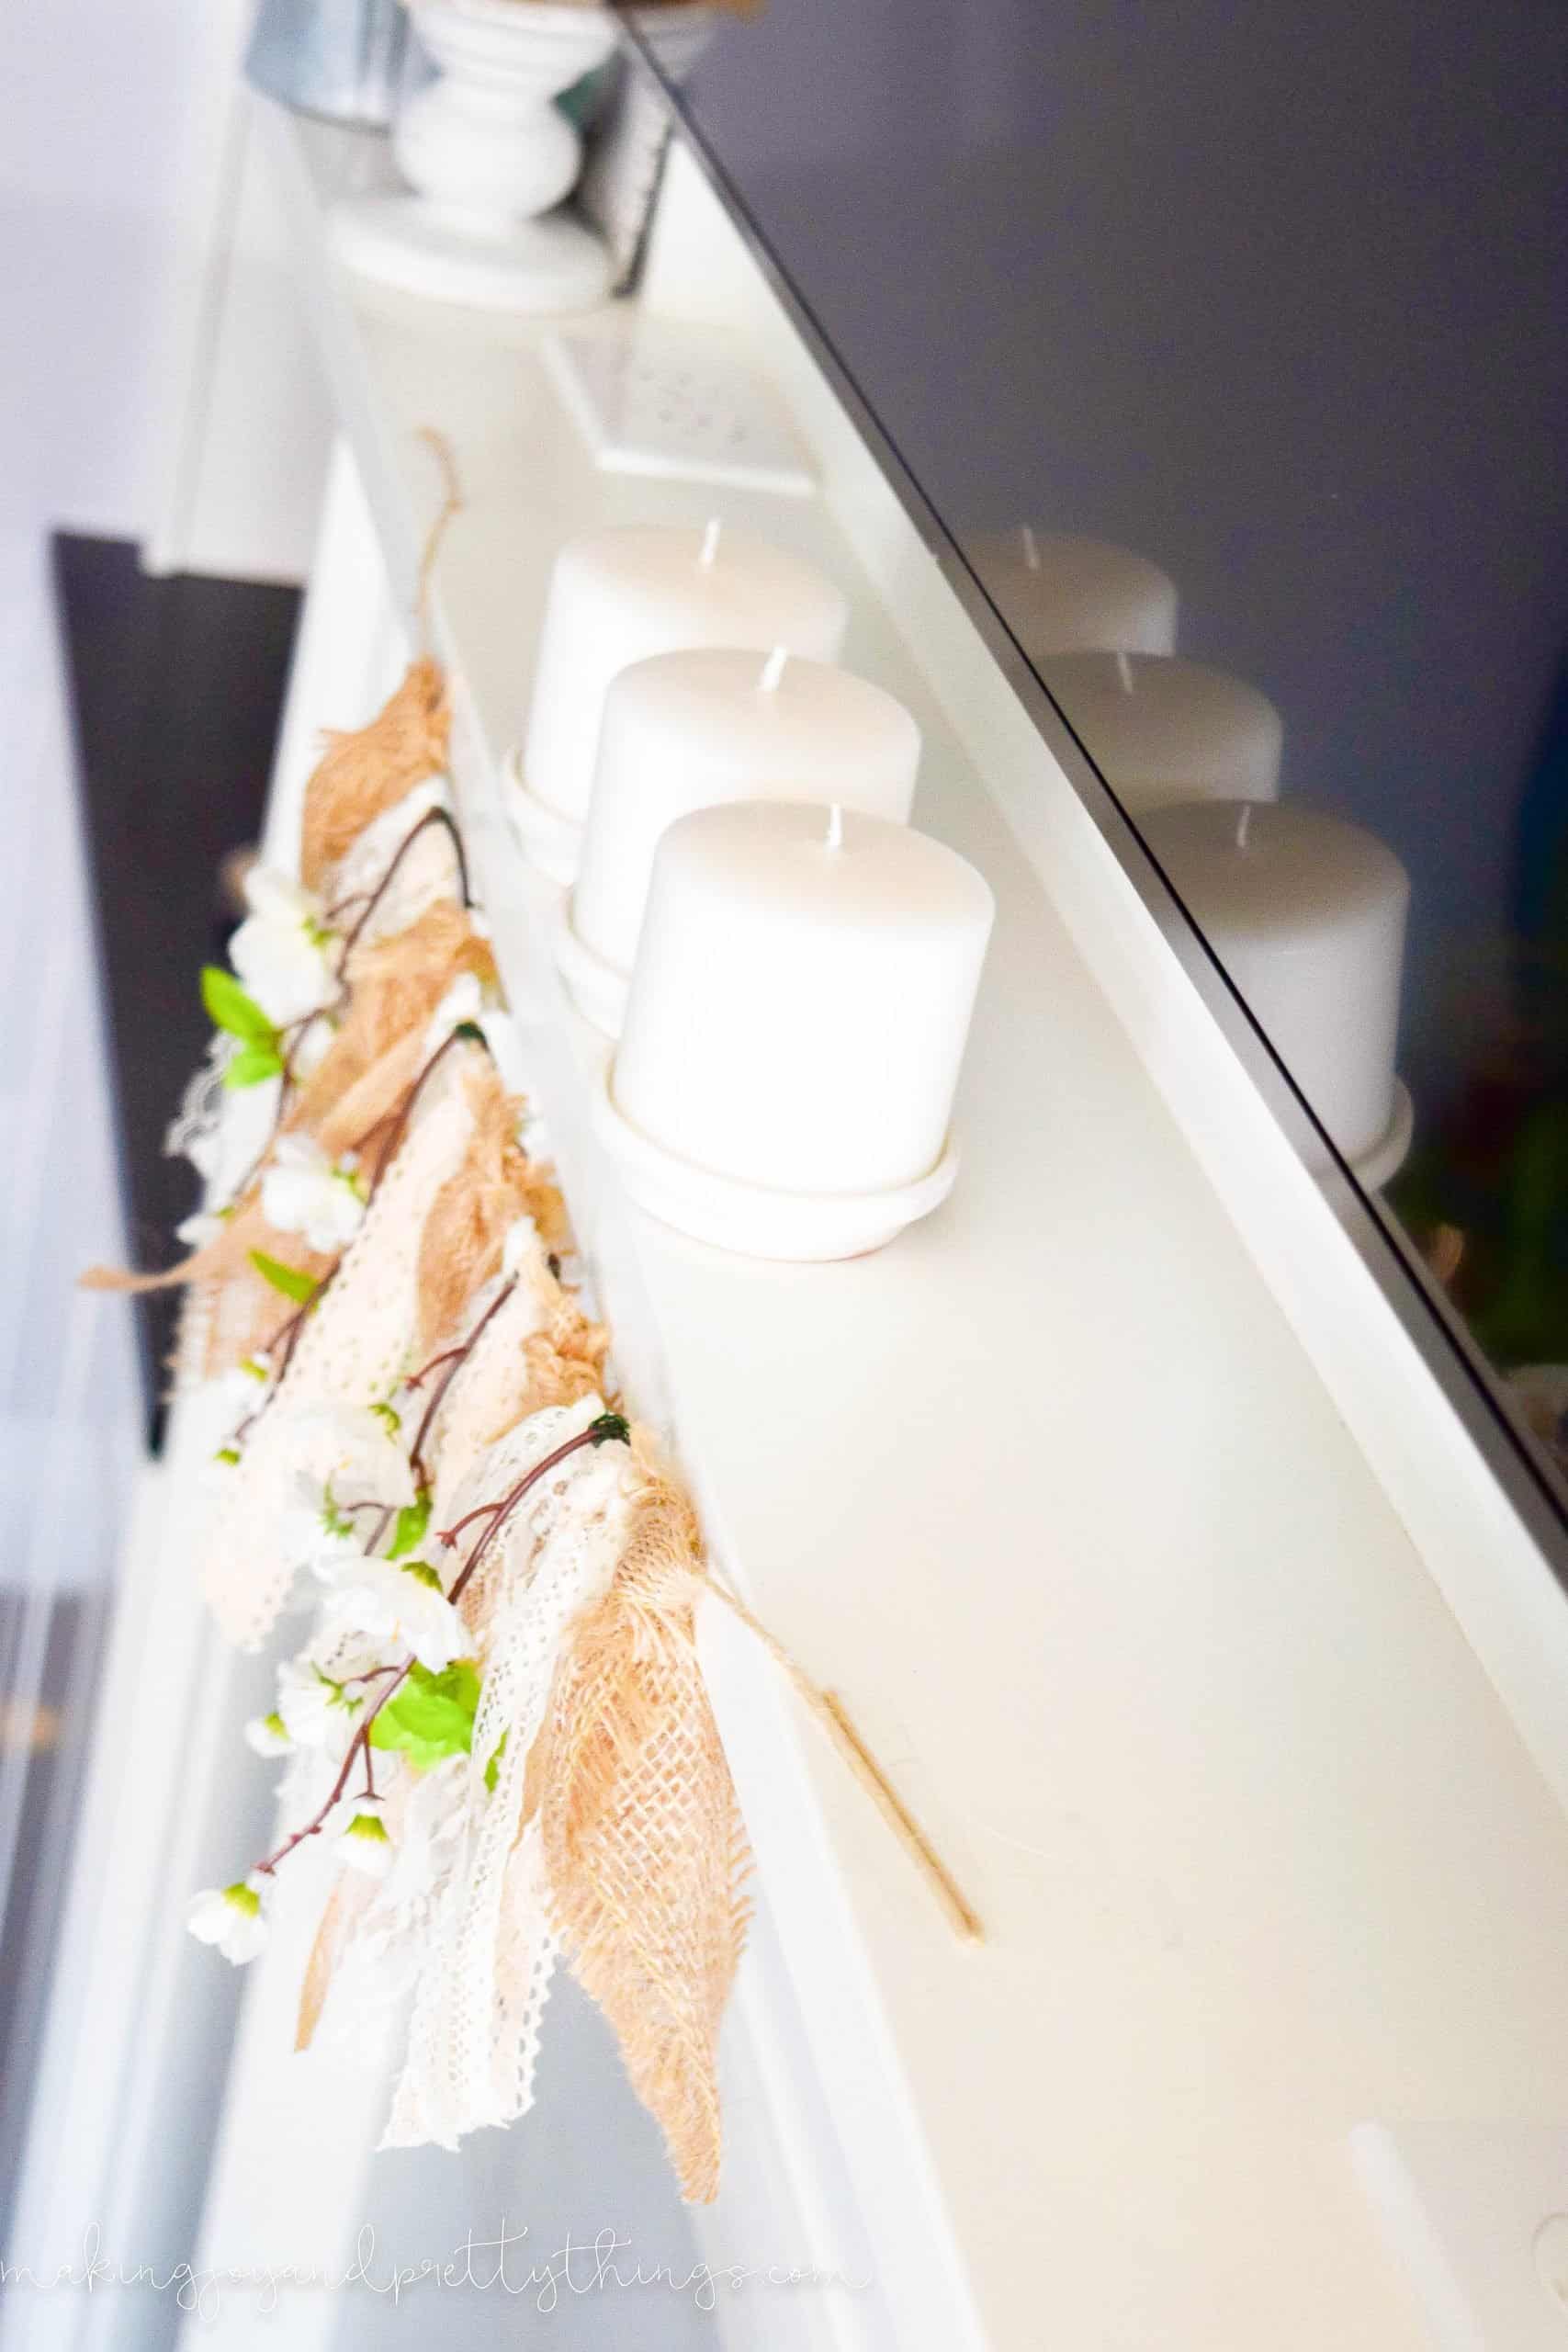
Step 6. Trim up spring garland on the mantle
Last step: trim all the ribbons to an equal length. I used the length of the peach blossom stems as a guide.
Ahhh, much much better!
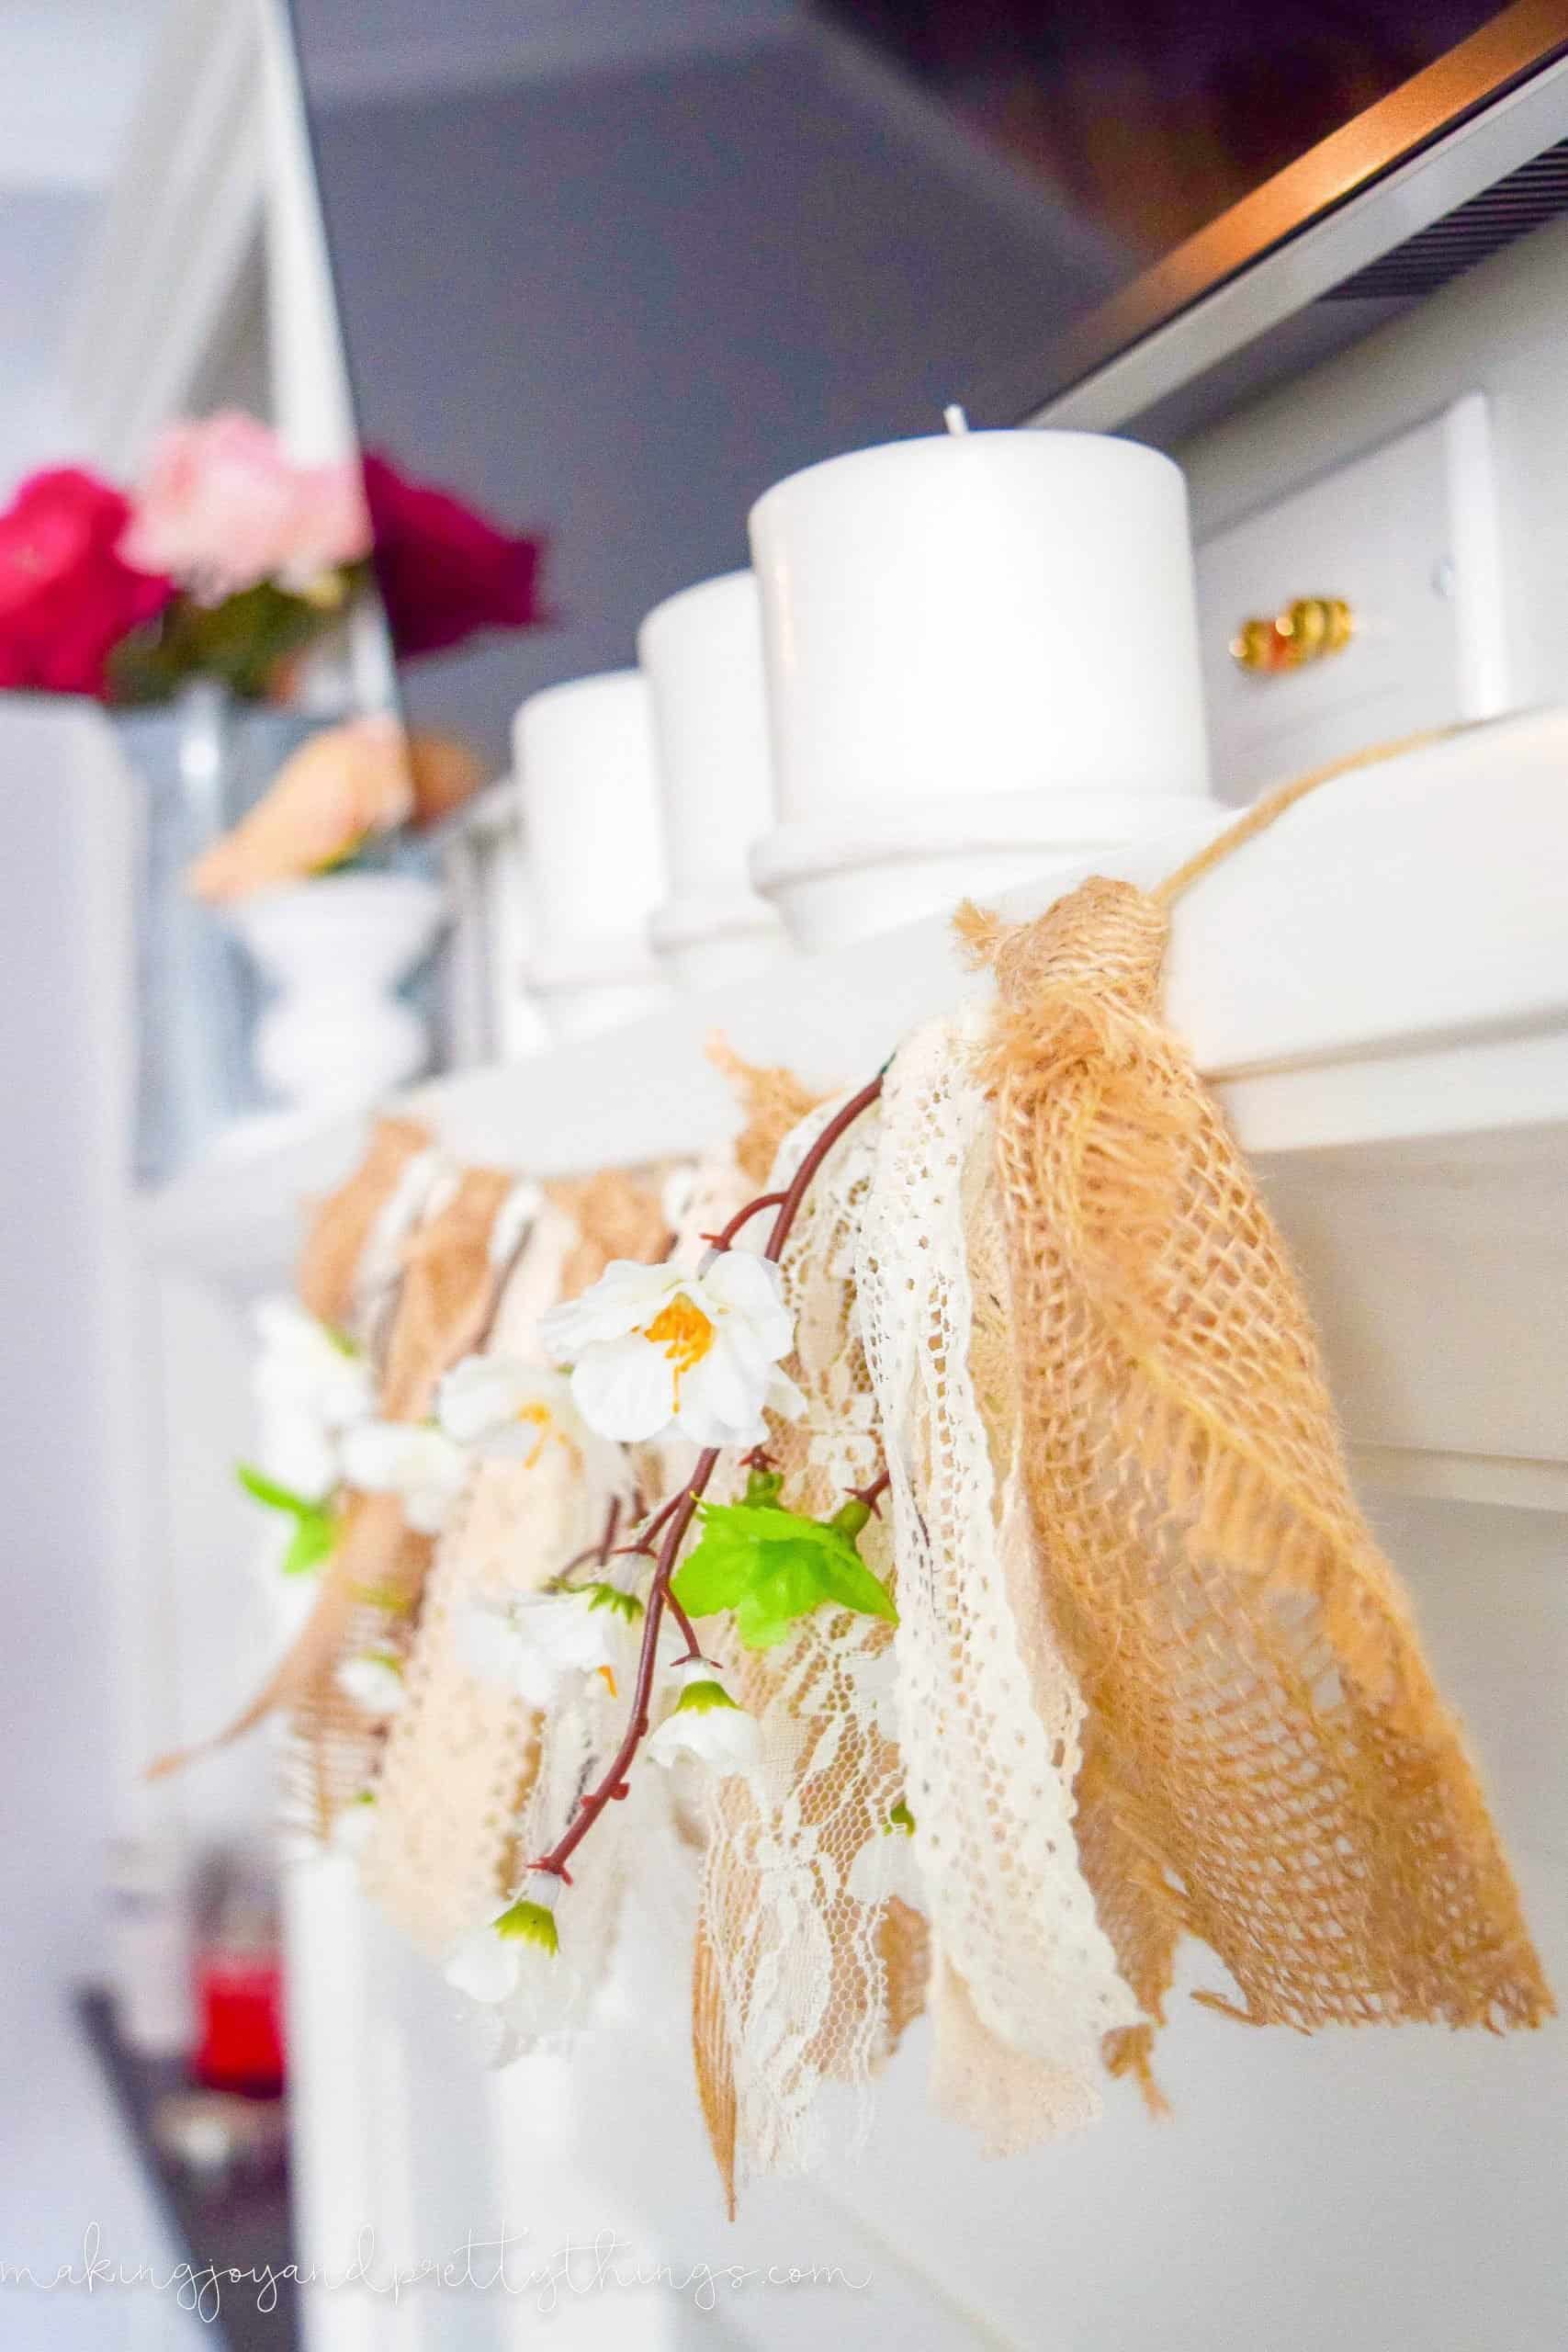
I am completely loving the final result. The banner accomplished my goal of creating a unified mantle and looks rustic and vintage at the same time. Plus, who doesn’t love a craft that takes 10 minutes!?
If you didn’t get a chance yet, hop over to see my finished summer mantle. Especially if you have a TV mounted on your mantle.
I hope you love this easy farmhouse-inspired DIY. Where do you think you could use it in your space? Think it could be updated to fit into fall or winter decor??
Wishing you a joyful day!

DIY Spring Mantel Garland
I am so excited to share a fun farmhouse-inspired DIY today. This spring mantel garland took no time at all to make (like seriously 10 minutes) and looks so perfect hanging on my mantle.
Materials
Tools
- Scissors
Instructions
- Cut garland supplies to equal length
- Pick an order for the spring mantel garland
- Cut twin to length
- Decorate the spring mantel garland
- Attach floral stems to the garland twine
- Trim up spring garland on the mantel
Looking for more Spring ideas? Check out these articles:
SO pretty Sarah!
Thank you so much Kristi!
What a great addition to your summer mantle! Something you can easily change out for the seasons 🙂
Thanks, Colette! I’m so glad you like it 🙂
Very pretty! It turned out great, Sarah! It will transition nicely into fall decor, too, since it is so neutral.
Thanks, Lora! I love that it’s versatile too (though, if I’m being honest, I didn’t even think of versatility when I DIYed it 😉 )
It really looked lovely on the mantle and it is such an easy DIY. I love that you found the exact blossom you sort of had in mind to pull the space together. It could definitely be used throughout the seasons.
Aww thanks so much, Zan!! It was SO easy, that’s basically my motto. And farmhouse, always farmhouse 😉
Fun! Love crafts that can be whipped together quickly! Could probably do a lot of different adaptations on this concept for different seasons/ocassions too!
Thanks Cristy!! I do love that it can last through at least 3 seasons unchanged and tweaked a little for winter!
This is really pretty, Sarah! Love it and pinned it for later.
Oh my gosh, thank you for checking out my blog. I’m soooo glad you loved the banner 🙂
Such a pretty garland, Sarah! Love it!
Aww thanks Kendra! I’m so glad you love it!
Greetings! I just found your blog this evening and have thoroughly been enjoying it! Your little garland is quite darling! I can see many, many ways to tweak and use it. Add some gingham fabric or ribbon….great for the kitchen. Fall berries….you betcha! A few sea shells scattered throughout for the bath….Oh, yes, I like this idea. Oh! I have shared your website with my followers on Google Plus and again on my personal Facebook page. I’ve also shared this garland and your newest shiplap sign on a couple of my Pinterest boards. Looking forward to great things ahead!
Wow, Bonnie! Thank you so so much for your kind words, and for sharing my little corner of the blog world. I’m so glad you like the garland! Thanks for stopping by 🙂