DIY Gold Leaf Planters
These DIY gold leaf planters are a great DIY to bring in the summer and just wait until you see the transformation!
Hello everyone!! Stop the press: these gold leaf planters are the perfect DIY to remind you that summer is in fact coming .. eventually .. someday {it’s 40 degrees in Pittsburgh today, on May 15th!!!}. I’m loving all the painted and crafty pot ideas on Pinterest these days.
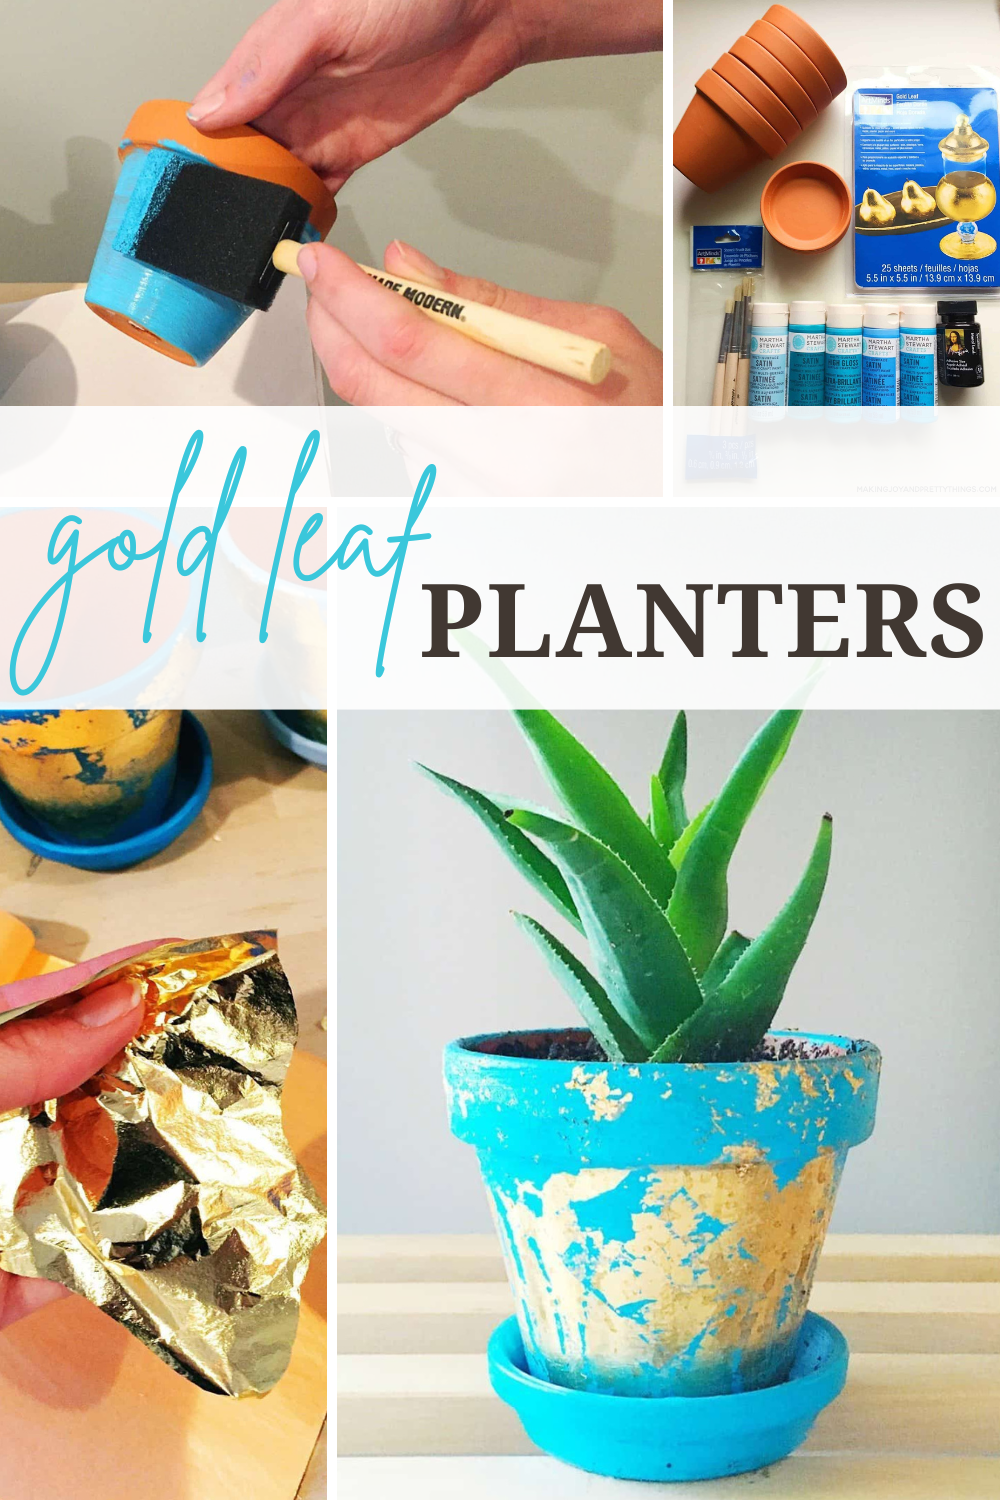
Now, these gold leaf planters are {you guessed it!} craaaazy easy to make. You’re probably thinking, “Sarah, you say that about everything you make”. Yes, I’m 100% guilty of that. But girl, you can do this!!
This post contains affiliate links. Please, click here to read my disclosure policy.
Supplies for Gold Leaf Planters:
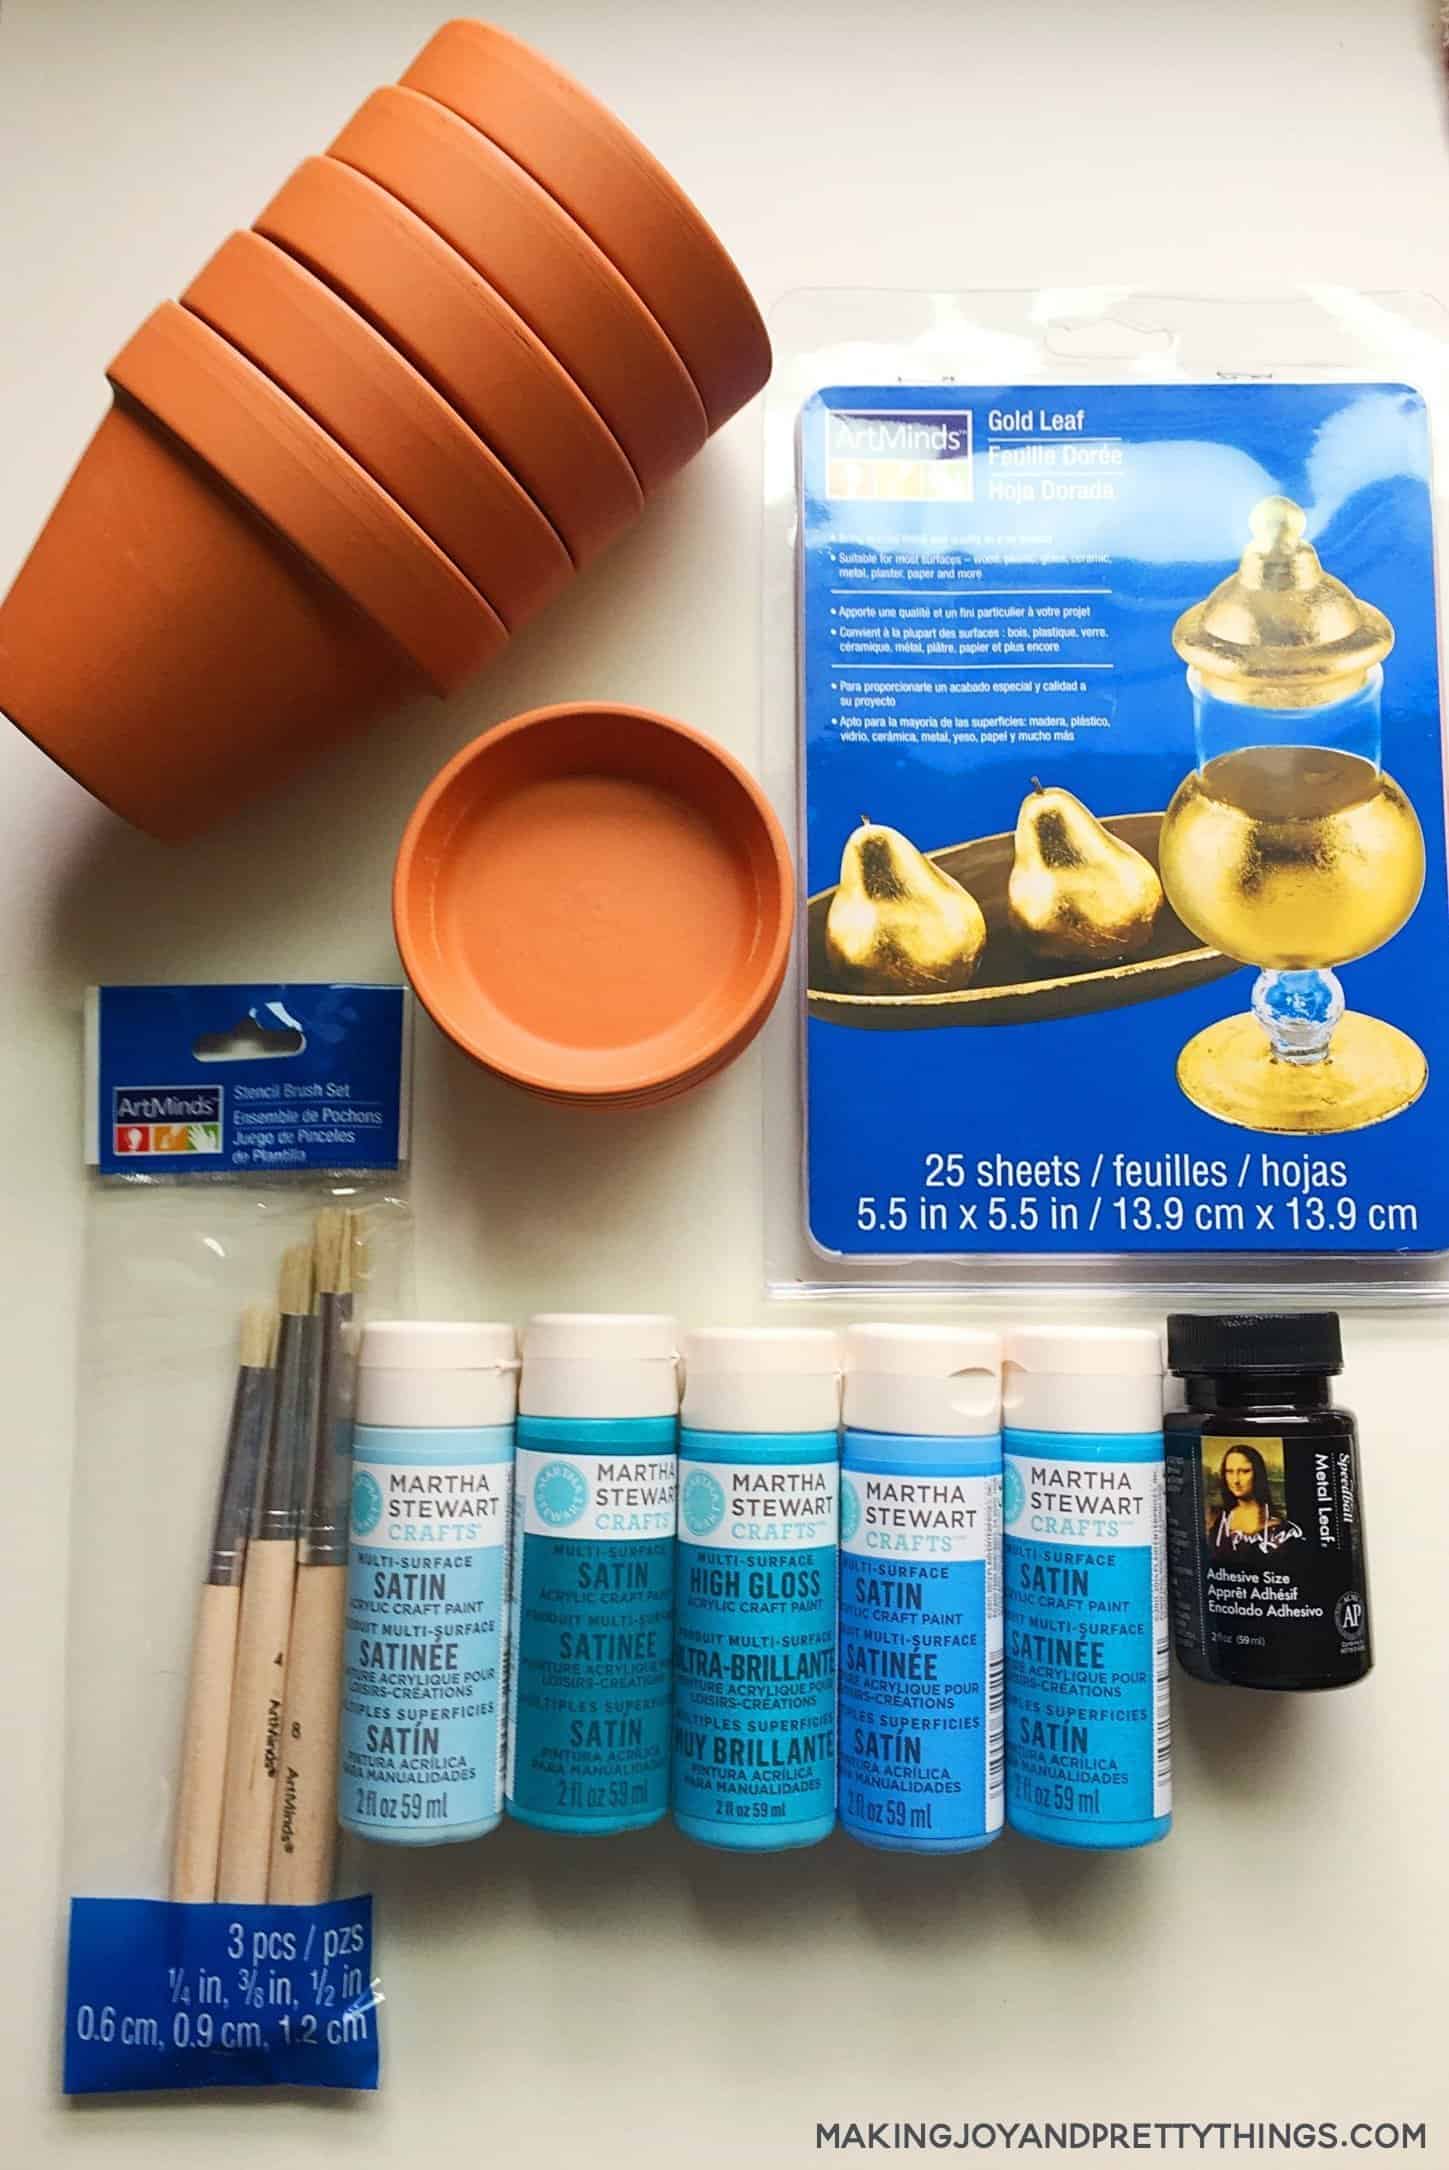
In the above picture, I have pictured the gold foil adhesive recommended for gold foil application. I didn’t end up using that, and I’ll explain later in the post
Step 1. Choose Paint for Planters
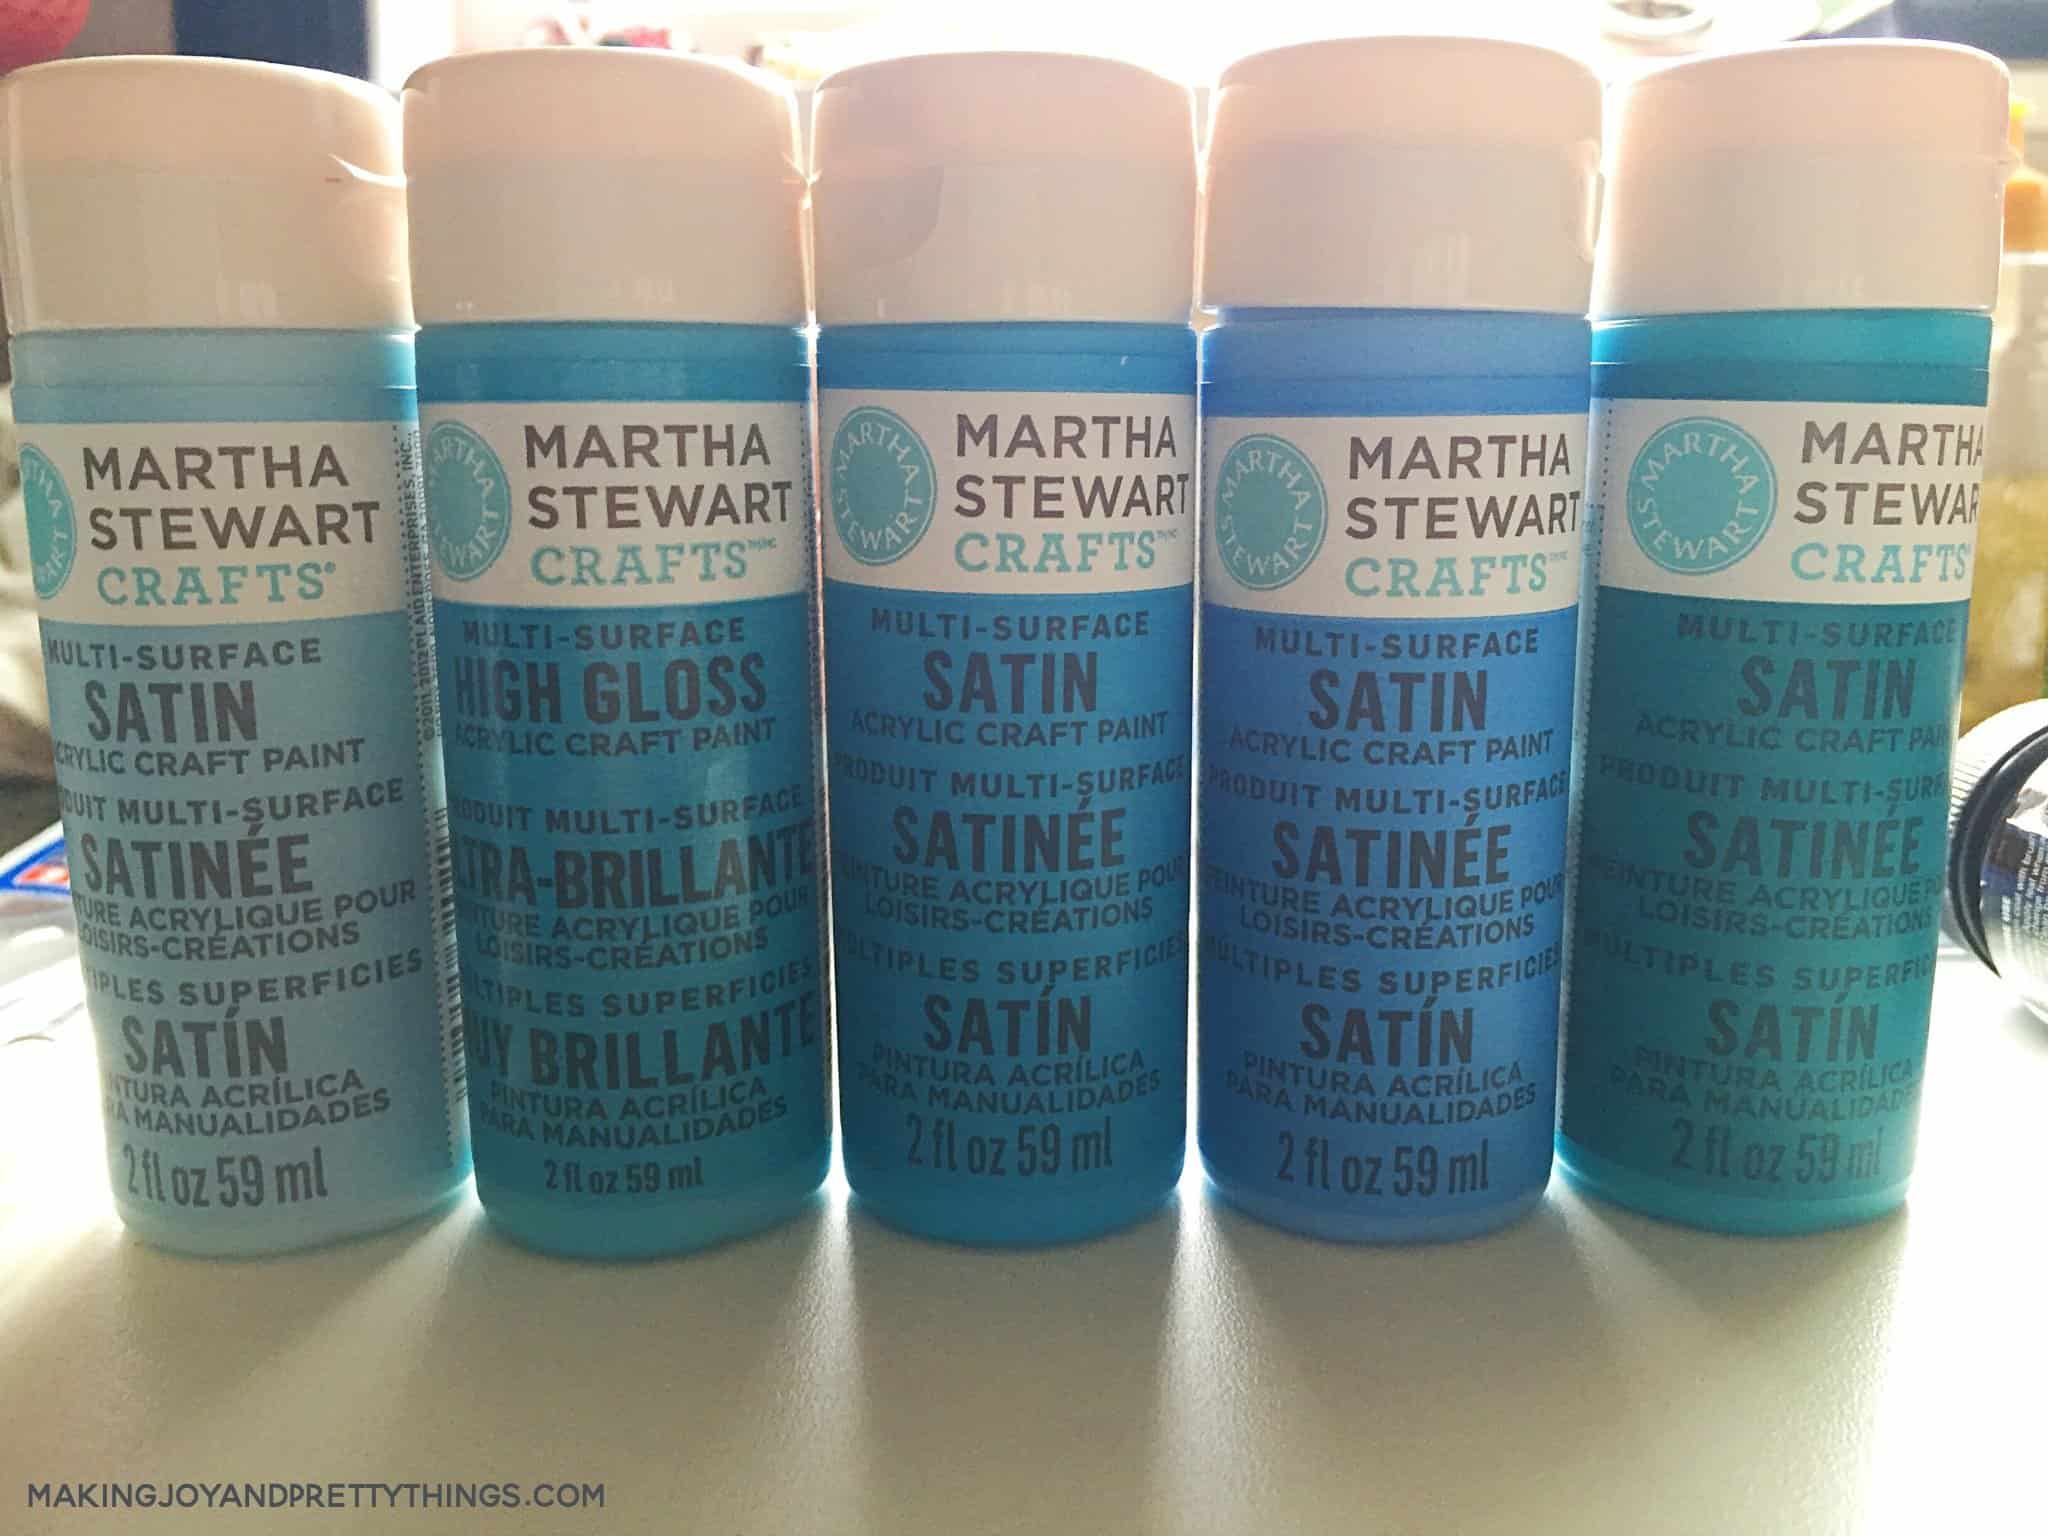
I chose 5 different shades of blue for these pots. I love love love blue. It reminds me of clear summer skies and the waves of the beach. Nothing screams summer to me more than blue. I took my babies to Michaels and looked at .every.single.blue. they had.
They were spread out all over the floor, next to all the cheerios Charlie dropped {oops}. But, you could do ANY arrangement of colors. Or all the same color!! I think a few shades of pink would look great with the gold foil as well.
Here’s an up-close of the paint {I accidentally picked 1 “high gloss” but you can’t even tell on the finished pot}:
Step 2. Paint Planters
I painted the pots over a couple of days. I used a foam brush (from Target!) for even application. It takes a few coats to completely cover the pot. It doesn’t have to be perfect since you’ll be gold foiling (is that a word?) them next.
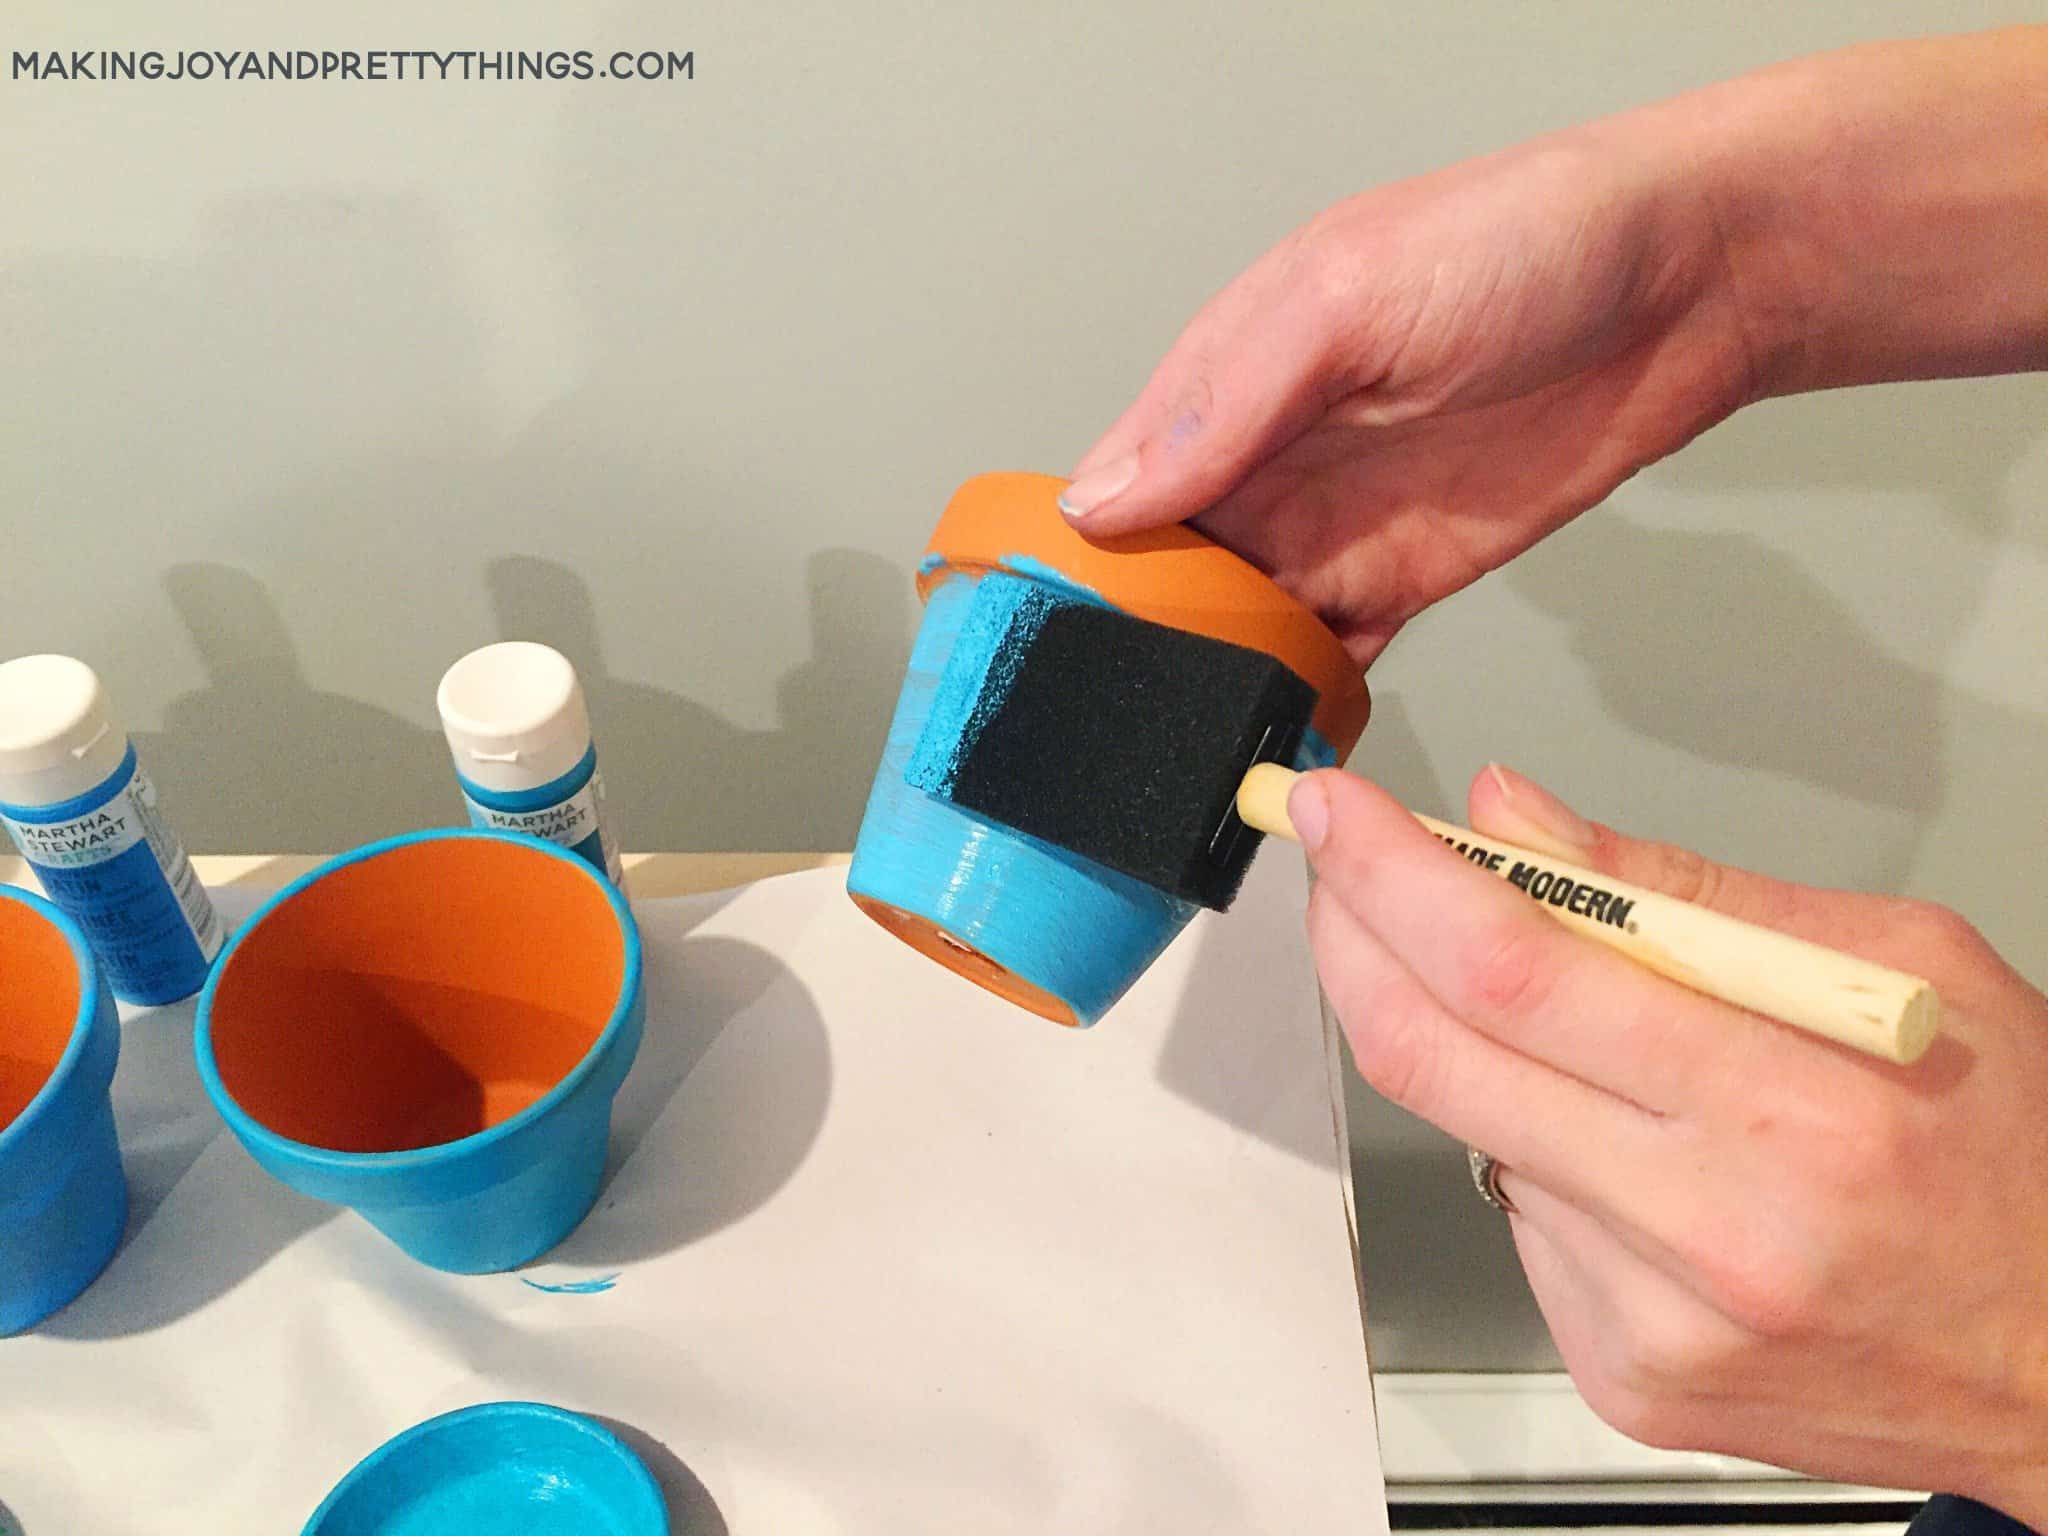
Here’s after 3 coats of paint:
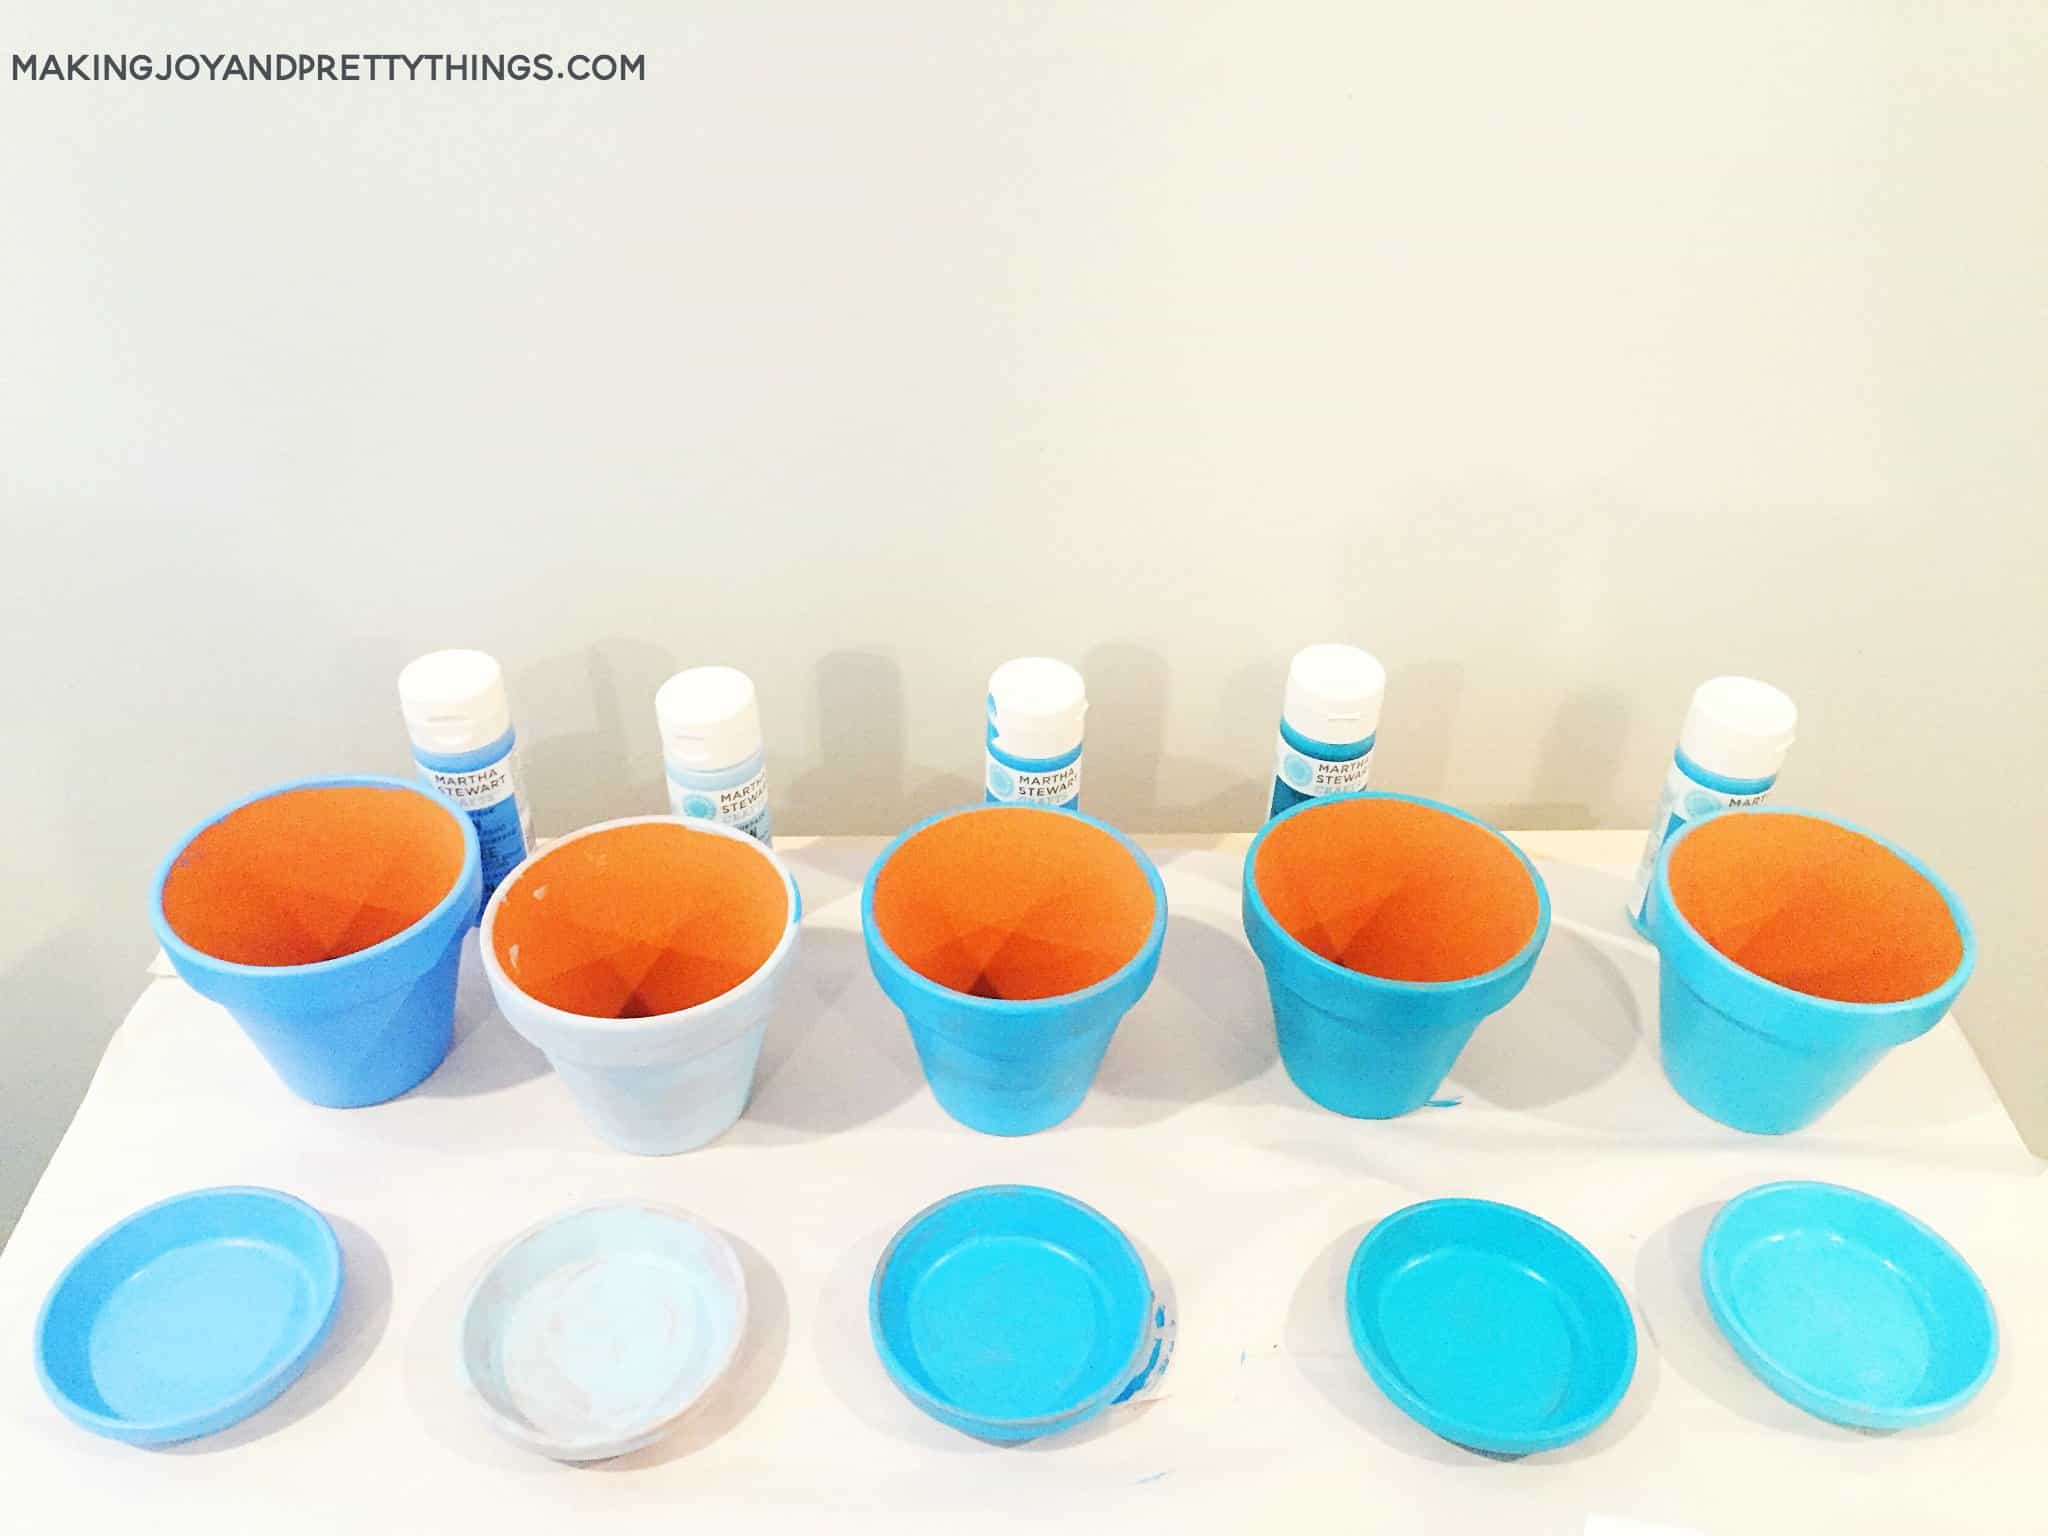
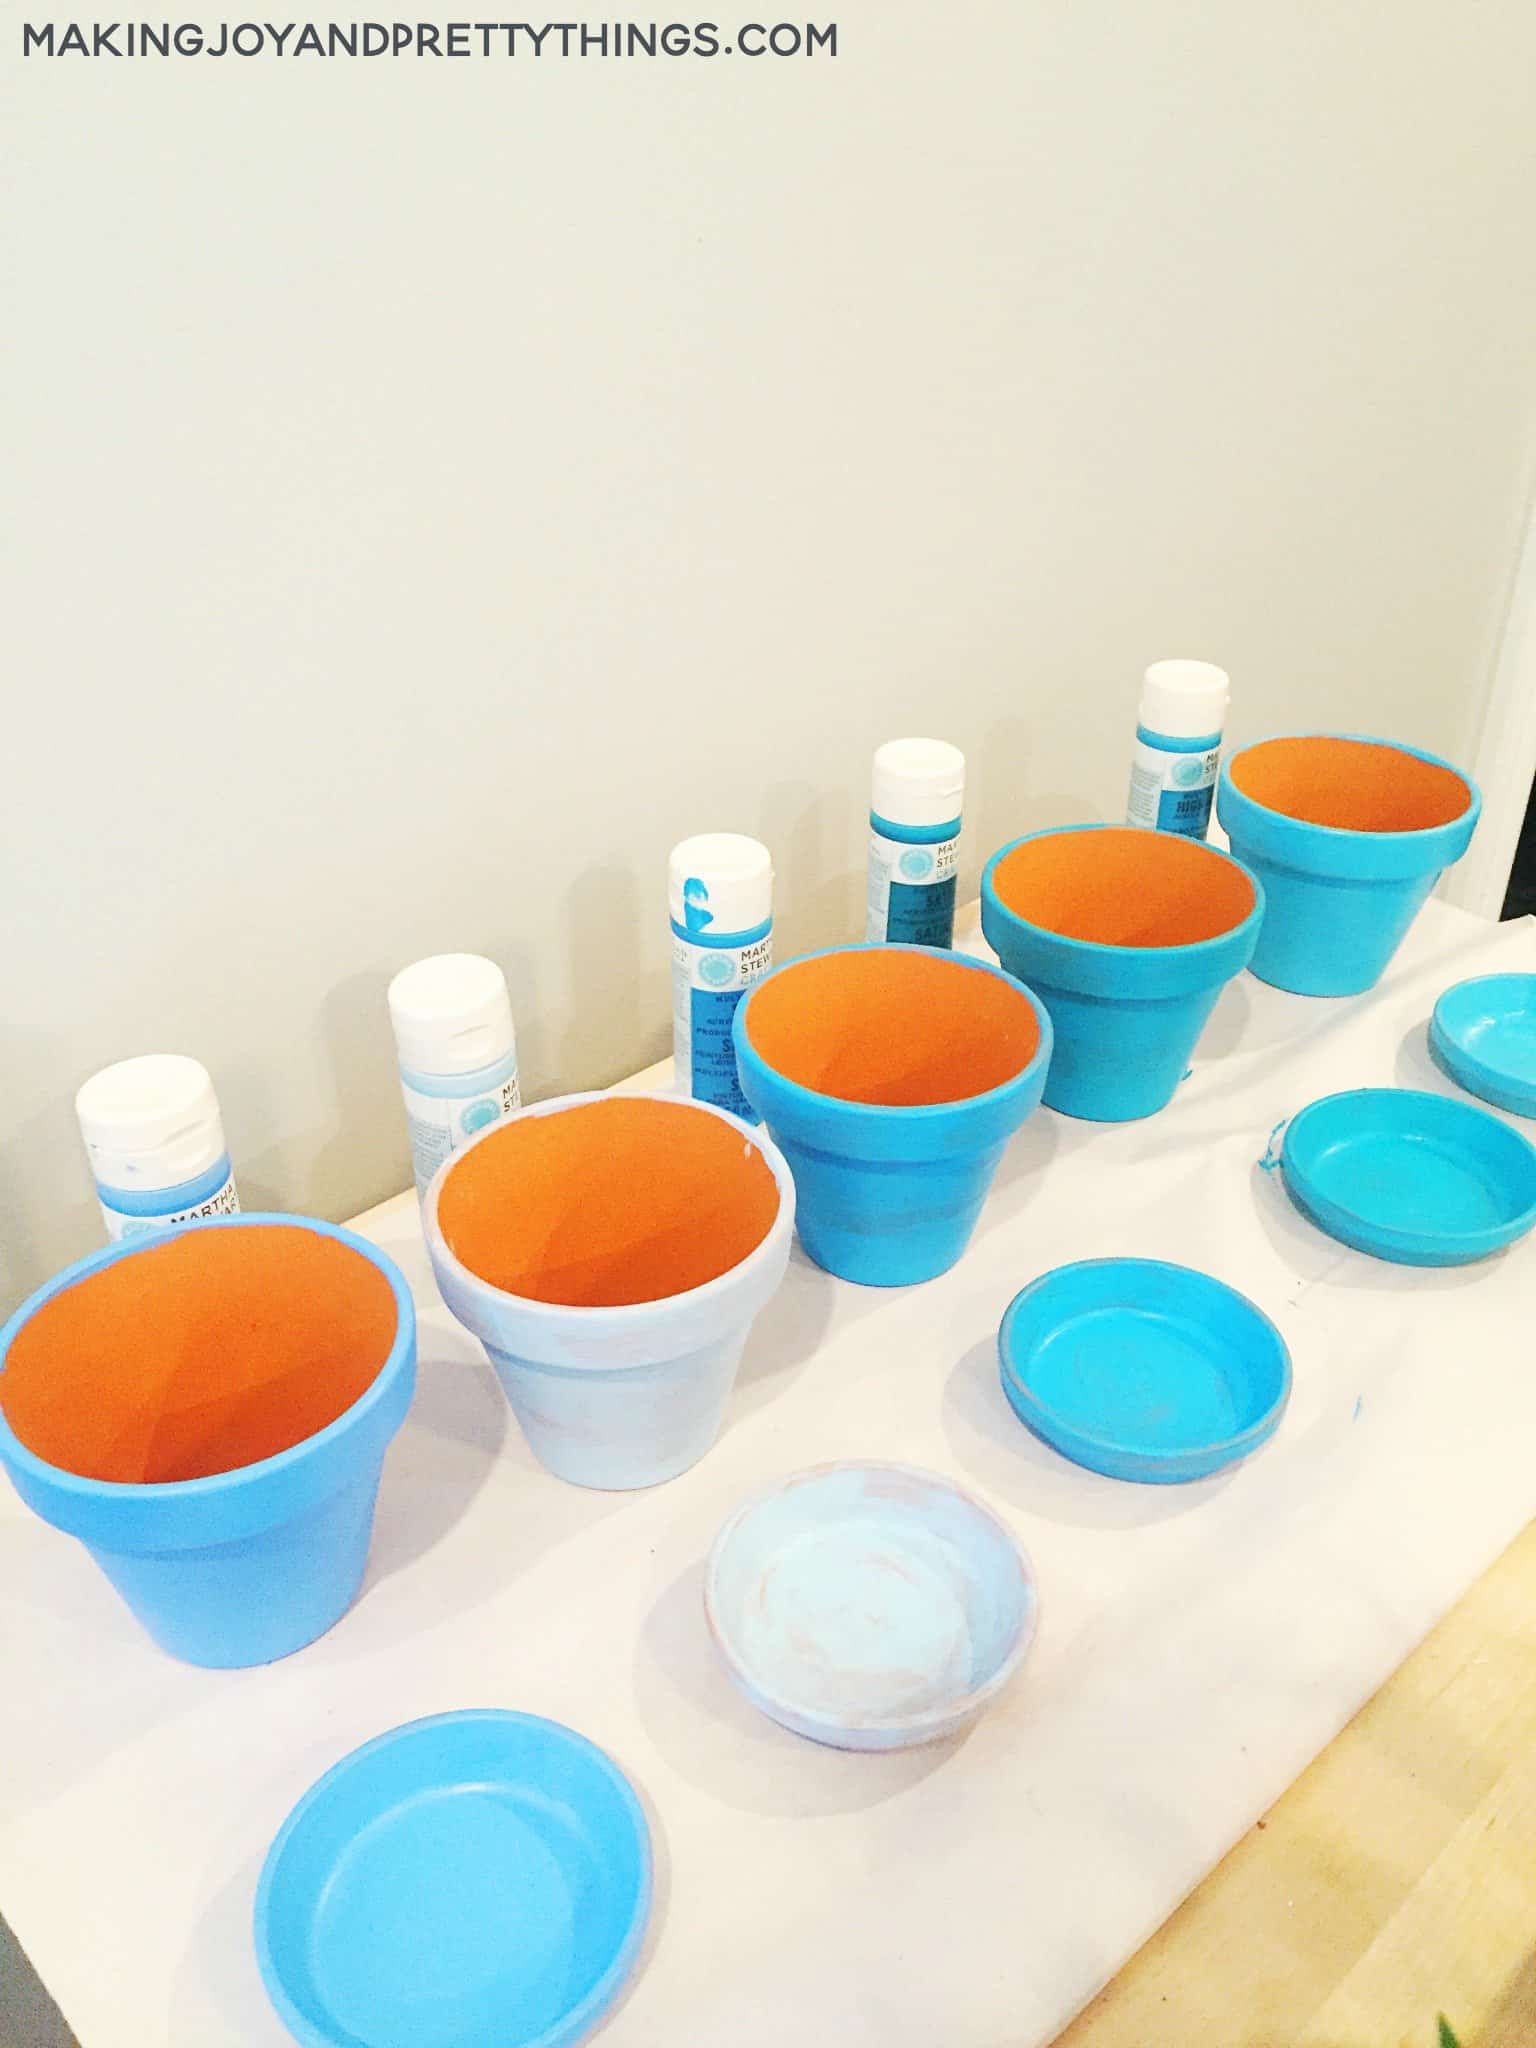
You can tell they’re not even completely covered after 3 coats. And, that was okay for the look I was going for. The lighter the color, the more coats needed {keep that in mind when you’re picking your colors}.
Step 3. Add Gold Foil to the Planters
Next, I got started with the gold foil. Here are few tips for using this crazy awesome yet MADDENING material:
- It sticks to EVERYTHING, including itself
- It rips very, very easily
- It is beautiful when finished, so don’t give up girl!!
I first used the gold foil adhesive that’s recommended for use with the gold foil. I found it to be tedious and not that glue for the look I was going for. If you wanted a straight line or circle or something with clear borders, use the gold foil adhesive.
I found the easier way to “distress” with gold foil was to use Elmer’s spray adhesive which I had laying around since I’m a craft supply hoarder. Seriously.
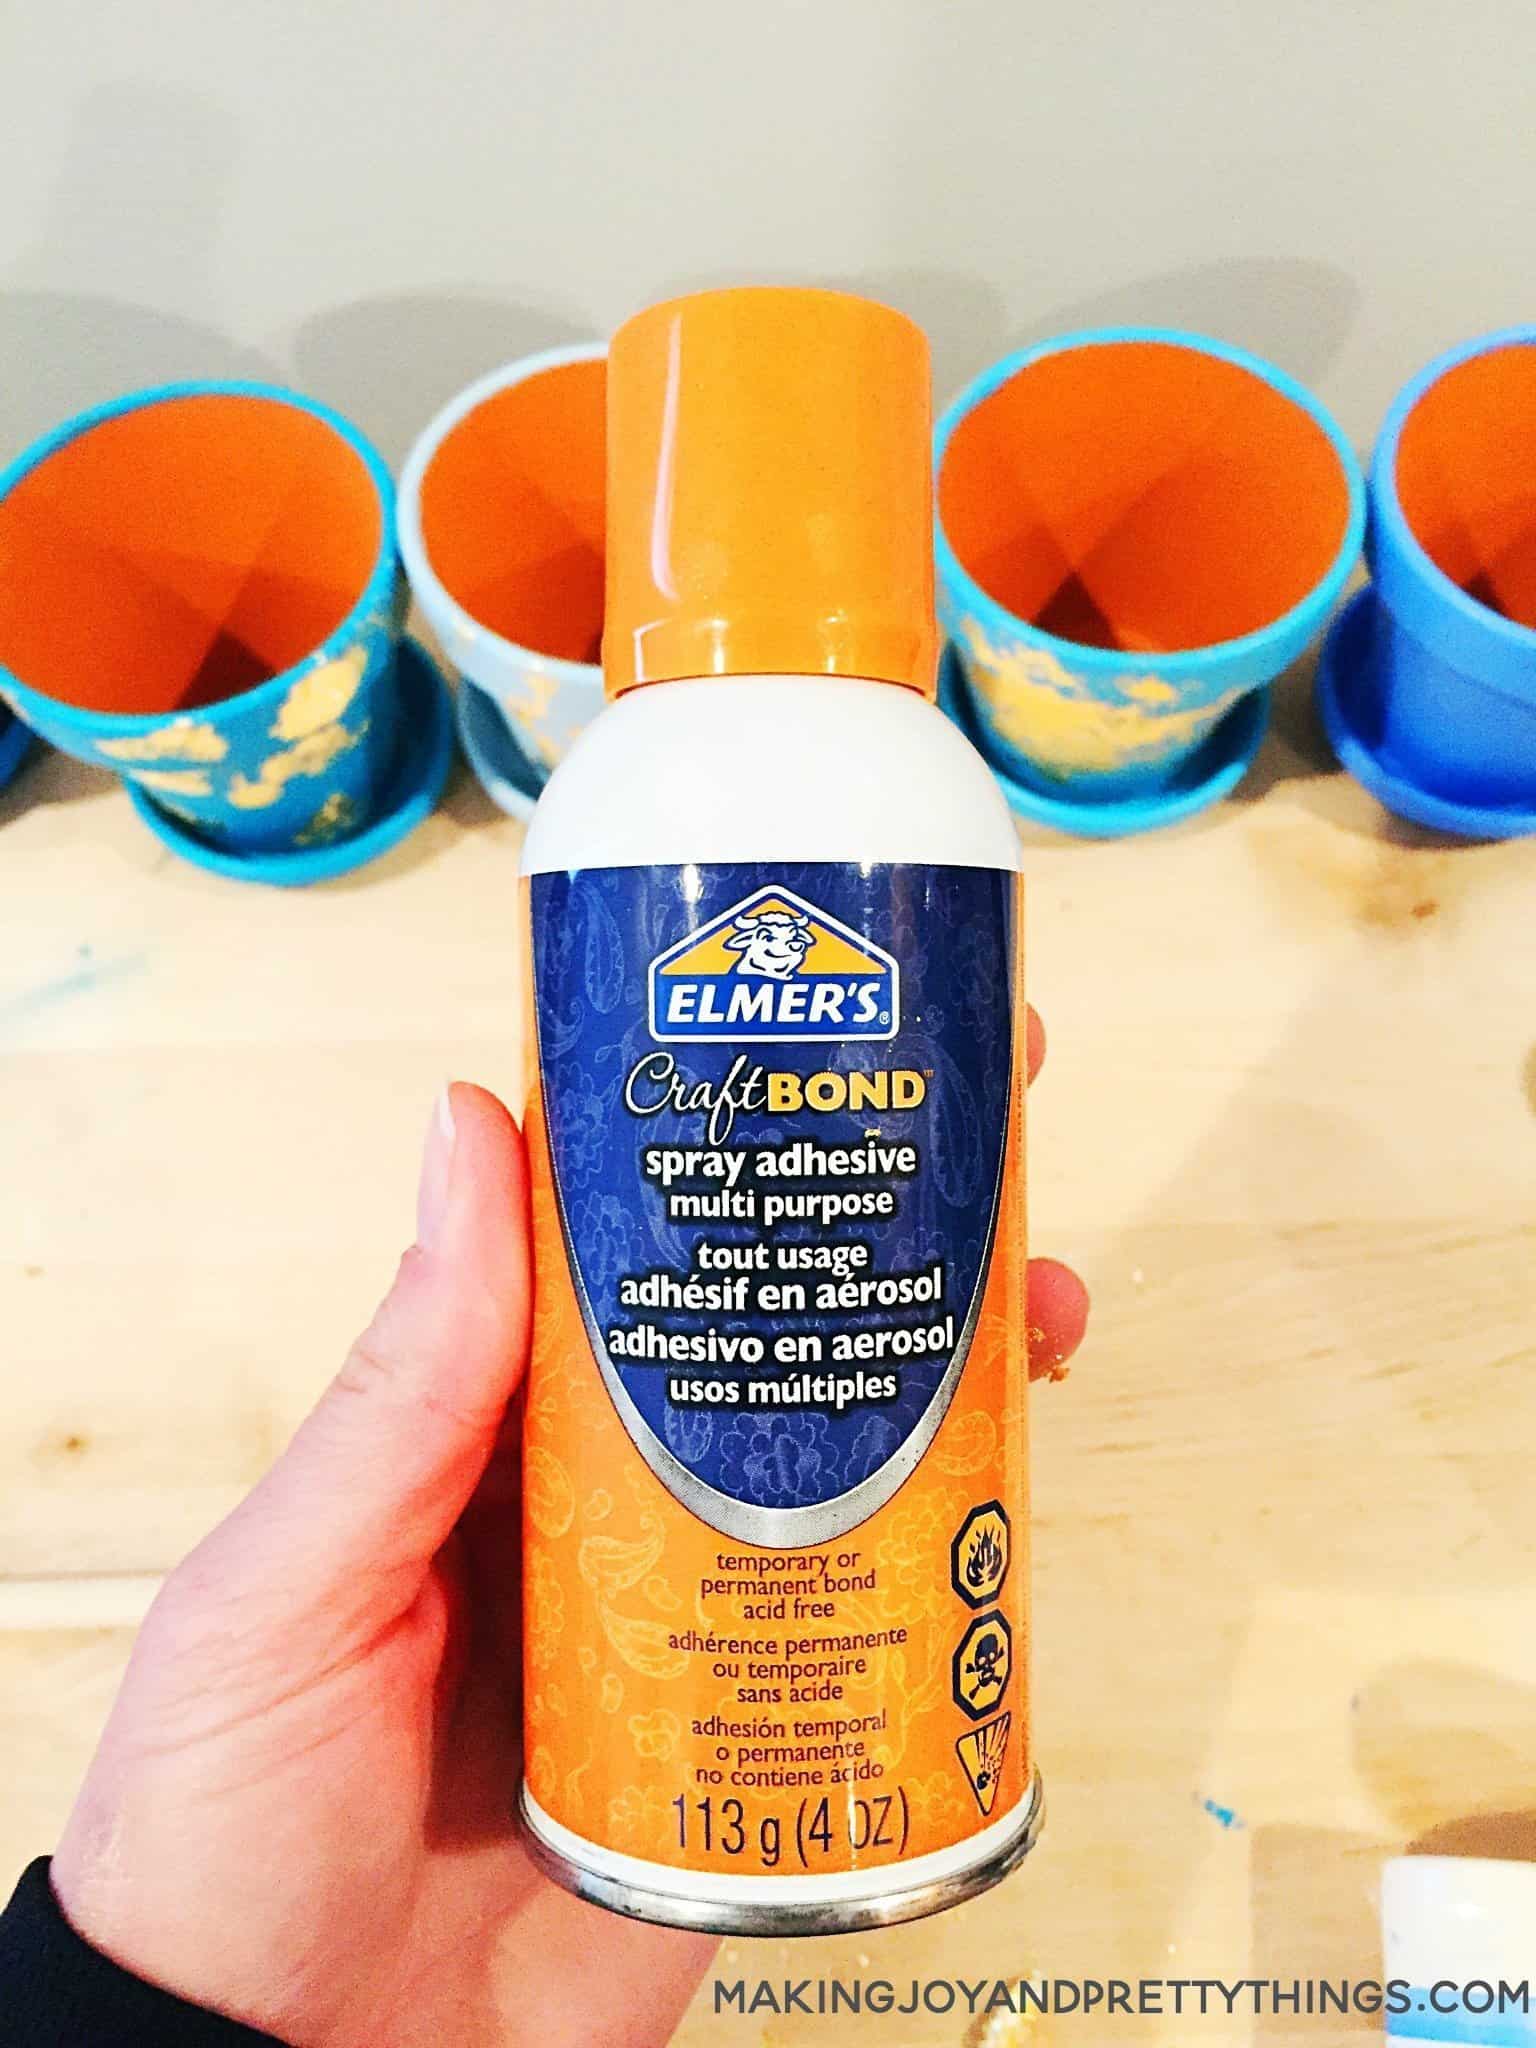
I lightly sprayed the whole outside of the pot with the adhesive. It doesn’t have to be precise. Next, I removed 1 sheet of the gold foil and attempted {mostly unsuccessfully} to keep it from ripping, clinging to itself, or something else.
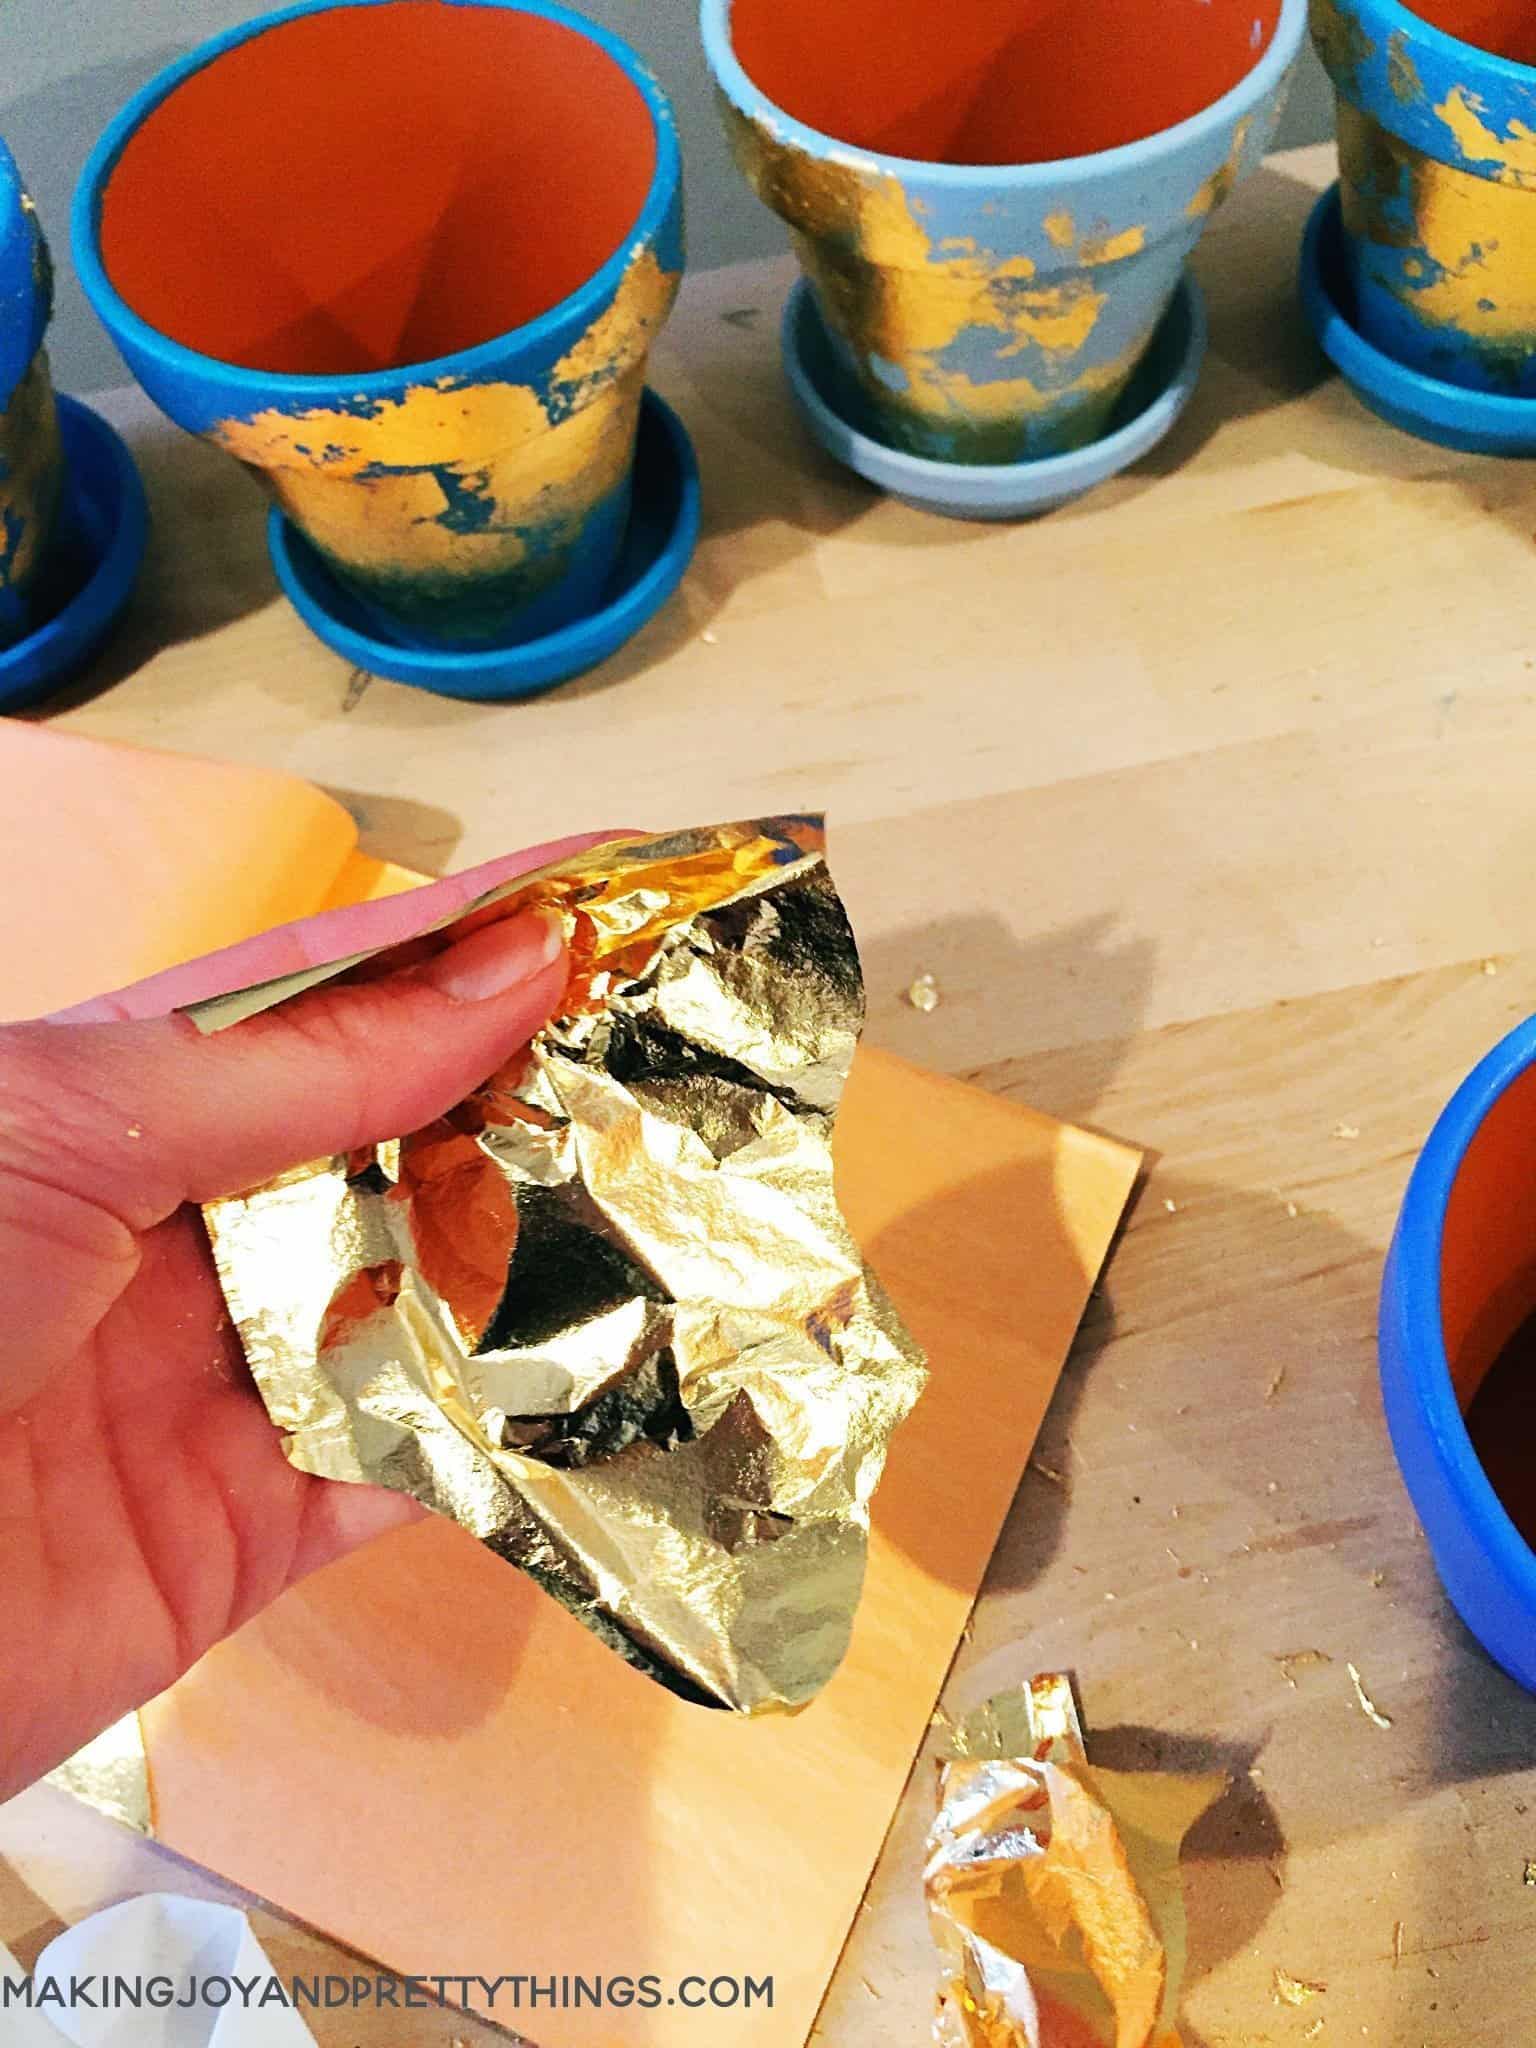
Step 4. Rub off Gold Foil on Planters
I then laid it onto a side of the pot and rubbed my hand vigorously back and forth to make sure only some of the gold foil adhered to the pot.
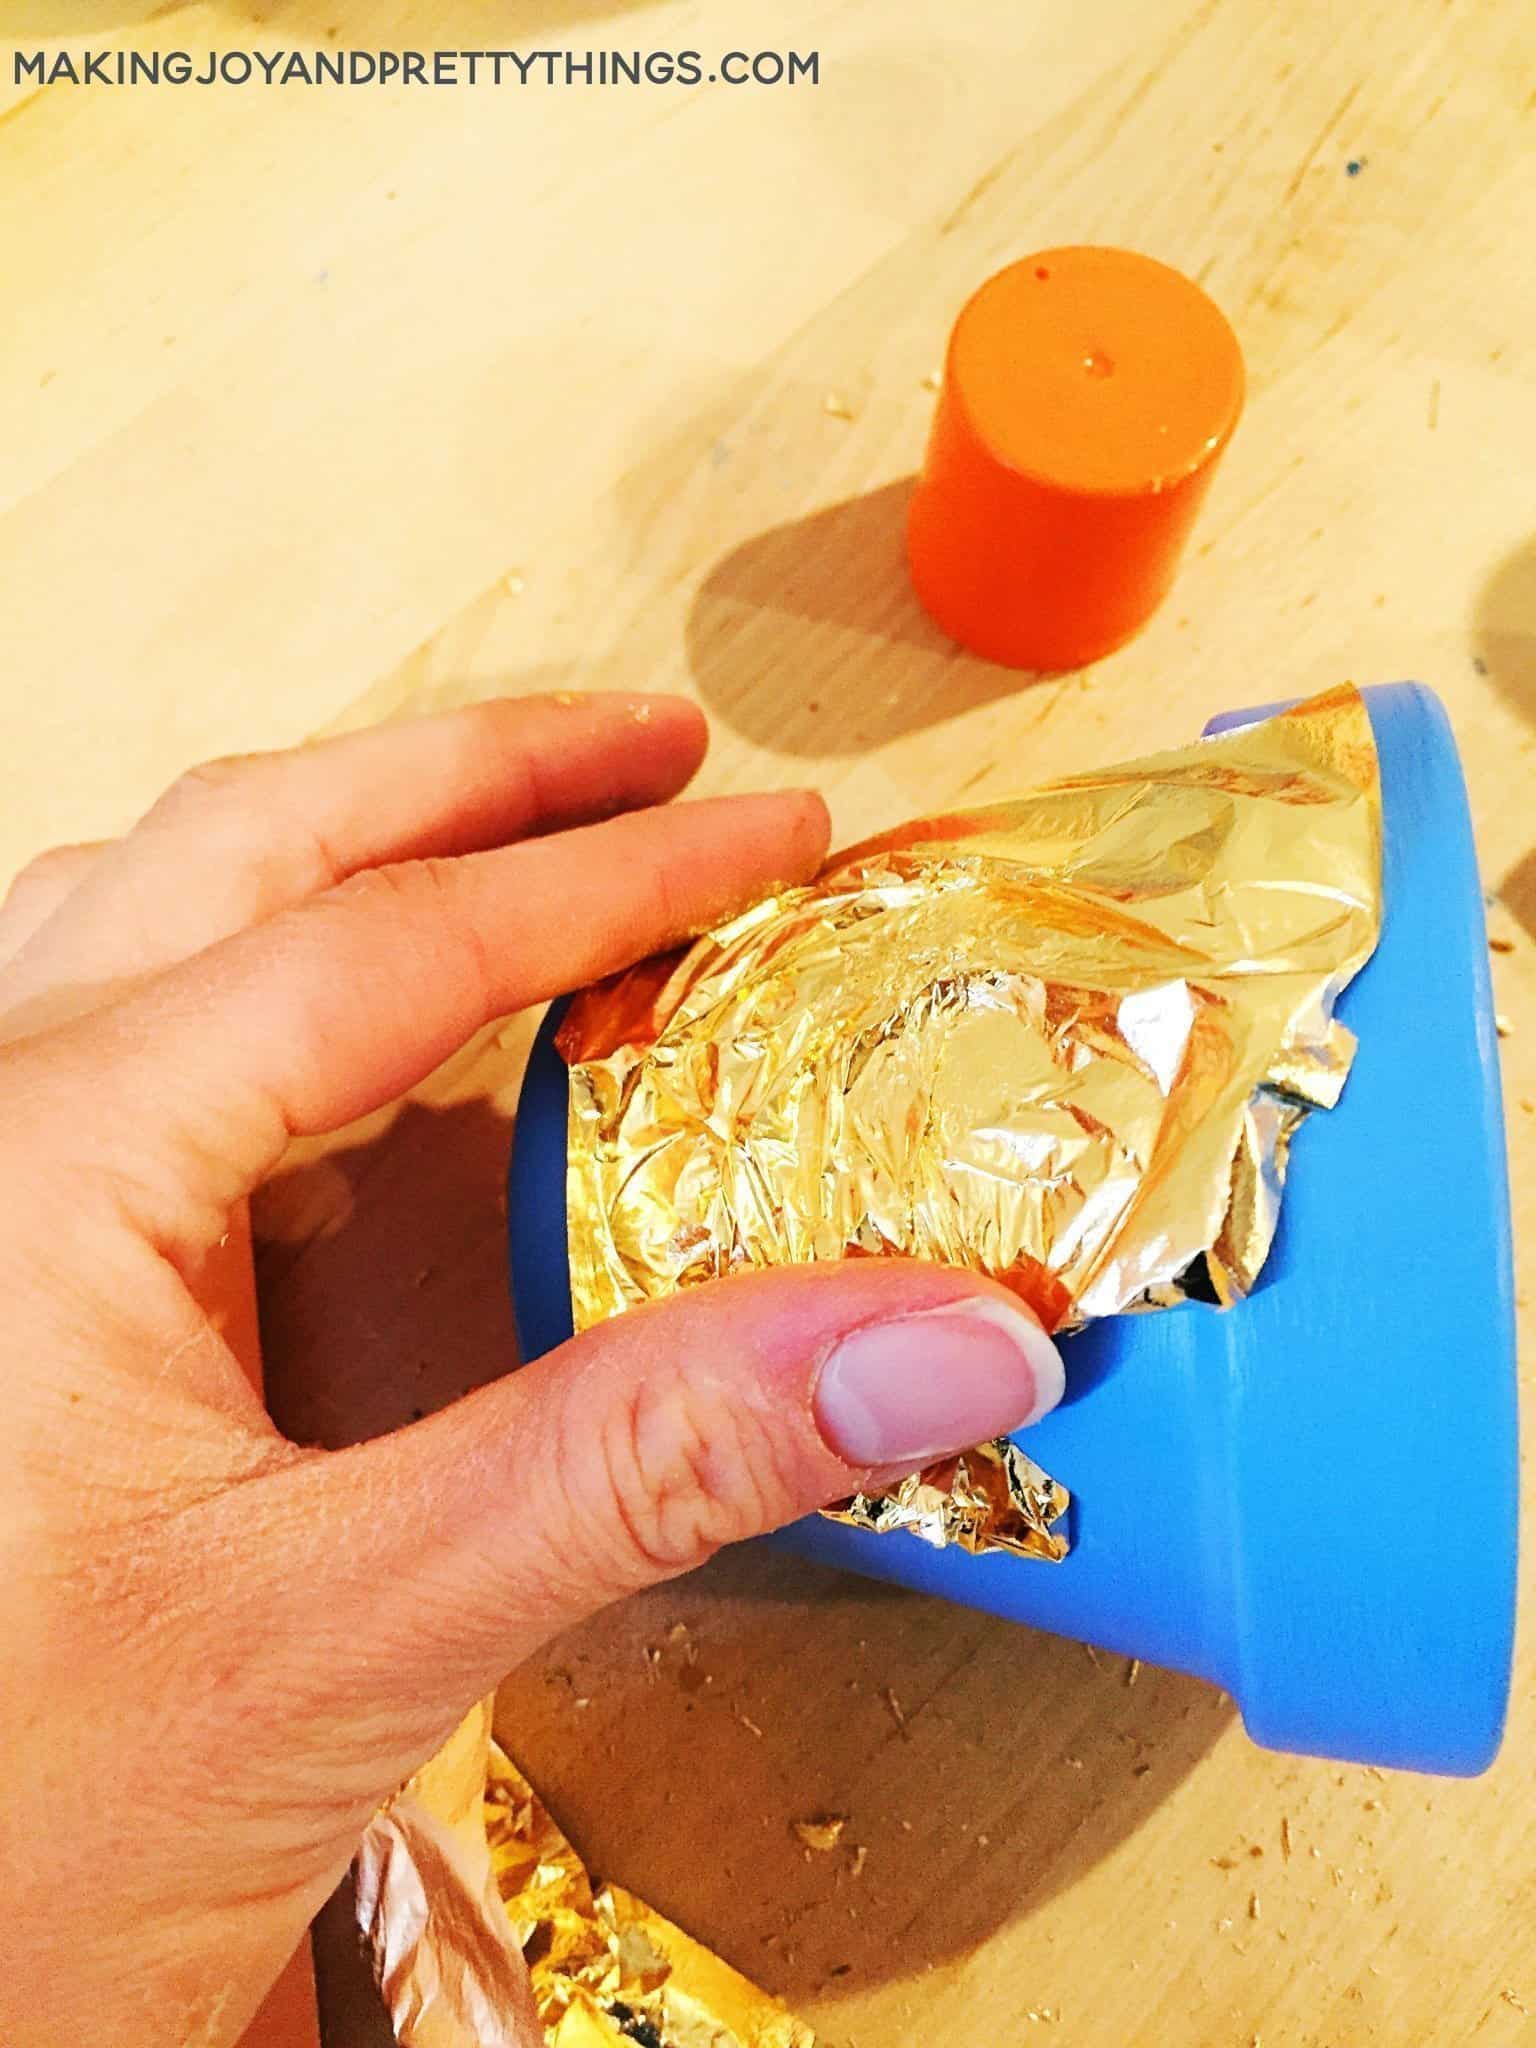
This is what one section looked like after rubbing some gold foil off:
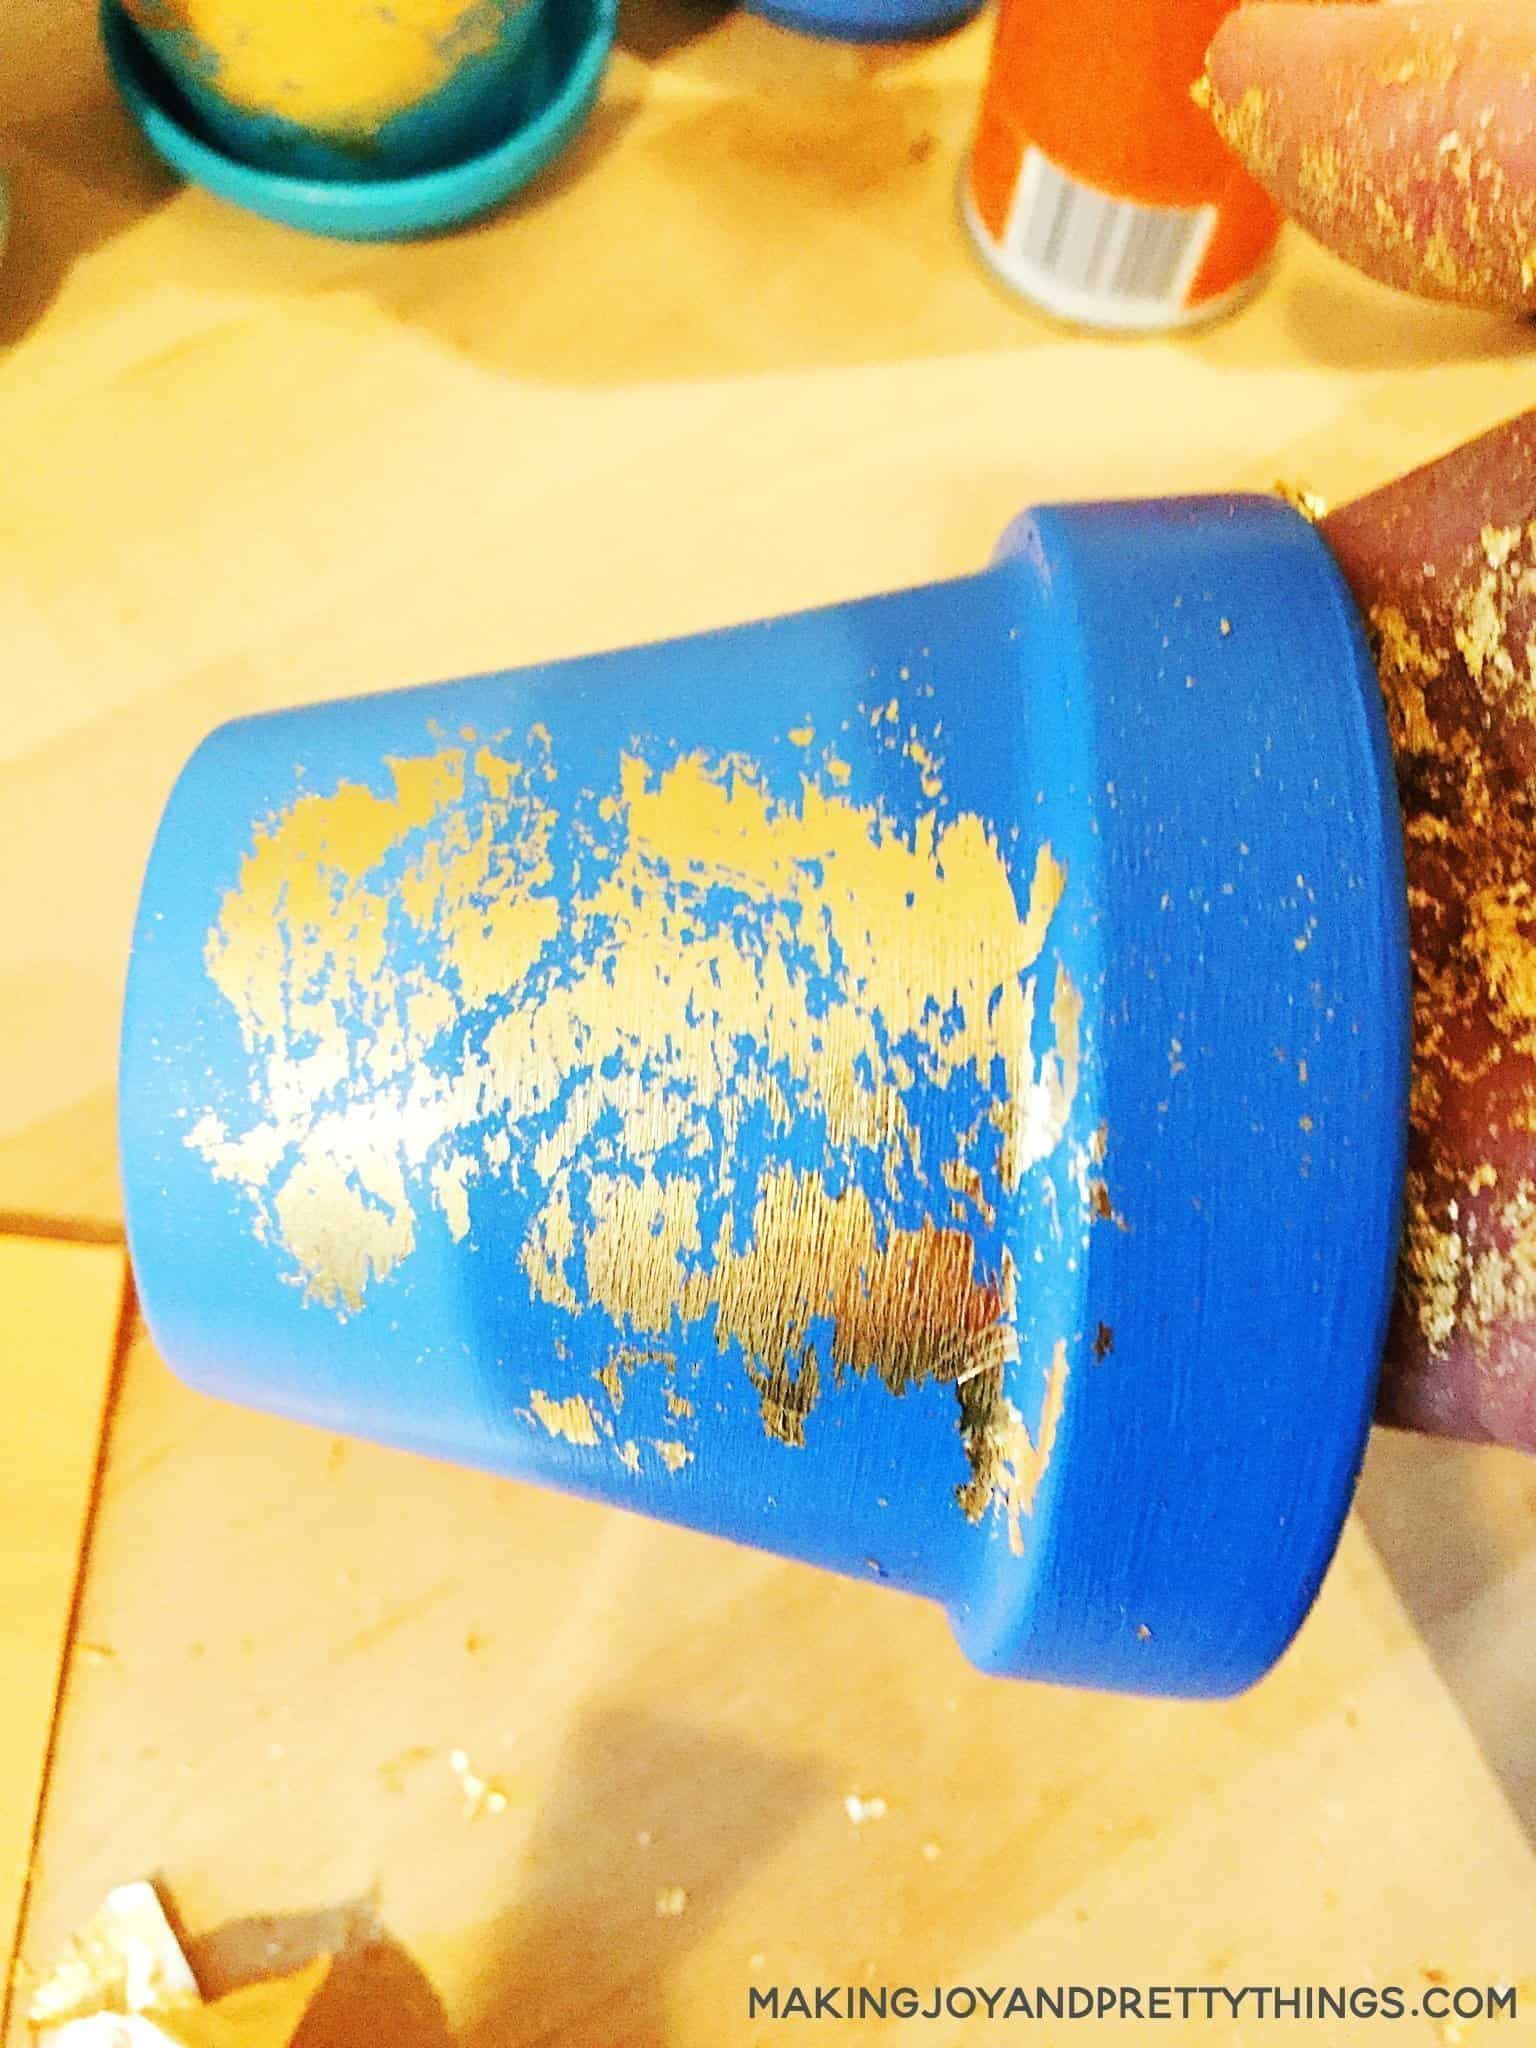
I used about 2-3 sheets per pot, depending on how much stuck to me or ripped.
Guys, that’s seriously it. How easy is that?? I’m really making these as gifts for everyone.
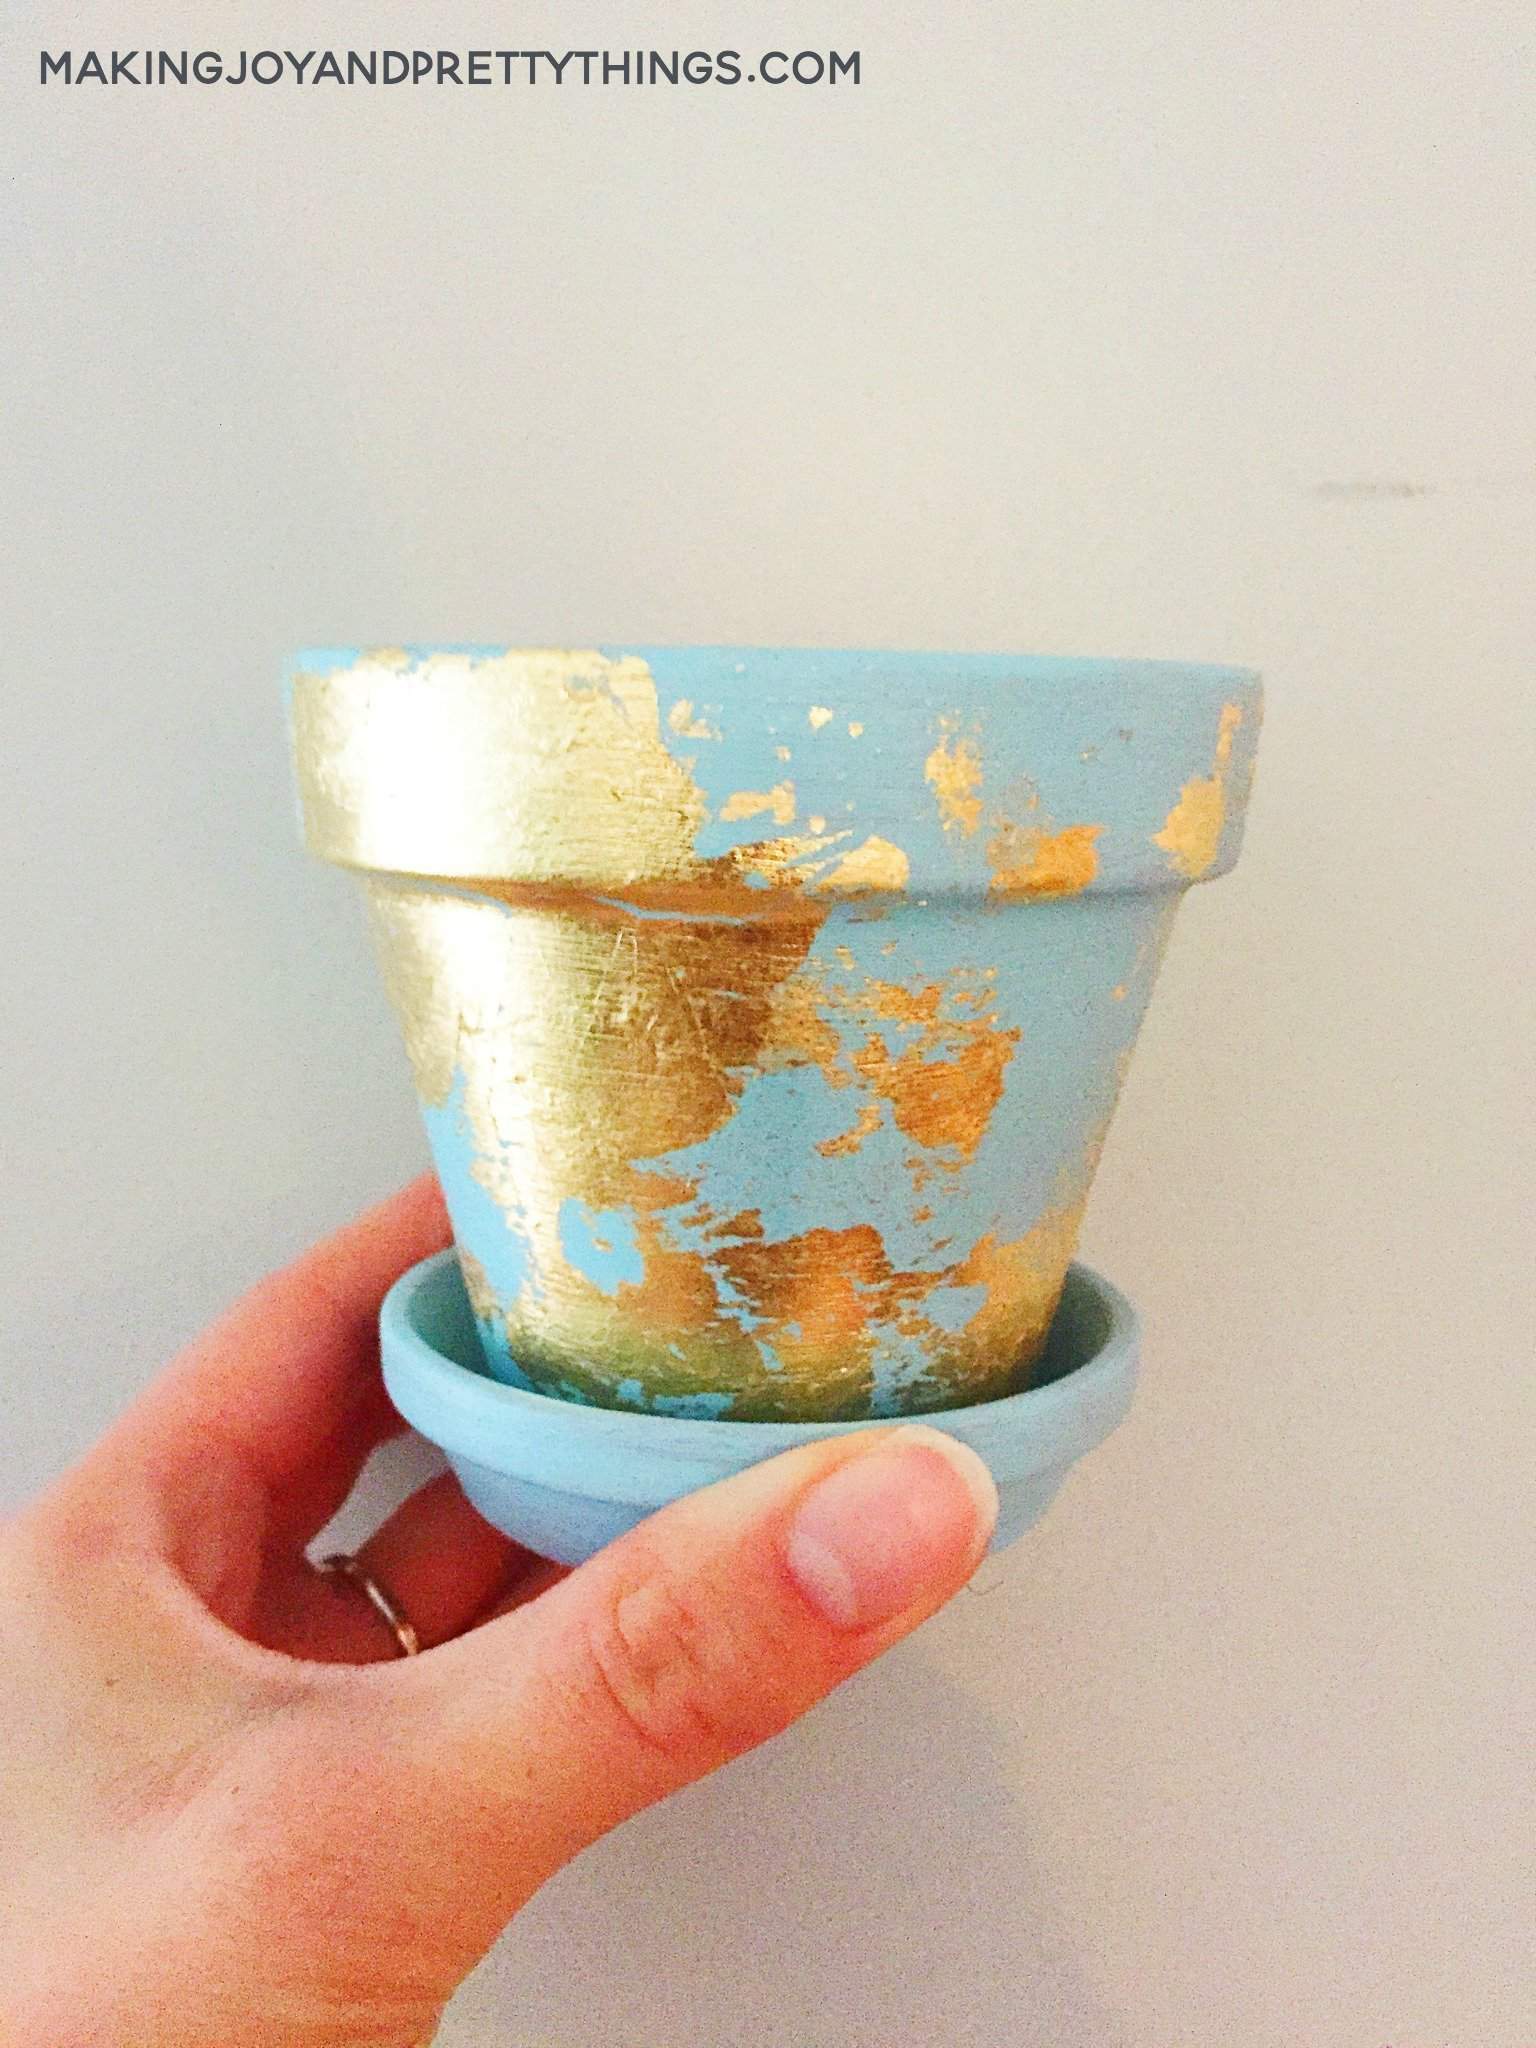
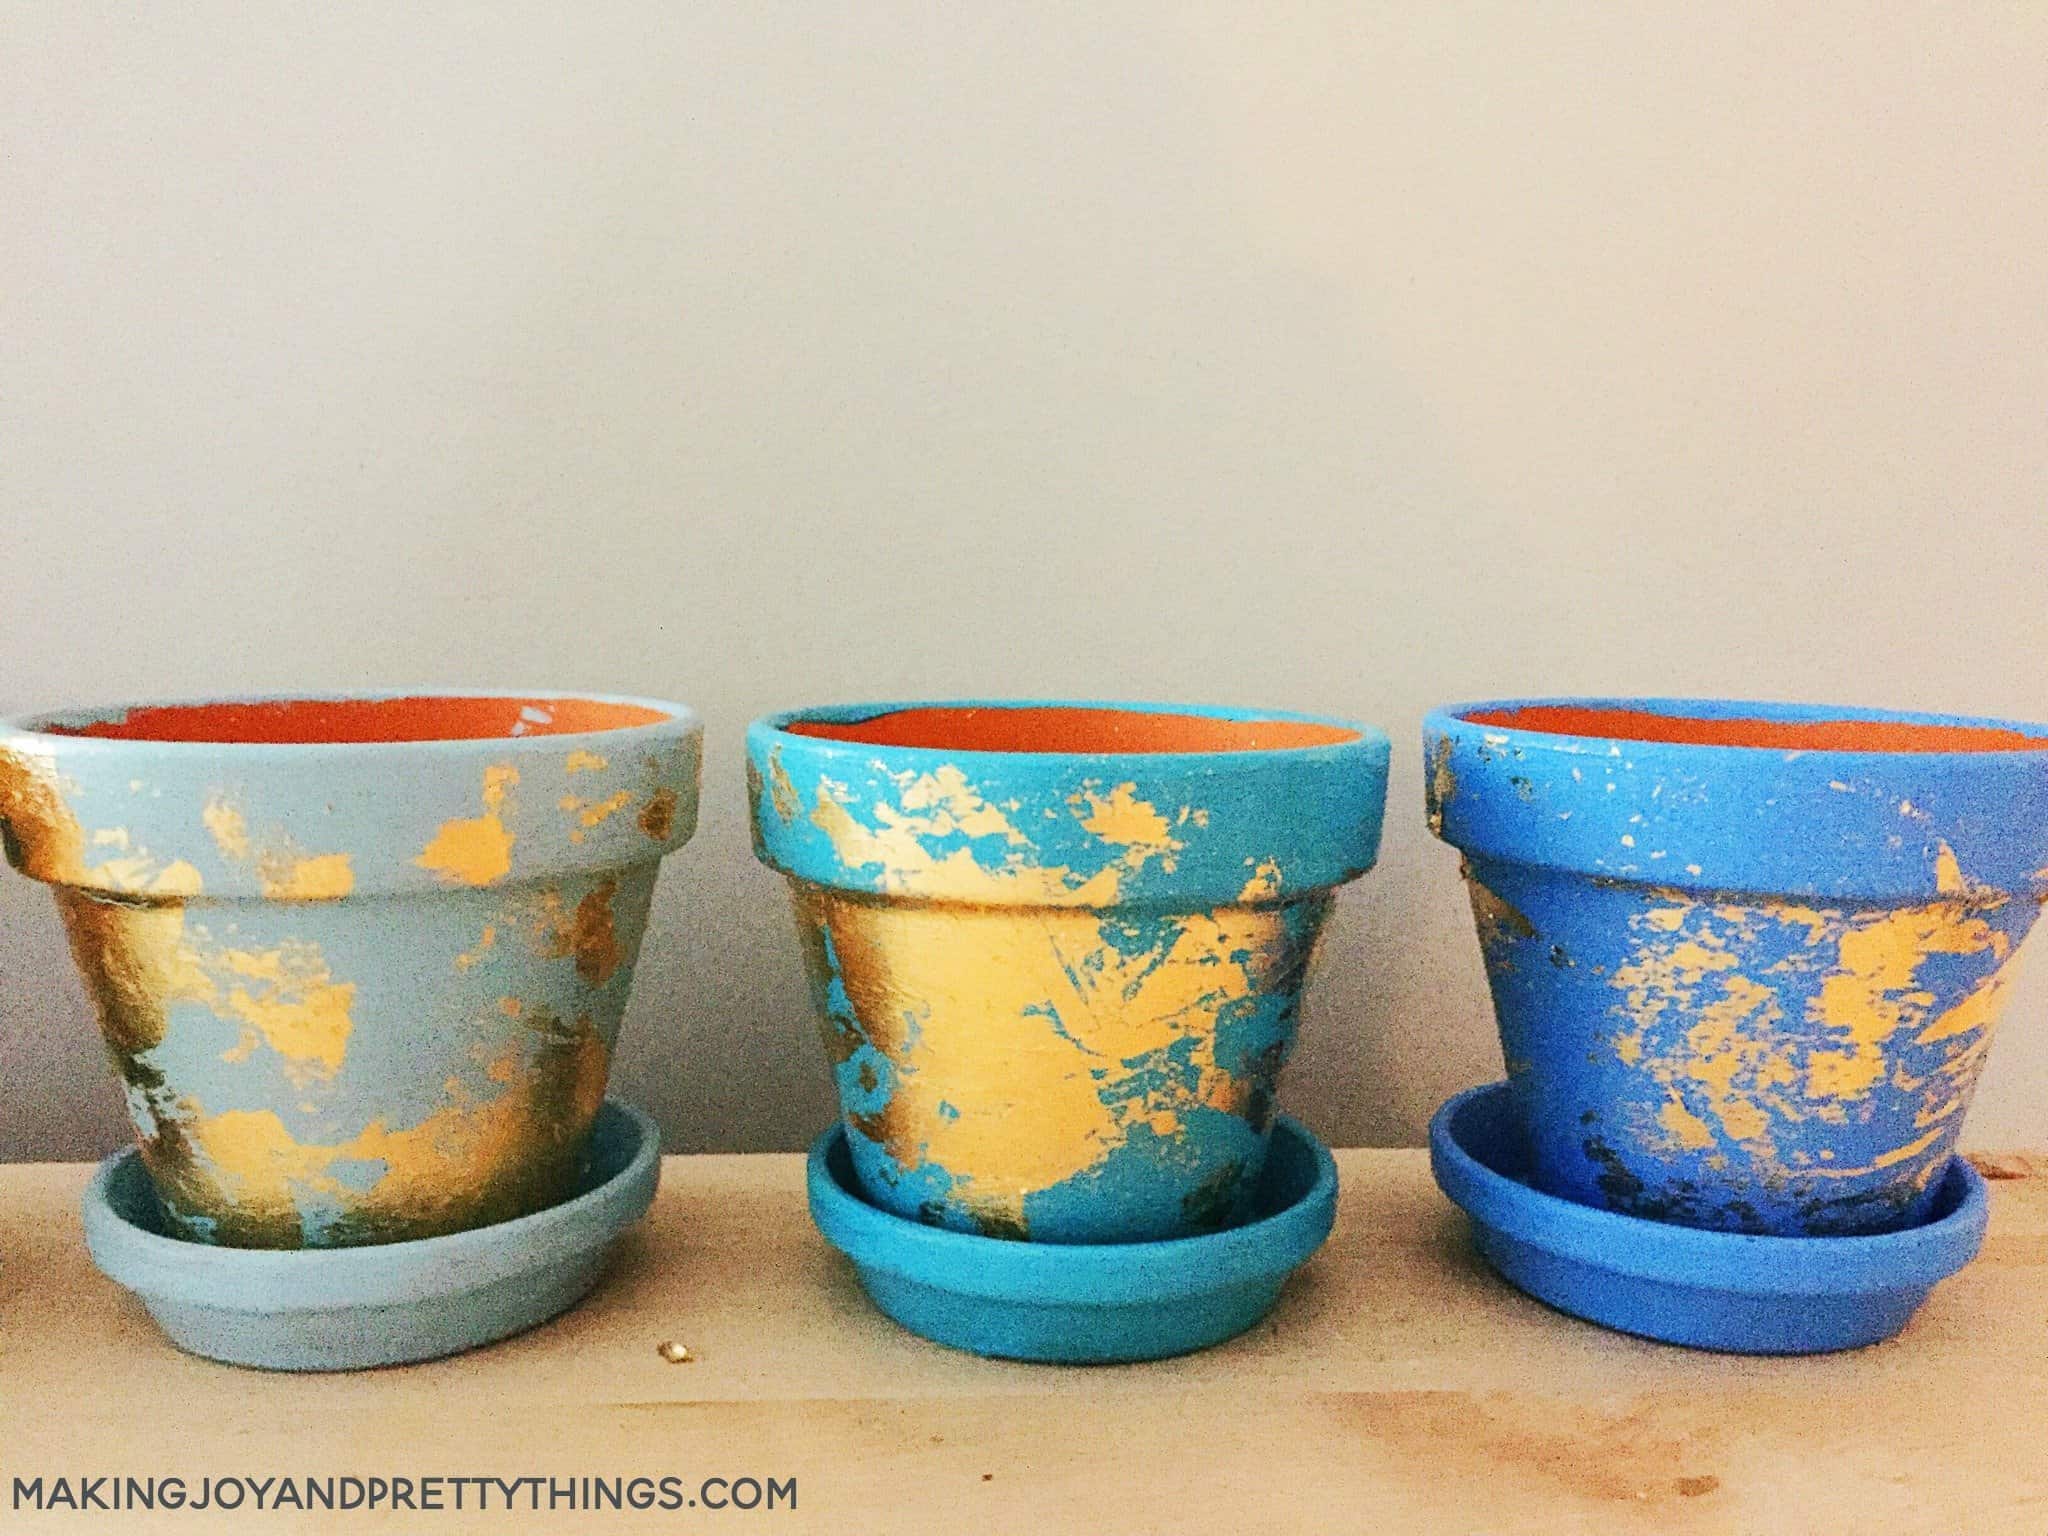
Step 5. Plant some Succulents!
I bought some succulents from a local nursery and popped these guys right on my window sill. Now I have something pretty to look at while doing the dishes! I need some of these in the laundry room!! 🙂
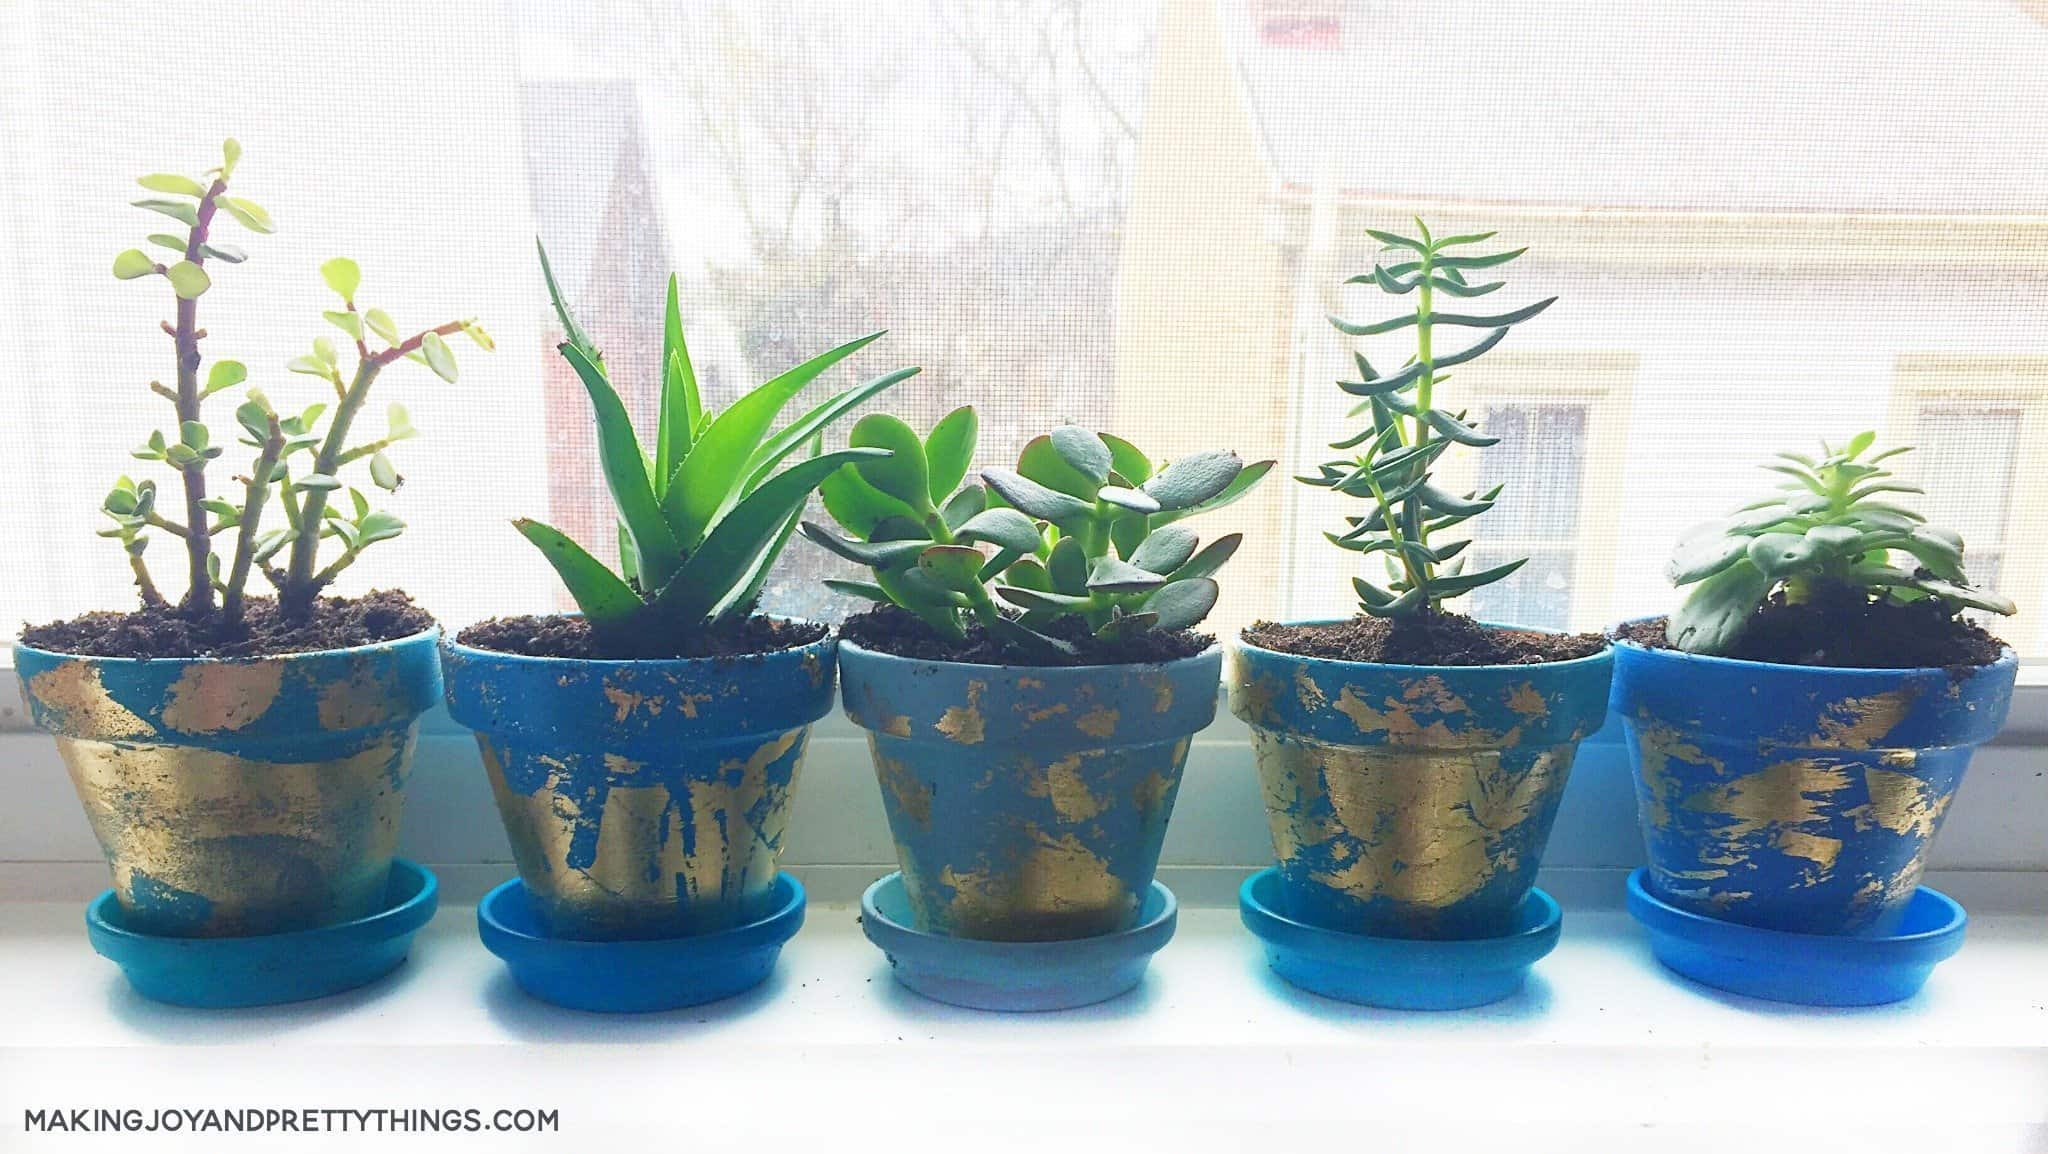
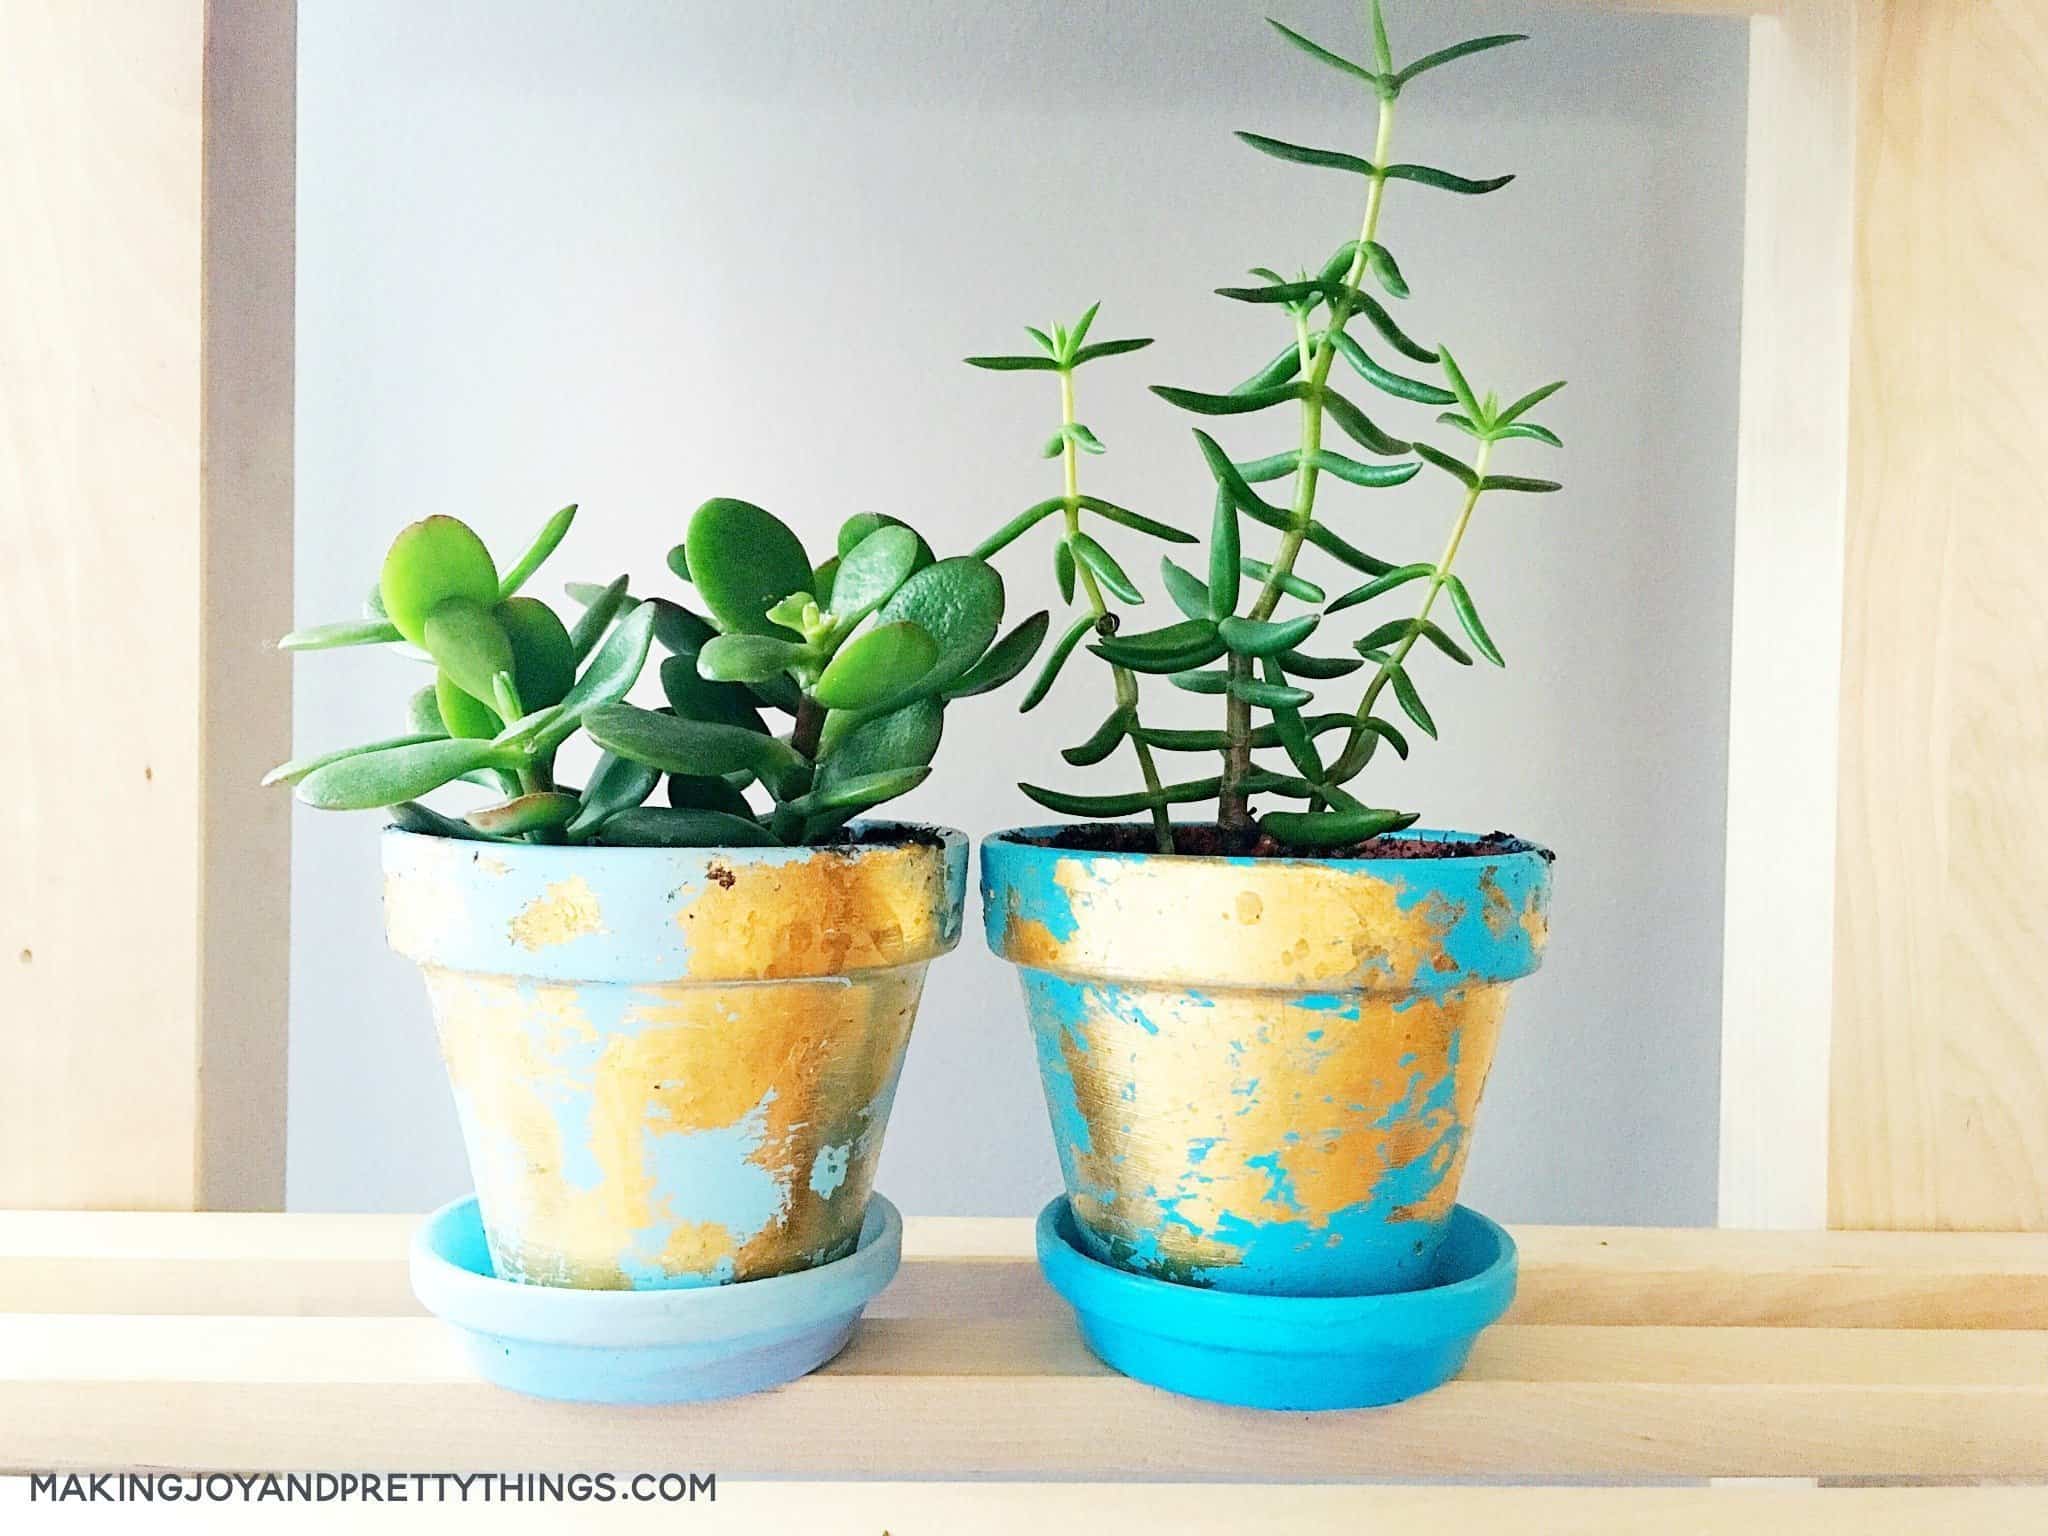
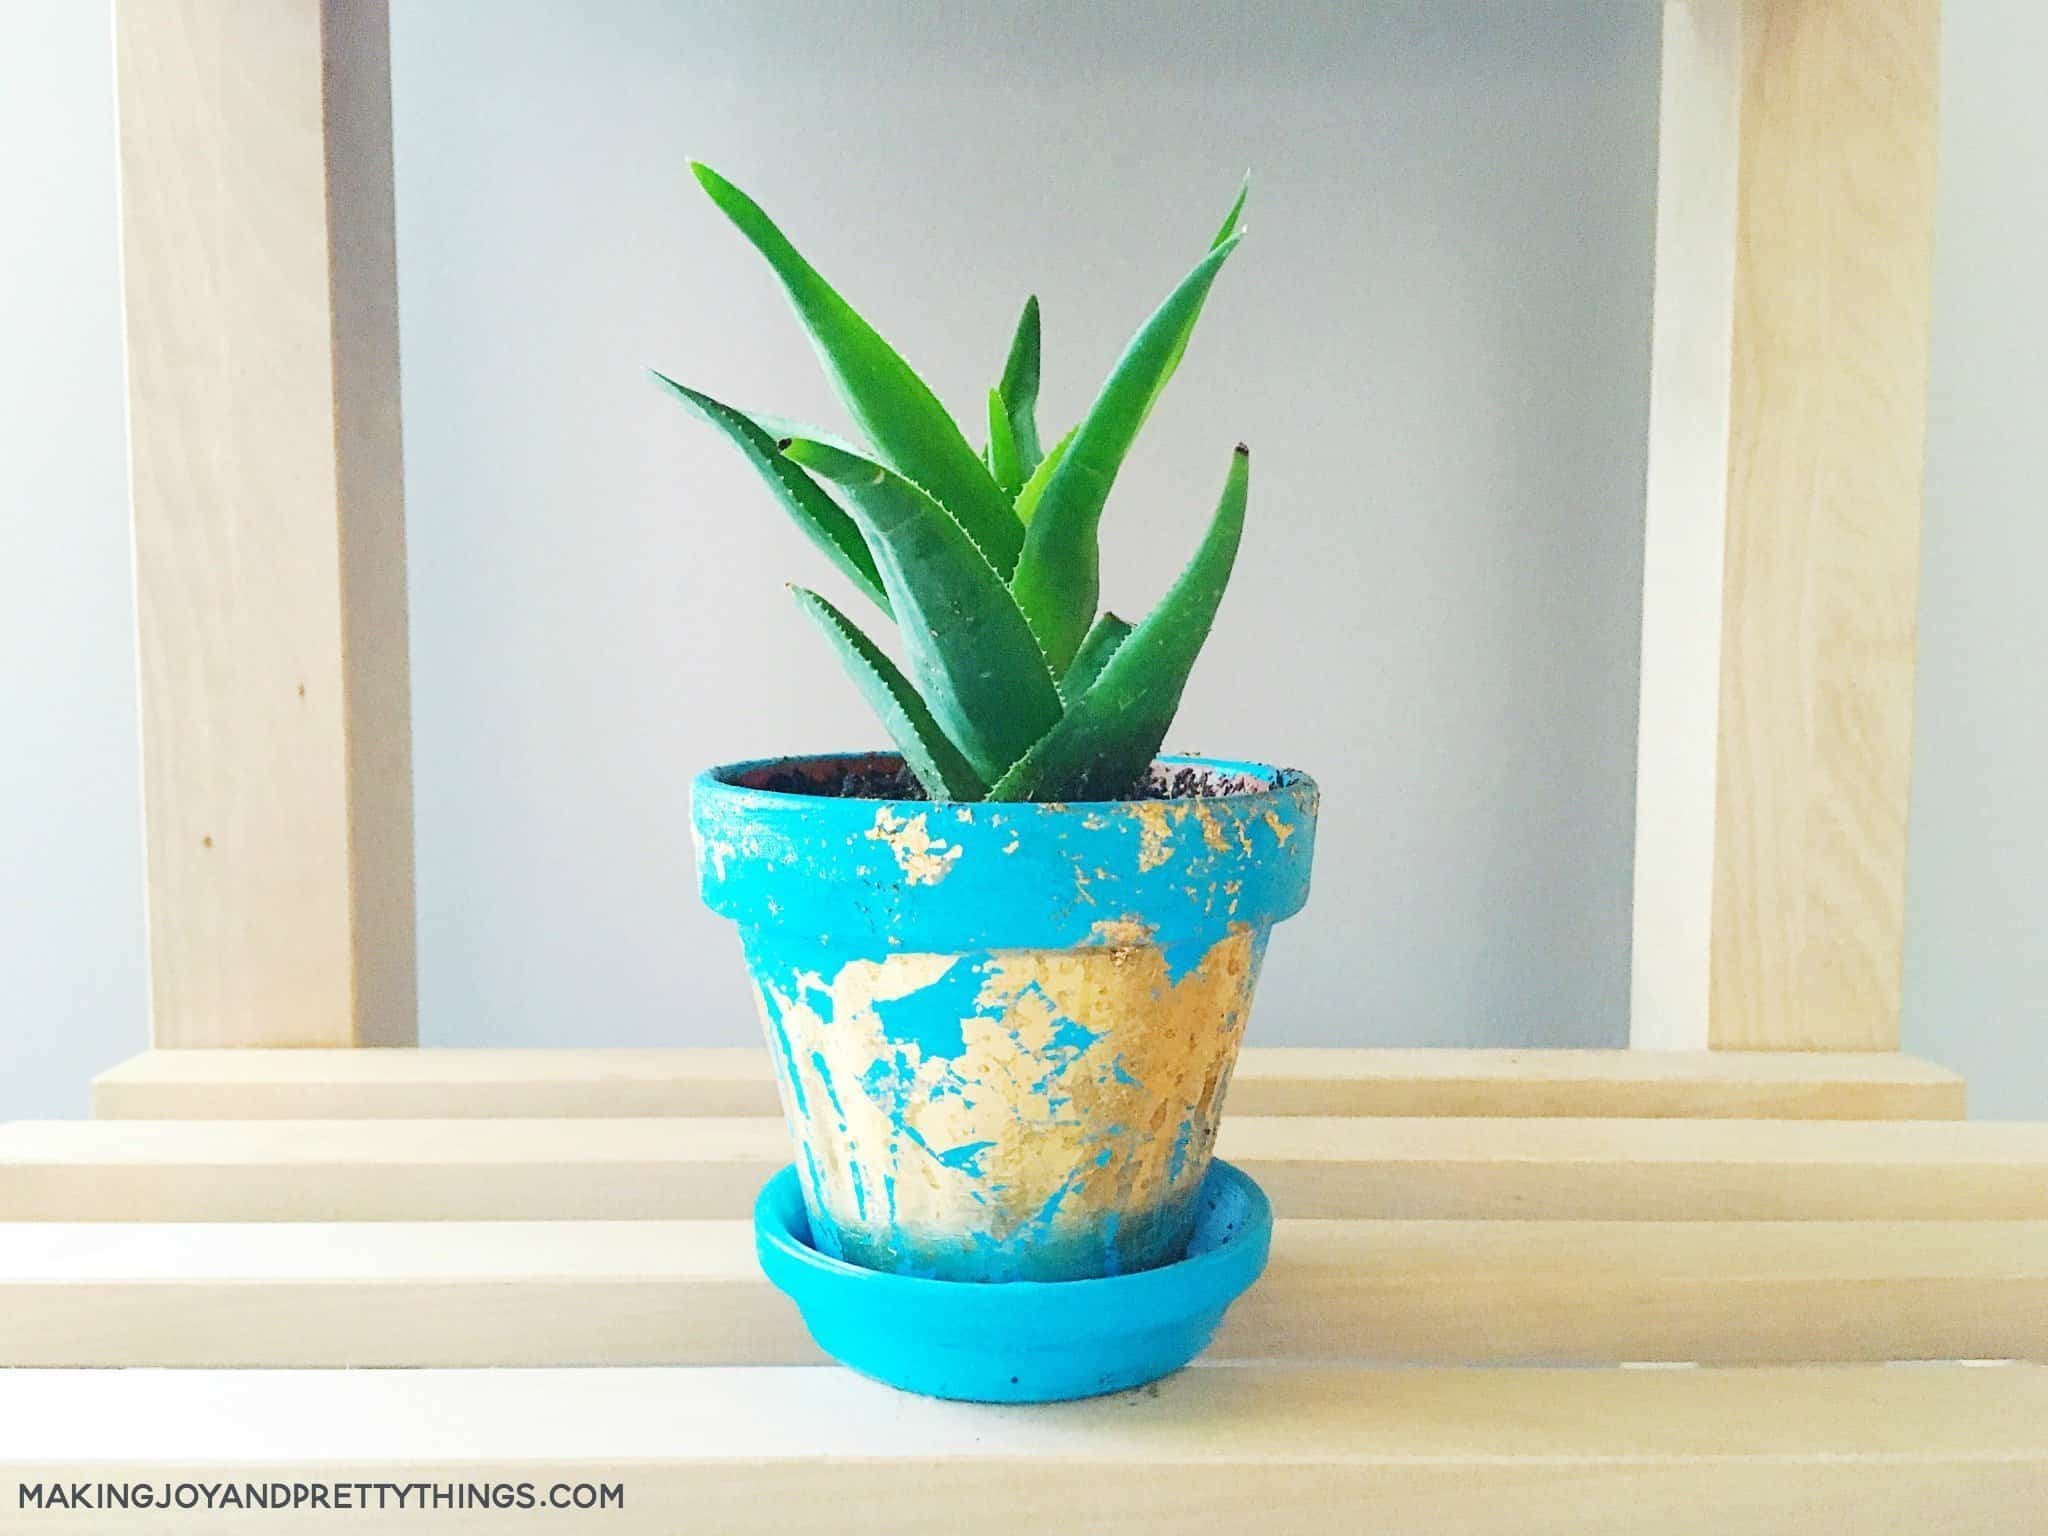
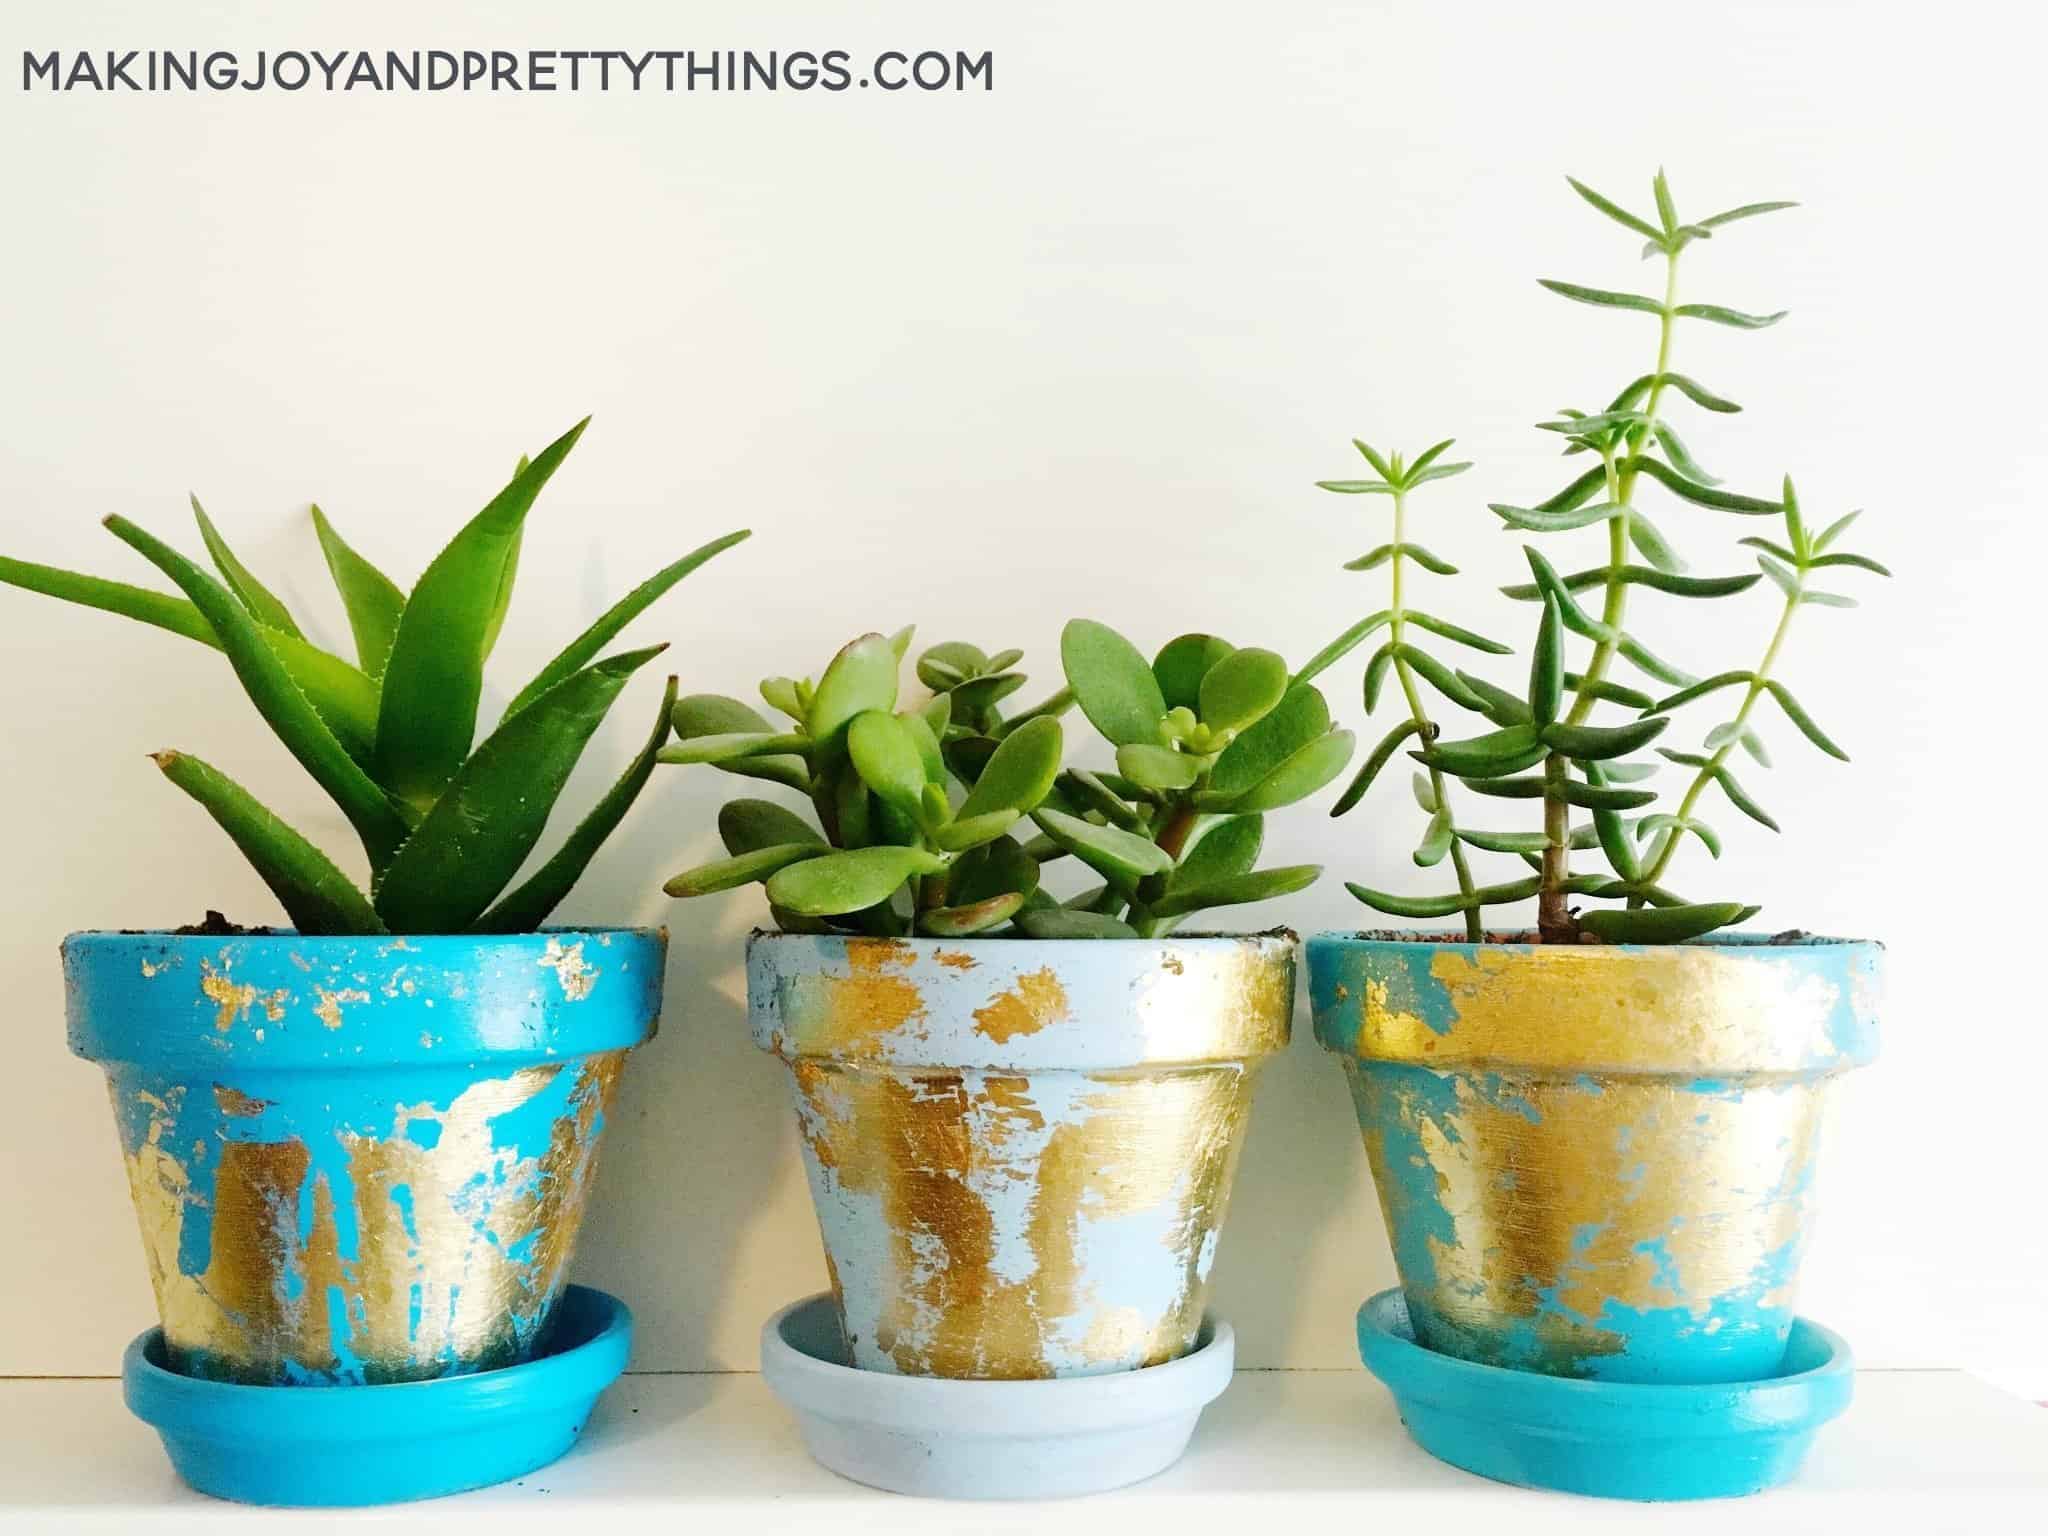
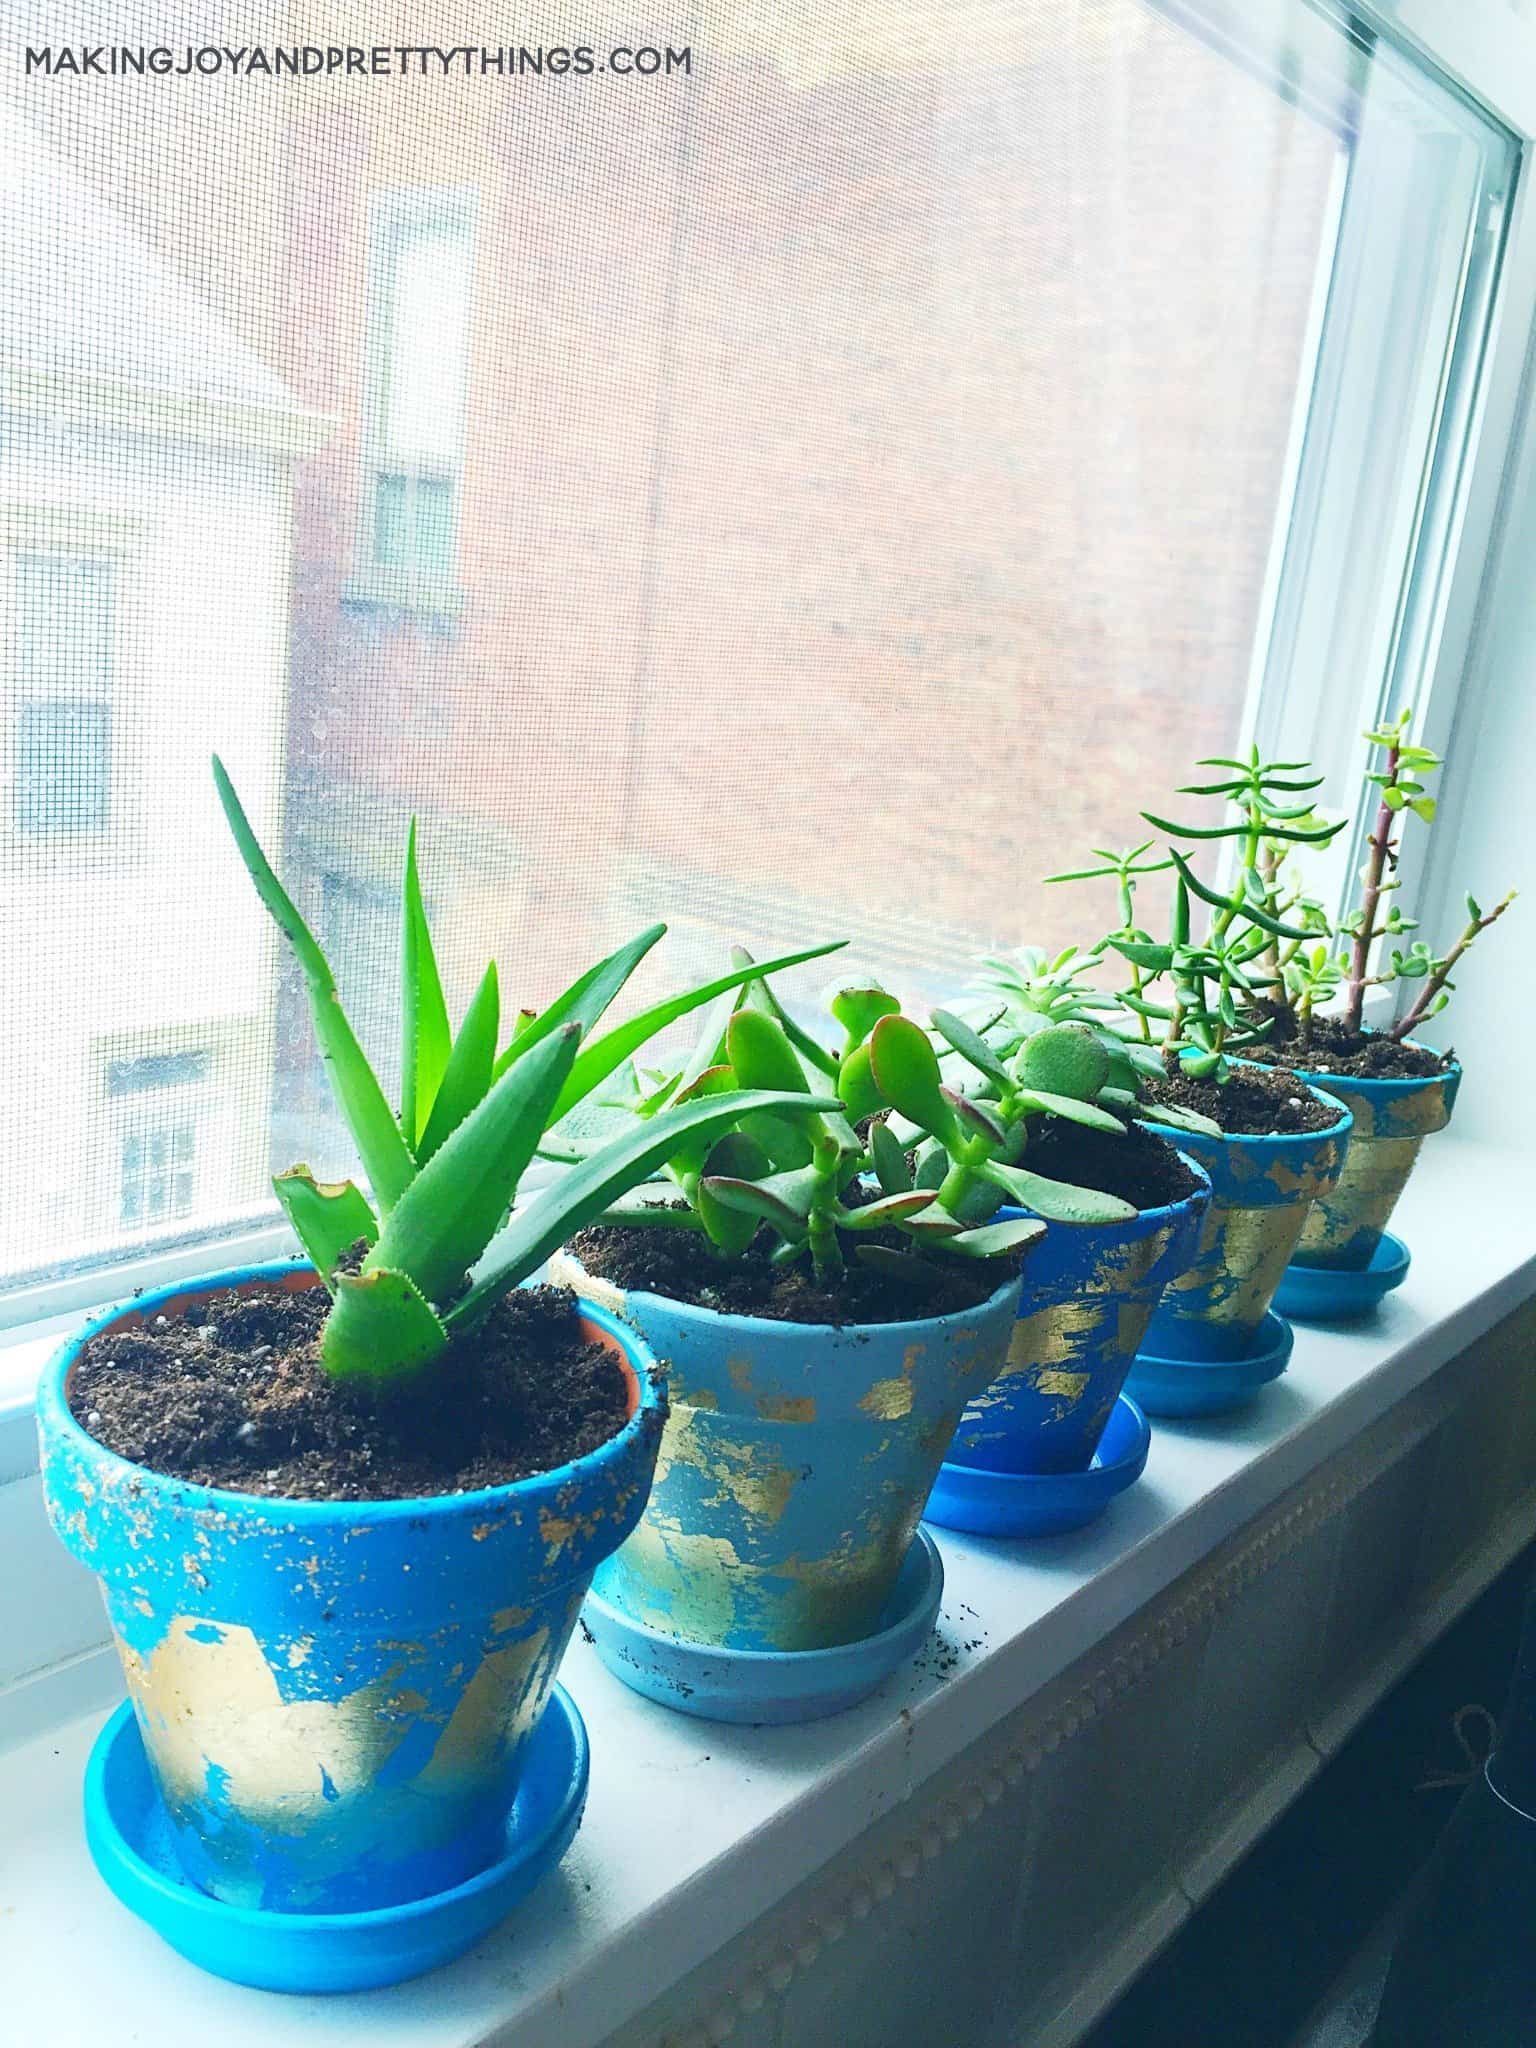
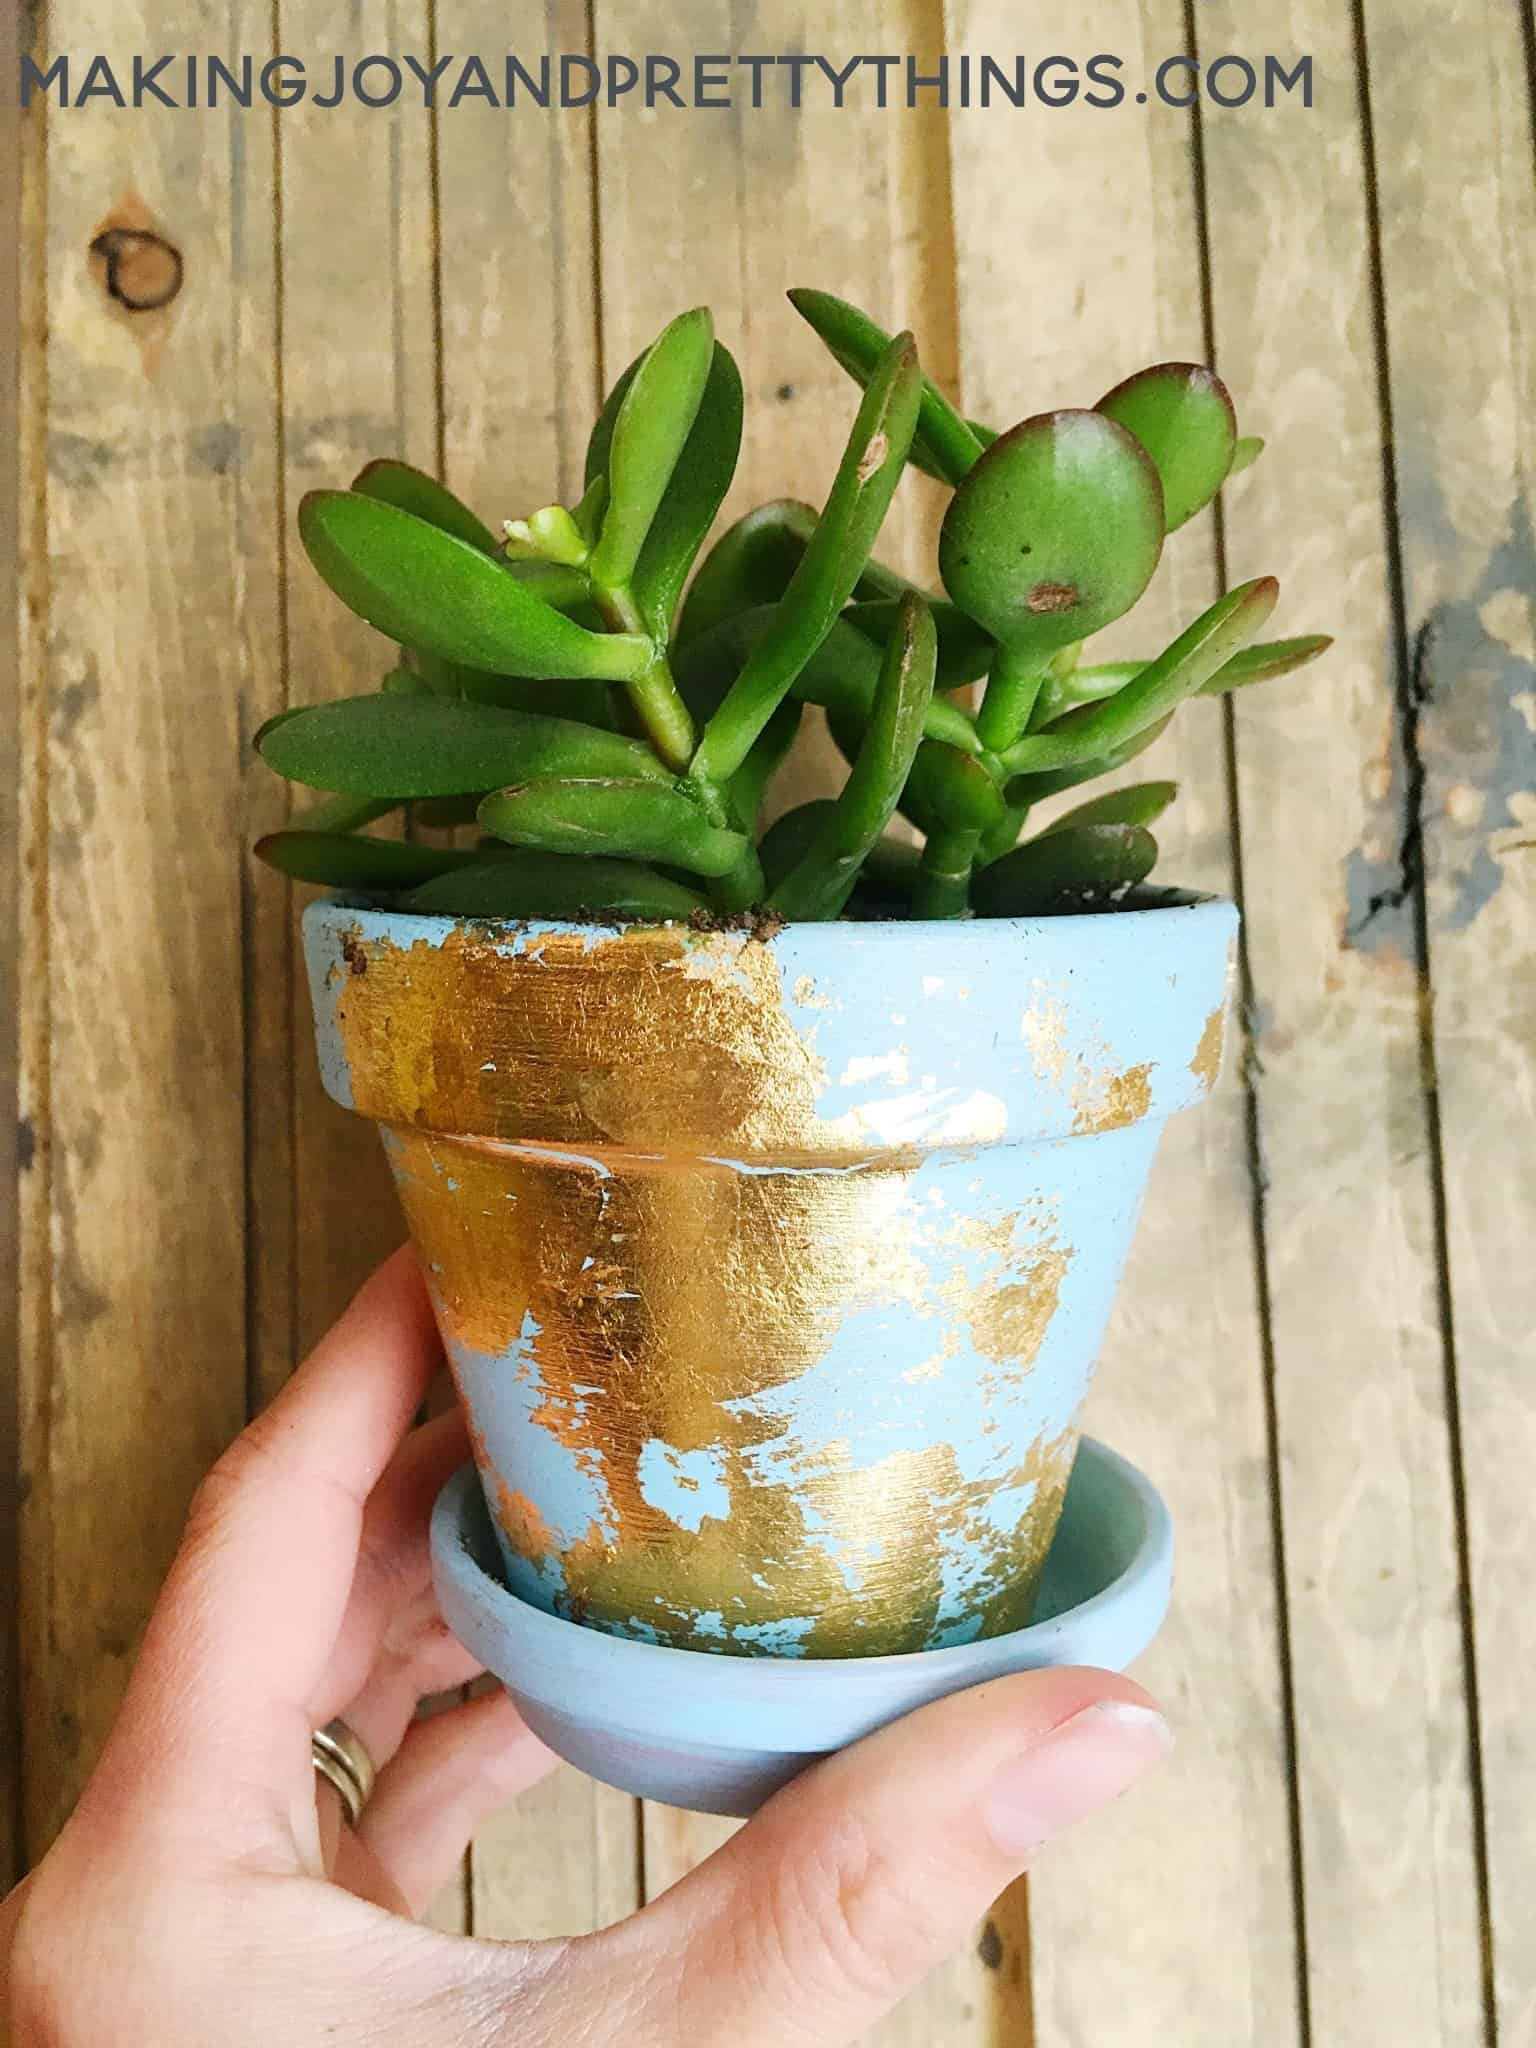
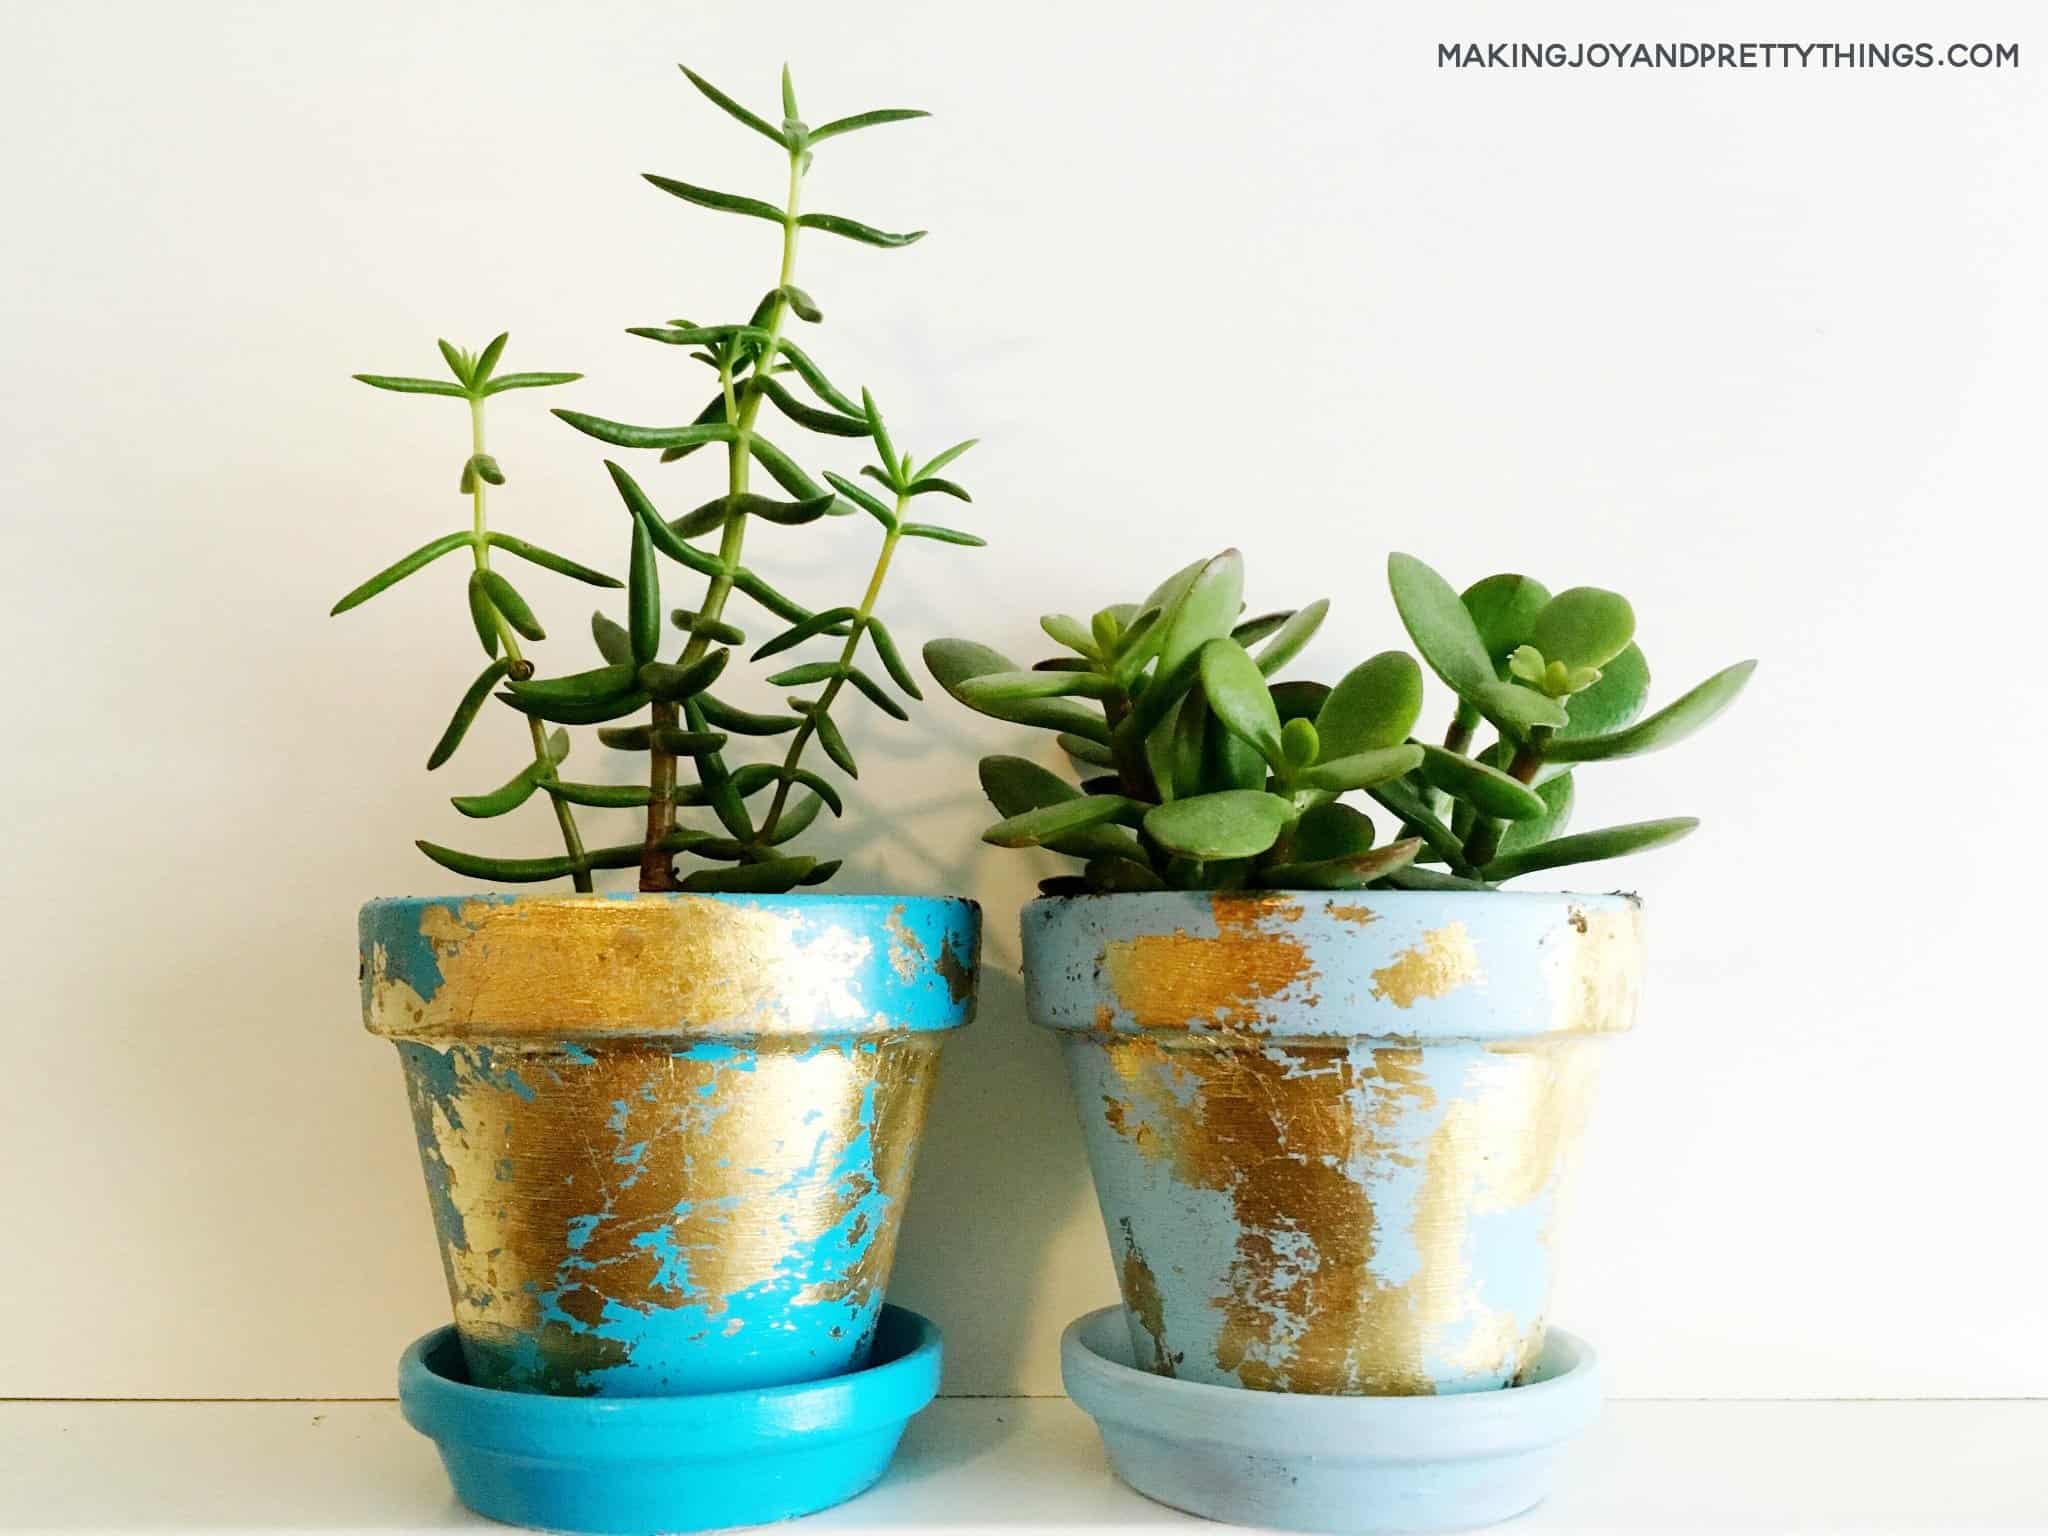
I love how they came out. The best part: they all look different!! I love art that you can make unique to you!
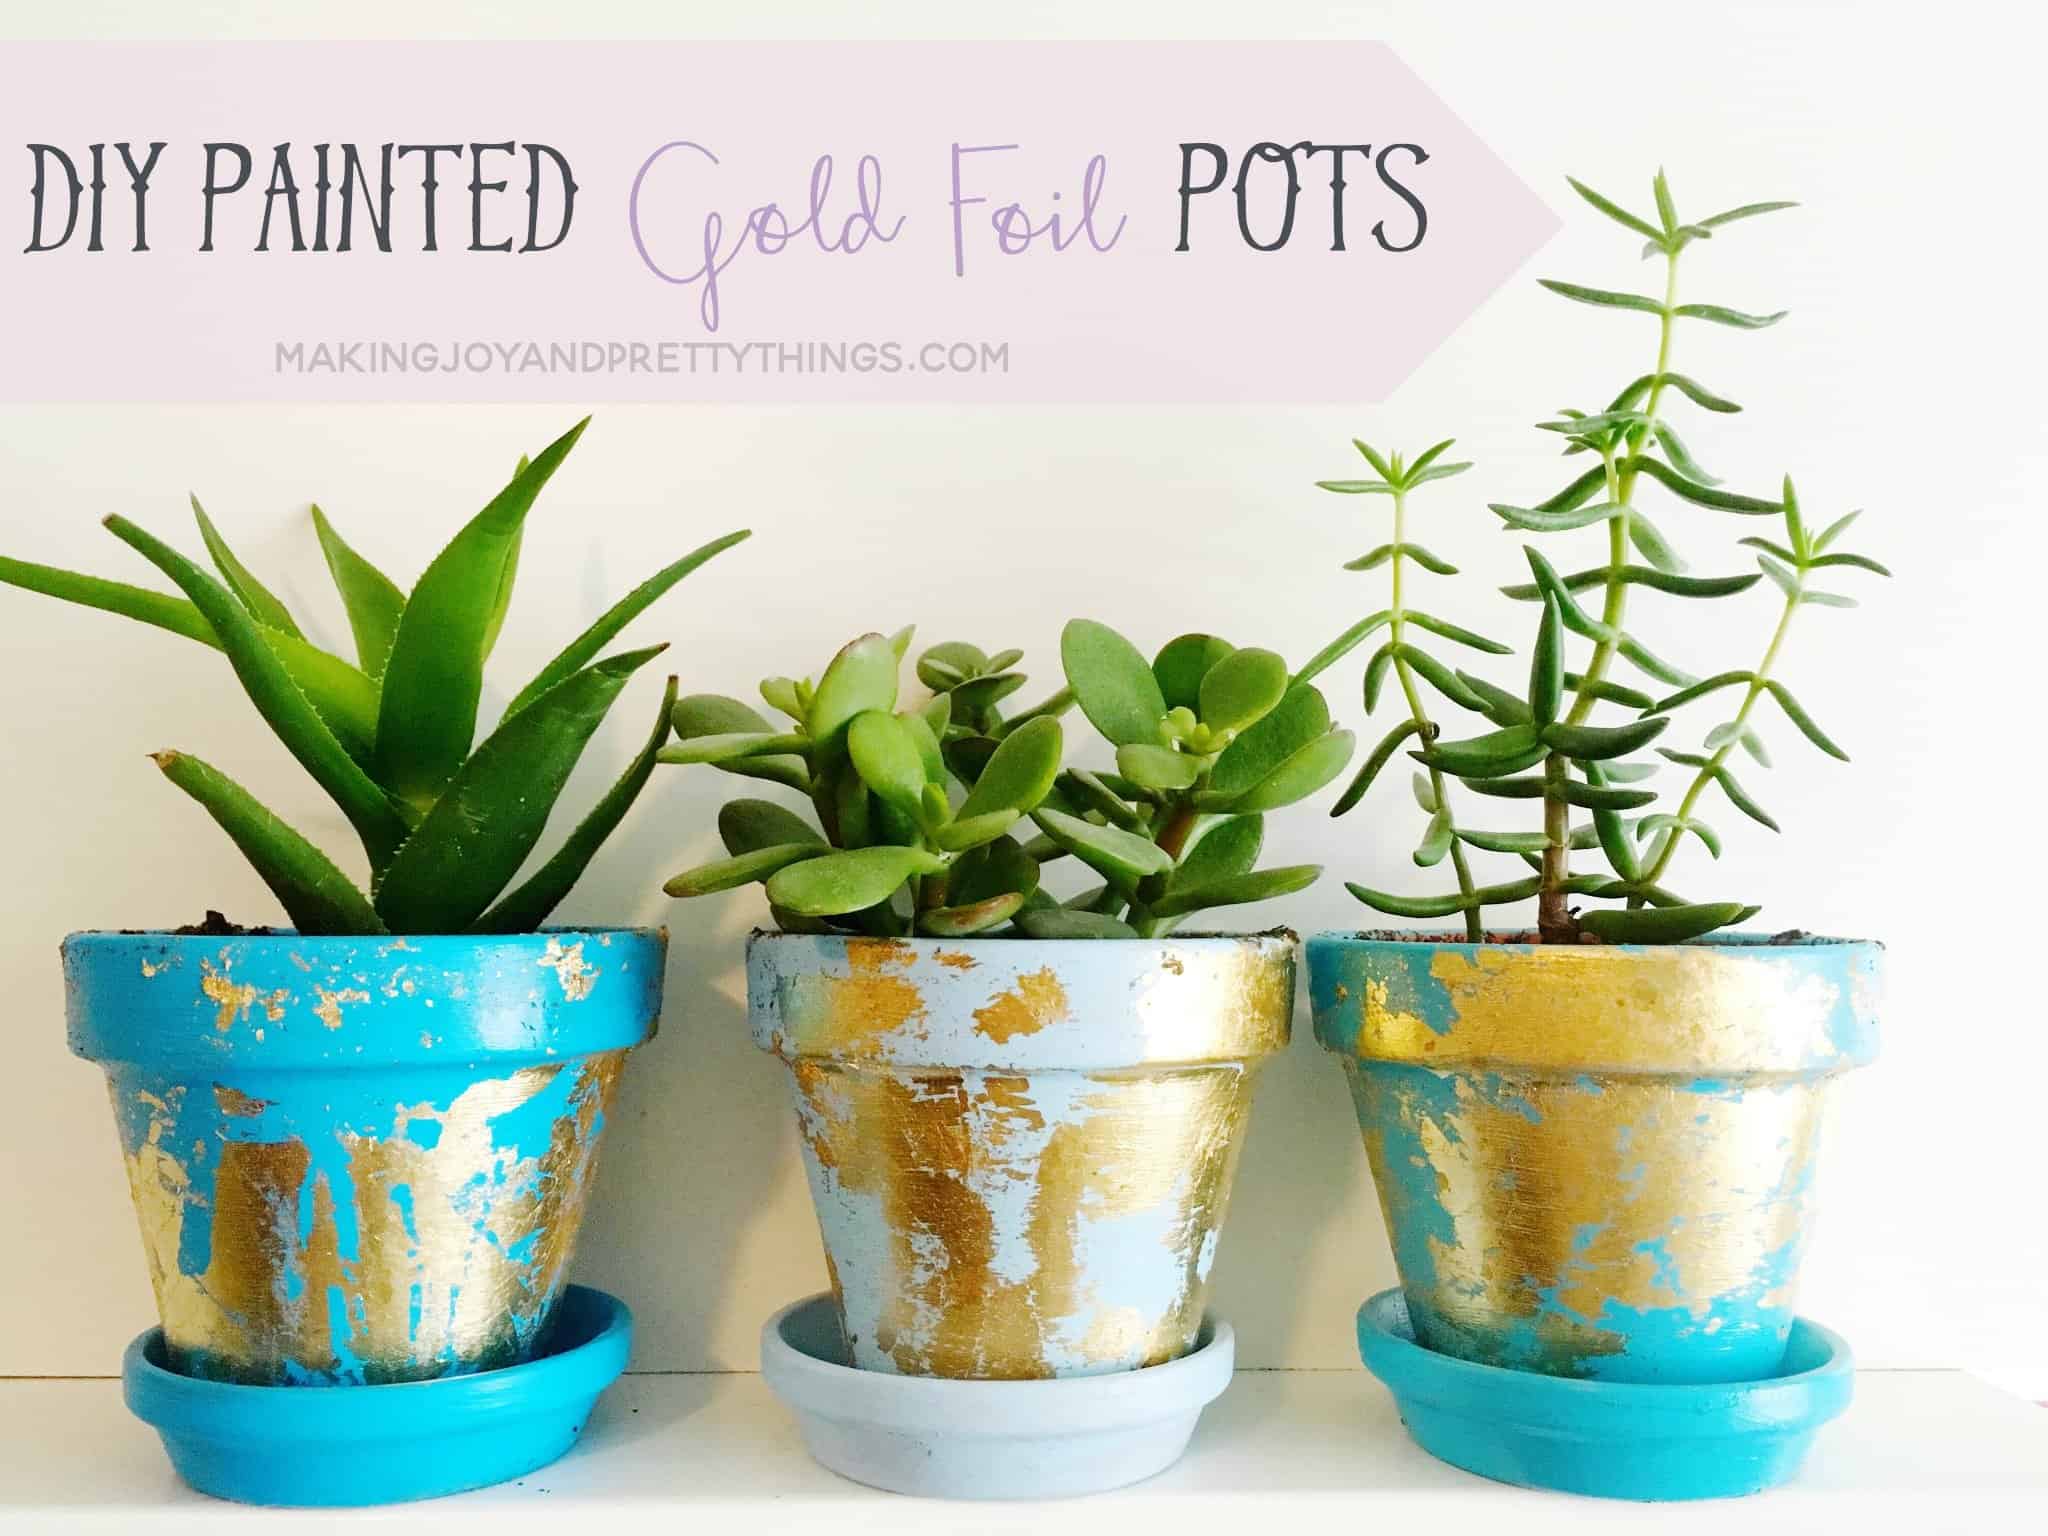
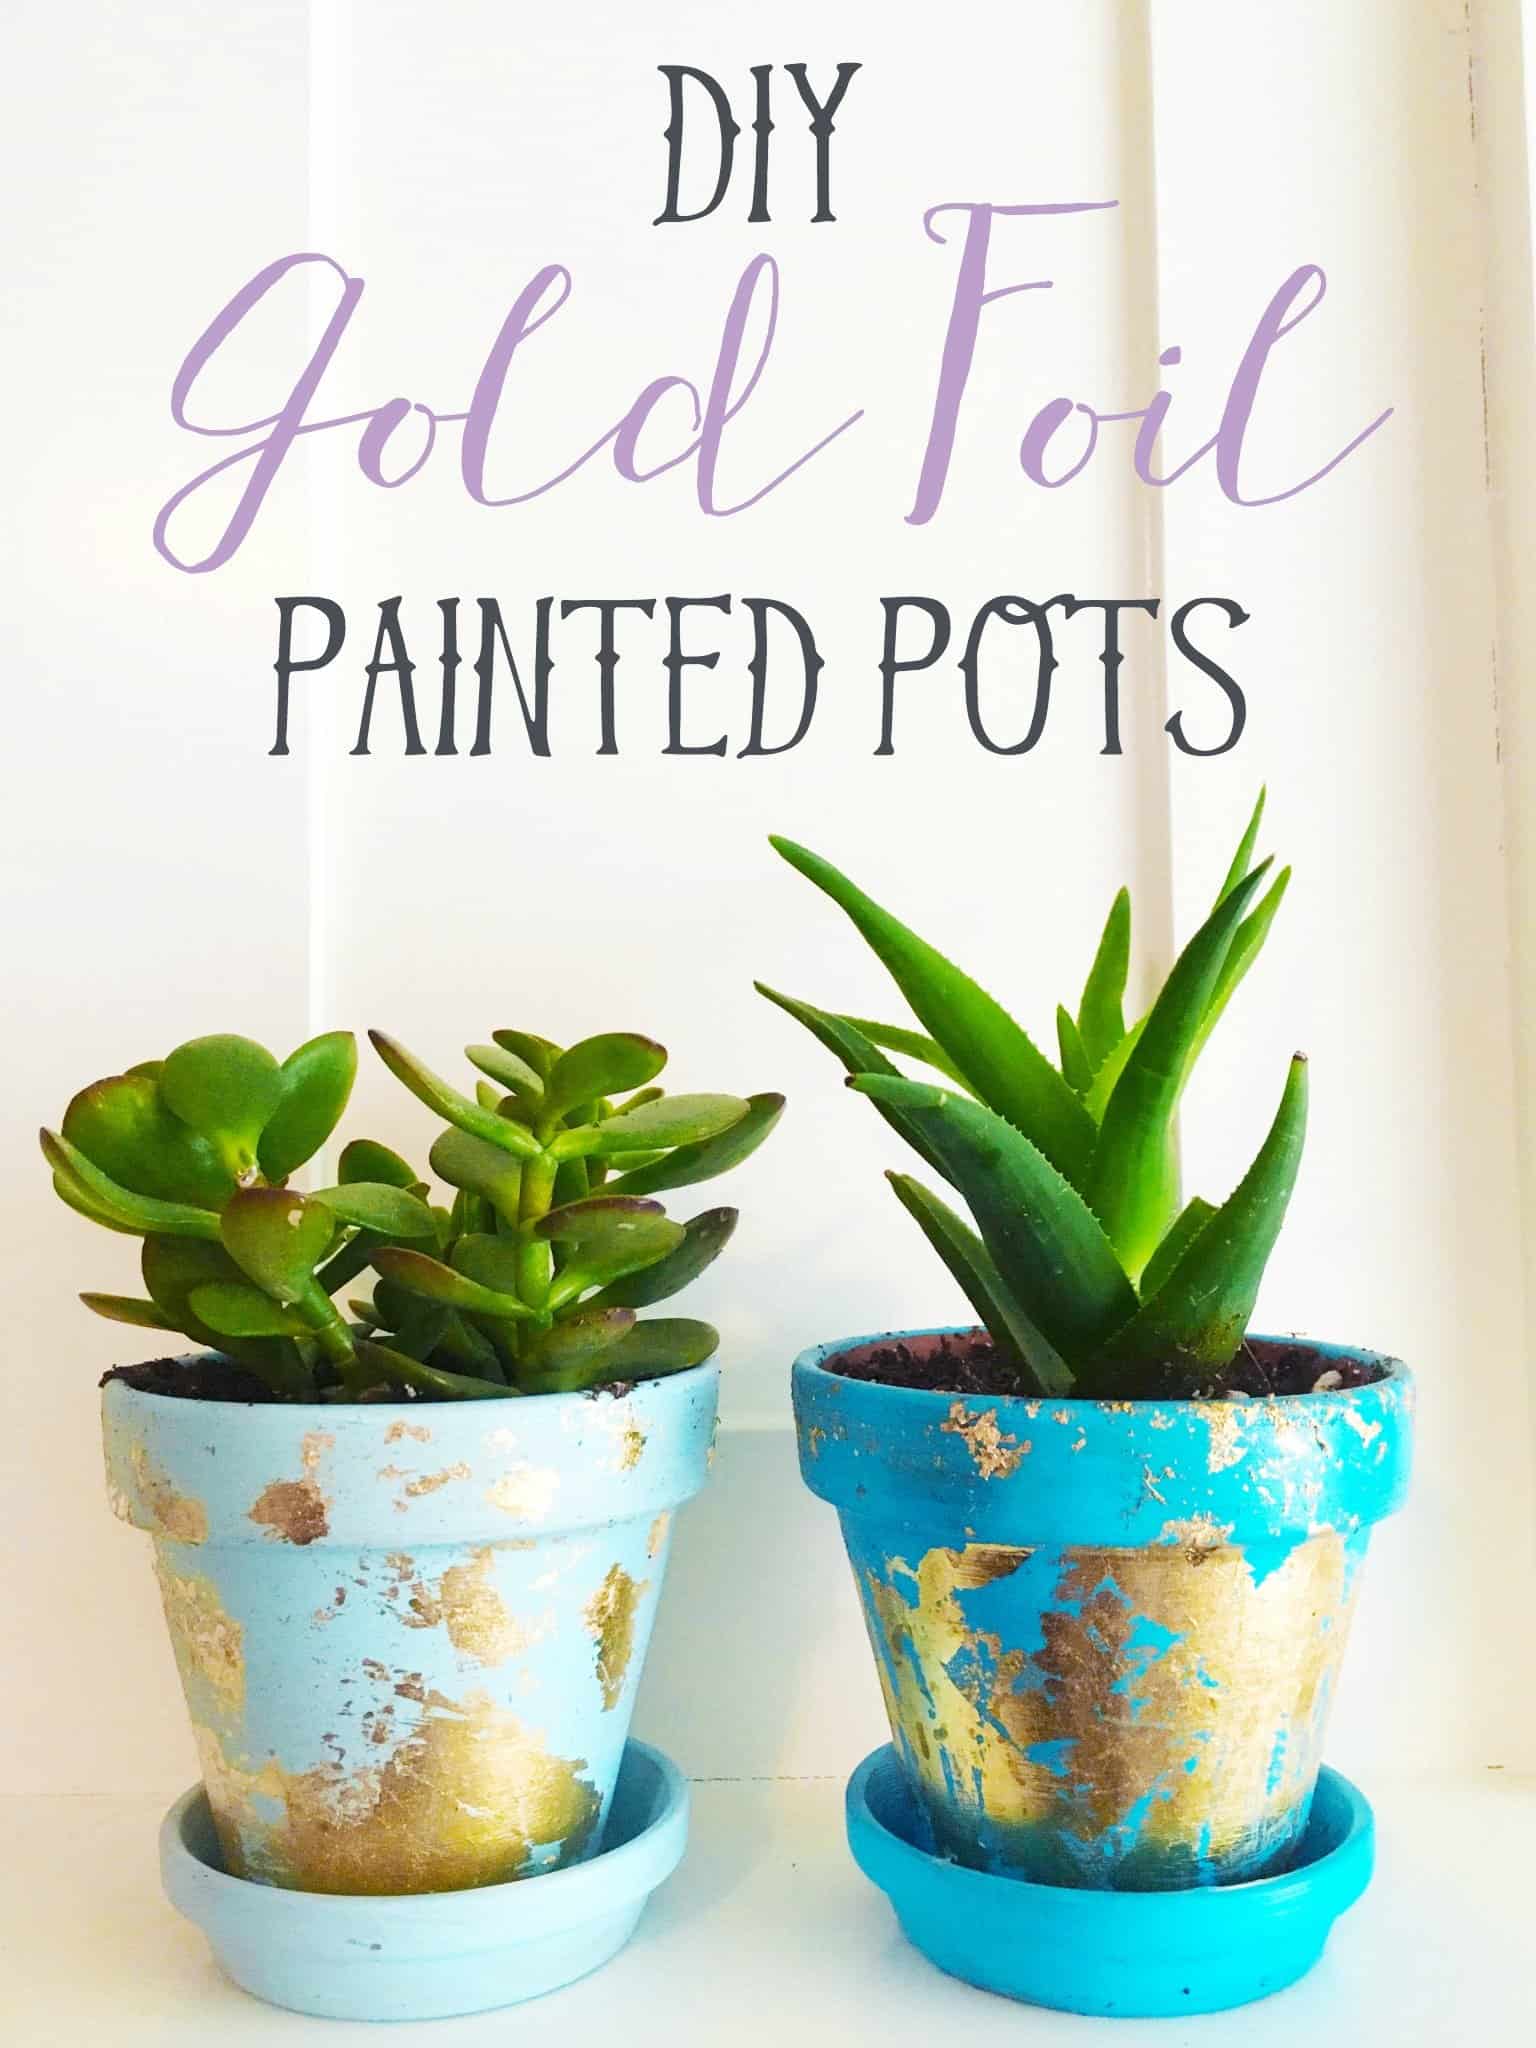
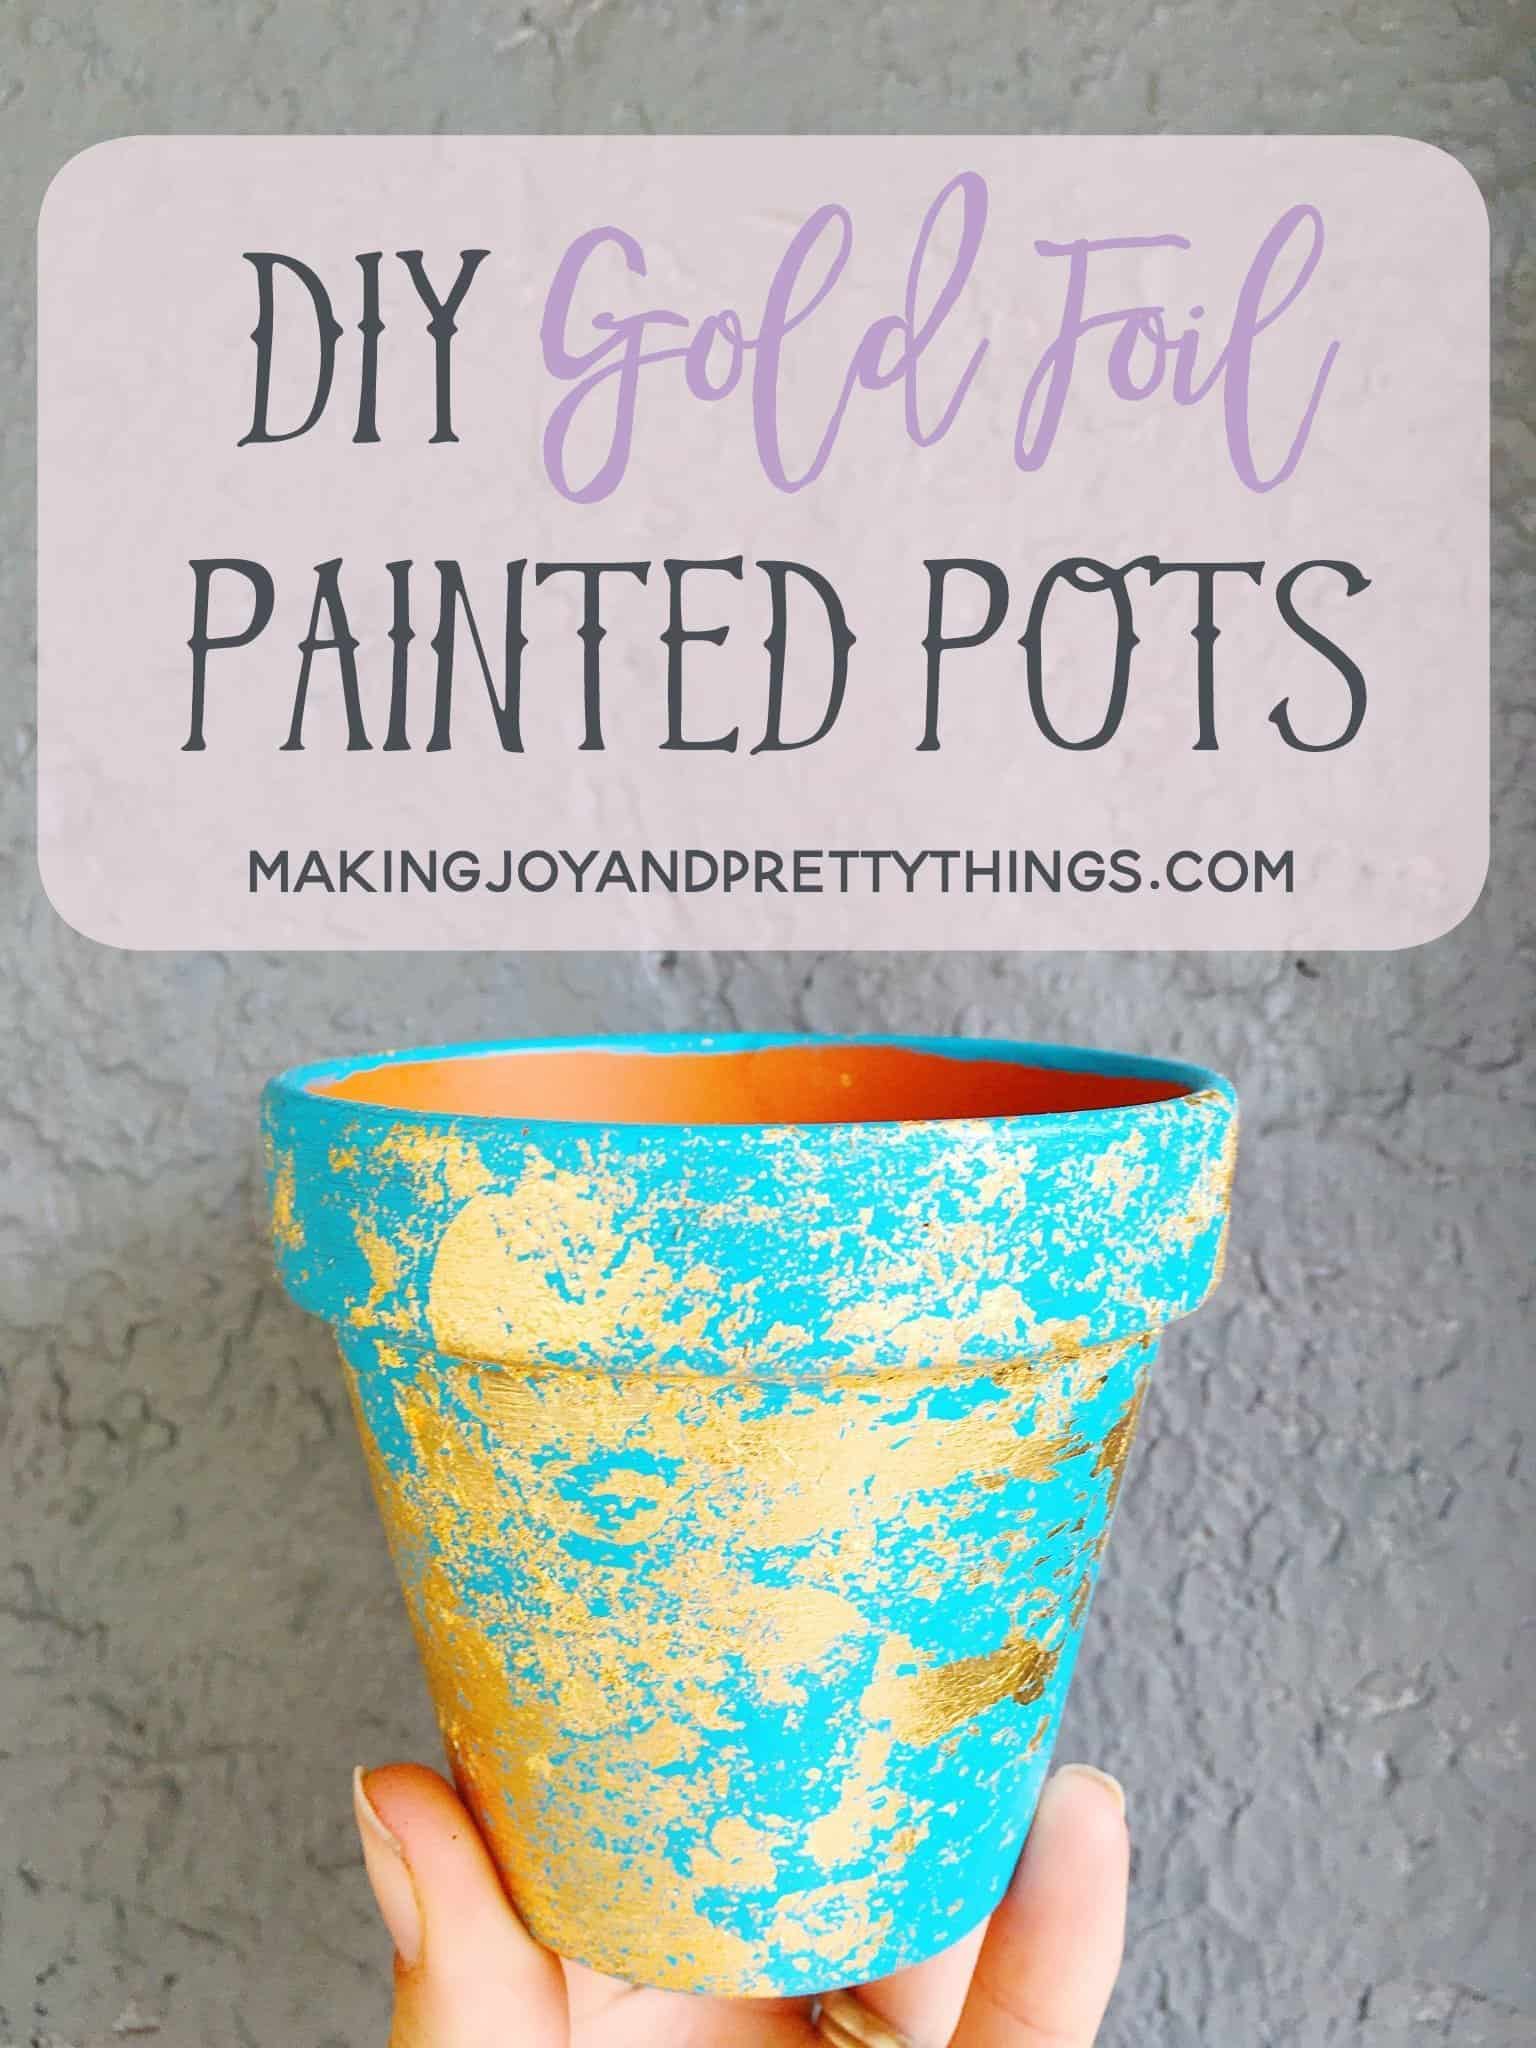
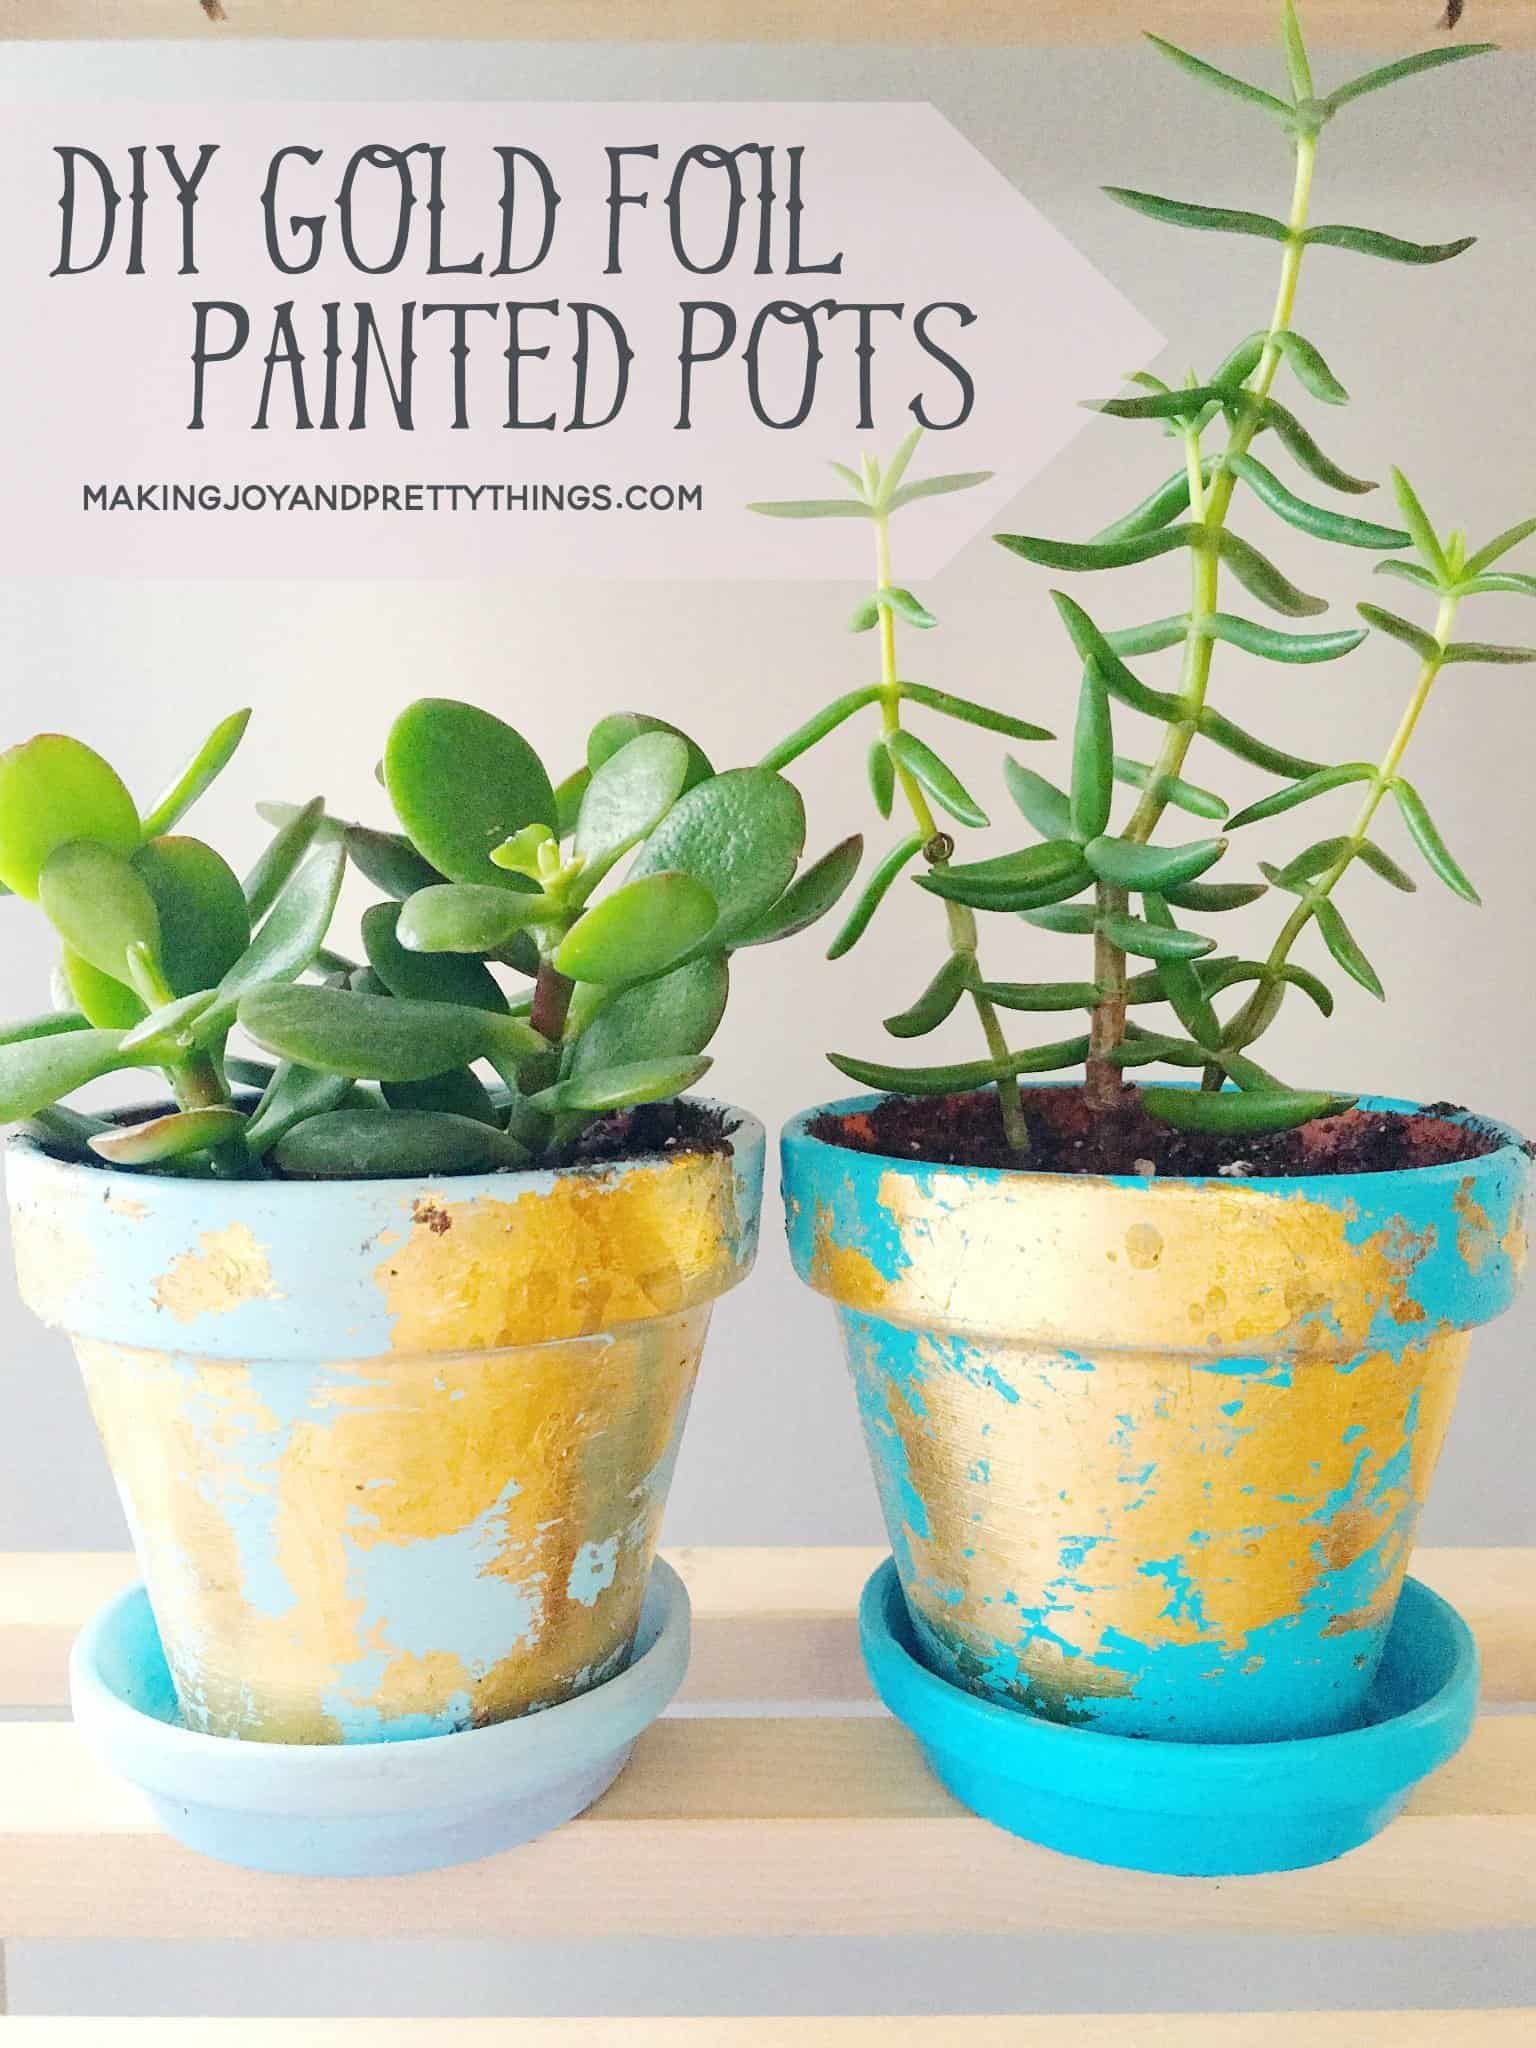
There you have it seriously one of the easiest DIYs but what an amazing transformation it has on the plant clay pot. I love the way these turn out so much that I might even do it for some other rooms in our home.
For some more ideas on what to plant, other DIY planters, and how to care for potted plants check out the amazing blogs below!
- How to Care for Philodendron Plants | Me!
- DIY Planter Box for Front Porch | Making Manzanita
- How to Care for Newly Potted Plants | Gardenstead
That’s it for today, girls! Have a fabulous week!

How To Make Gold Leaf Planters
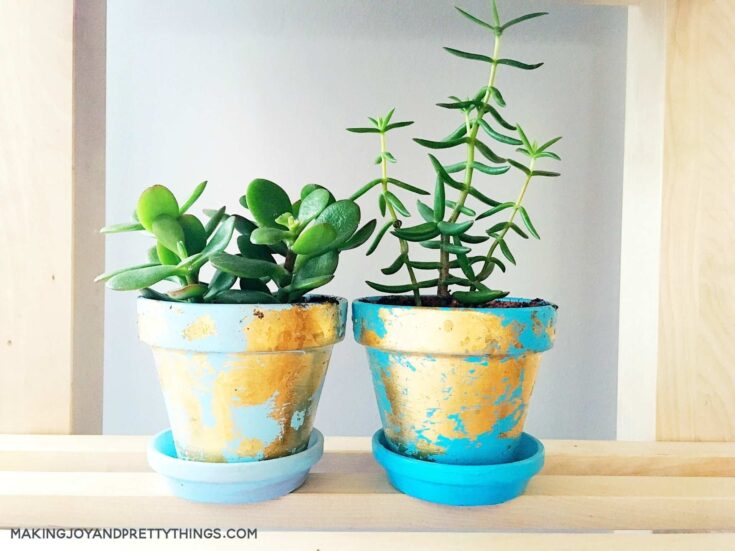
Learn how to use gold leaf on small terracotta pots! These fun DIY gold leaf planters look great on shelves or in a window sill.
Materials
Instructions
- Choose paint for planters
- Paint terracotta pots
- Add gold leaf foil to the planters
- Rub off gold foil to the planters
- Plant succulents

These are so pretty! I love the teal and gold together. Stopping by to let you know you are being featured on Friday’s P3 Party post! Have a great week! Thanks for pinning!
Best,
Kim
Aww thank you so much!!! I still love those little pots 🙂
Since your using the imitation gold be sure to throw a clear coat on the gold foil… otherwise it will oxidize. Take it from a calligrapher/gilder who knows from experince. Had to redo a commissioned piece which was a rather large project. Client paid extra for the real 24k gold sheets… but i always give a choice for the real deal or imitation gold (only now I spray the speedball gold foil sealer before adding and gloss mediums and such.
What size pots did you use?