DIY Irish Blessing Sign
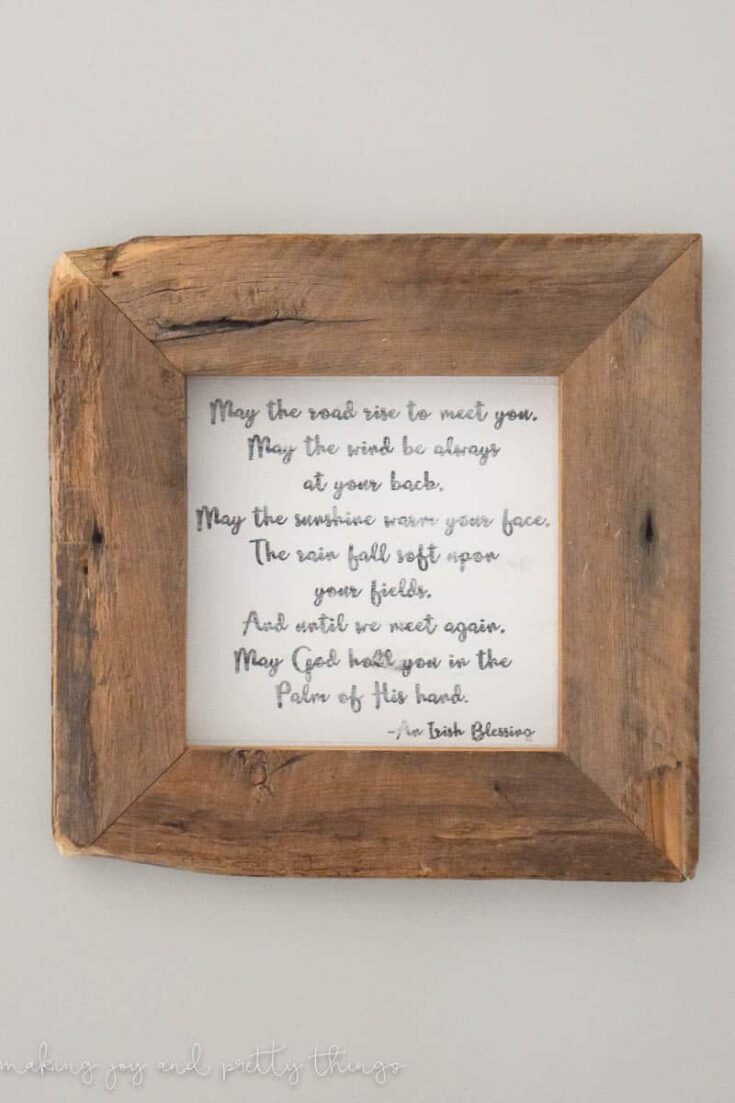
Hello again, friends! I’m so excited to share the last DIY we made with the reclaimed wood we bought 100 years ago, a DIY Irish Blessing Sign.
This was the final project we made with the last little bit of wood left over. This DIY Irish blessing sign is such a special project for my family and for the home we live in; but, more on that later.
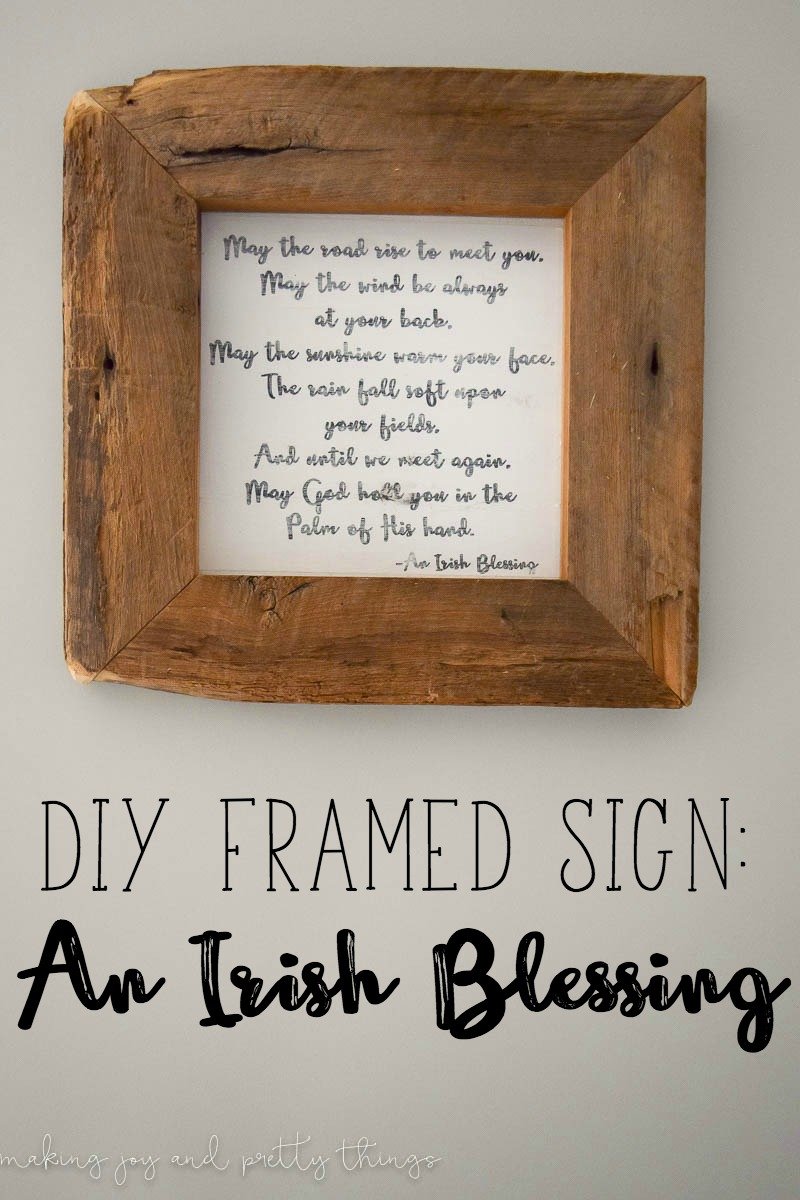
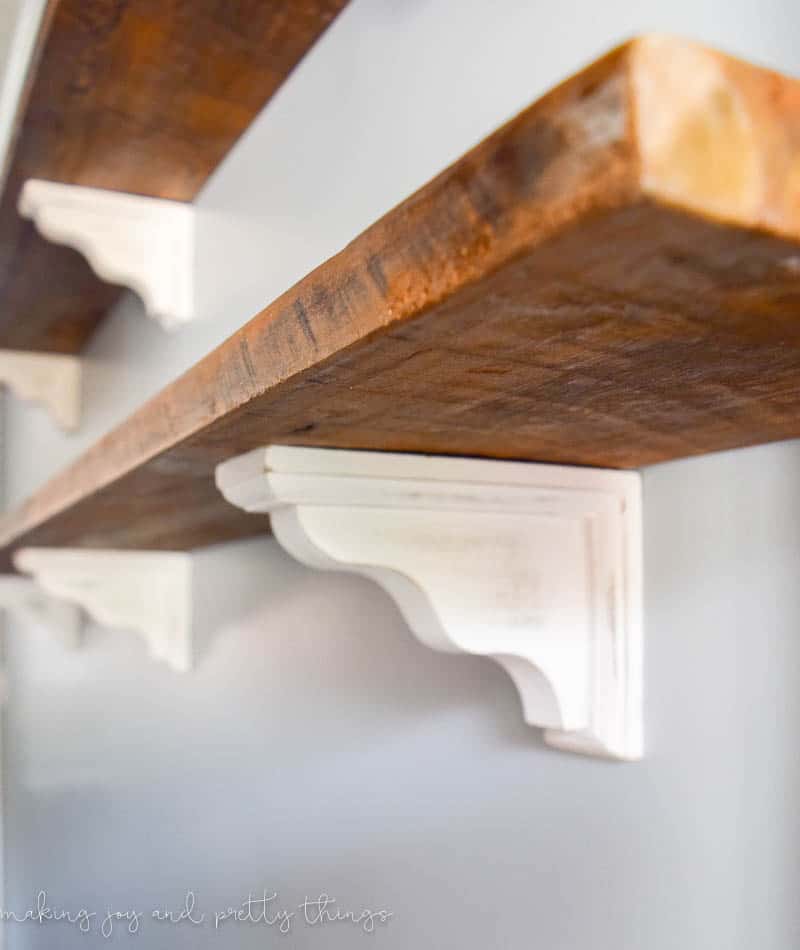
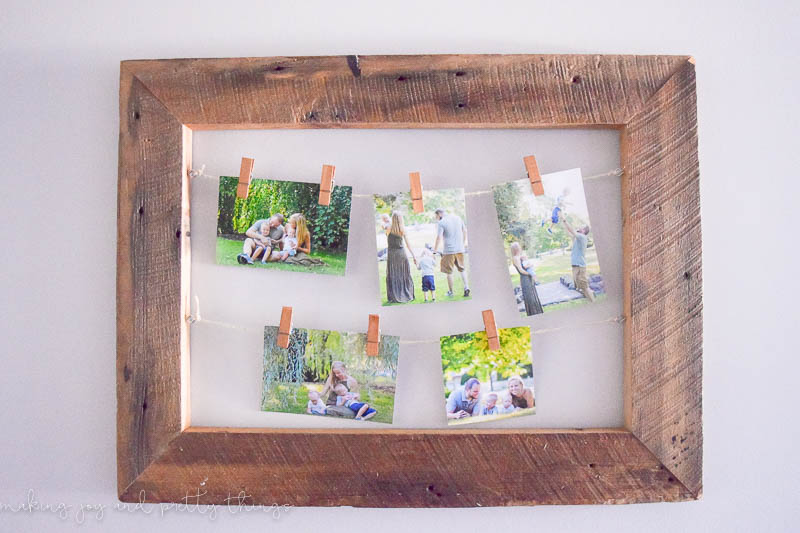
If you forgot, a few months ago we found some amazing old barn wood at a local warehouse. After figuring out how to clean and seal it, we ended up making some farmhouse shelves and a rustic frame to display pictures.
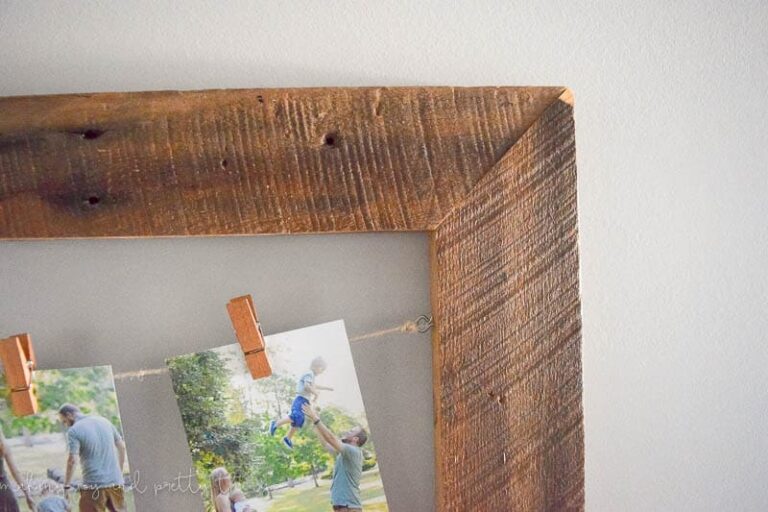
My husband made the frame using the same method we used for the rustic photo display, so head on over to that post for a more detailed explanation of the frame assembly process.
This post contains affiliate links. Please, click here to read my disclosure policy.
Supplies for Irish Blessing Sign
Step 1. Cut Hardwood for Irish Blessing Sign
The dimensions of this frame are 15″ x 15″ and the opening is 8 3/4″ x 8 3/4″.
With the frame assembled, I had my husband cut a piece of hardboard 2 inches wider than the opening of the frame (roughly 11″ x 11″, no need to be exact)
If you’re wondering what hardboard is, I literally have no idea. My FIL was using it for another project and my husband thought it would look good as a backing for the verse. You can buy hardboard at a local hardware store but really, any thin wood would work (I’m thinking plywood!).
Step 2. Paint Hardwood Backer White
Once it was cut, I painted it using Rustoleum Chalked Paint in Linen White (do I even need to include this anymore? Just assume this is the paint I use for everything 😉 )
Next, I designed the print using Picmonkey. You can set custom dimensions, and since I was lazy and didn’t want to have it printed at a store, I set it to be 8″x8″ so I could print on a standard piece of computer paper.
(The font is called “Sunset Hill”).
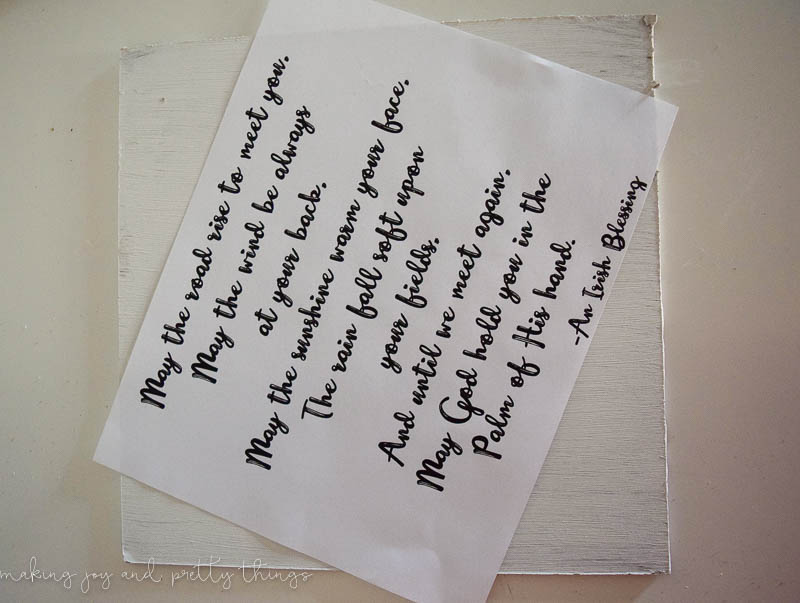
Step 3. Attach Verse with Mod Podge
Next, I used matte Mod Podge and an old paintbrush to attach the verse to the wood. First, apply Mod Podge to the surface of the wood and press the verse into the wood.
Then, apply Mod Podge over the top of the verse. Lastly, use a credit card or other flat/hard surface to push out any creases/bubbles.
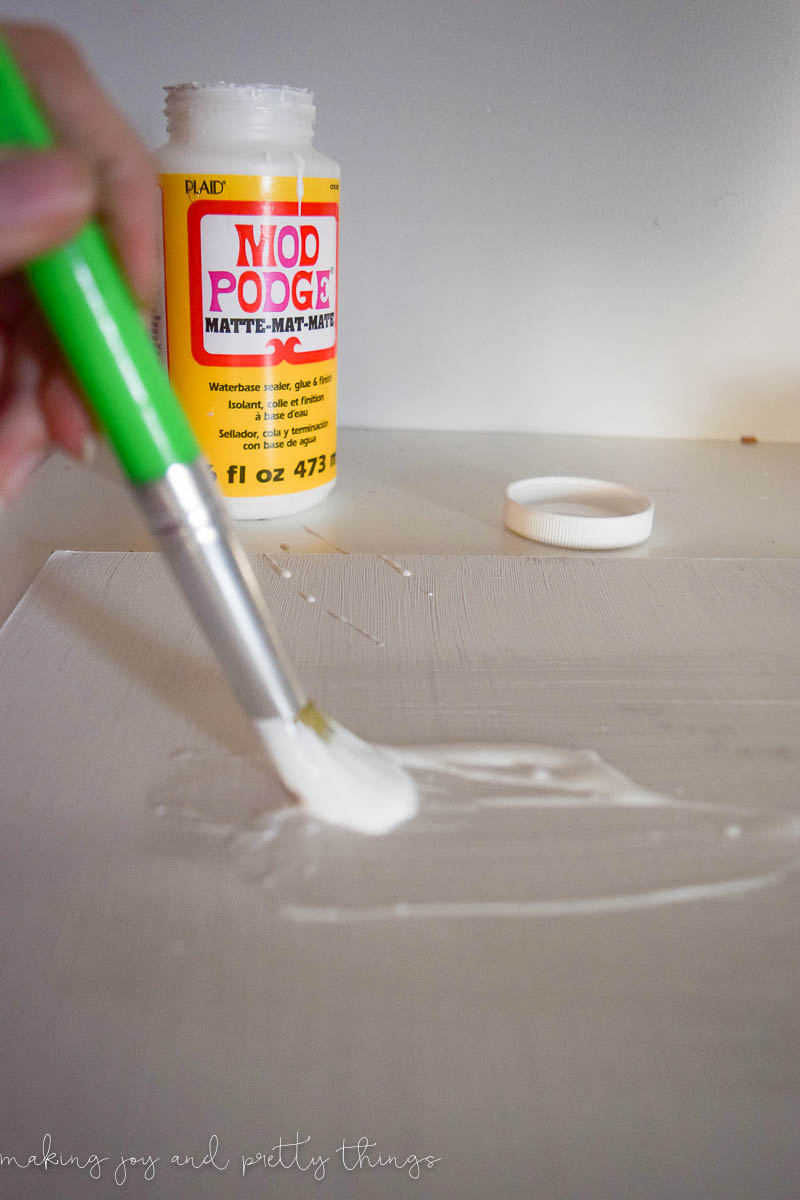
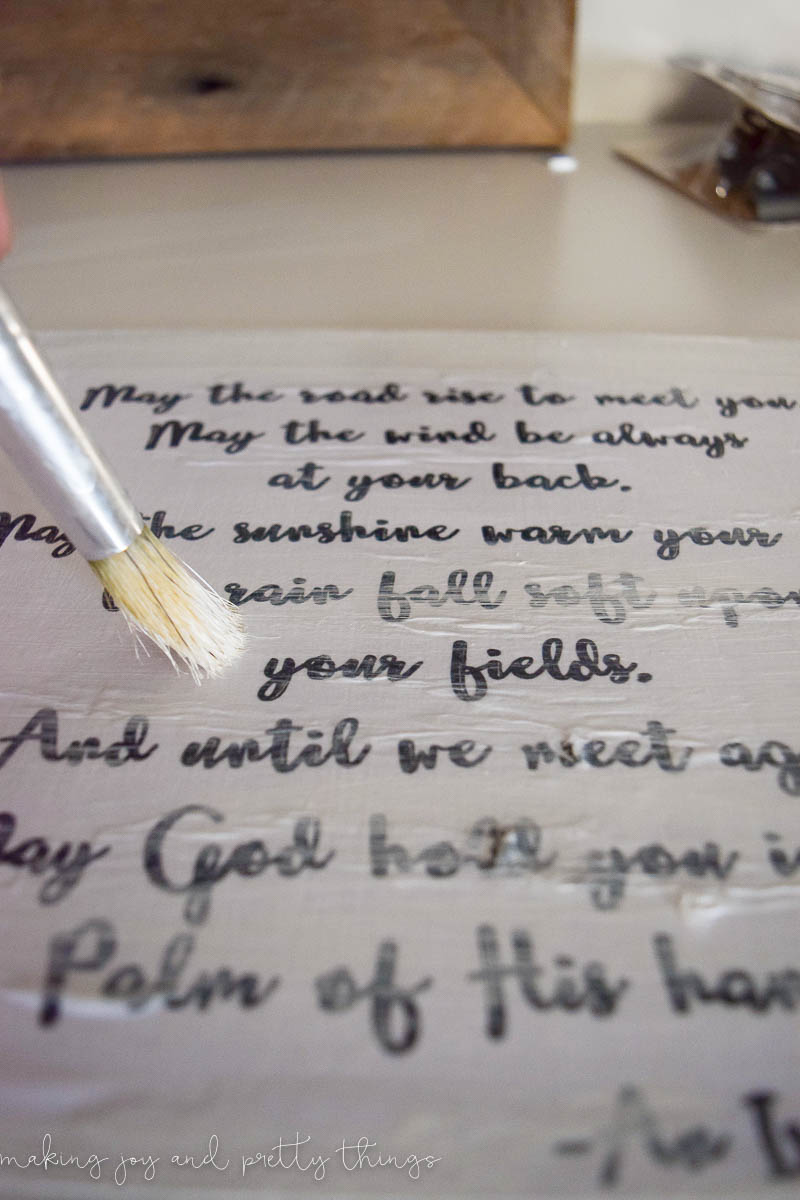
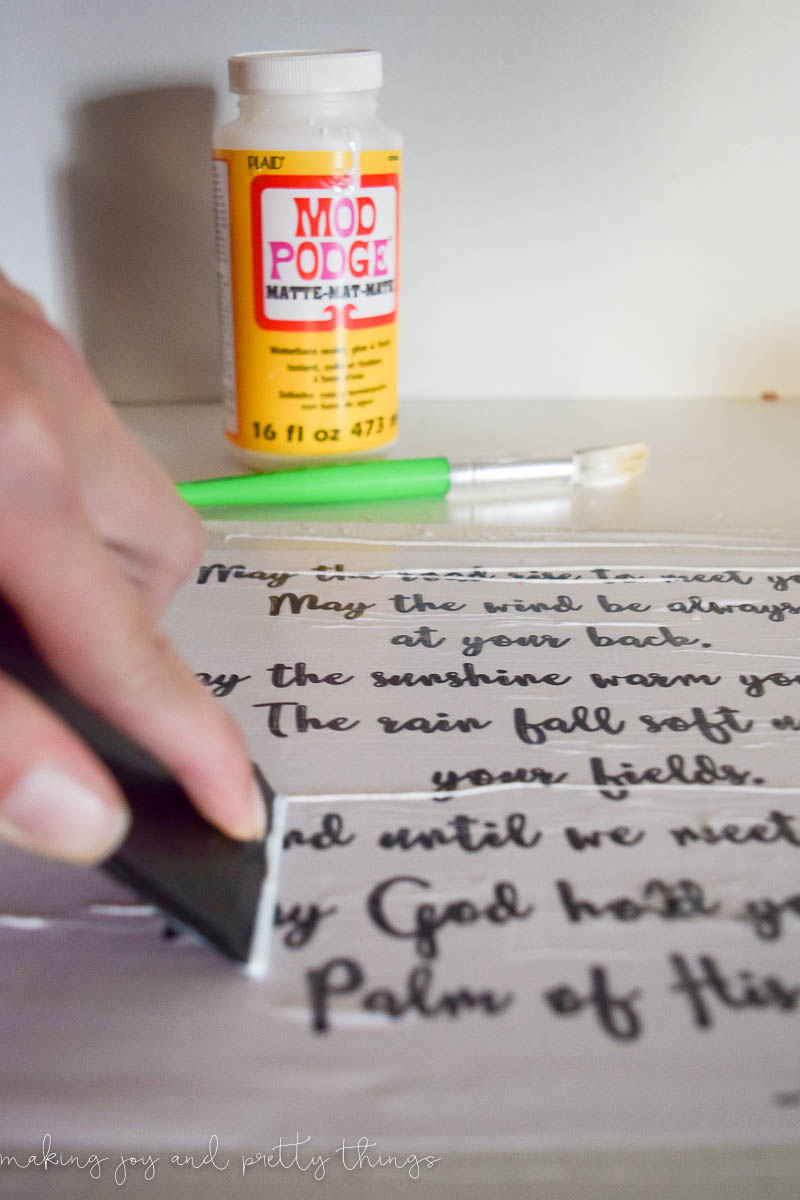
Mine didn’t really come out perfect. I ripped a hole in the paper at one point and there are a few bubbles still in the paper. I just went with it. It’s a rustic frame so the verse is rustic too, right?? 😉
For a longer tutorial on Mod Podge check out these stencil crafts by Making Manzanita.
Step 4. Attach Irish Blessing to Frame
Once dry, I attached the wood to the frame by duct-taping it to the back. Whatever works, right??
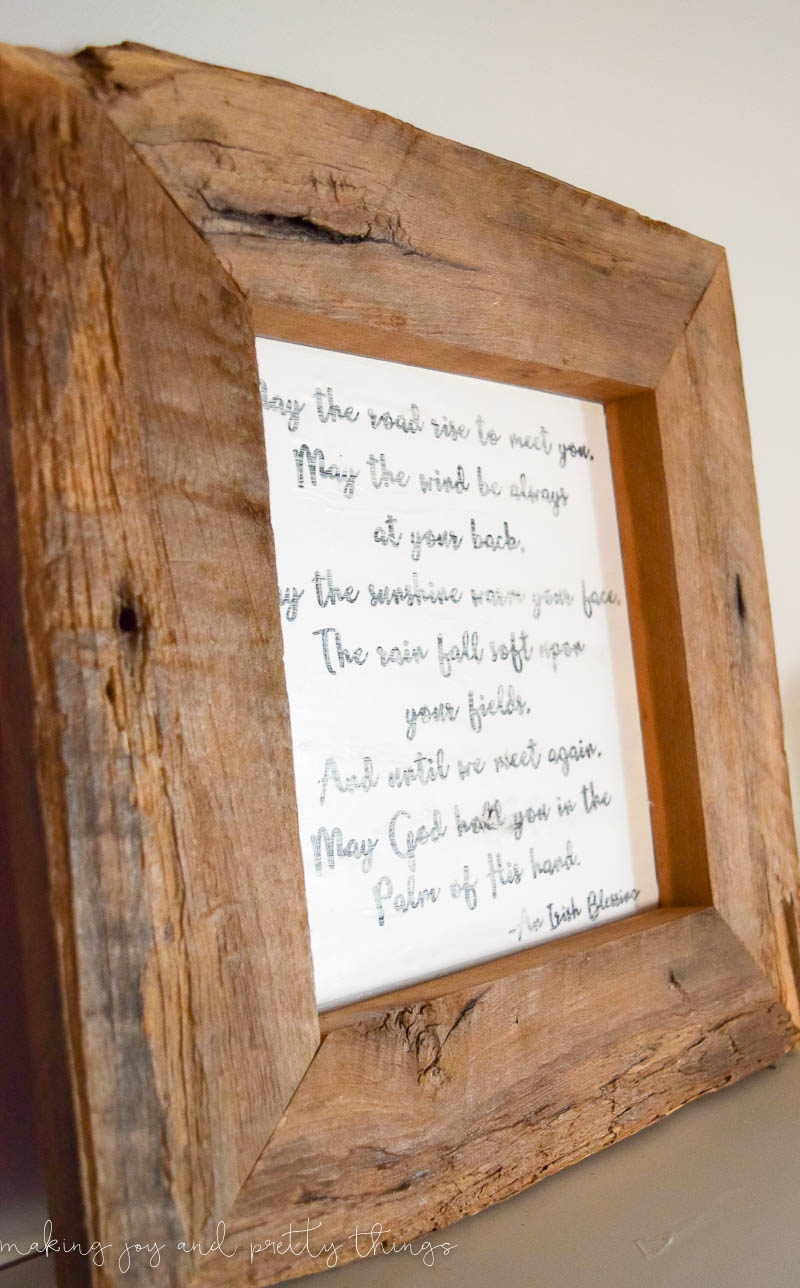
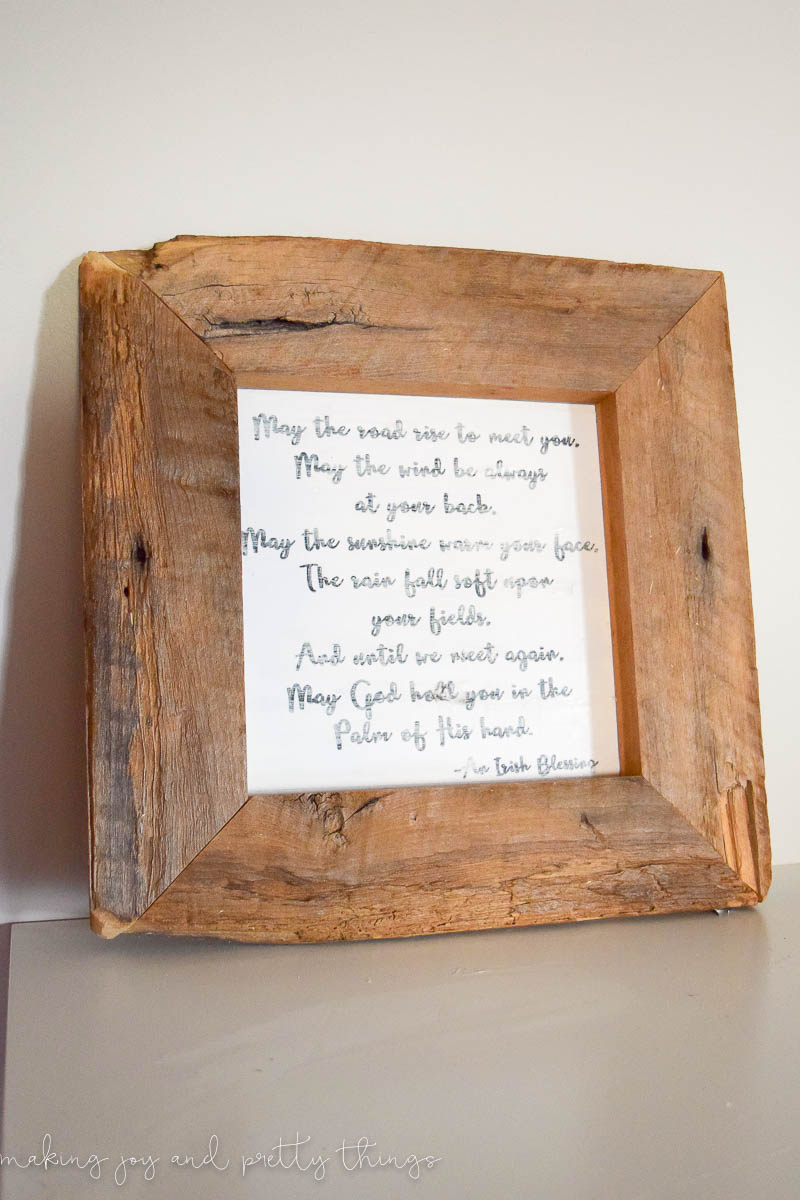
I used 3M strips to hang the sign onto the wall. The hardwood was so thin I was able to apply the 3M strips to the actual wood of the frame and it was still able to stick.
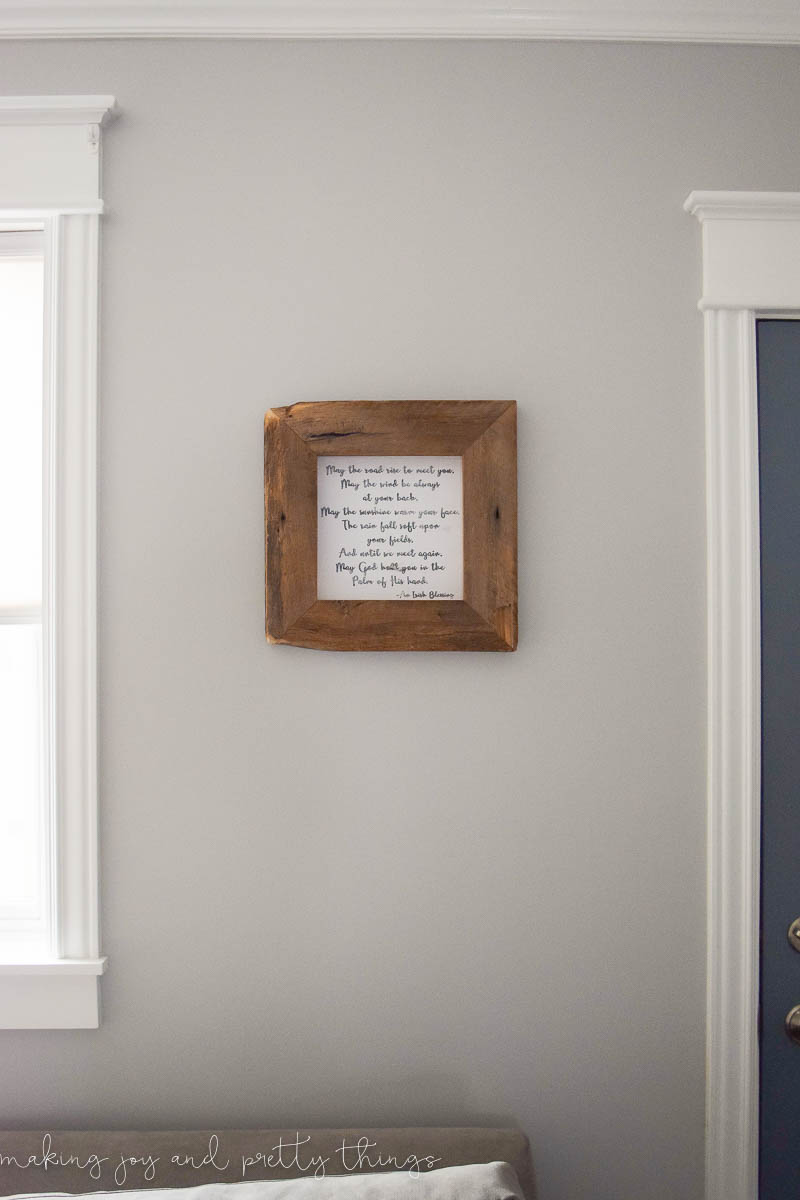
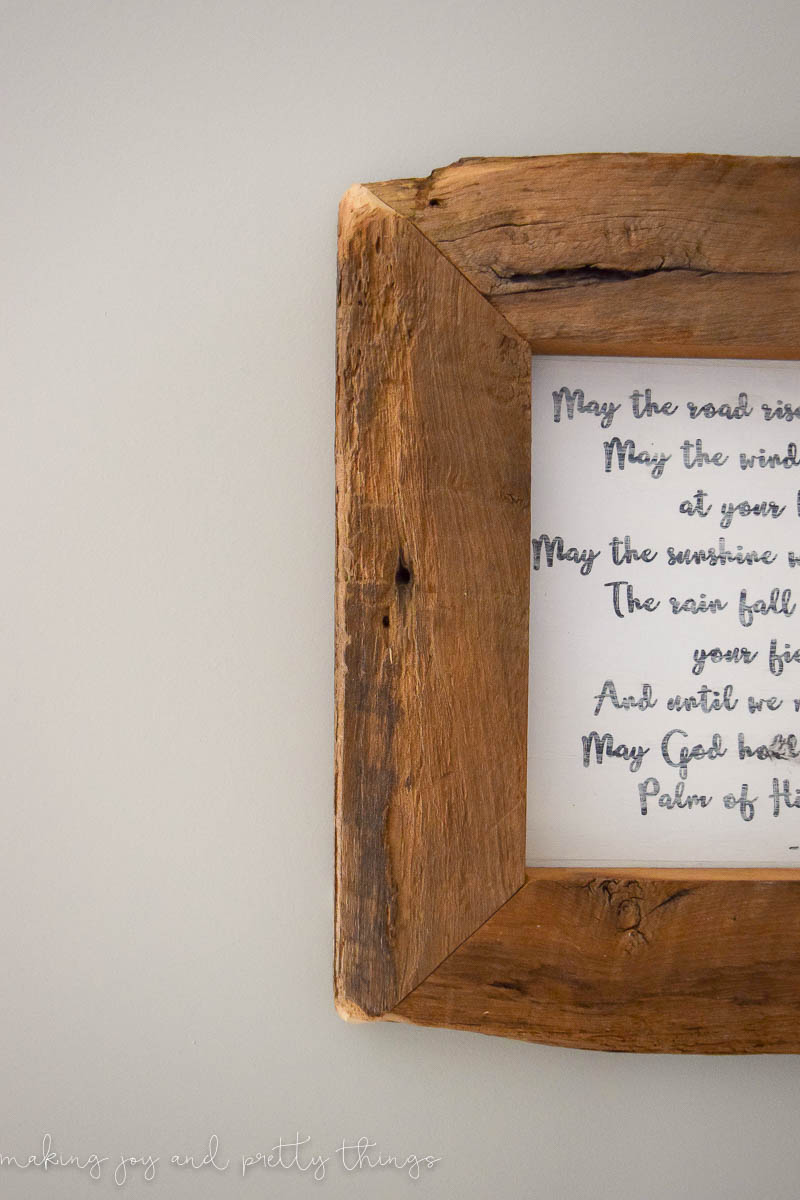
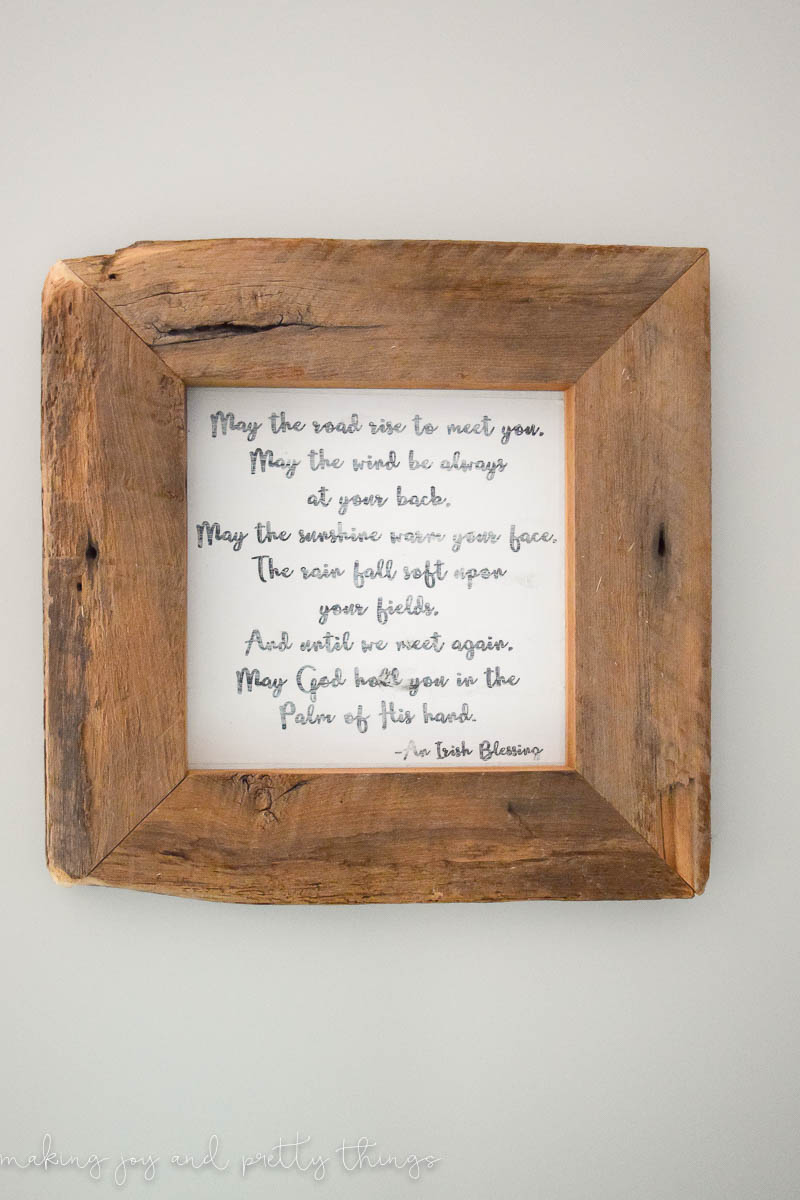
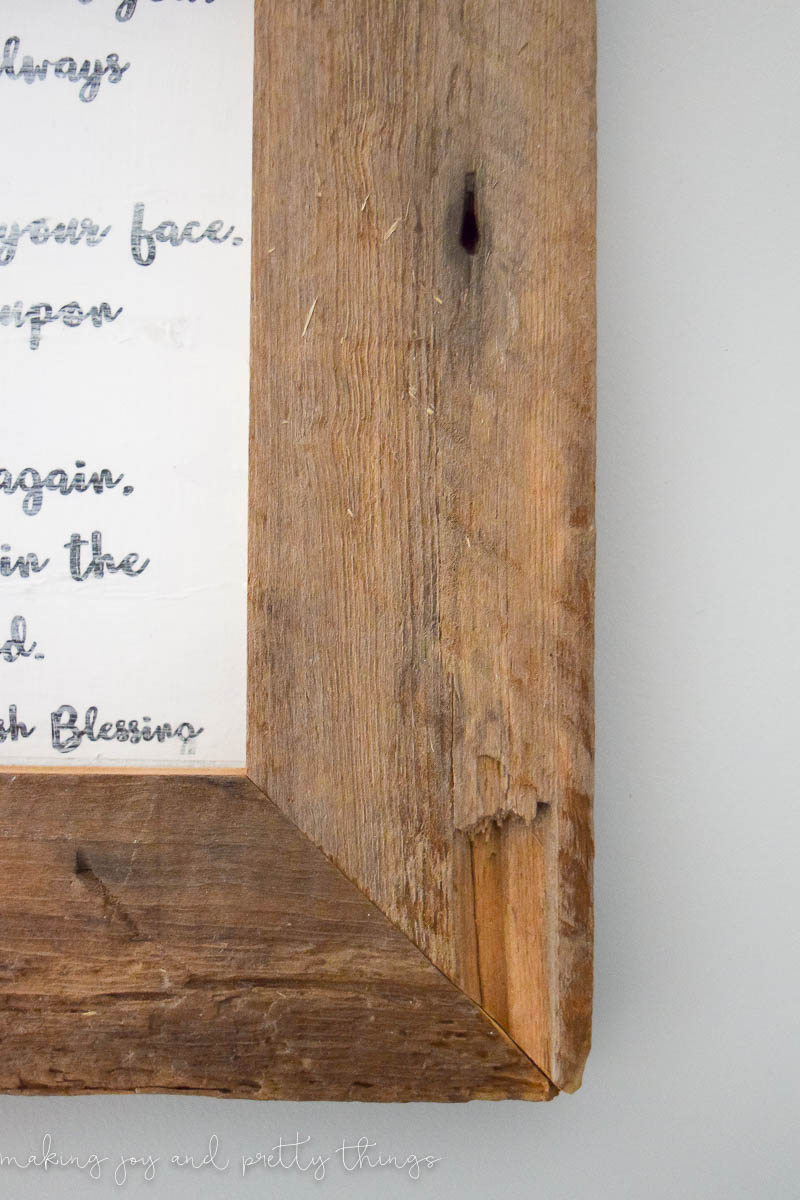
It looks a little lonely right now up on the wall. I’m still thinking of what else to put above and below it…
That’s all for the DIY! The hardest part is absolutely making the frame. The remainder of the project was really easy!!
So, why did I pick this Irish Blessing to put on my wall? Hint: I’m 0% Irish 😉
I’ve mentioned a few times we live in my husband’s grandparent’s house and THEY were Irish. Well, this very same Irish Blessing was on display in their home.
But, it’s not just that.
This home was THEIRS. For so many years. This home was their daughters’. This home was their grandchildren’s. It was even a few great-grandchildren’s. Their passing was felt so deeply throughout the family. So much sadness and heartache.
With each passing month/year, I believe that pain may get easier. But, for some, I think it’s still painful to step into our home now since it was theirs. And it brings back all of those memories.
I want to keep them alive in this house, in our little family. I knew them for so little time but to my husband’s family, and especially to my husband, they were everything. They represented love, trust, fun times (I mean they were Irish ;)), and family.
Though the house looks drastically different, and they are not physically here, I want them to be remembered here. And for my kiddos to know what it’s like to live in a house made with love.
Ok, end sappy post!!!
Wishing you a joyful day!
DIY Irish Blessing Sign
Hello again, friends! I'm so excited to share the last DIY we made with the reclaimed wood we bought 100 years ago, a DIY Irish Blessing Sign.
Materials
Instructions
- Cut Hardwood for Irish Blessing Sign
- Paint hardwood Backer White
- Attach Verse with Mod Podge
- Attach Irish Blessing to Frame


This is such a cute DIY and what an adorable storie! I am sure your husband’s grandparents are looking down being happy and honored! Such a cute idea ❤️
Thanks, Sabrina! It was a really special project that I had been working on for a quite a while. I’m so happy it’s finished. You can see it from the couch we always sit on in the living room, so it’s in constant view, and a constant reminder of who lived here before us 🙂
This is beautiful Sarah! I love the combination of soft lettering with the rustic frame, it’s perfect!
Thanks so much Alysha! I’m so glad you like it.
Hey girl love the sign ! So cool!
Thanks, Shawna! I’m so happy you love the sign. It’s one of my favorite pieces on the shelves.
This is such a cute DIY and what an adorable storie, its really special project
congratulation and thanks for share
Aw thanks, Tamar! I so love how it turned out and the story behind it. I’m so glad you stopped by 🙂
Oh I just love this!!!! I found you over at your guest post on Making It In the Mountains for your DIY rustic shelf next to this little gem.
We went to Ireland for our honeymoon and my dad used this blessing in his toast at our wedding, so it’s got a special place in my heart. I’ve been looking for someway to display it in my house and I think this is the winner!!! Thanks 🙂
Oh my gosh that is the sweetest story!!! You definitely need to have the blessing framed somewhere, that’s such a special story – I so hope you use my little tutorial. Thank you so so much for stopping by!!