How To Cover A Pot with Lace
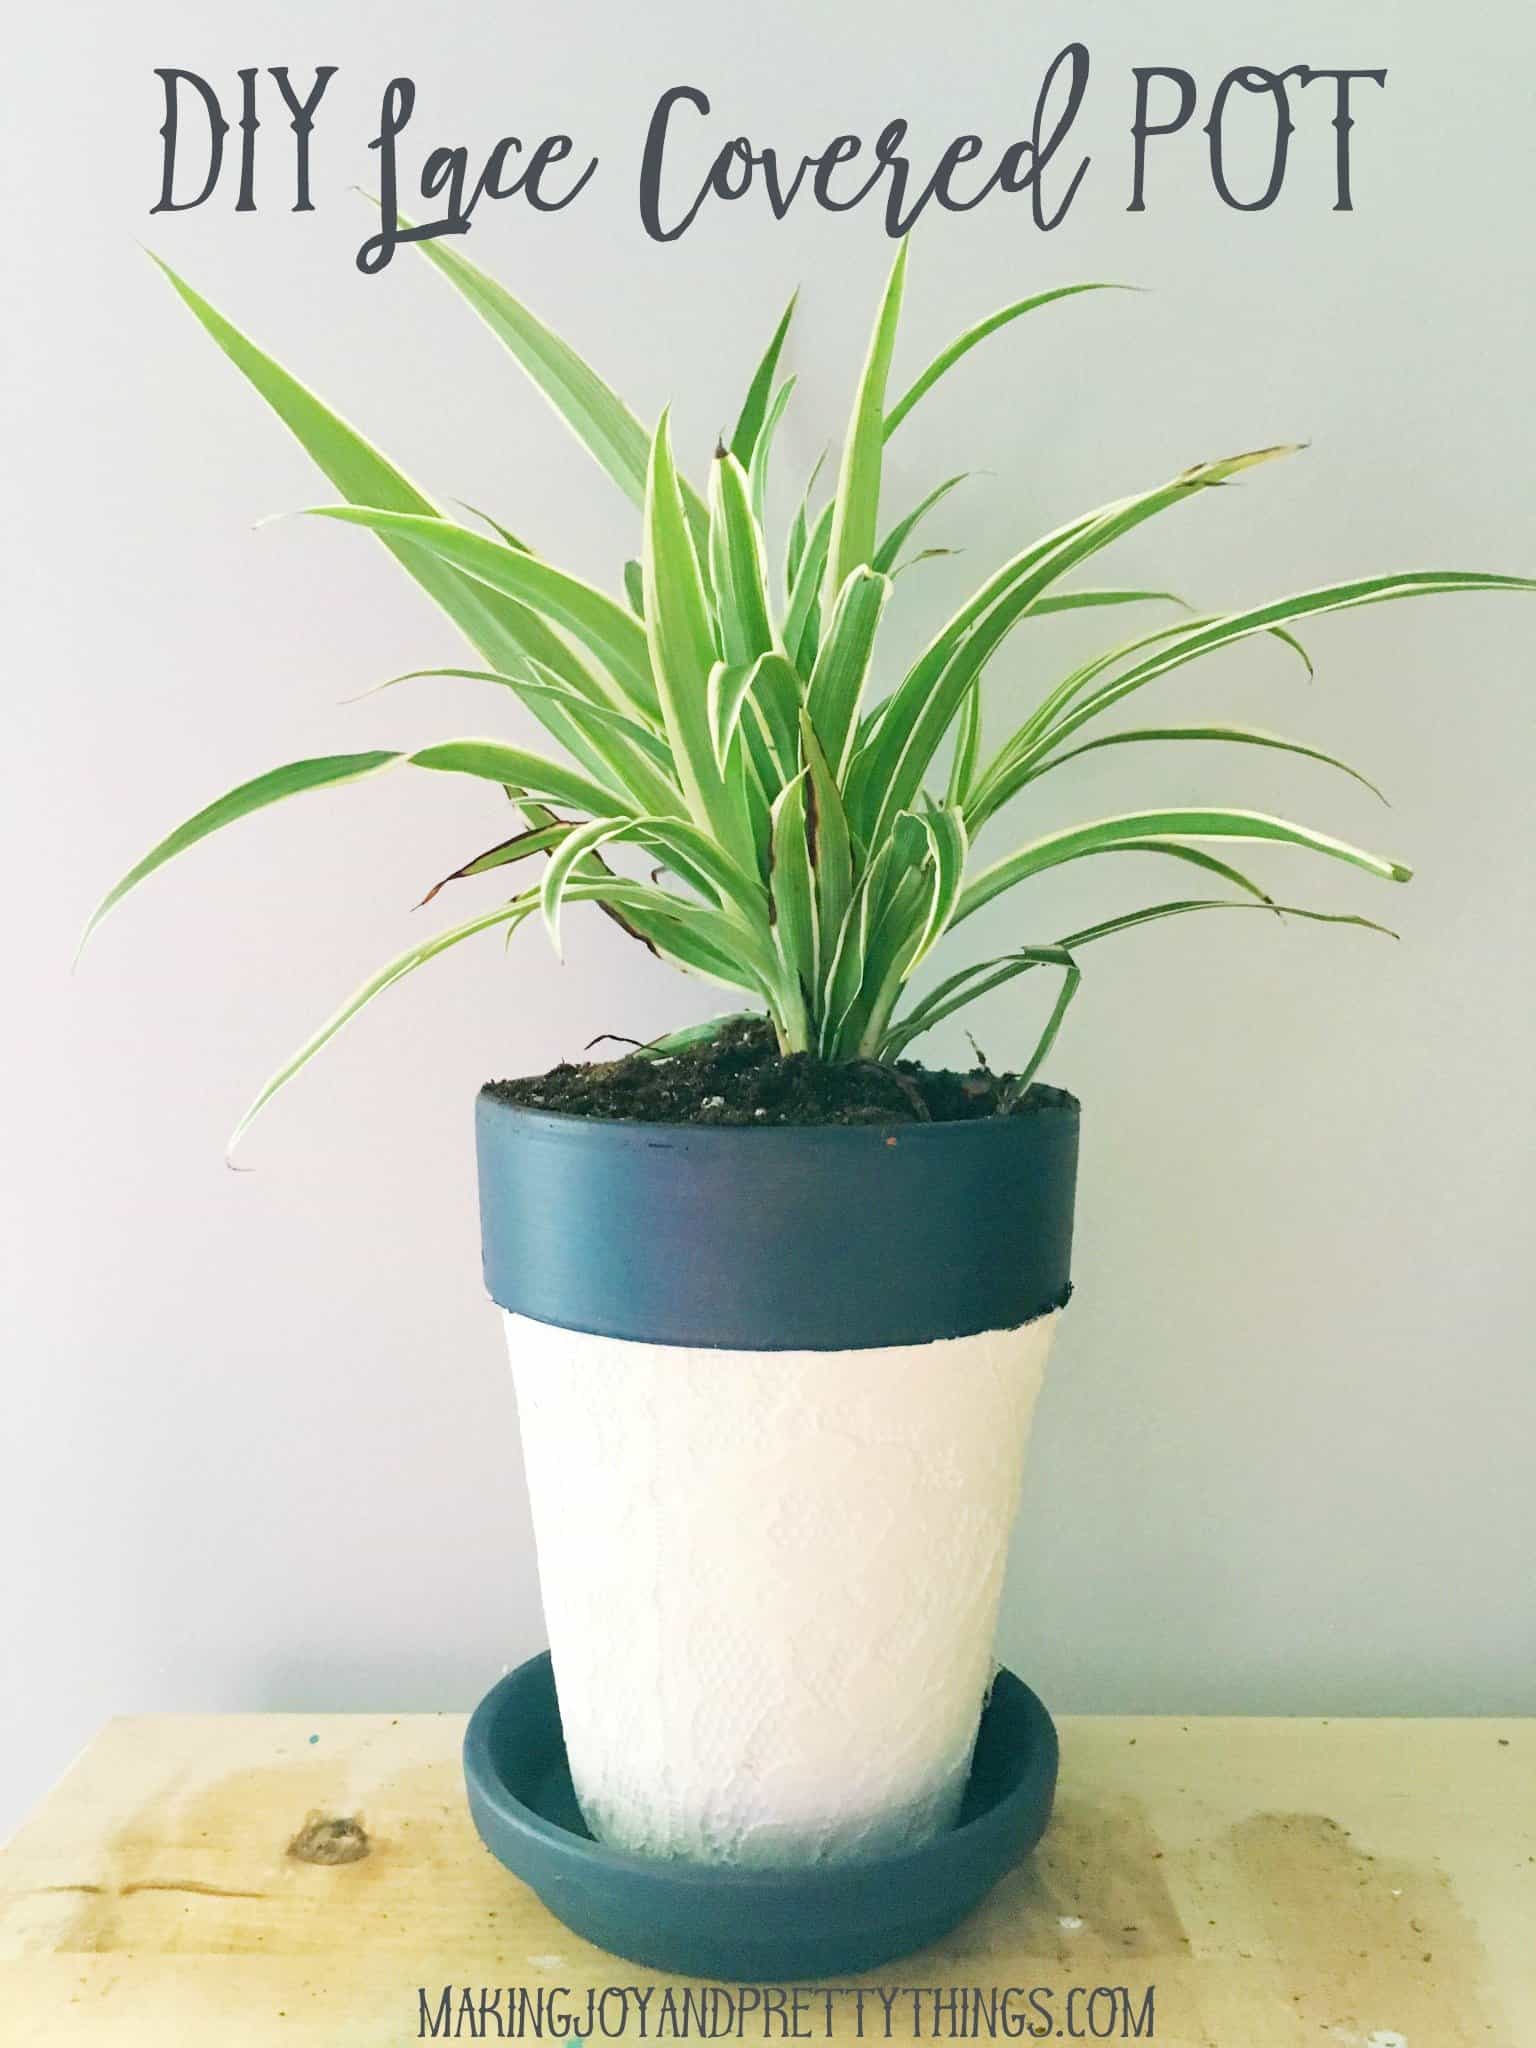
In this post, I’ll show you how to cover a pot with lace! This adorable lace-covered planter is perfect for any style decor.
Hi guys!! So happy to be sharing the second of a couple of DIY pots I’ve been working on. Check out the first DIY pot (DIY Gold Foil Painted Pots) I did a few weeks ago.
There’s something about making pots or planters in spring that really makes summer feel like it’s knocking on your door.
When I can get both of the kids to behave…ok let’s be honest: when I can get the kids to be sort-of-not-totally-insane and we MAY be able to make it in and out of a store without tears, tantrums, or broken items, I love to take them to a local nursery to pick out some crazy cool looking succulents or whatever plants they pick for “their pots”. {sorry for the run-on sentence!!}
On one such trip last week, I spotted an awesome, tropical, spiky green plant {that’s as technical as my plant knowledge gets 🙂 } that needed a home.
That’s when I obviously HAD to make a pot.
That and I have a giant mound of lace curtains from my SIL that I’m trying to do something with. I used some of it for the burlap and lace table runner that I made to go with this Summer centerpiece, but I had a lot more to use!
This post contains affiliate links. Please, click here to read my disclosure policy.
How to Cover a Planter Pot with Lace: Step-by-Step
Supplies needed for a lace-covered planter:
- Terra Cotta Pot
- White Chalk Paint
- Foam Brush
- Spray Glue
- Scissors
- Lace
- Acrylic Paint of your choice (for top rim of pot and pot tray)
- Rocks + Potting Soil + Plant
Step 1: Paint the terra cotta pots.
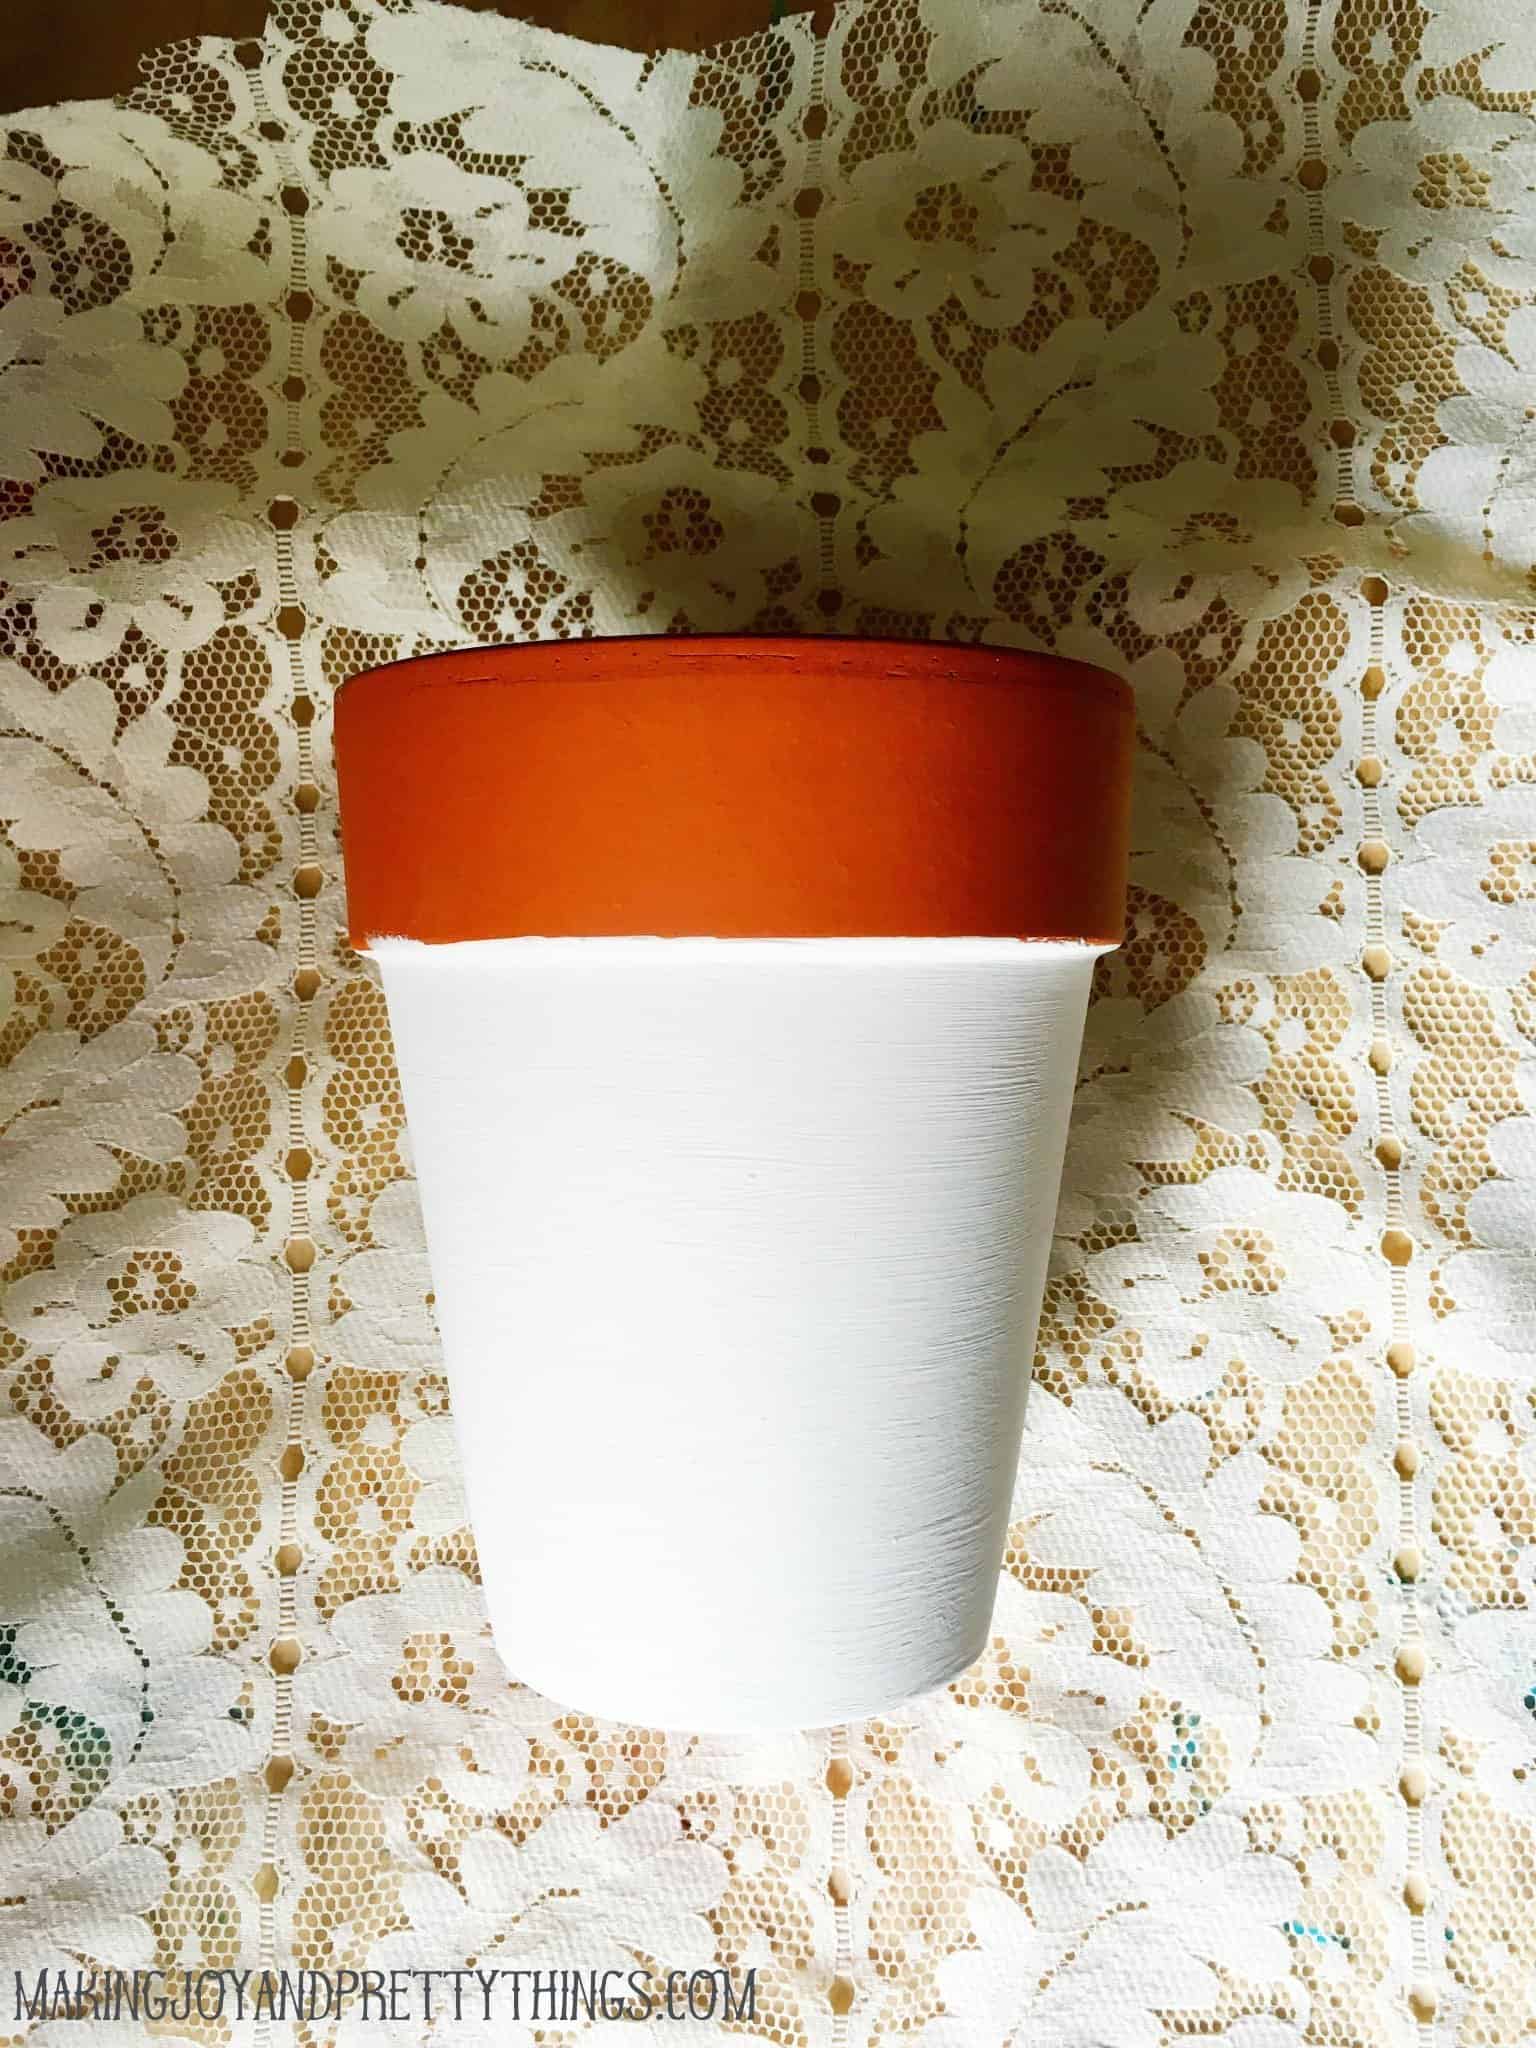
I started by painting 2 coats of Rustoleum Chalk Paint in Linen using a foam brush.
Guys, I’m OBSESSED with this paint. I picked it up for no reason at all (or maybe because I’m a craft supply hoarder 🙂 ) and have been chalk-painting everything.
It goes on like regular paint and dries with a matte-finish and is sort-of chalky (go figure, right??).
Seriously, go pick some up.
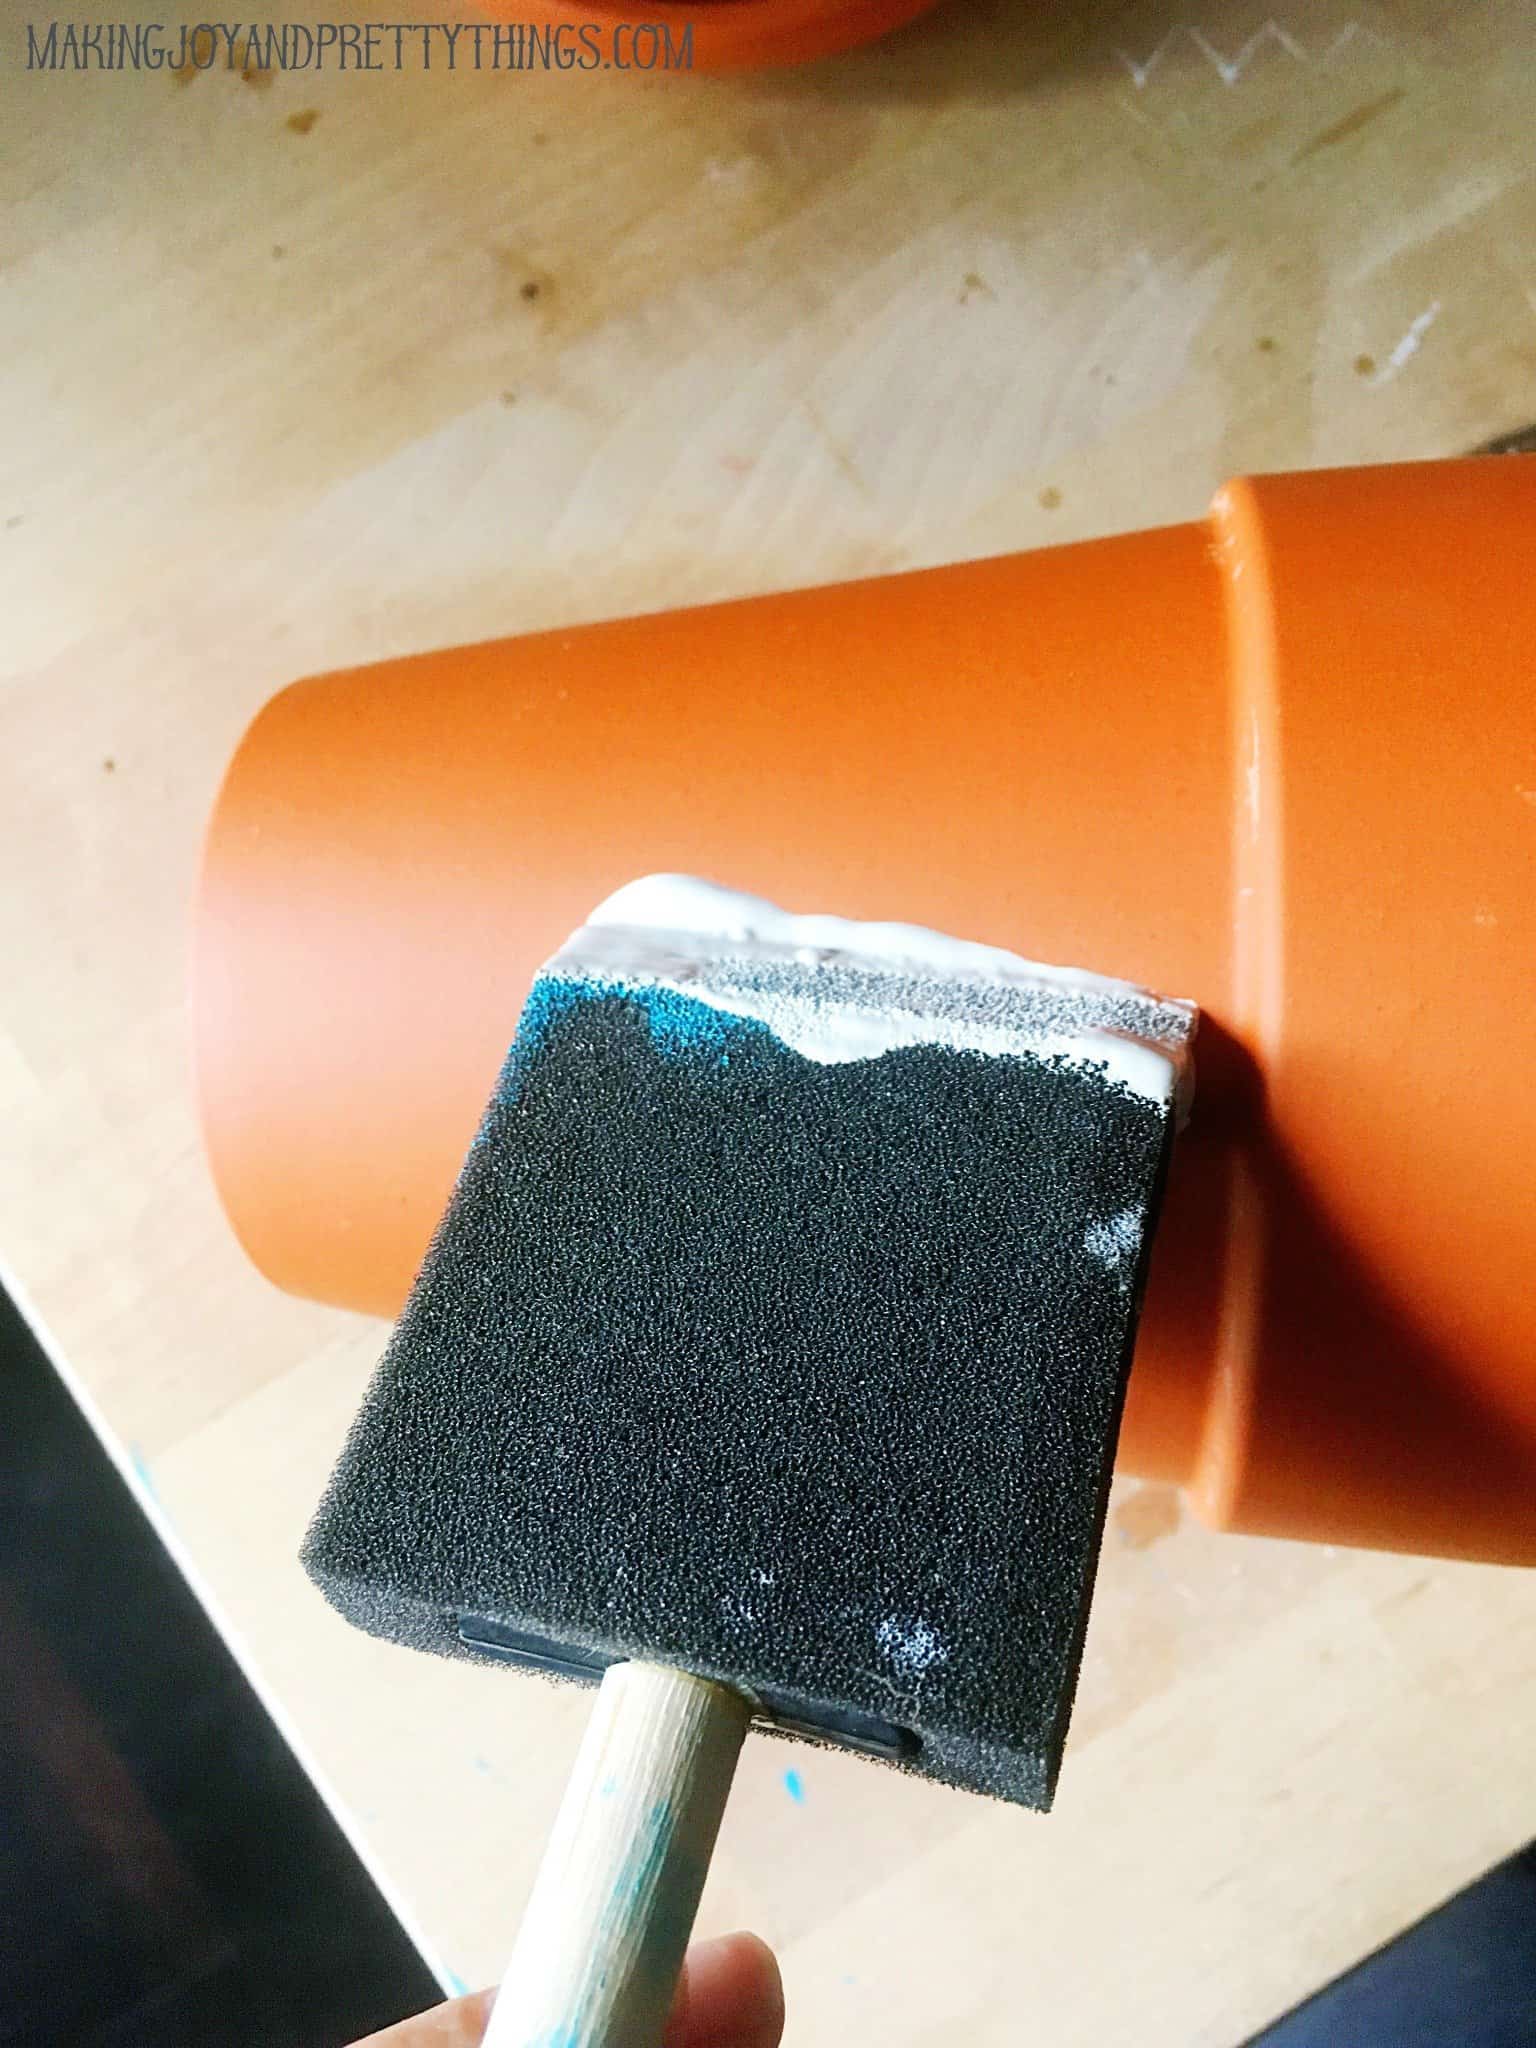
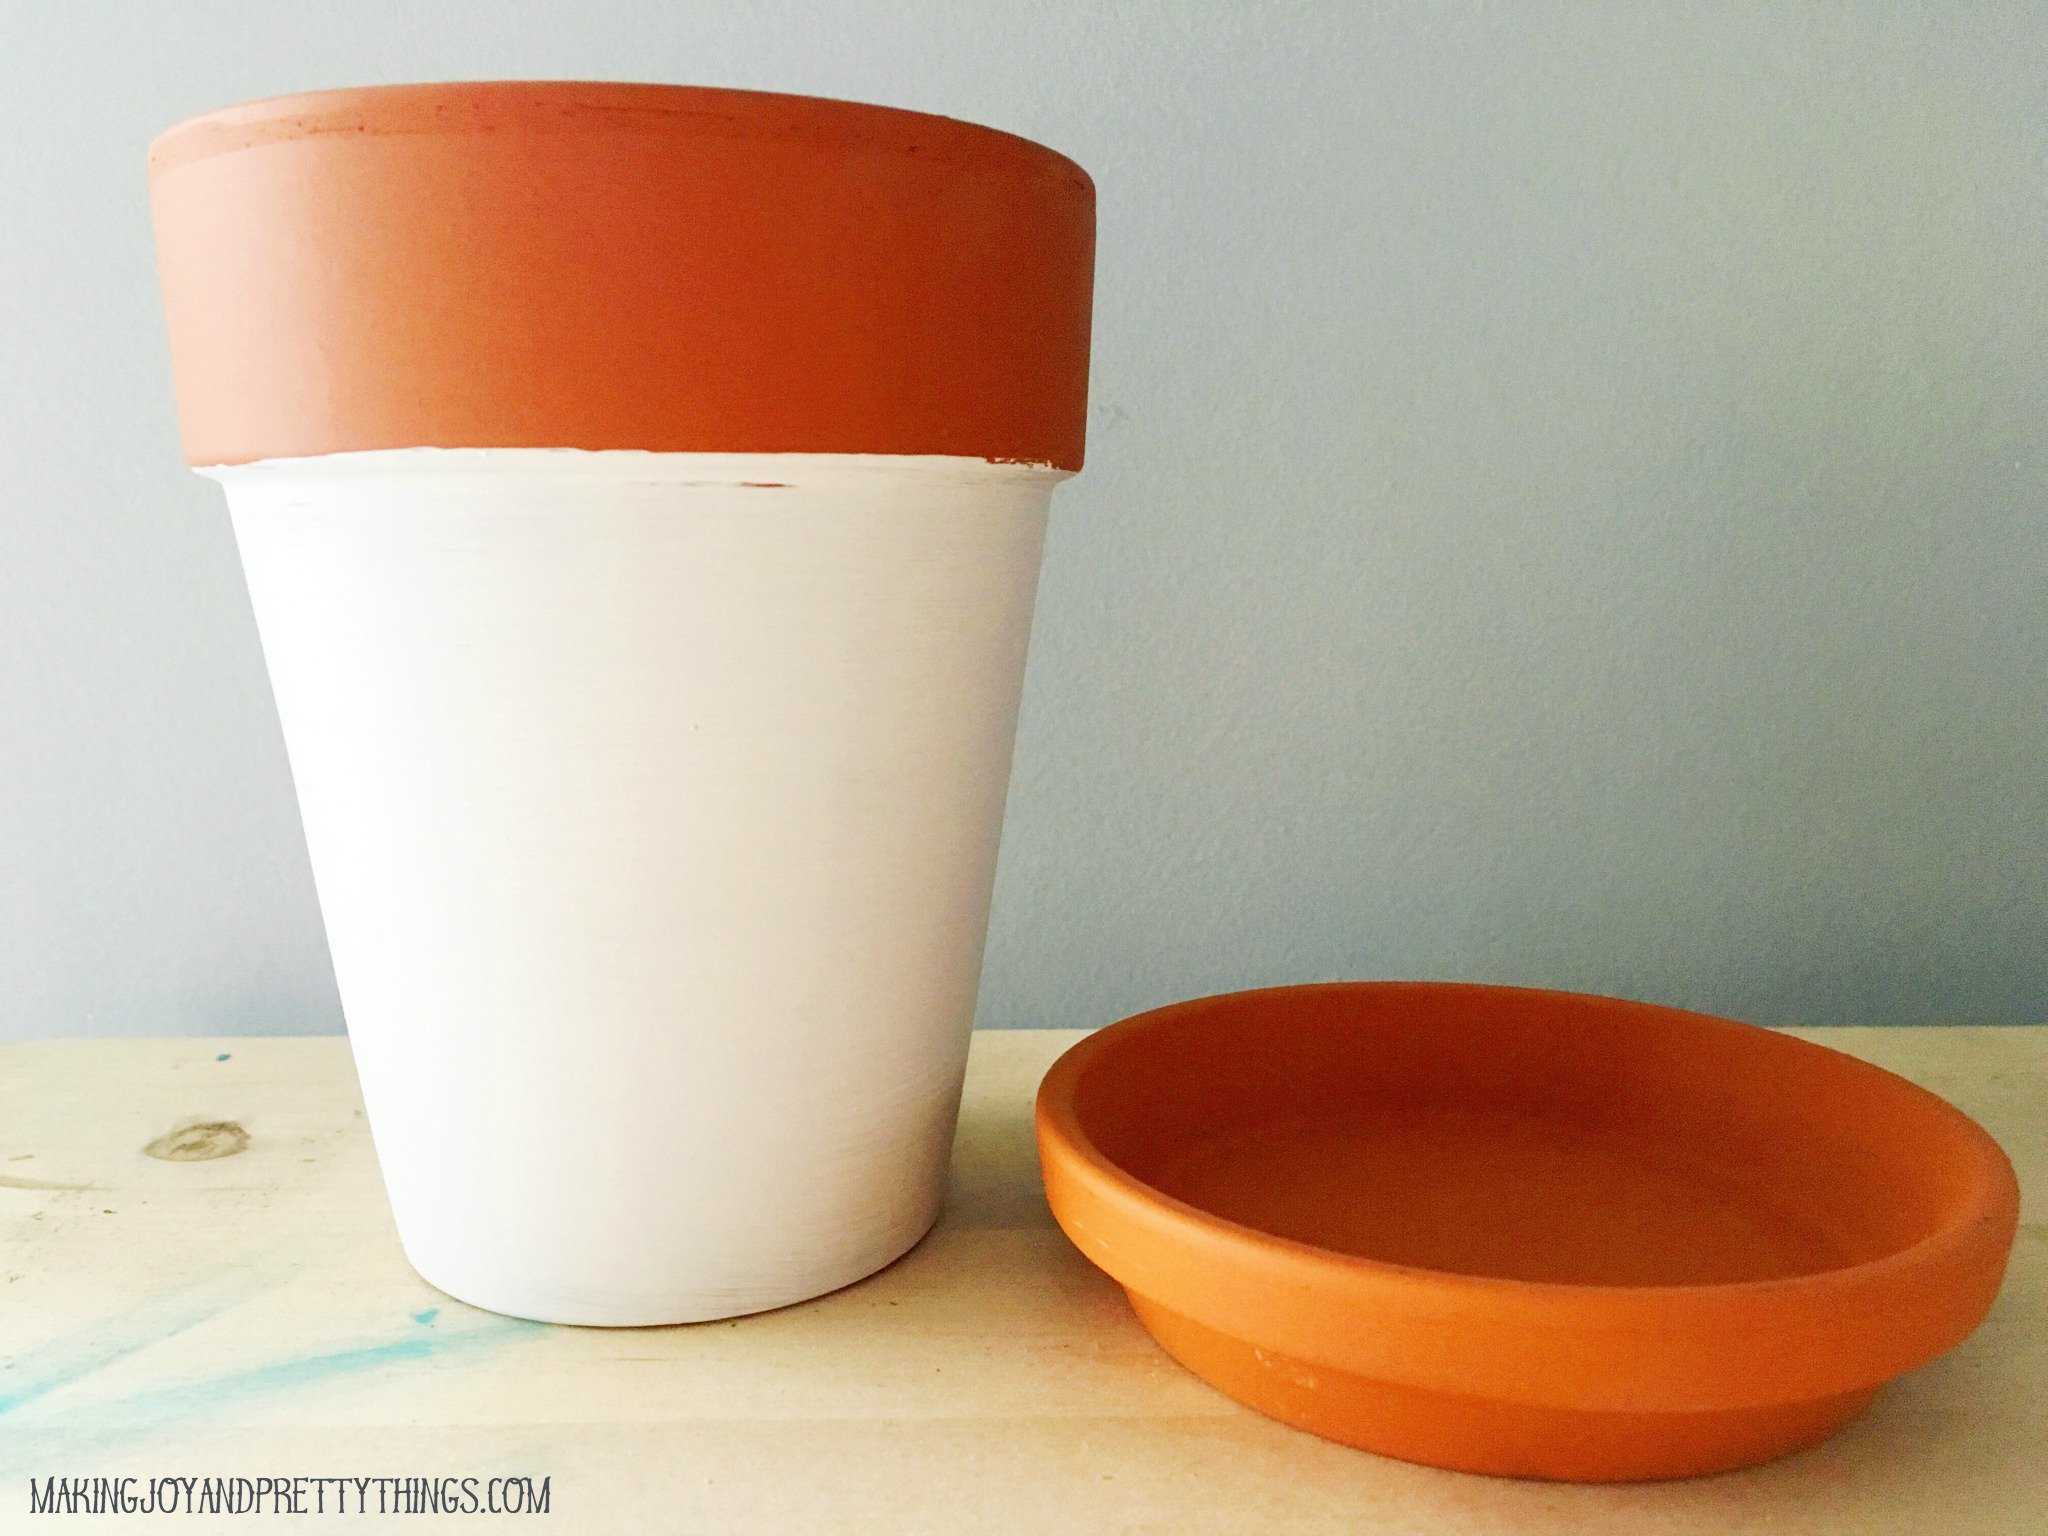
I really wanted to only paint below the rim of the pot, leaving that top part the natural terra cotta color.
But, since I was rushing and didn’t tape it off, some leaked onto the top rim, but I’ll fix that later.
The paint on the bottom part of the pot doesn’t have to be perfect since the lace will be covering it.
Step 2: Cut the lace fabric.
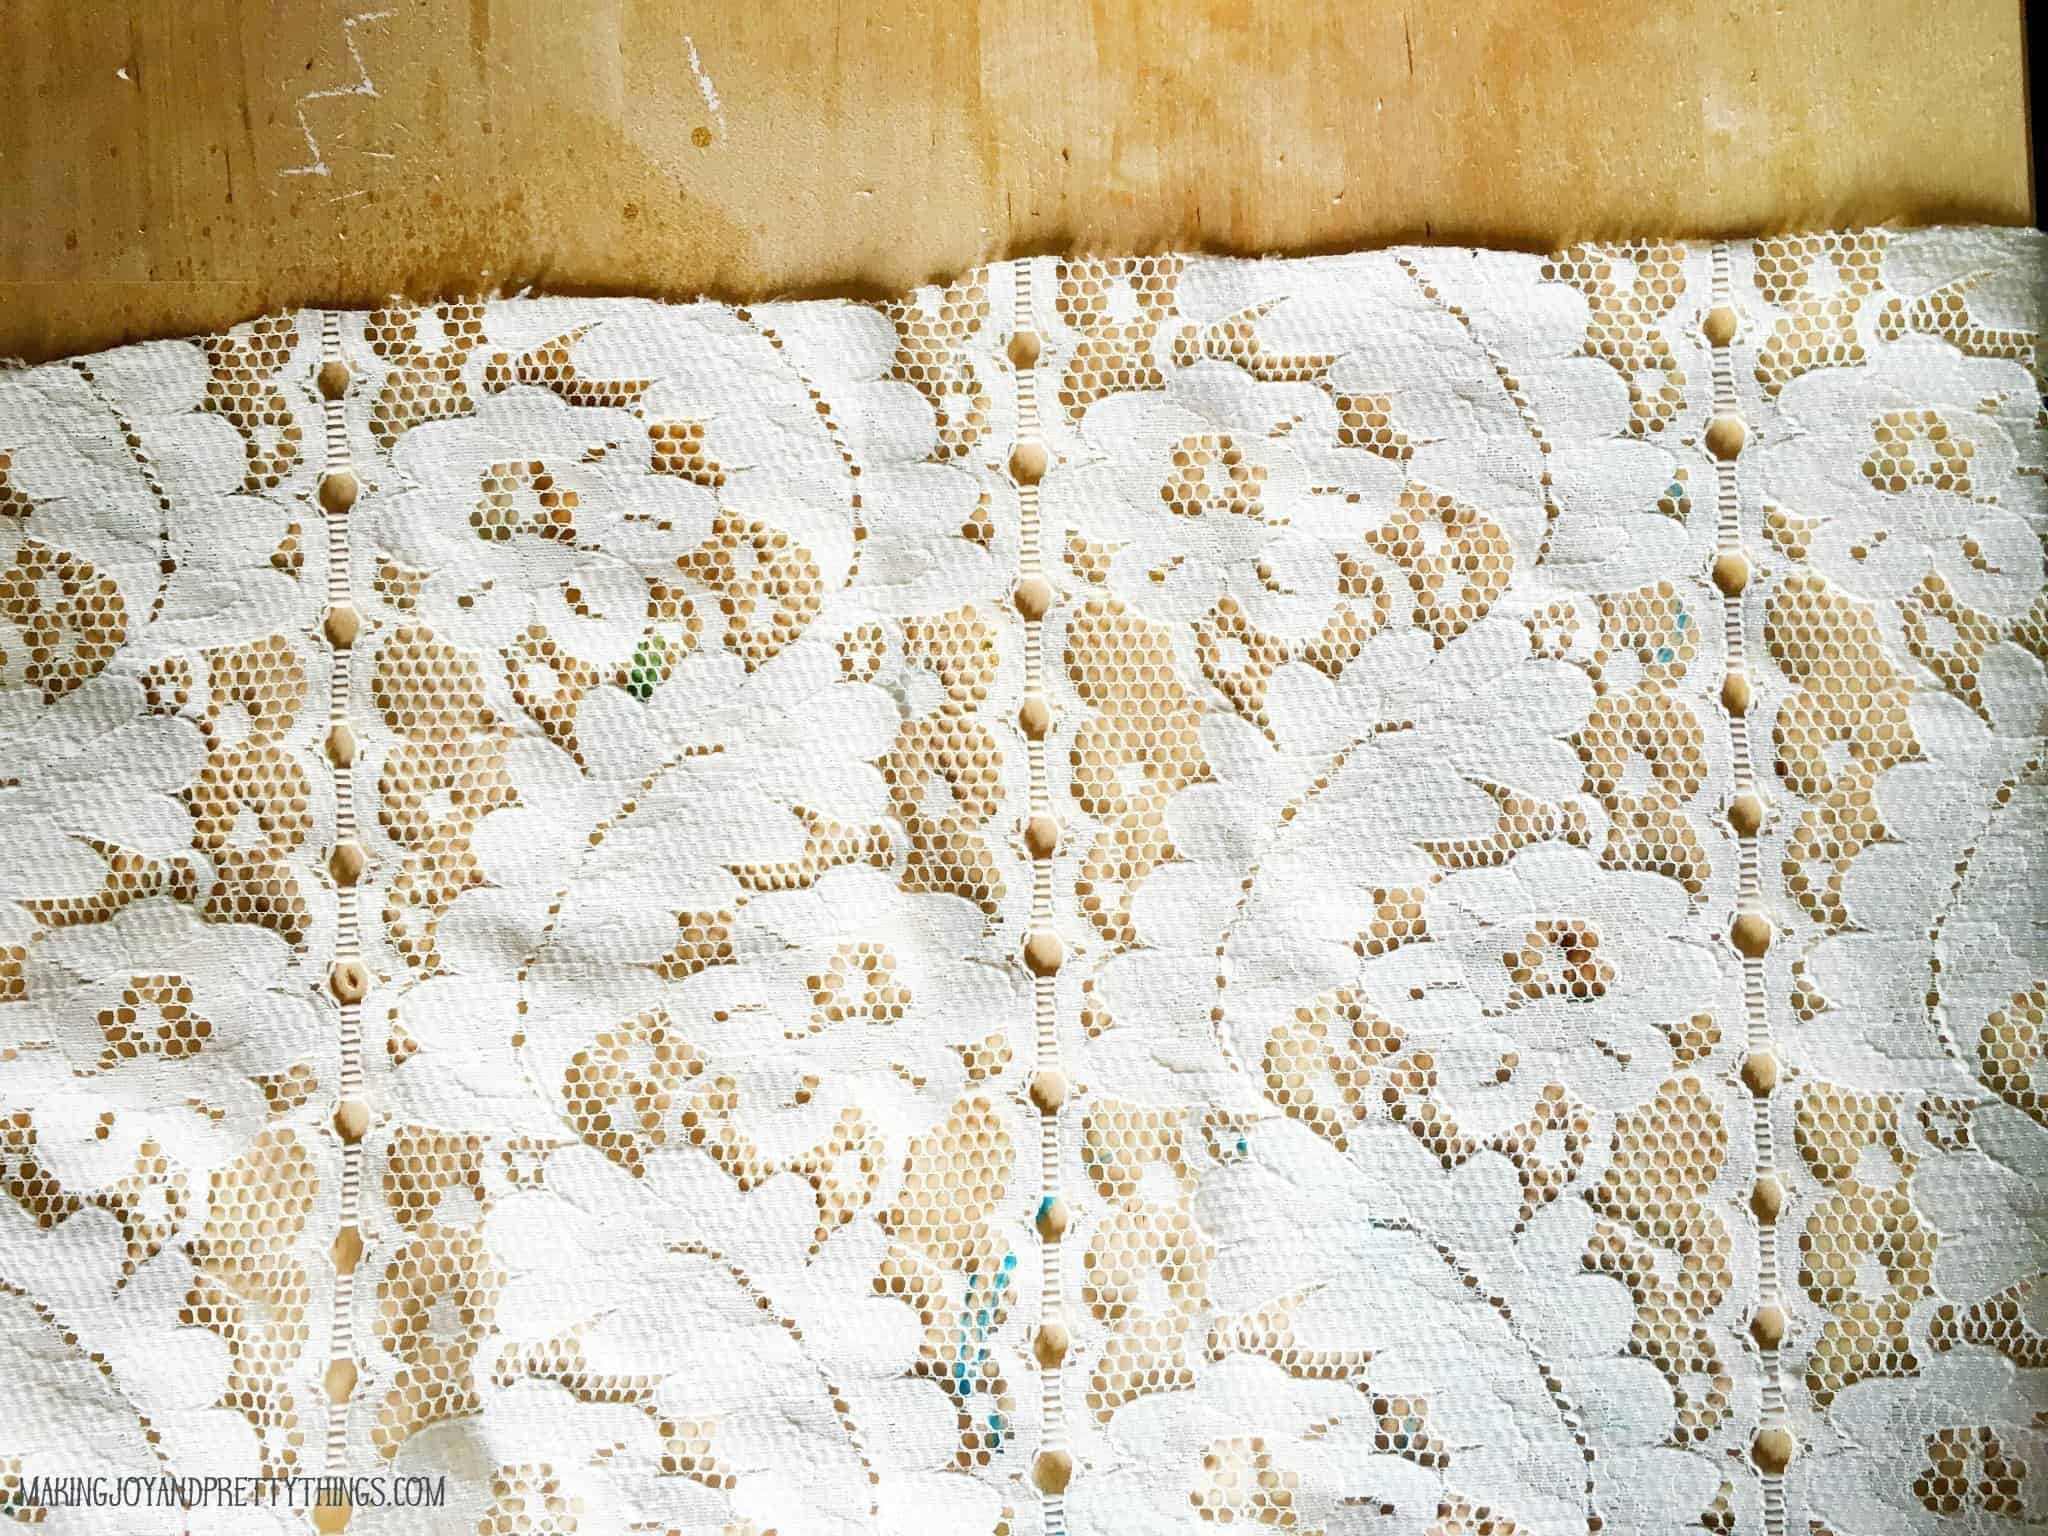
I cut a section of the lace curtains and laid the pot on top. I very, very roughly cut the lace so that it was roughly what I needed for the pot. No need to be precise here.
I tried to cut a straight line on one part of the lace since that part would be pressed against the upper part of the pot. Obviously, I’m not the best at cutting straight lines….
Step 3: Apply the spray glue adhesive.
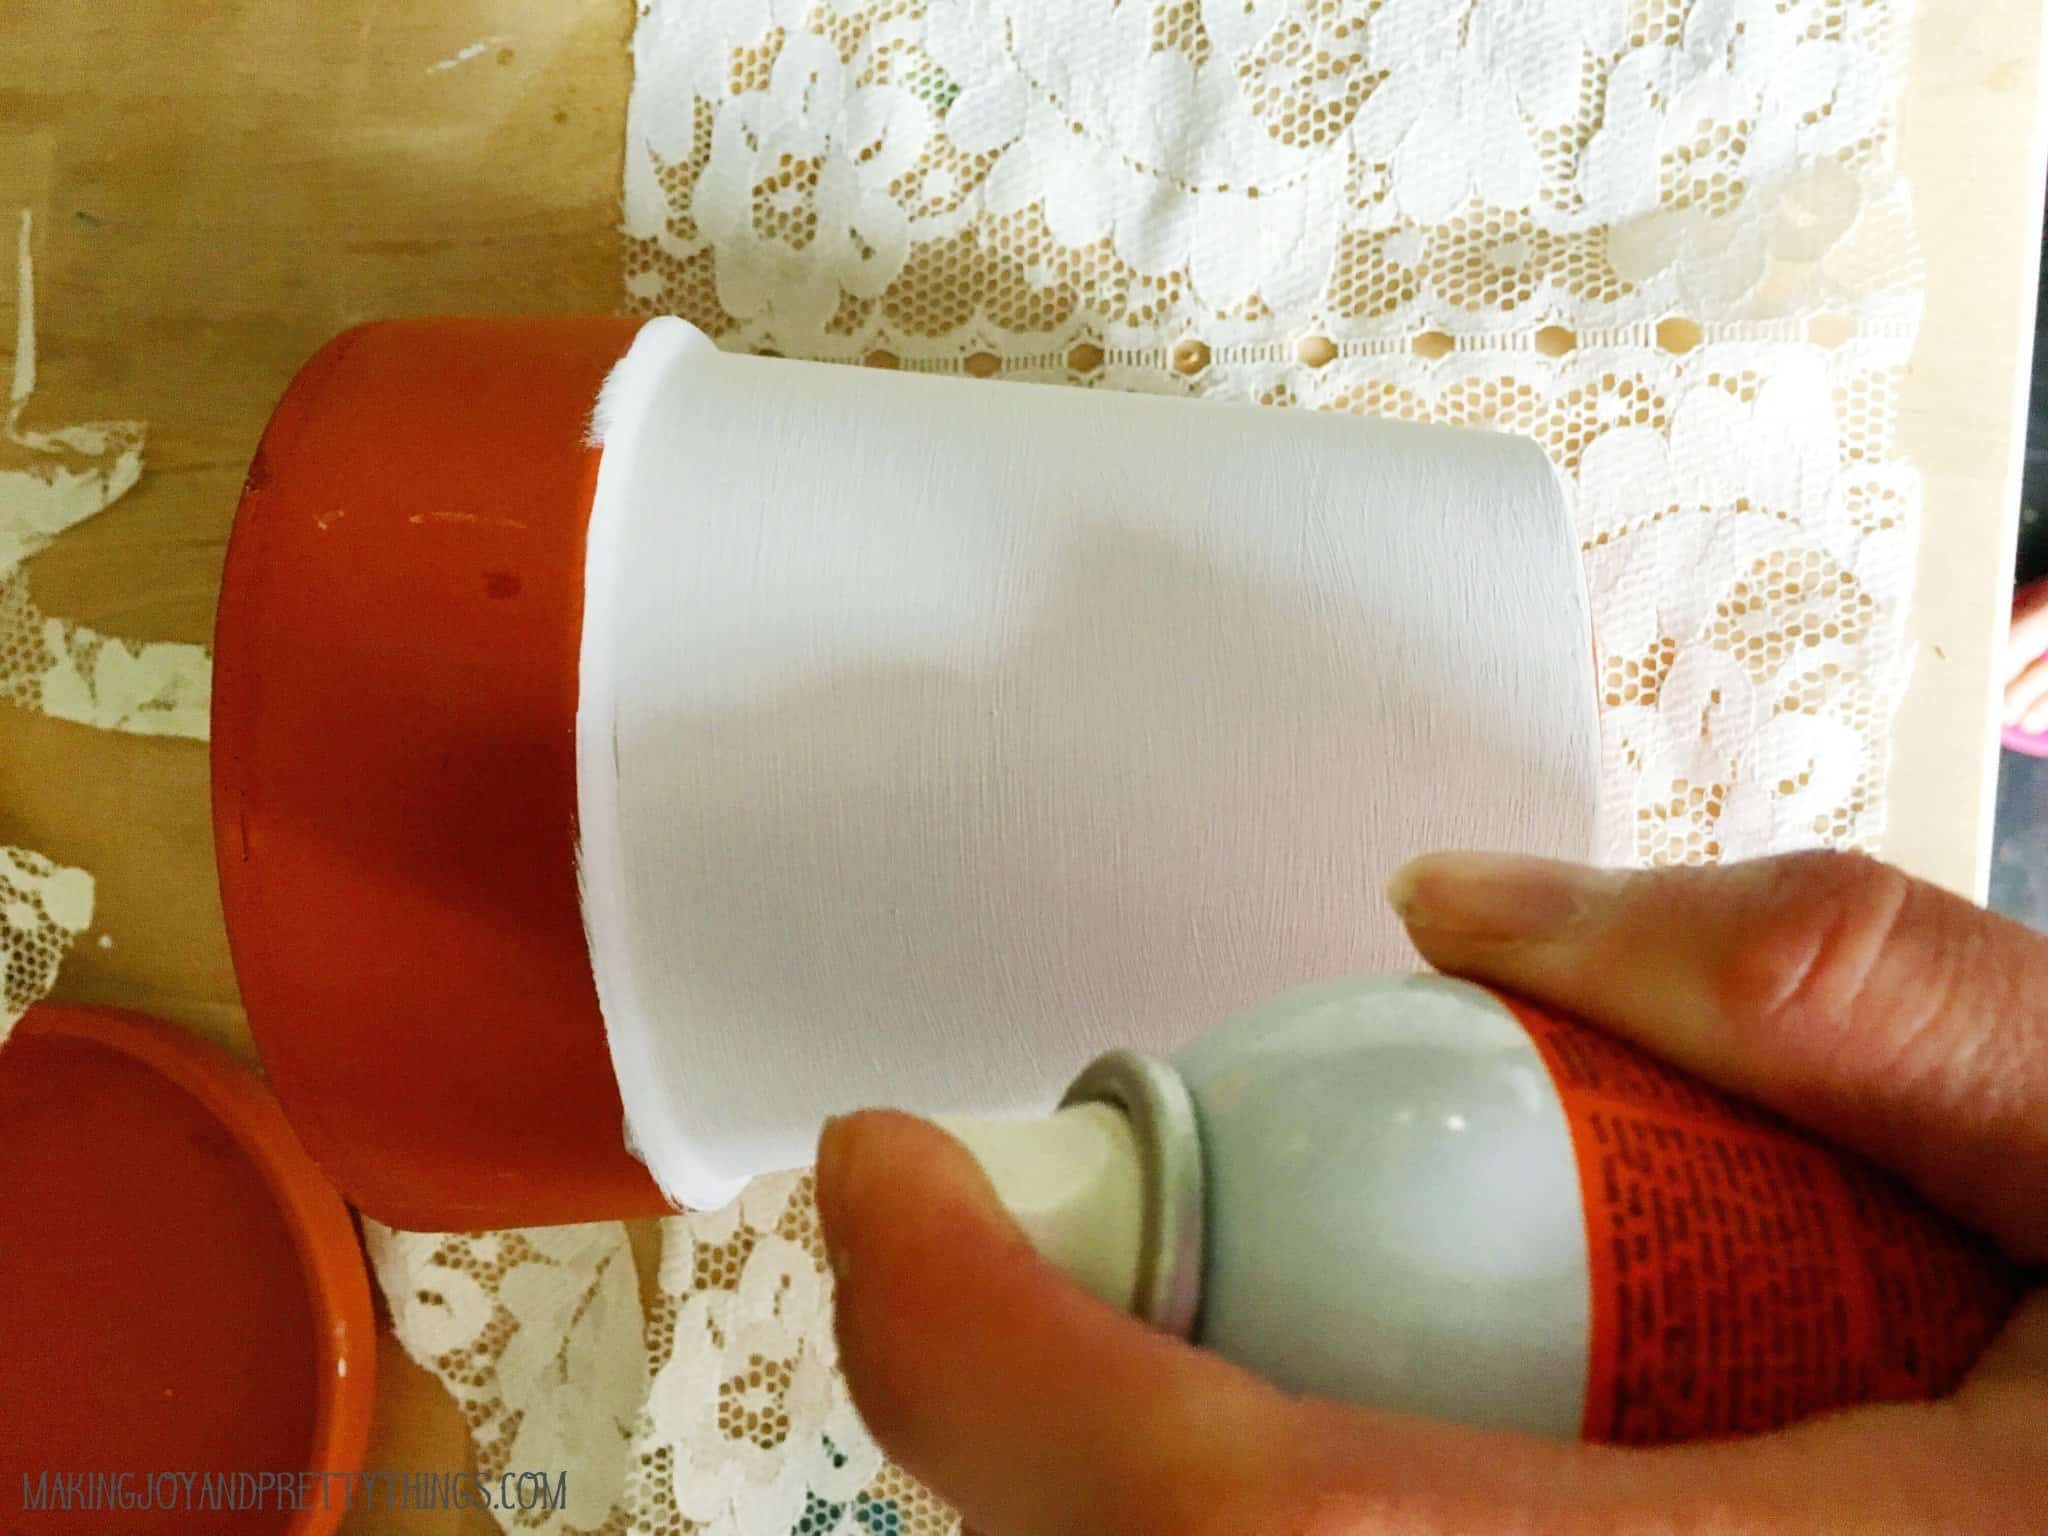
Next, I sprayed the pot with Elmer’s Spray Glue. This stuff is magic and dries clear!
Step 4: Wrap the lace around the pot.
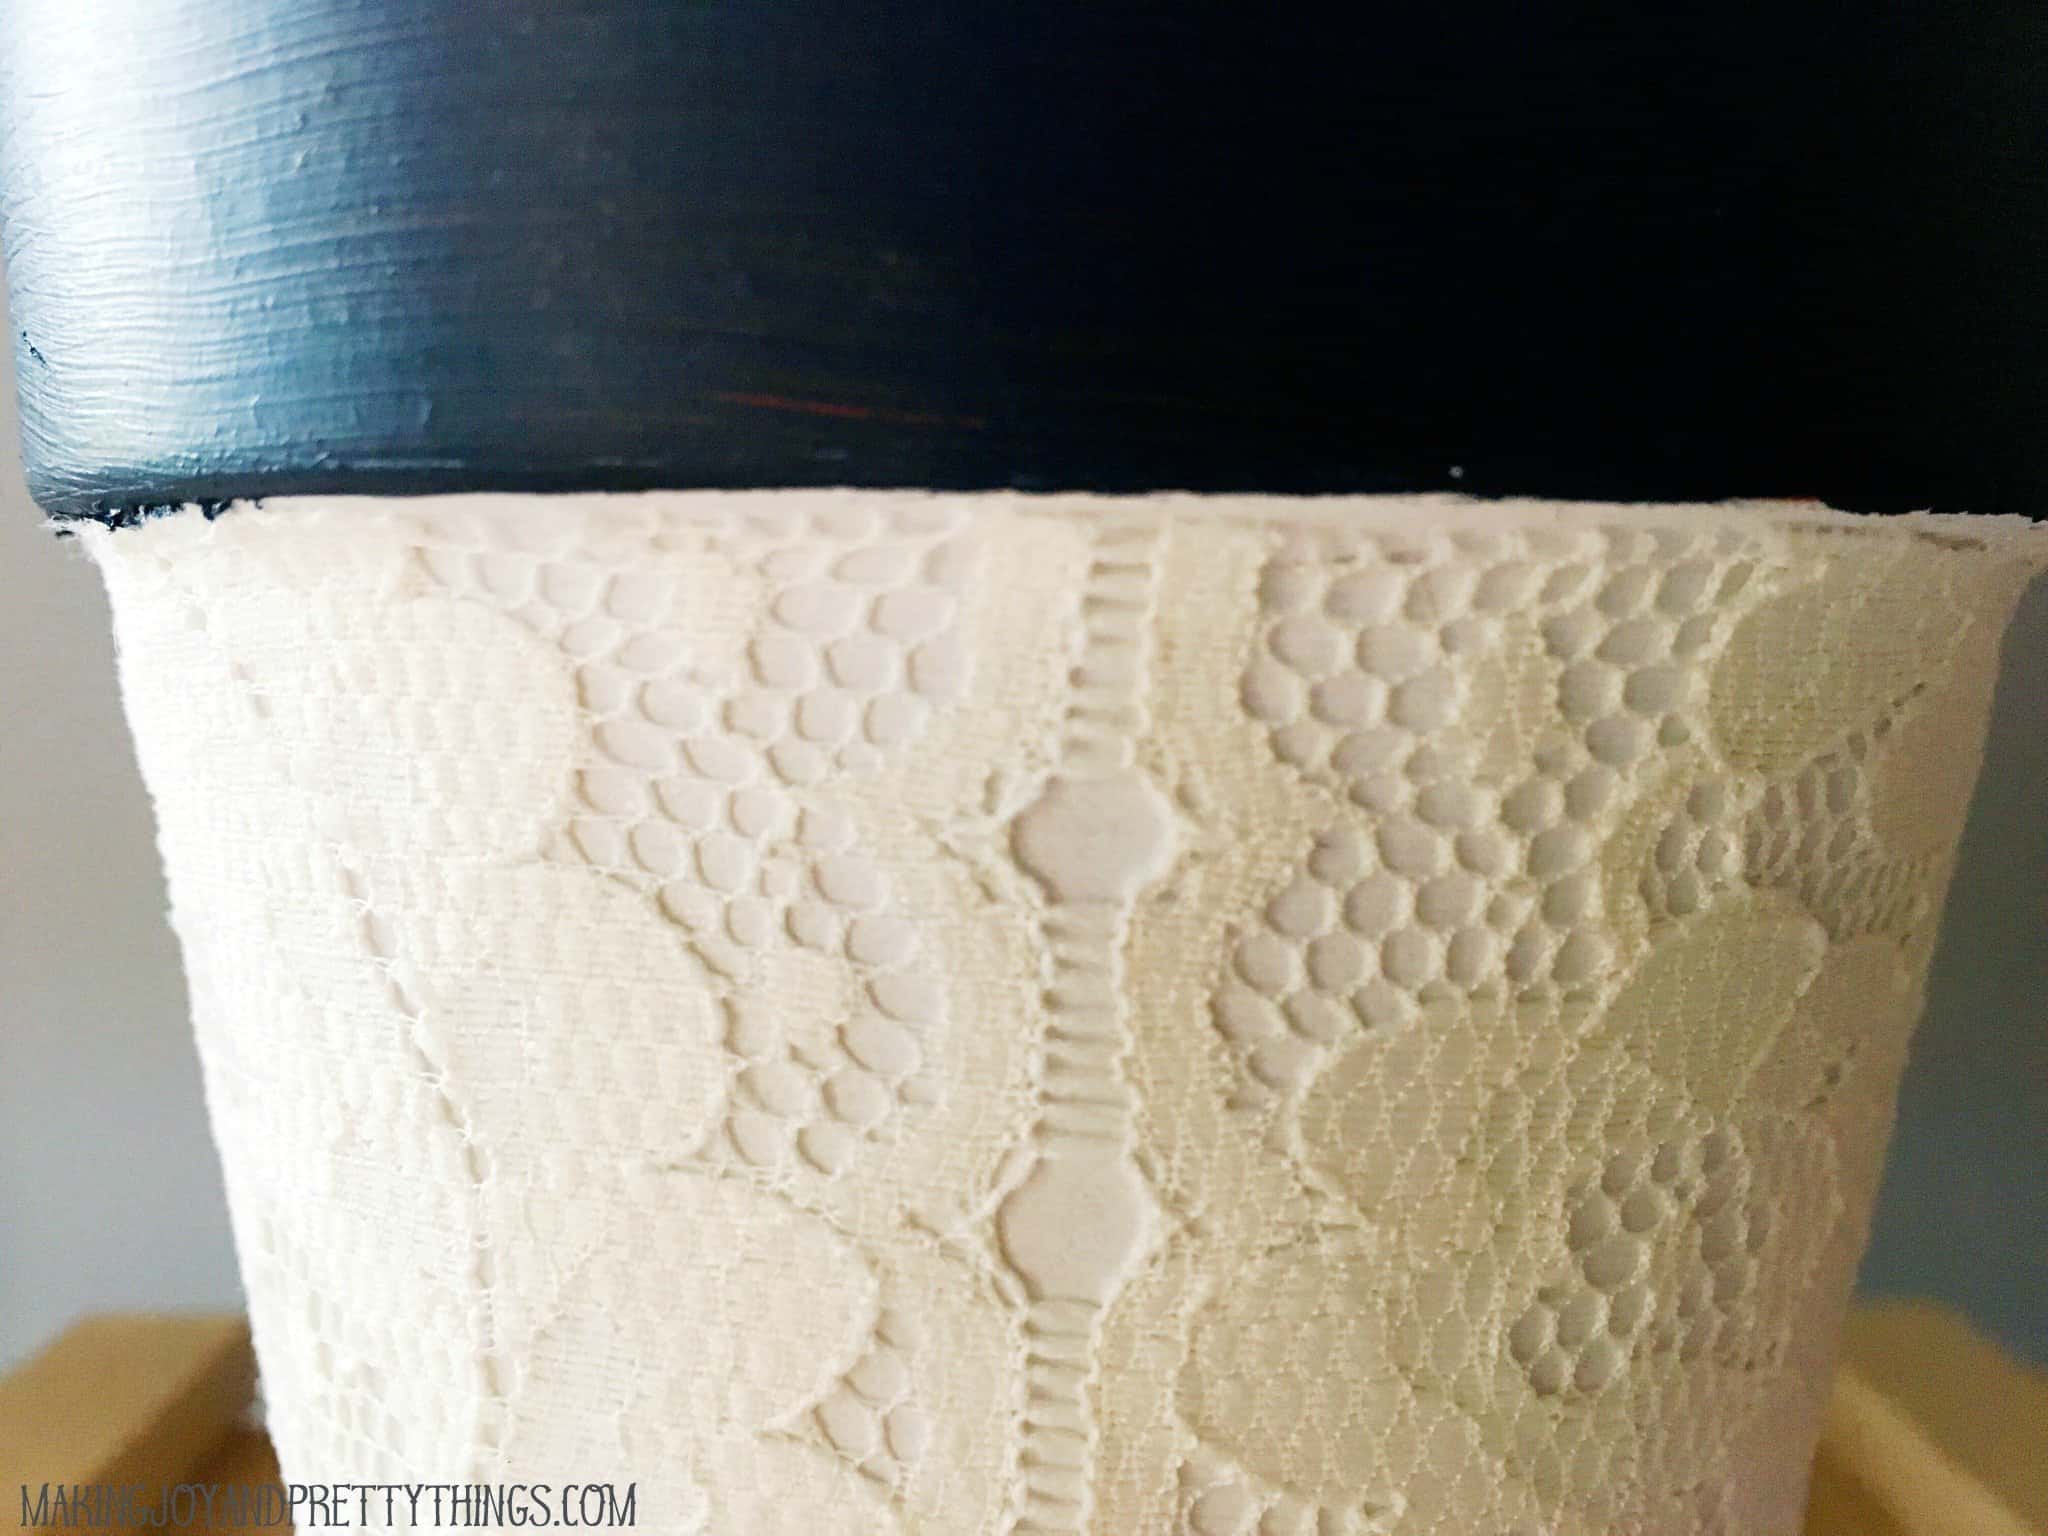
I placed the lace on the pot, starting at the top, making sure the top of the lace was flush with the bottom rim. I slowly pulled the lace around the pot, only focusing on the top of the lace being smooth.
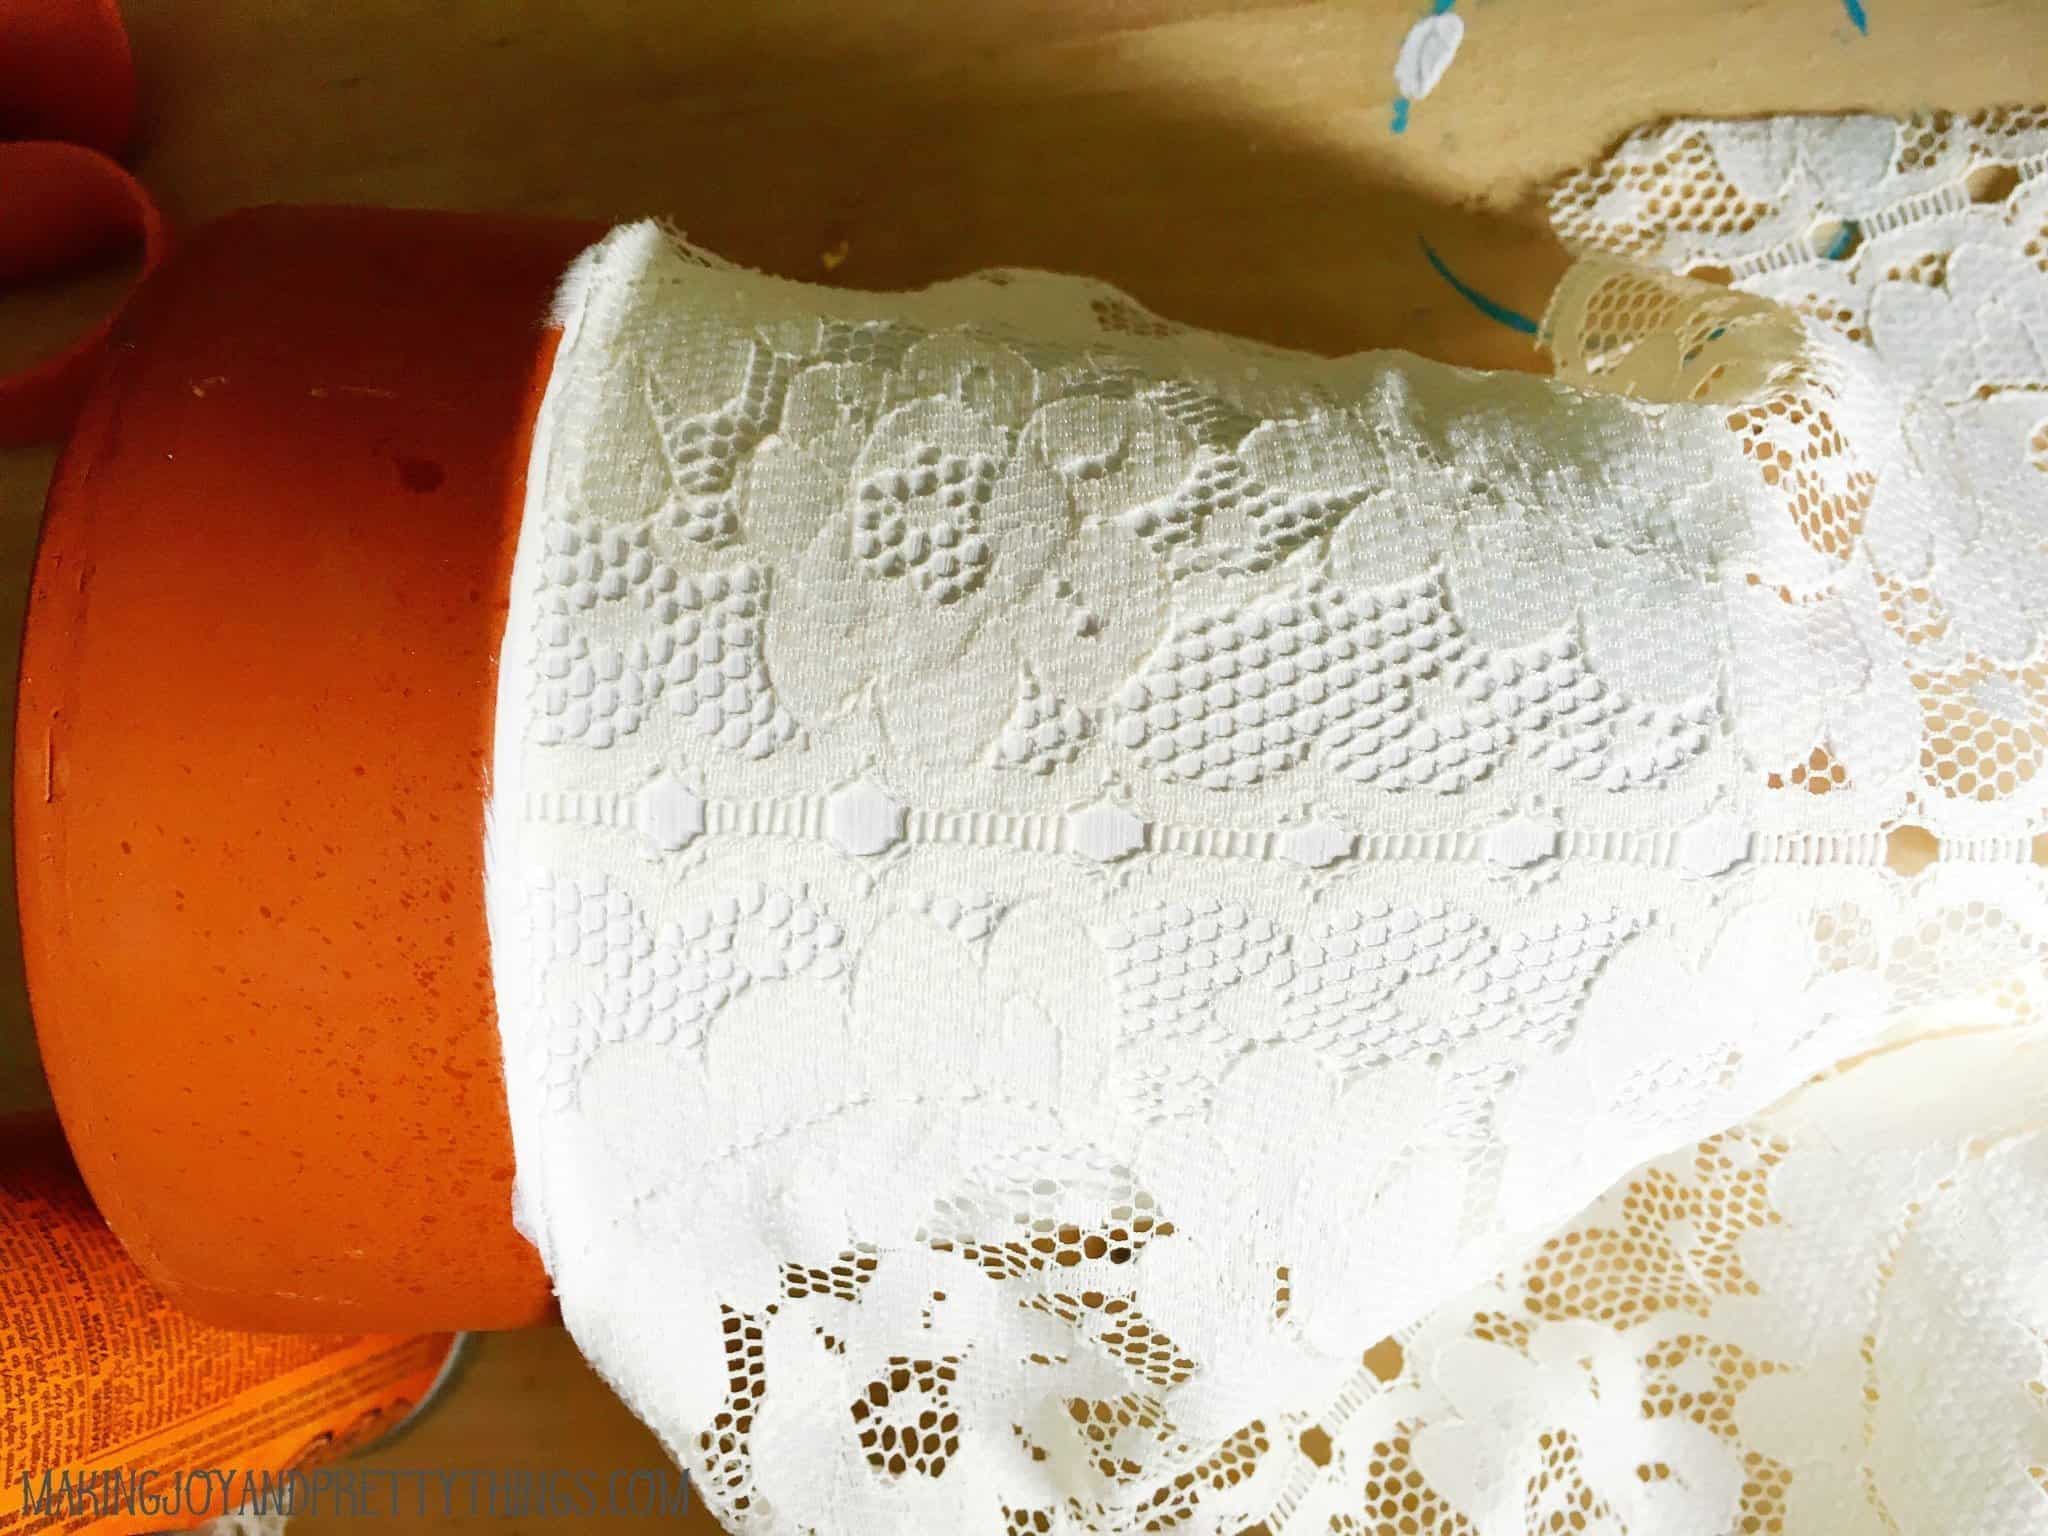
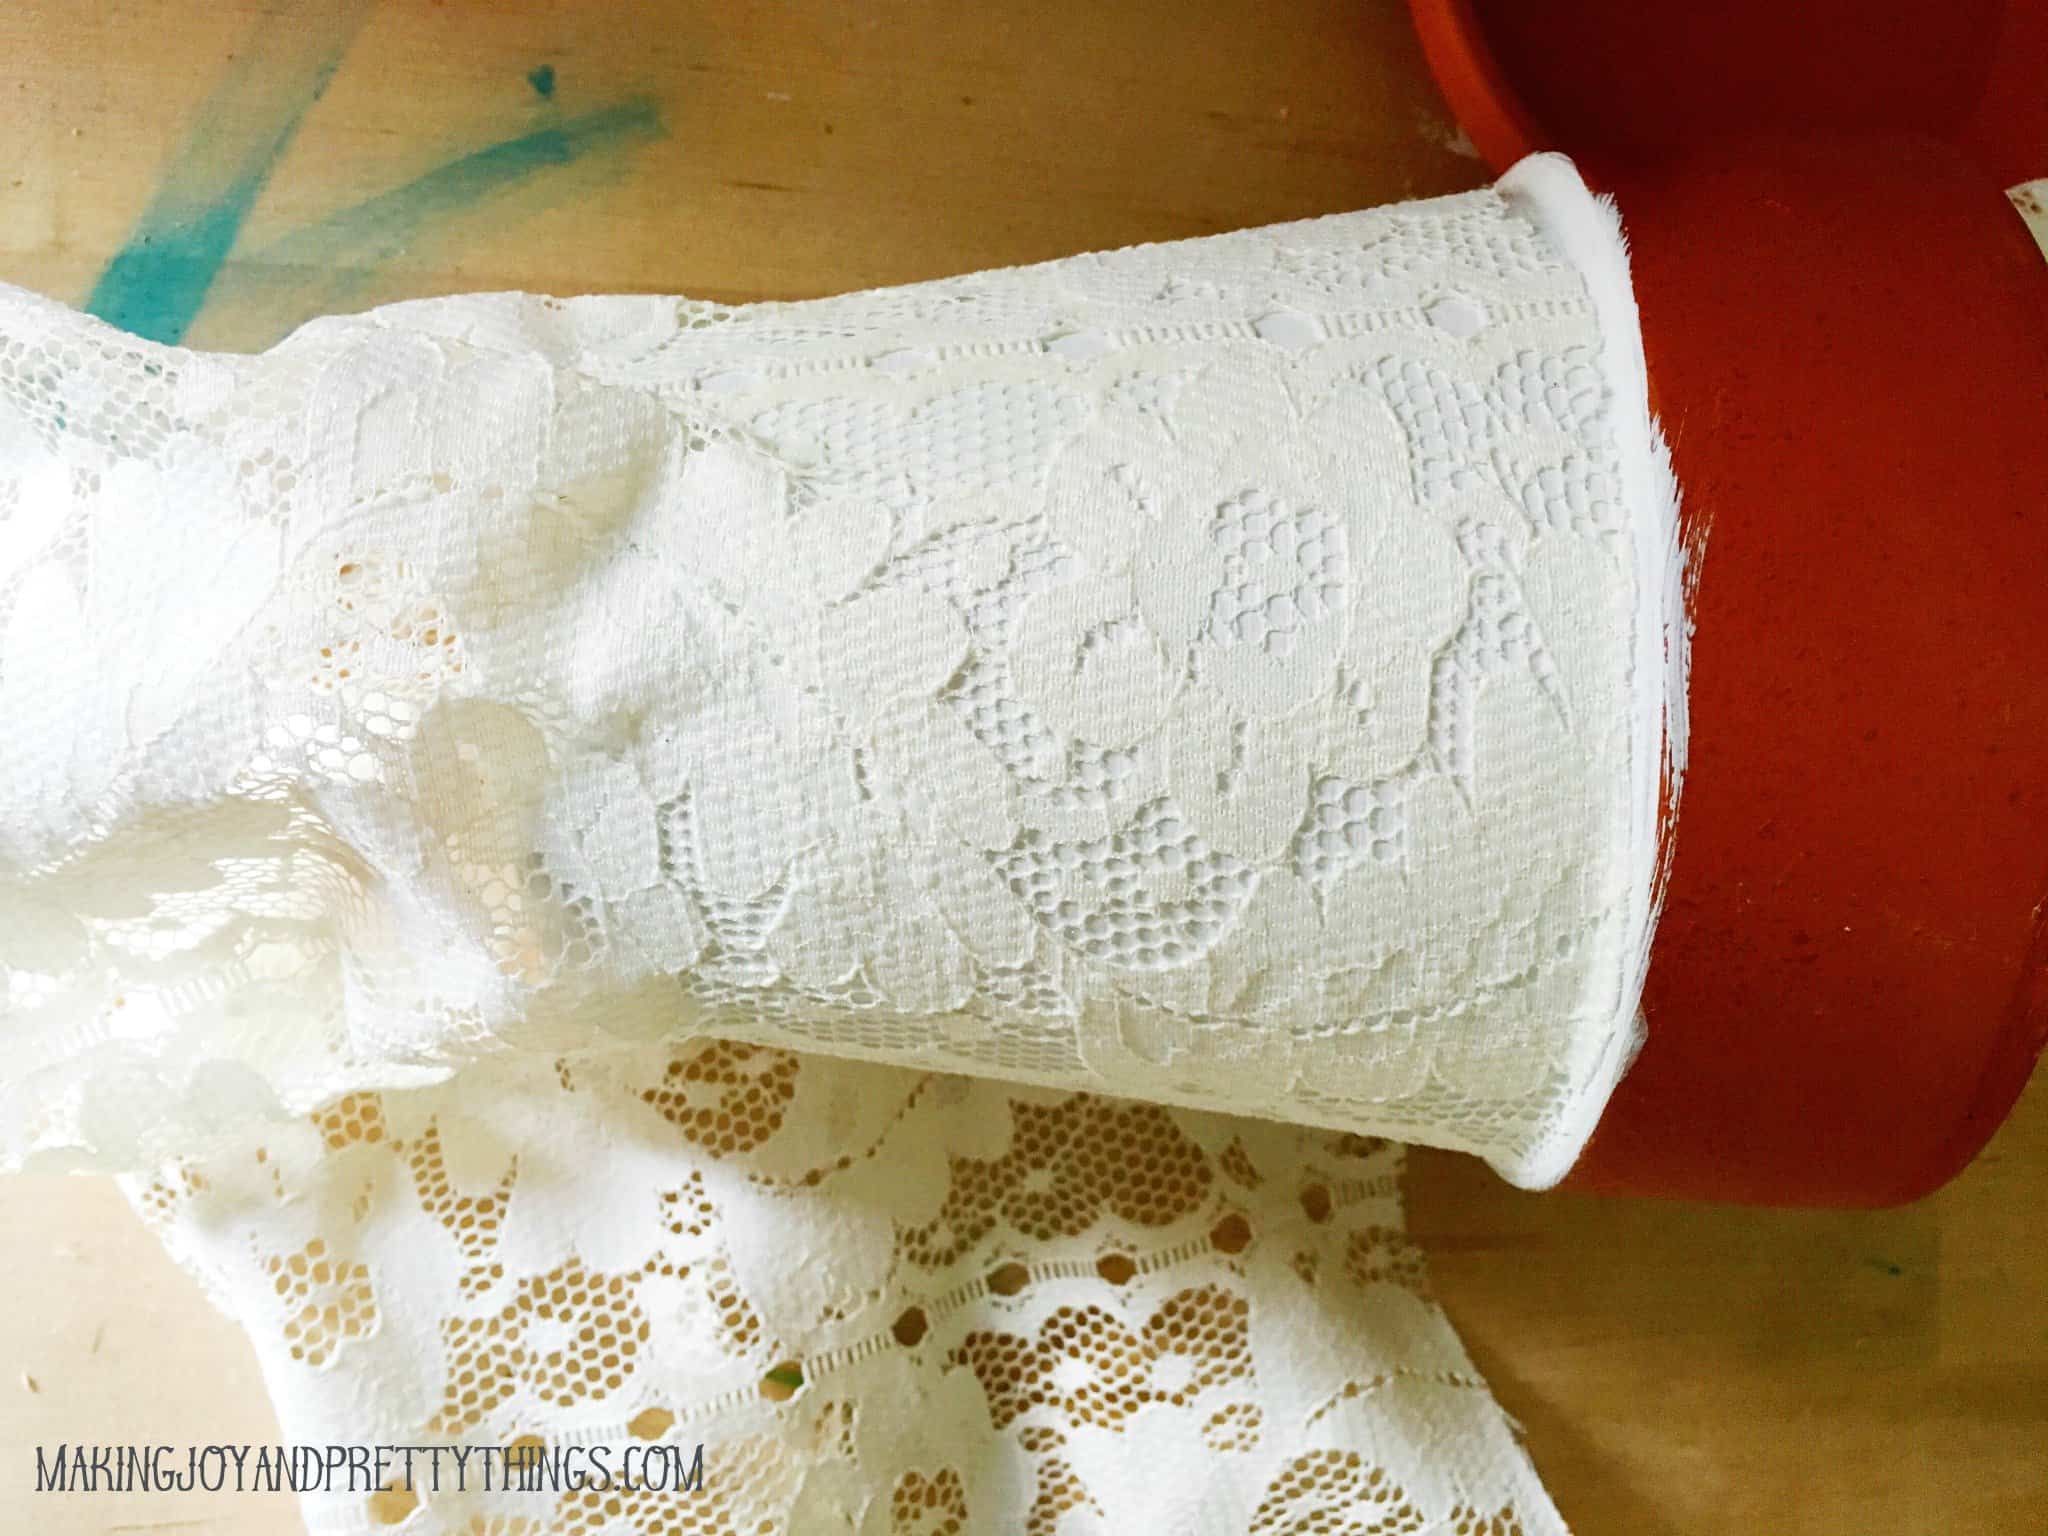
Once the top part was glued, I attempted the bottom of the pot. Since the pot is round, some of the lace is bunched on the bottom.
I chose to pull it tightly to minimize any creases. Honestly, I would probably cut some slits in the lace to allow it to just be glued to the pot and not have to worry about the creases.
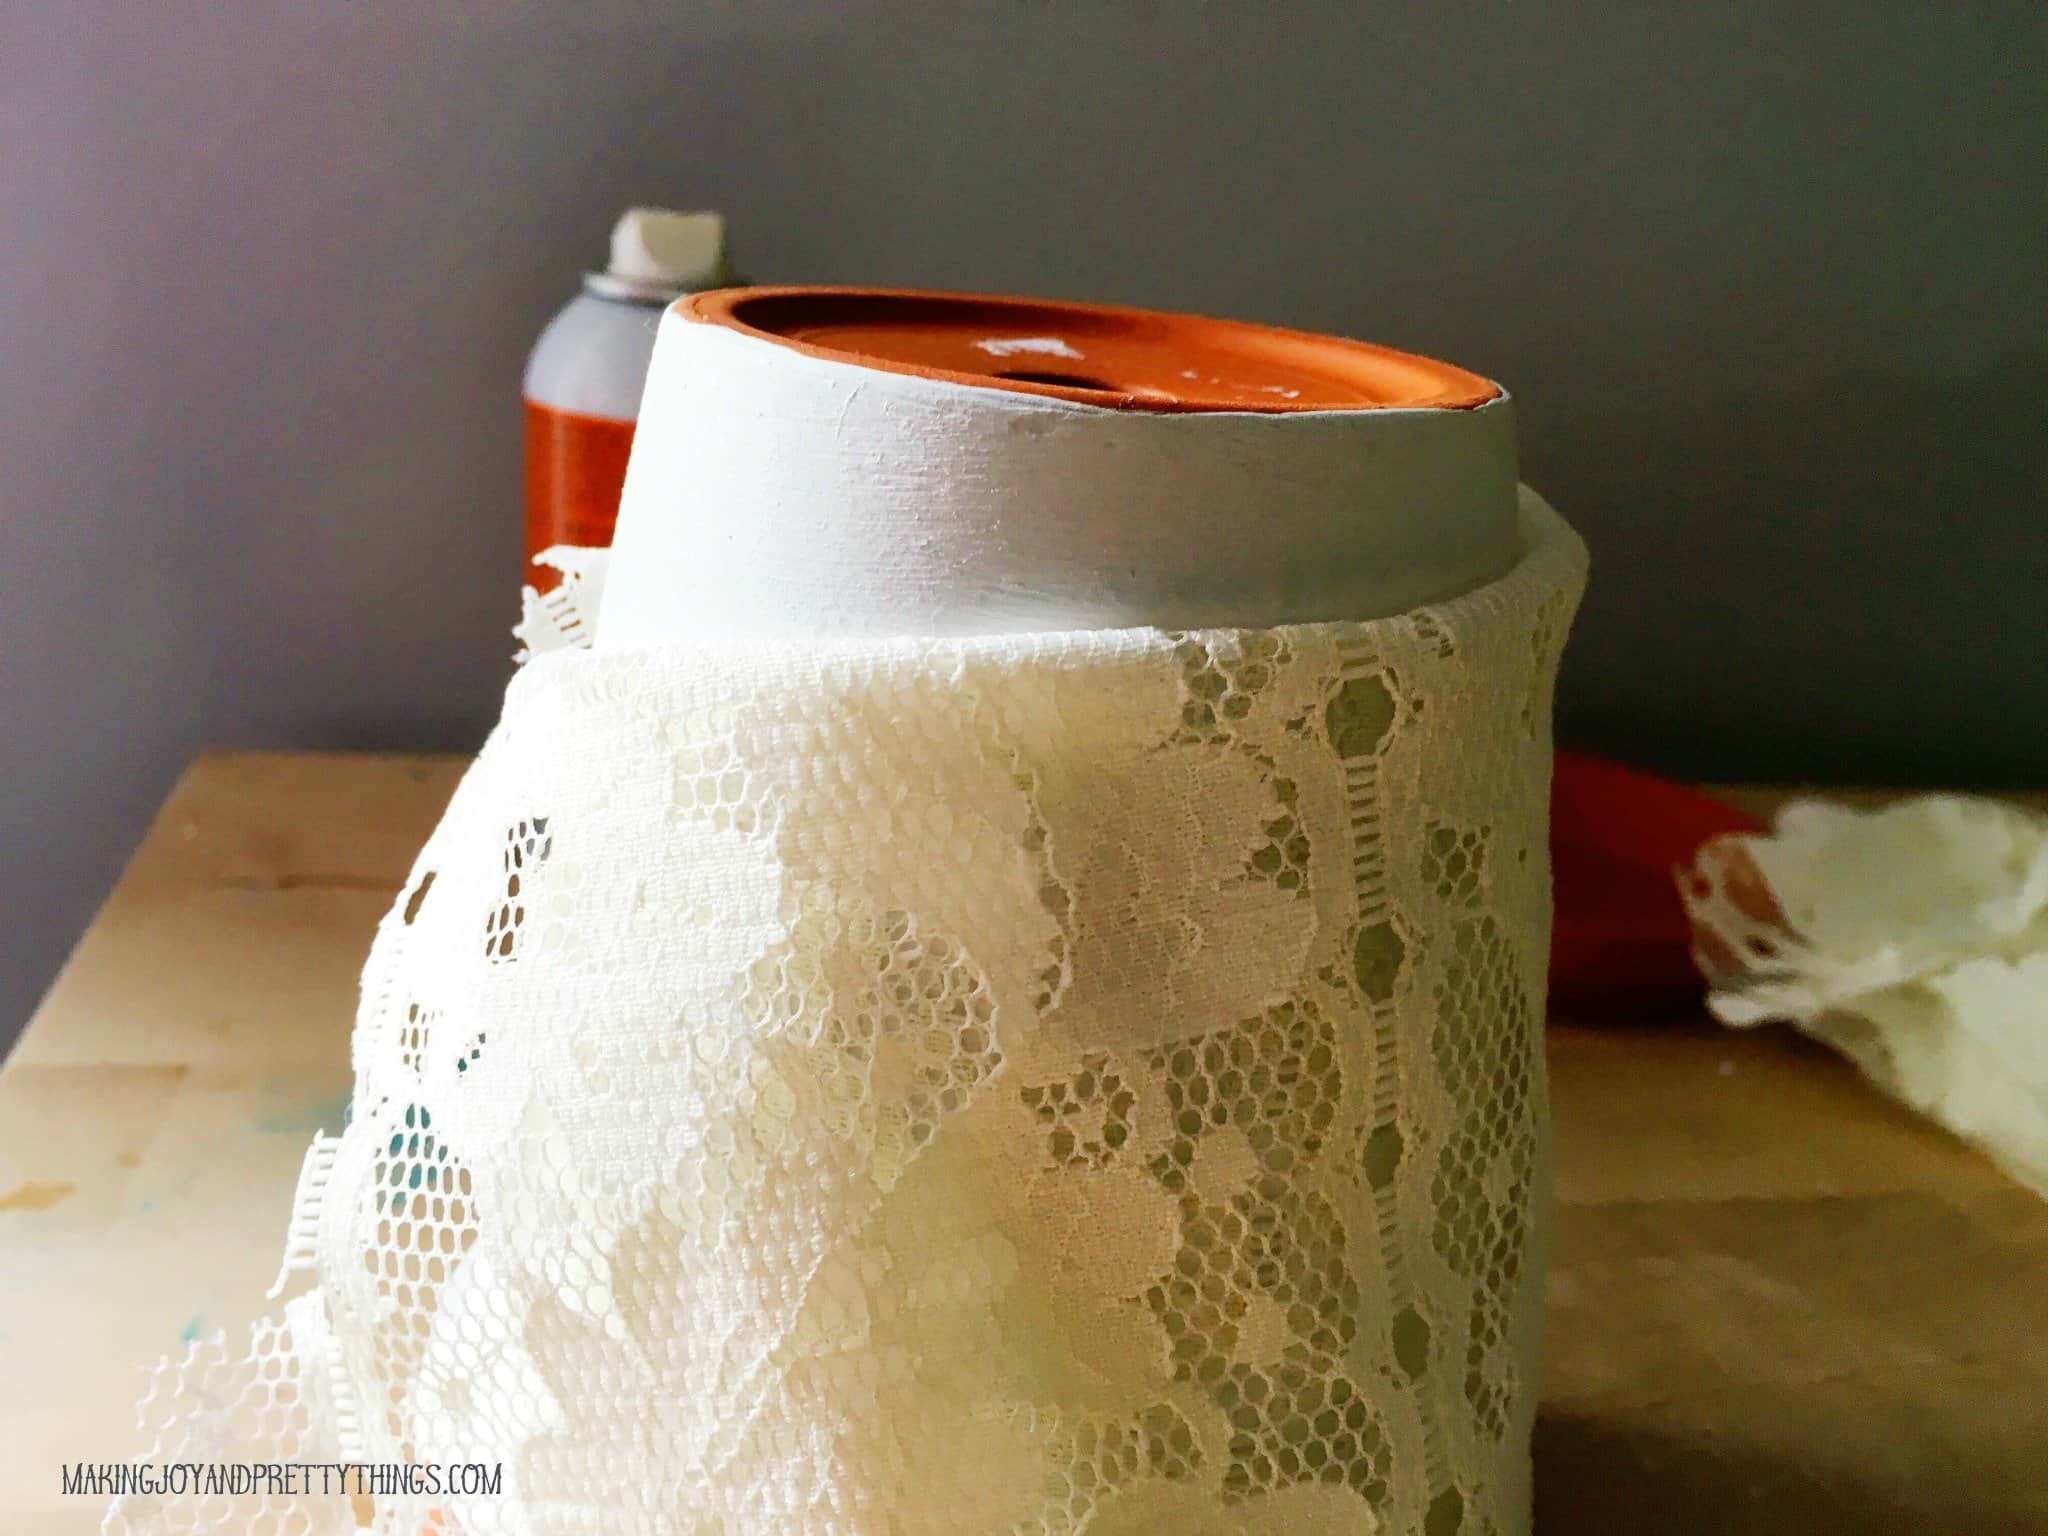
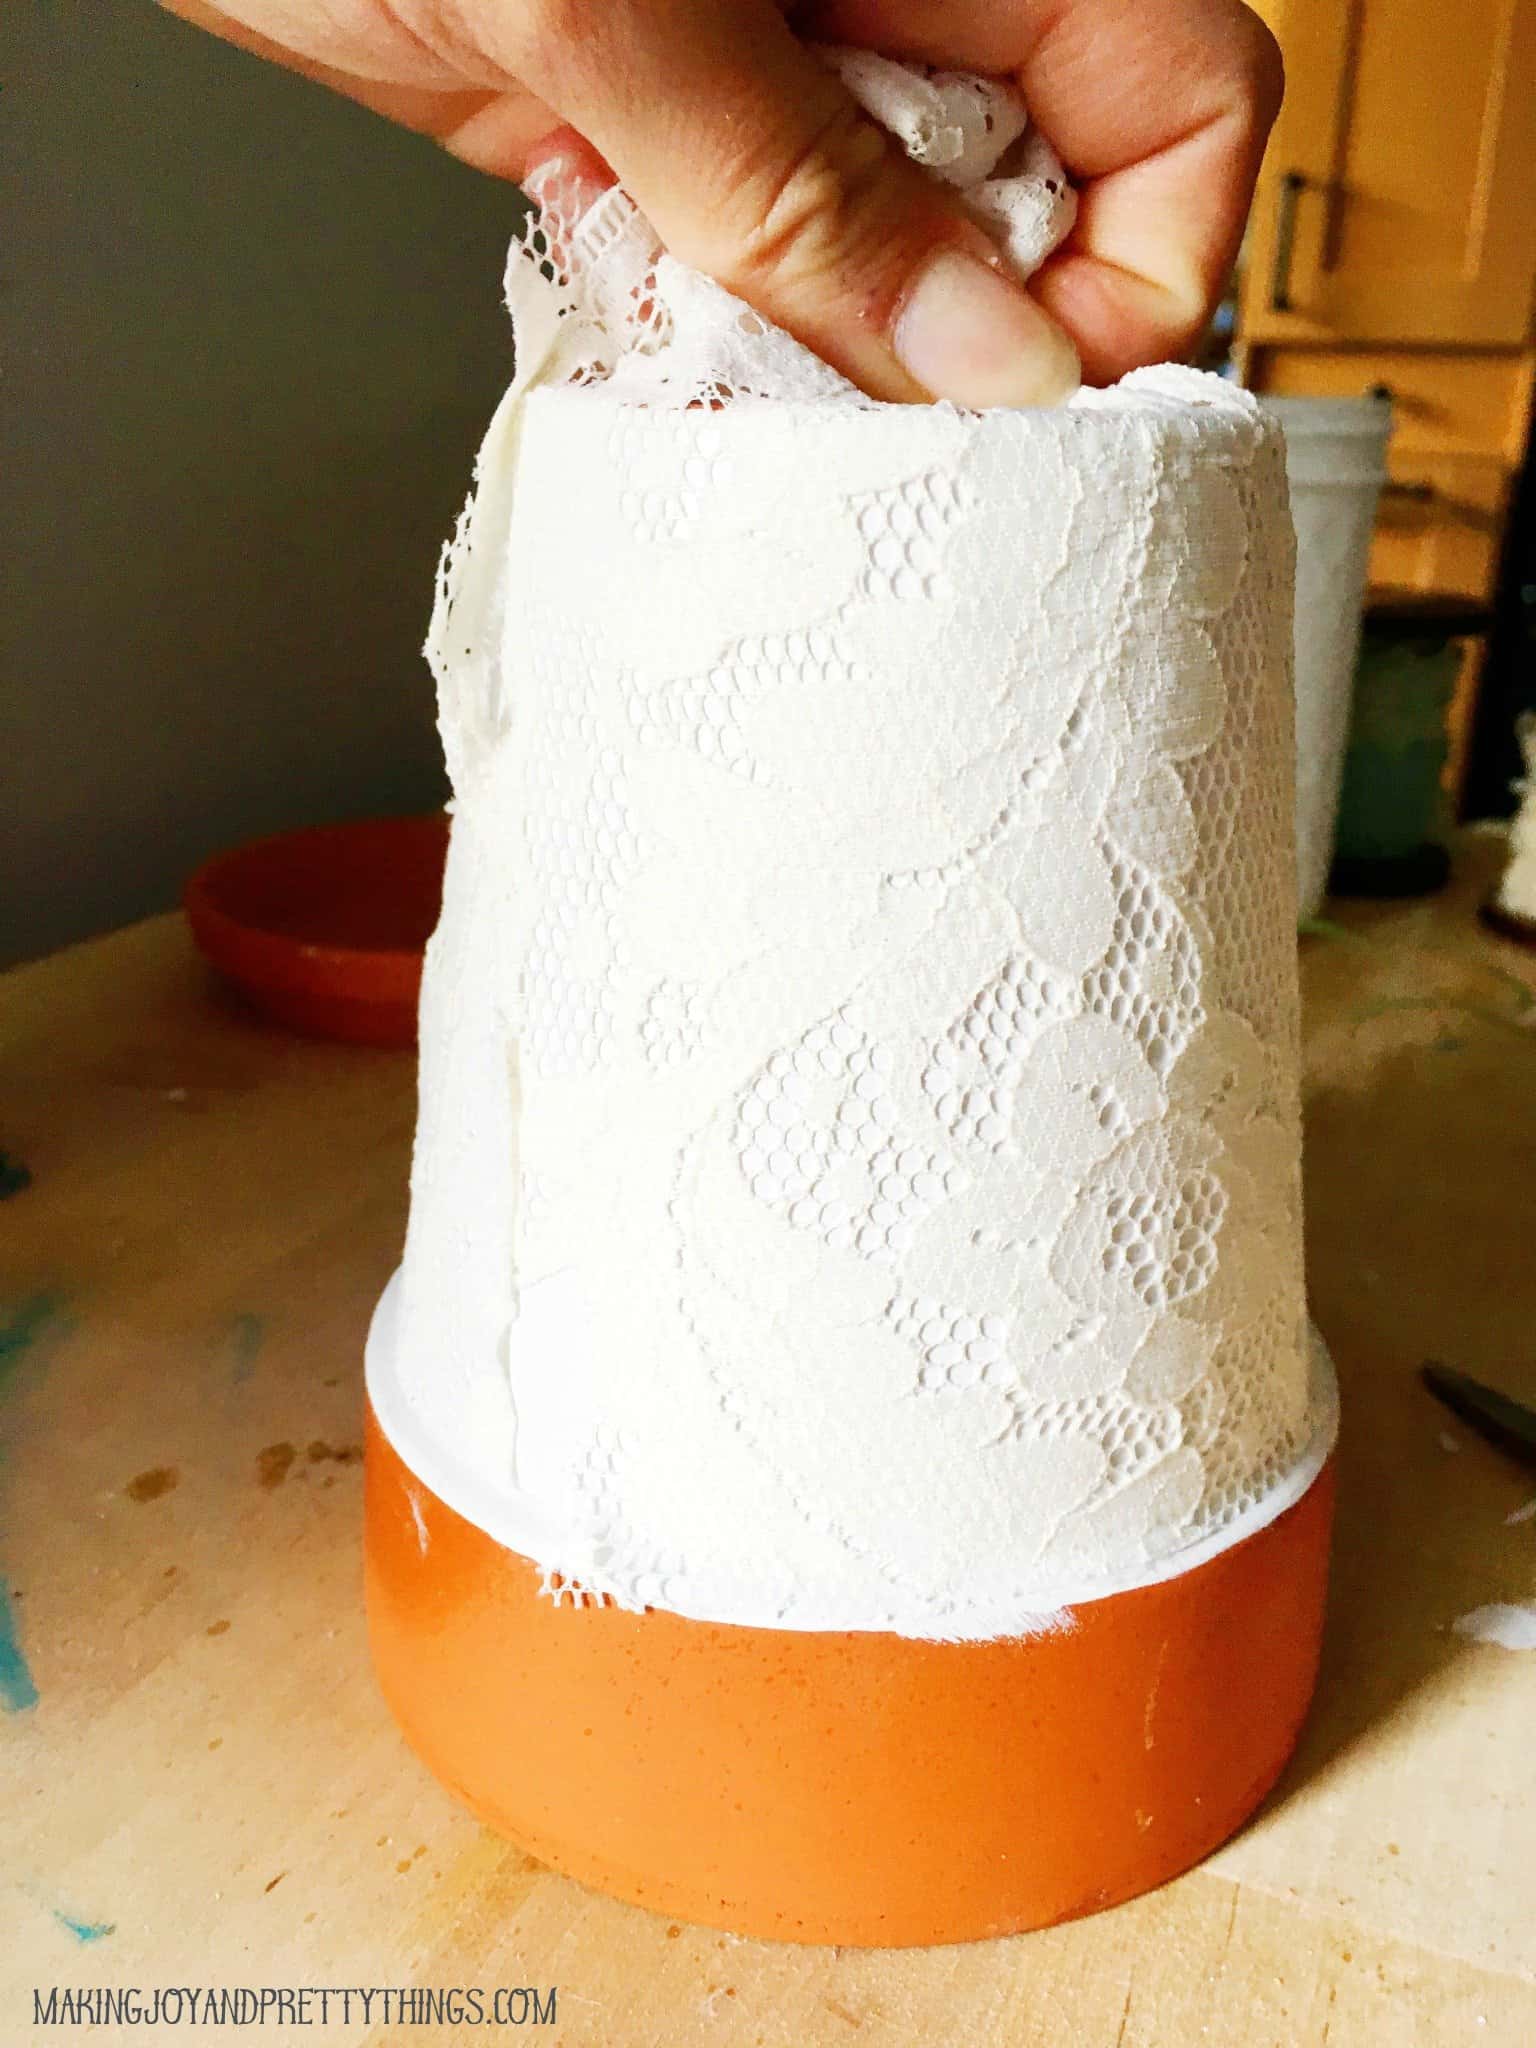
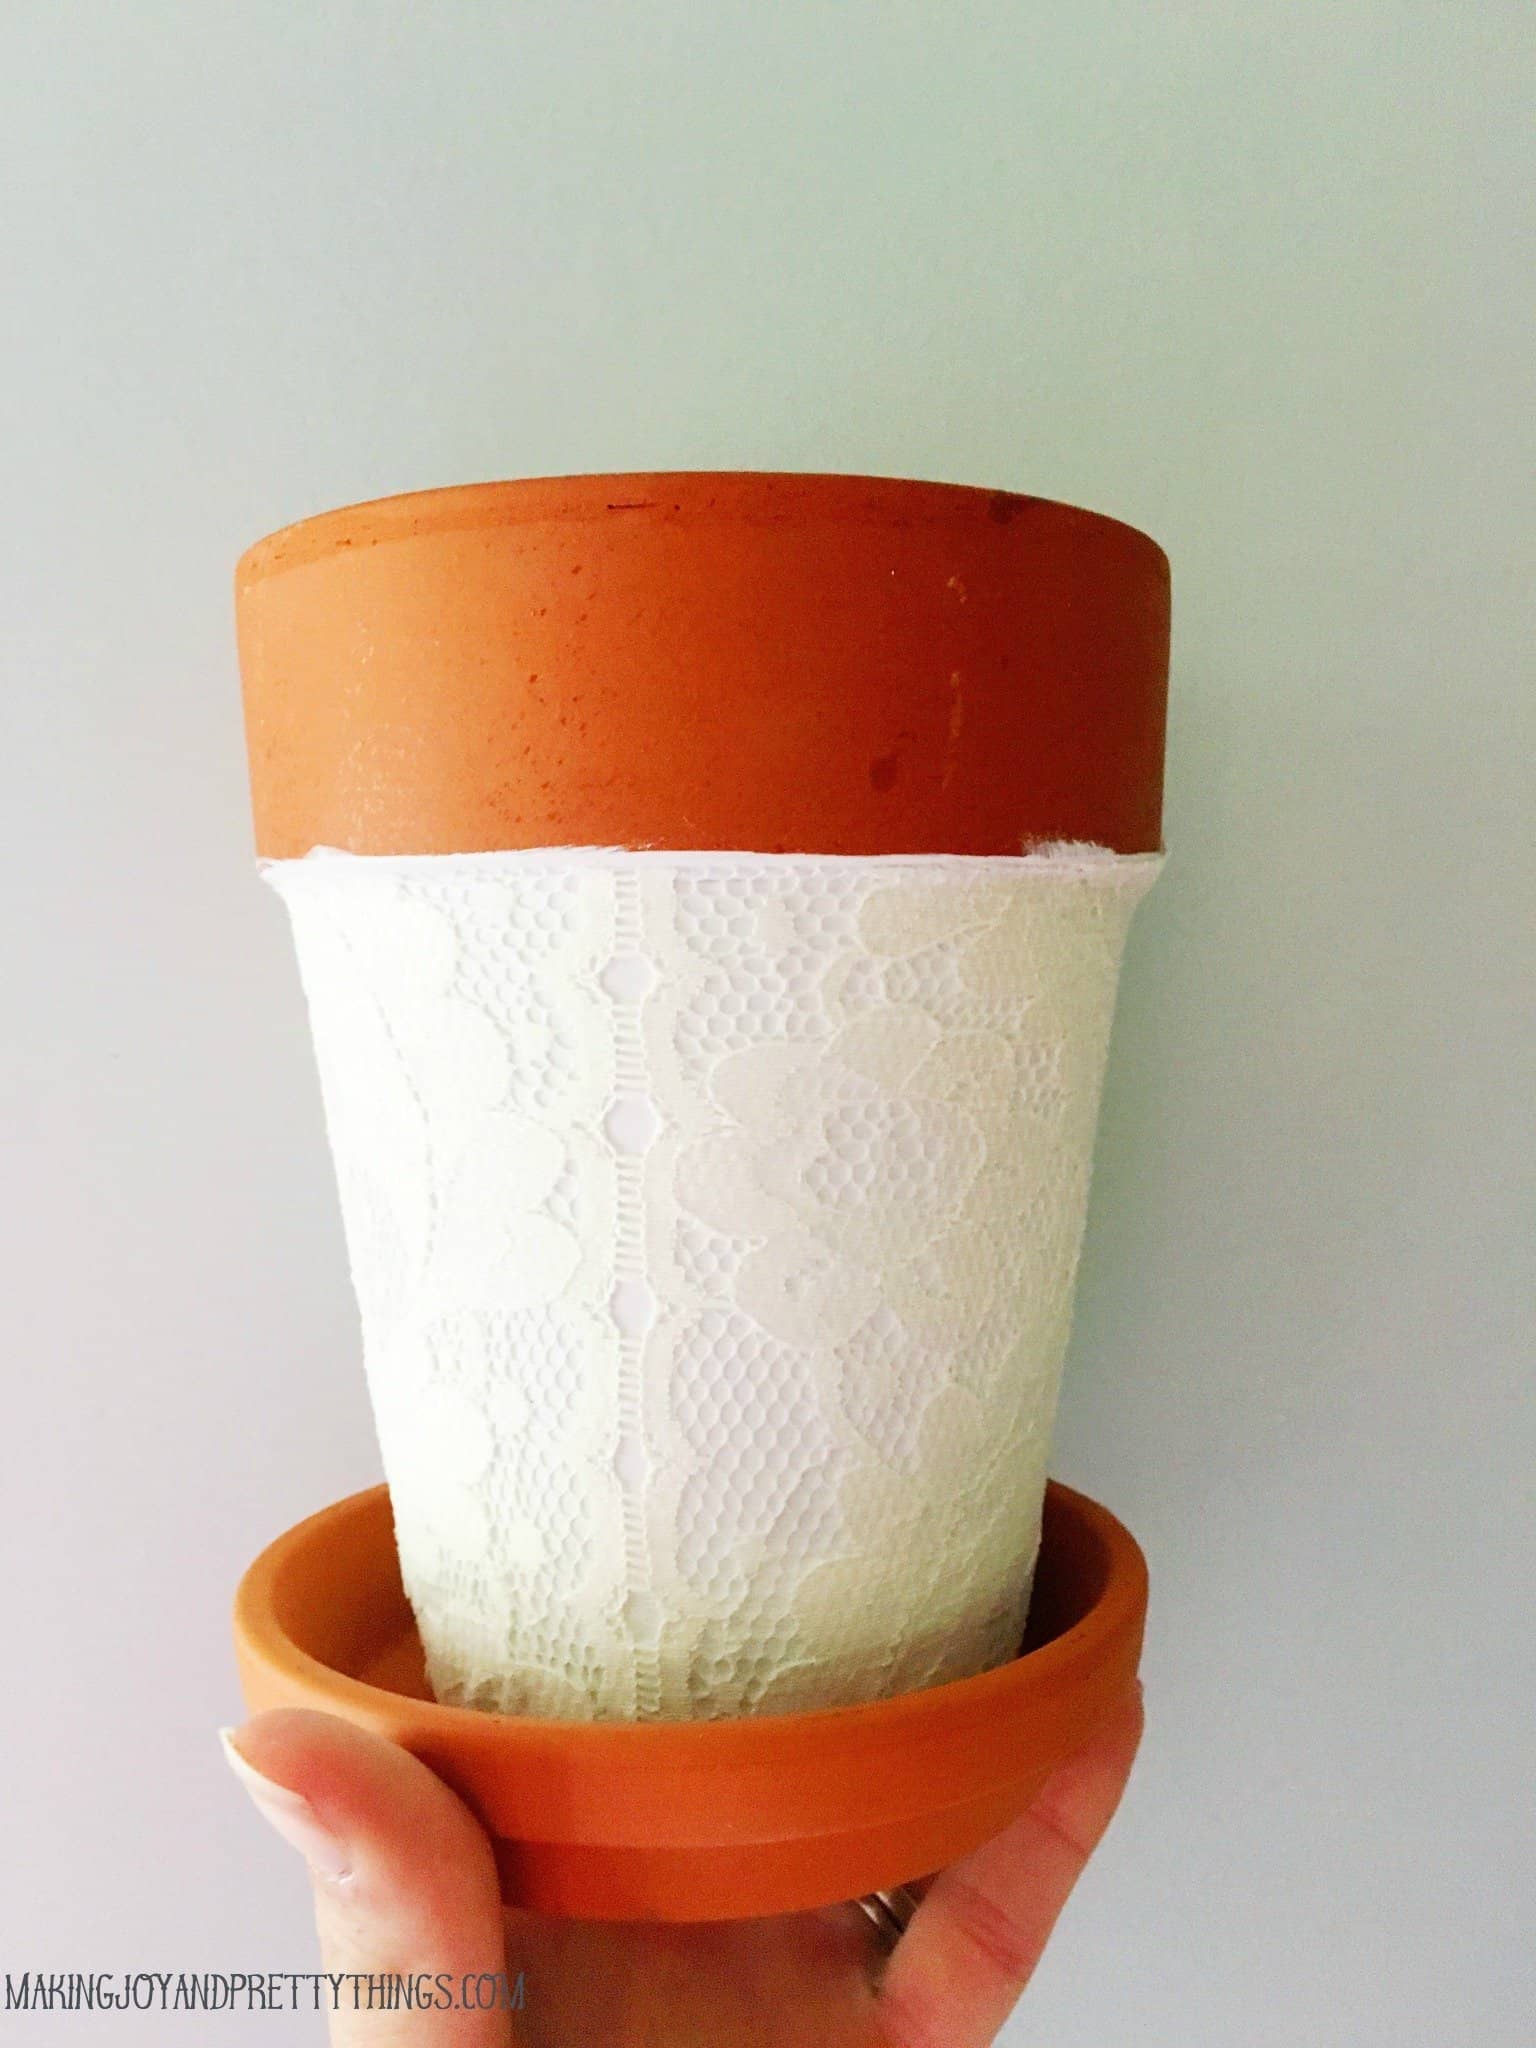
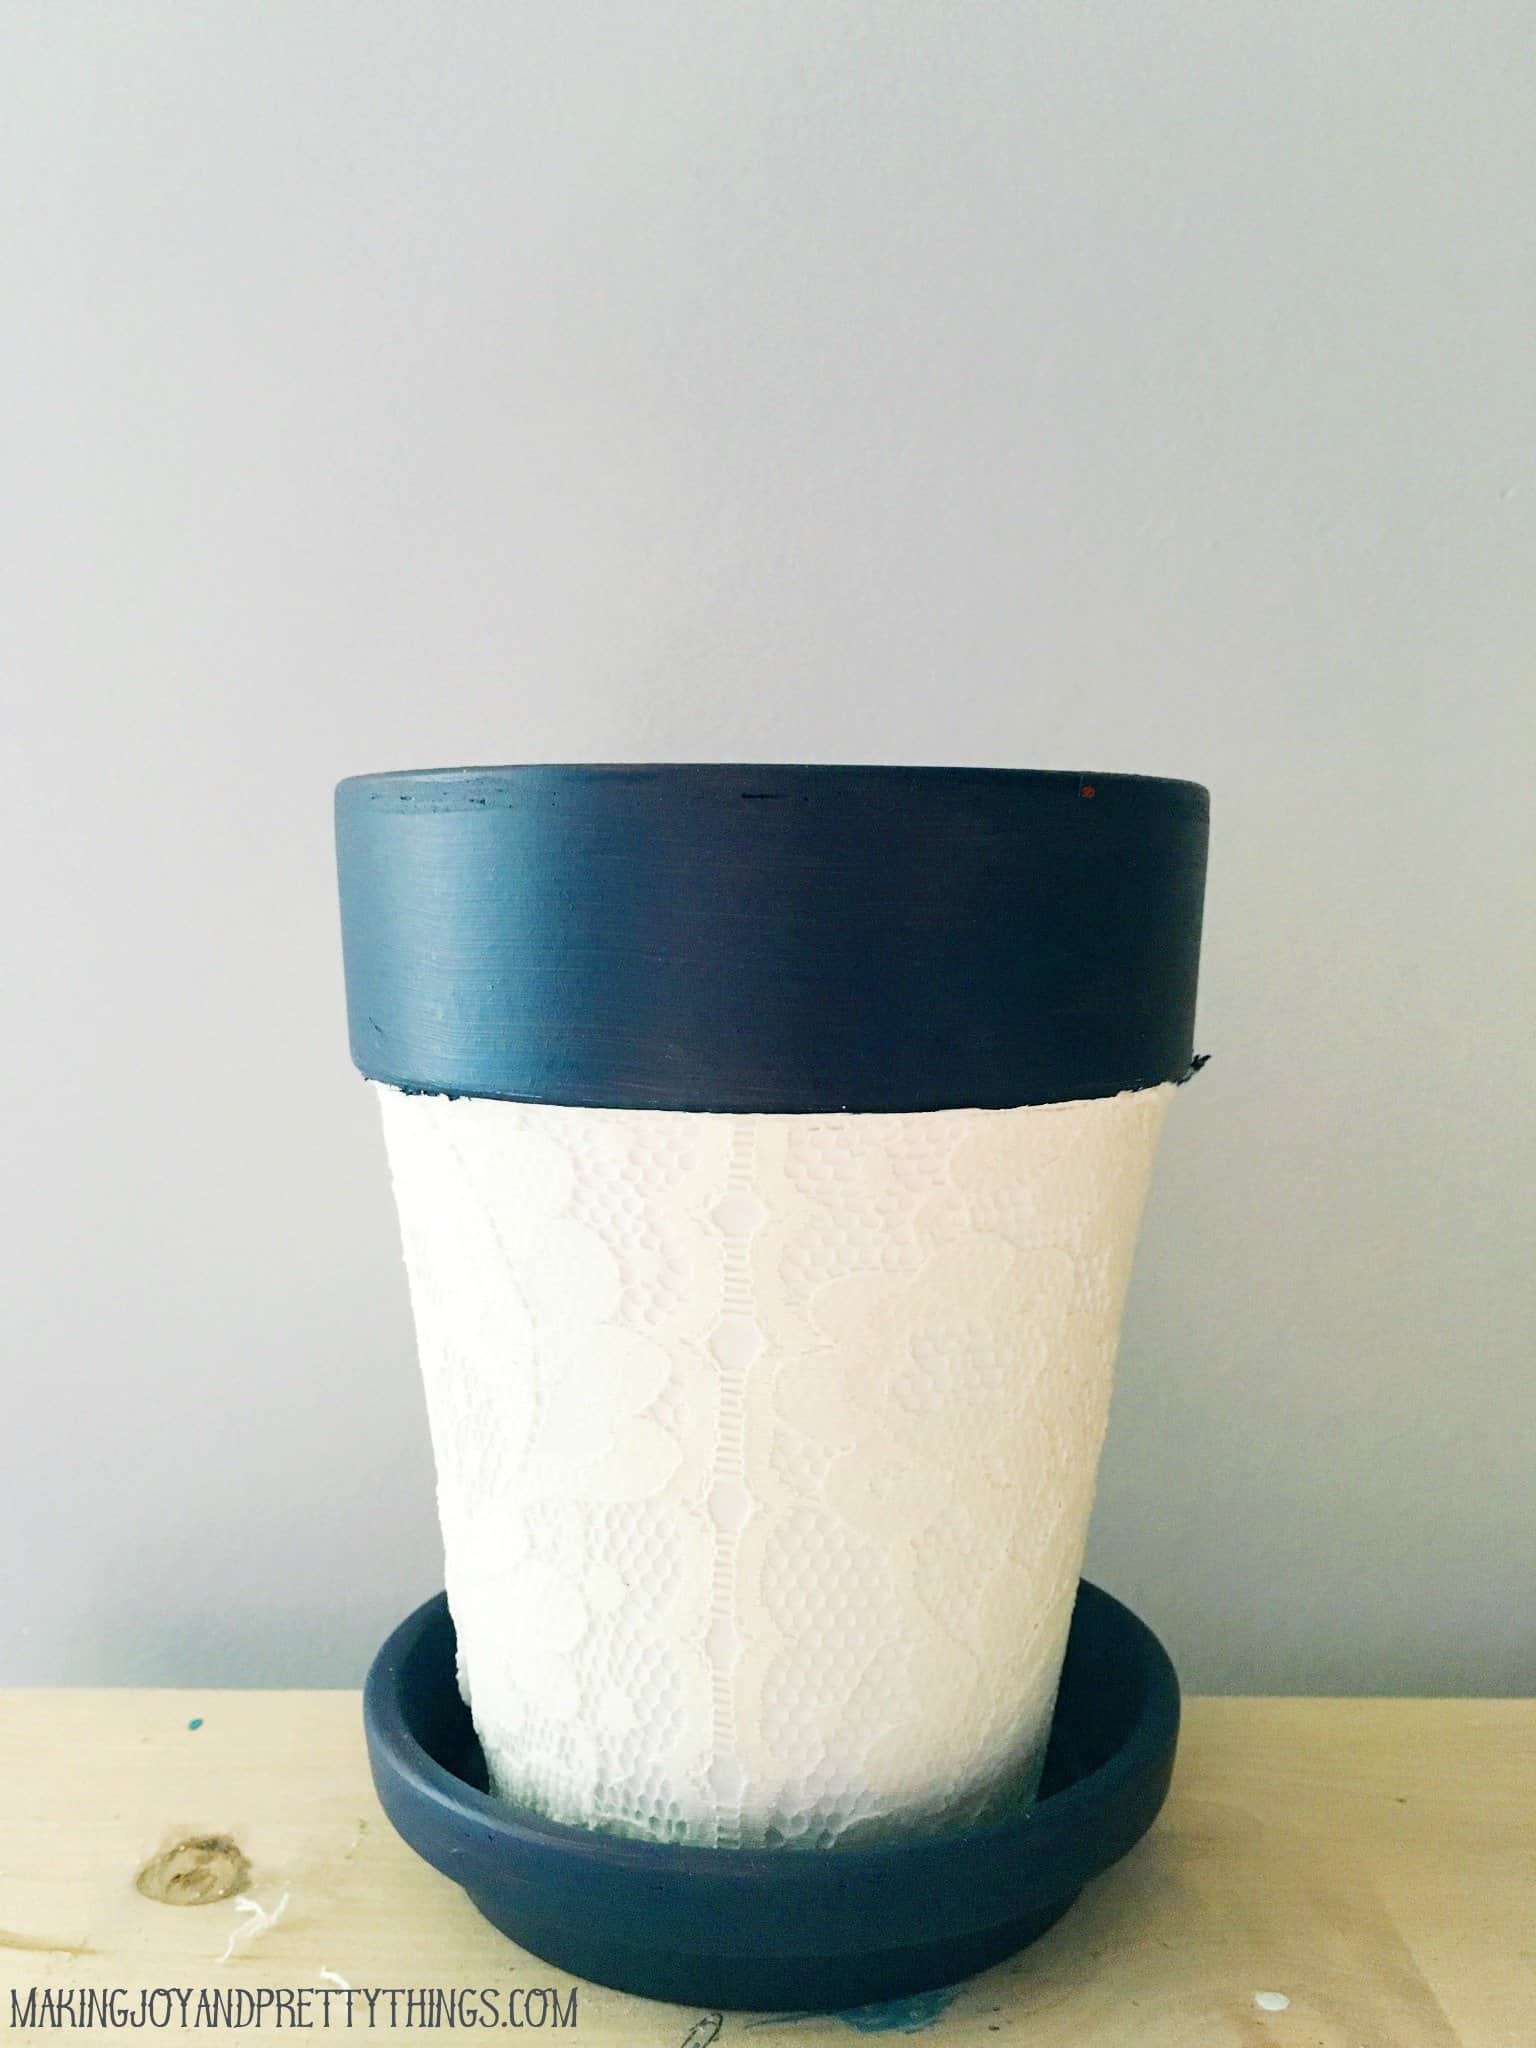
Optional Step 5: Paint the rest of the pot (rim & saucer) the color of your choice.
Unfortunately, since I’m a slob, I had to paint the top rim.
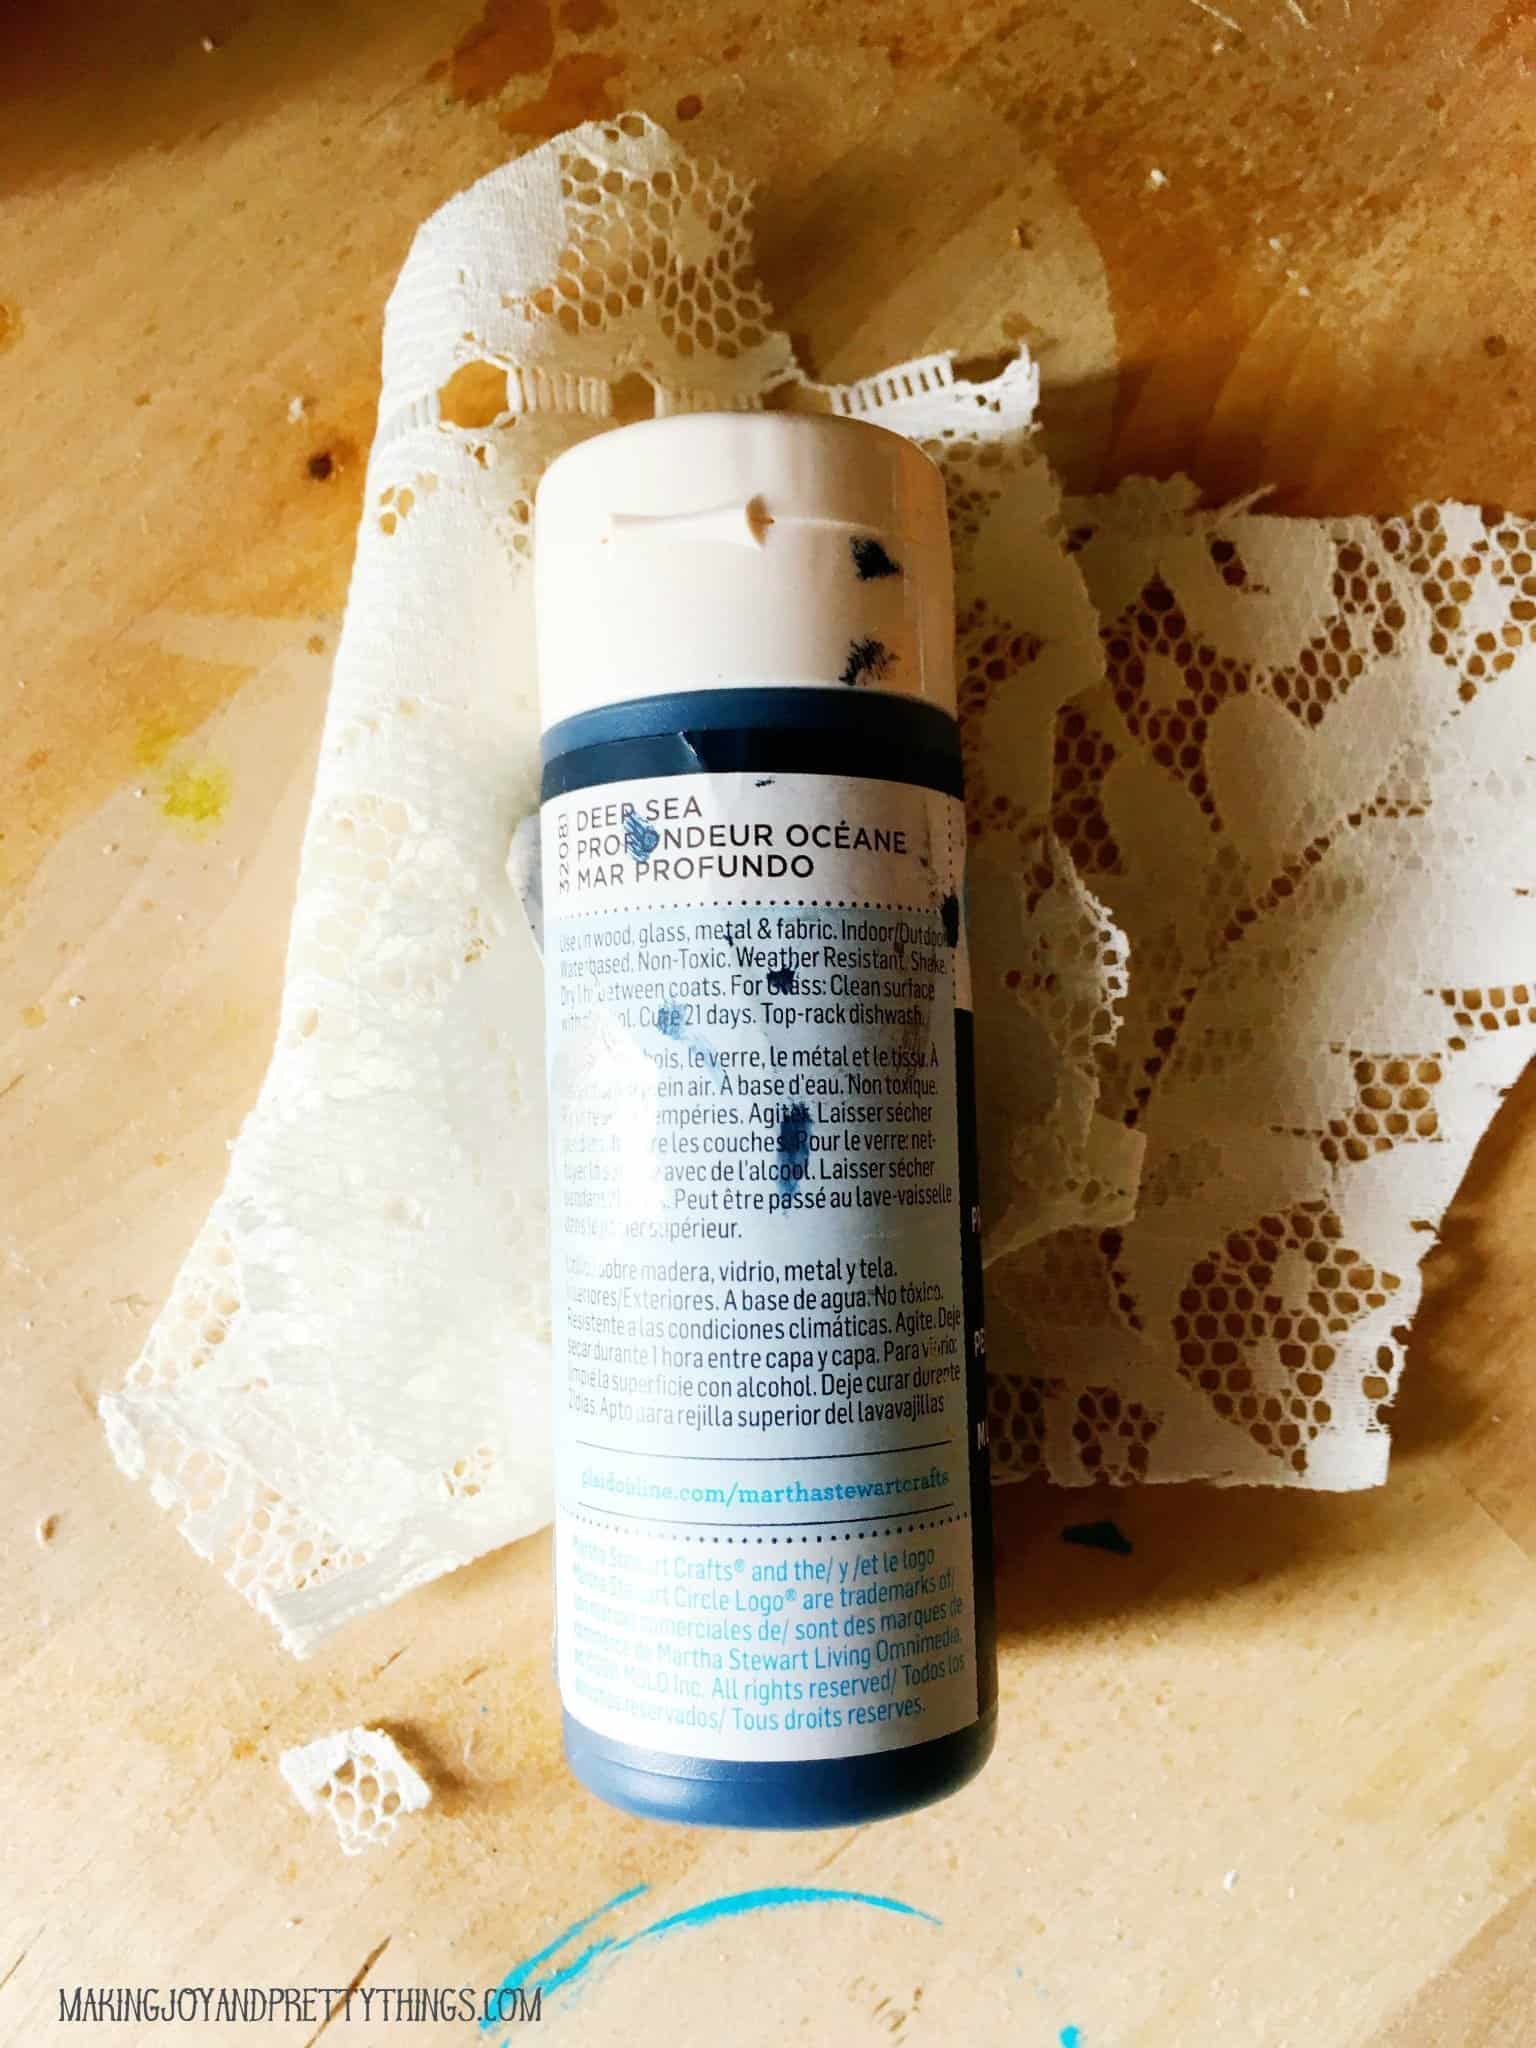
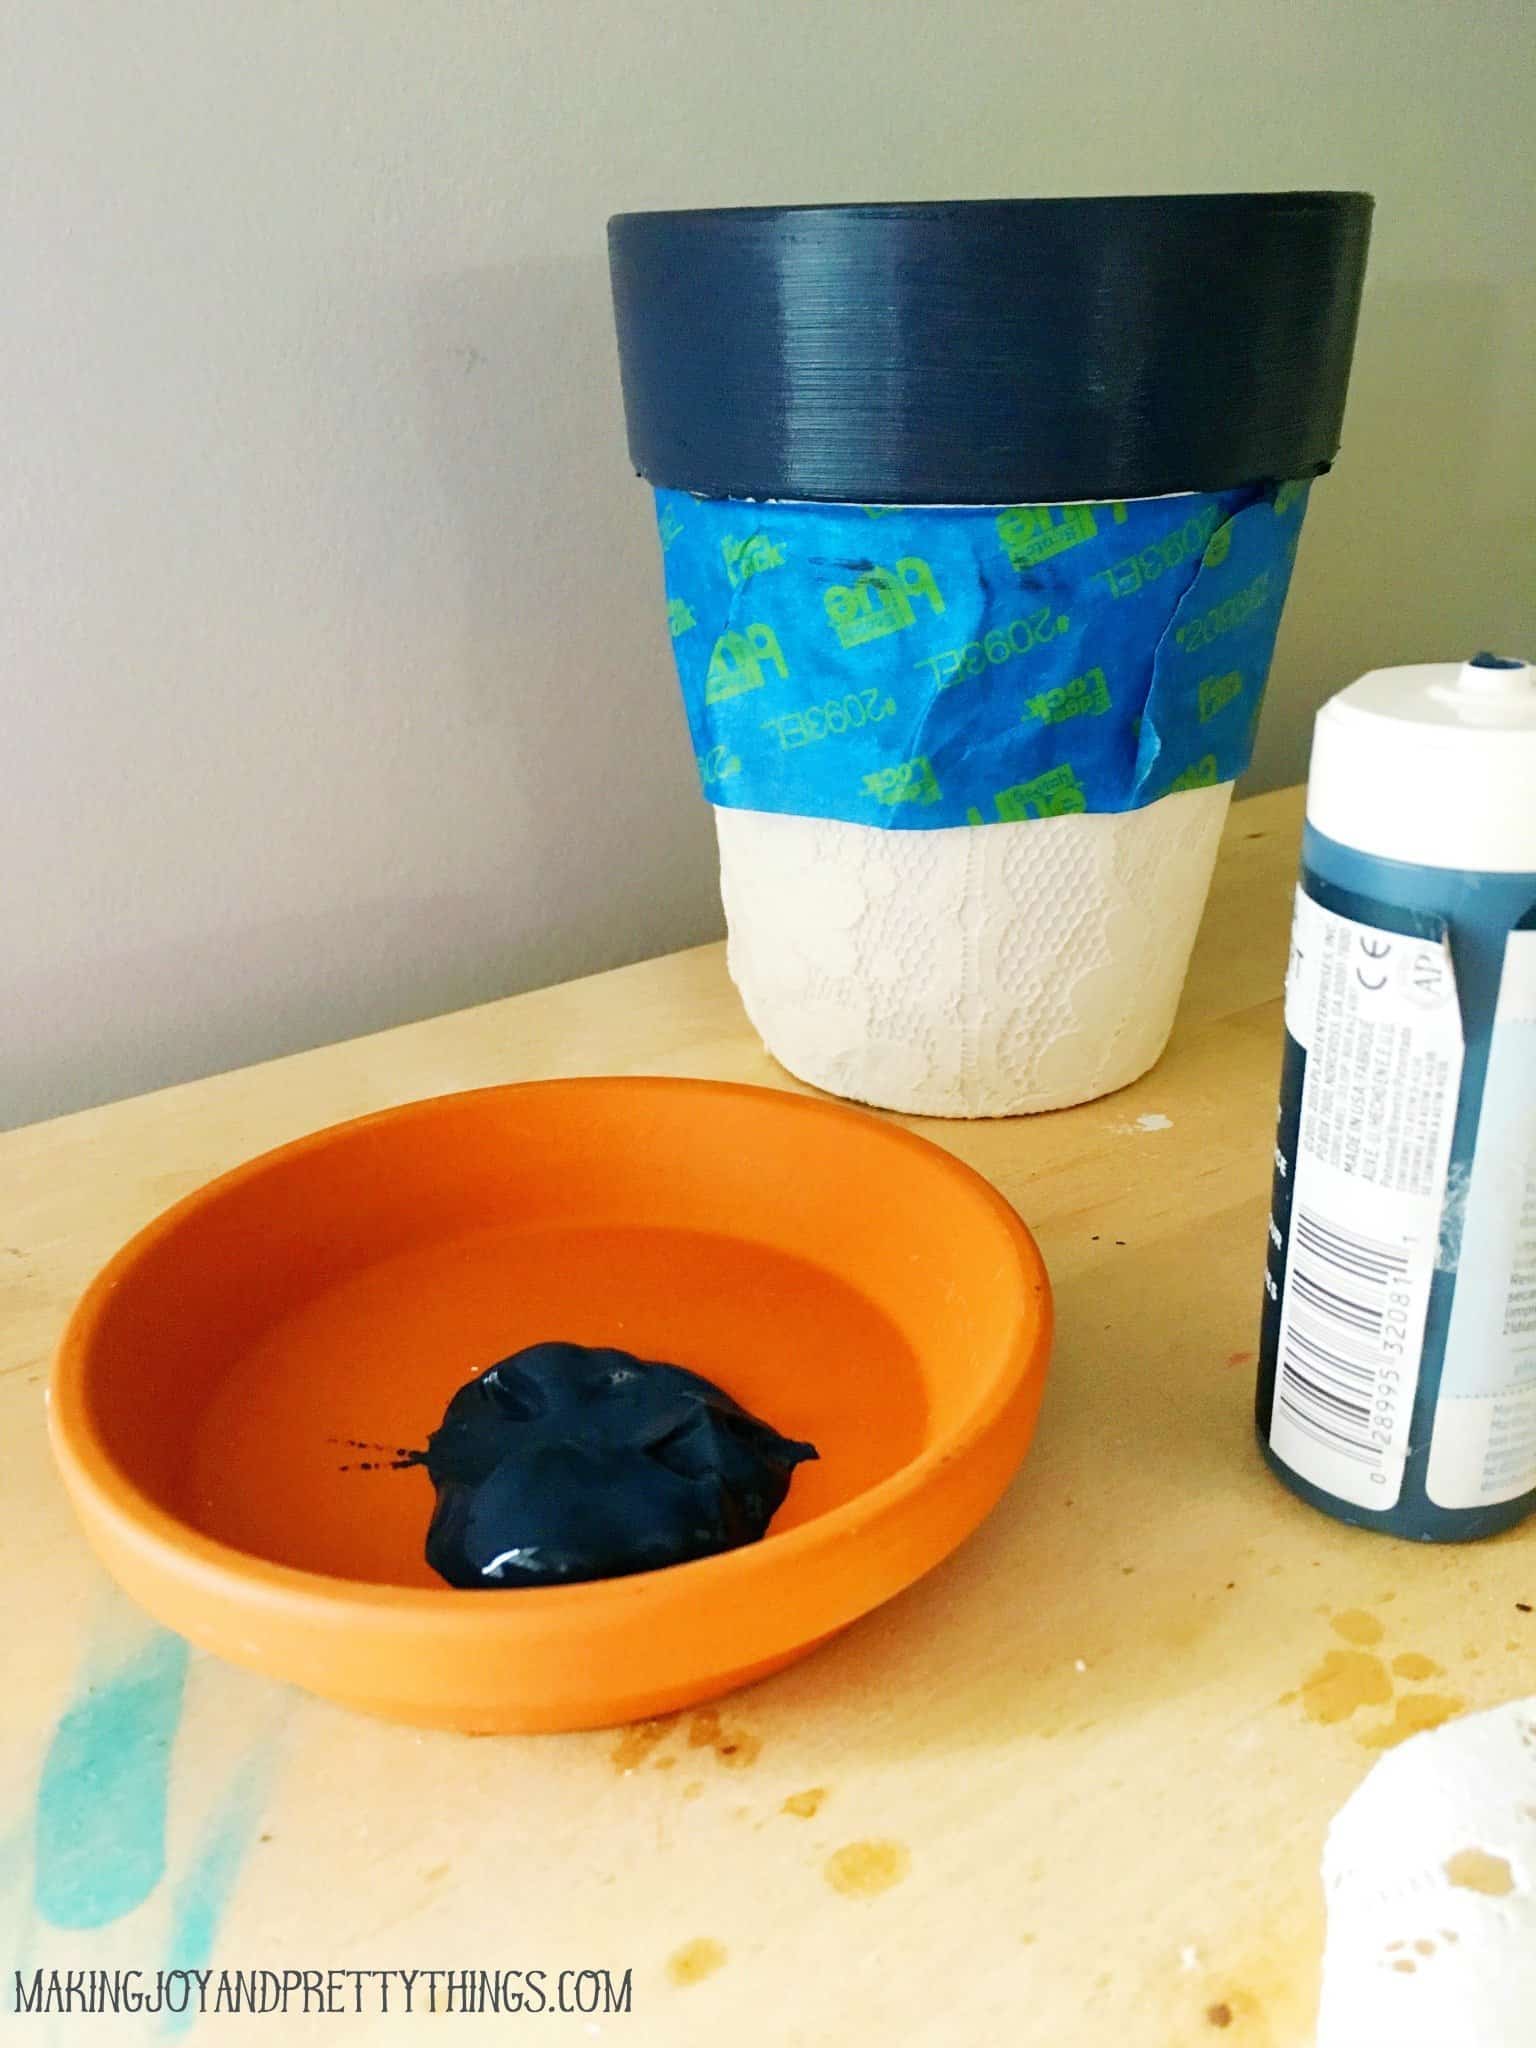
I wanted to pick a color that would contrast the stark white of the lace. I had this deep blue color (deep sea by Martha Stewart) that I thought would be perfect.
Notice this time I taped off 🙂
Step 6: Fill the pot with rocks, soil, and a plant (or faux plant).
Time to plant!!
- 1: Rocks (for drainage)
- 2. Potting Soil
- 3. Spiky green plant!
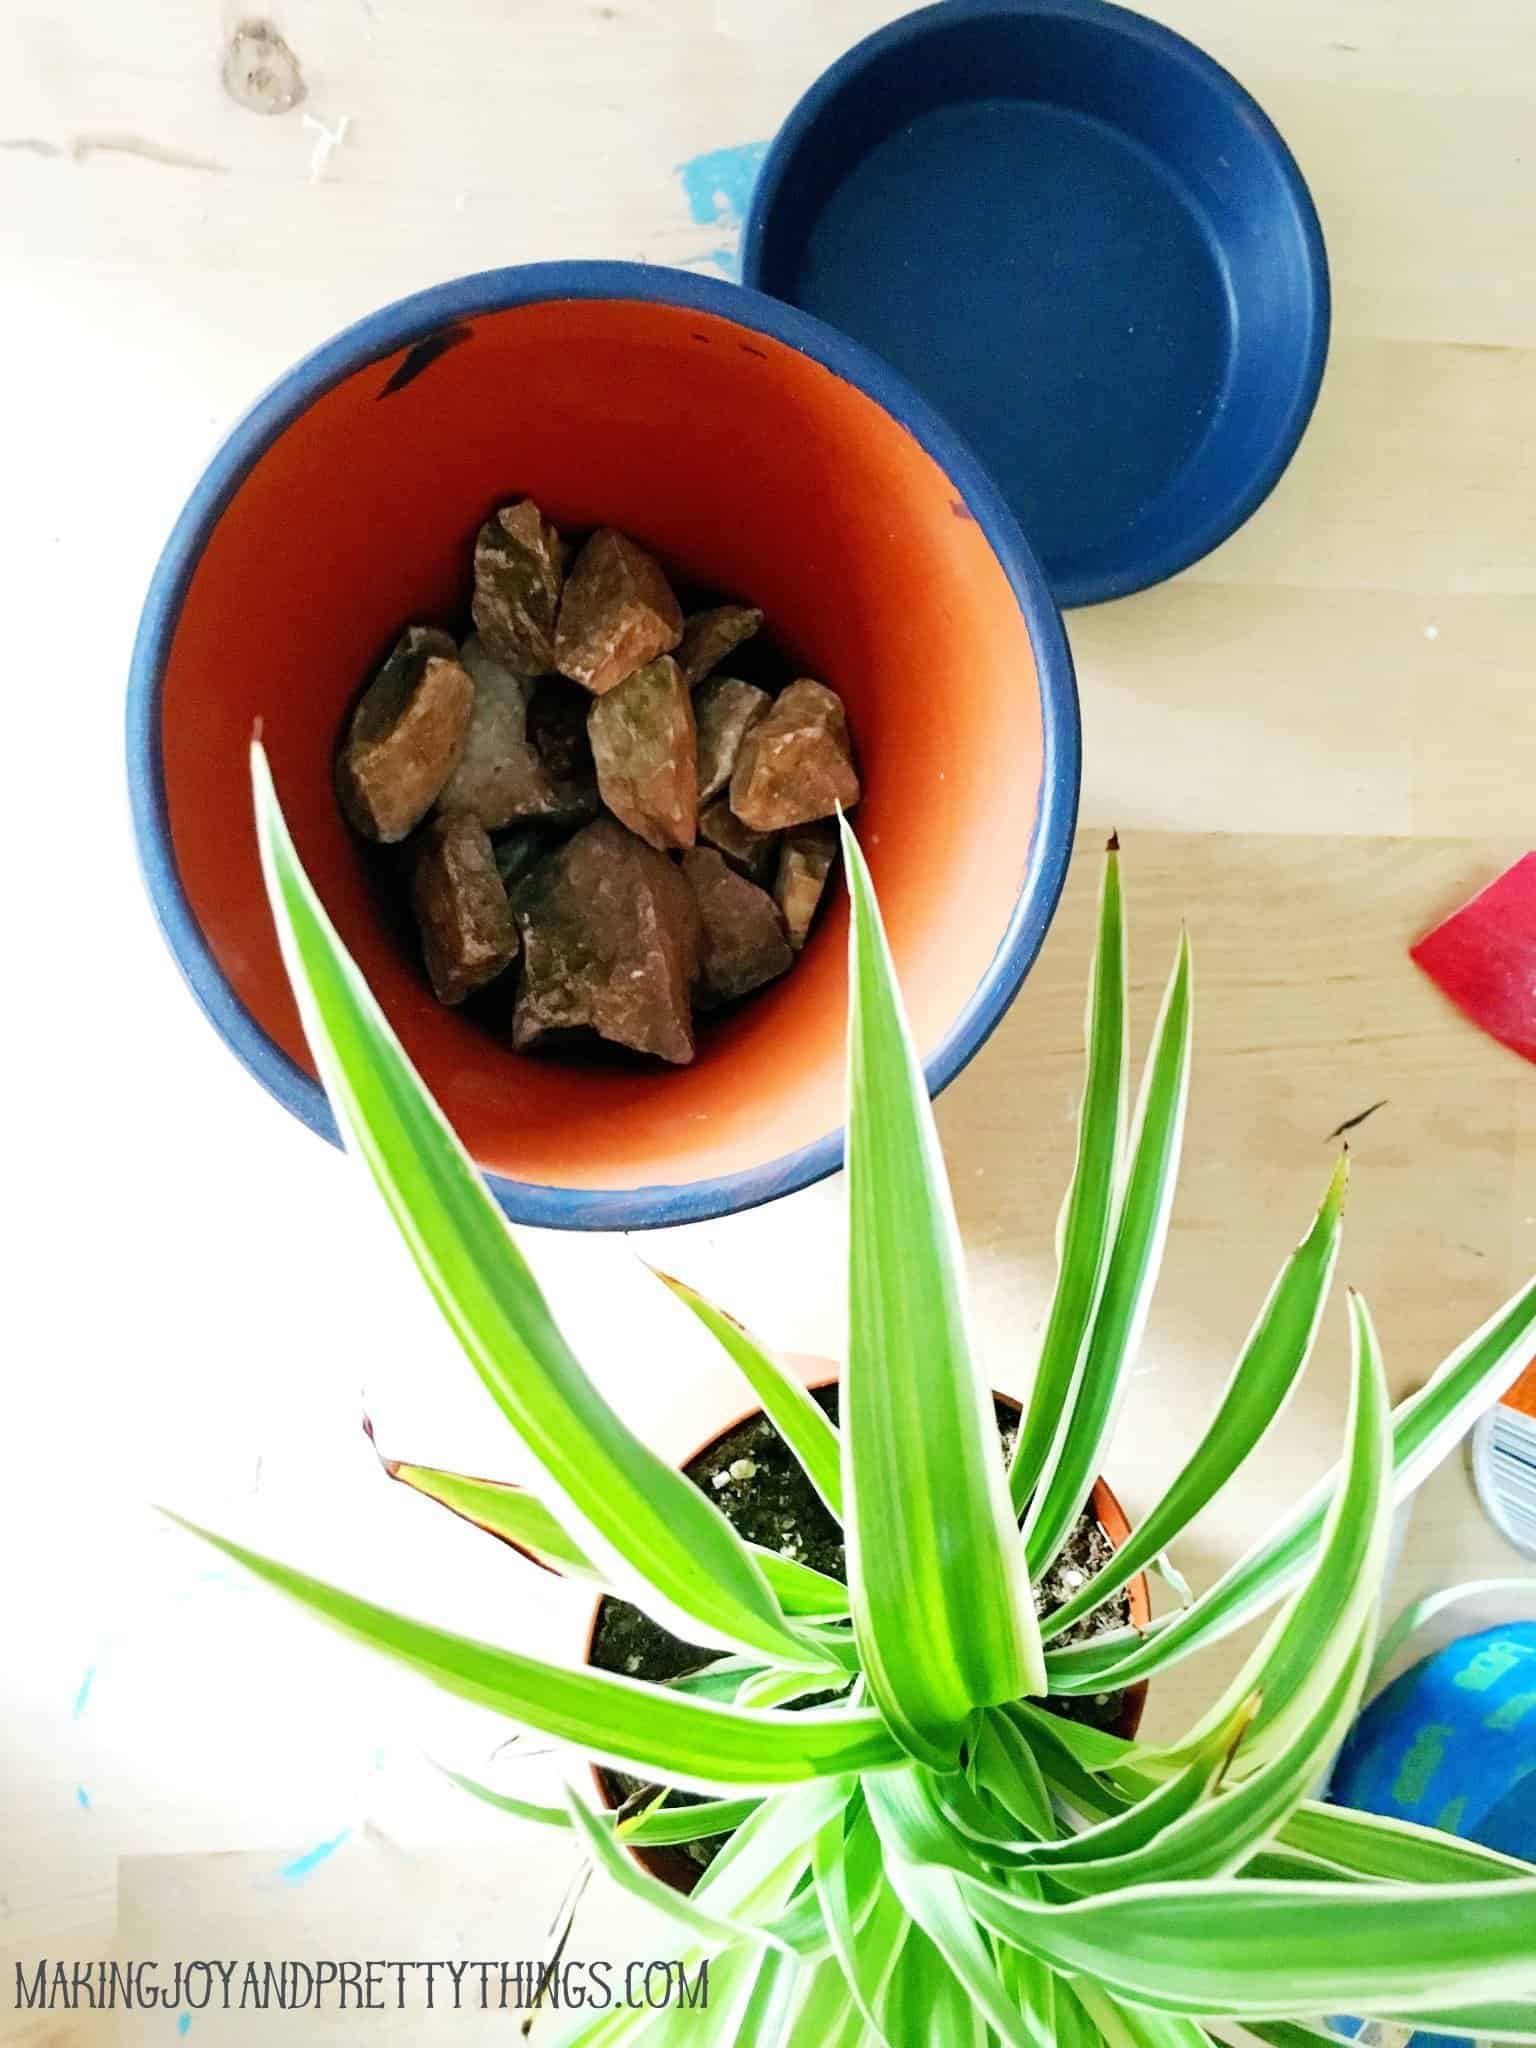
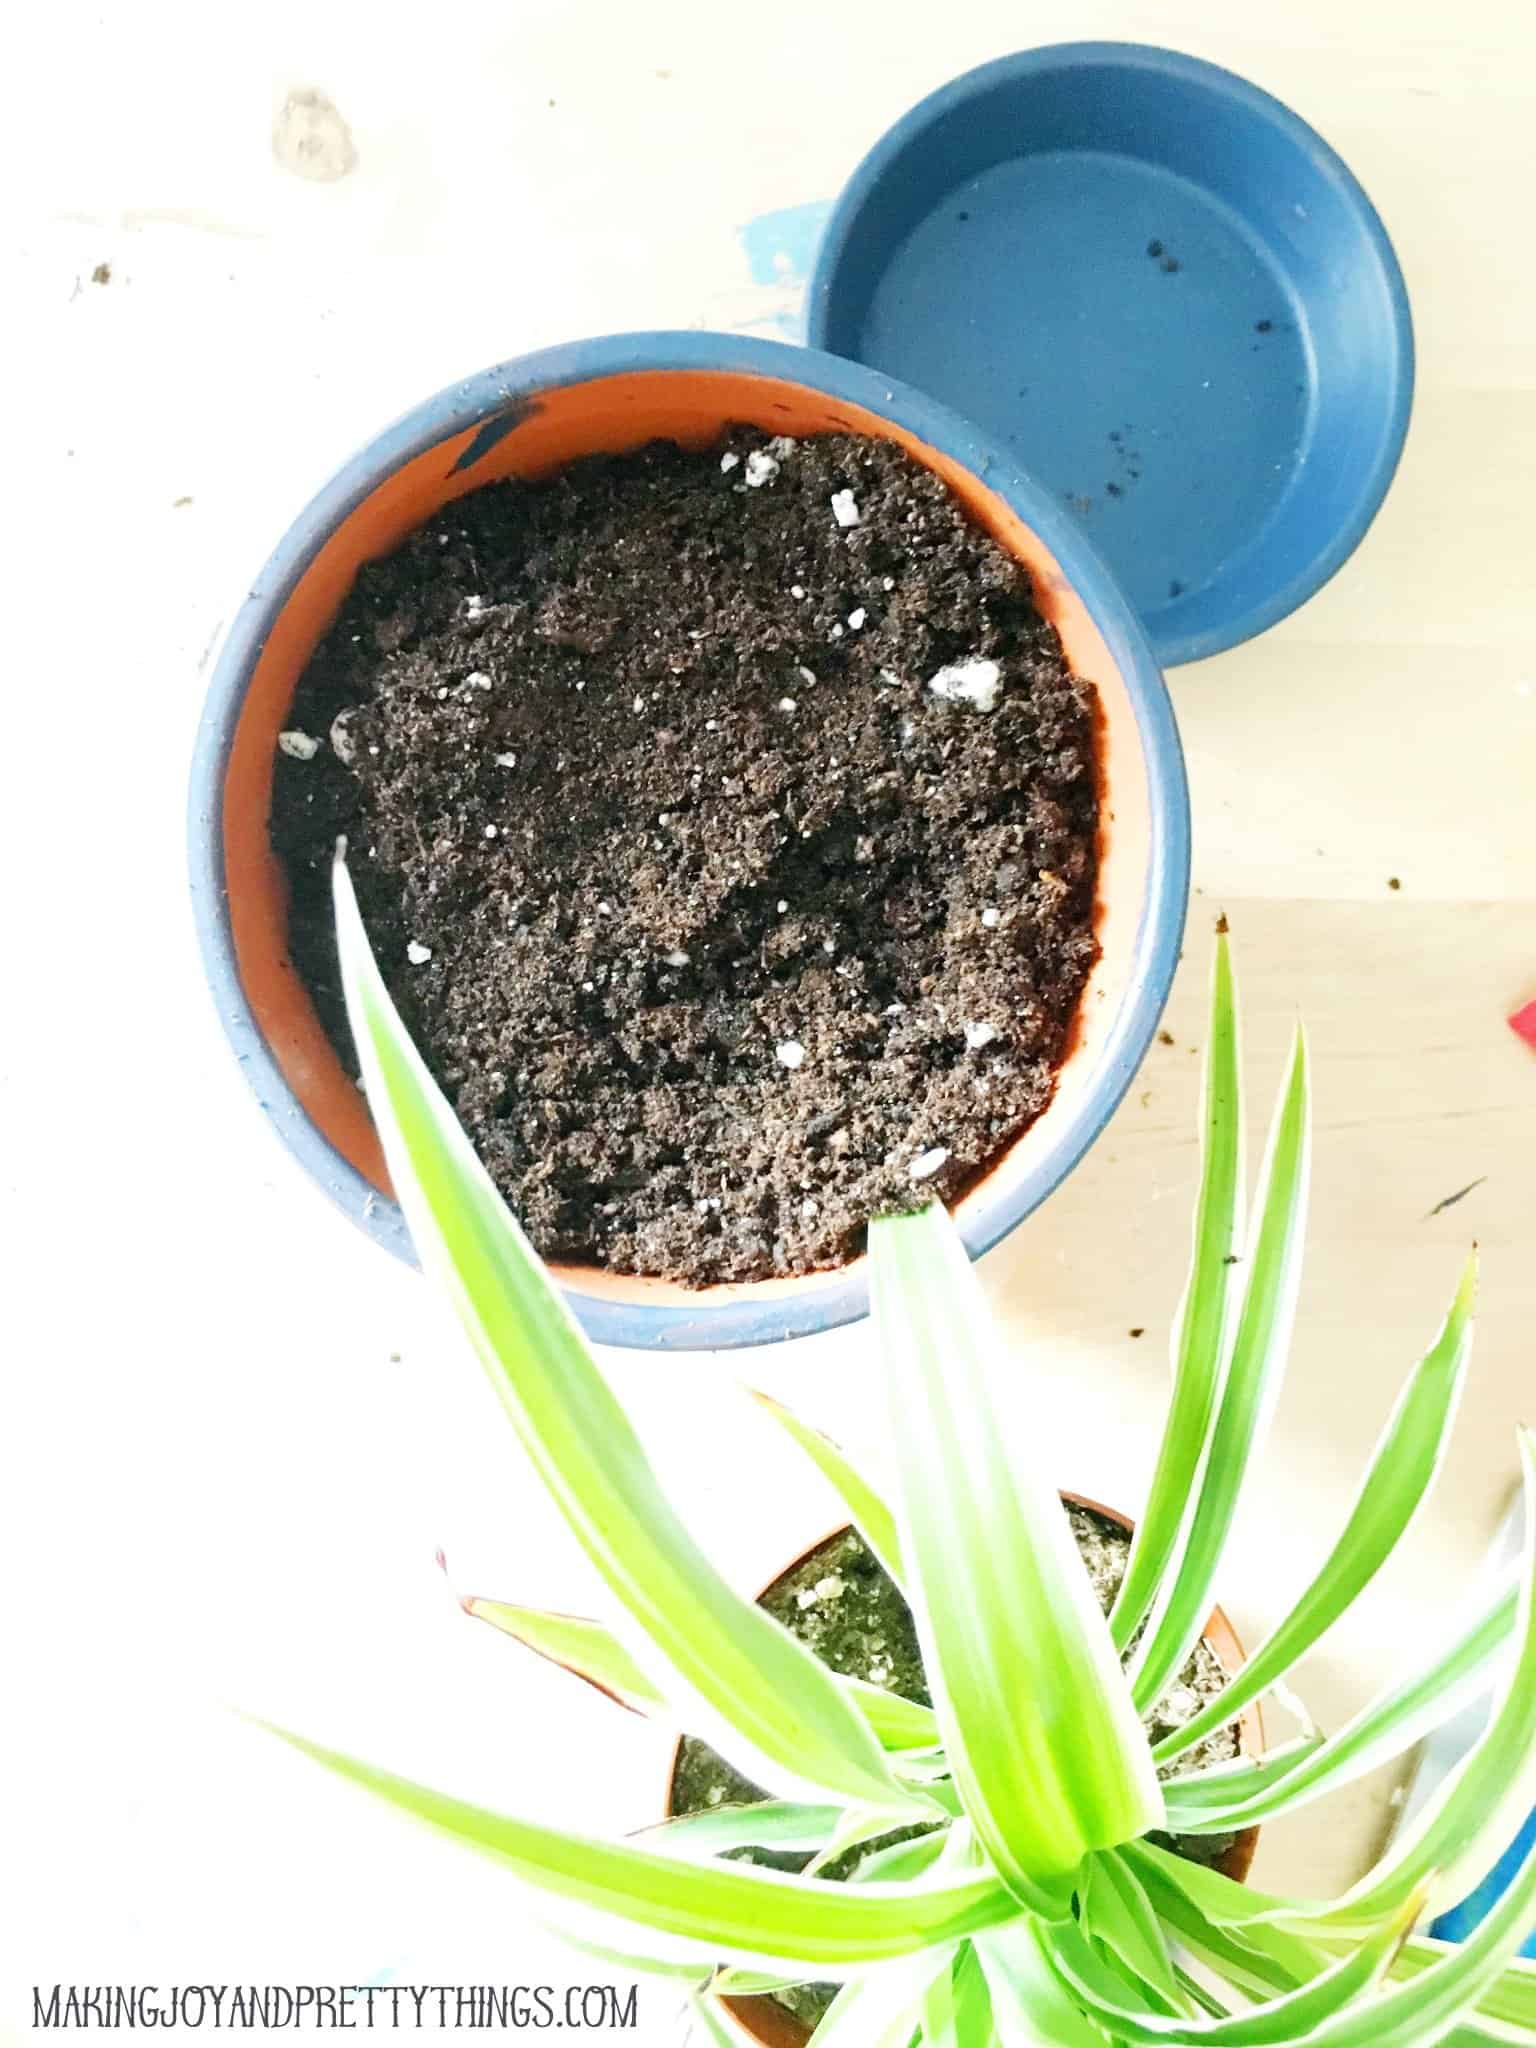
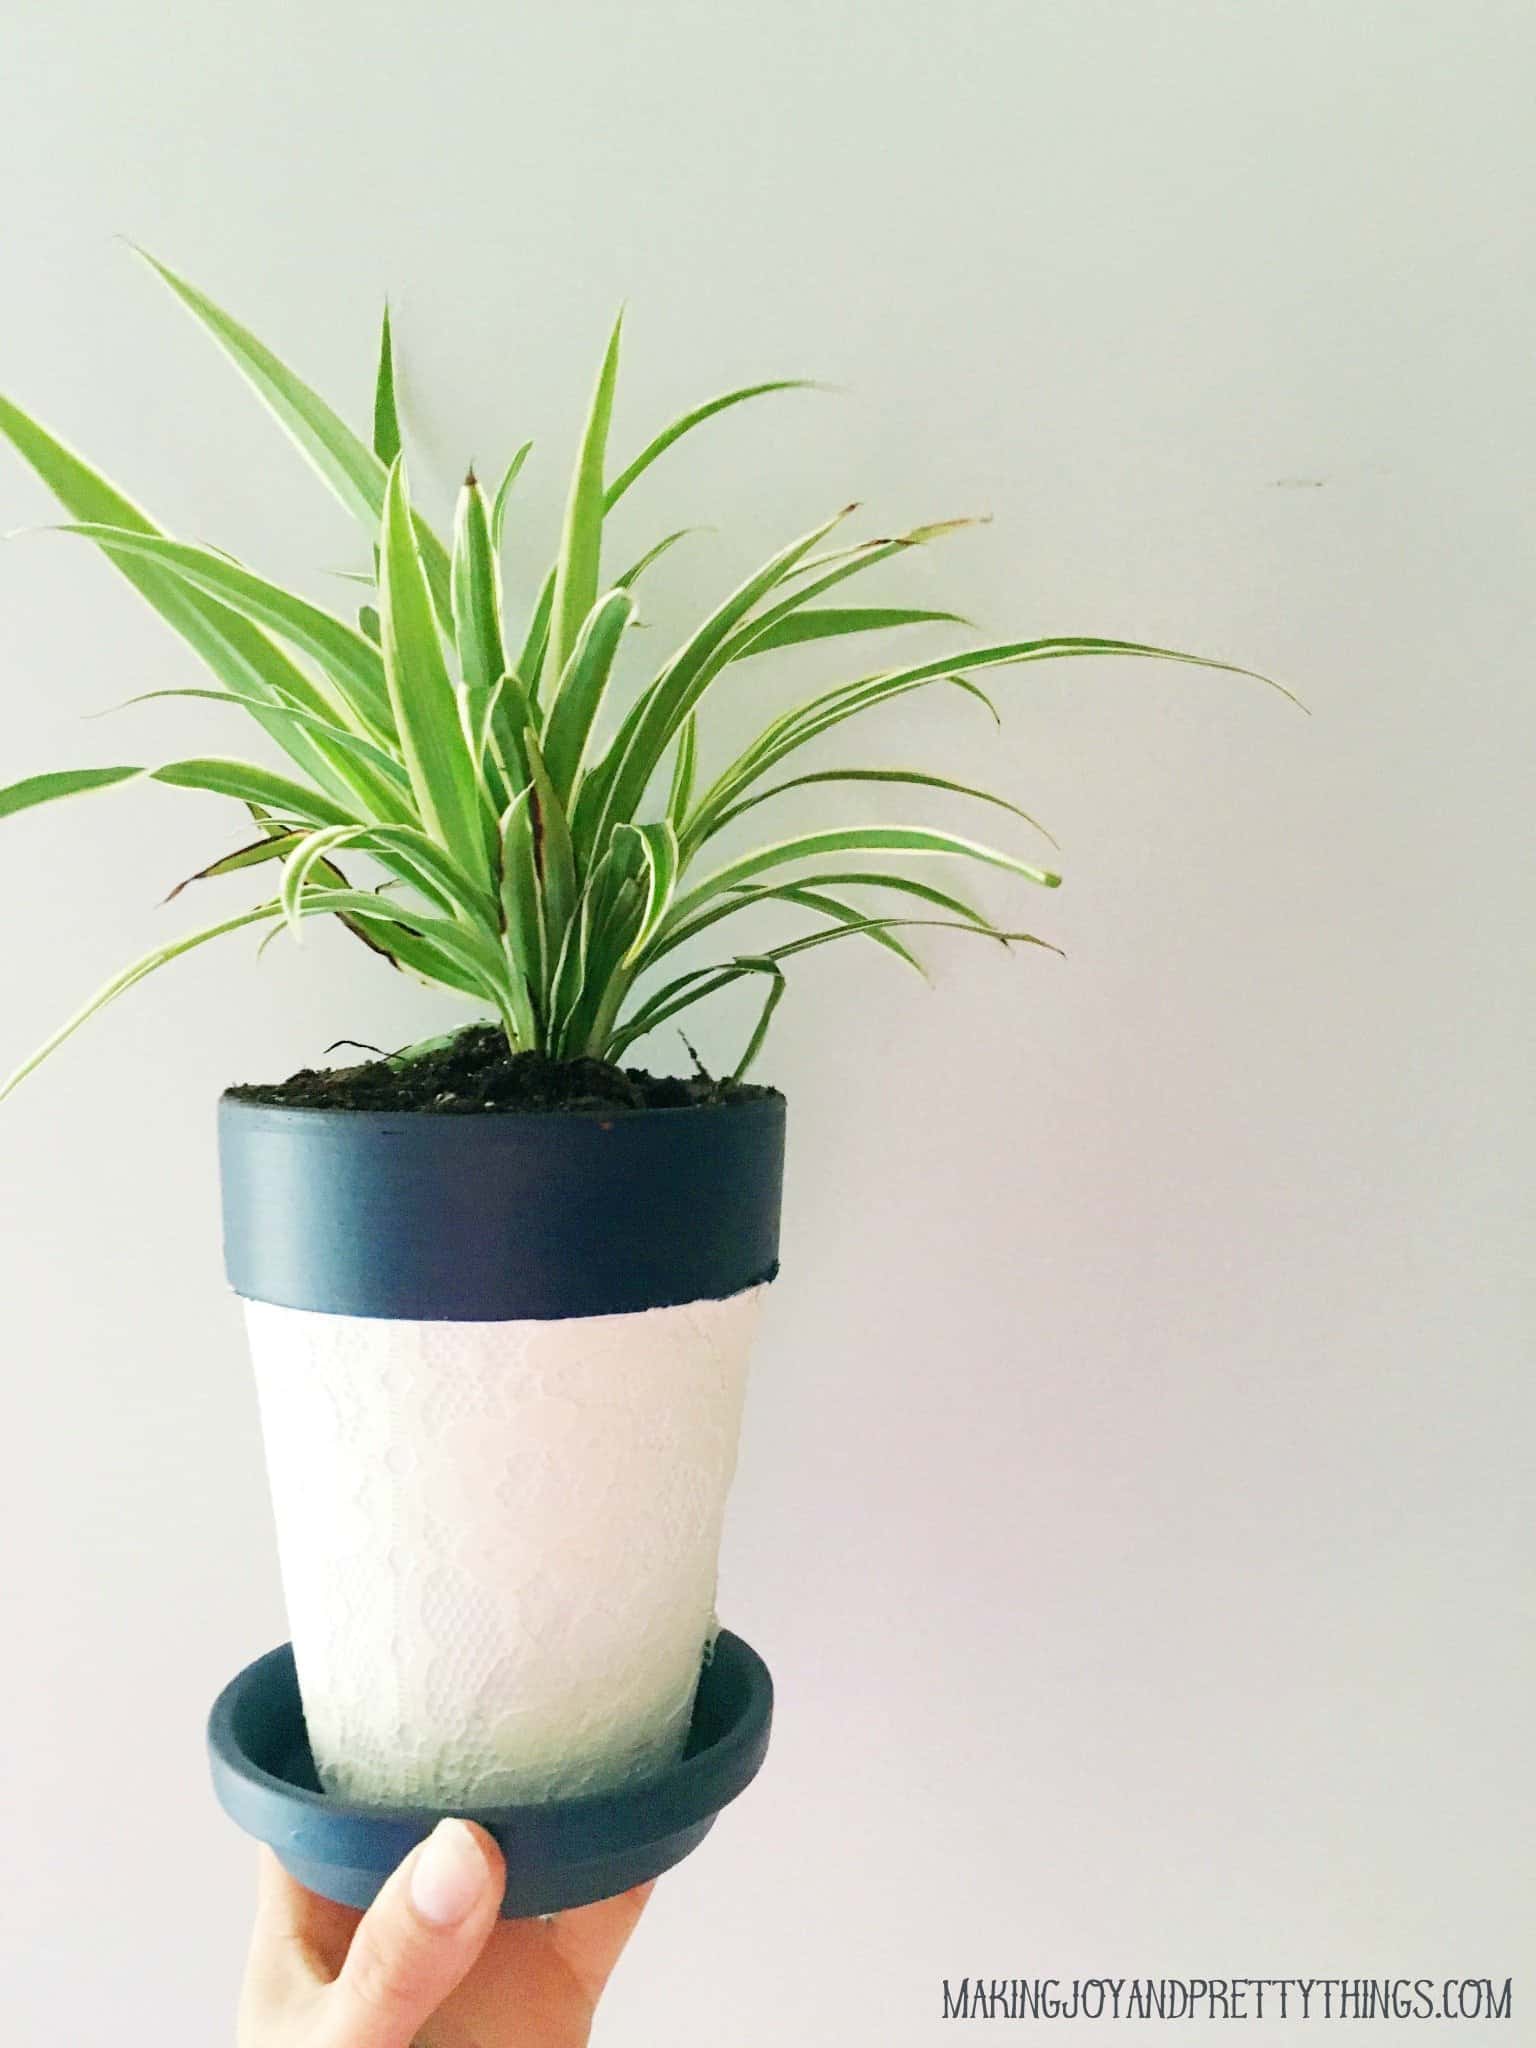
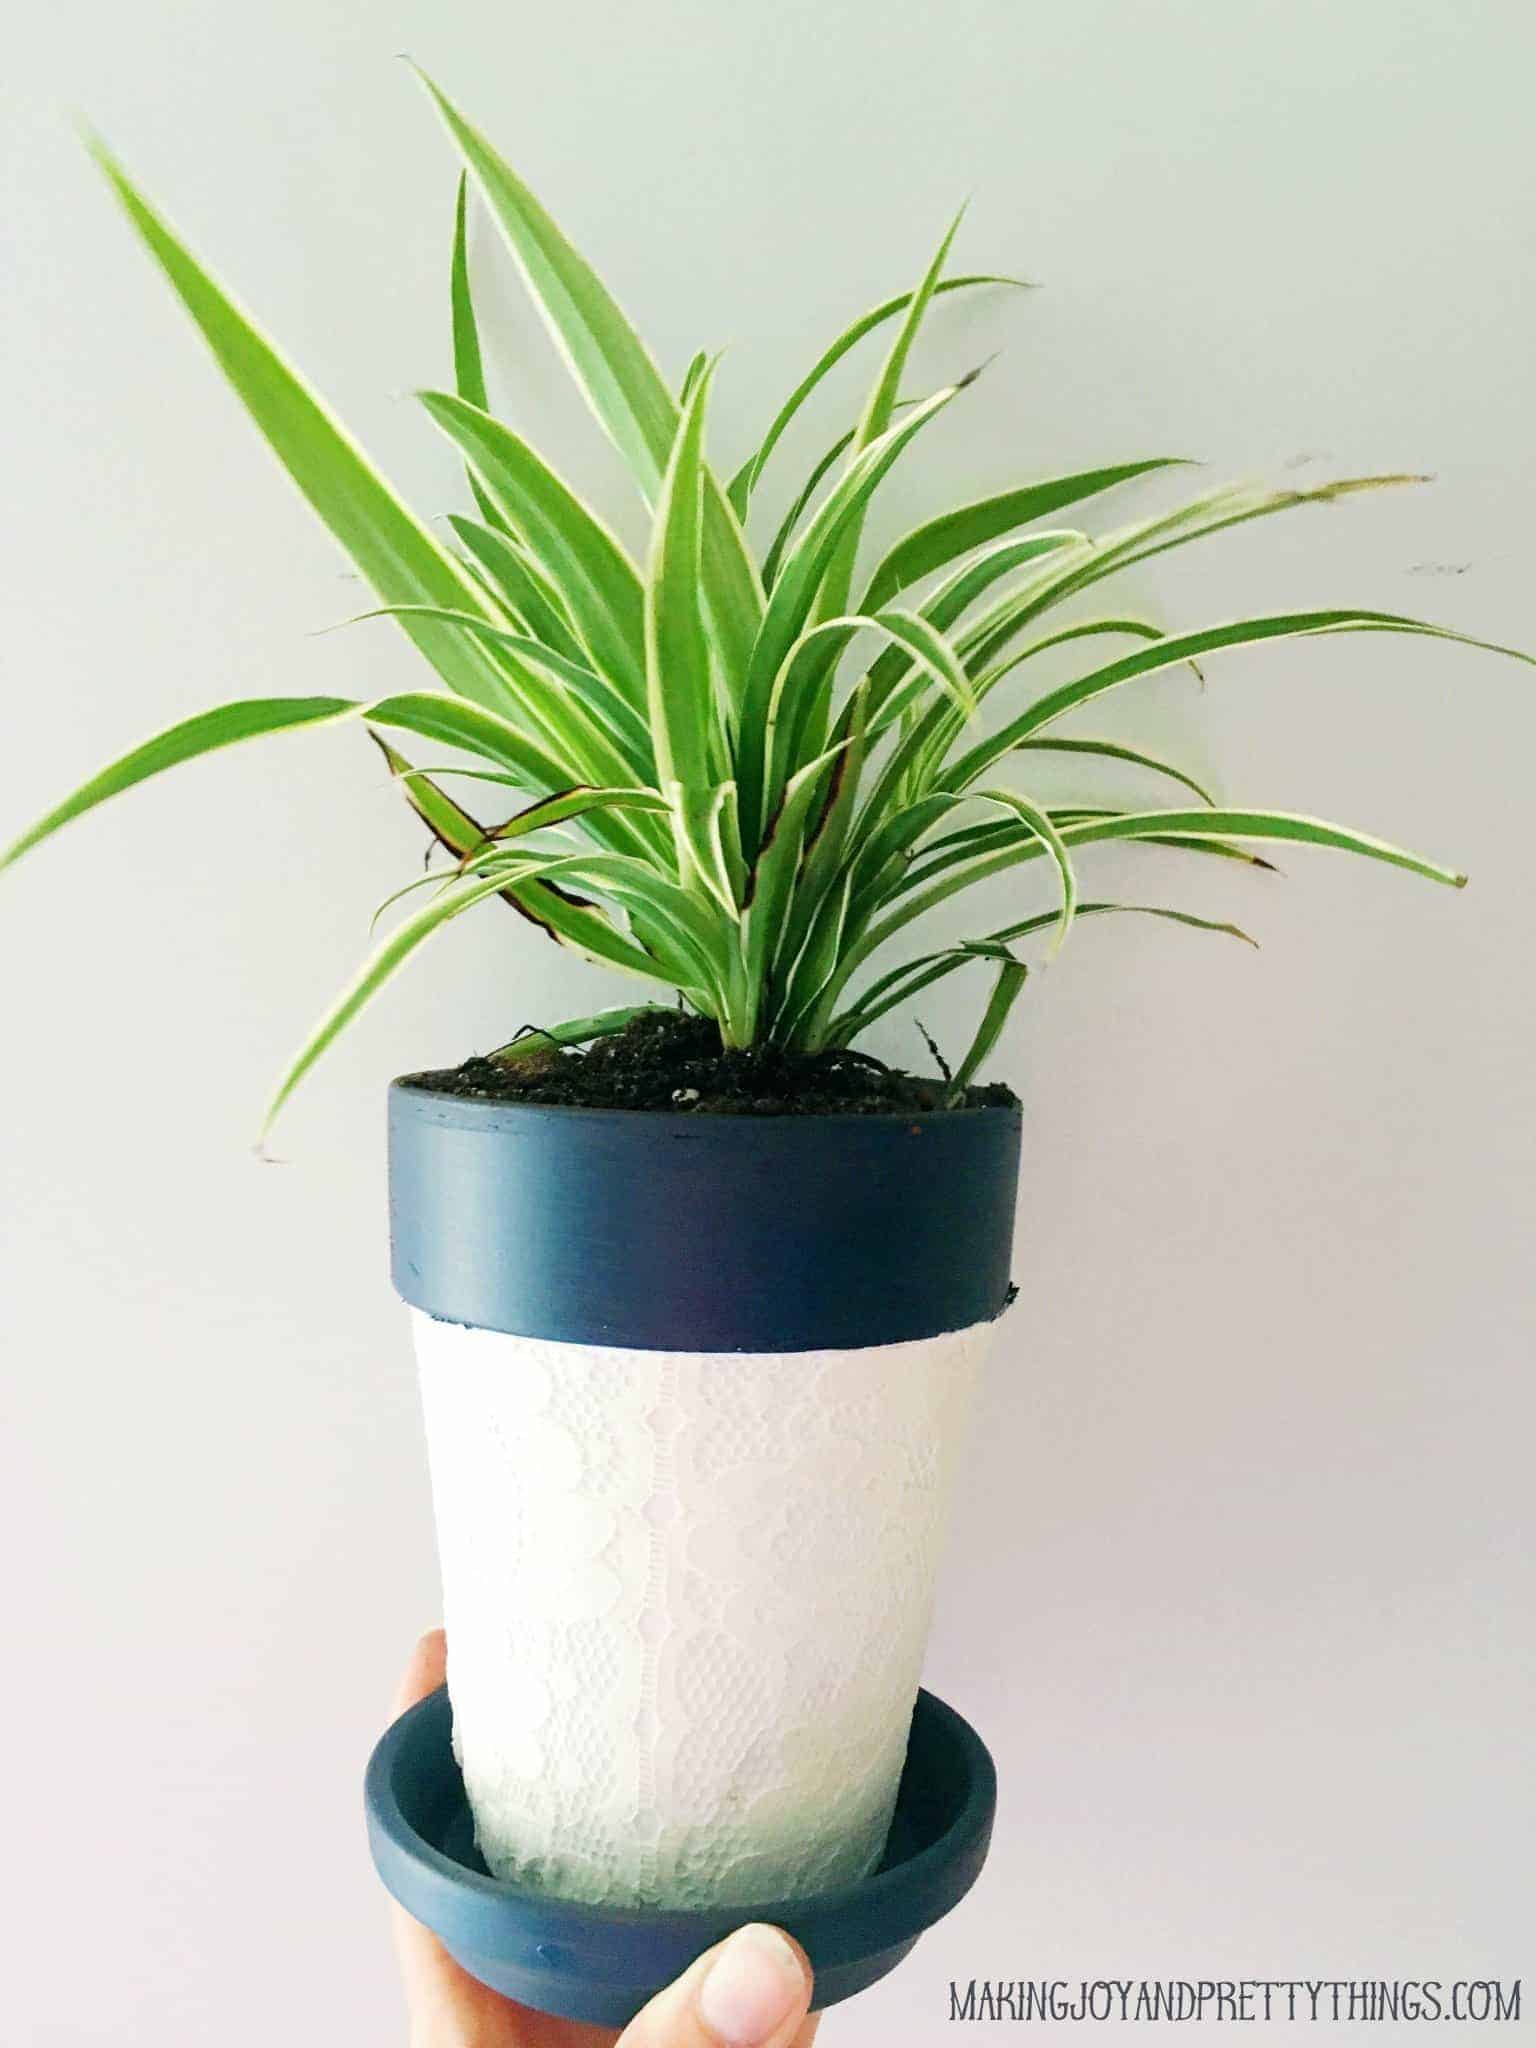
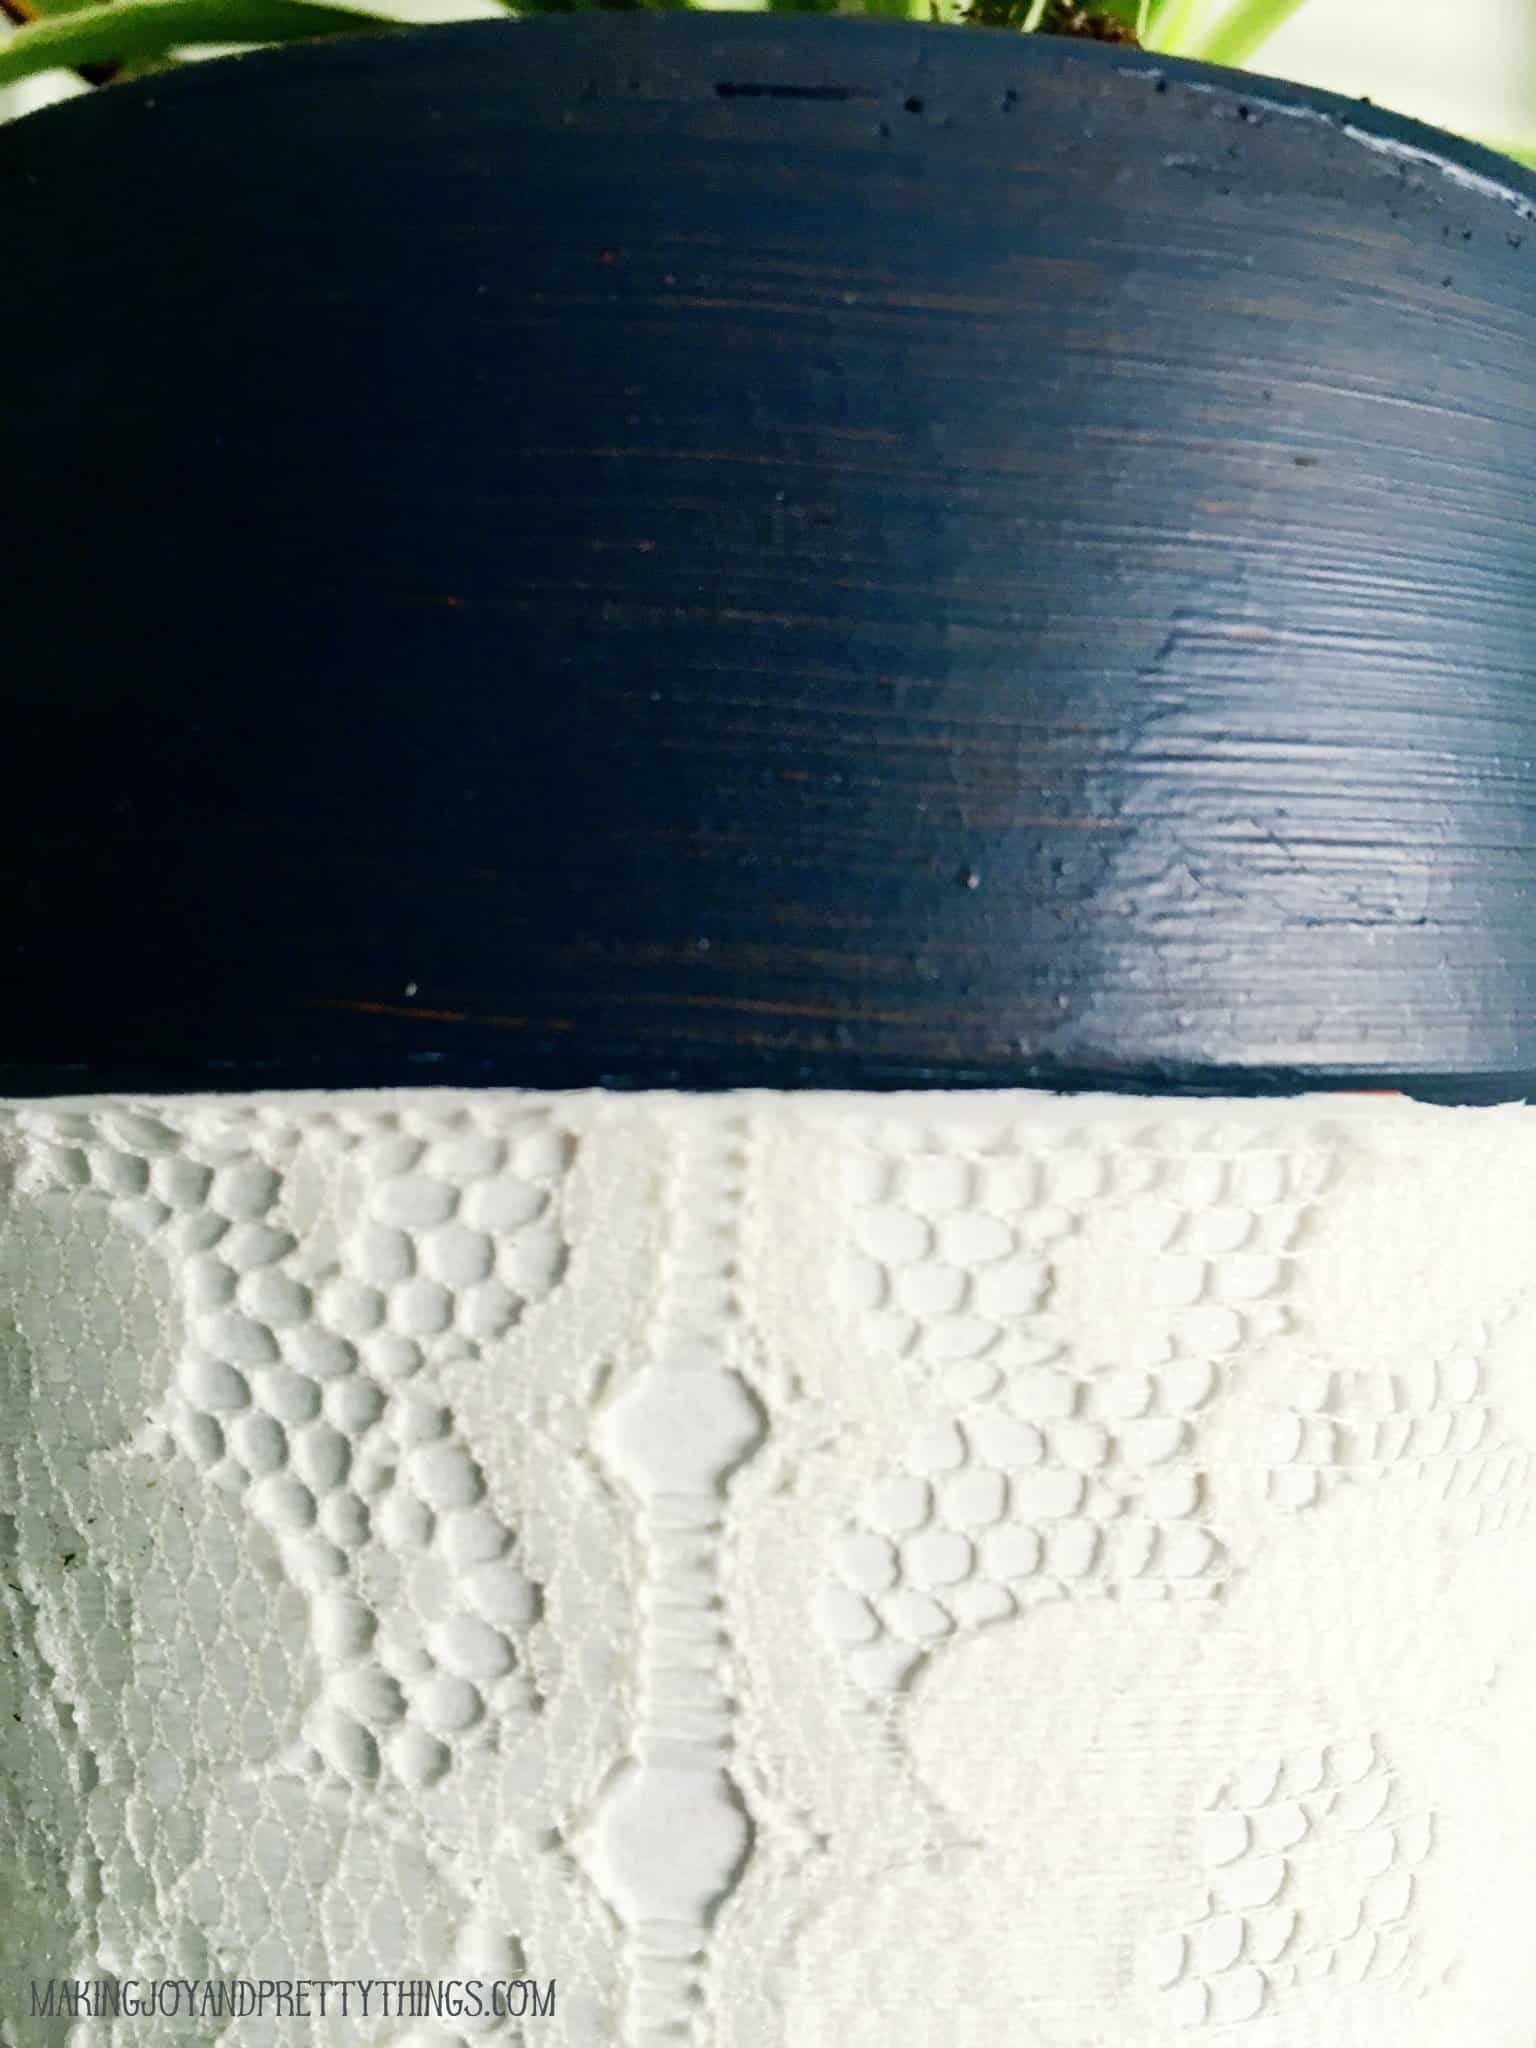
And there you have it! This was a 2-day project…day 1 being the paint and day 2 being everything else. I would love to hear from you and I hope you try it out! Have a great week, friends!
Find more floral projects here!
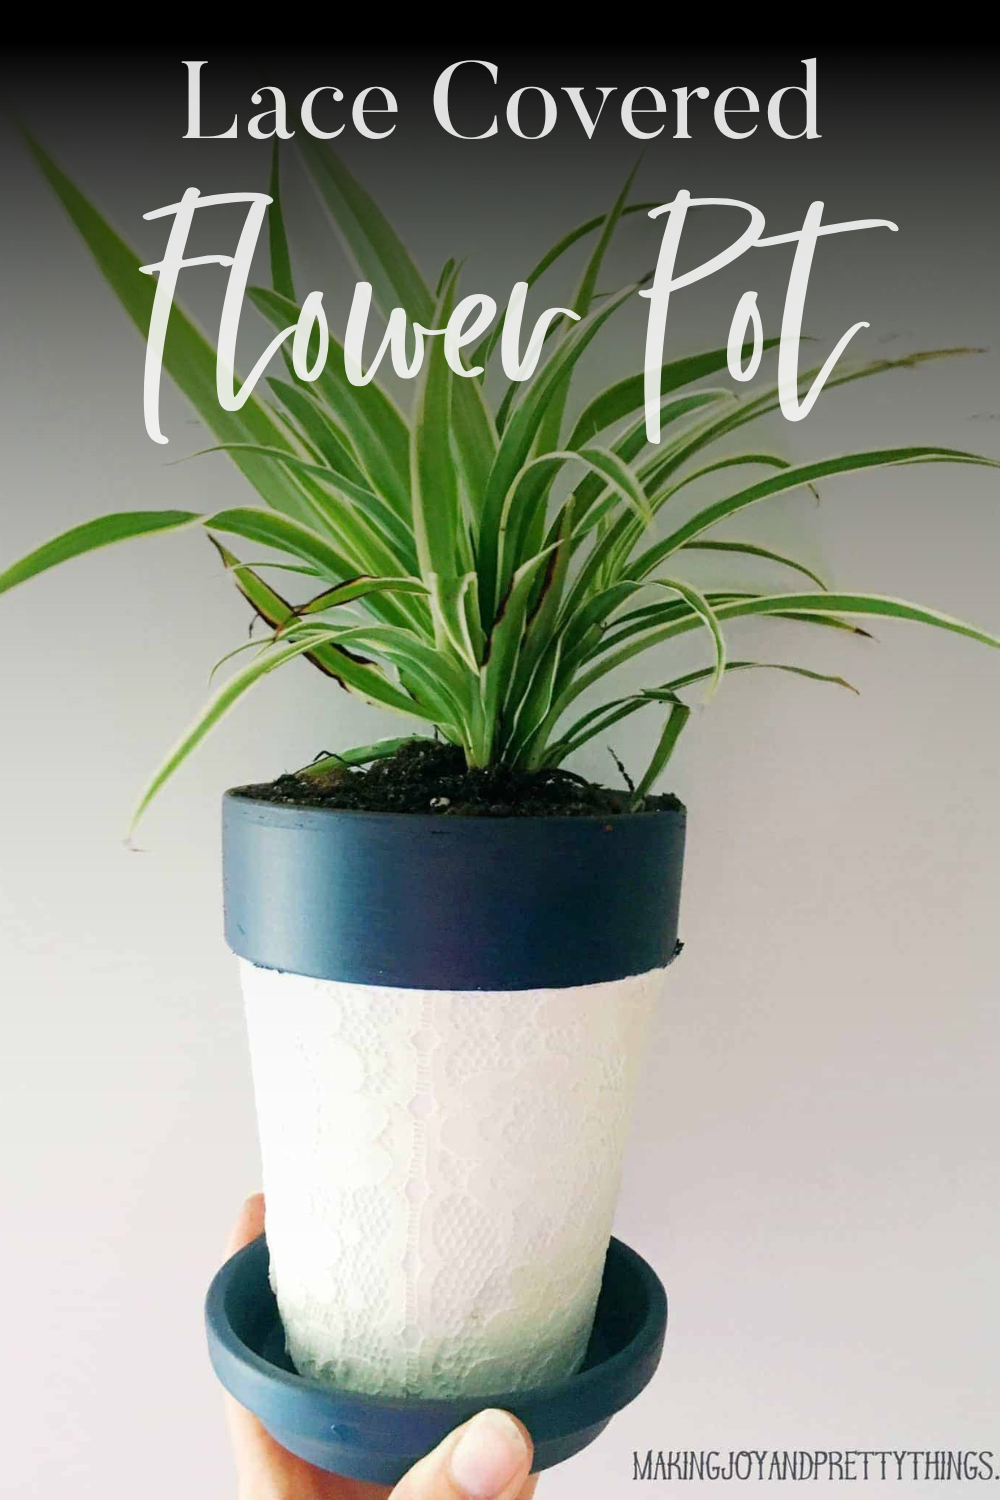
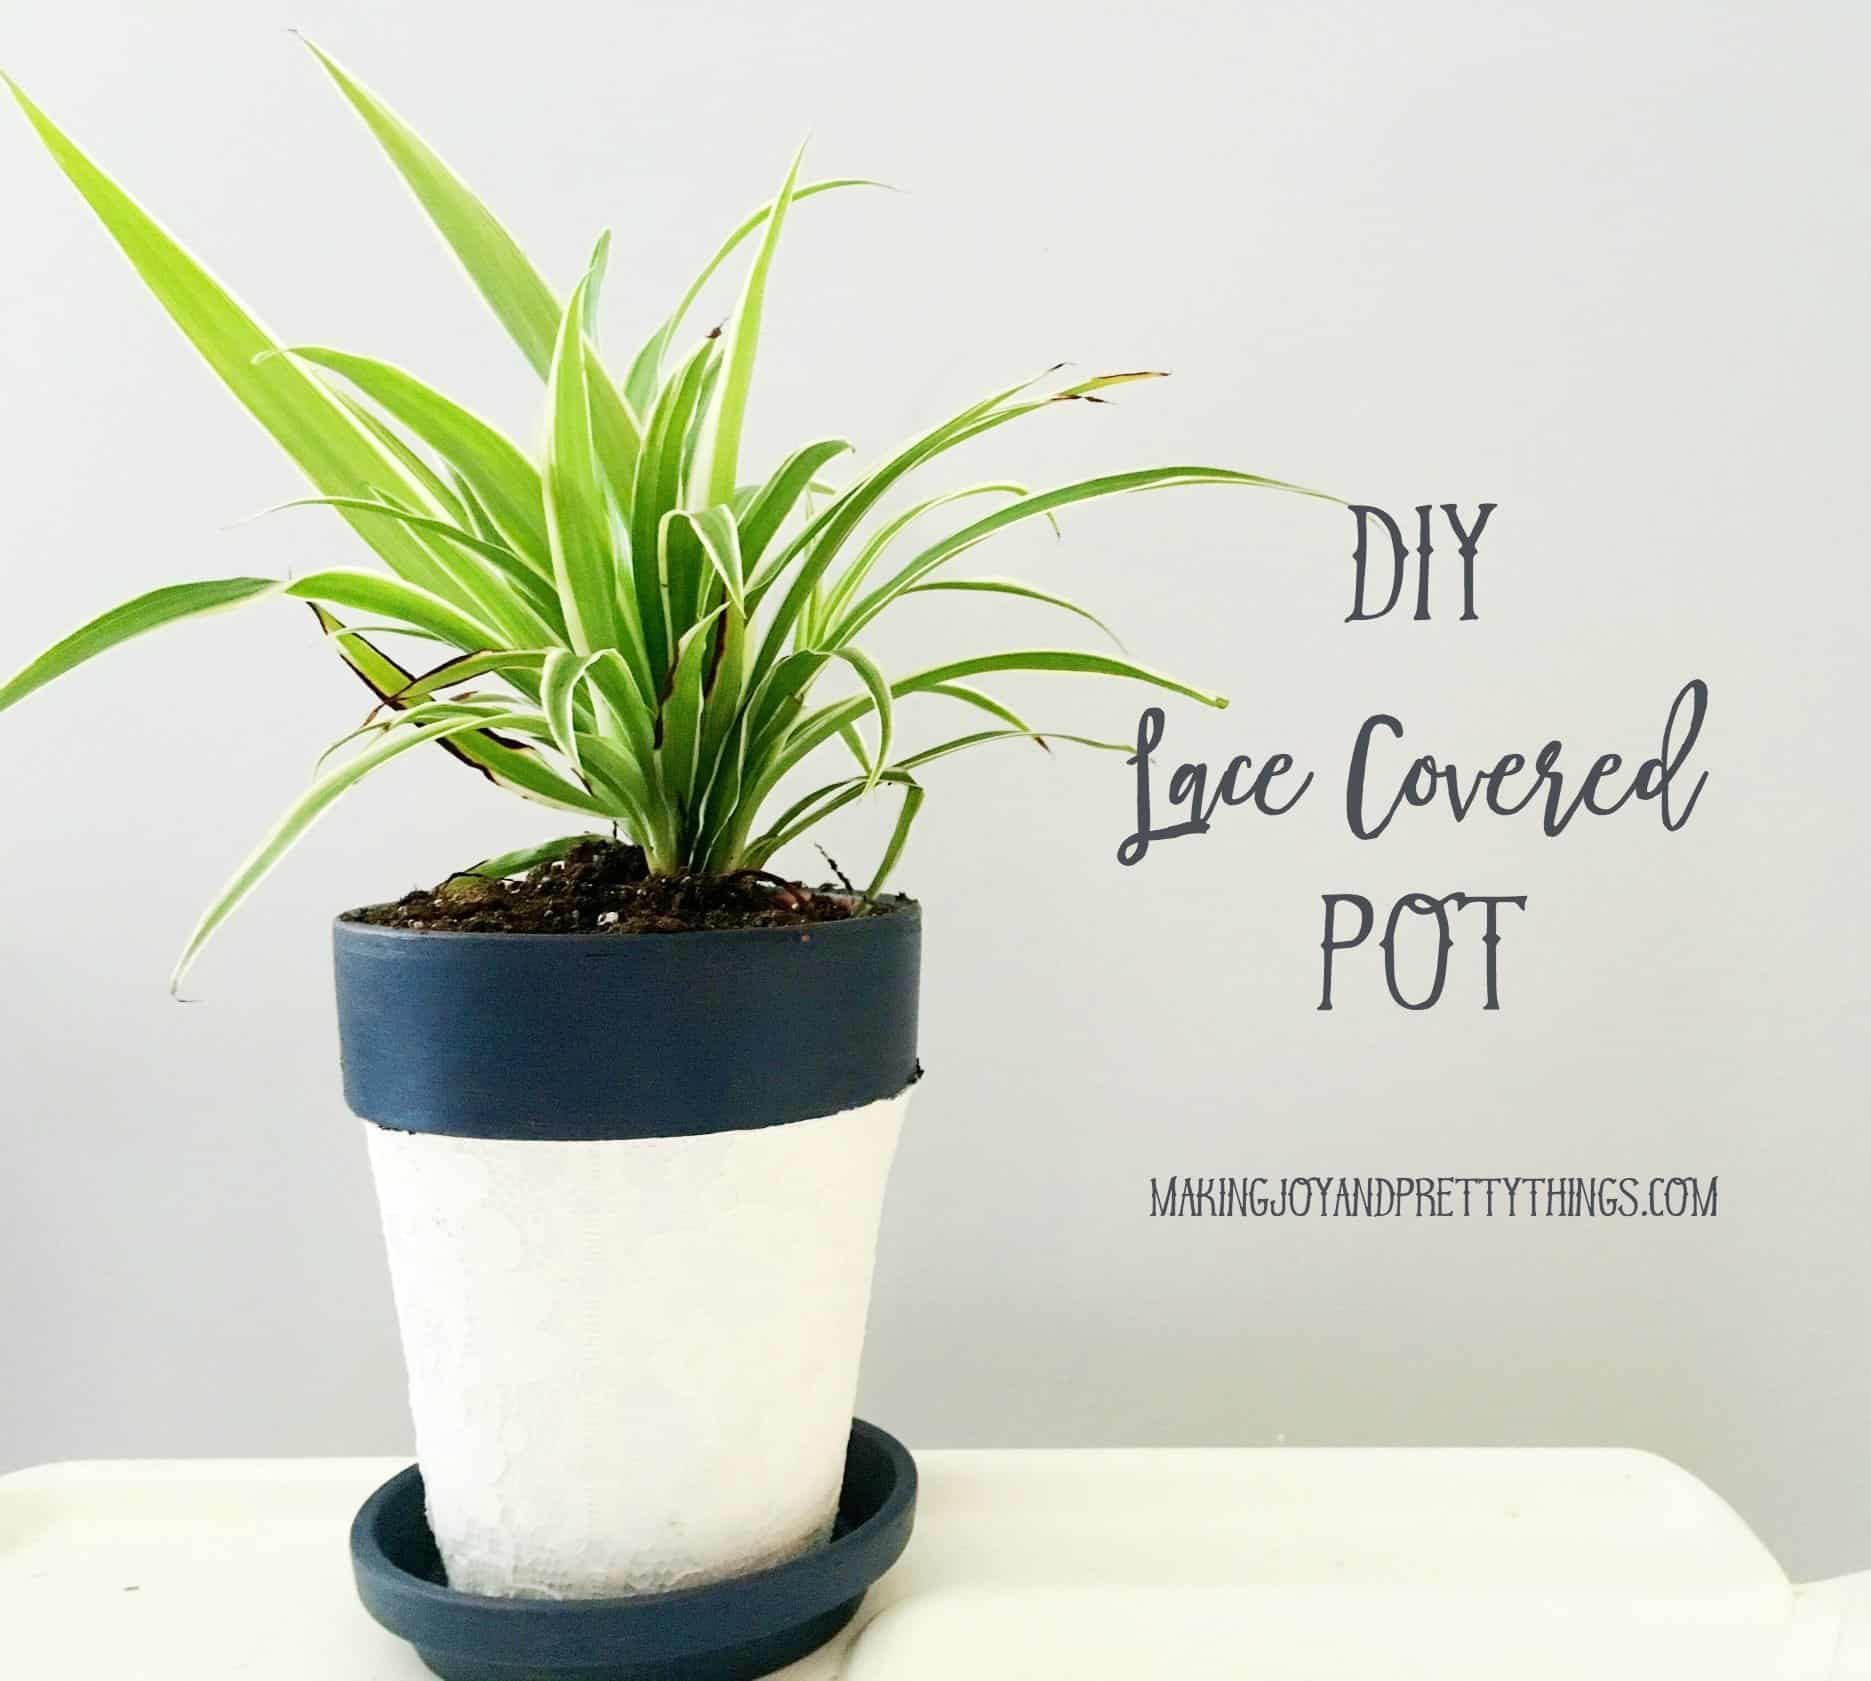

DIY Lace Pot: How to Cover a Pot with Lace
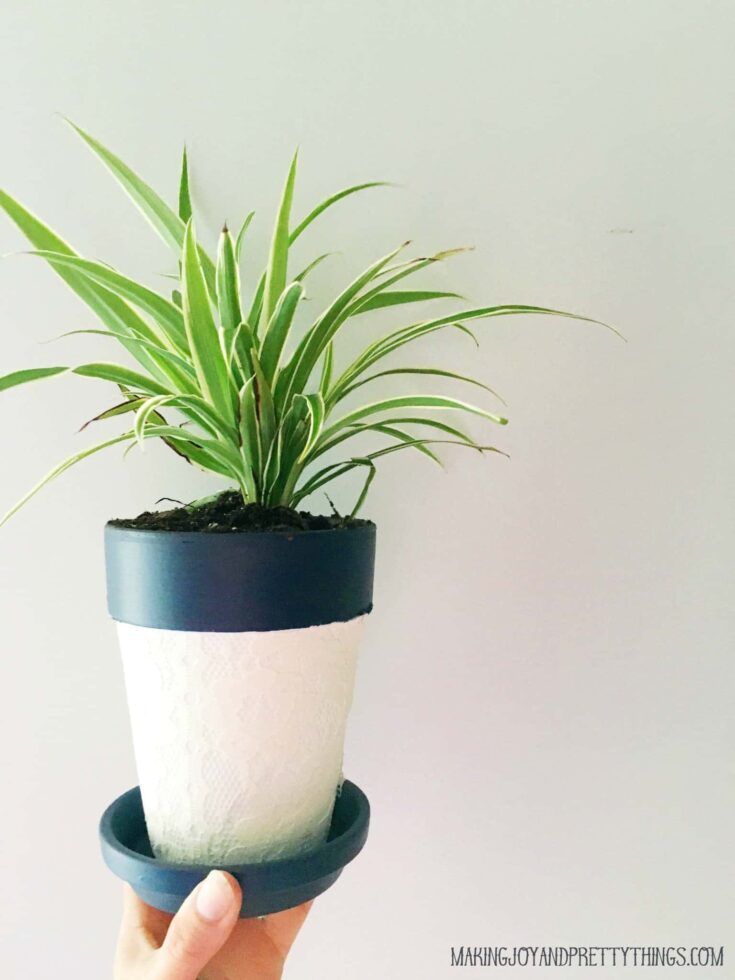
Learn how to cover a plain terra cotta pot with lace with this easy tutorial! This lace-covered planter craft is simple and fast, and looks great with any decor style.
Materials
- Terra Cotta Pot
- White Chalk Paint
- Foam Brush
- Spray Glue
- Scissors
- Lace
- Acrylic Paint of your choice (for top rim of pot and pot tray)
- Rocks + Potting Soil + Plant
Instructions
- First, paint the terra cotta pot. You only want to paint the main body of the pot first (leave the rim and saucer unpainted). I used 2 coats of Rustoleum Chalk Paint in Linen.
- Next, cut the lace fabric. Lay the terra cotta pot down on its side to measure how much fabric you'll need. You will only need enough fabric to cover up to right under the unpainted rim.
- Then spray the painted section of the pot with adhesive spray.
- Wrap the lace around the pot, starting at the top, making sure the edge of the lace is flush with the bottom of the rim. Make sure the lace lies smooth. To wrap the lace around the bottom, pull it tightly to avoid creases. (Of you could also cut slits in the lace, then glue the lace to the underside of the pot.)
- Optional: Next, paint the rim and saucer a color of your choice. Pro-tip: wrap painter's tape along the top of the lace so none of the colored paint leaks onto the white lace.
- Finally, fill the pot with rocks, soil, and a plant. You could also use faux plants or flowers!

