How To Hem Curtains Without Sewing
Need to hem curtains without sewing? Learn how to hem curtains without a sewing machine using curtain hemming tape and iron with this easy step-by-step tutorial.
Are your curtains too long? No sewing machine? No problem!
Did you know that you can quickly and easily make curtains shorter even if you don’t have a sewing machine?
In this tutorial, I’m going to show you how to use curtain hemming tape and an iron to make curtains the perfect length – just barely touching the floor.
Frequently Asked Questions About Hanging Curtains
Let’s Talk About Curtain Length… I often see curtains that are way too short or way too long.
Curtains too long: There is a scenario where long, puddled curtains are beautiful and that’s when you’re going for that look. Think of a French country romantic type space. I don’t feel like there is another scenario in which that is the goal.
Curtains too short: This happens all the time and it looks kinda like the walls are wearing high-water jeans…and not in a good way.
Also, people will hang curtain rods to match the length of their curtains. I wouldn’t do that either.
How high should you hang a curtain rod?
To get that “interior-designer” look, your curtain rods should be hung high and wide. You do NOT want to hang the curtain rod at the top of the window frame, which is typically where most people put them. If you’ve done this, don’t worry. It’s a very common mistake!
To make the room feel taller and larger, aim to put the curtain rod closer to the ceiling. A good place to start is 4-6 inches from the top of the window frame.
However, if you have taller ceilings, you may want to go even higher than that.
How wide should the curtain rod be?
Another common mistake is getting a curtain rod that is too narrow for the window. Aim for 8-12 inches wider than your window.
Most curtain rods have adjustable widths, so just make sure it can be adjusted to be 12 inches wider than the window.
Related Reading: Learn how to update an old curtain rod & how to make an industrial curtain rod here!
How long should curtains be?
In general, curtains should just barely touch the floor or hover just slightly over the floor.
Most curtains come at standard lengths (usually 63 inches, 84 inches, 94 inches, 108 inches, or 120 inches).
I want to challenge you to hang your curtain rod high and wide and then either find curtains that fit that or get bigger ones that you can sew. Doing this simple change will make such a difference in how the room looks.
Hanging Before Hemming
We’ve been working on miss Evie’s room for quite a while now.
When hung her curtains from IKEA and they were about 4-5 inches too long (which I knew was going to happen). I had planned on asking my mom to hem them with her sewing machine because I don’t have one.
Here’s the before shot:

But, then I had the idea to try to hem the curtains myself using a no-sew method!
As crafty and creative as I feel like I am, your girl cannot sew! I don’t even own a sewing machine!
I had done some research googling how to hem curtains without sewing or using curtain hemming tape. They were just curtains from IKEA so if I messed them up we were only down a little money, not like hundreds if they were custom curtains.
It turned out that making the curtains shorter was way easier than I expected and is totally doable for anyone with a household iron and about an hour’s worth of work!
How to Hem Curtains without Sewing: Step-by-Step Tutorial
This post contains affiliate links. Please, click here to read my disclosure policy.
No-Sew Curtain Hemming Supplies
- Curtains
- Scissors
- Fusion Web Curtain Hemming Tape
- Iron
- Ironing Board
- Measuring Tape
- Pencil
- Level
Step 1: Determine how much you need to cut off the bottom of the curtains.
The curtains were already hung and you could see that they were way too long.
First, I pulled the curtains pretty tightly (but not so tight that I stretched them or pulled the rod). Then, I pushed the curtains flat on the floor and smoothed the excess in front.
I measured the distance from where the curtains reach the floor to the end of the smoothed-out section as shown below.
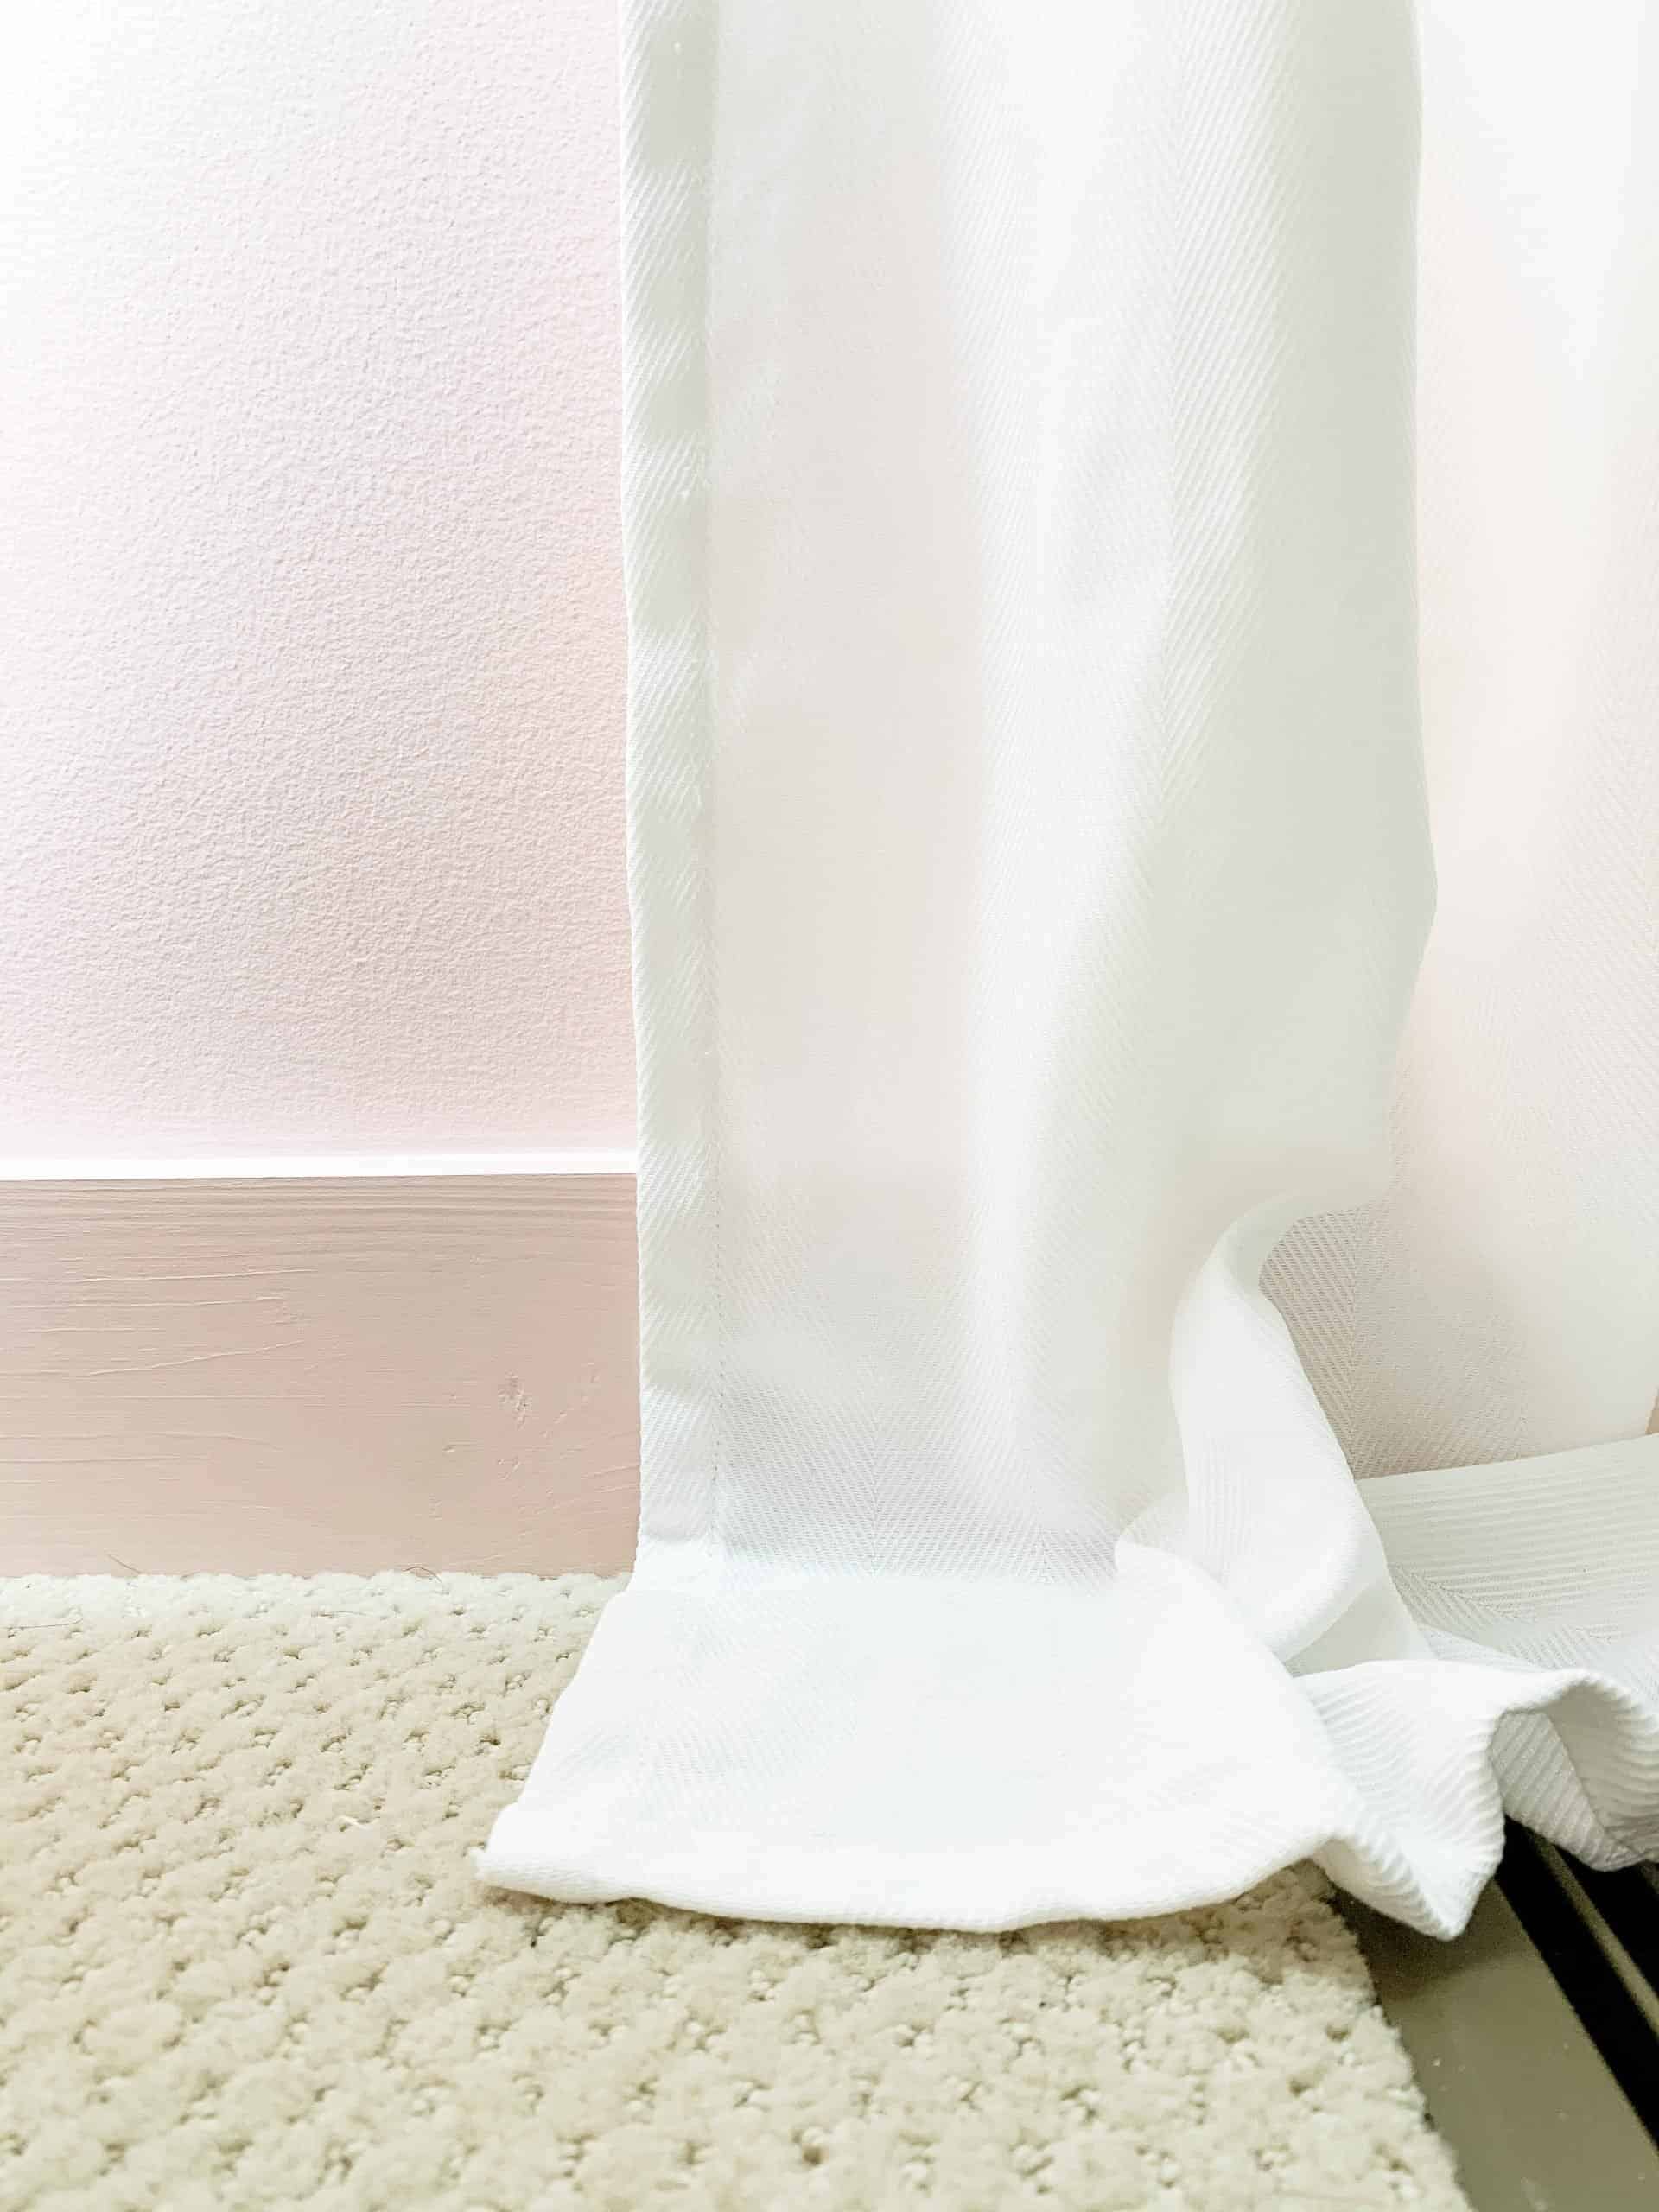
I did this in several sections, just to be sure I was going to cut the right amount off.
Remember, you can always cut more off. You can’t add more on if you cut them too short.
For me, this was 5 inches.
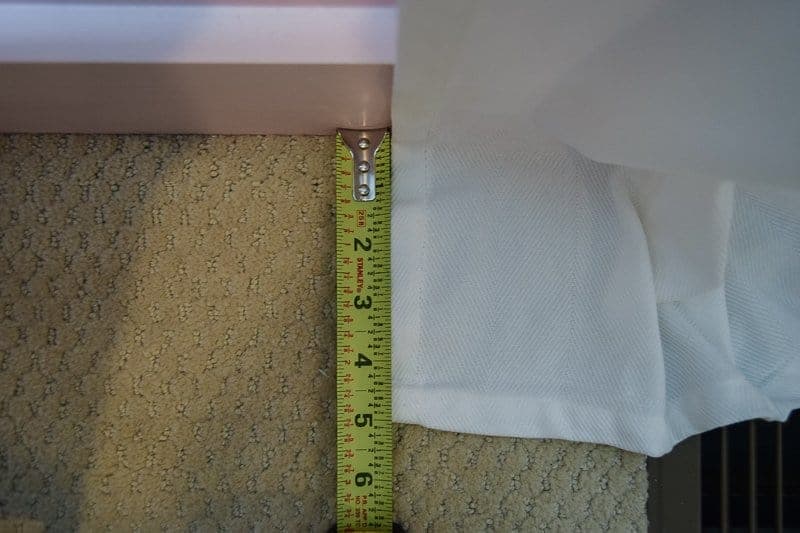
Then, you subtract 2 inches from that number to account for the new seam you’re making with the no-sew tape.
This meant I needed to cut 3 inches off the bottom.
Remember to subtract 2 inches (or whatever your no-sew tape or fusion web indicates) from the total length that needs cut off of your curtains to account for the seam you’re going to make.
Step 2: Mark the bottom of the curtains in several different spots along the curtain panel.
For this step, I used an ironing board, as you’ll need this for the fusion web or no sew tape. But, any hard, flat surface will work.
Make sure to smooth out the curtains and mark 3″ (or whatever your measurement is) from the bottom of the panel.
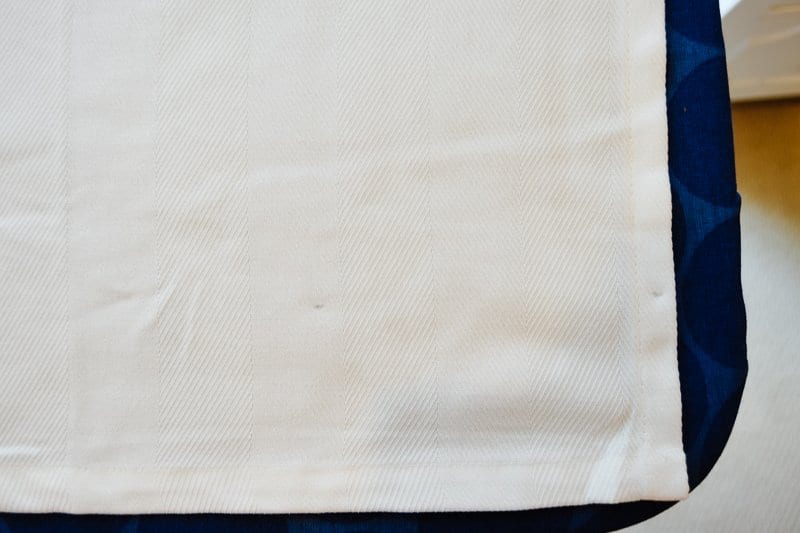
I then used a level to connect the different 3″ marking along the curtain with a straight line.
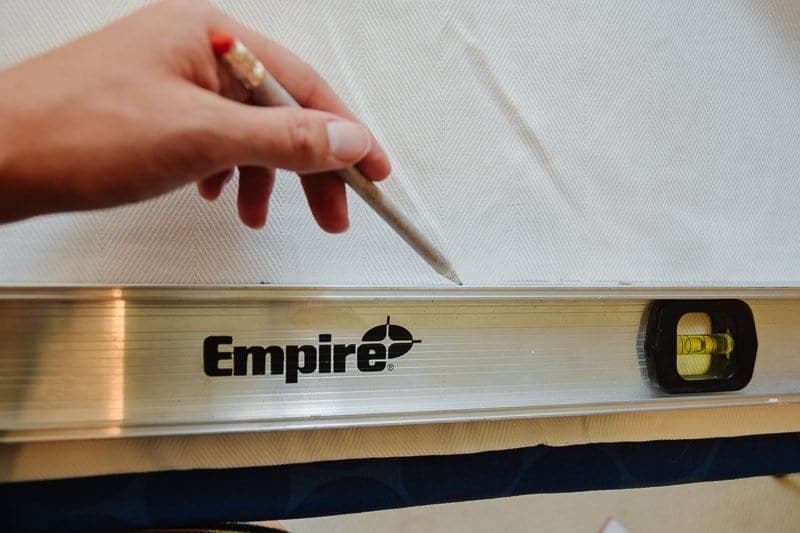
Step 3: Use scissors to cut a straight line along the pencil line you just drew.
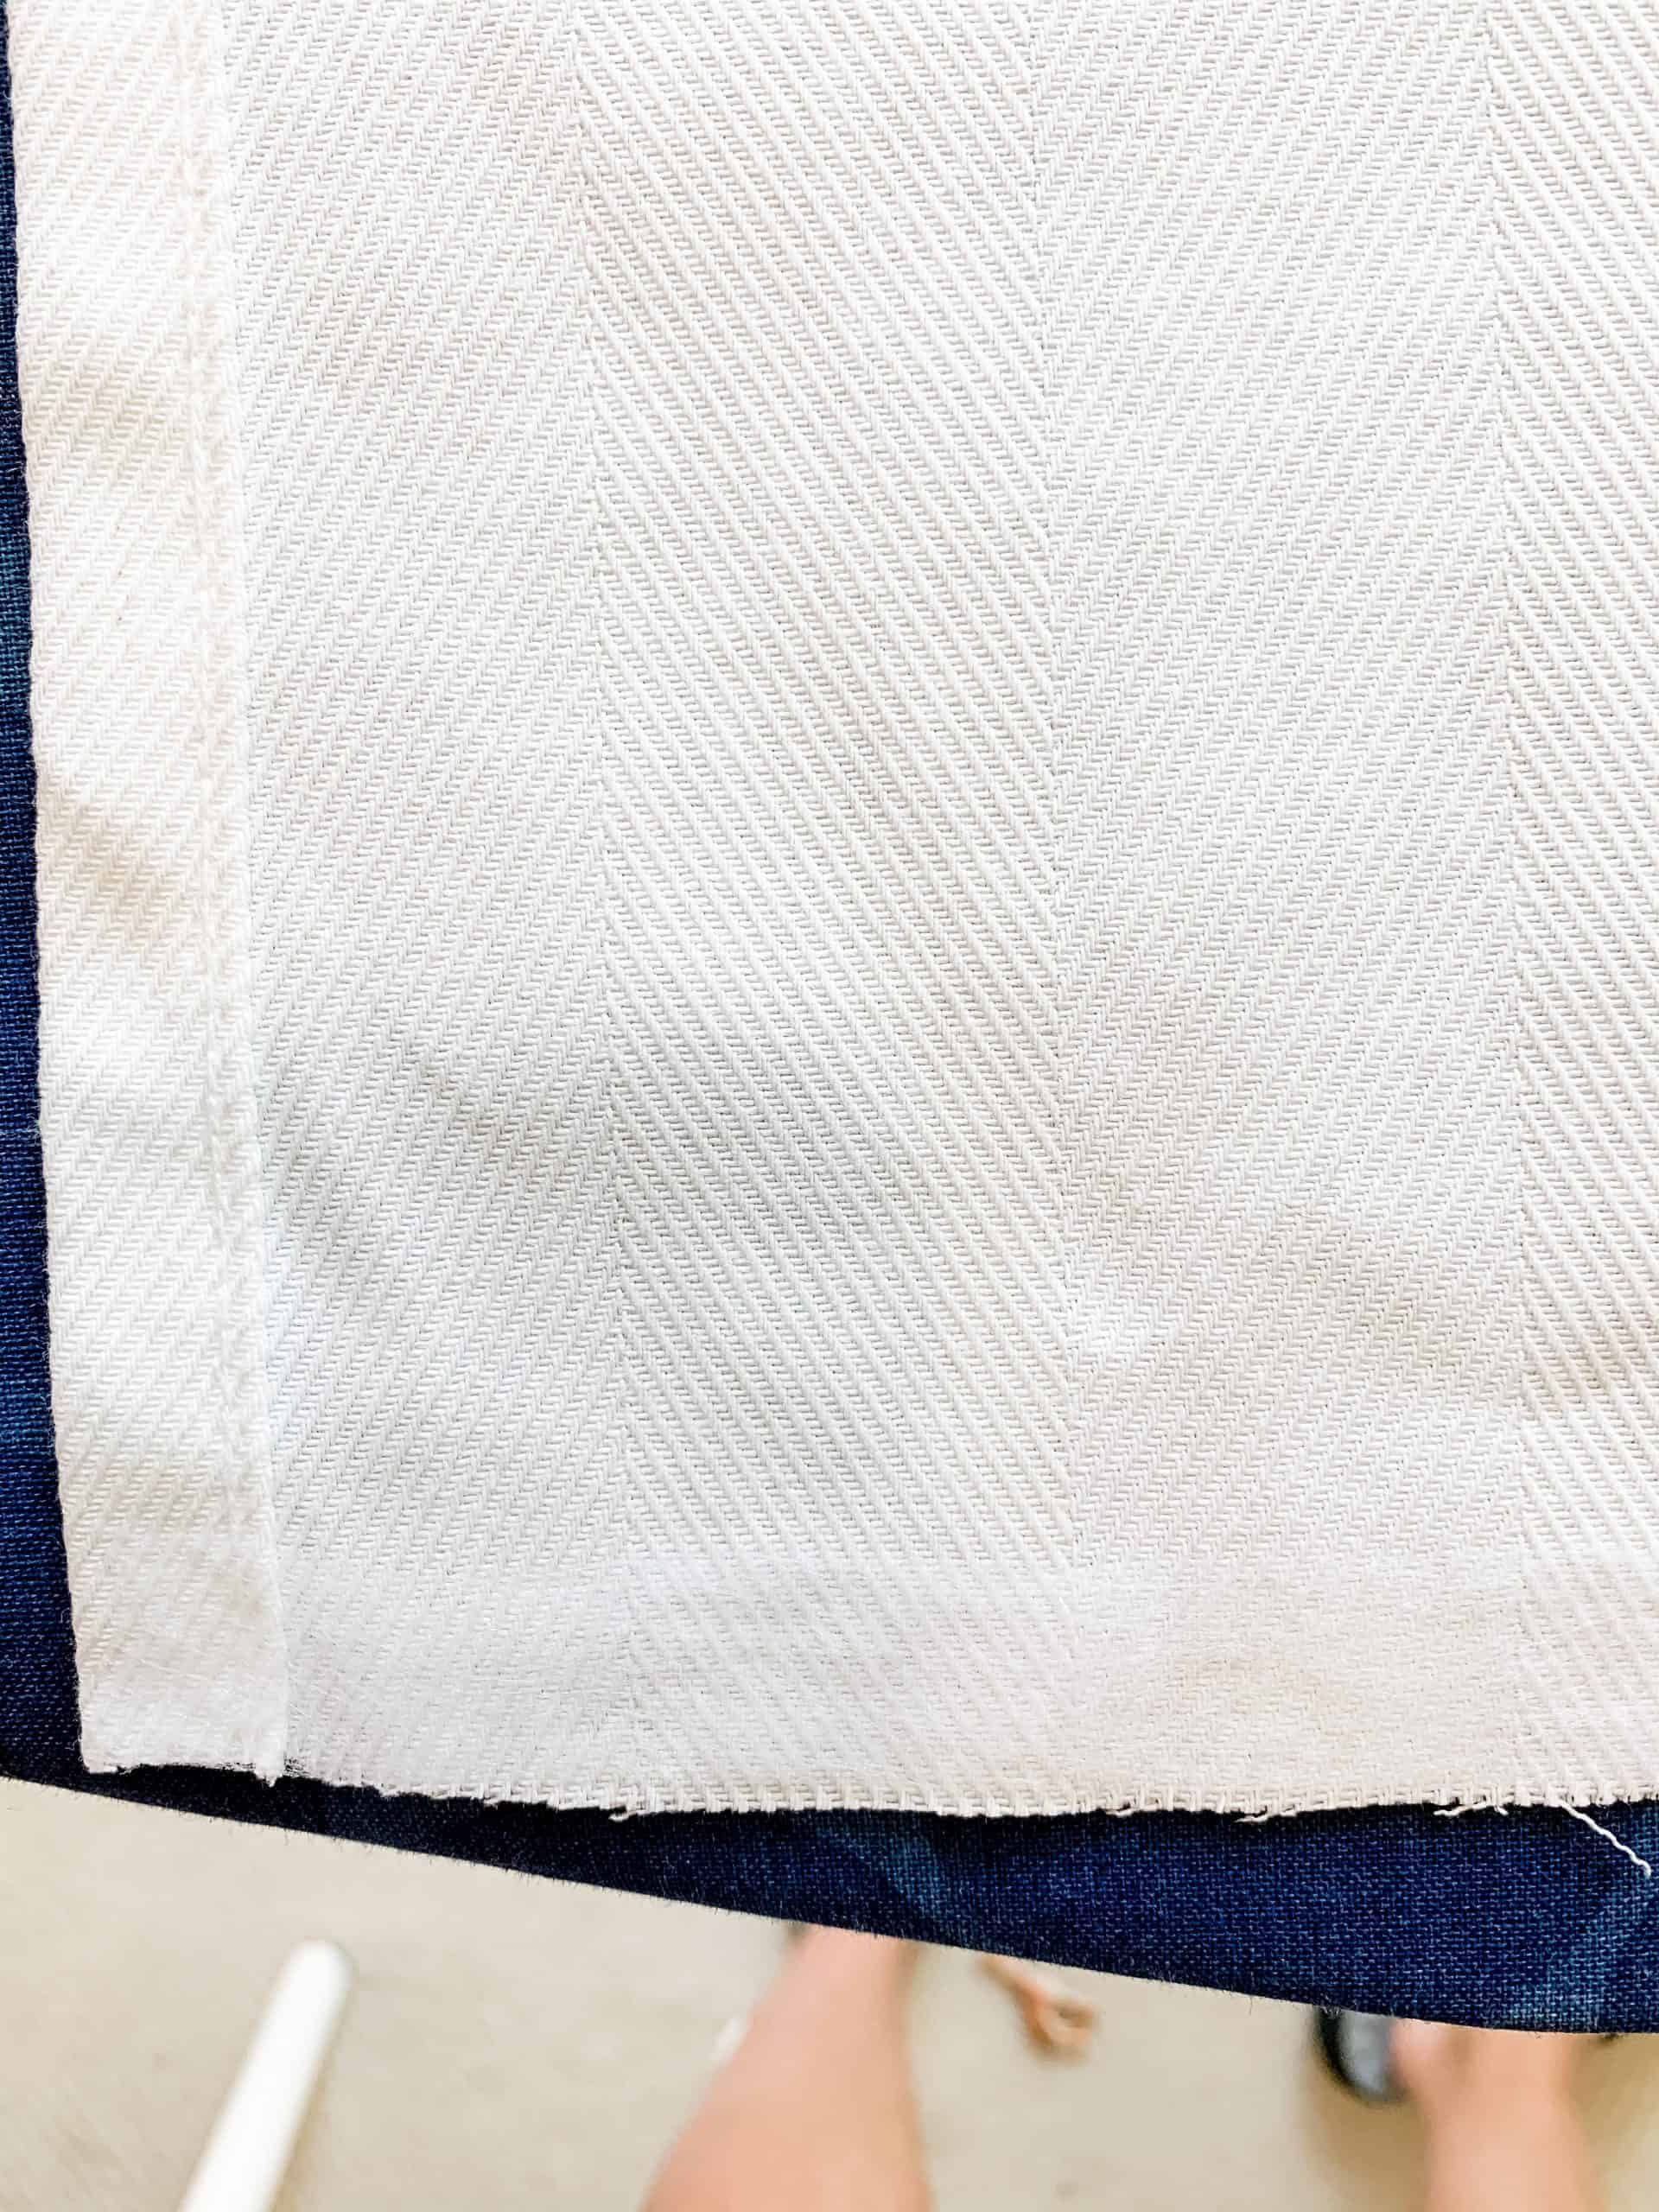
Even after cutting off the 3″, you can see the curtains are still roughly 2″ too long. Perfect for the no-sew hem!
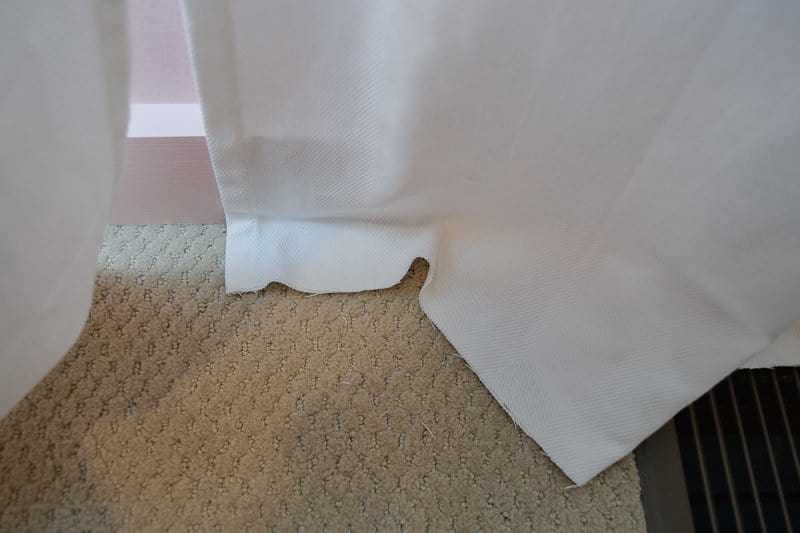
Step 4: Flip curtains over so the back side is face-up on your flat surface.
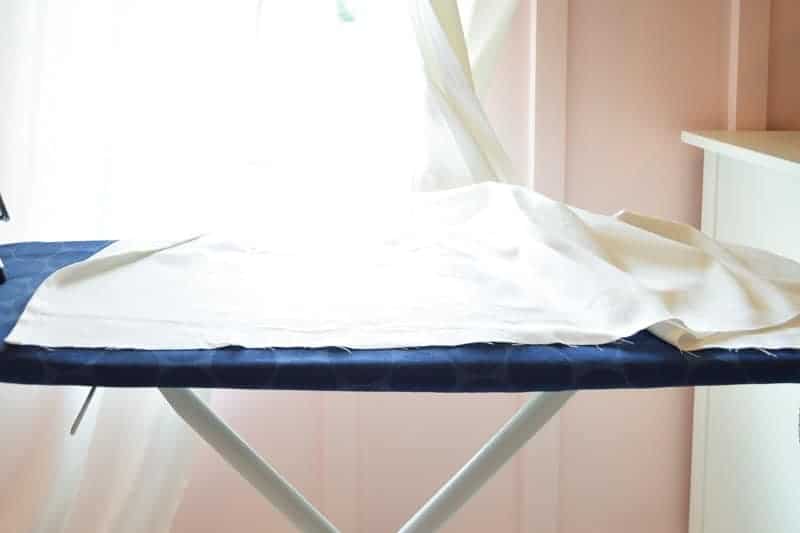
Step 5: Adhere fusion web (curtain hemming tape).
Since the fusion web is straight, I used it as a guide to keeping the bottom of the curtain straight. Hopefully, that makes sense.
As you can see from the above picture, my line wasn’t exactly straight. But, I was able to get a straight hemline because I used the fusion web as a guide.
You’re only able to work in small sections at a time. Basically only as big as your iron is.
I placed the fusion web on, leaving a little space between the bottom of the curtain and the fusion web.
Then, I folded the curtain over the fusion web, creating a straight line.
Last, I held the iron (on *wool* setting) over that area for 10 seconds.
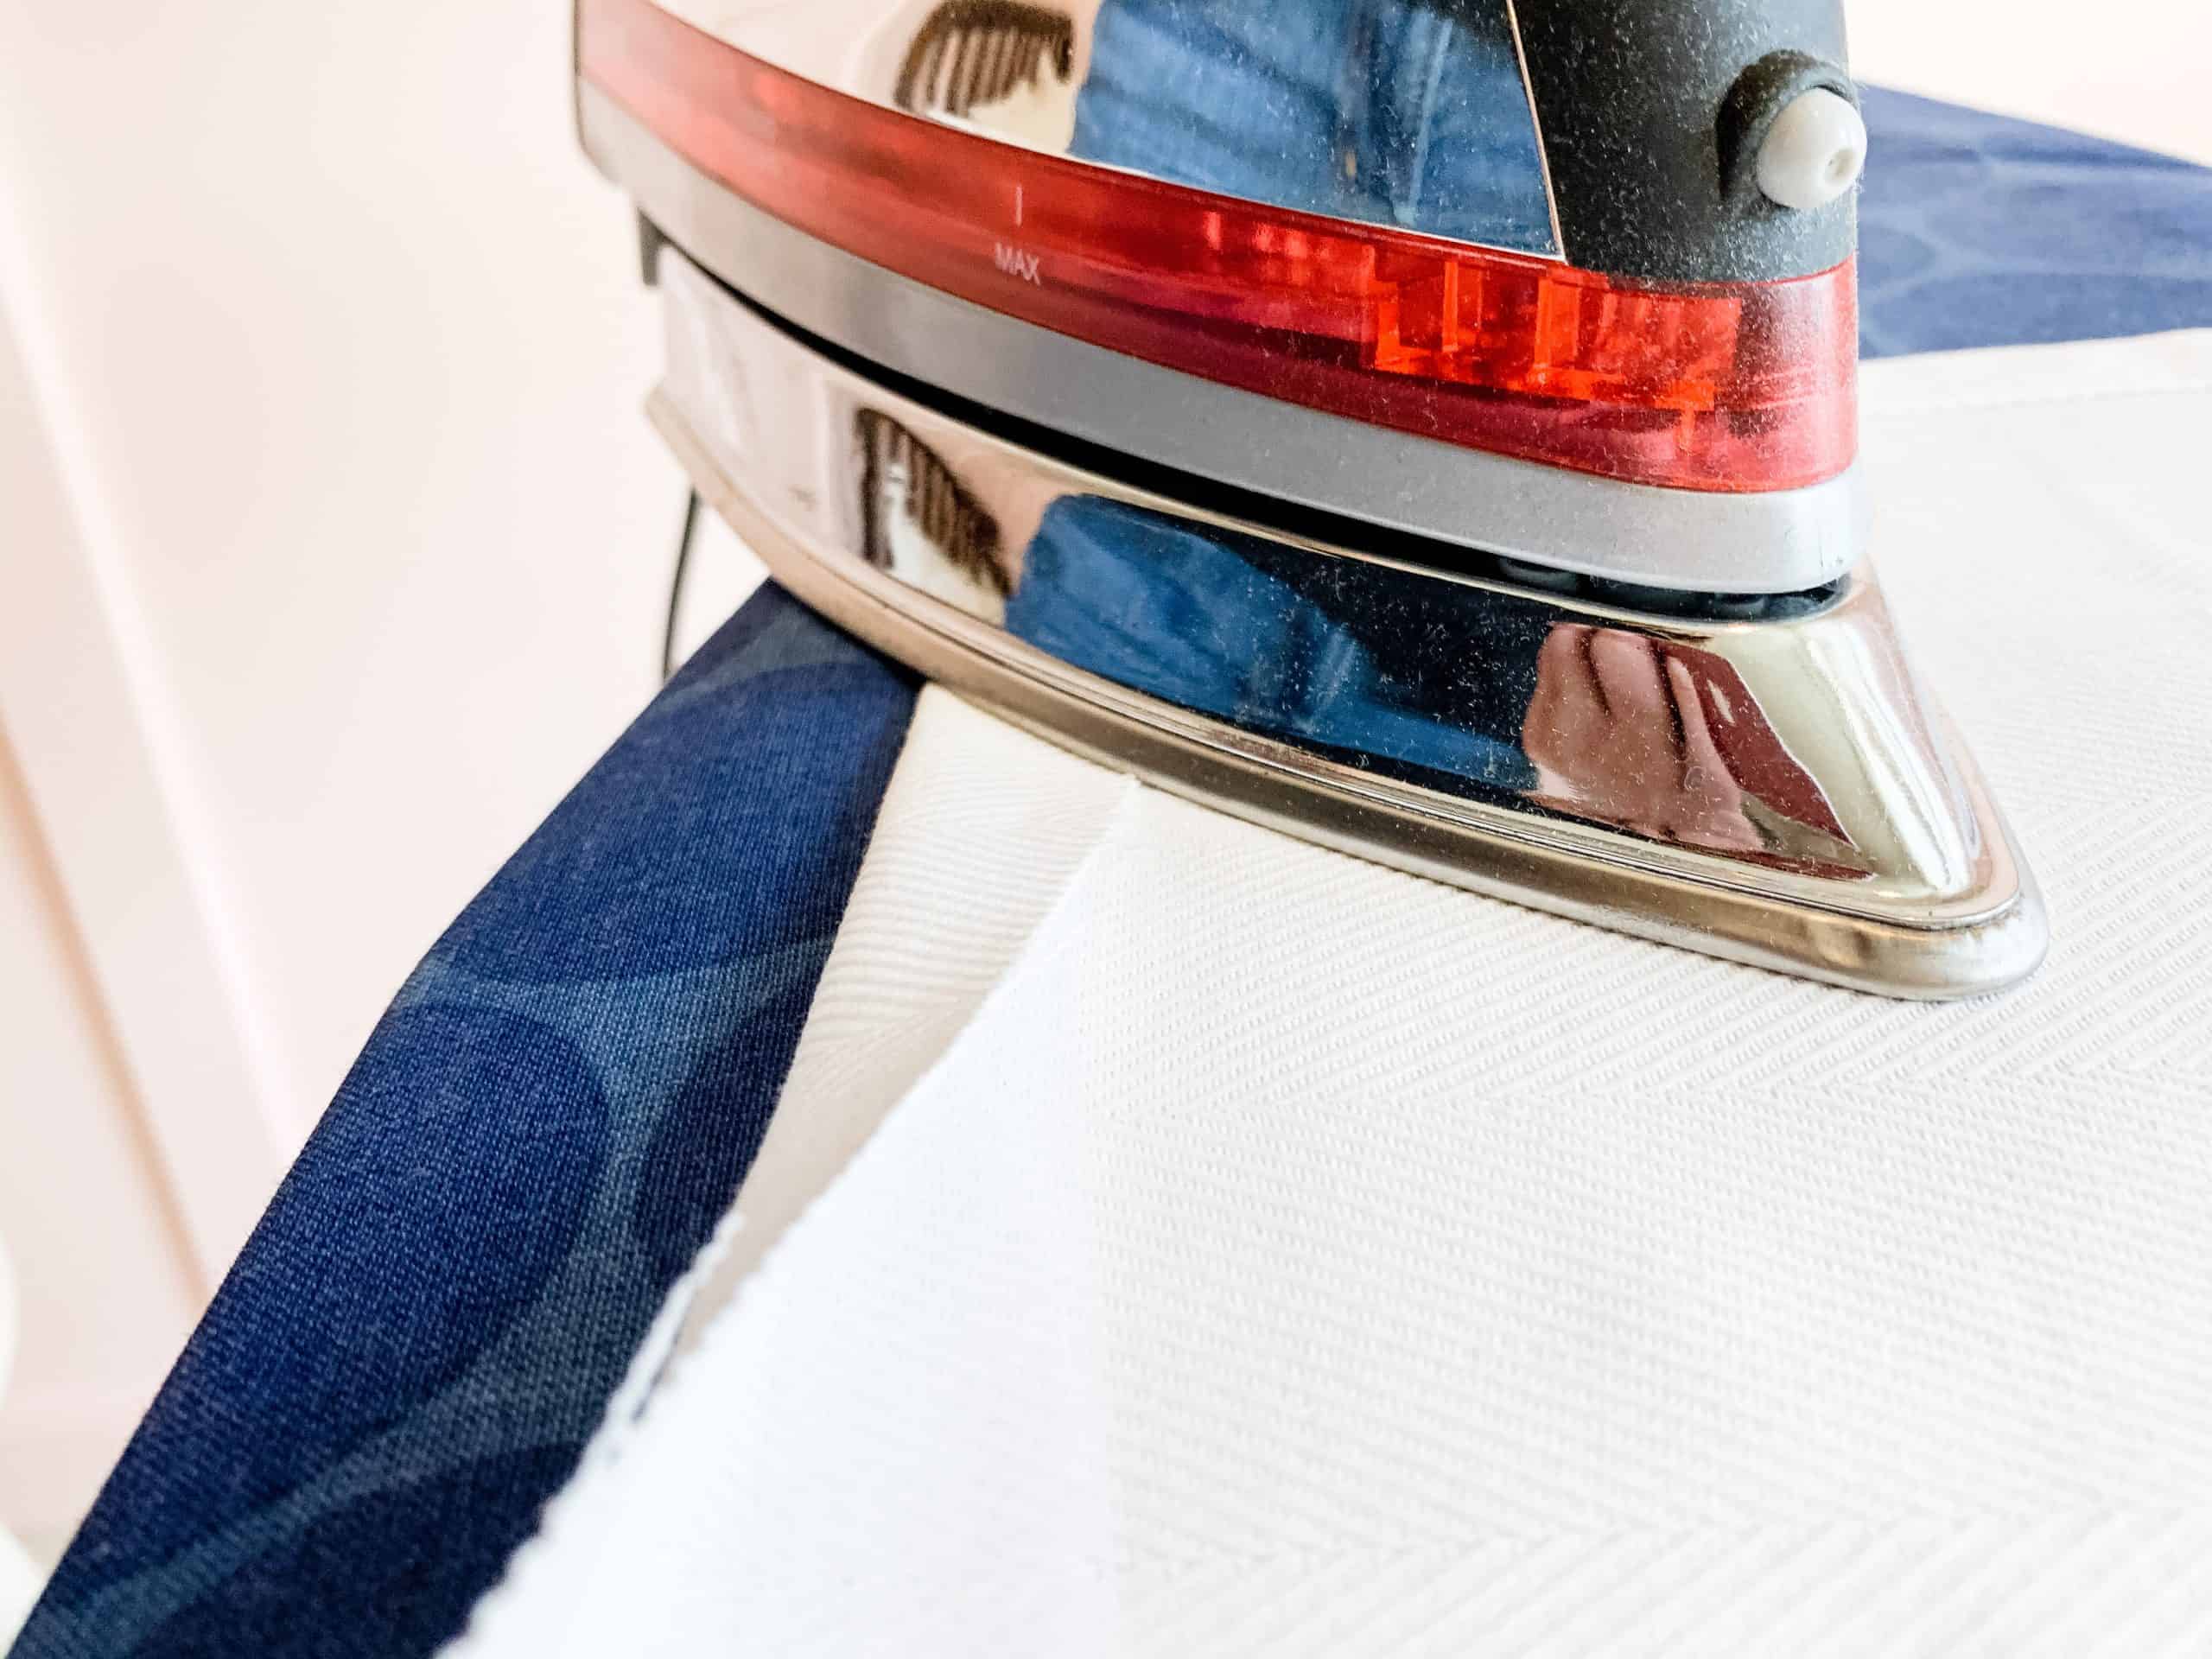
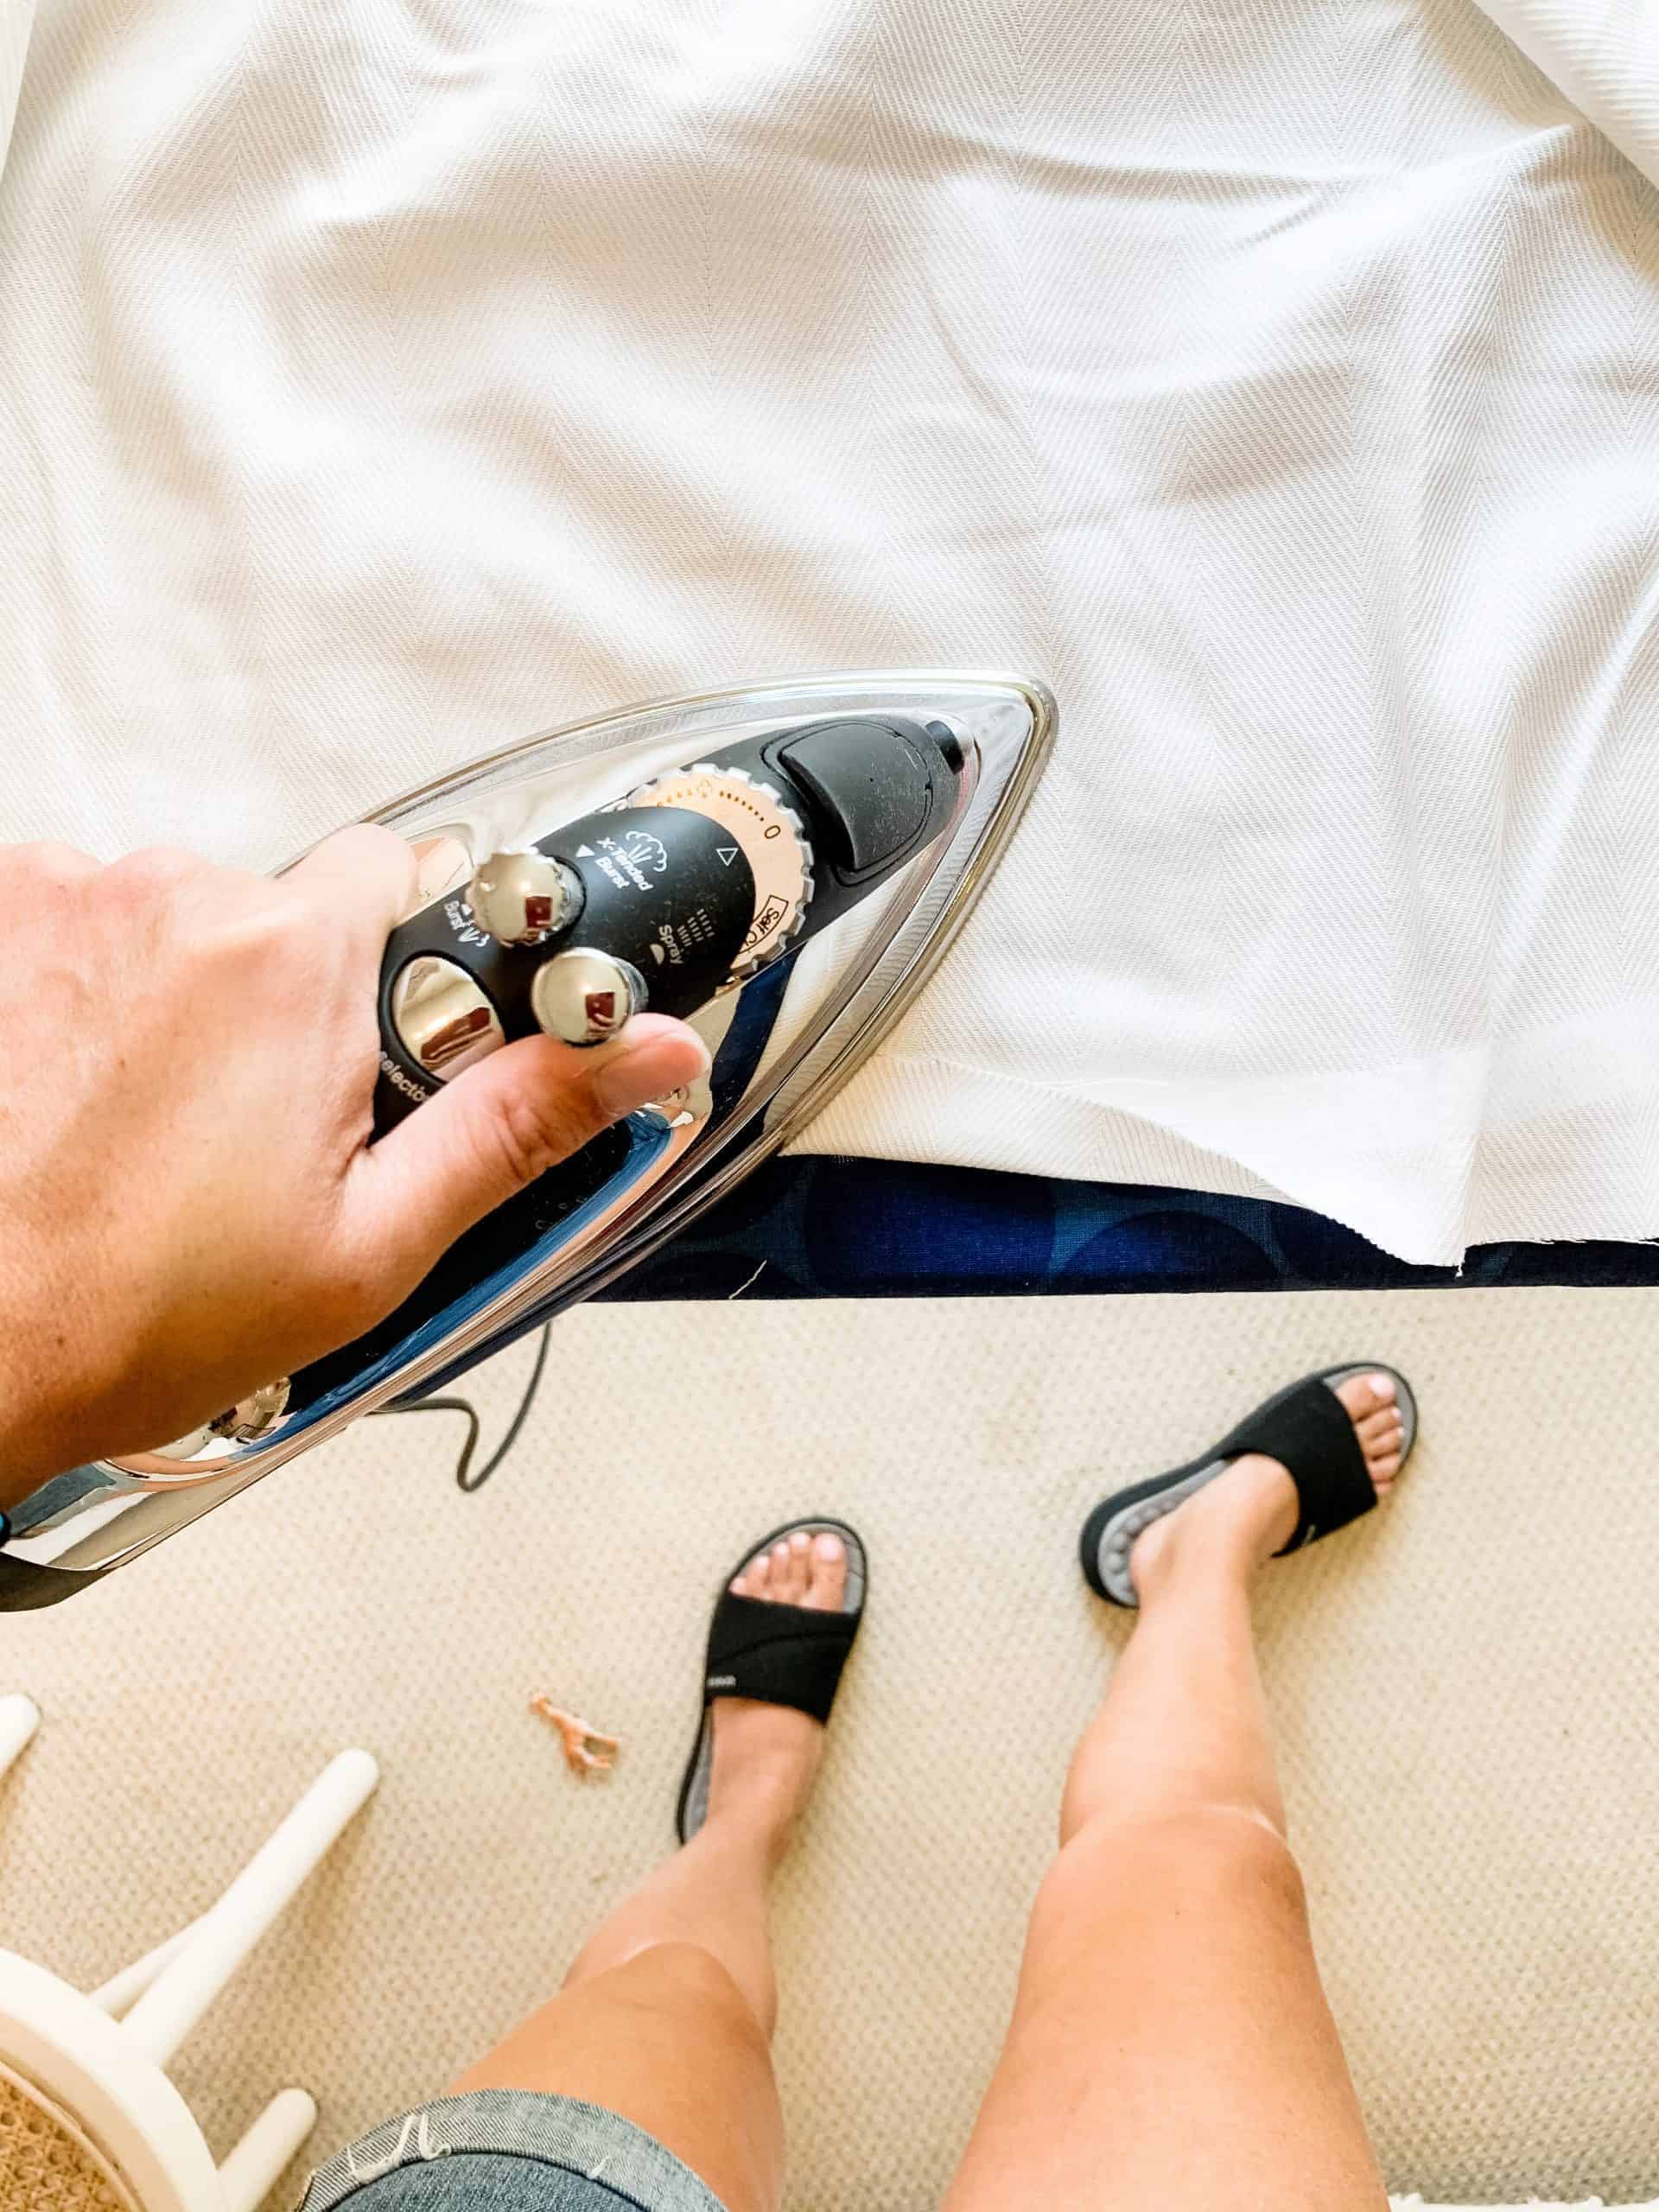
From there, you just continue with the same method until you are finished with that panel. Cut off the fusion web at the end and you’re done!
A few things to note:
- The size of the hem you make is dependent on the type of hem tape or fusion web you’re using (so check your instructions)
- You may need to have your iron on a different setting (read your hem tape or fusion web for exact directions)
- My fusion web said to use a cloth in between the iron and the curtain. I did this at first then realized I didn’t need to. But, keep in mind that may be necessary for you, depending on your curtain material
No-Sew Hem Method: Before and After
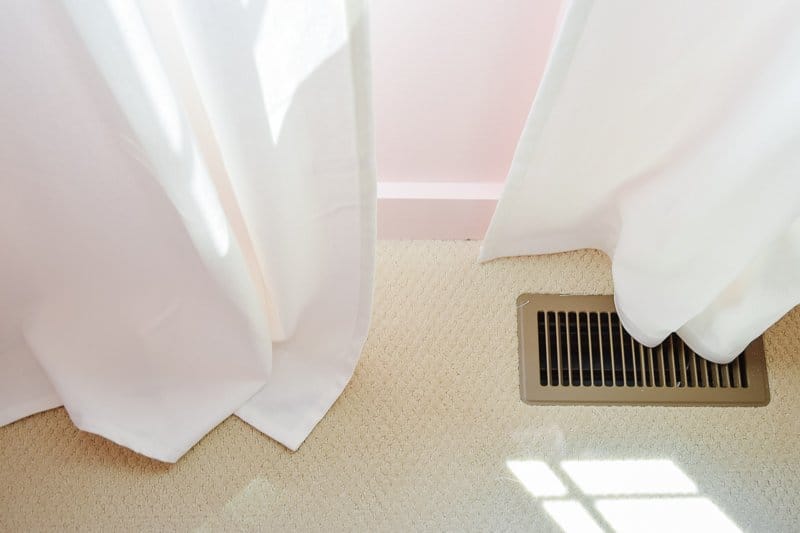
You can see how much of a difference it made!
The curtain on the left is untouched and the curtain on the right has been “sewn” using this method!
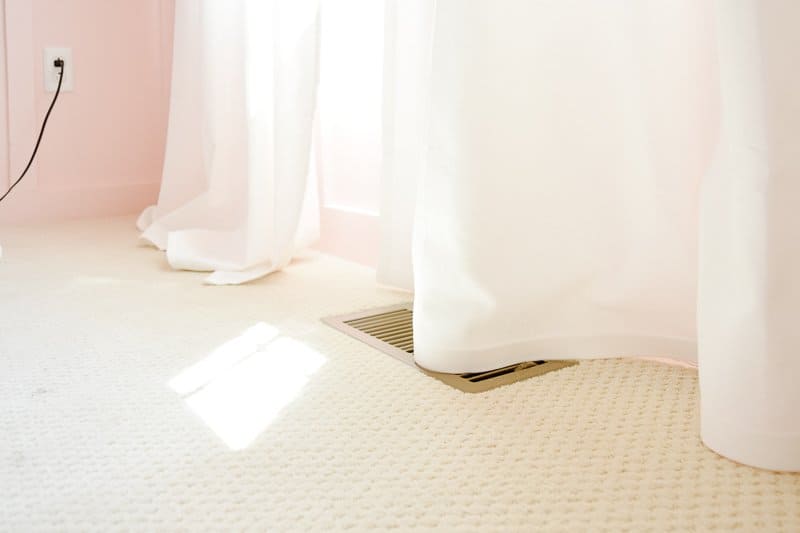
The hemmed curtain sits just slightly above the floor. And, honestly, since I’m not perfect, some parts are touching the floor a little bit. But, you really don’t see it at all.

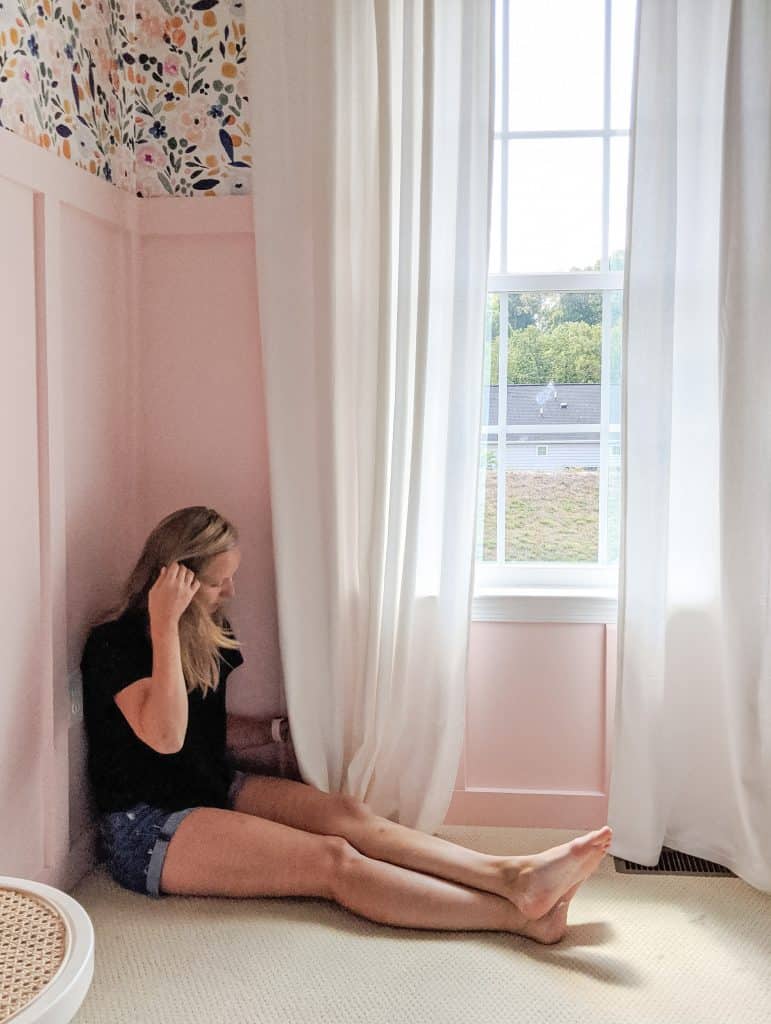
I’m thrilled with how they turned out. It took minimal effort and just around an hour to do both curtains.
If you don’t have a sewing machine or don’t know how to sew, no worries. You don’t need to call your mom! You can totally hem your curtains with this no-sew method using fusion curtain hemming tape.
Shop The Post Here:
How To Hem Curtains Without Sewing

Need to hem curtains, but don't know how to sew? No problem with this easy no-sew hemming tutorial! Learn how to hem curtains in minutes without having to sew anything.
Materials
- Curtains
- Scissors
- Fusion Web Curtain Hemming Tape
- Iron
- Ironing Board
- Measuring Tape
- Pencil
- Level
Instructions
- Determine how much you need to cut off the bottom of the curtains. Remember, you can always cut off more, but you can't put it back on.
- Mark the panel for the hem. Use a level to draw a line with a pencil all the way across the panel to ensure an even hem and cut.
- With the back side face up on your flat surface, place the fusion web on leaving a little space between the bottom of the curtain and the fusion web.
- Fold the curtain over the fusion web, creating a straight line.
- Hold the iron (on wool setting) over the area for 10 seconds.
- Work in small sections all the way across your panel. Cut off the fusion web at the end and you're done!


