Kid Craft: DIY Pressed Flower Suncatcher (with Real Flowers!)
This DIY pressed flower suncatcher craft is a perfect project for kids. Kids can make these for Mother’s Day gifts, holiday gifts, or any occasion!
My little one and I have been working on this super cute DIY pressed flower suncatcher for his Grandma for Mother’s Day, which is this Sunday! Nothing like waiting until the last minute, right?! Please tell me I’m not the only one!!
Want more Mother’s Day gift ideas for grandma? Try out this DIY handprint art that she will LOVE or make these easy rope planters for her front porch!
Guys, this is SO SO easy. I feel like I say that in every post. I guess that’s the common theme of my blog: I want everyone to be able to make stuff, whatever that “stuff” maybe, even if you have kids, work, laundry, or cleaning to do!
You don’t have to make a farmhouse dining room table (but I would love to!!). I love promoting easy crafts that all of us busy mamas can do, when we should be doing work, laundry, cleaning, etc, haha!!
Anyway, back to the pressed flower suncatcher:
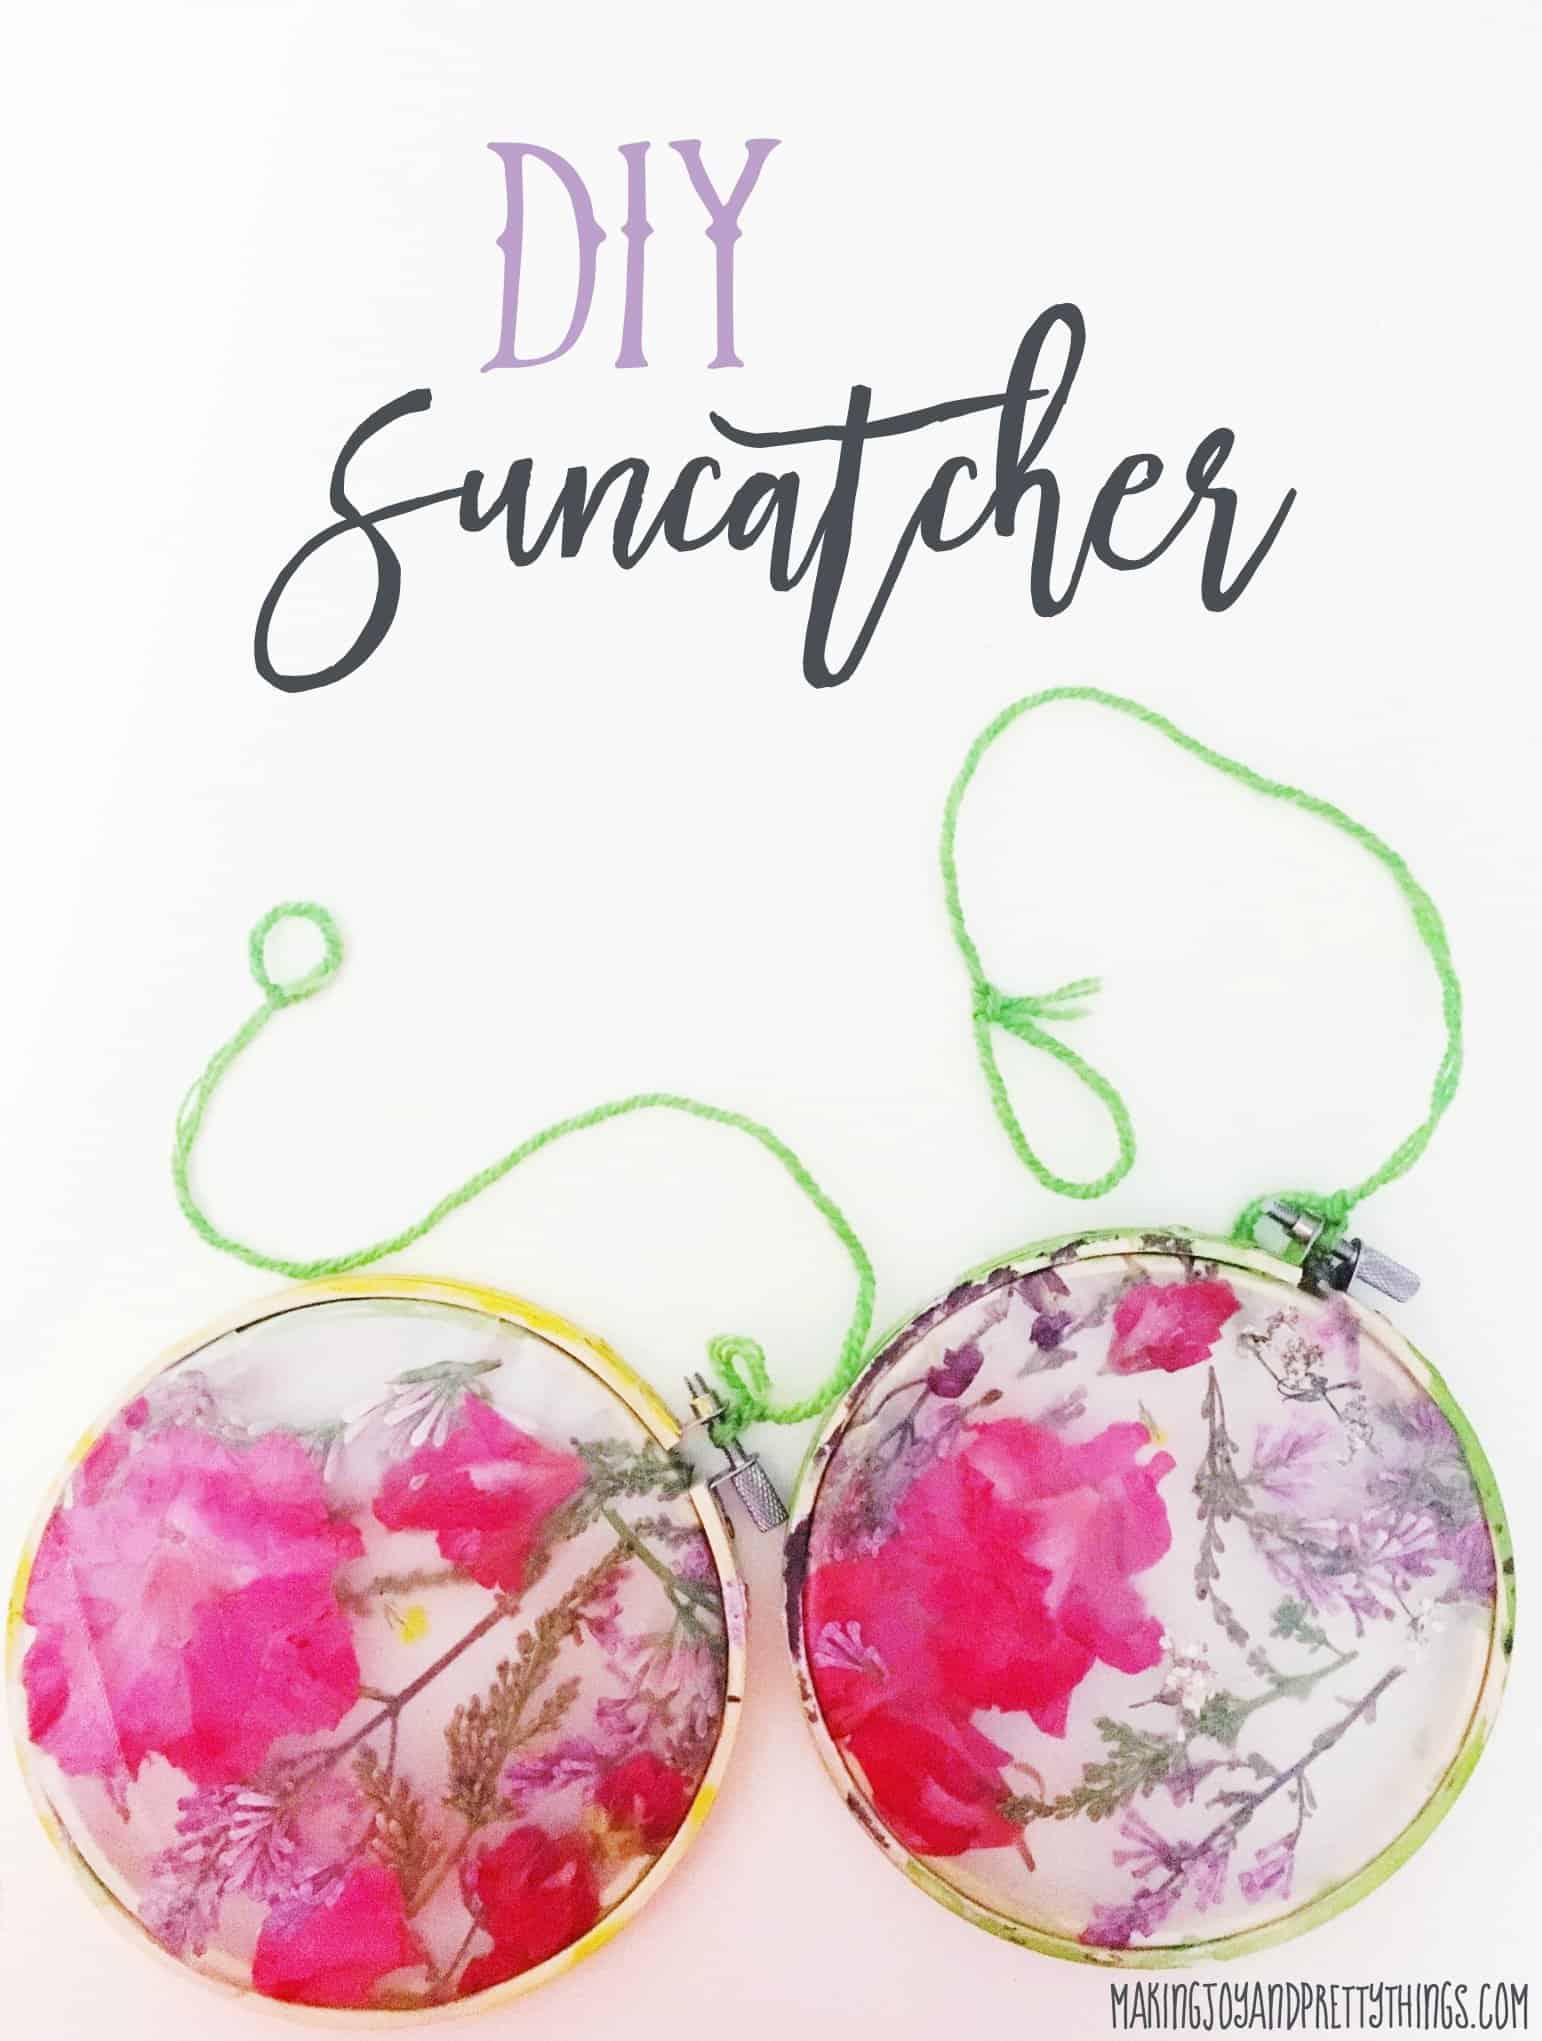
I love how cute these beautiful flower suncatcher gifts turned out. I forgot to mention the best part, this requires almost zero mama involvement! Liam was able to basically do everything himself. Mama win!
This post contains affiliate links. Please, click here to read my disclosure policy.
DIY Pressed Flower Suncatcher Supplies:
- Embroidery Hoops
- Clear contact paper (or other sticky paper)
- Fresh flowers
- Yarn/string/twine to hang it with
- Acrylic craft paint
- Paintbrush
- Scissors
I let Liam pick whatever paint he wanted since it was his present.
And since his mama has basically every color ever made, he had a wide selection to choose from. He chose a pearly pink, neon green, and sunflower yellow.
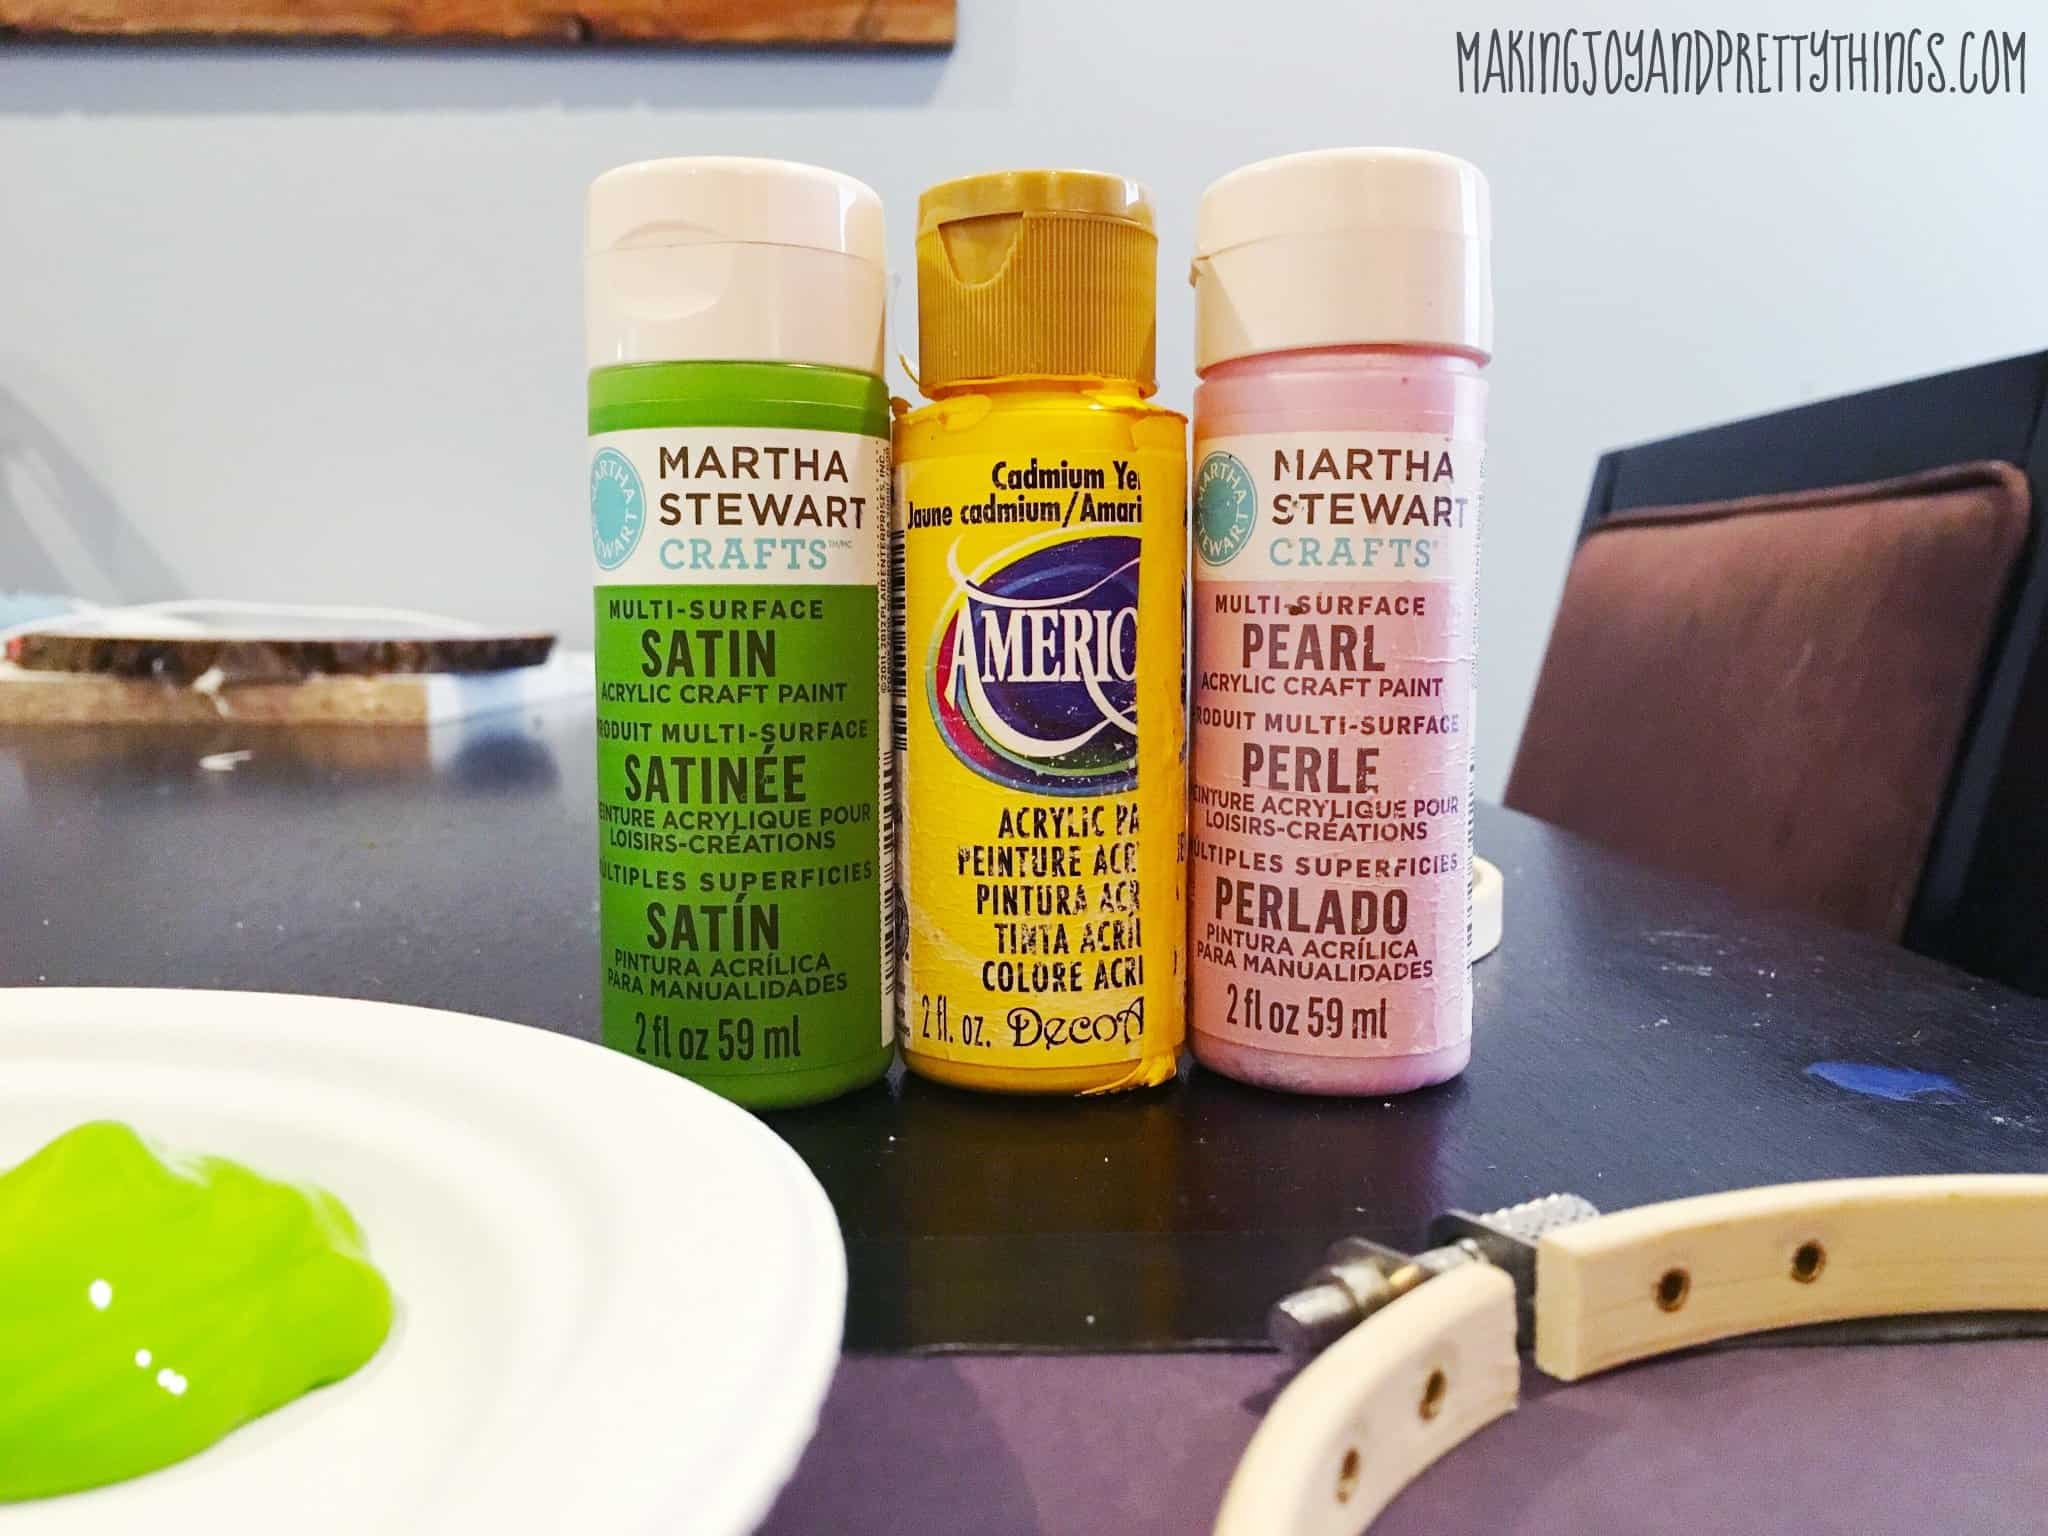
Step 1: Paint the Embroidery Hoop
We painted the outside of the embroidery hoop. I removed the center portion for painting so it didn’t get painted shut (but both parts of each embroidery hoop were painted).
I really didn’t have much involvement in the painting, I let him do his own thing.
Of course this backfired. See next picture:
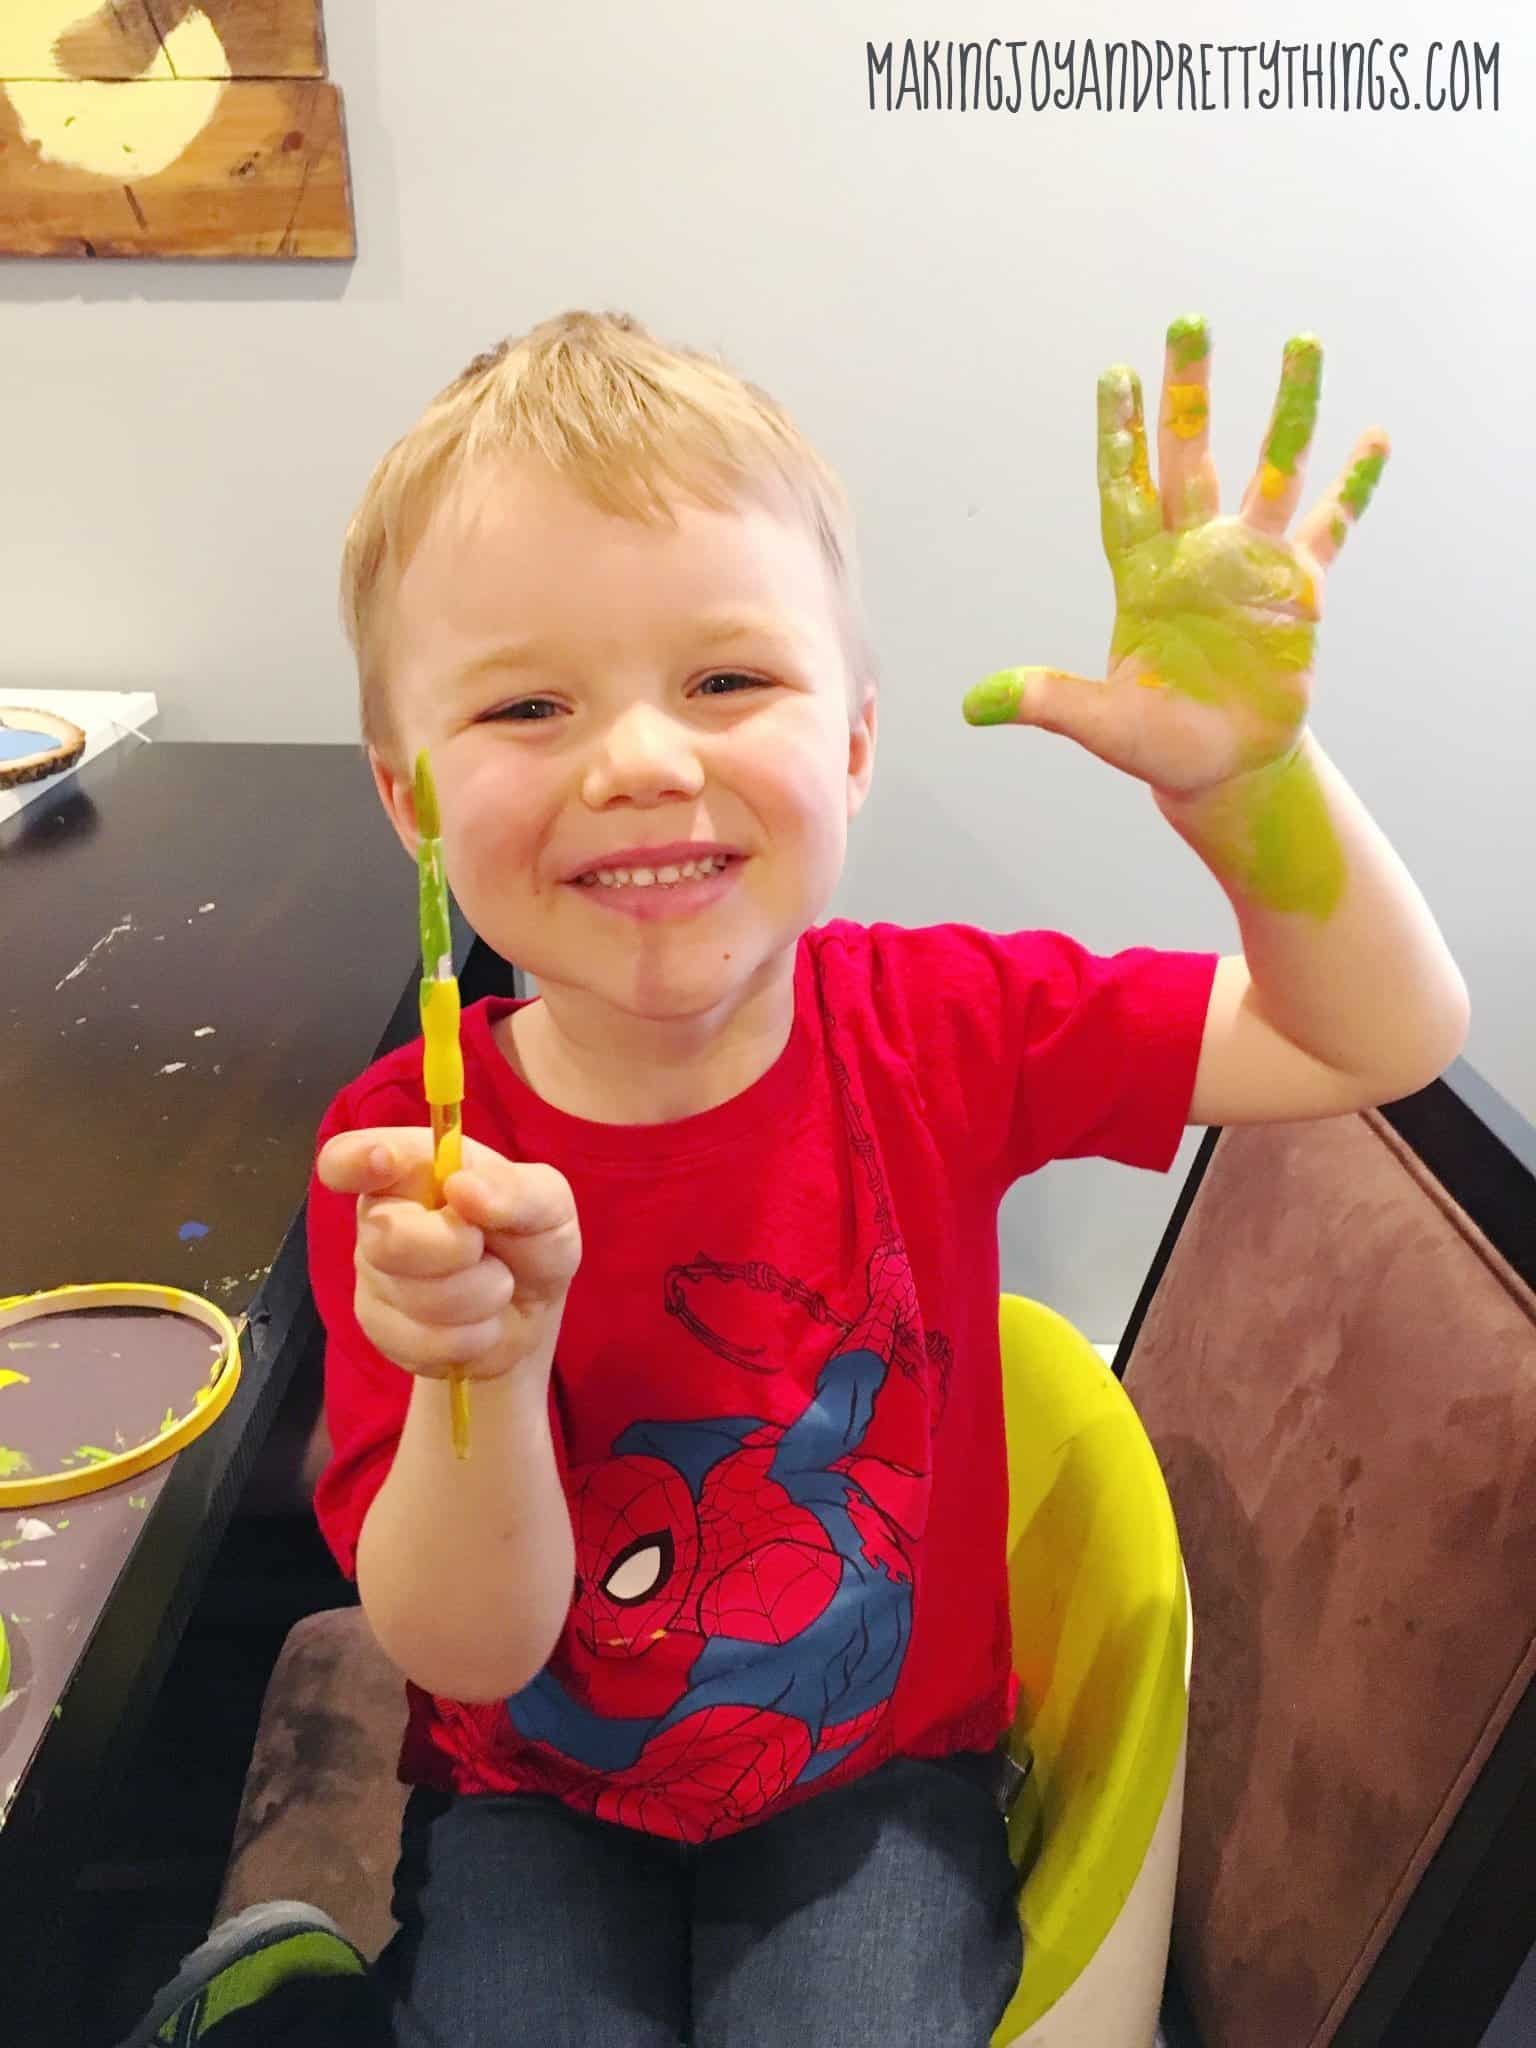
I can’t even be mad that he painted his whole arm. Look at that face!! {heart eyes}
Step 2: Pick Your Favorite Flowers
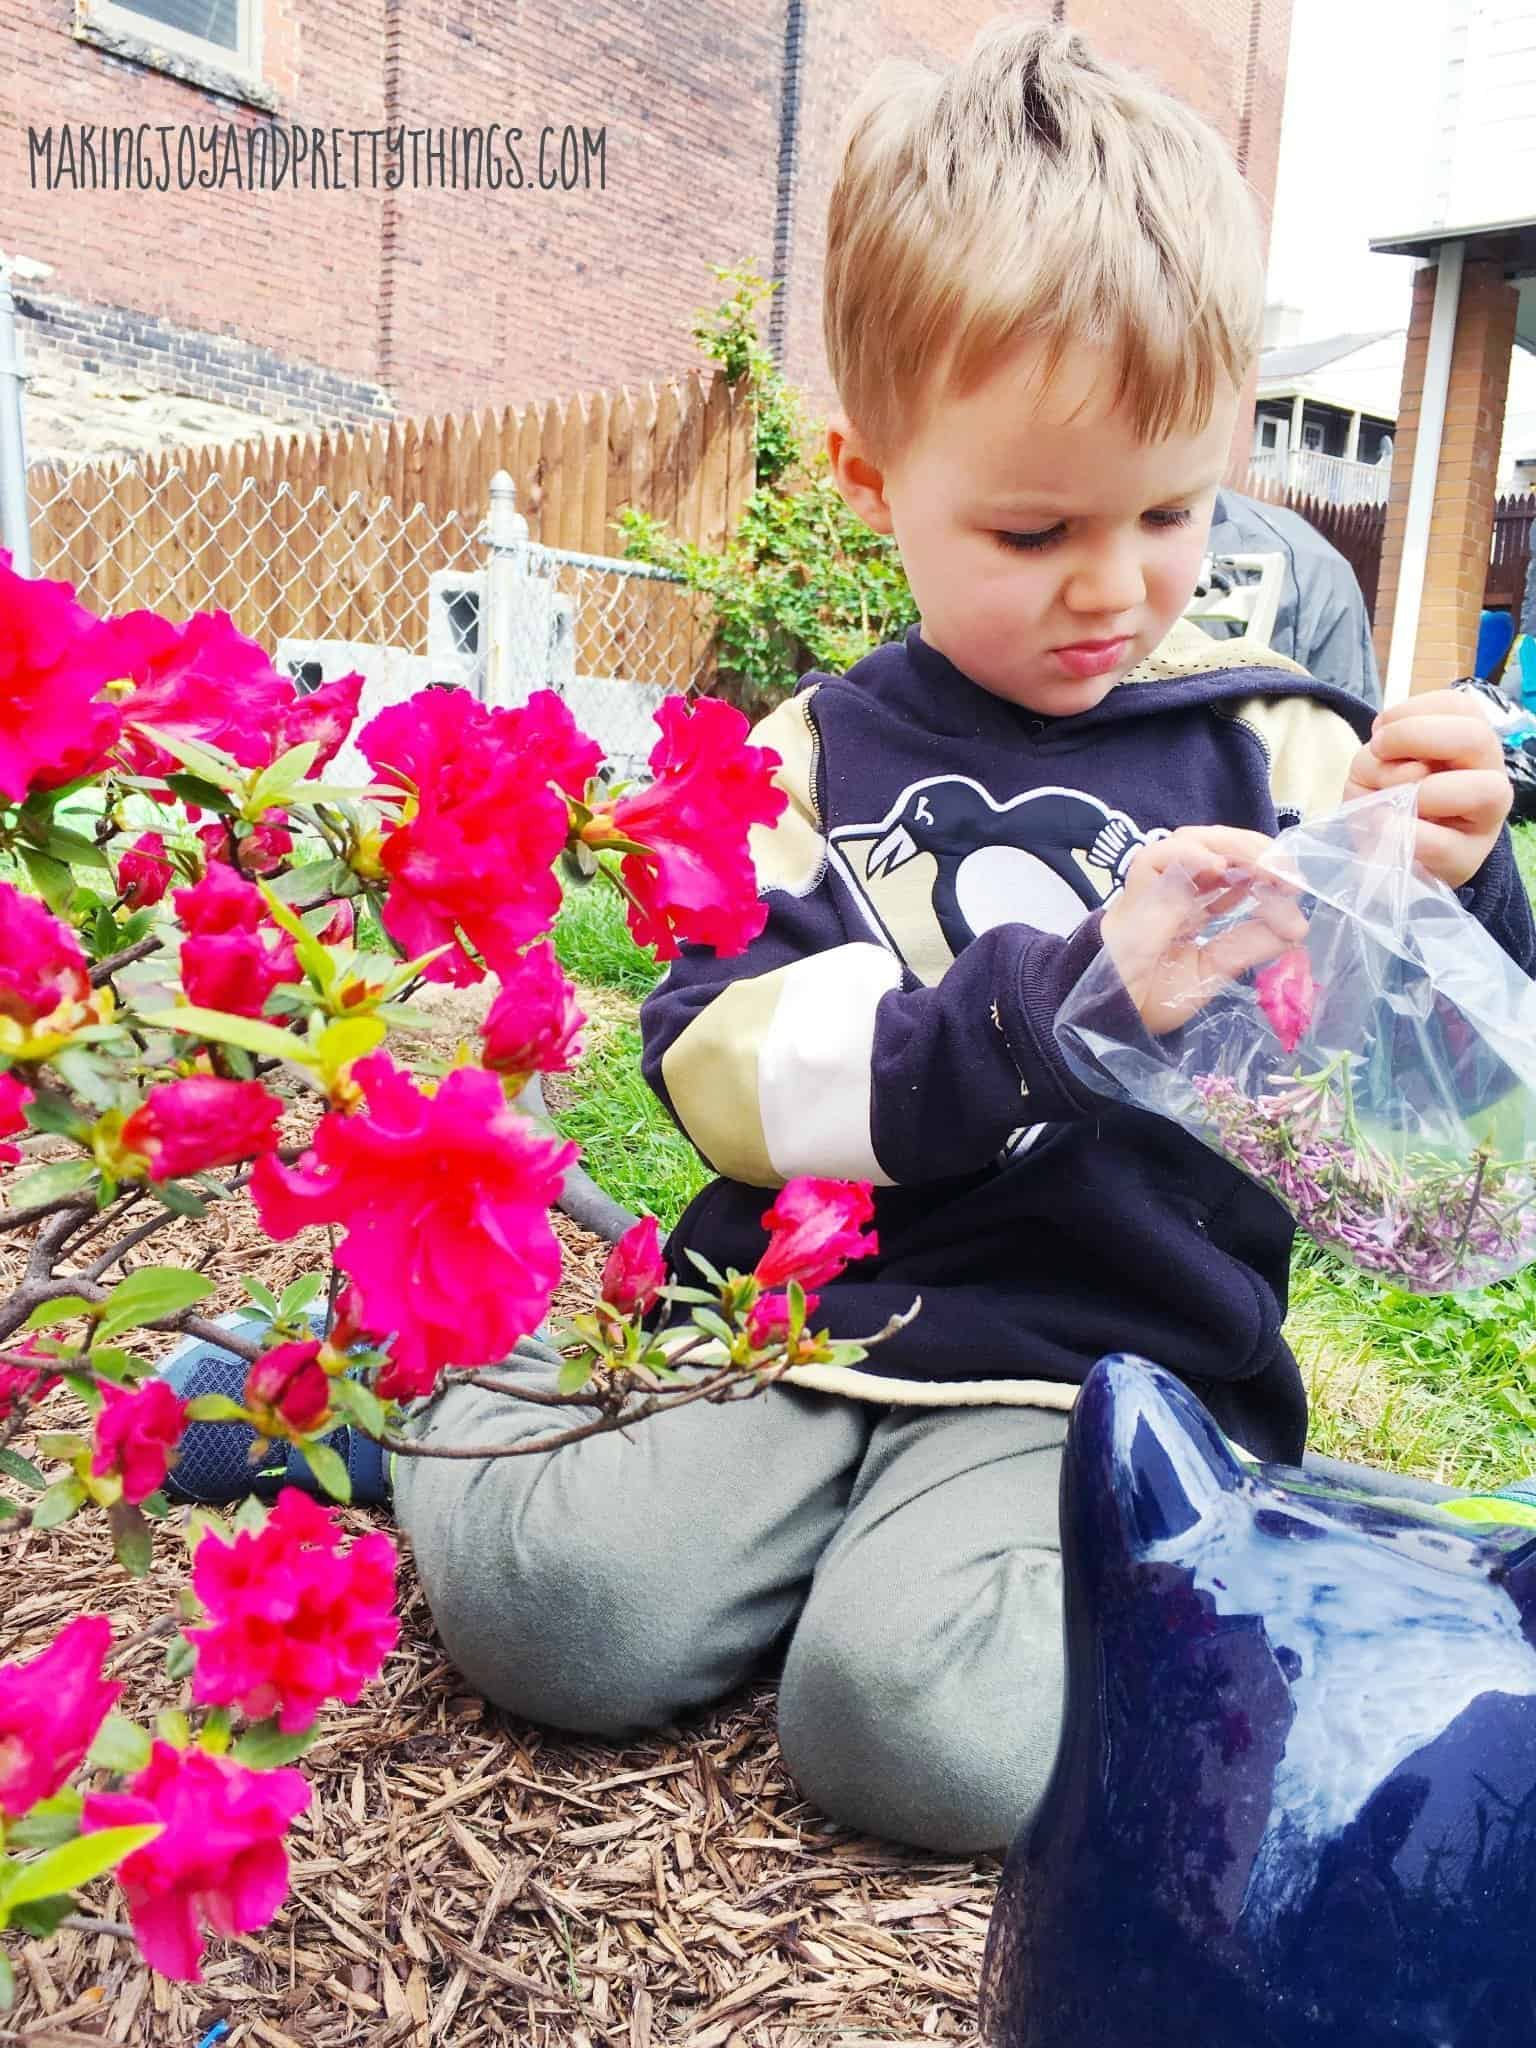
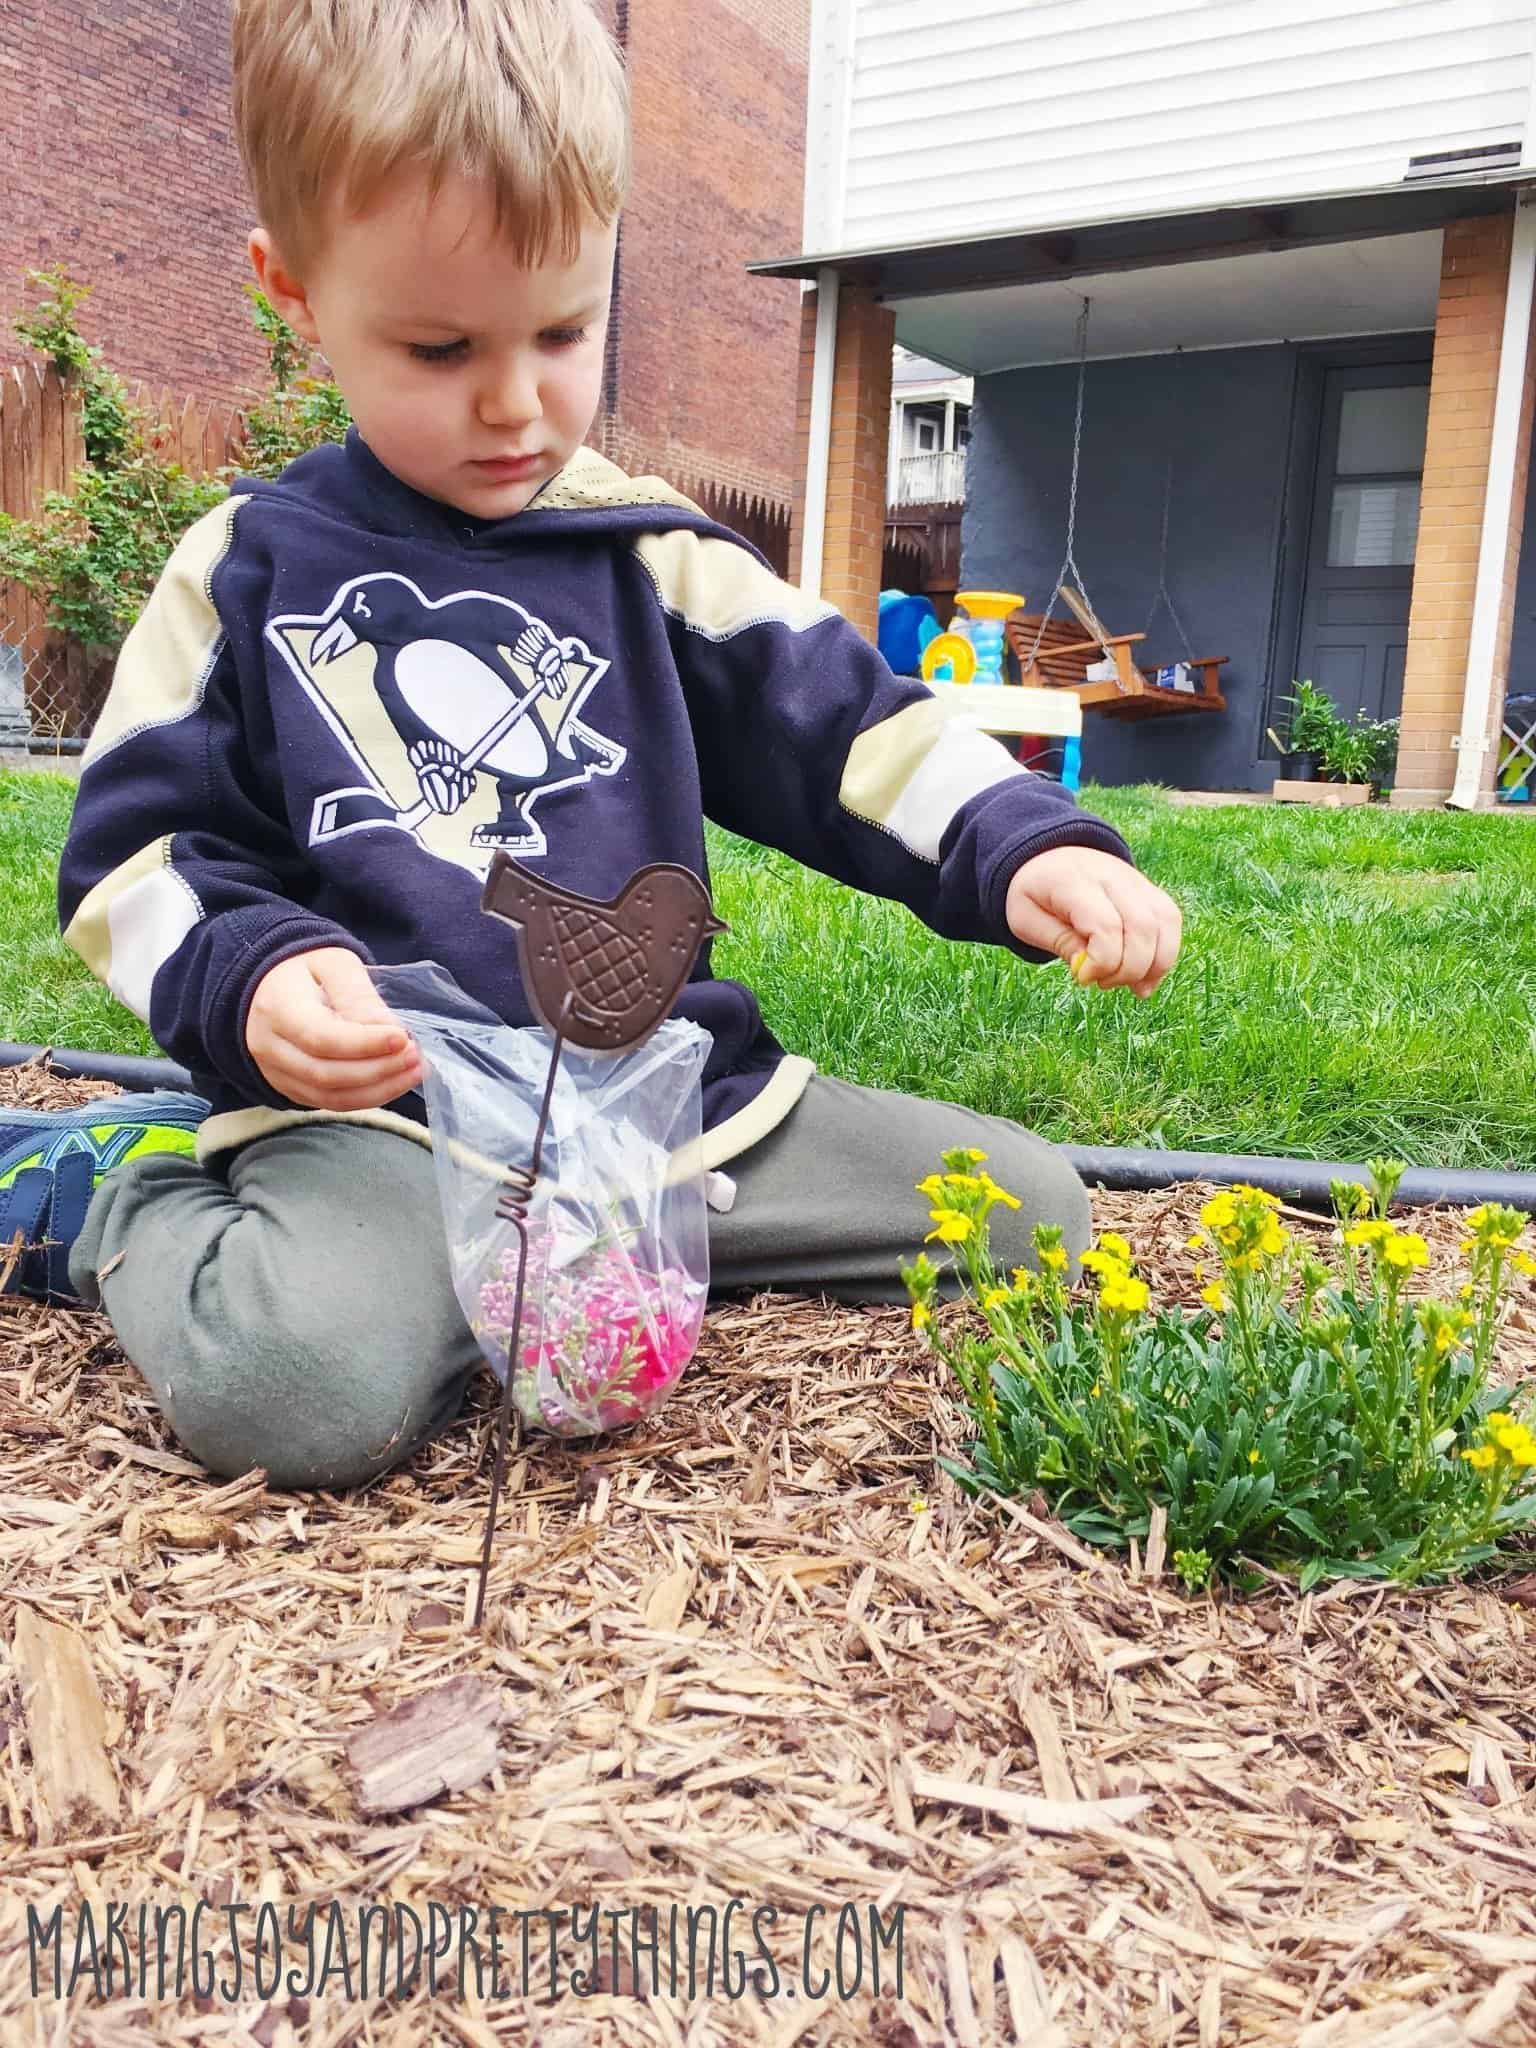
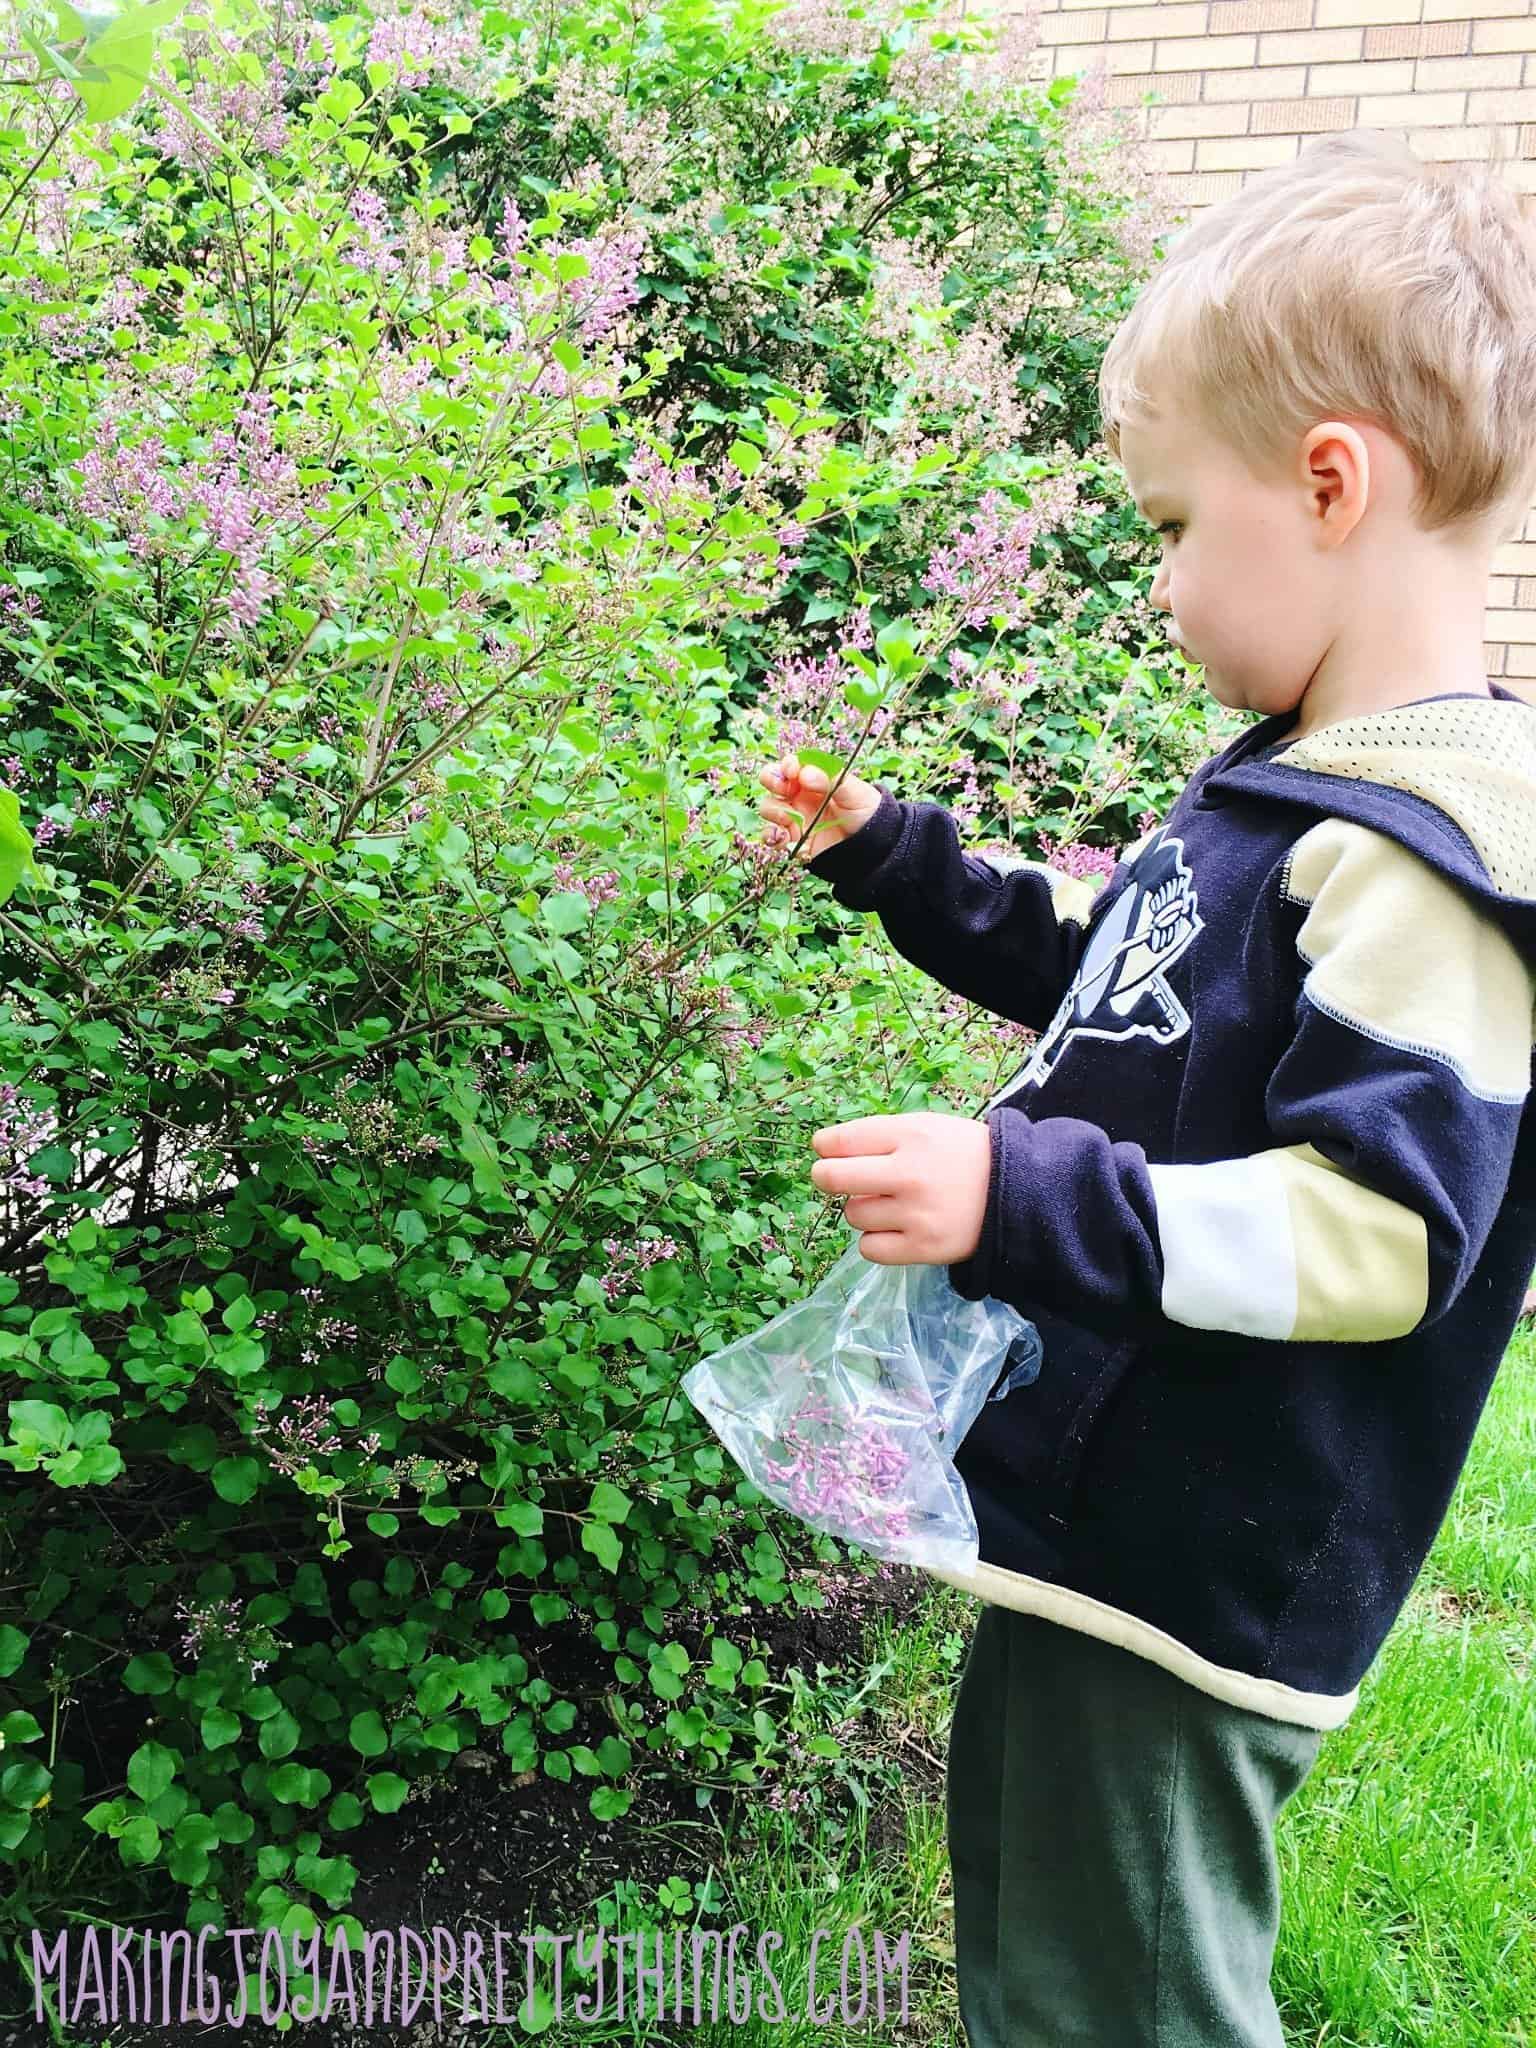
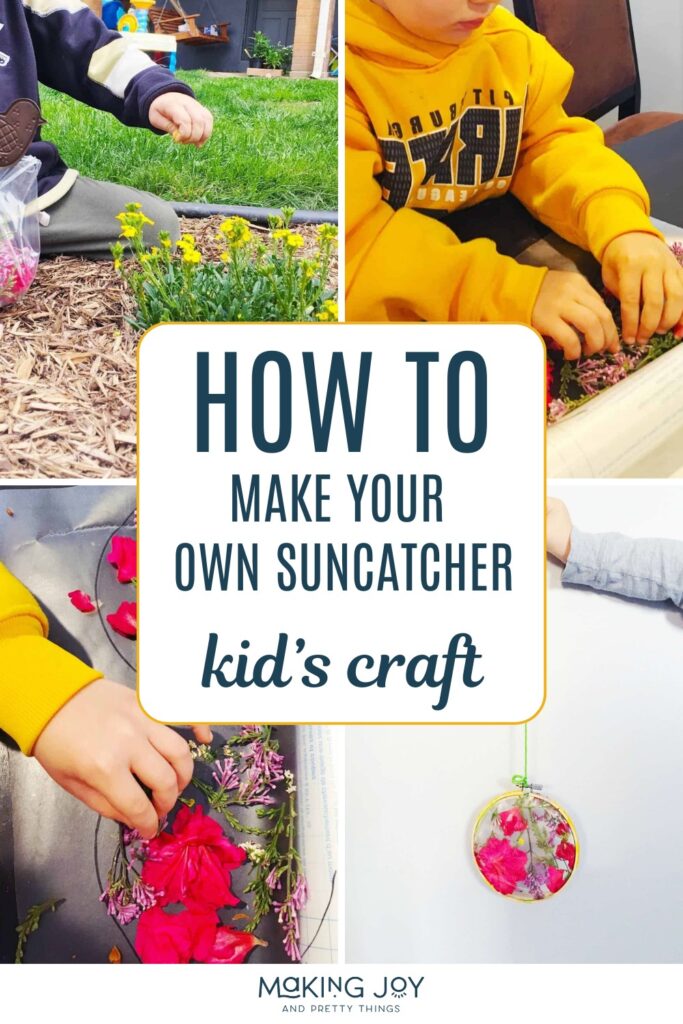
Now on to Liam’s favorite part: picking the flowers for the sun catchers!! We have some amazing lavender trees in our backyard. They are so fragrant and wonderful!! He picked a ton of those. We also have an azalea bush and some random annuals that had just bloomed. I made sure he didn’t pick EVERY flower from a particular plant. We were also sure to get both smaller and larger flowers. But for the most part, let him do his thing.
Even if you don’t have flowers in your yard, the kids would love to pick grass, leaves, weeds, and dandelions. Or go to your nearest park and pick a few there!
Step 3: Prepare Contact Paper
Once we had picked enough flowers, I ROUGHLY measured out a piece of contact paper. You want the contact paper circles to be slightly larger than the embroidery hoops.
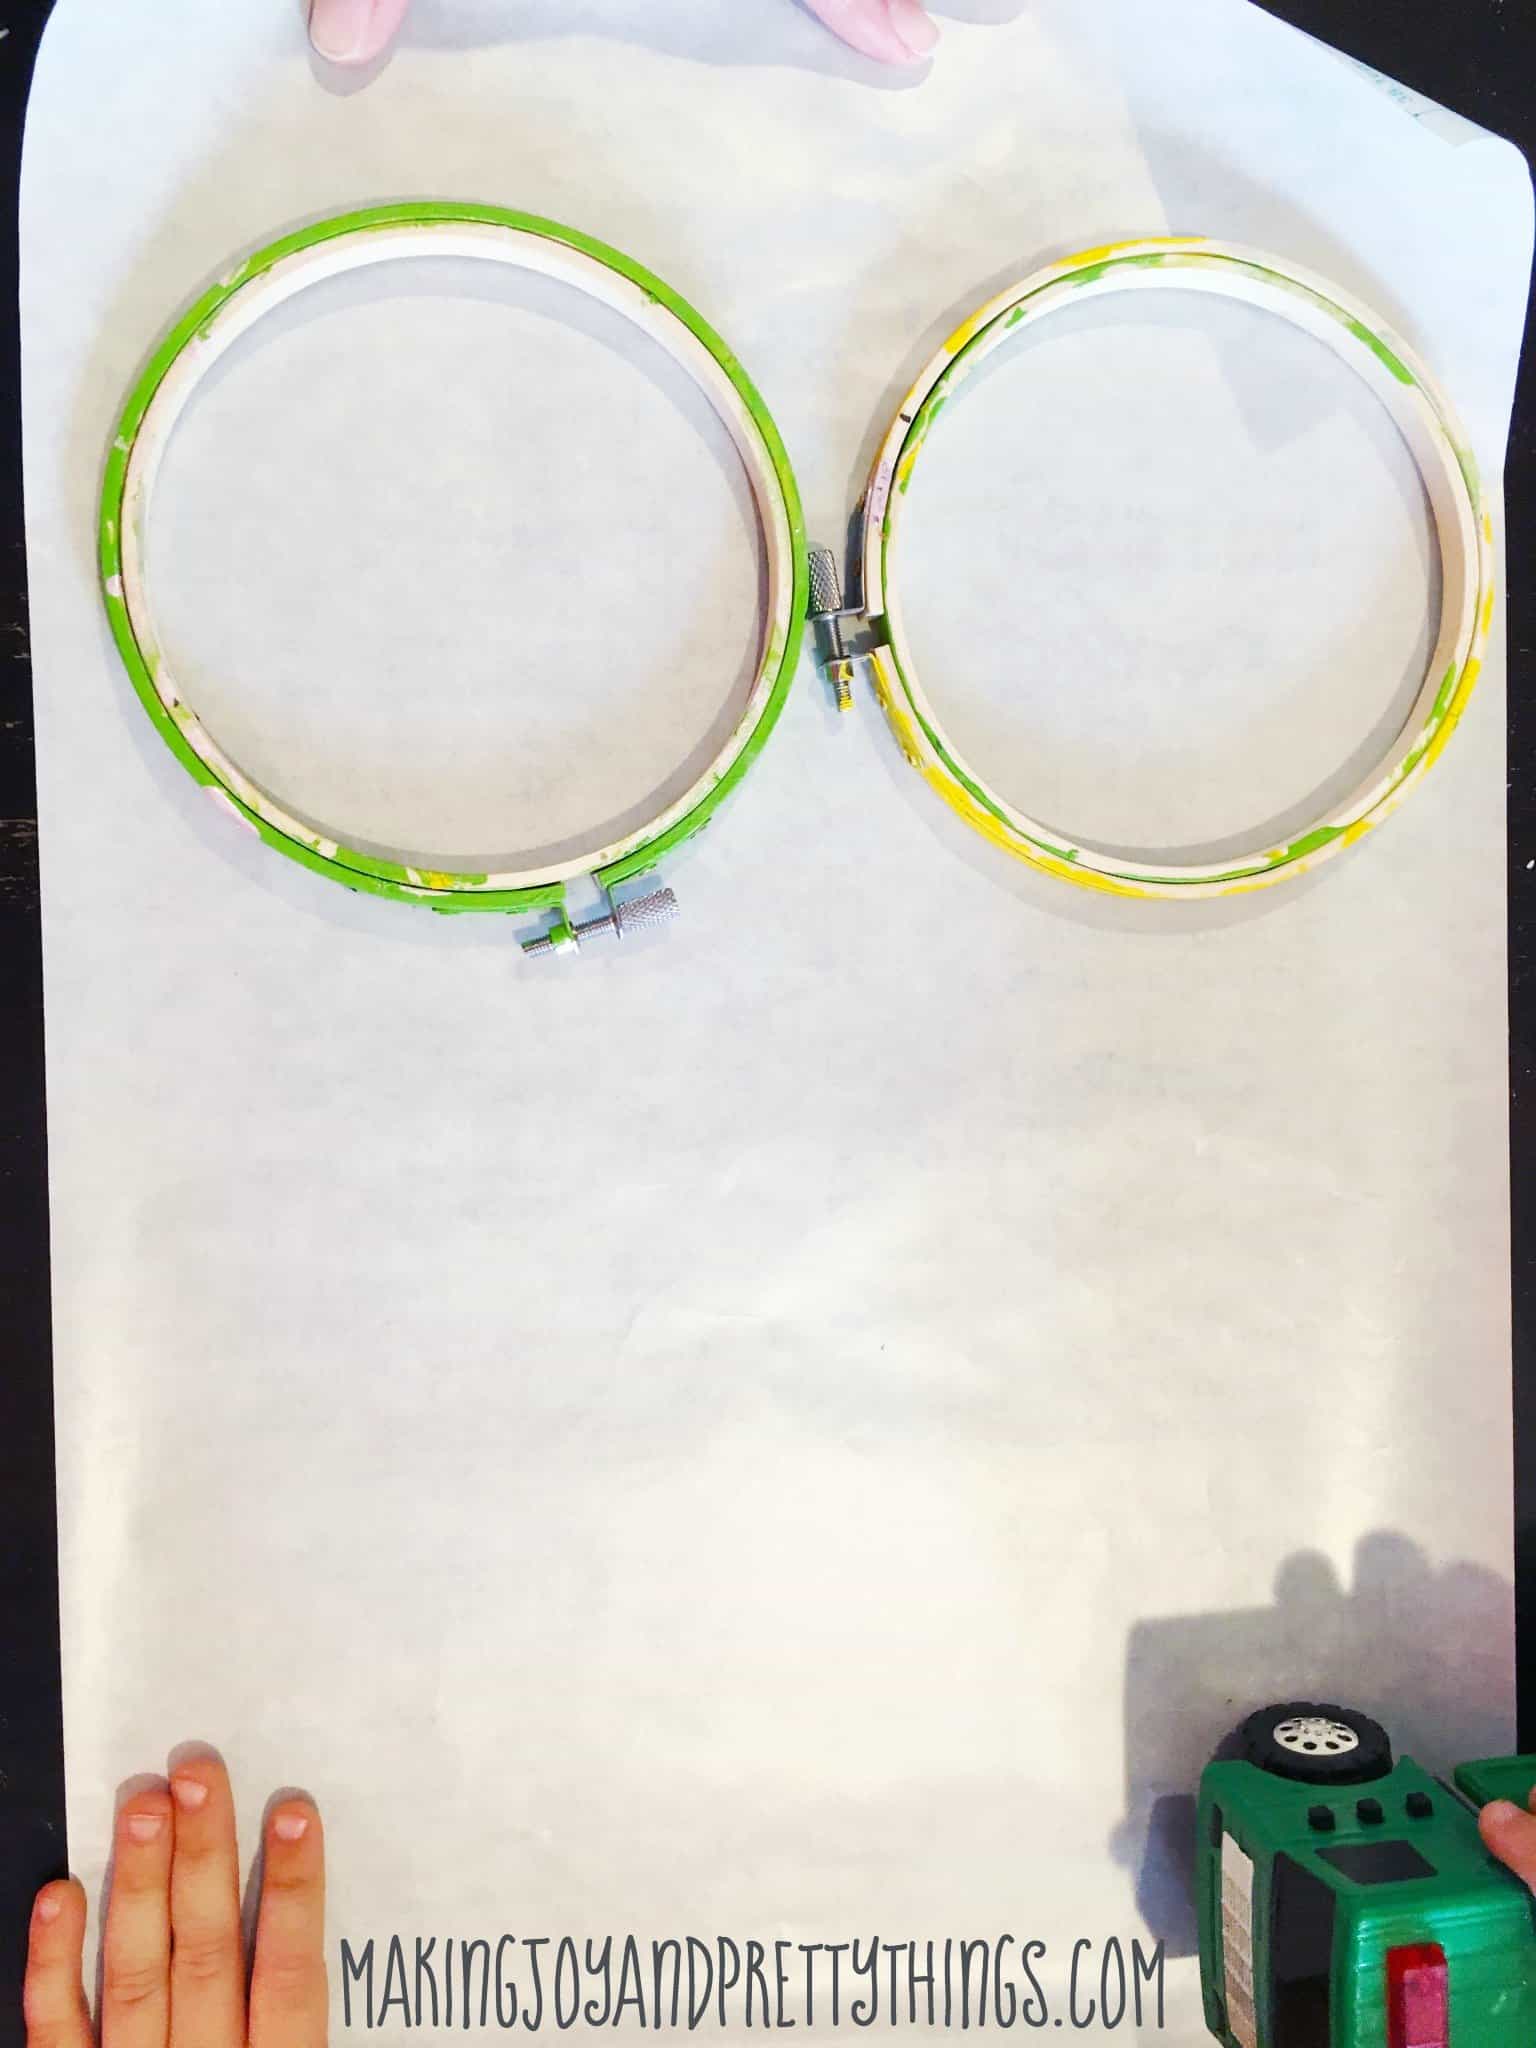
Love how that garbage truck is holding part of the paper down, haha!! I then traced the outside of each embroidery hoop with a Sharpie so Liam knew roughly where to place the flowers.
Step 4: Place the Flowers
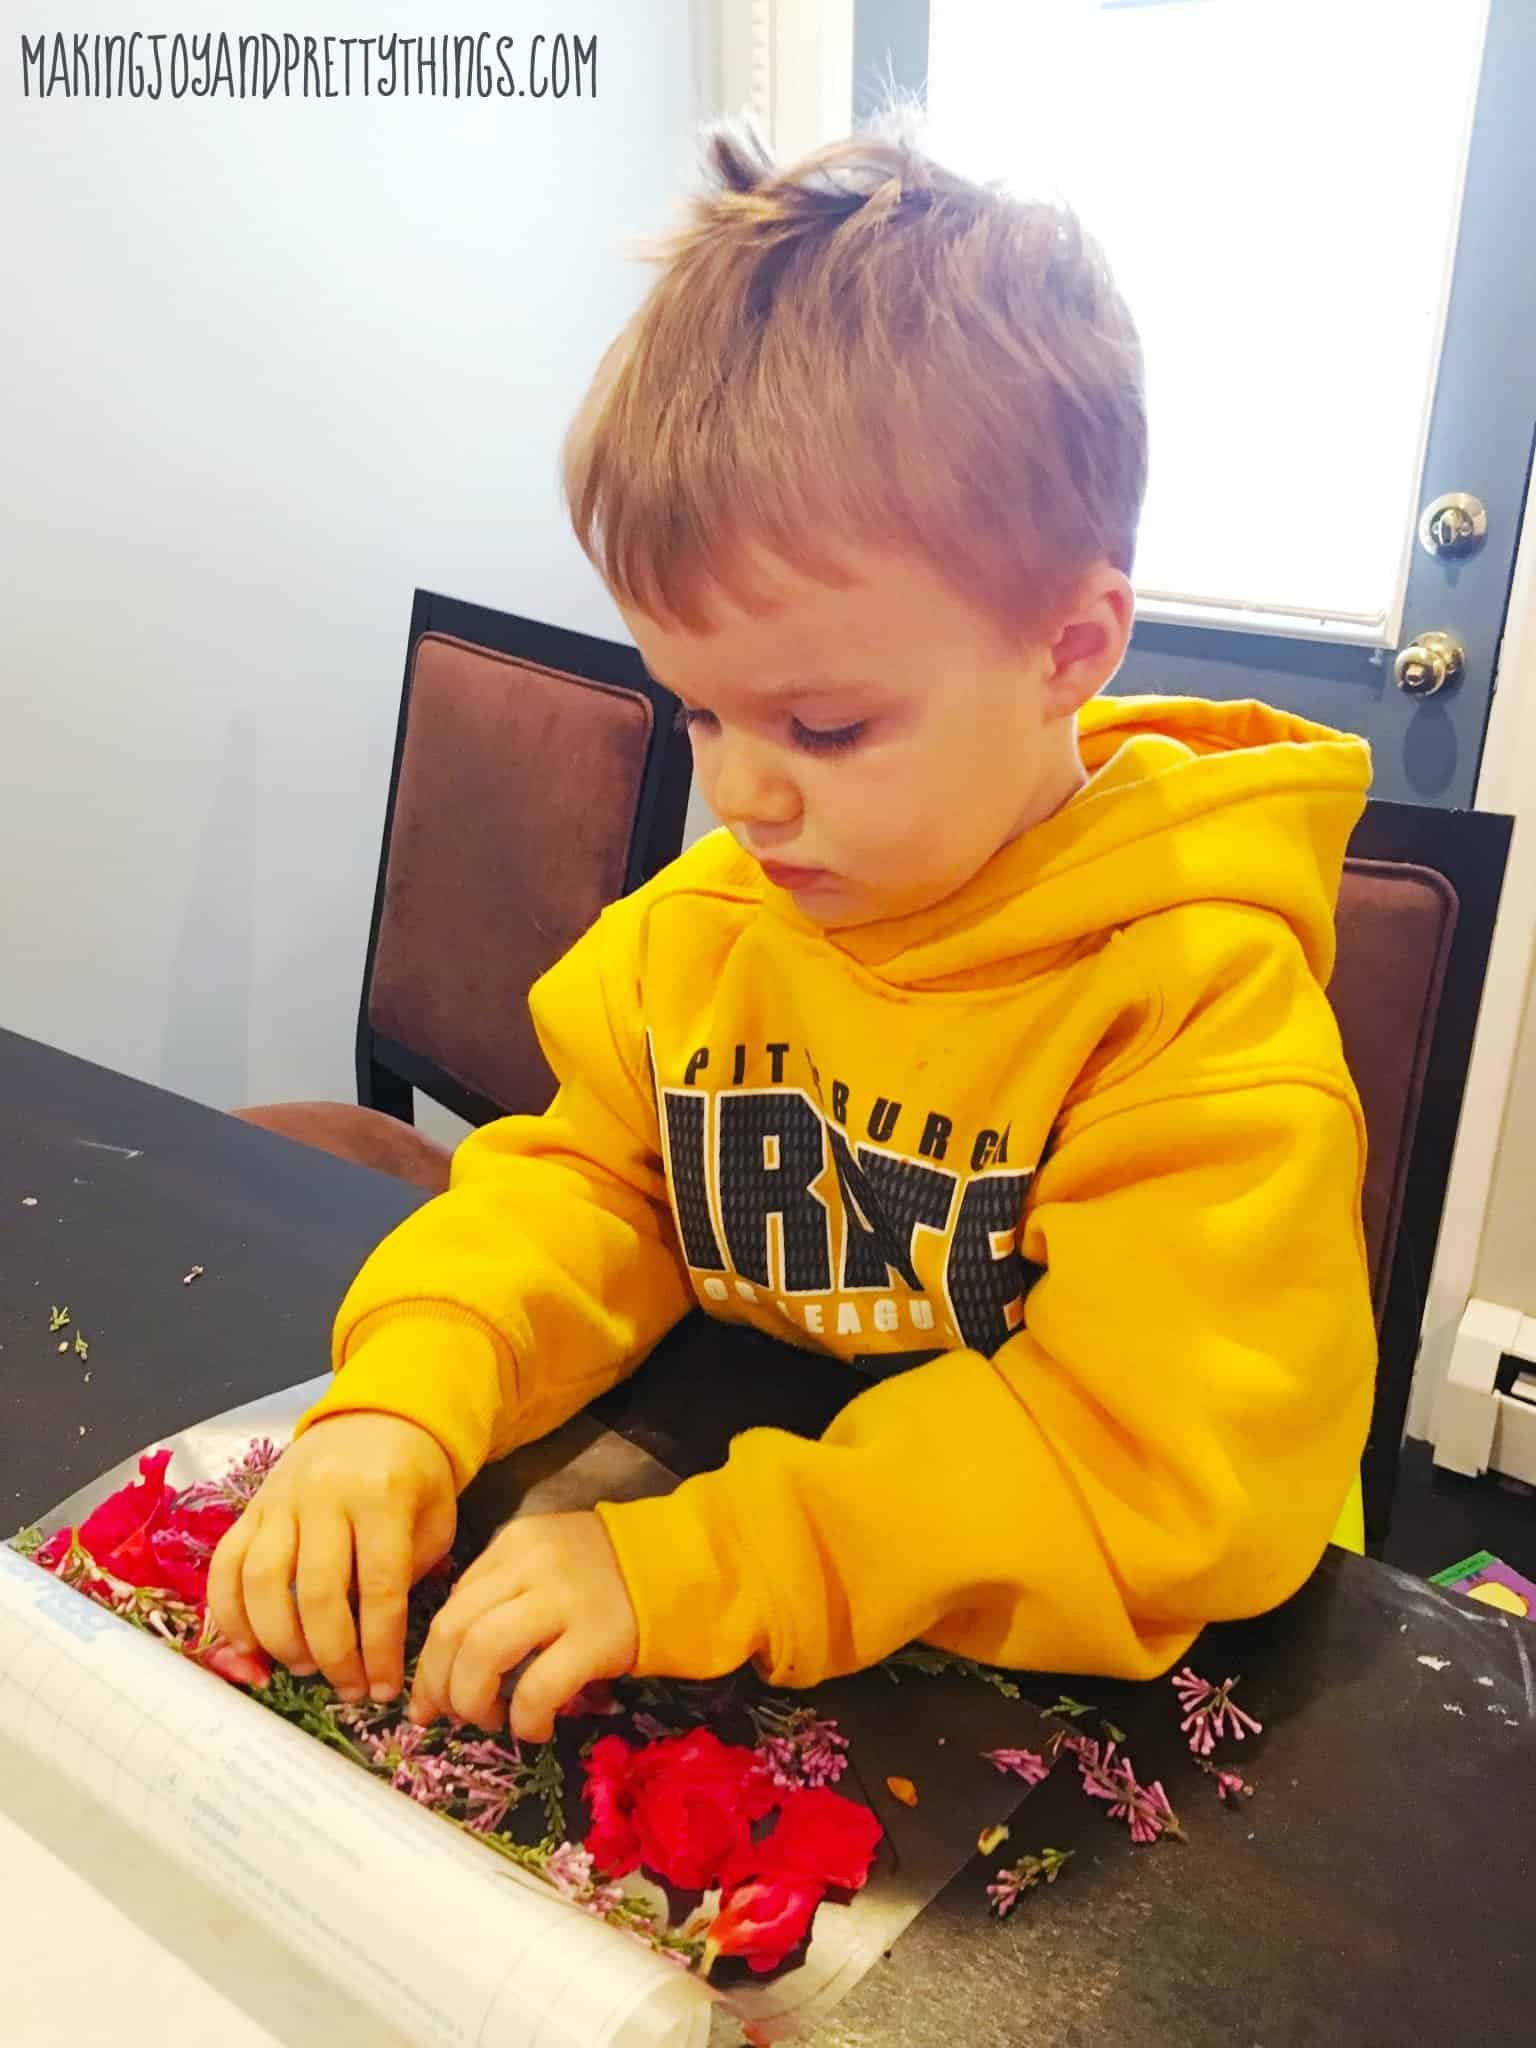
I peeled back half of the paper I had cut so that Liam could place the flowers how he liked on the sticky side. The remaining part of the piece will be folded over the flowers once he was finished. You can have the kids place the flowers roughly throughout the sharpie circle. Even some overlapping is fine.
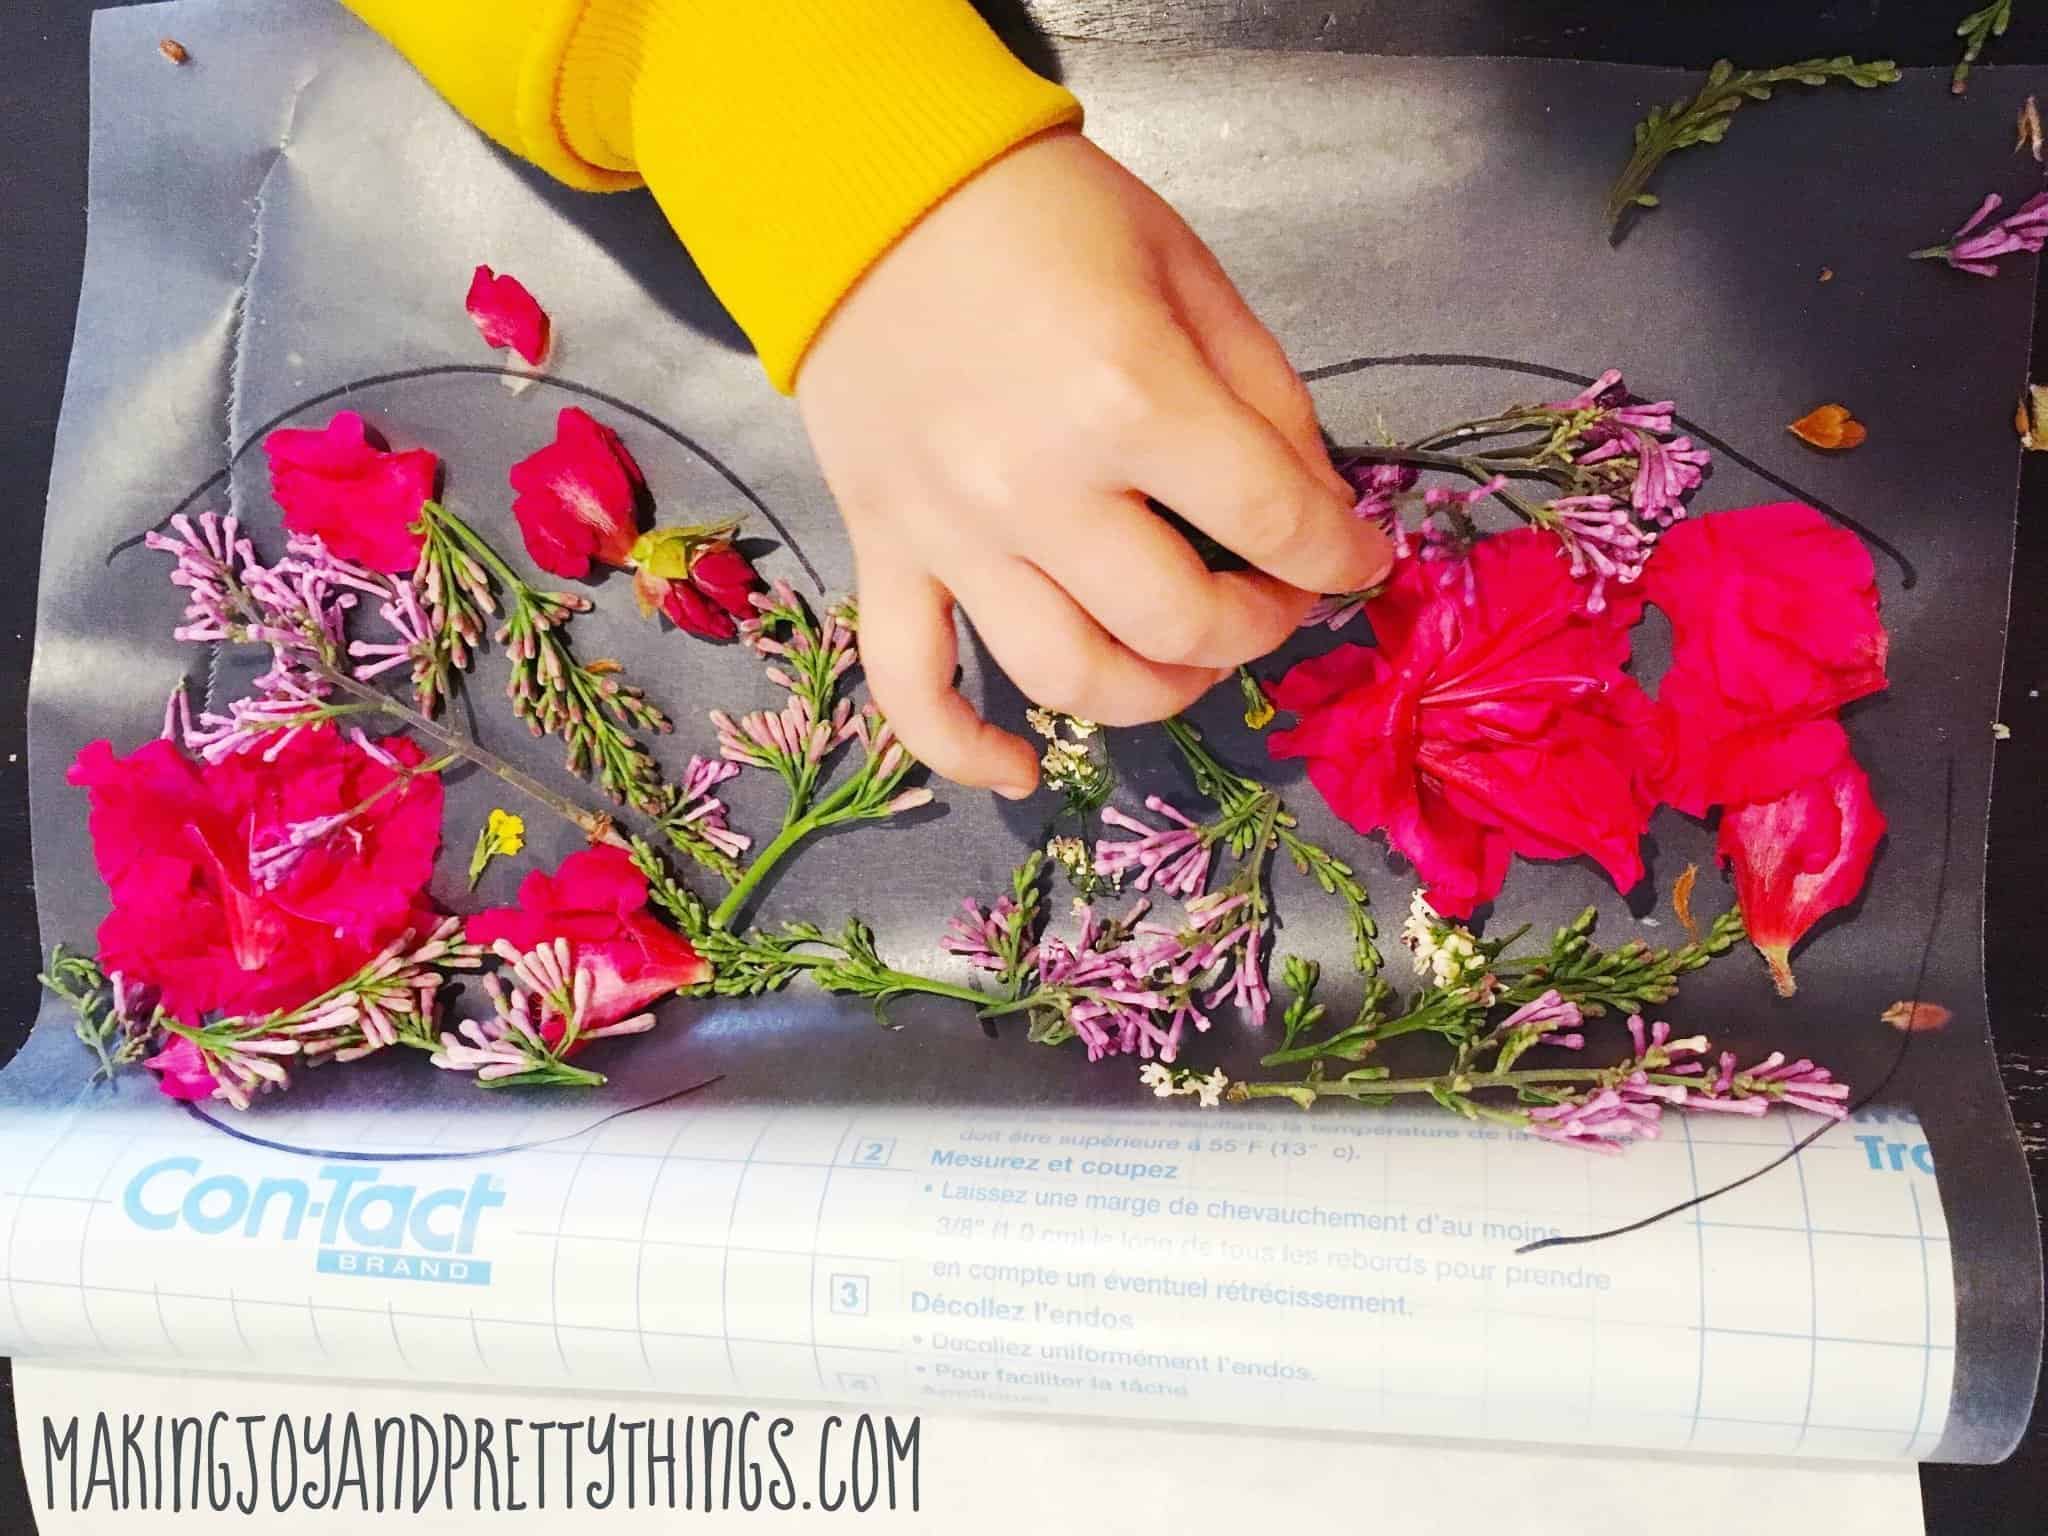
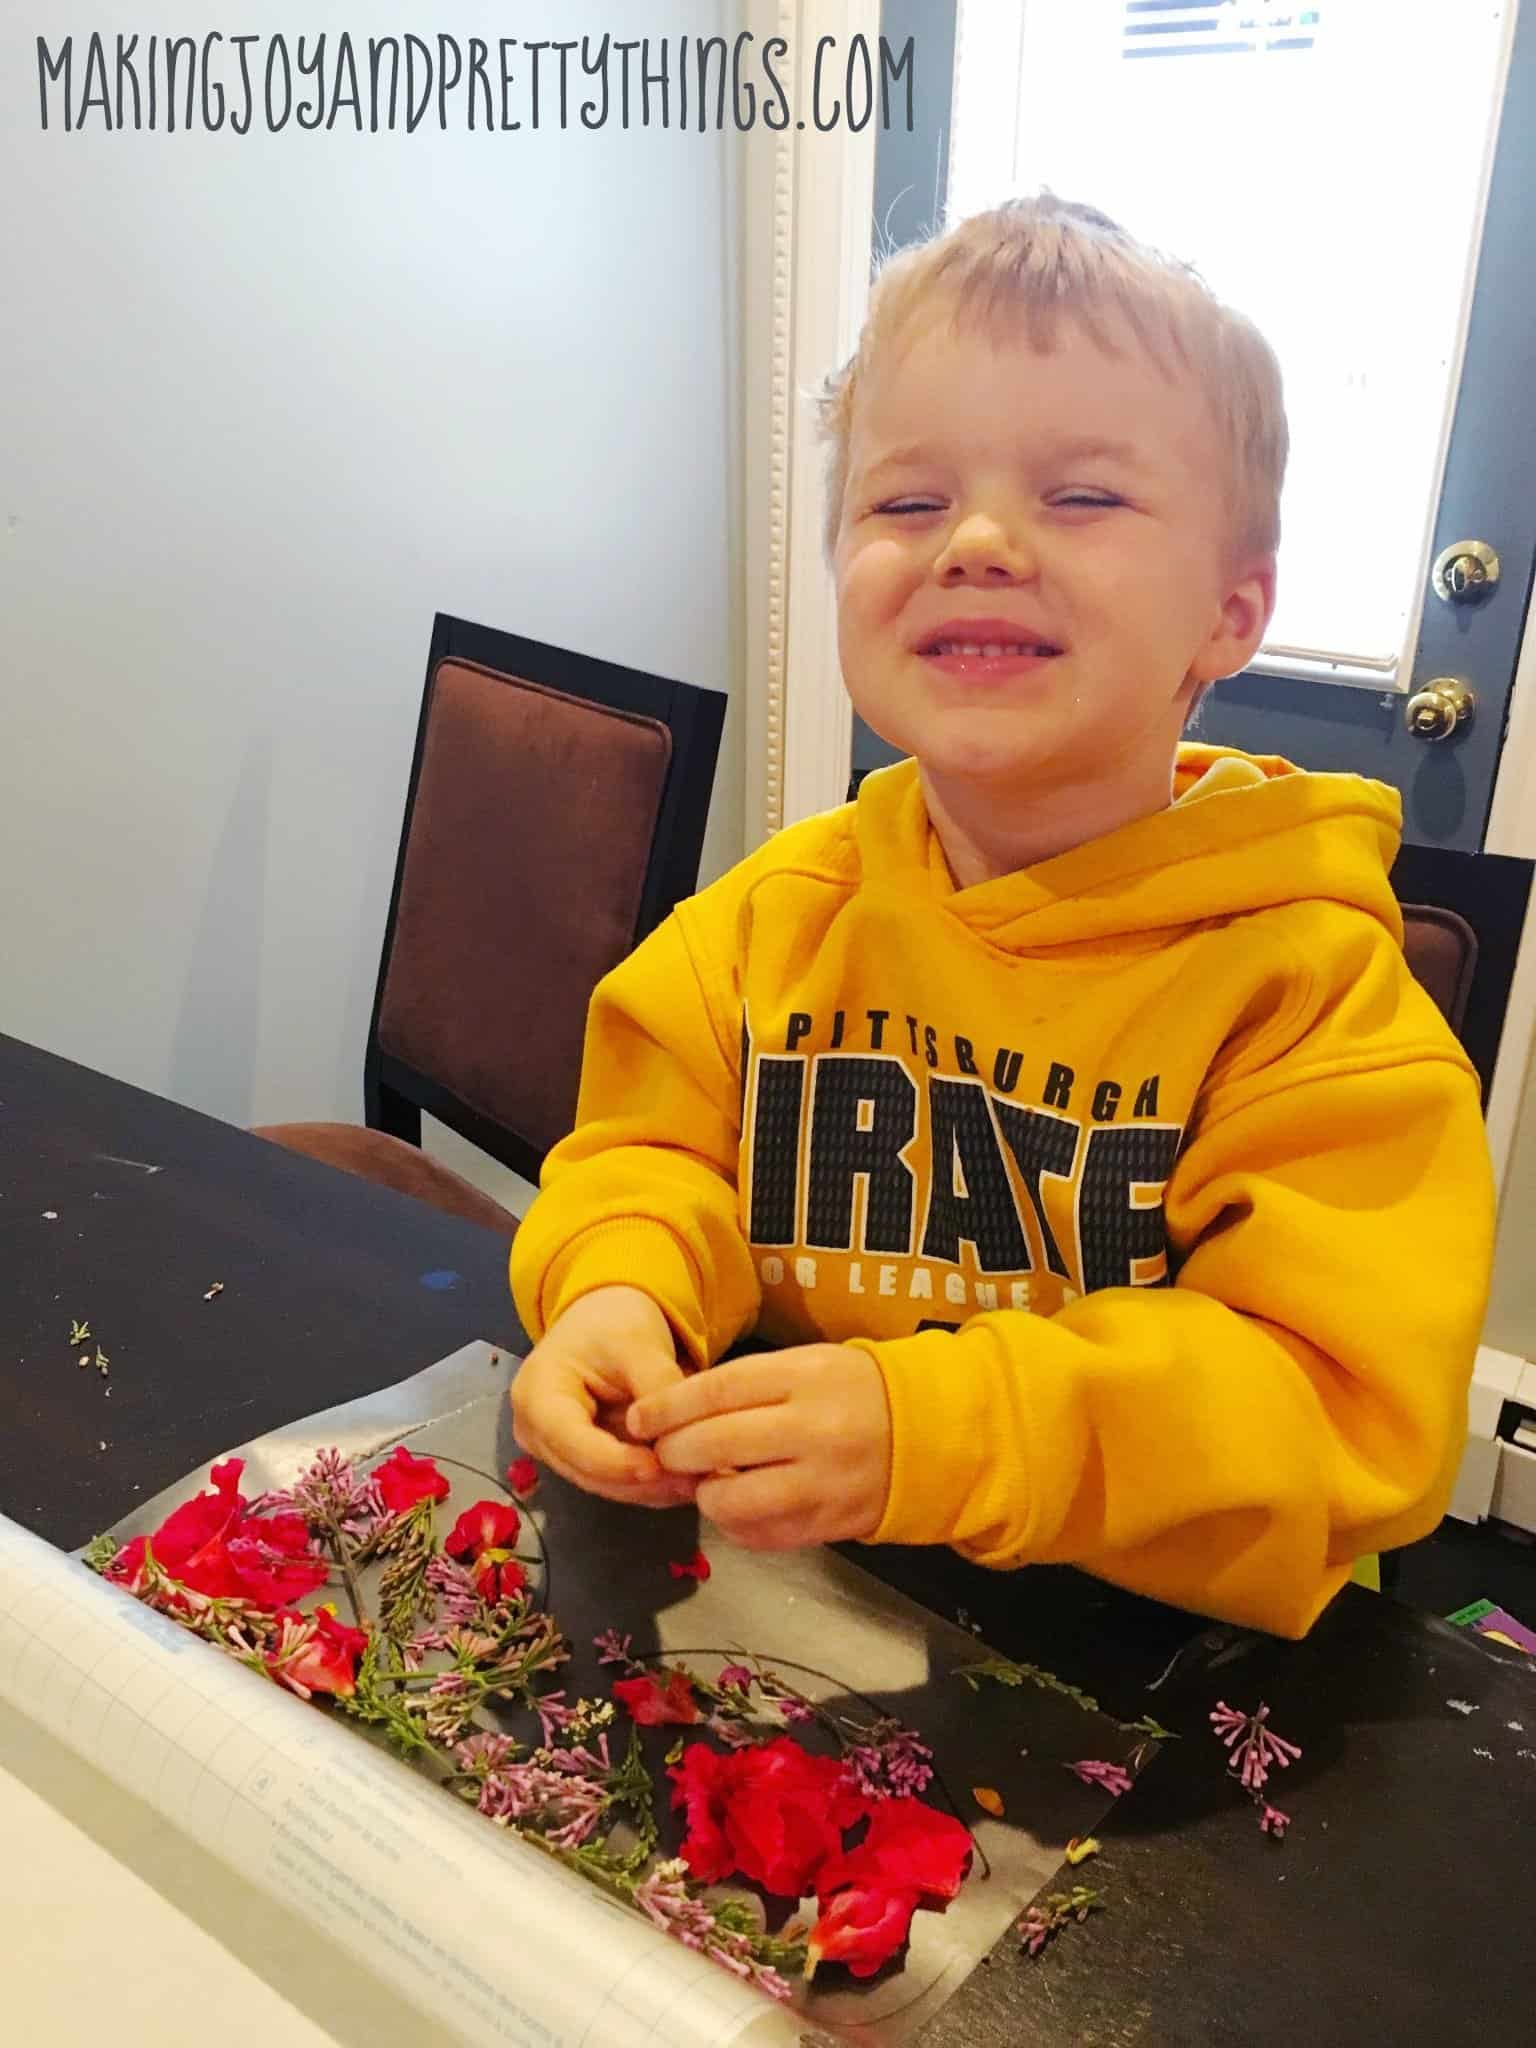
What even is this face?!? It reminds me of Chandler from Friends. Whenever him and Monica are getting pictures taken and he makes the most ridiculous fake smile face. I swear all kids have these crazy silly fake smiles.
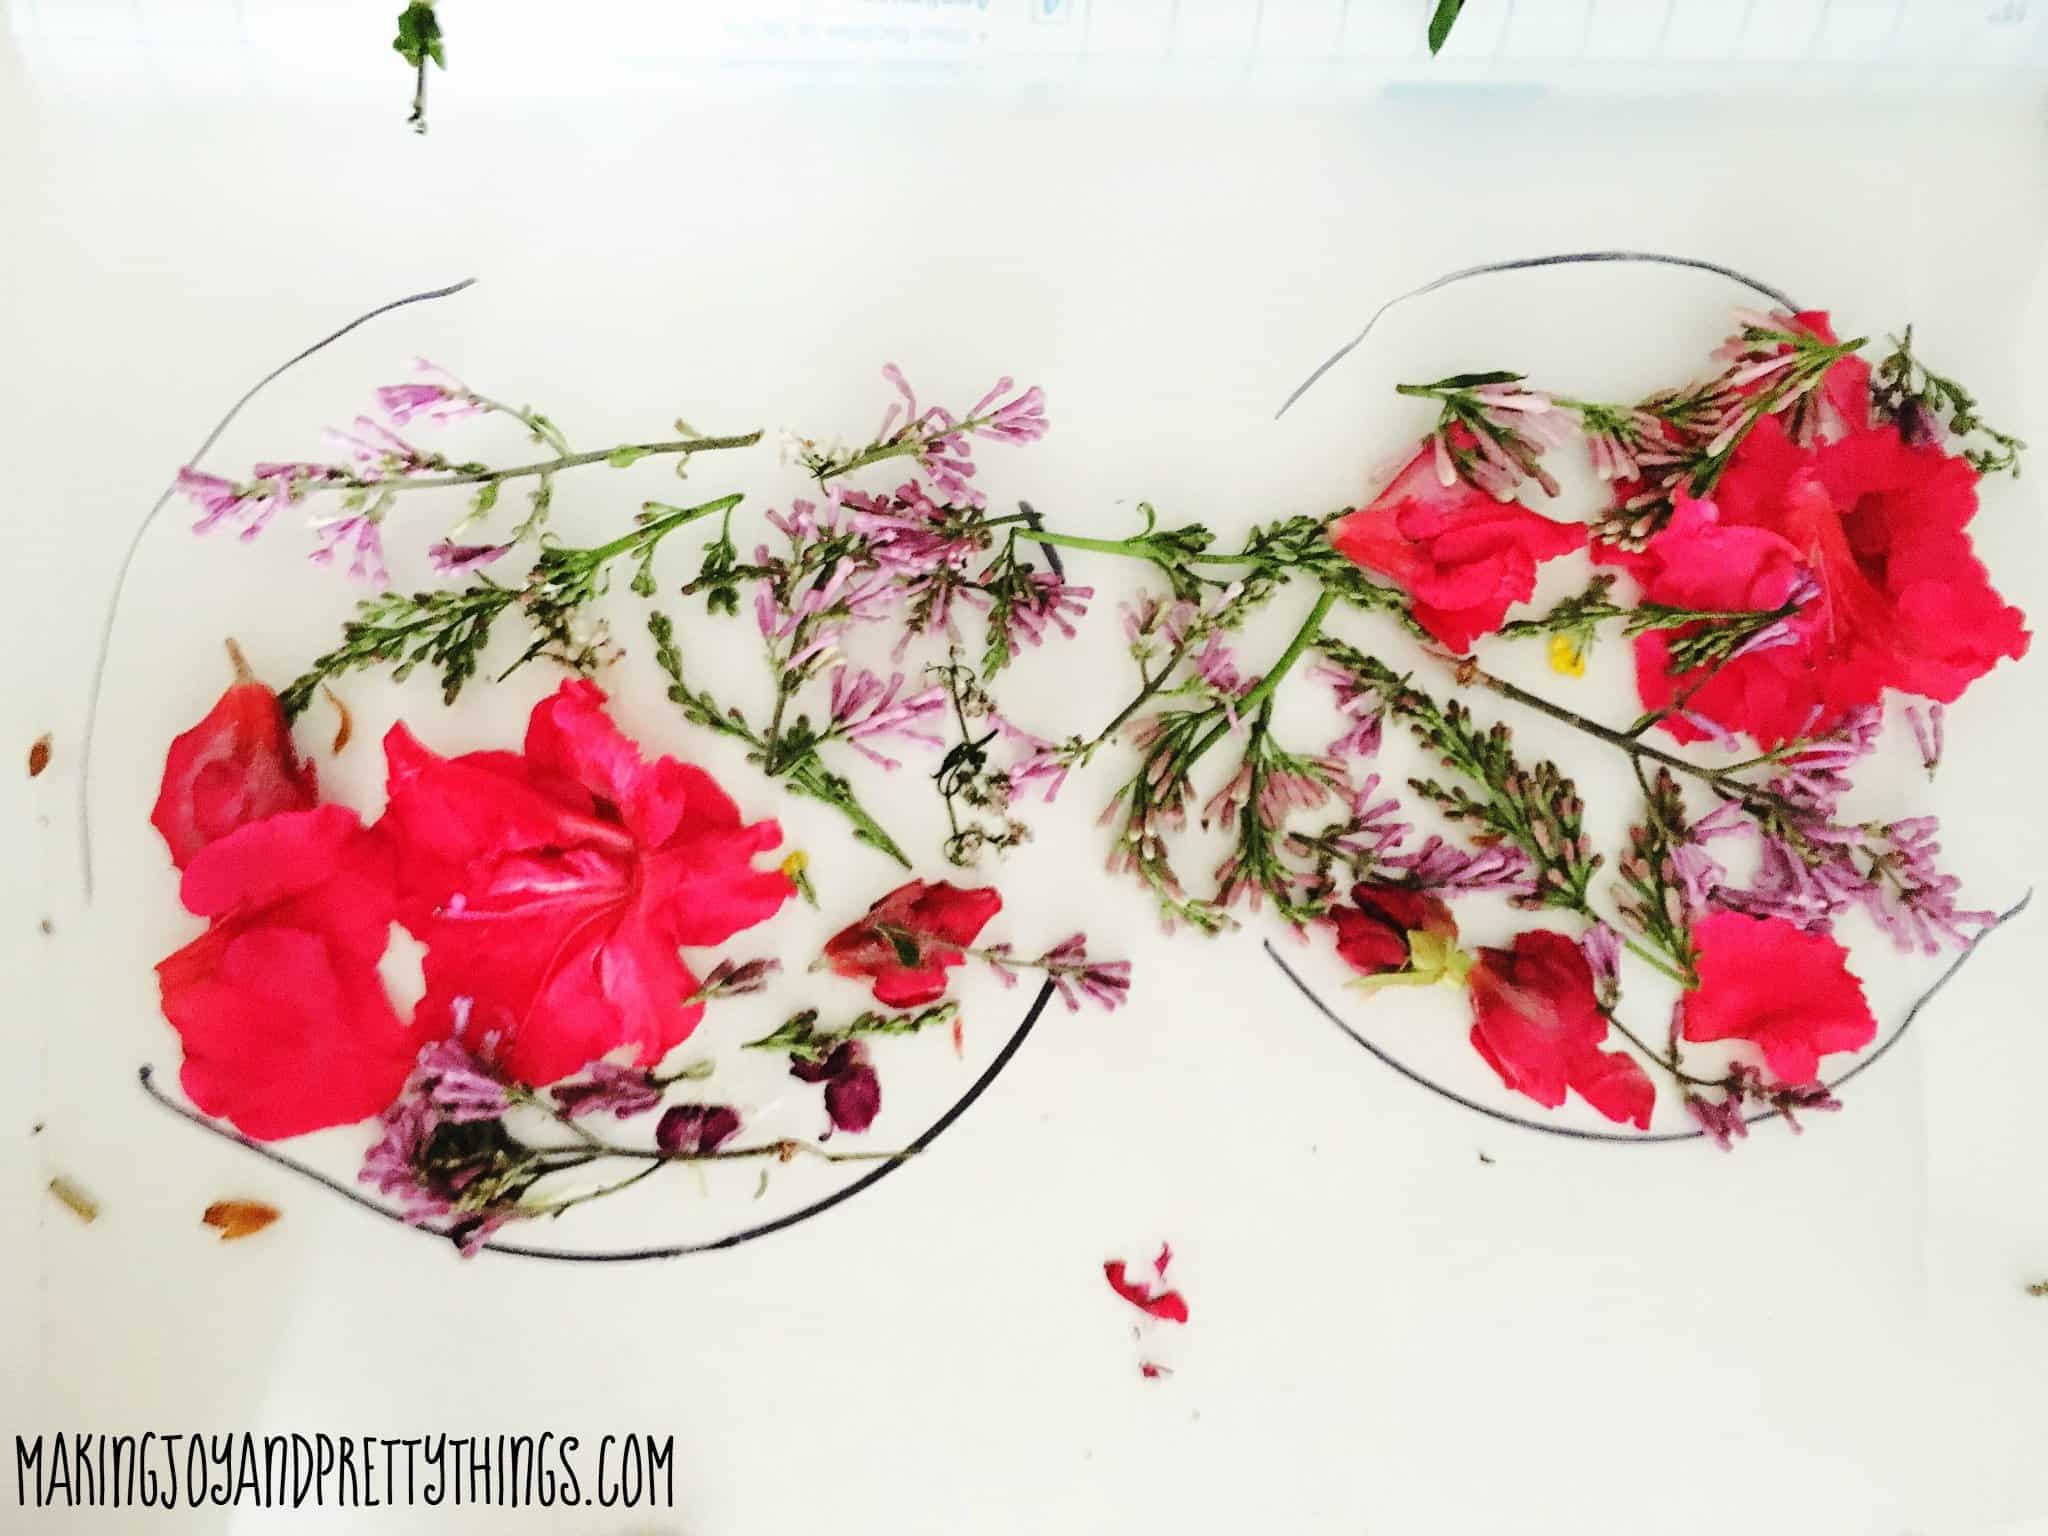
Step 5: Seal the Flowers in Contact Paper
This was his end result!! Once he was finished, I folded the remaining contact paper over the flowers to seal them in place.
Now I have NO IDEA how long the fresh flowers will stay in sealed contact paper. I would guess a few weeks. Which is honestly perfect.
That way grandma/mom/teacher can take it down from the sunny window and not feel like they are throwing away kid art (but reuse those embroidery hoops!!)
The contact paper worked great for pressing down the flowers because it was sticky, but you could also leave them pressed under something heavy, like heavy books, if you want them to be flatter. You could also, of course, use a flower press if you have one! But it is not necessary.
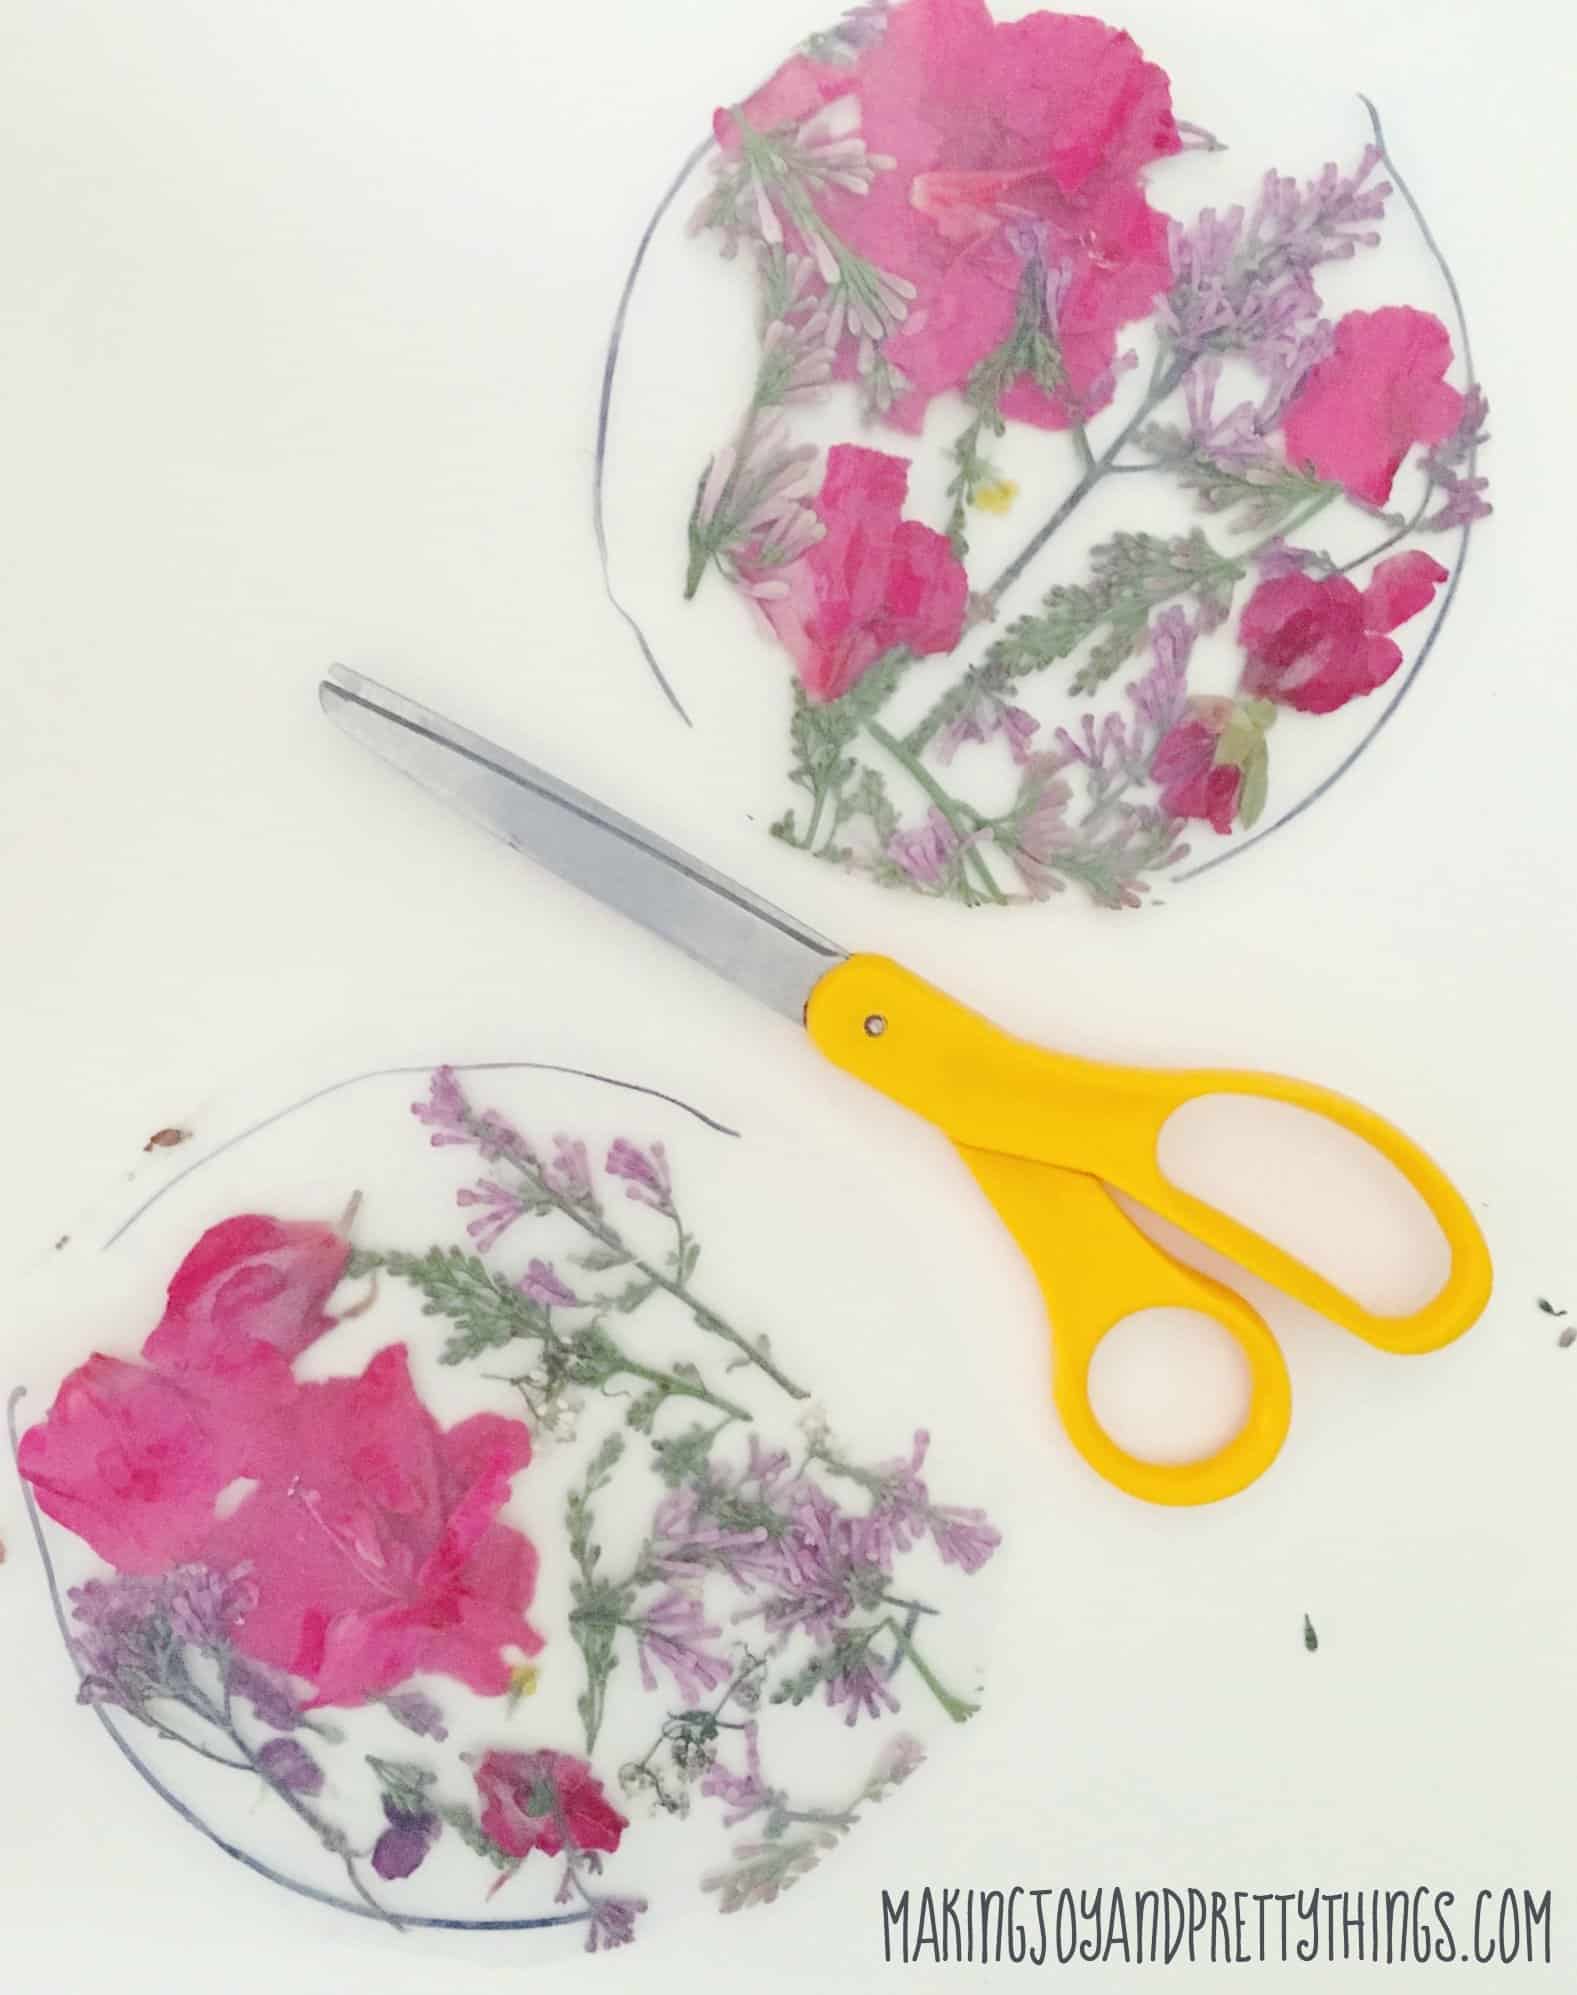
I cut roughly around the OUTSIDE of the Sharpie line. I actually think I cut too close to the Sharpie and it kept slipping through when I tried to fit it together later.
So be generous with your circling cutting. You can always trim more if you need to.
Step 6: Assemble the Beautiful Pressed Flower Suncatchers
To insert into the embroidery hoop, place your cut flower contact paper on top of the larger hoop part. This should hang out over the edges and that is perfect (as you can see in the photo below).
Then, place the smaller inner hoop on top of the cut flower contact paper and push it into place. You can use the top tightener screw thing (really technical, right? haha) to make it tighter if need be.
I did tighten mine a little bit, but not much is needed.
And don’t worry, the sharpie line is not visible once it’s in place!
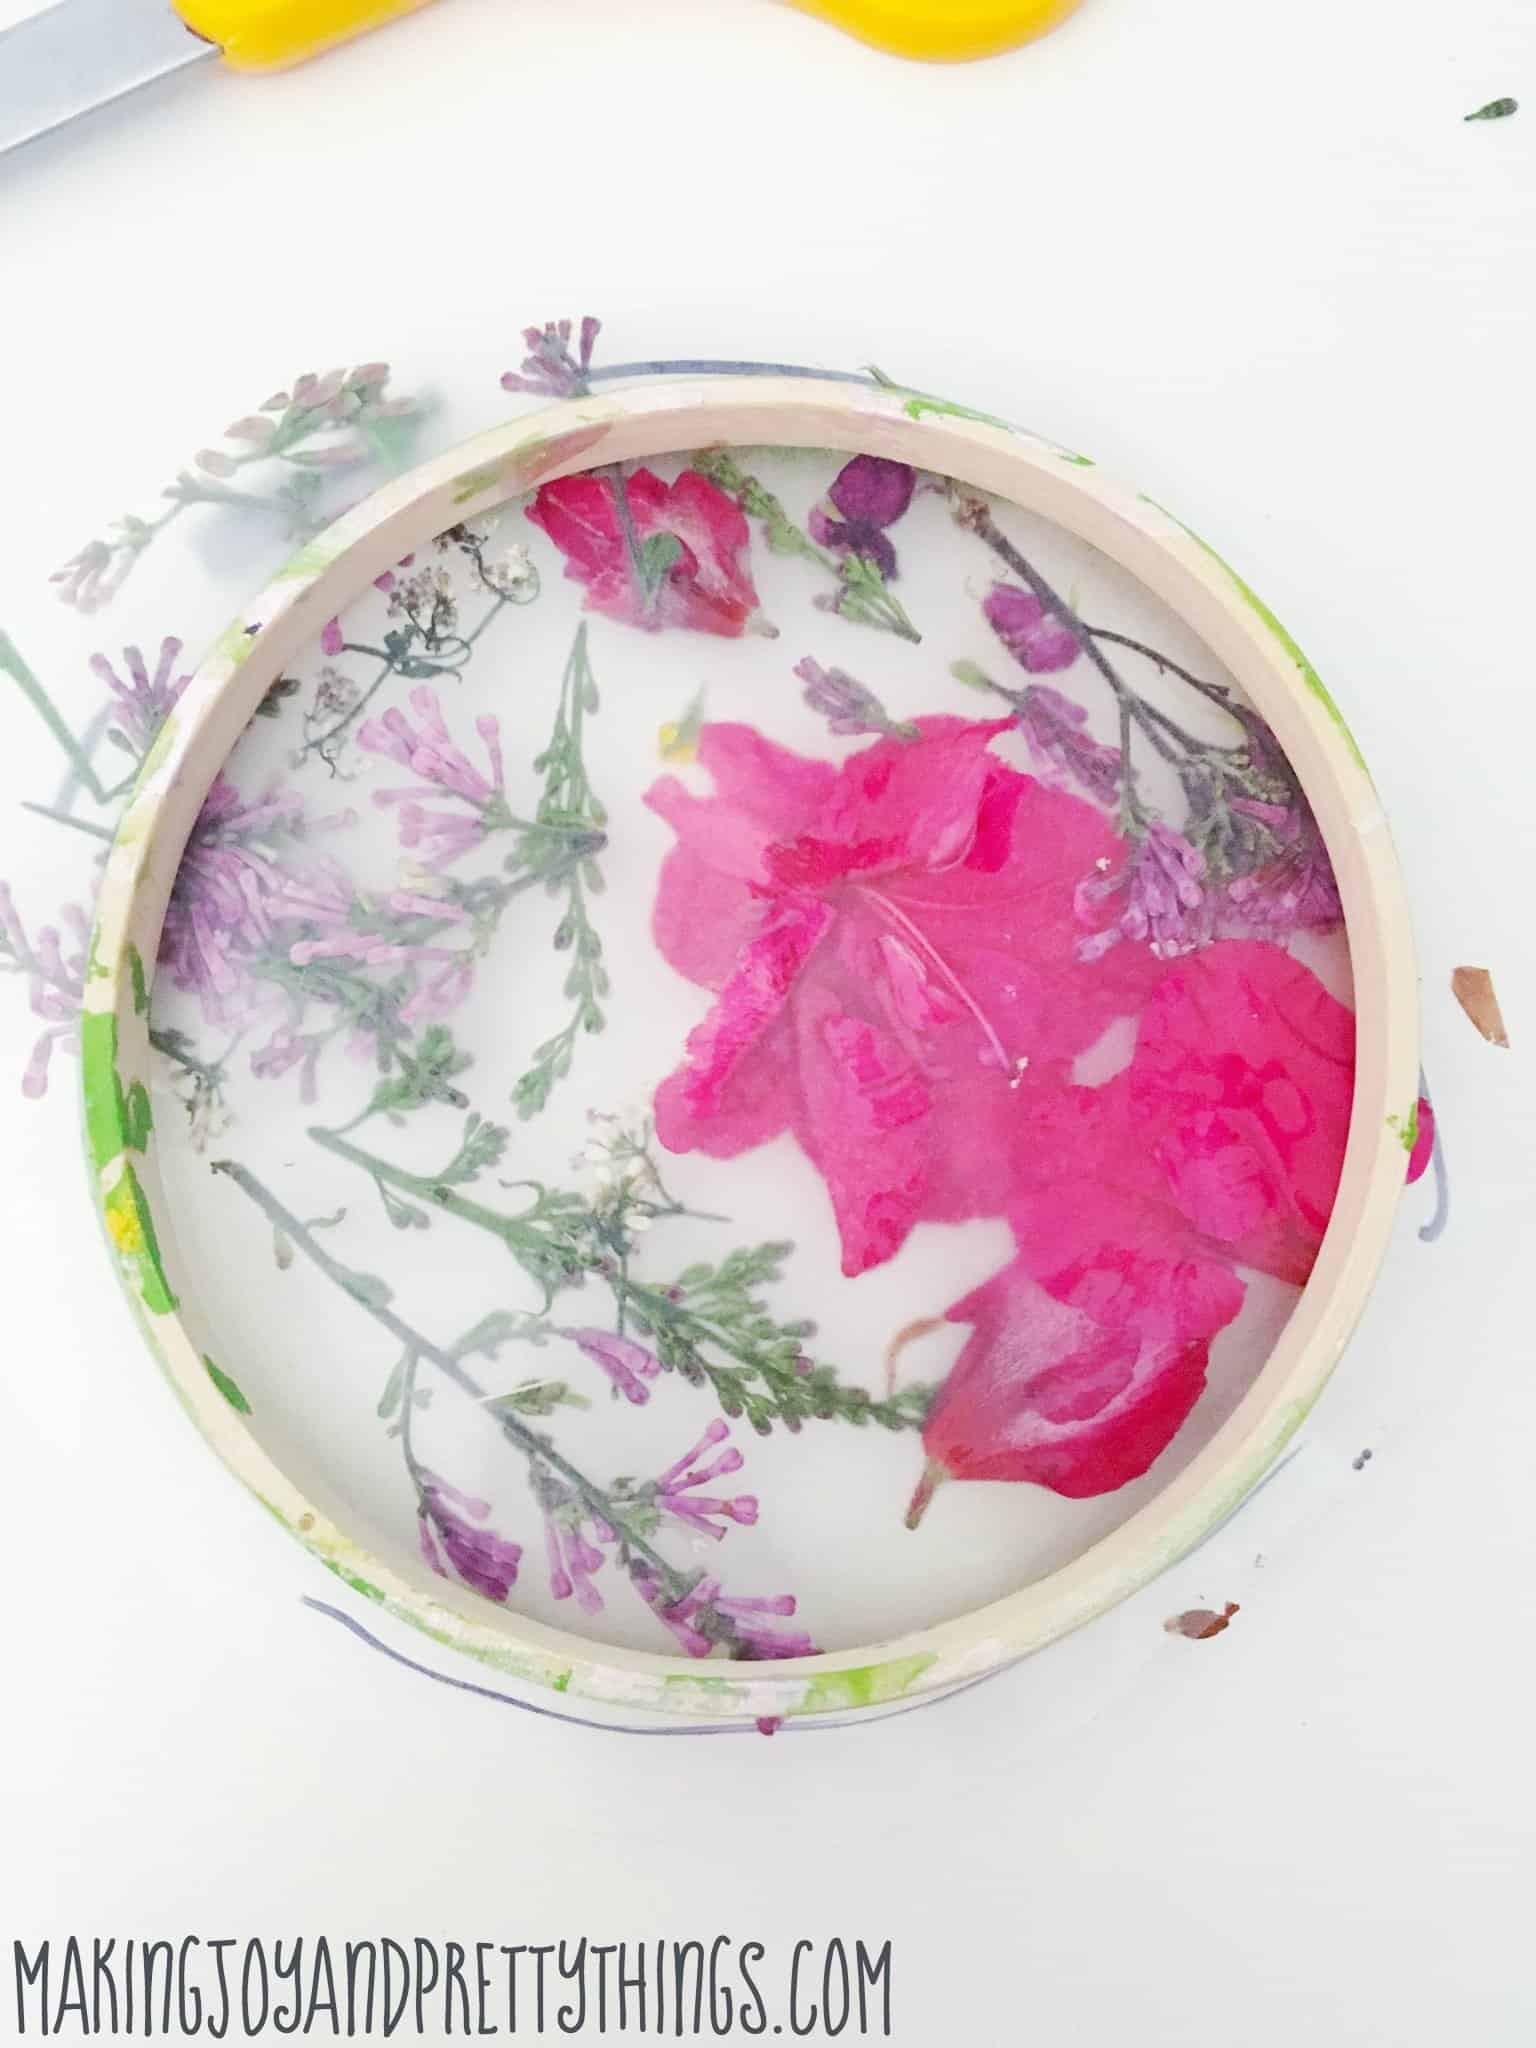
Once pushed in place, I didn’t have a ton of extra contact paper hanging out. There was just a small narrow border that I trimmed with scissors so that it remained flush with the hoops!
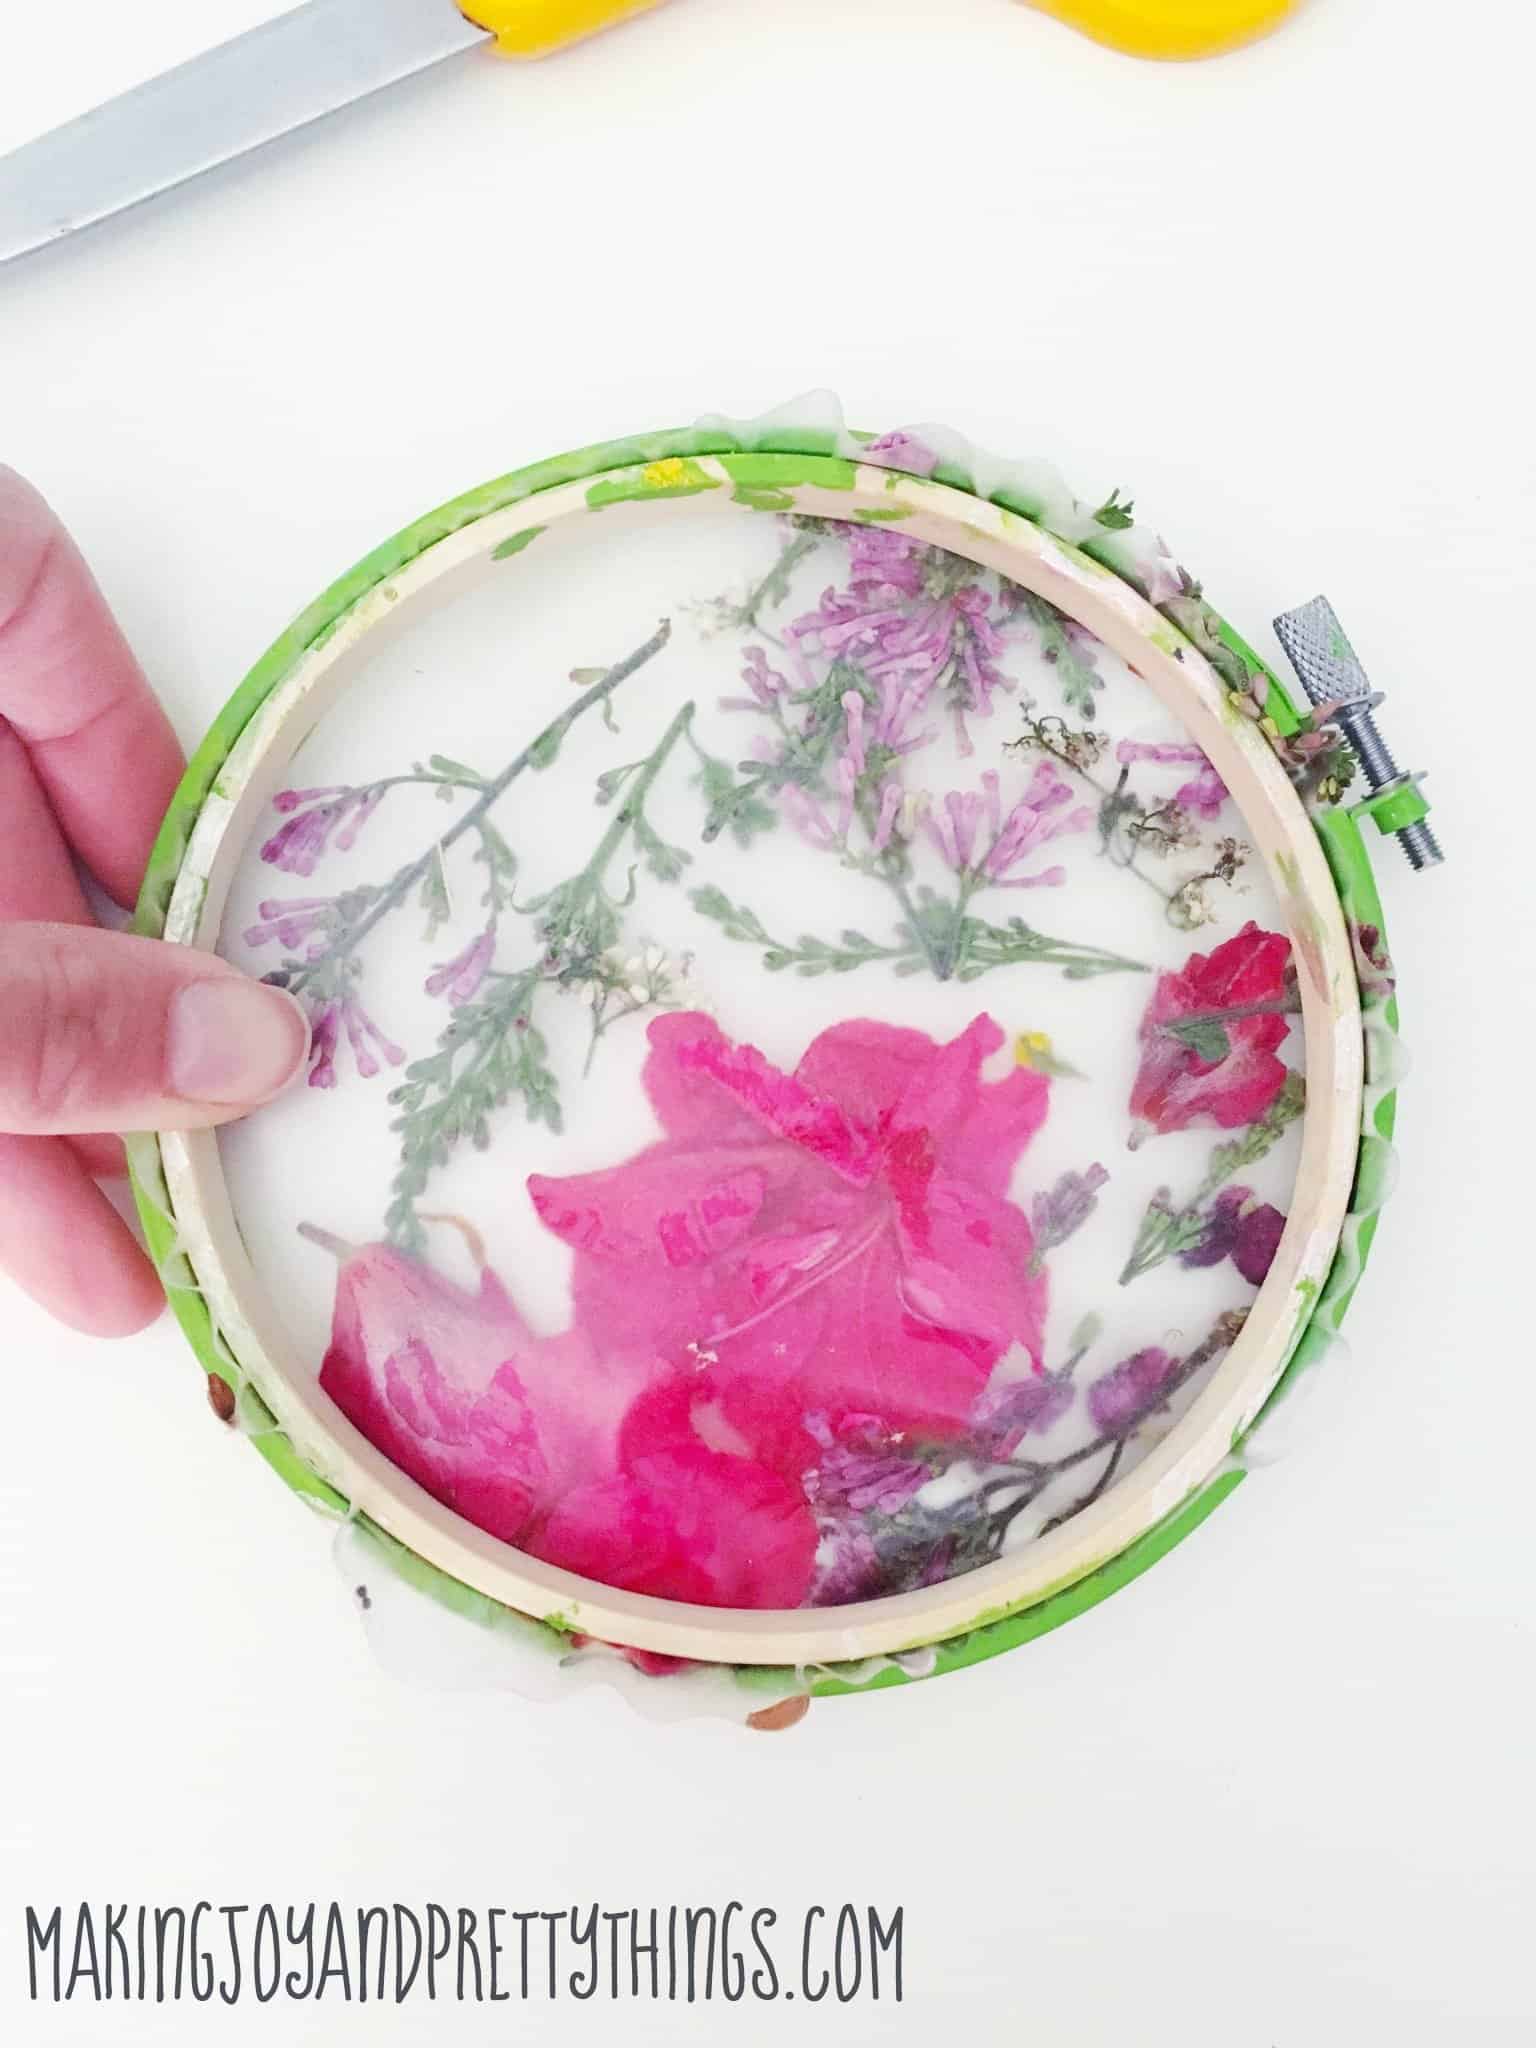
Lastly, add some ribbon or yarn to the top as a hanger.
He was so proud of his pressed flower suncatcher gifts!!
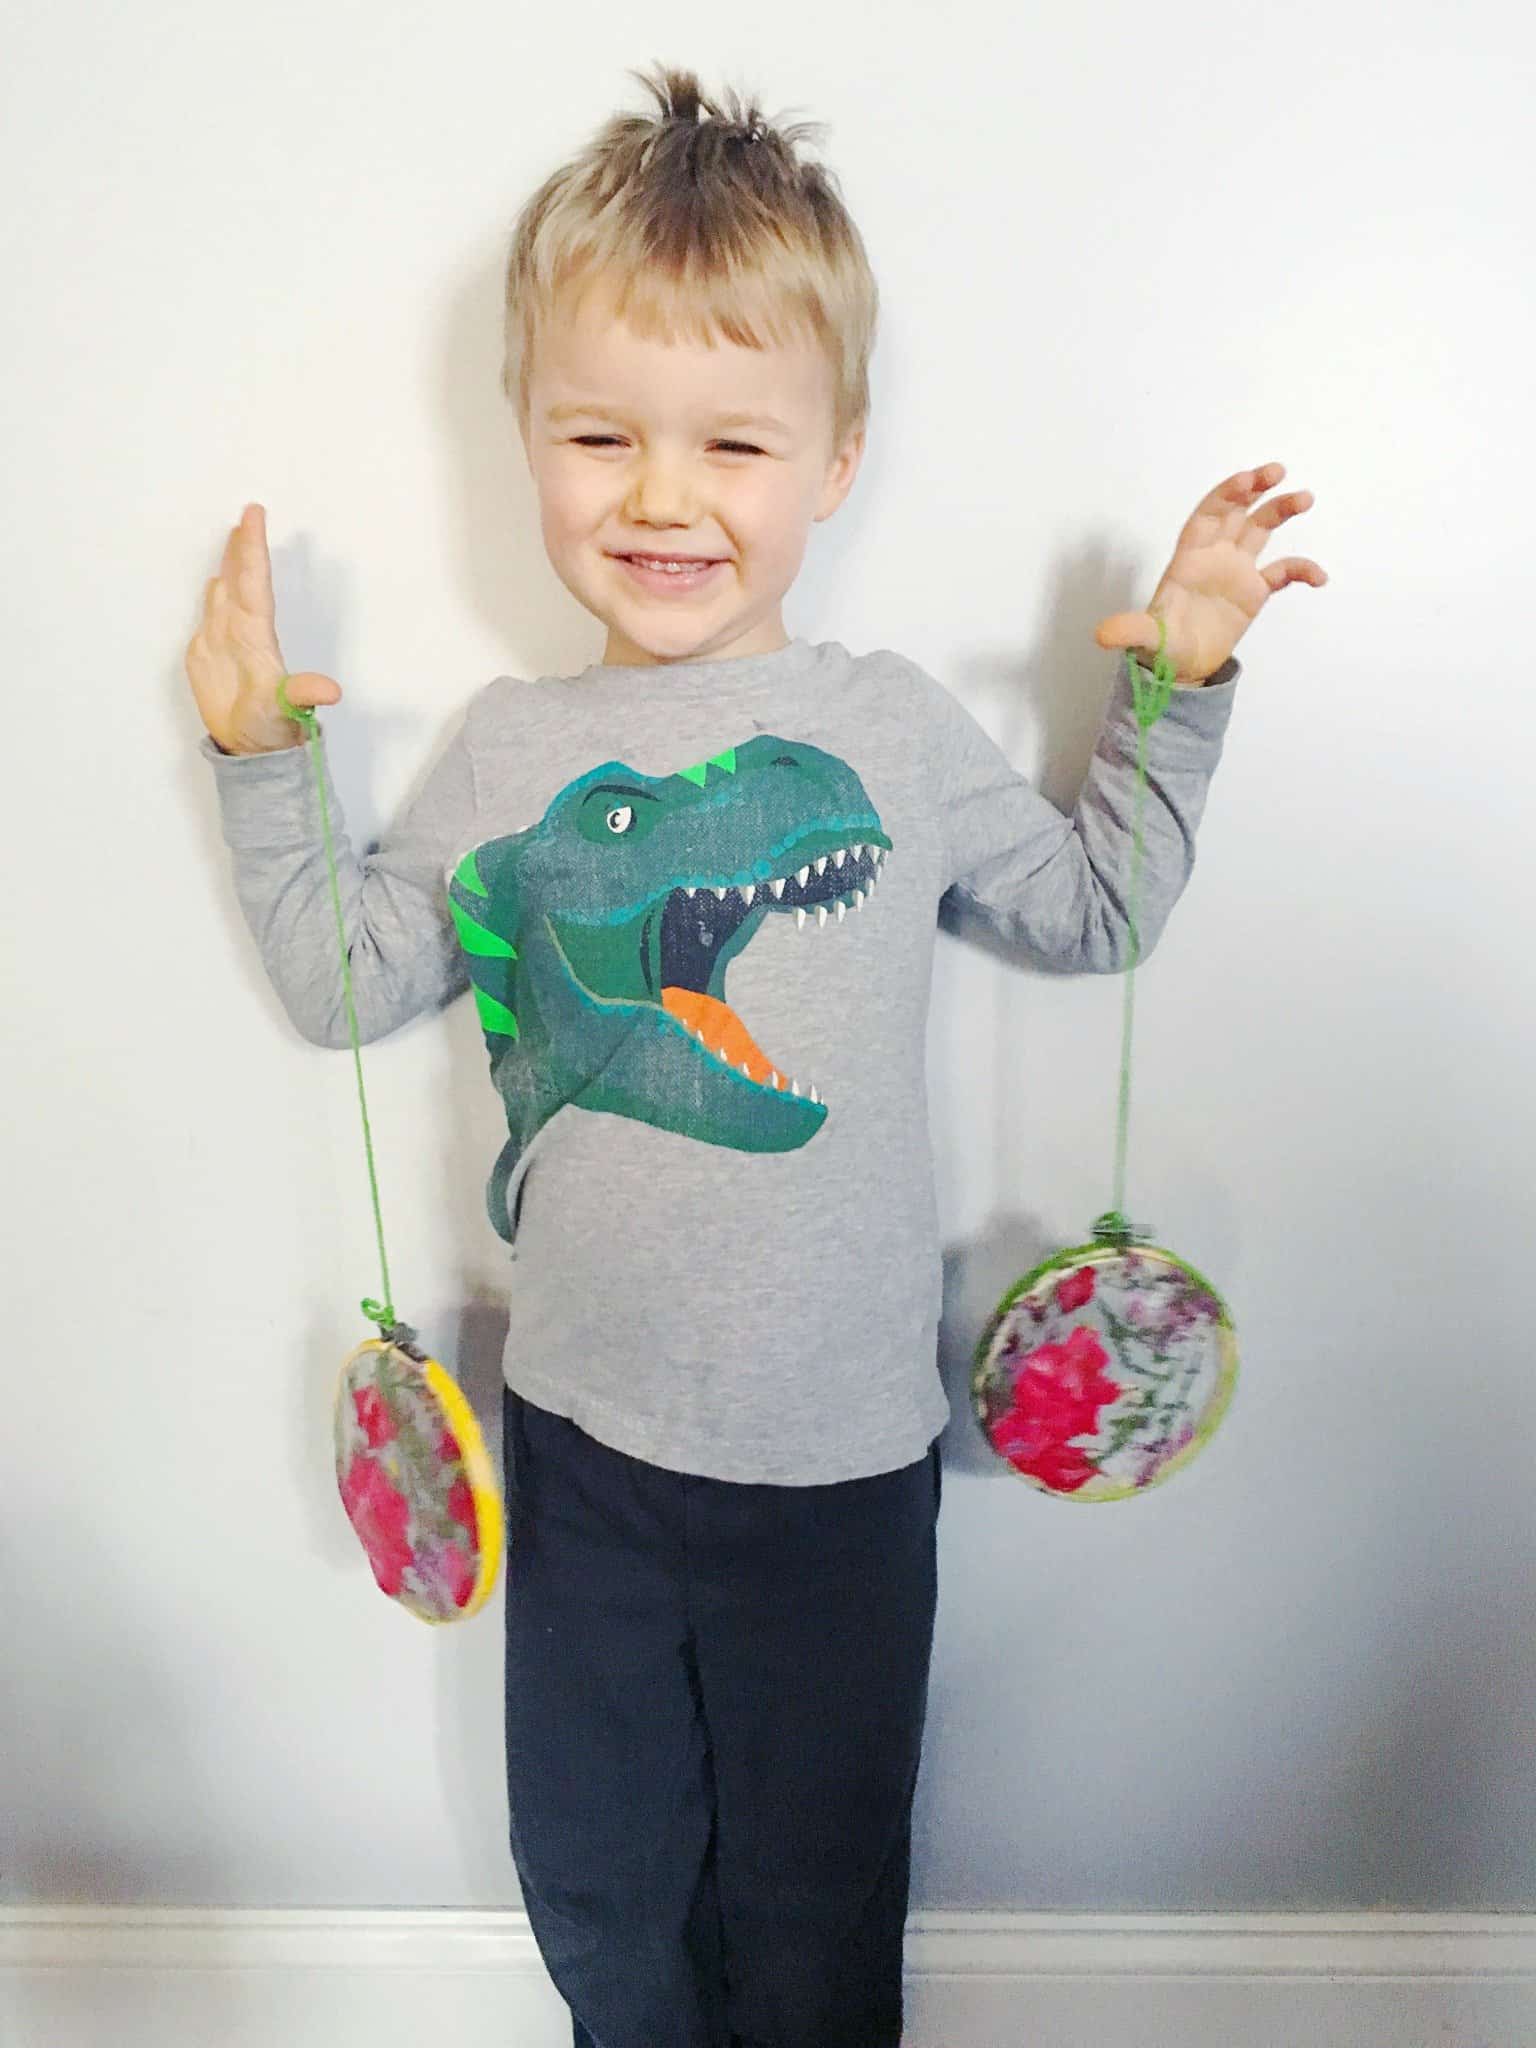
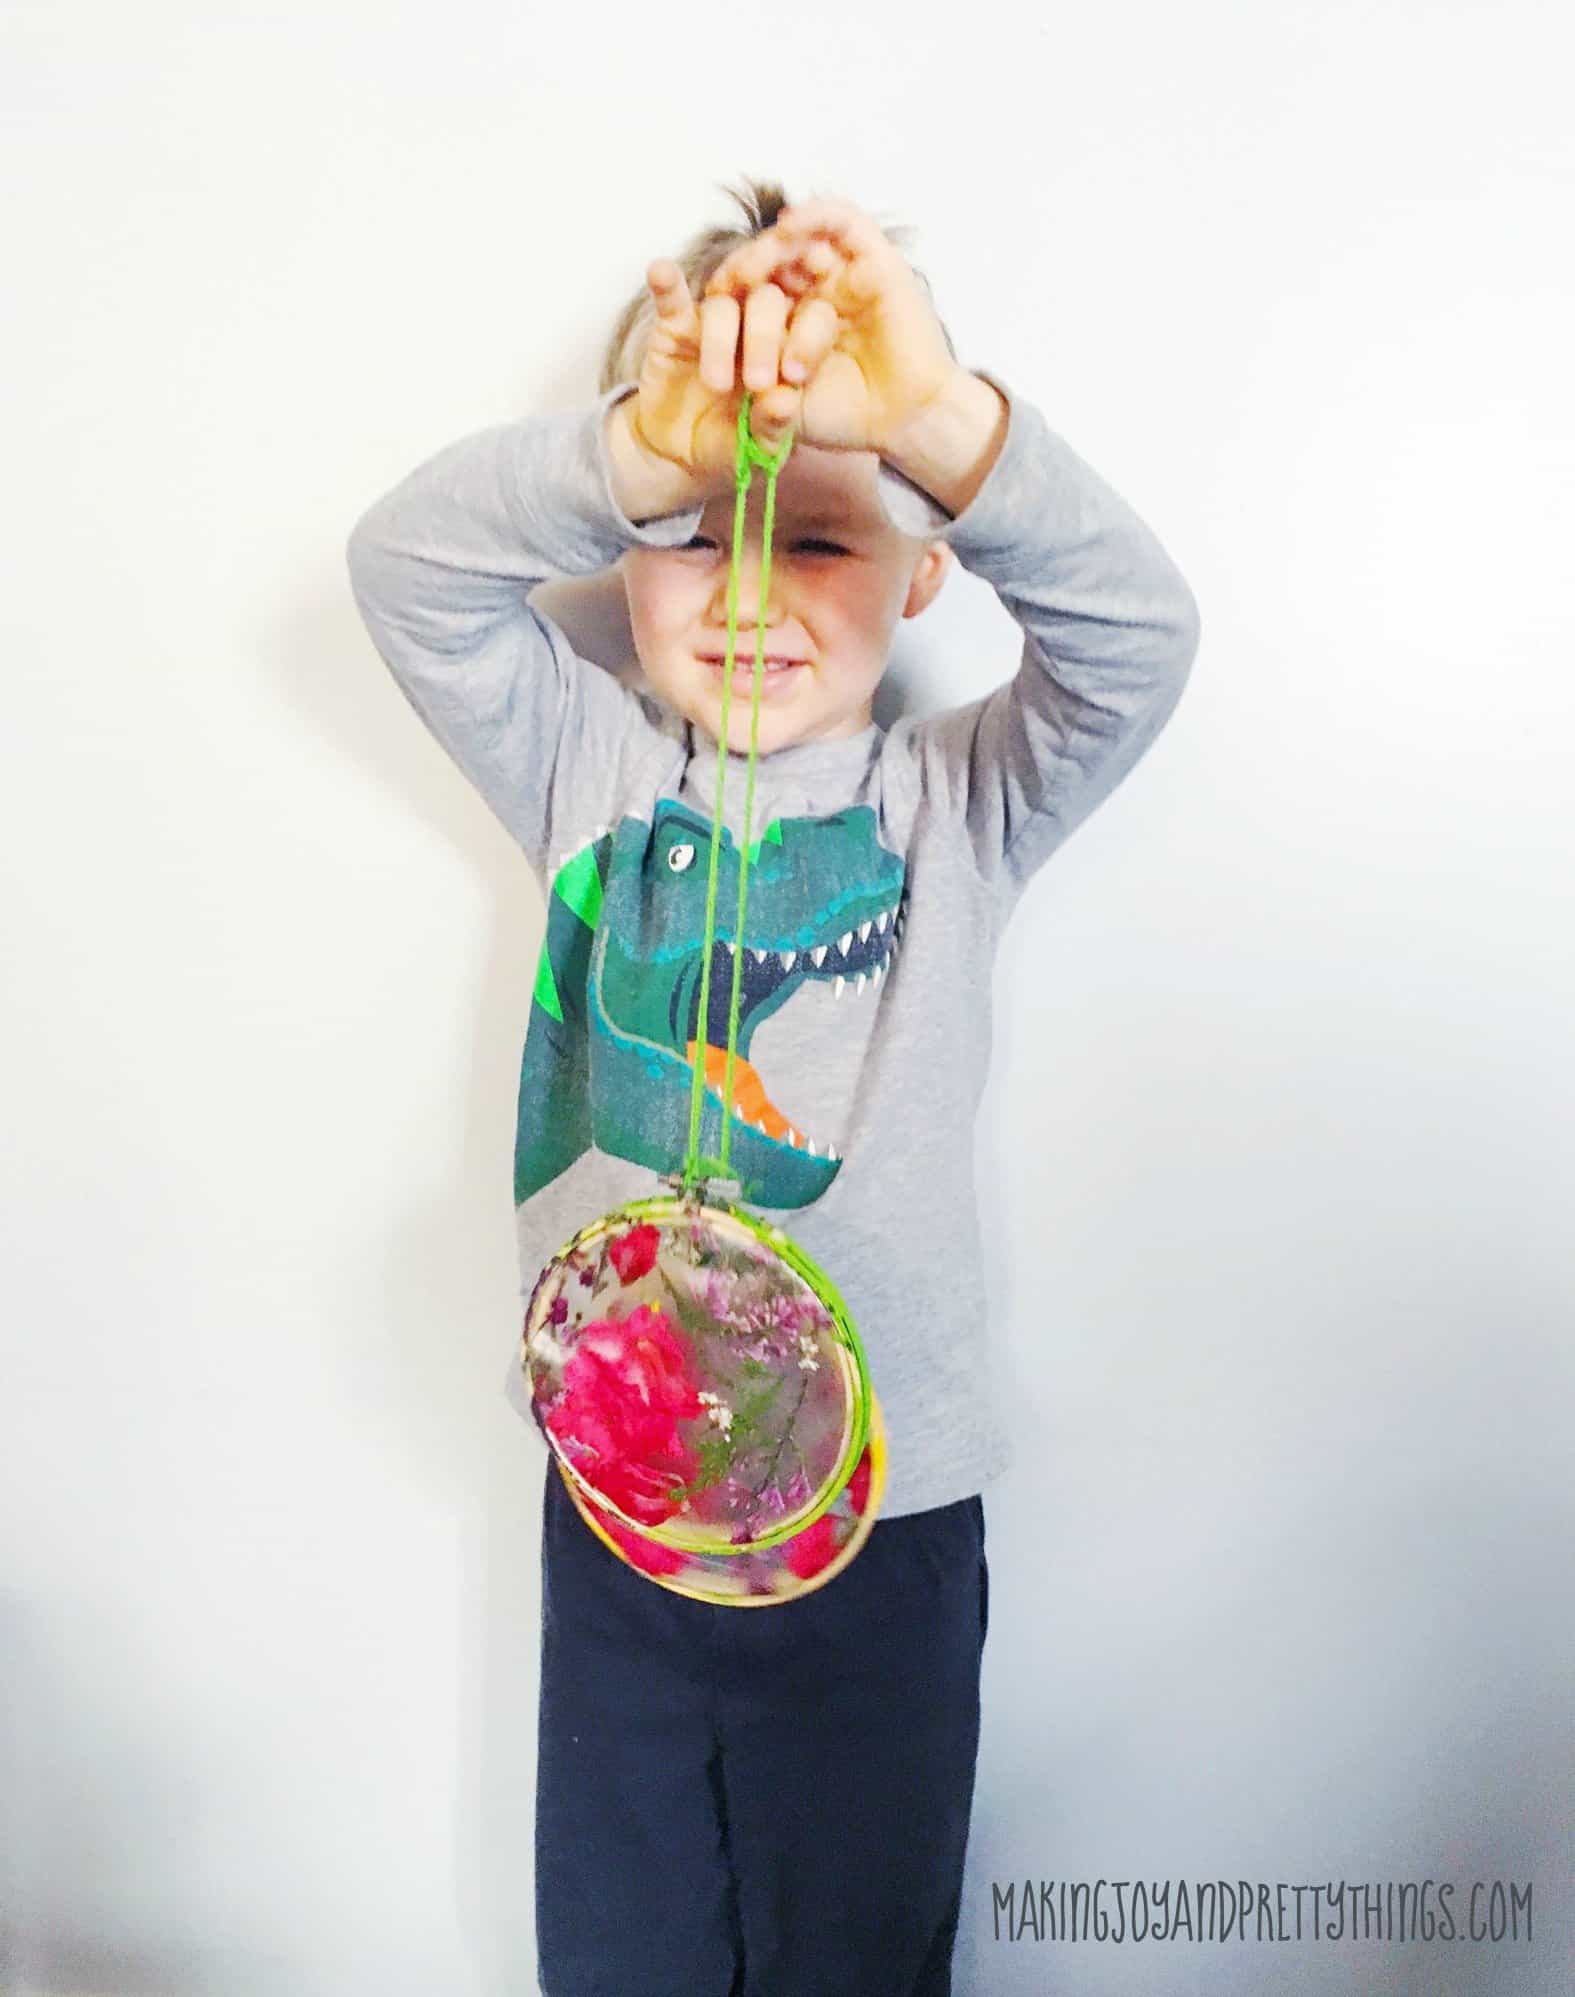
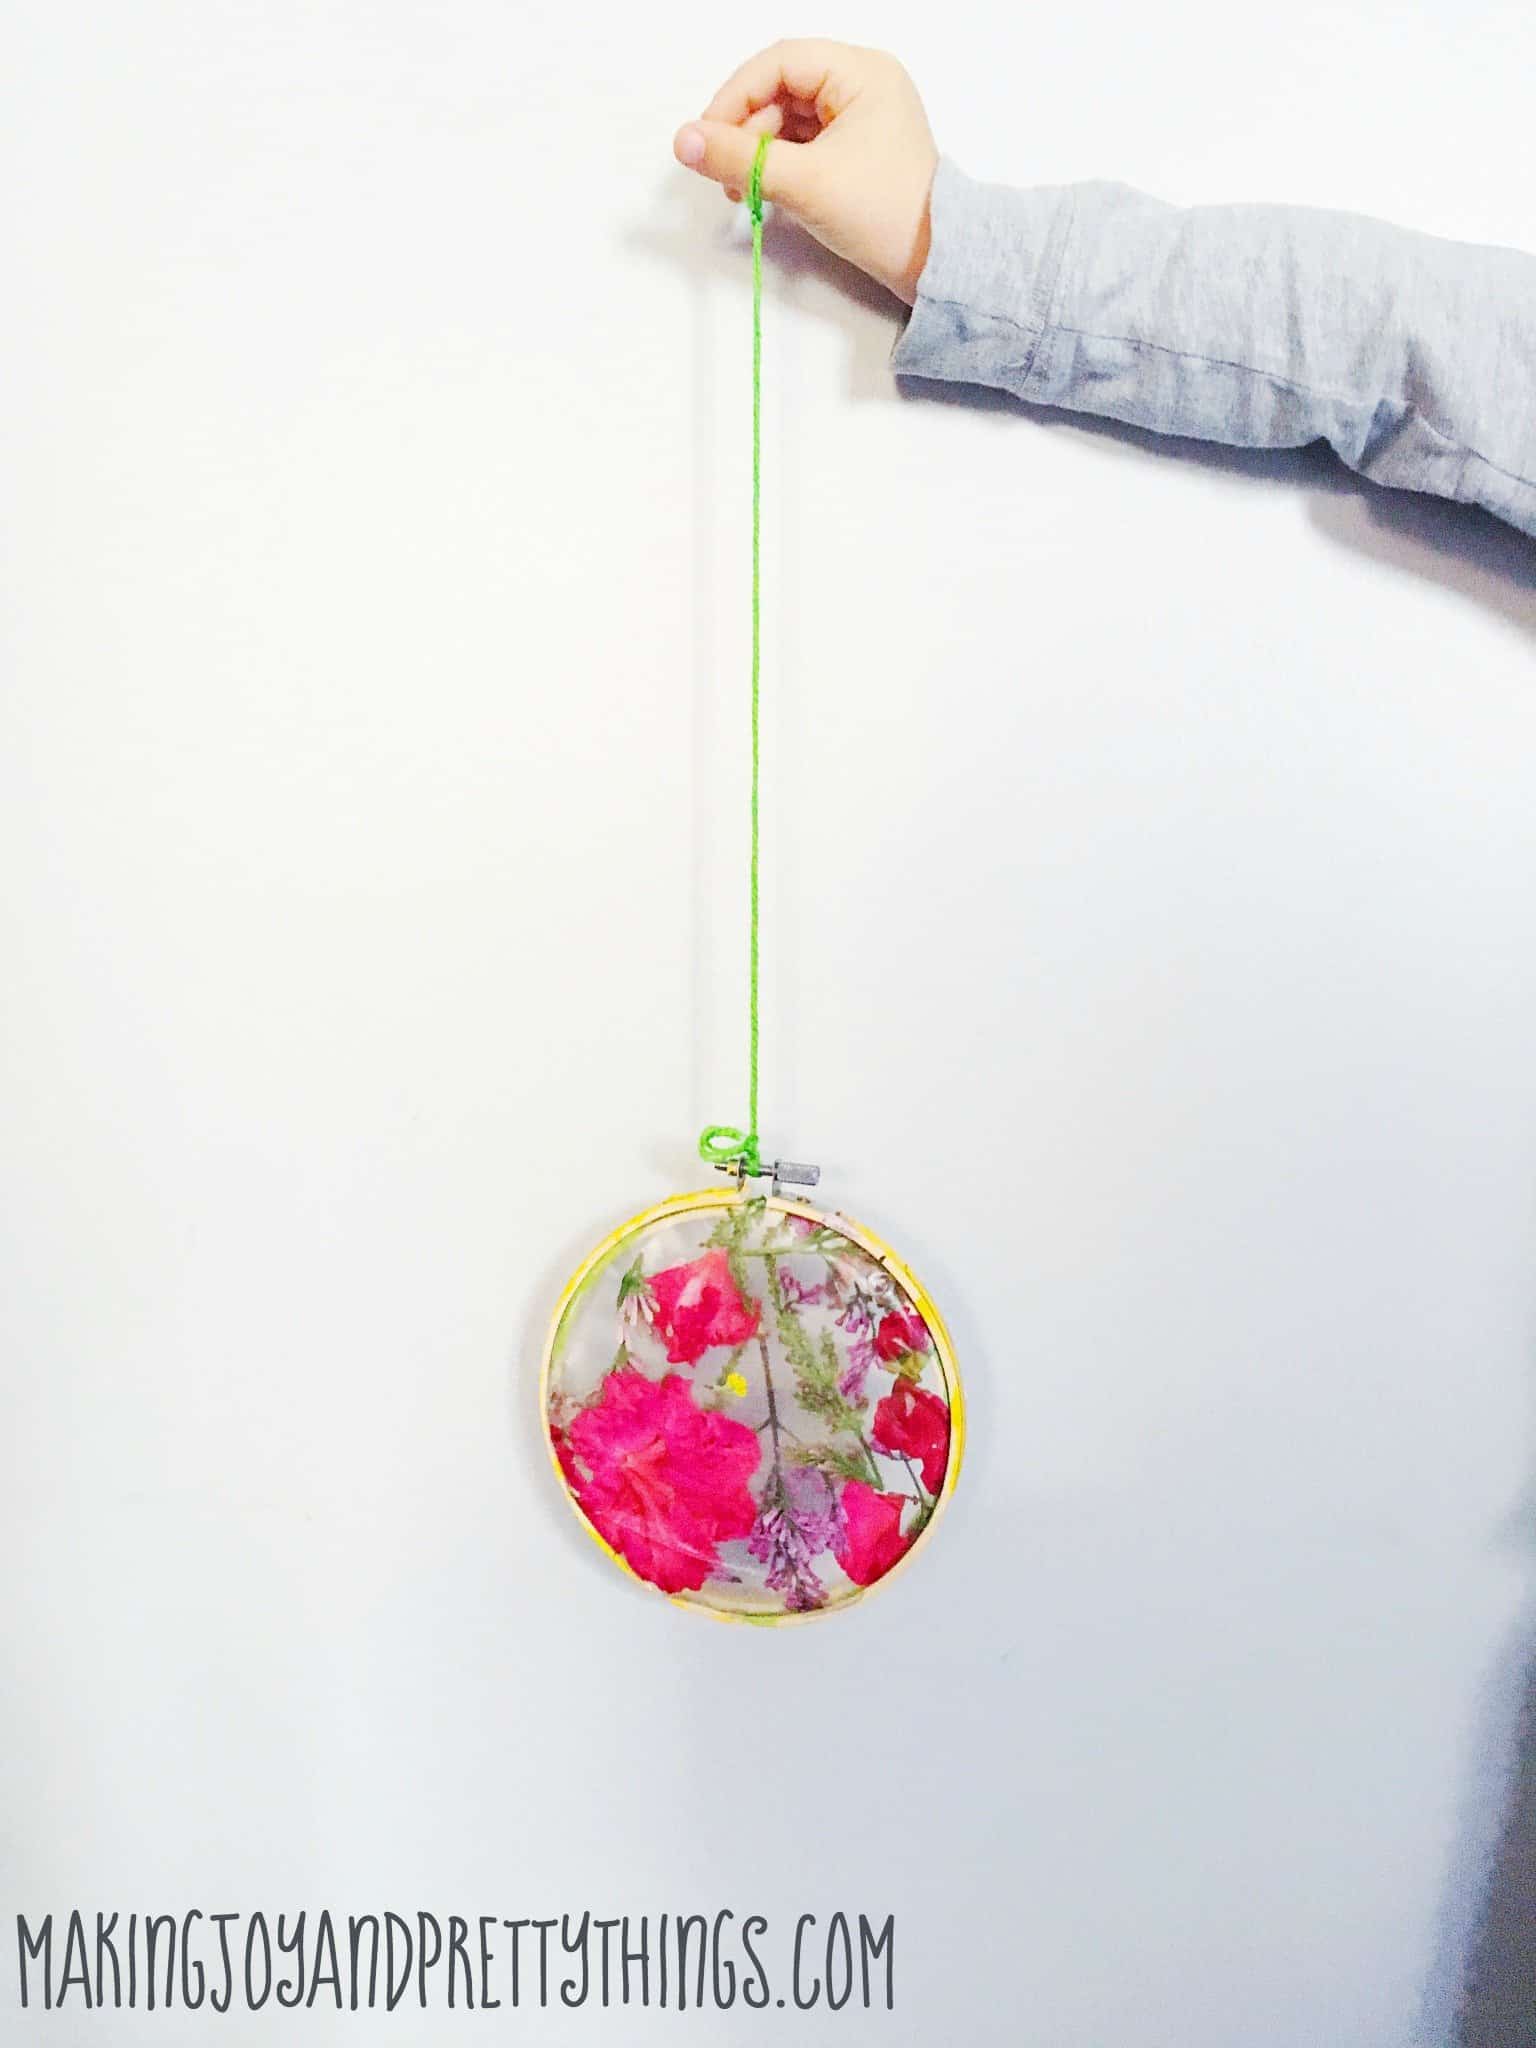
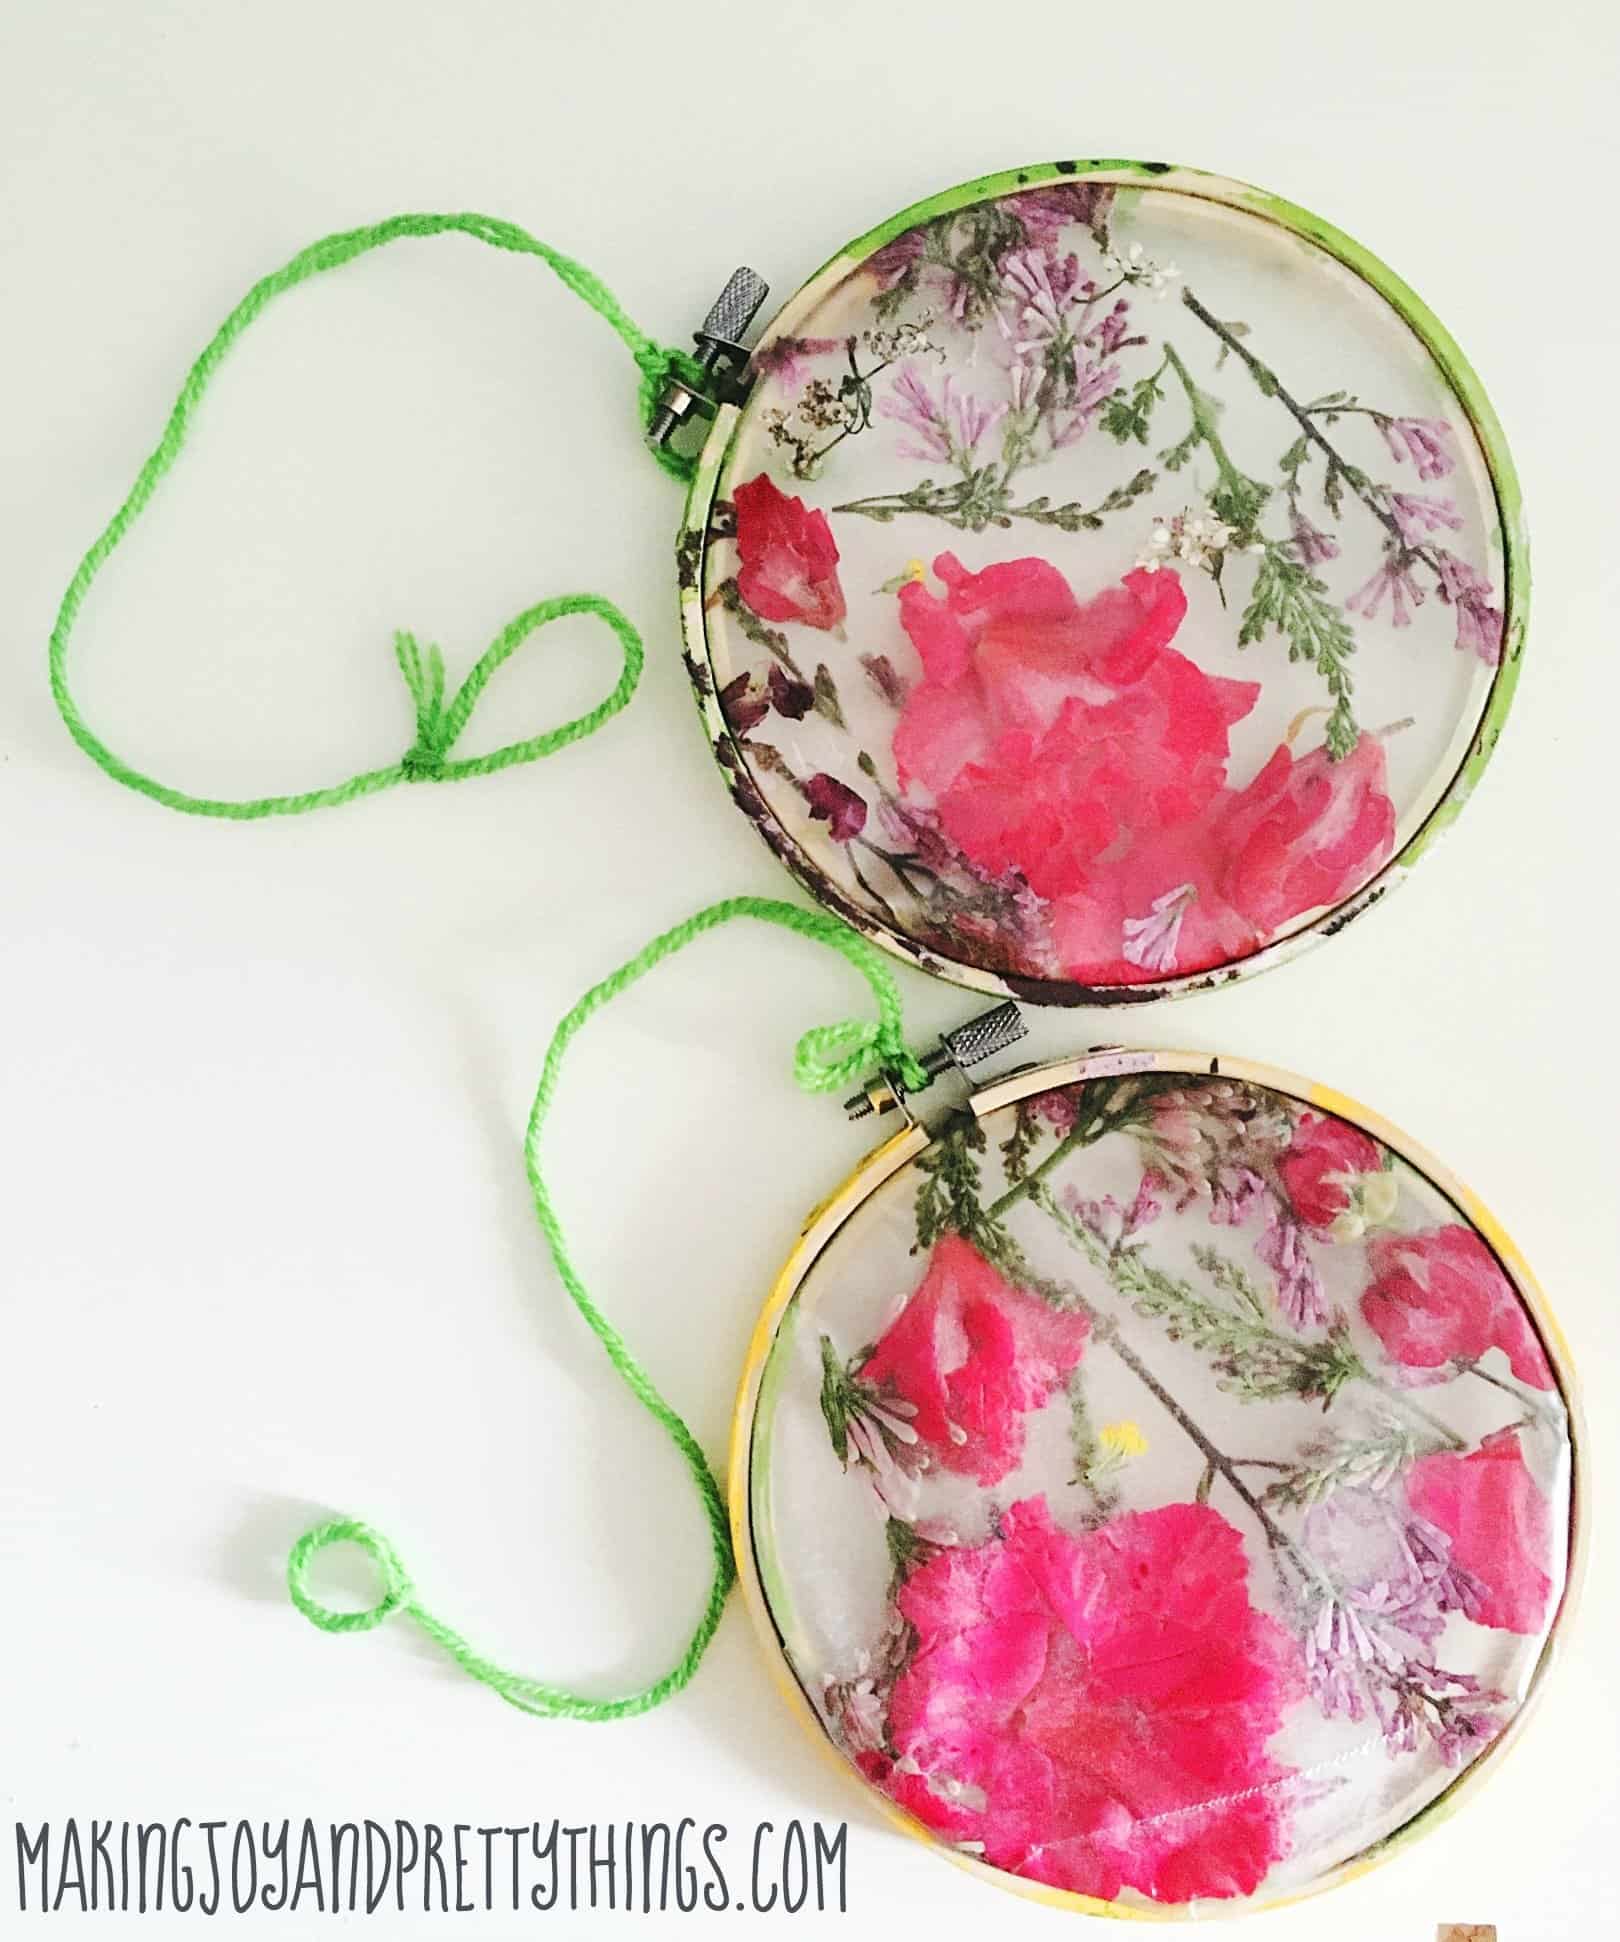
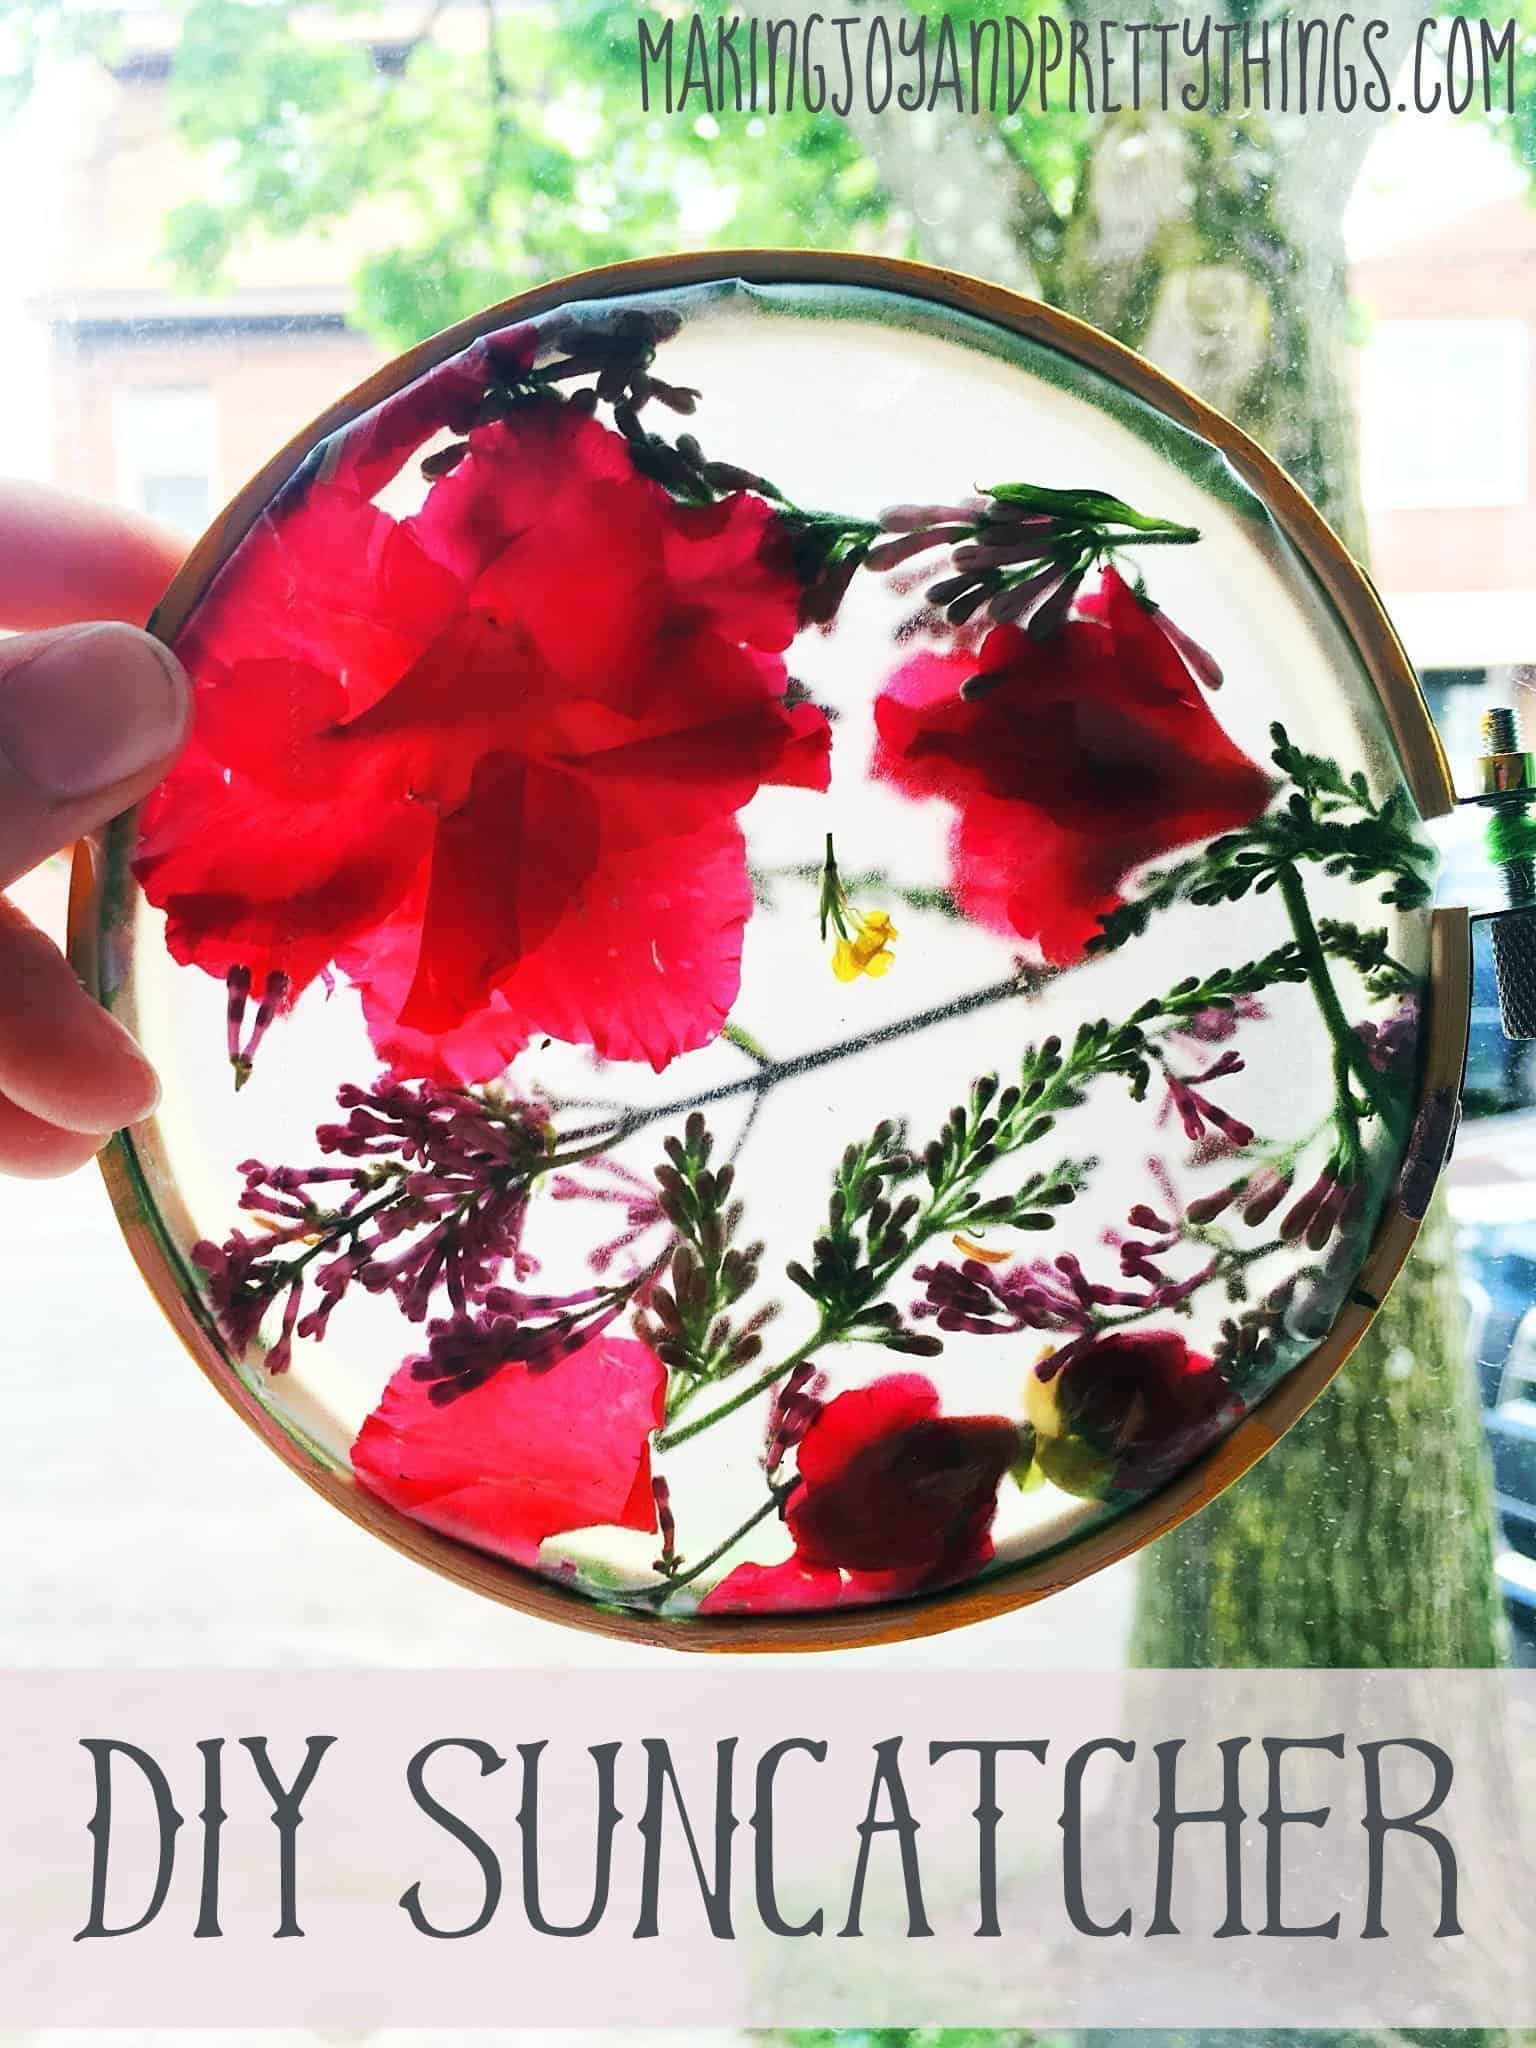
There you have it! This DIY pressed flower suncatcher idea is a great nature craft that preschoolers can make as a gift for Mother’s Day! Just grab a suncatcher frame (like an embroidery hoop, as we used), contact paper, and head to your own garden to pick flowers.
Hope you and the kiddos have a great time enjoying the warmer days and spring weather! And I wish everyone a Happy Mother’s Day!! You mamas deserve a break, or at least to go to the bathroom alone, with the door shut!
More Flower Crafts to Try:
- DIY Flower Crown and Evie Photoshoot
- DIY Winter Wreath in Gold and White
- Simple Floral Farmhouse Wreath
- Farmhouse Spring Mason Jar Planter

DIY Pressed Flower Suncatcher
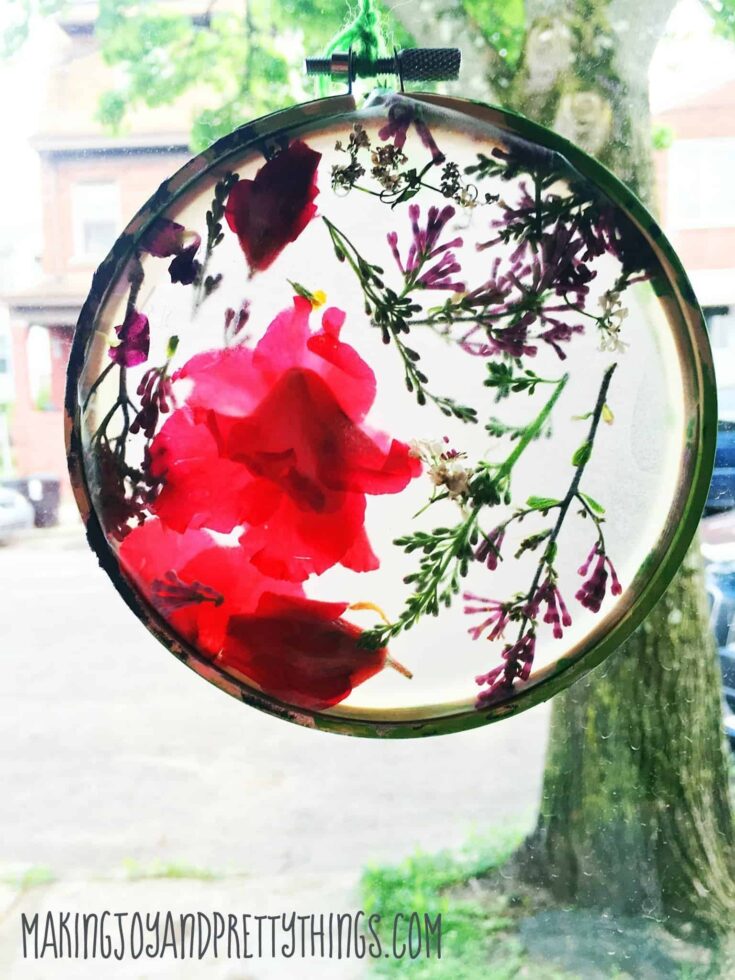
These stunning pressed flower suncatchers are a quick-and-easy DIY craft that your kids can make with little effort! You only need a few supplies for this craft, and it's perfect for Mother's Day gifts, holiday gifts, and more.
Materials
- Embroidery Hoops
- Contact paper (or other sticky paper)
- Flowers
- Yarn/string/twine to hang it with
- Paint
Tools
- Paintbrush
- Scissors
Instructions
- Paint the Embroidery Hoop: Paint both parts of the embroidery hoop separately so they don't stick together. Let dry before continuing.
- Pick Your Favorite Flowers: You and your kids can pick your favorite flower petals to press. Pick flowers from your hard, on a neighborhood walk, or pick up faux flowers from the craft store. You can also include grass, leaves, dandelions, or even weeds.
- Prepare Contact Paper: Use the embroidery hoops to measure how much contact paper you need. Draw a rough circle (larger than you need) around the hoop. This will be your guide for where to place the flowers.
- Place the Flowers: Arrange the flowers however you'd like. Use the circle as a guide.
- Seal the Flowers in Contact Paper: Once the flowers are placed, fold the remaining contact paper over to seal them in place. Then, cut around the OUTSIDE of the guideline to create a circle.
- Assemble the Pressed Flower Suncatchers: Place the cut contact paper on top of the larger embroidery hoop (it should hang over the edge slightly). Then place the smaller inner hoop on top of the pressed flower contact paper and push the small hoop into place. Use the top tightener screw to secure the hoops together. Attach a piece of yarn for a hanger, and you're done!

That’s a very good ideas, and looks quite easy to make. My son will love it as he gets quite easily impressed with new things.
Thanks, girl!! It was so easy to make. I bet your son will love making it, and picking the flowers too, of course! 🙂
I love these and not just for the kids I thinkI want one too! Stopping by to let you know you are being featured on Friday’s P3 Party post! Have a great week! Thanks for pinning!
Best,
Kim
Oh my gosh! Thank you so so much! I have to admit, I wanted to make my own too 😉
I will have to make one of these for myself. I absolutely love flowers. And, also will make great gifts for family members. Thank you for your post.
Sincerely,
Theresa
Thank you SO much Theresa!! They were such a hit for the grandmothers on Mother’s Day! I hope you love making your own 🙂
Any update on how long they stayed pretty?
Corrie! I’m so glad you commented. I completely forgot to update the post. They lasted about 1.5-2 weeks. Hope that helps!
If you wanted them to last longer, press the plants first in an old telephone book. Once they have dried, the color will have faded on some of the plants, but they won’t mold in the suncatcher. Just a thought. Kids can’t wait that long and last minute planning won’t allow it, but it might be something to try if you can.
Such a great idea Diane! They are so pretty it would be so nice for them to last a bit longer 🙂