Lazy Girl’s DIY Typography Art
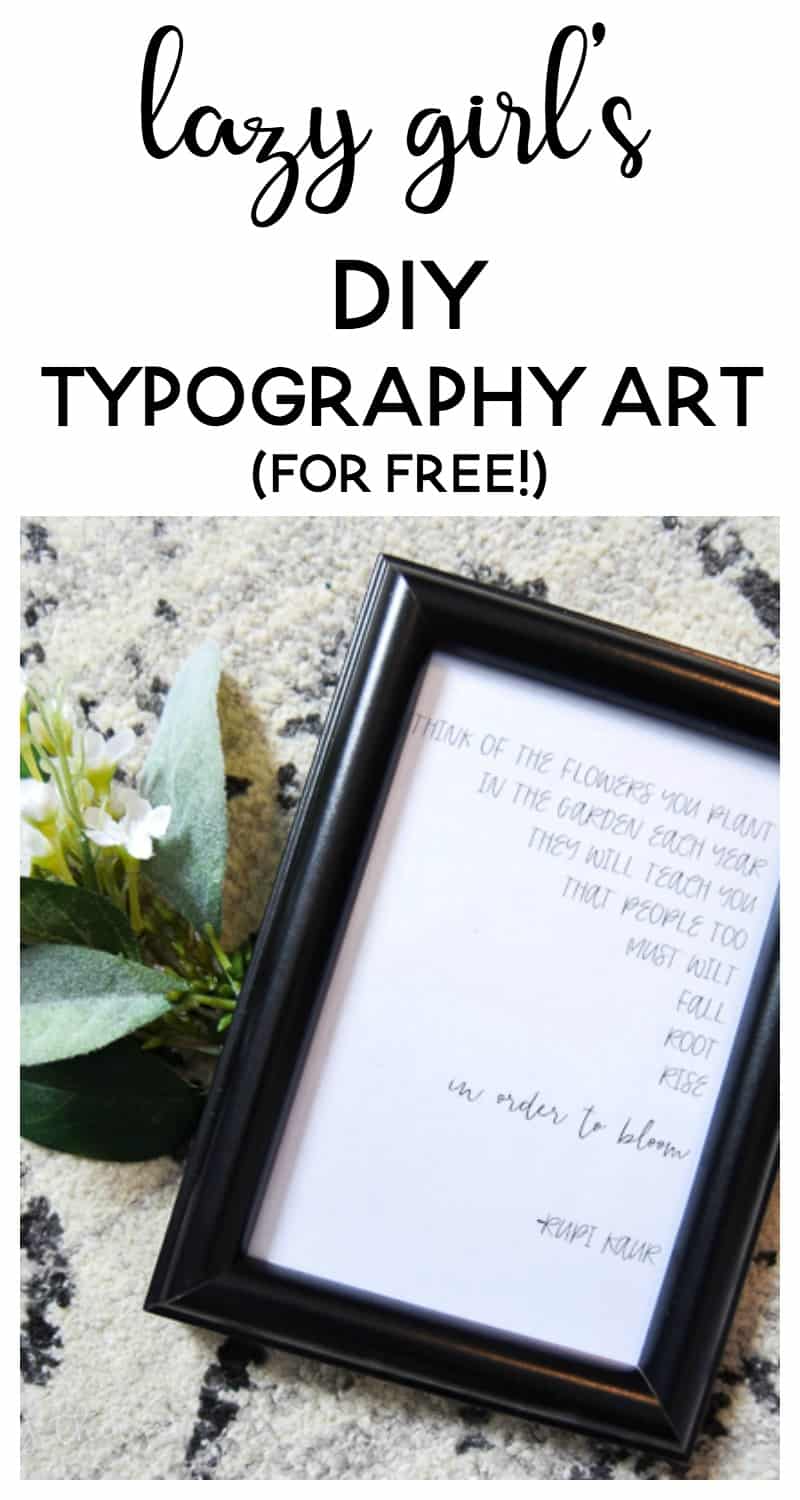
See how easy it is to make pretty art typography prints from your favorite quotes for free!! This is the lazy girl’s way to DIY typography art!
It’s the second Wednesday of the month which means it’s time for another Inspire My Creativity Link Party!
This month’s theme was DIY gifts. Honestly, I can’t quite get into the whole Christmas gift mentality quite yet. I know (as a blogger) I’m supposed to post early about holidays and decor. But, yeah, it just doesn’t happen!
So, since the theme wasn’t exactly DIY CHRISTMAS gifts, I decided to just make a DIY gift for little Evie.
And, without wanting to get into too much detail (because there is almost nothing I loathe more than discussing politics), the world is kinda a crazy, sad, scary place right now. I want this little girl to know she doesn’t have to be perfect and maybe she won’t succeed at everything. People will try to knock her down, tell her she can’t be or do or say or believe whatever.
But, my sweet girl, you CAN be or do or say or believe whatever. You can try and fail or try and succeed at anything. And, you can be perfectly you. I hope to teach her these things (and so, so much more).
Since dealing with PPD after having Evie (read more about that here), I’ve found solace in poetry and art. I stumbled upon The Sun and Her Flowers by Rupi Kaur and one particular poem stood out to me.
I knew I had to give this to Evie. A few minutes on Microsoft Word later, I had a pretty little DIY typography art to put in her nursery.
This project was actually free! I mean, it doesn’t get any better than that. I would like to get a different frame because this one doesn’t exactly fit in her room’s theme. But, since I waited until YESTERDAY to do this, I didn’t have another choice 😉
How to make typography art
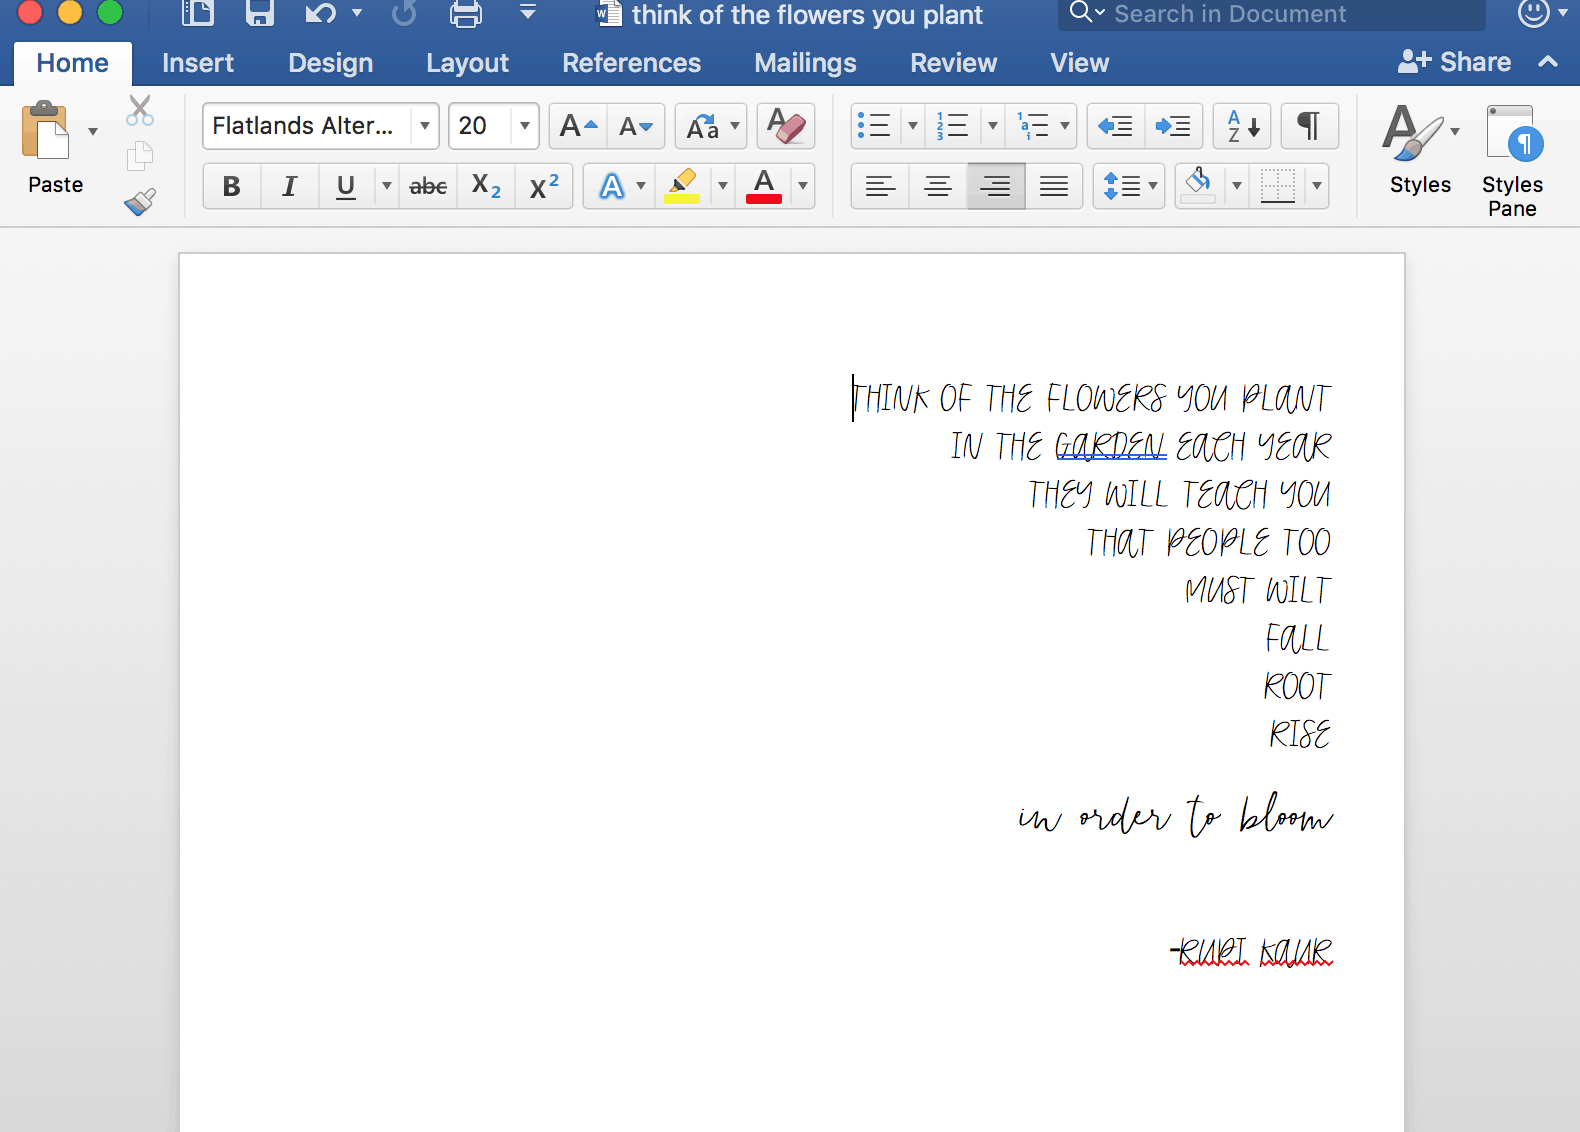
- Open Microsoft word and select blank document. Under “layout” at the top you can set the margins to “narrow”.
- I knew I was going to use a 4×6 frame. I kept the words in what I guessed was a rough 4×6 part of the page (knowing that computer paper is 8.5×11).
- Use pretty fonts together!!! I’m a font junkie. Places like Etsy and Creative Market sell fonts for super cheap. Creative Market also has 6 free “goods” every week and I’ve downloaded a couple pretty and free fonts that way. For this print, I used Flatlands Alternative Caps and Flantlands script.
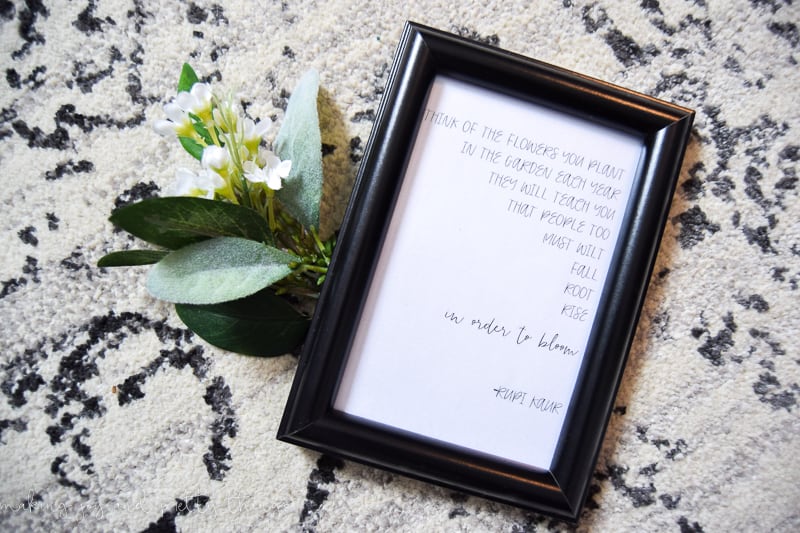
- I love to play around with print and cursive fonts together. Move words around to make it look “pretty” or however you want! You can italicize or bold certain words. Mix smaller and larger fonts. Capitalize and lowercase. So many different ways to make it uniquely you. You can see how I designed it below.
- Lastly, print it out and frame it! Easy peasy!
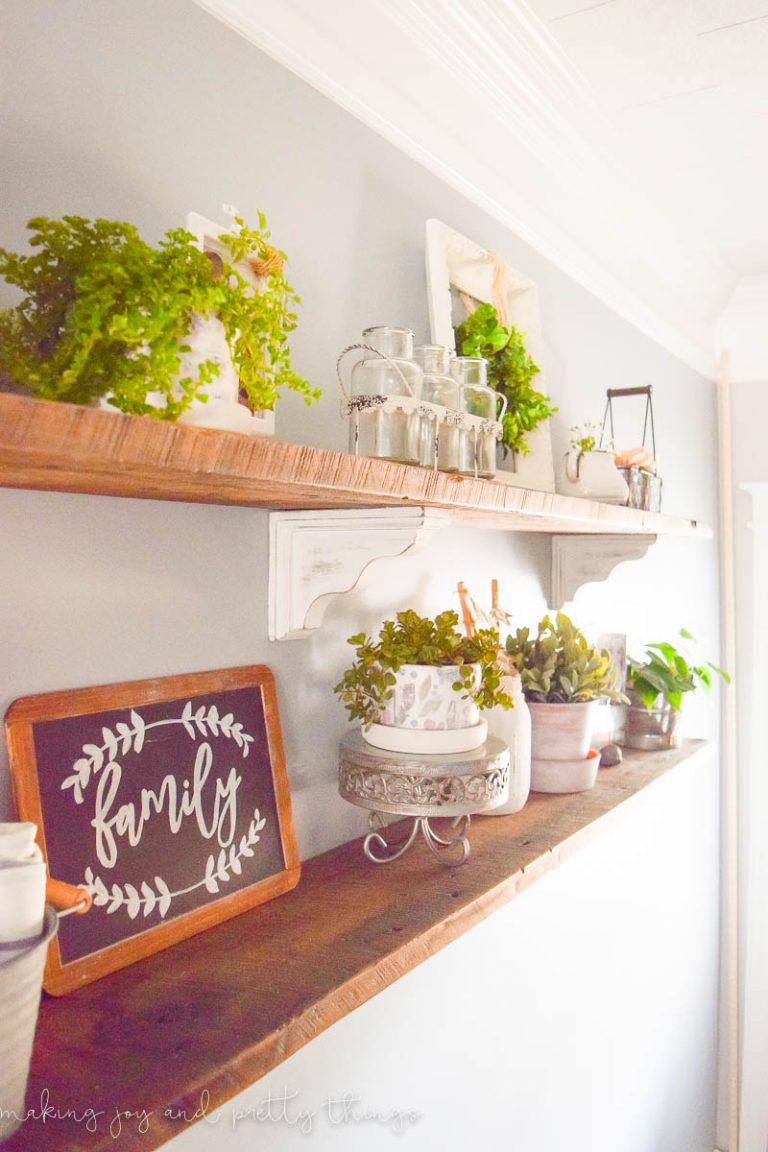
I set in on Evie’s DIY farmhouse shelves in her nursery. I think I’ve changed those shelves around 100 times. I’m never 100% satisfied with how they look….
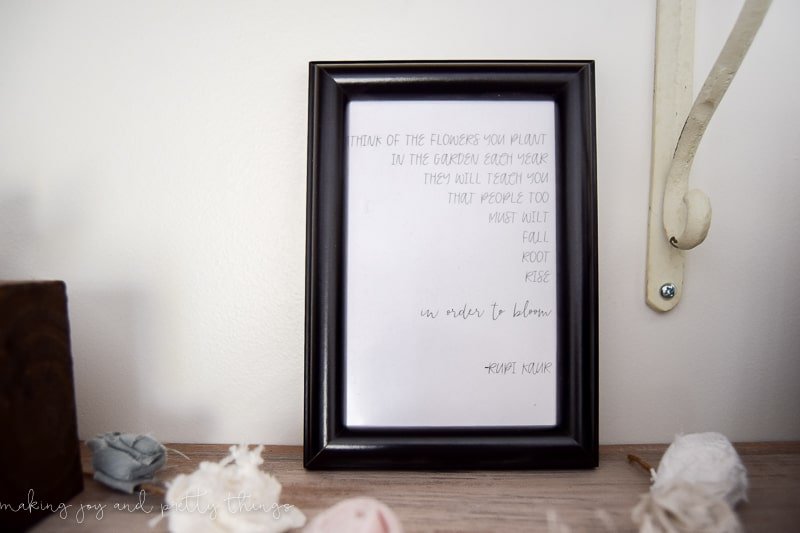
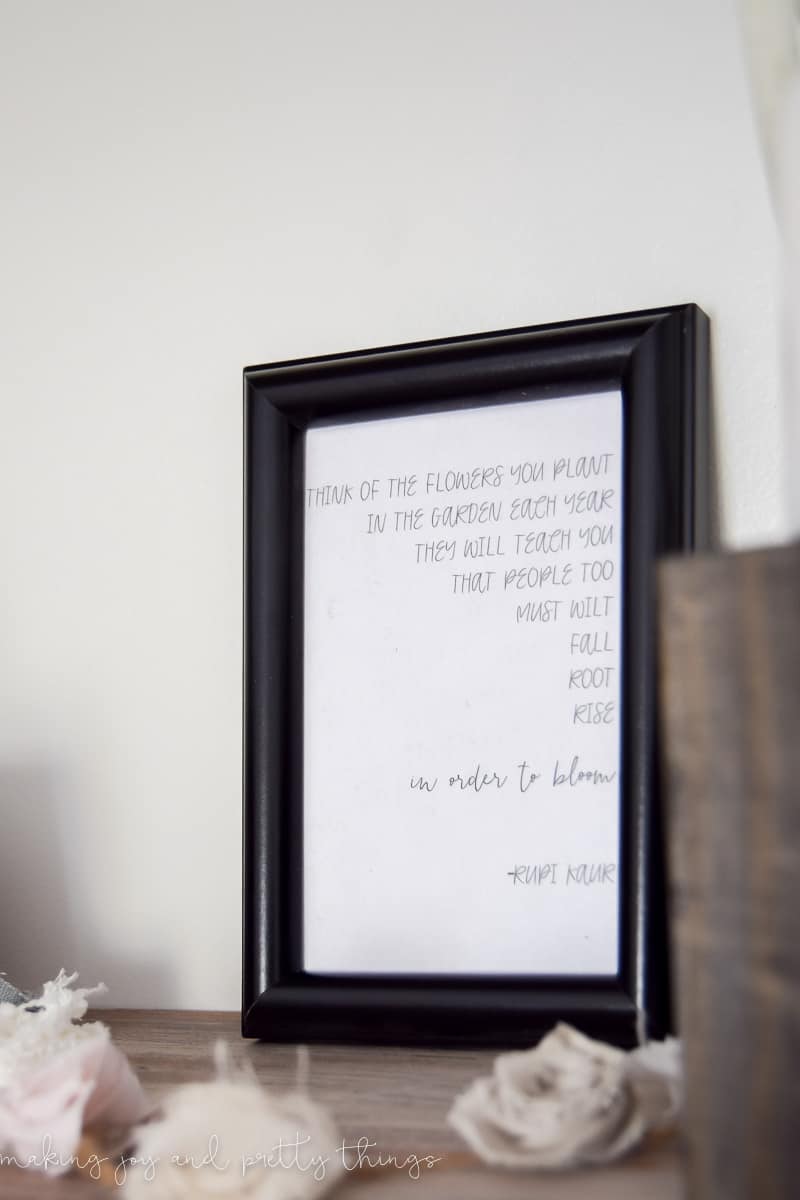
I kinda love this quote. A lot.
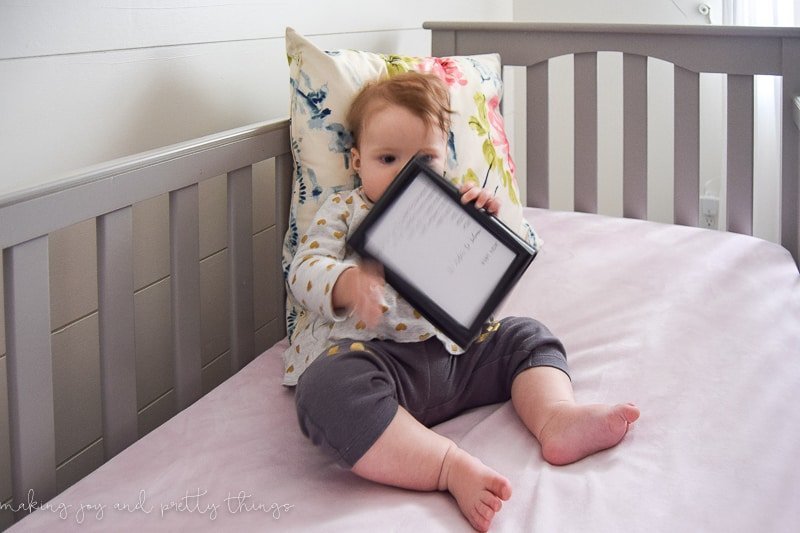
I tried to get a picture of her holding the frame/quote because it would be cute, right? I guess I failed to consider her complete inability to be chill. This is the best I could do!
Remember to check out what everyone came up with for DIY gifts this month!
And next month’s theme…

Wishing you a joyful day!

LOVE, LOVE, LOVE that quote. It’s a perfect addition to her room 🙂
Best,
Kelly
Thank you Kelly!!!
This is such a sweet gift! <3
Thanks Emy!!
SO cute Sarah and just look how much Miss E loves it!
Thanks so much, Kristi!
I love this! Such an awesome quote made into gorgeous art! I need to try this!
Thanks so much Christine!
This little typography is so sweet and simple. She is a dolly!
Thank yo MIssy!