10th Day of Craftmas: DIY Rustic Corbels for Bookends
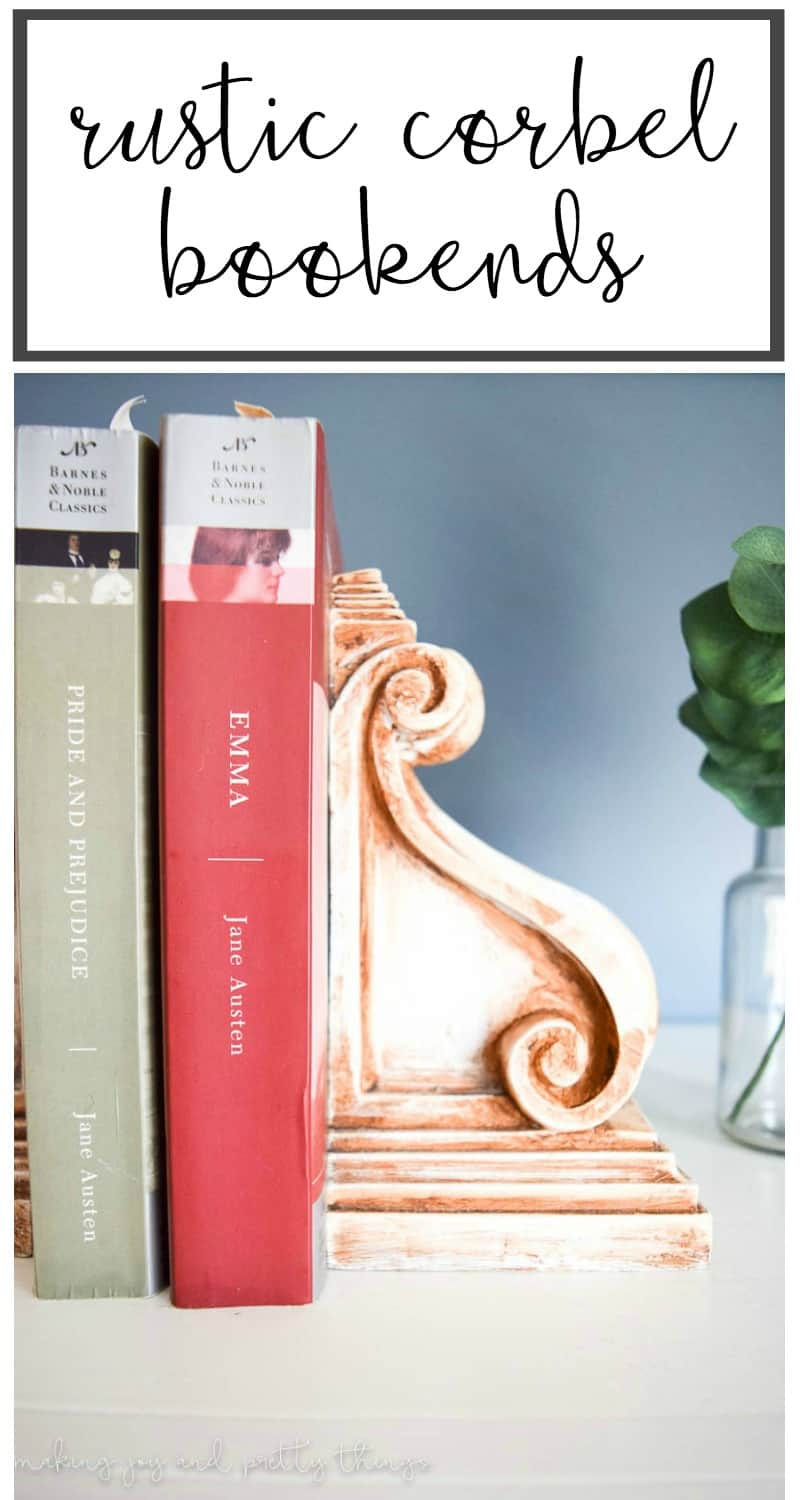
Ready to make some custom bookends? Well, you will be blown away and it’s a lot easier than you think with these DIY Rustic Corbels.
On the 10th Day of Craftmas we have made for you DIY Rustic Corbels for Bookends.
Hello and welcome back for the 10th day of Craftmas!
I am so excited to participate in a fun little series called the 12 days of Craftmas with 3 of my blogging friends (Meet Our Life, Craftivity Designs and North Country Nest).
Throughout the first 12 days of December, we will share a DIY or craft each day that would be perfect as a gift this Christmas.
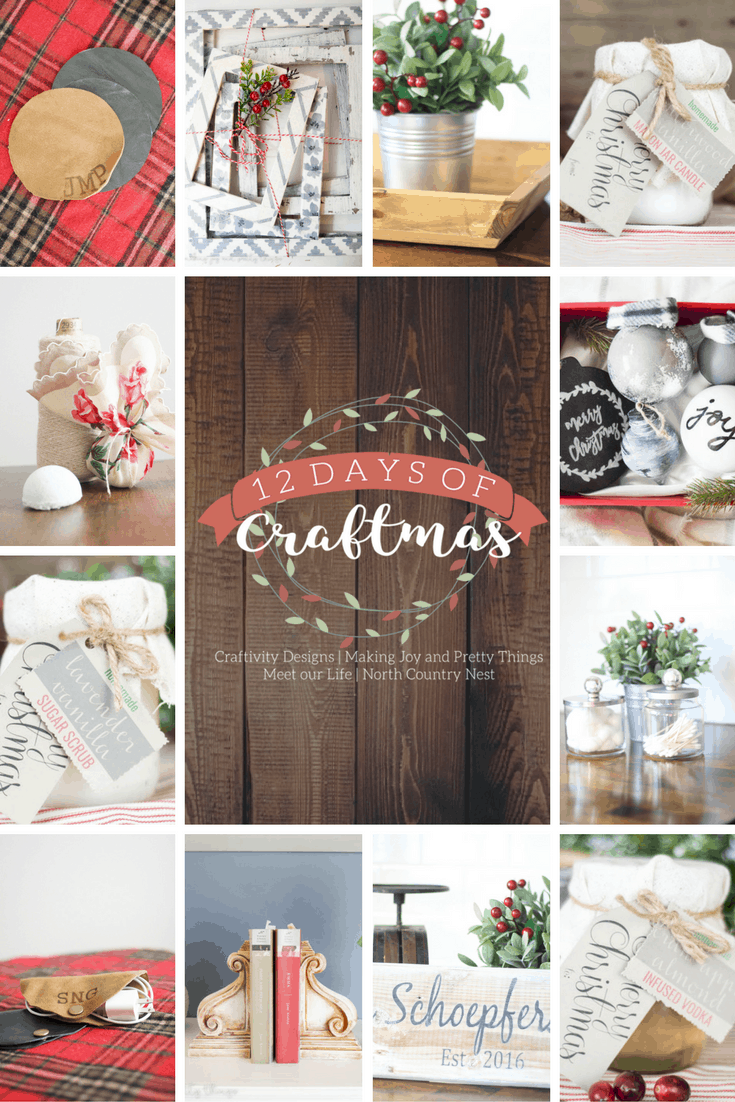
Here’s what we have completed thus far:
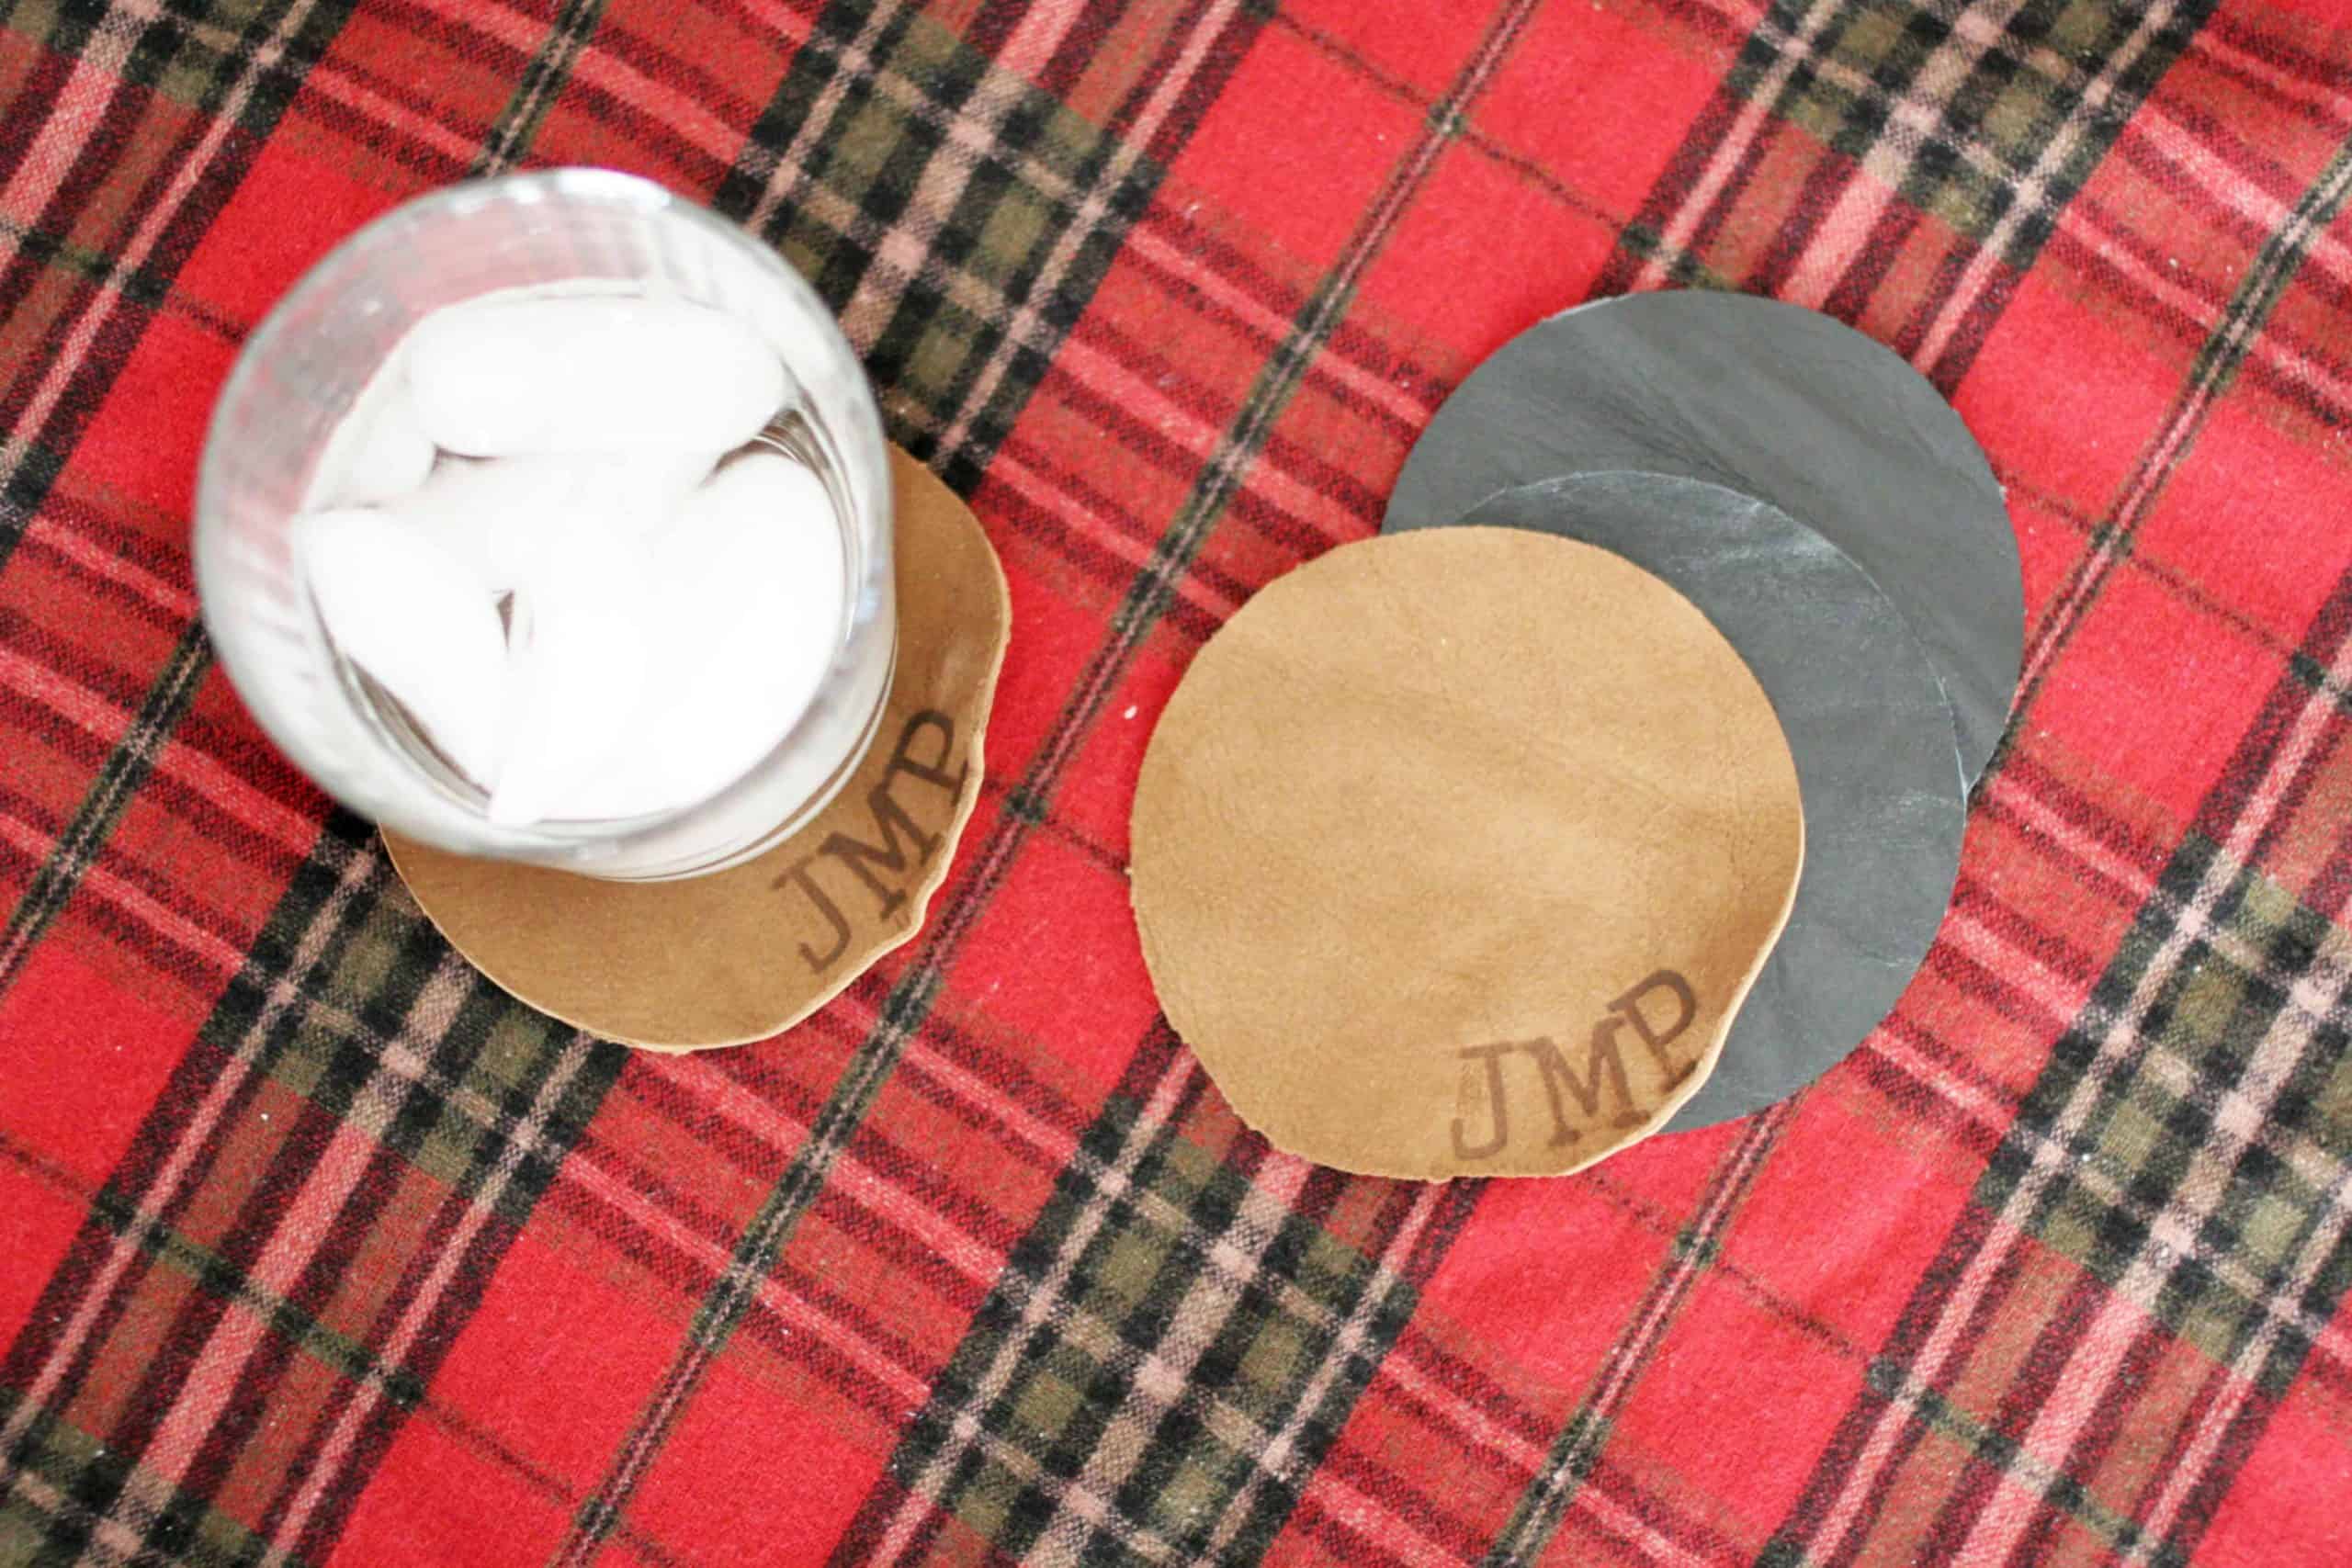
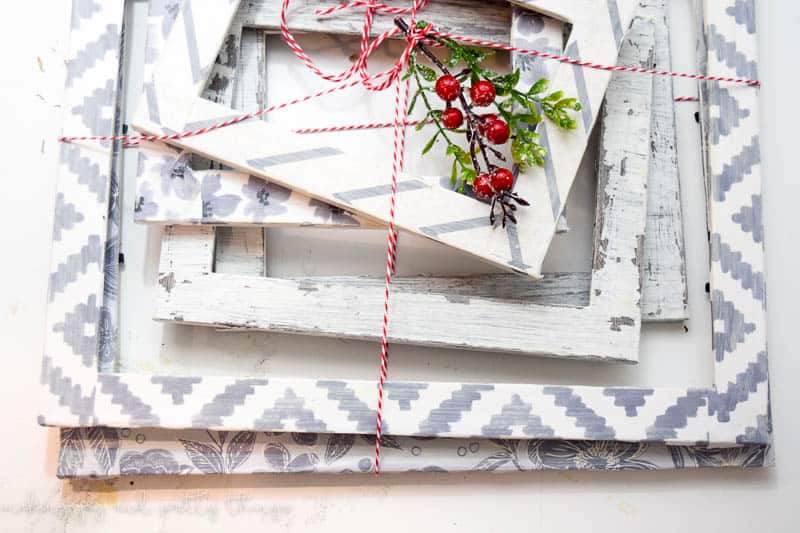

For the 10th day of Craftmas, I’m back to share my last DIY for the 12 Days of Craftmas!! I can’t believe we are almost to the end. I hope you’ve been enjoying the series!
For my last Craftmas project, I made some crazy easy DIY corbel bookends to share with you today. I’ve been seeing rustic corbels springing up all over the place. And for good reason!
They’re the perfect farmhouse touch and are SO versatile. You can use them to hold up a cute shelf, have them sitting out for a pretty focal point, support a wood beam for a fireplace mantle, or use them as bookends!
I’ve been on the hunt for some perfect, chippy, rustic corbels for quite a while now. I found a few at a local antique shop that was OVER $100 a piece!! I just couldn’t justify spending that (though believe me, I wanted to!).
Since I couldn’t find affordable antique corbels, I decided to make my own.
This post contains affiliate links. Please, click here to read my disclosure policy.
Supplies for Rustic Corbels:
- Corbels
- Home Decor Antique Wax
- Sandpaper
- Old Paintbrush
So, I can write this whole DIY in about 2 sentences. It was really that easy.
Step 1. Apply Wax to Rustic Corbels
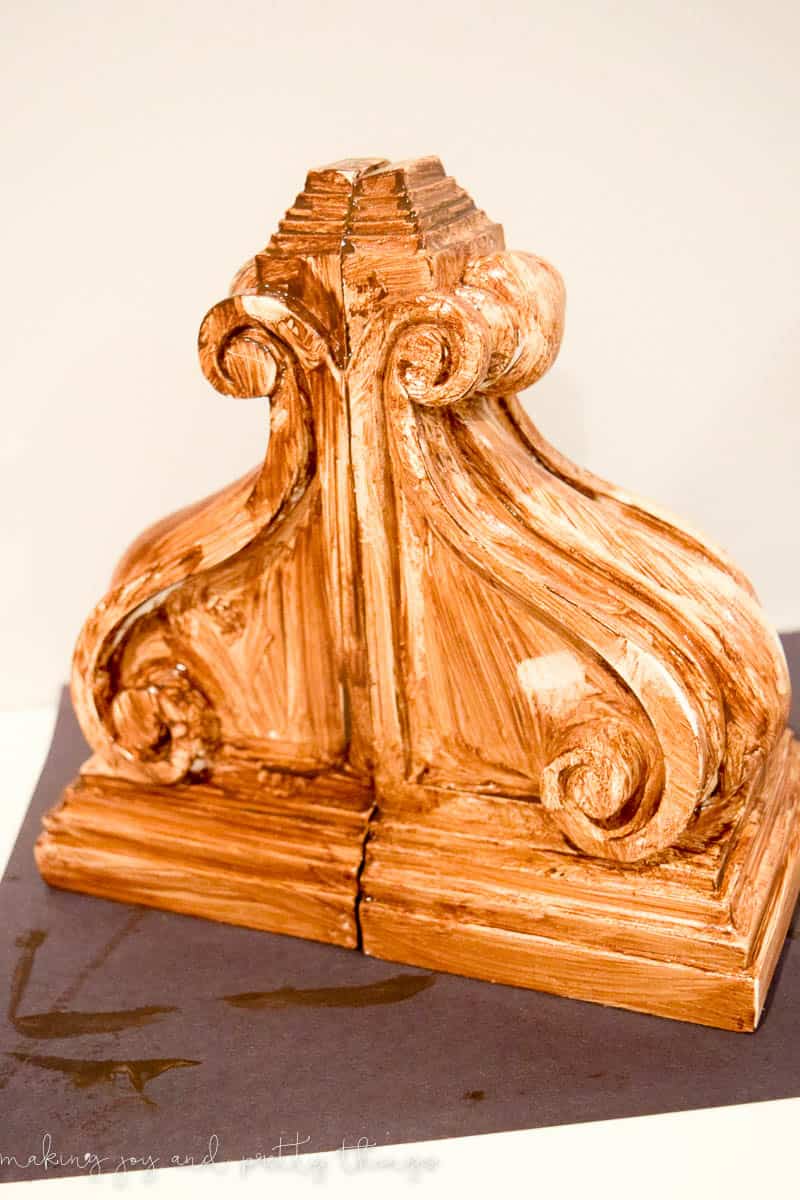
I used that old paintbrush to apply the wax to all of the corbels. It takes a little more time than I anticipated because you want to get into all the little curves and details of the corbel.
Excuse the poorly lit photo and fingerprints all over the corbels (I was actually planning on doing something totally different with the corbels so I wasn’t too careful when applying the wax = fingerprints).
Step 2. Remove Excess Wax
It’s also probably a good idea to use a clean paper towel to wipe off any excess wax before it dries. The idea here is to remove all the excess wax and leave a fine layer that leaves an Antique look on the Corbels
Step 3. Sand Corbels to Distress
Once dried, I took some coarse sandpaper and distressed the whole corbel focusing on the large, flat surfaces and leaves the crevices filled with wax.
And, that’s it! SO easy.
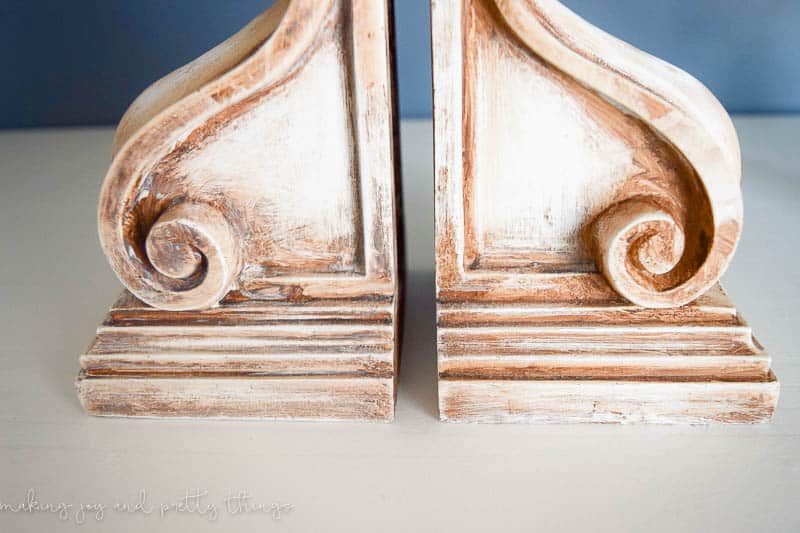
I think they really do look “antique”.
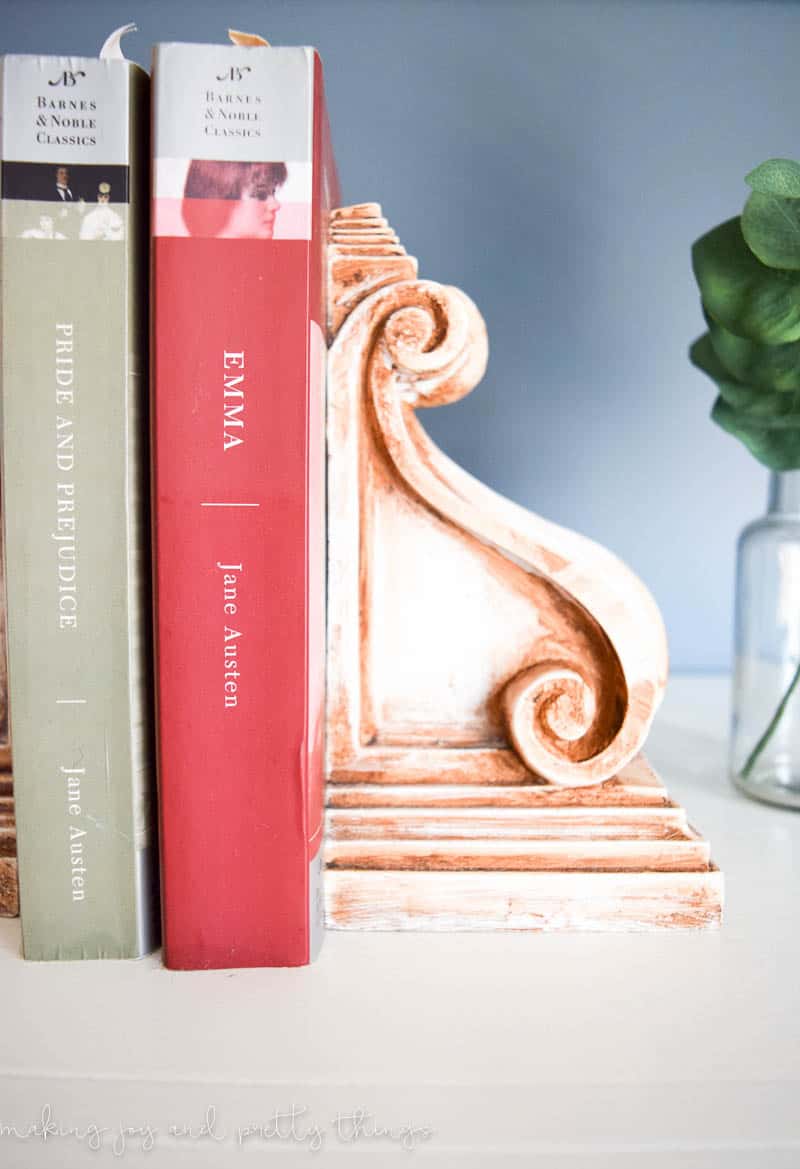
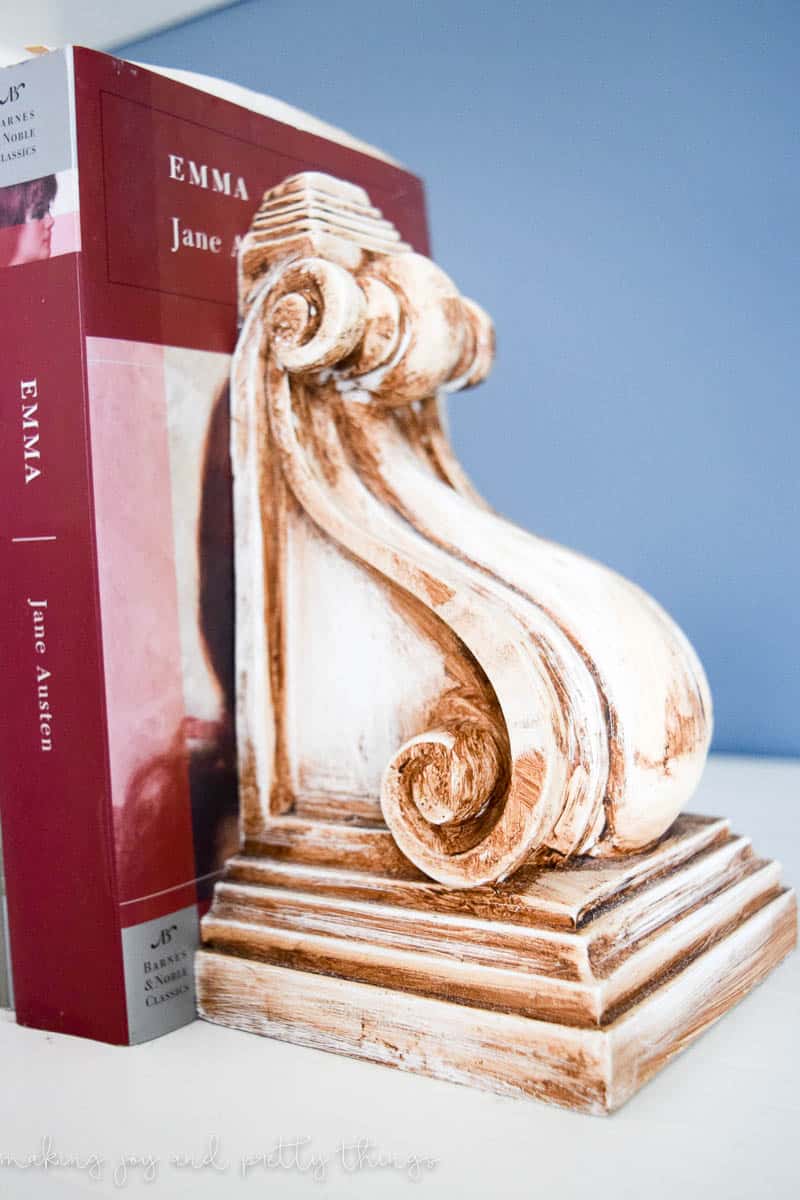
I can’t believe it’s my last Craftmas post!!
Wishing you a joyful day!

DIY Rustic Corbels
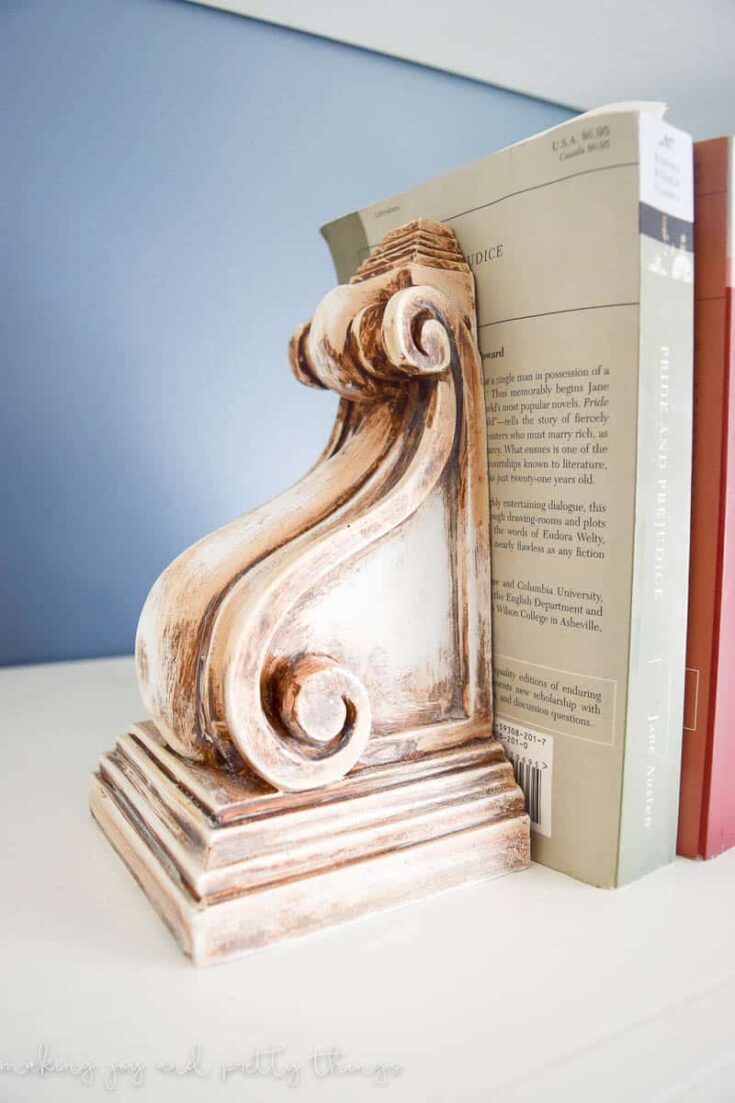
Ready to make some custom bookends? Well, you will be blown away and it's a lot easier than you think with these DIY Rustic Corbels.
Materials
Tools
- Sandpaper
- Old Paintbrush
Instructions
- Apply Wax to Rustic Corbels
- Remove Excess Wax
- Sand Corbels to Distress

These are such a cool idea, and one I will definitely be copying. I’m always wishing I had more bookends and end up searching for random objects to use.
Had no idea you could even buy those things by themselves to make your own bookends. I love how they turned out and they look really antique. I need some bookends and these look like they are holding the books nicely.