How to Style Open Shelves In 5 Easy Steps!
Today I’m sharing how to style open shelves in 5 easy steps! You won’t want to miss these easy and simple steps to decorate open shelving.
Do you even remember those DIY farmhouse shelves I made a few months weeks ago? It’s been so long since I posted that shelf DIY and now I’m going to show you how to style open shelves!
I was actually really surprised at how long it took me to finish styling the shelves. The past few weeks they’ve either been totally bare, completely covered with all my craft decor, or holding random supplies I’m trying to keep out of reach of the kids (scissors, glue gun, etc).
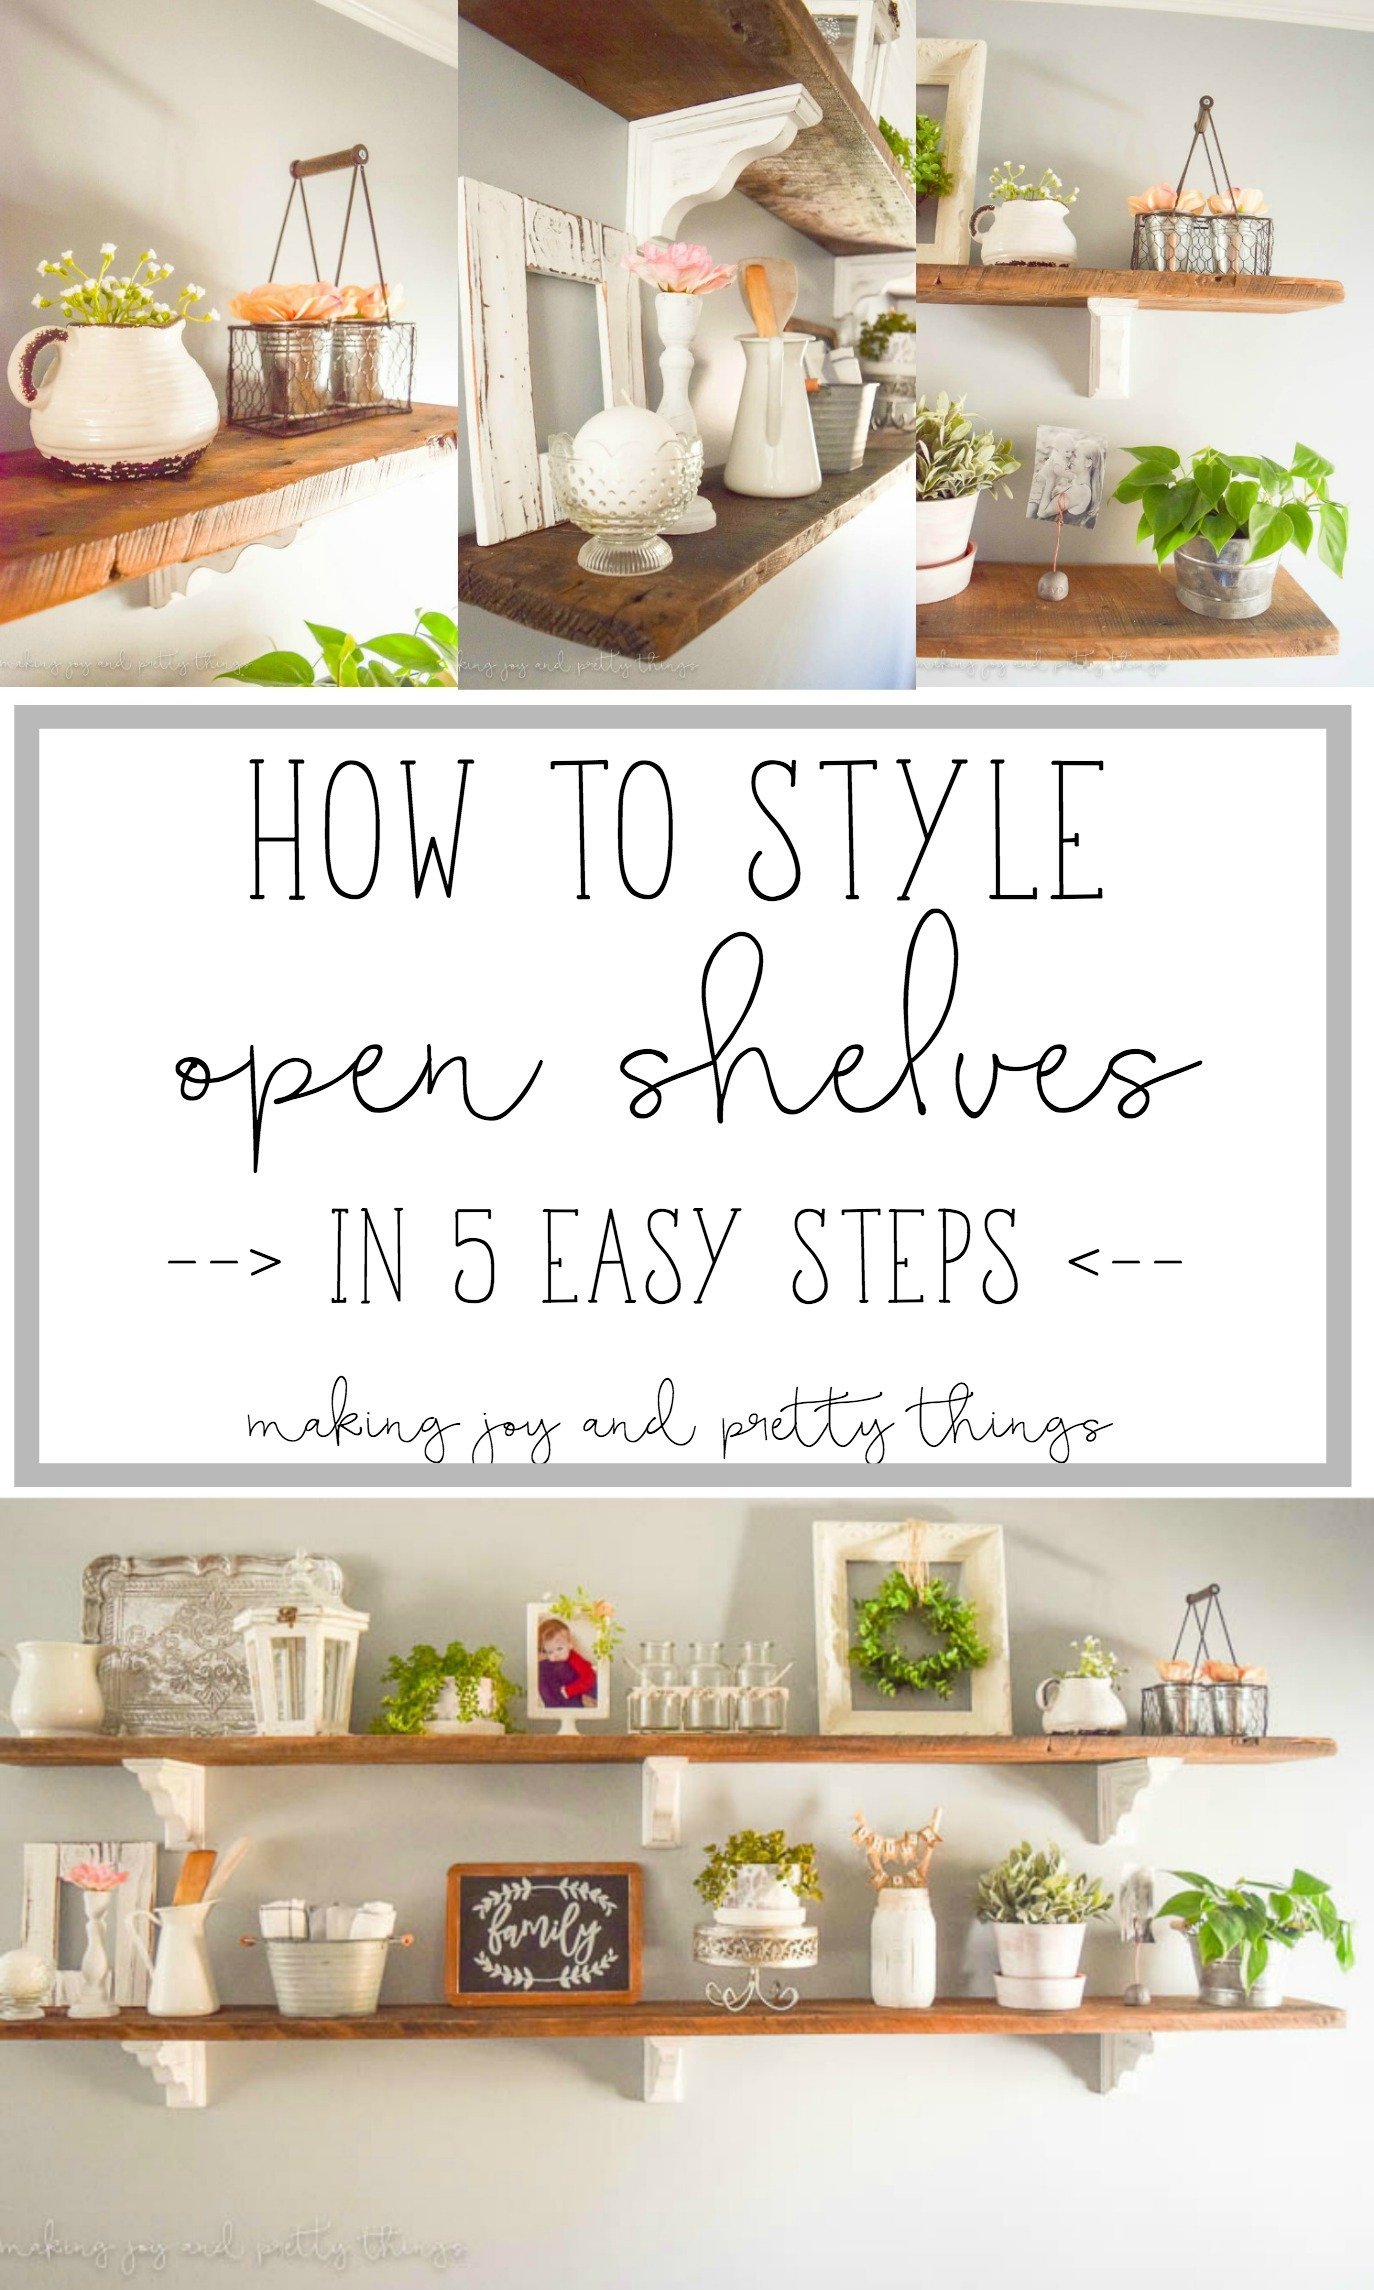
One day last week I decided it was time to buckle down and just start. These shelves are too beautiful to hold my random craft supplies {though I see a craft supply storage post coming soon!!}.
It’s REALLY hard to style open shelves!! I honestly thought it would take me 10 minutes, I would throw a couple of things up there, and voila – beautiful finished farmhouse open shelves.
Styling Open Shelves Takes Longer than You Think!
Well, reality check. It took much longer than expected.
For a couple of reasons:
- I wanted to be extremely budget friendly
- I wanted to DIY as many of the decor pieces as possible
Laziness- I had to realize that the perfectly styled shelves didn’t exist and they could be beautiful without being 100% out of a magazine perfect
Plus, you guys, I didn’t want you to have to spend days styling your own shelves. So, I used the lengthy amount of time it took me to come up with my 5 step process to styling open shelving!
Of course, mine are styled in a neutral, farmhouse-style manner. But, I believe you can use the same process in whatever style suits you.
I personally believe there is no “right” or “wrong” way to style open shelves or to style your entire home, for that matter. So, if you think this method is crazy, that’s ok!
If you’re totally clueless about how to style open shelves, that’s ok, too! I hope you can find some inspiration or bits of advice to help you, even if it’s just in a small way 🙂
Before you begin styling the shelves, you have to actually gather decor to put on them. I’ll have a whole list of where I got my decor as well as what I DIYed at the end of the post. You can also check out this list of rustic decor for shelves if you need to snag a few more items.
Step 1: Biggest Decor First
I found the best way to start styling open shelves is to strategically place your biggest decor items FIRST.
I had 3 large items I wanted to use on my shelves, so I placed them first making sure they were fairly staggered.
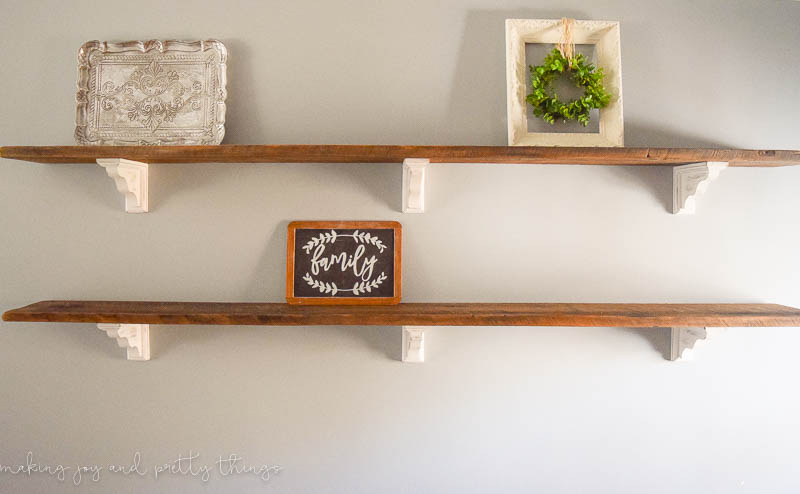
Are your eyes drawn to different places on the shelves? If so, great! I wanted to balance the look of the shelves so that one side wasn’t too visually “heavy”.
Keep in mind, my shelves are pretty long so on smaller shelves you may only need 1 or 2 larger items to anchor the shelves.
Step 2: Place Medium-sized Decor
Next, I filled in extra space with some bulkier items I was using. These were smaller than the first step items, but still took up a bit of room.
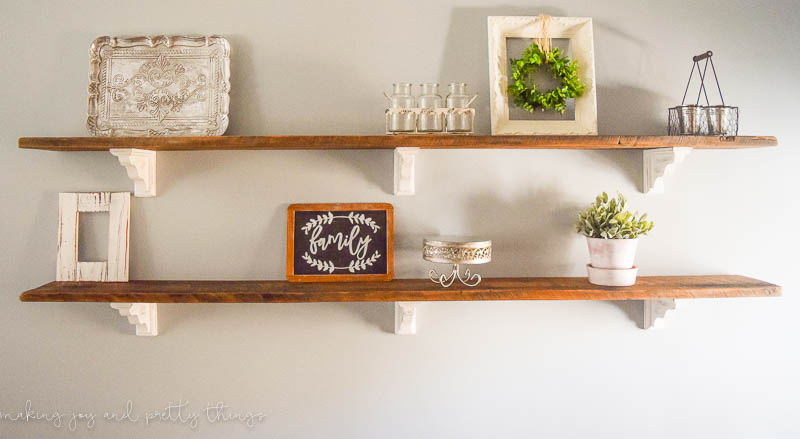
I tried to place them close to the largest items. Why? I’m not sure, to be honest. I think if everything was just equally spaced it would look like a grid!
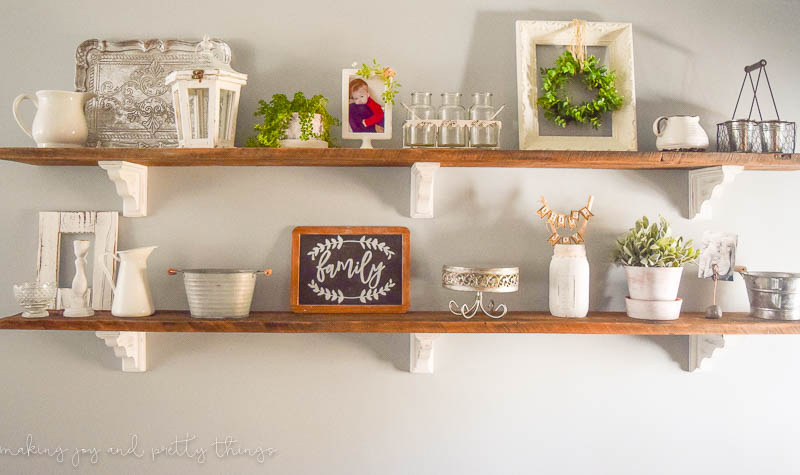
For instance, having the 3 jar container and chicken wire basket next to the boxwood wreath frame gives you 3 pretty big items side by side. But, that area is pretty much done! You don’t have to have big, medium, or small in a row. Hopefully, that makes sense!
So, don’t feel like you have to evenly space everything out! Don’t be afraid to sit two bigger items next to each other in the step.
At this point, the shelves are pretty heavy on the right-hand side…
Step 3: Balance Out the Open Shelves
This step is probably the most important, and the most difficult. Creating balance.
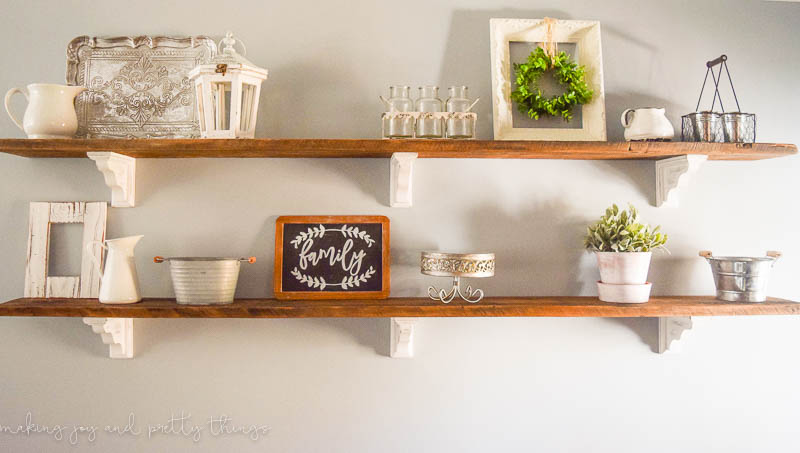
I heavily focused on the left-hand side of the shelves, adding several medium/small components. To the right, I only added a small white pitcher and galvanized pail.
I also started to create some layers in this step. Having the white pitcher and the birdhouse in front of the metal tray creates a visually appealing vignette that in turn balances the bulkier items on the other side of that shelf.
Basically, where at the end of the previous step you could have a little imbalance on the shelves, at the end of this step you want to have a pretty cohesive look. You will still have some small gaps on the shelves, but, the overall look is coming together.
Step 4: Fill in the Empty Space
This step is probably the easiest. From the first 3 steps, you’ll have a few empty spaces left over on your shelves. I simply added some decor pieces to fill in those spaces.
Make sure to stagger the height of specific objects (like how I put the picture frame in between the post and 3 vase container).
Step 5: How to Add the Small Details!
This last step is probably my favorite. I LOVE adding small details because I feel like that really gives the whole design a finished and cohesive look.
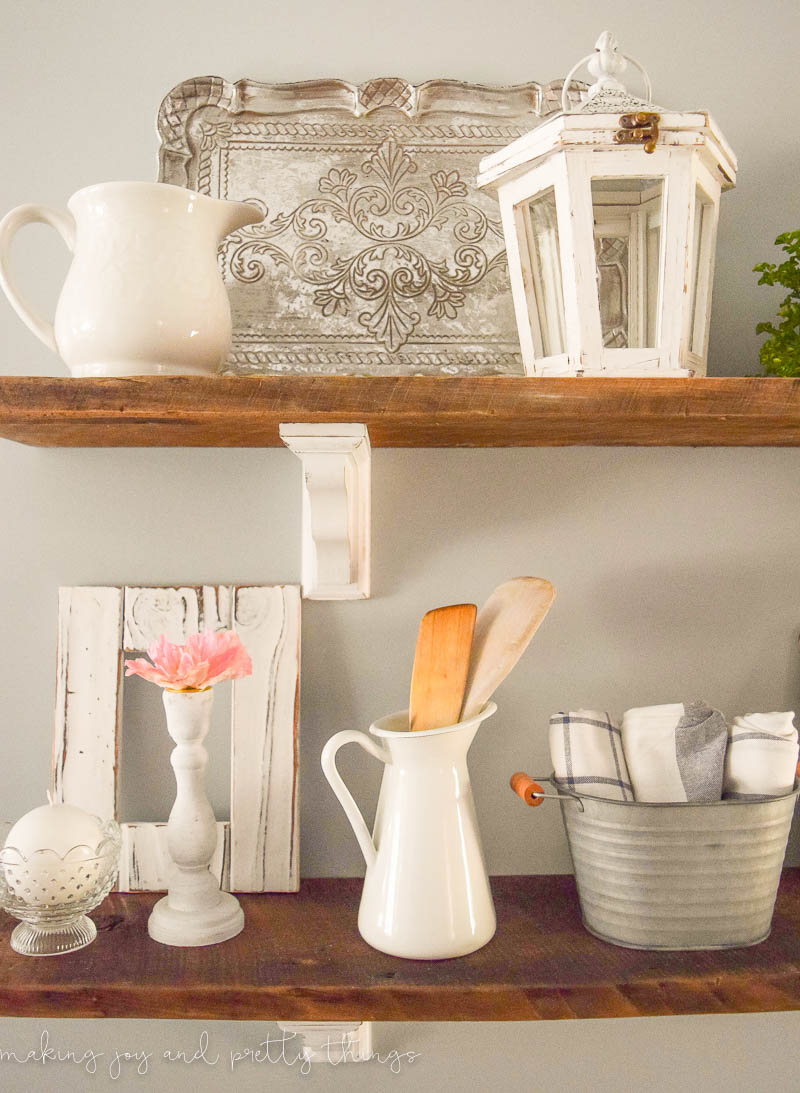
For these shelves, I used simple farmhouse elements, such as a little greenery and florals, some neutral kitchen towels and wooden spoons, and a DIY decoupaged pot.
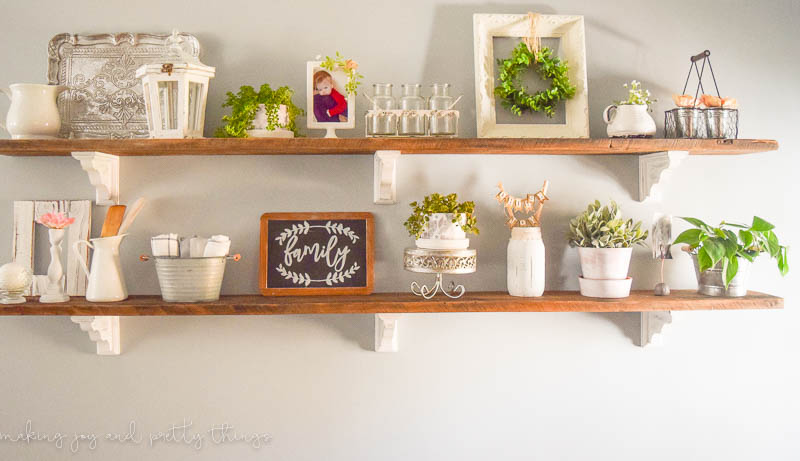
That’s the whole process! Not too bad, huh?
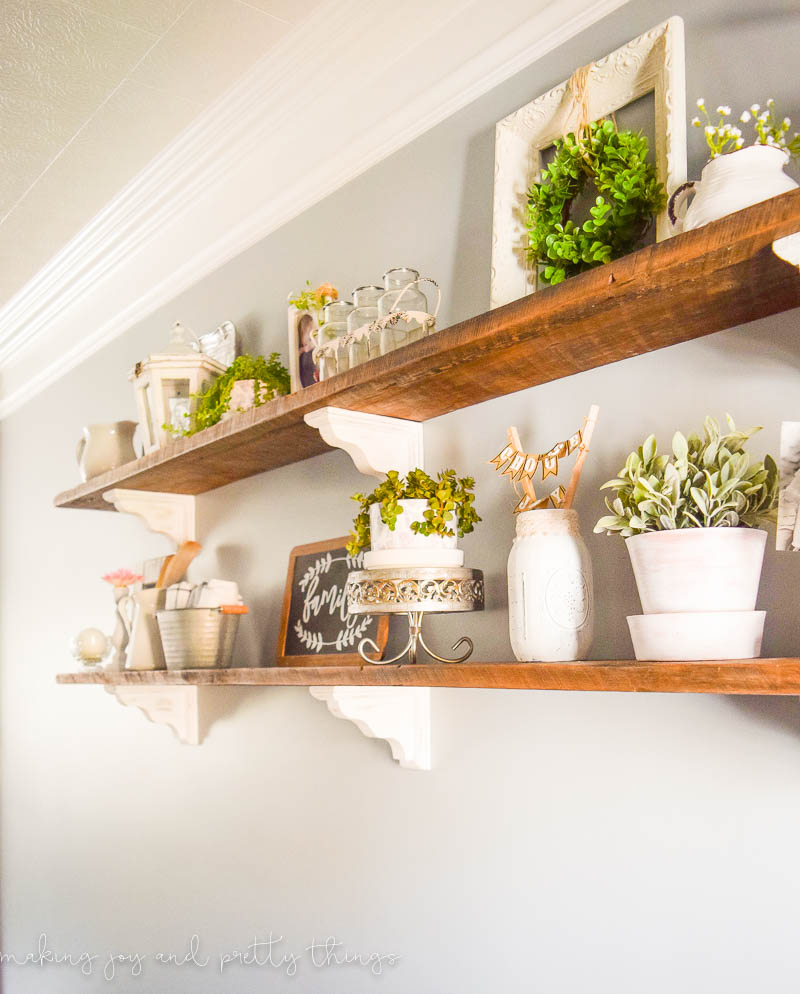
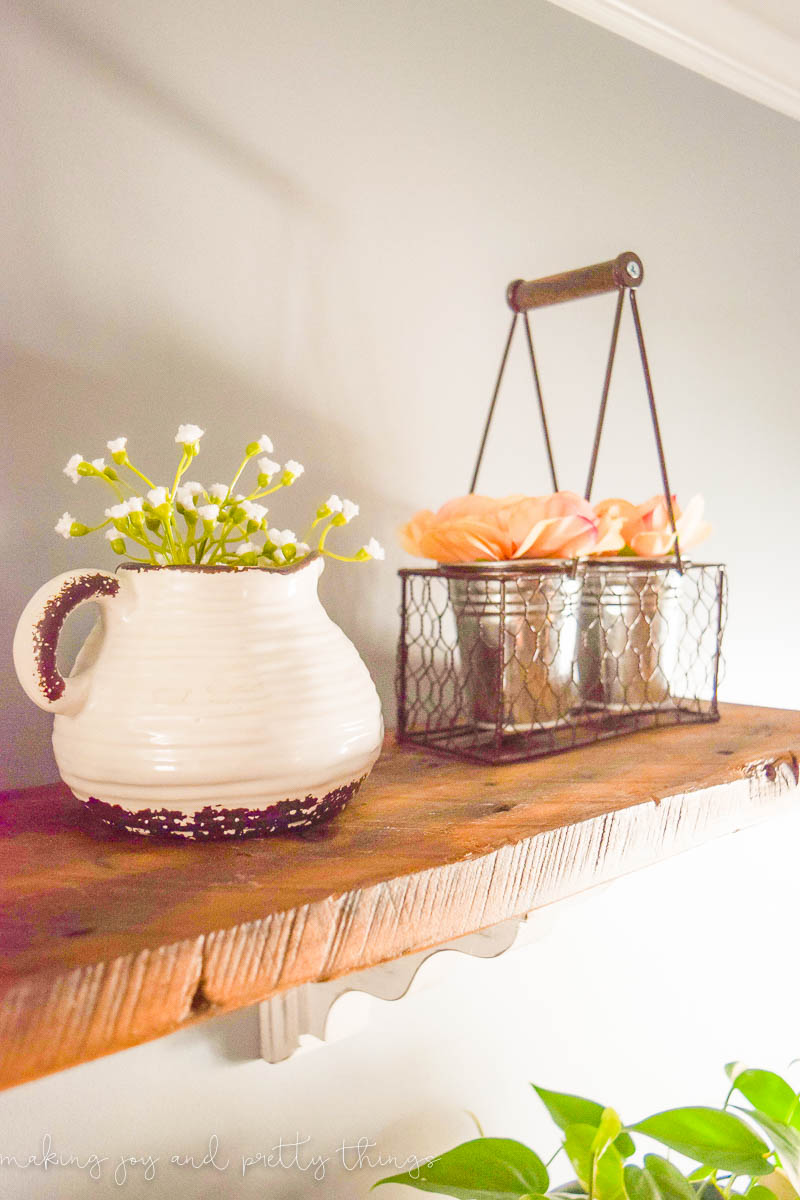
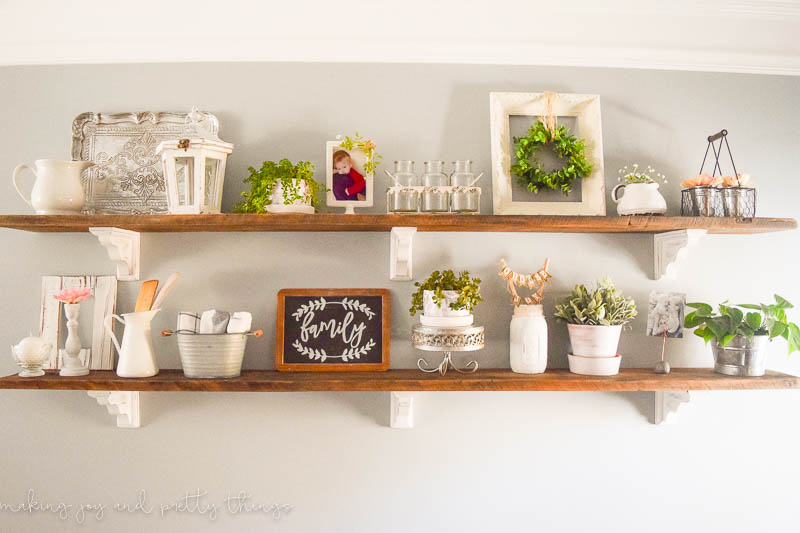
Here are a few more shots of the finished shelves:
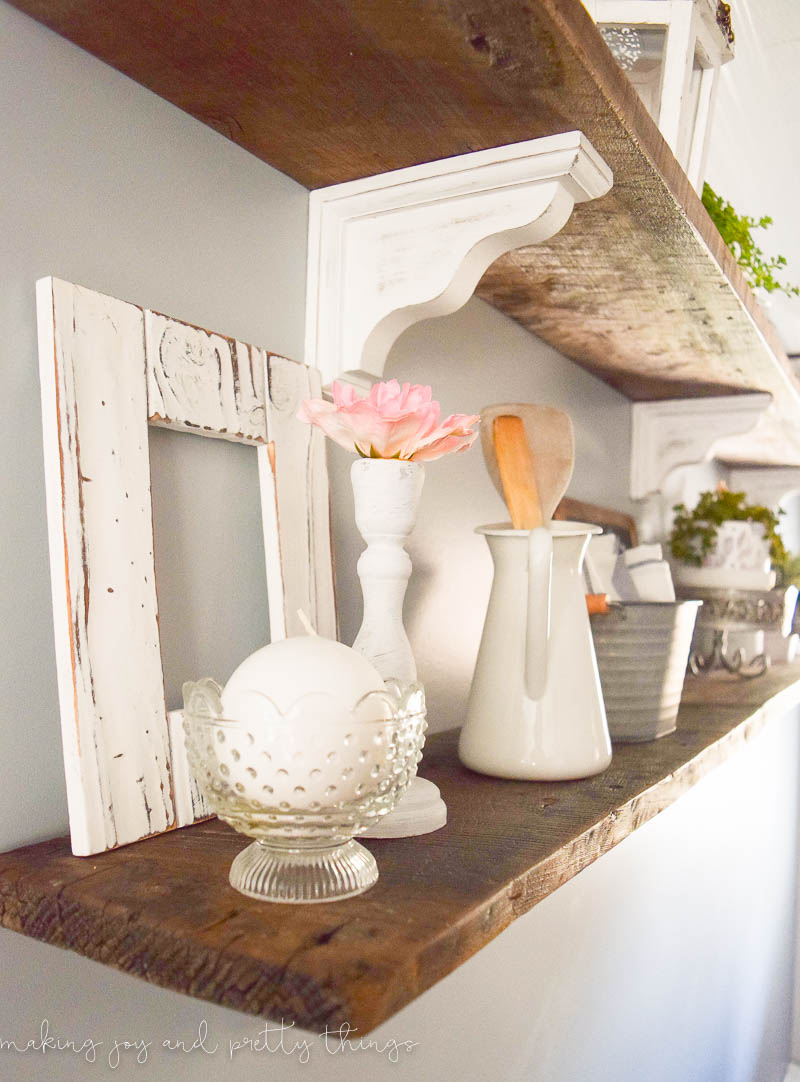
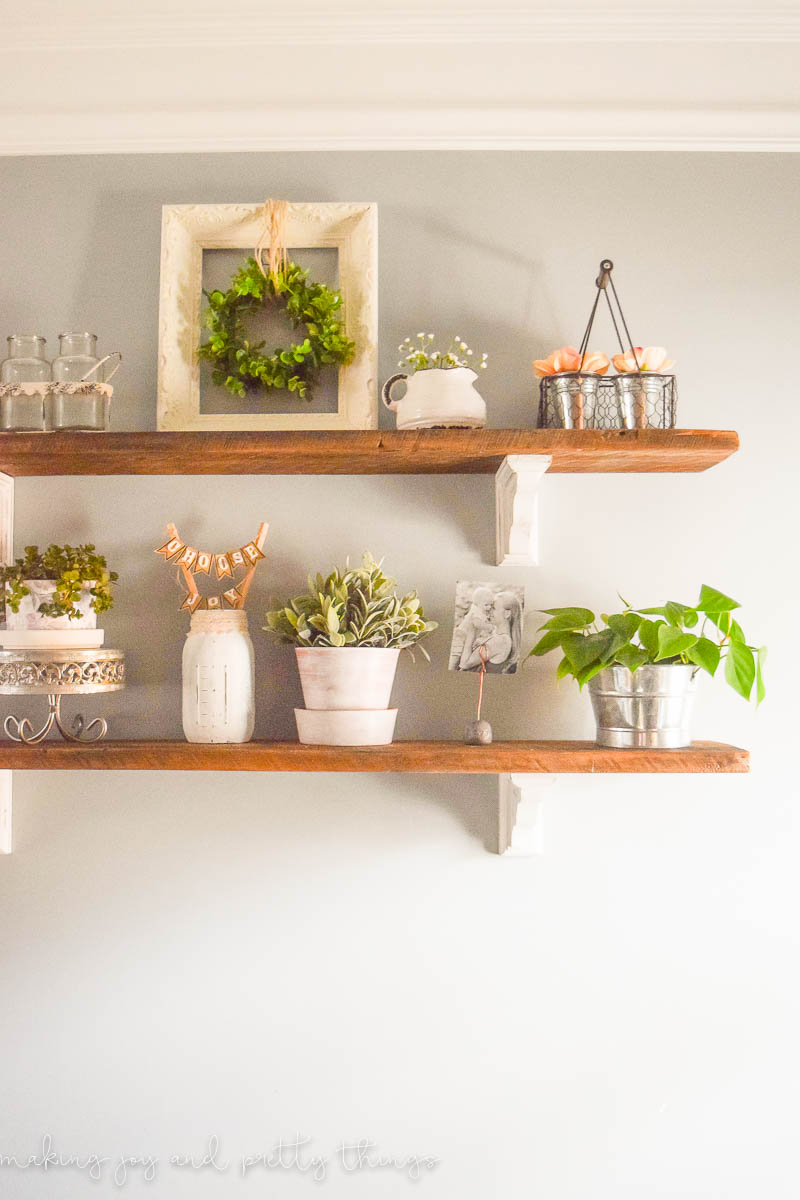
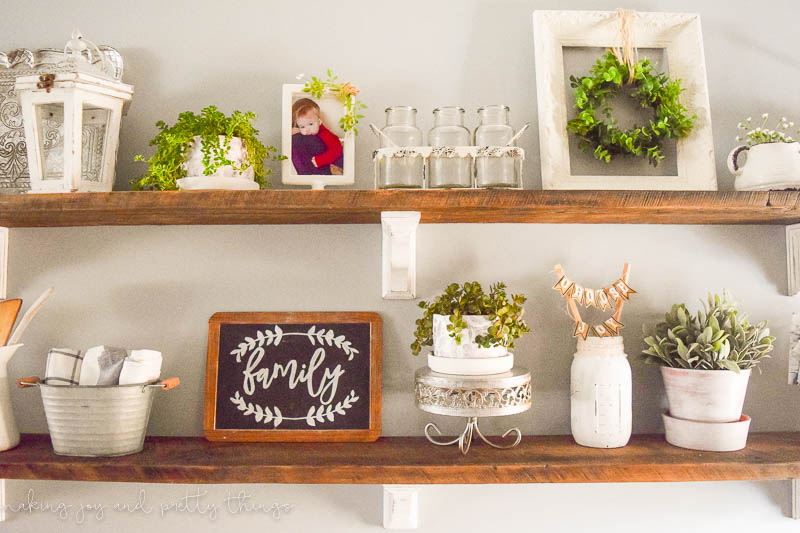
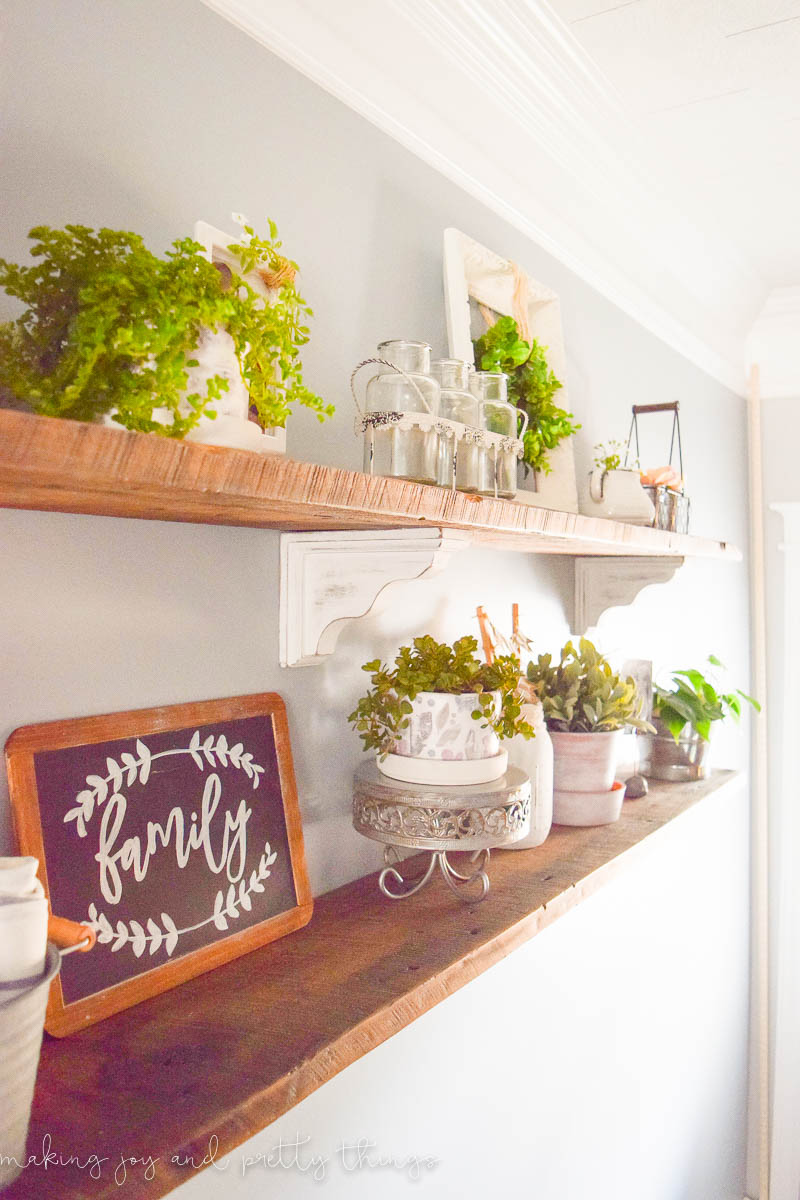
This post contains affiliate links. Please, click here to read my disclosure policy.
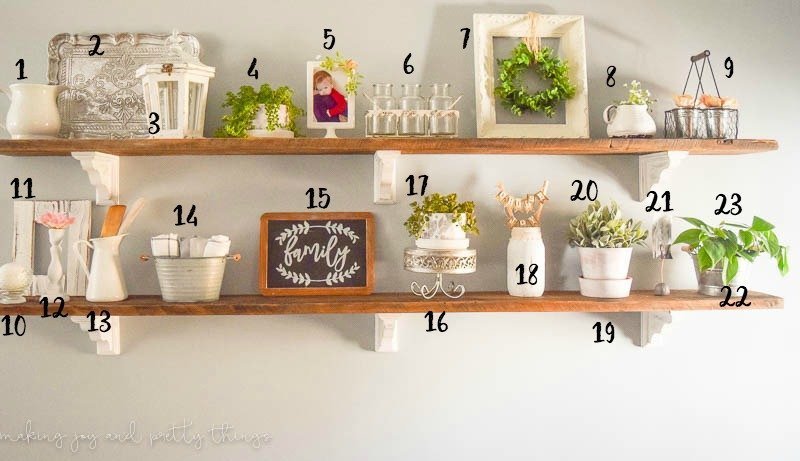
Here’s the source list for everything you see on the shelves:
- Vase found in my basement when we moved in (my husband’s grandmothers!) –> so happy we could include this! (Find a similar one here)
- Decorative Antique Silver Finish Tray, similar
- White Washed Wooden Lantern, similar
- DIY Farmhouse Style Decoupaged Pots
- Simple Farmhouse Frame
- 3 Vases in Caddy, similar
- Upcycled wreath + frame
- Small white pitcher planter, similar
- Chicken wire basket, similar. I just added a couple of metal jars with a few faux rose blooms.
- Tea light holder with a ball candle
- Distressed White Frame, similar
- Wooden Candle Holder that I painted with chalk paint and stuck another faux rose bloom in the top
- White Vase, similar. I just added two wooden spoons inside
- Galvanized metal pail, similar. Inside I rolled up 3 kitchen towels
- DIY Chalkboard Lettering Sign
- Cake Stand, similar
- DIY Farmhouse Style Decoupaged Pots
- Mason Jar “Choose Joy” Display
- Terracotta pot with a saucer, similar. I just whitewashed it for a more farmhouse look.
- Faux Sage Plant, similar
- DIY Photo Display {Using Copper Wire and Clay}
- Galvanized metal pail, similar
- Philodendron Plant (learn how to care for a philodendron here)
Phew!! That’s a long list!
Please don’t hesitate to reach out to me with any questions you may have about any of these products, how to style open shelves in 5 easy steps or any other question you may have about the farmhouse shelves in general.
Wishing you a joyful day!
How to Style Open Shelves
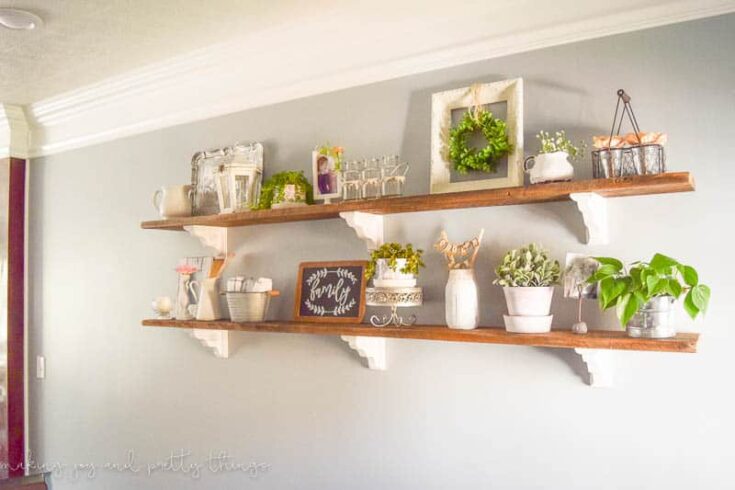
Learn how to use decor to style open shelves in a simple and balanced way that will feel coordinated and well thought out.
Materials
- Use various-sized decor to go through the steps. For ideas look at the photos and the source list in the blog post. Unfortunately, a lot of exact decorations are no longer sold but there are many alternatives to choose from and I've included links to similar items.
Instructions
- Place Big Decor First
- Place Medium Sized Decor in Second
- Balance Out the Open Shelves
- Fill in Empty Space
- How to Add the Small Details!

I always struggle with styling, so I LOVE how you broke this down into manageable steps! And I spy a ton of sweet DIY projects scattered in there!!!
Thanks, Kristi!! I struggle, too, so I was hoping to make styling a little less scary. I tried to use as many DIYs as I could, I’m so glad you noticed!
Very pretty!! So excited to see your finished shelves. Styling shelves can be time-consuming, but it’s almost a therapeutic project for me to work on 🙂
Thank you! Styling shelves IS time consuming but I’m glad they’re finally finished!
Looks amazing! I tried some designs at home with my shelves but looks like a two-year-old popped some cups and some random stuff on. I’ll try to follow the steps you suggested to make them look fancy.
Can I just say your website looks absolutely beautiful! The fonts that you use in your images to the banner so feminine and delicate!
HAHA! I sometimes feel like my toddler does my decorating, too 😉
Thank you SO MUCH!! I’m always wondering if my blog looks professional but still pretty and delicate. I’m so so glad you think it looks beautiful, that really means a lot to me!
Styling open shelves can be sooooo challenging but so rewarding! I love the ability to showcase items and change out the decor for an instant update. Great job Laying out the steps! Enjoy your new shelves!
Thanks, Colette! It is definitely a long process to style shelves, but yes! I love how they turned out and in the end, it’s very rewarding.
I don’t have any space in my kitchen for open shelves, which I would LOVE, but I’m hoping to use your tips on a built-in that we have downstairs. These are super helpful tips. Pinning!
Aww thanks, Shani!! I’m so glad the steps are useful and could help you style your built-ins 🙂
I’ve read a lot of blog posts on how to style open shelves and so far this is the only one that was actually helpful and not just “clump things together and you’ll figure it out.” THANK YOU!!
Aww that’s so sweet, thank you! I’m glad it was so helpful for you!