Vintage Farmhouse Flower Arrangement in a Milk Can
See how I made a simple Farmhouse flower arrangement that anyone can do themselves and paired it with a vintage milk can for the perfect farmhouse-style flower arrangement or centerpiece!
A beautiful farmhouse flower arrangement used as a bouquet at weddings or as a centerpiece always intrigues me. It takes such a creative eye to pair all the different flowers into the perfect arrangement.
*This post was sponsored by Afloral.com. I received flowers in exchange for my post. Post contains affiliate links. All thoughts and opinions are my own. Please see my full disclosure policy for more details*
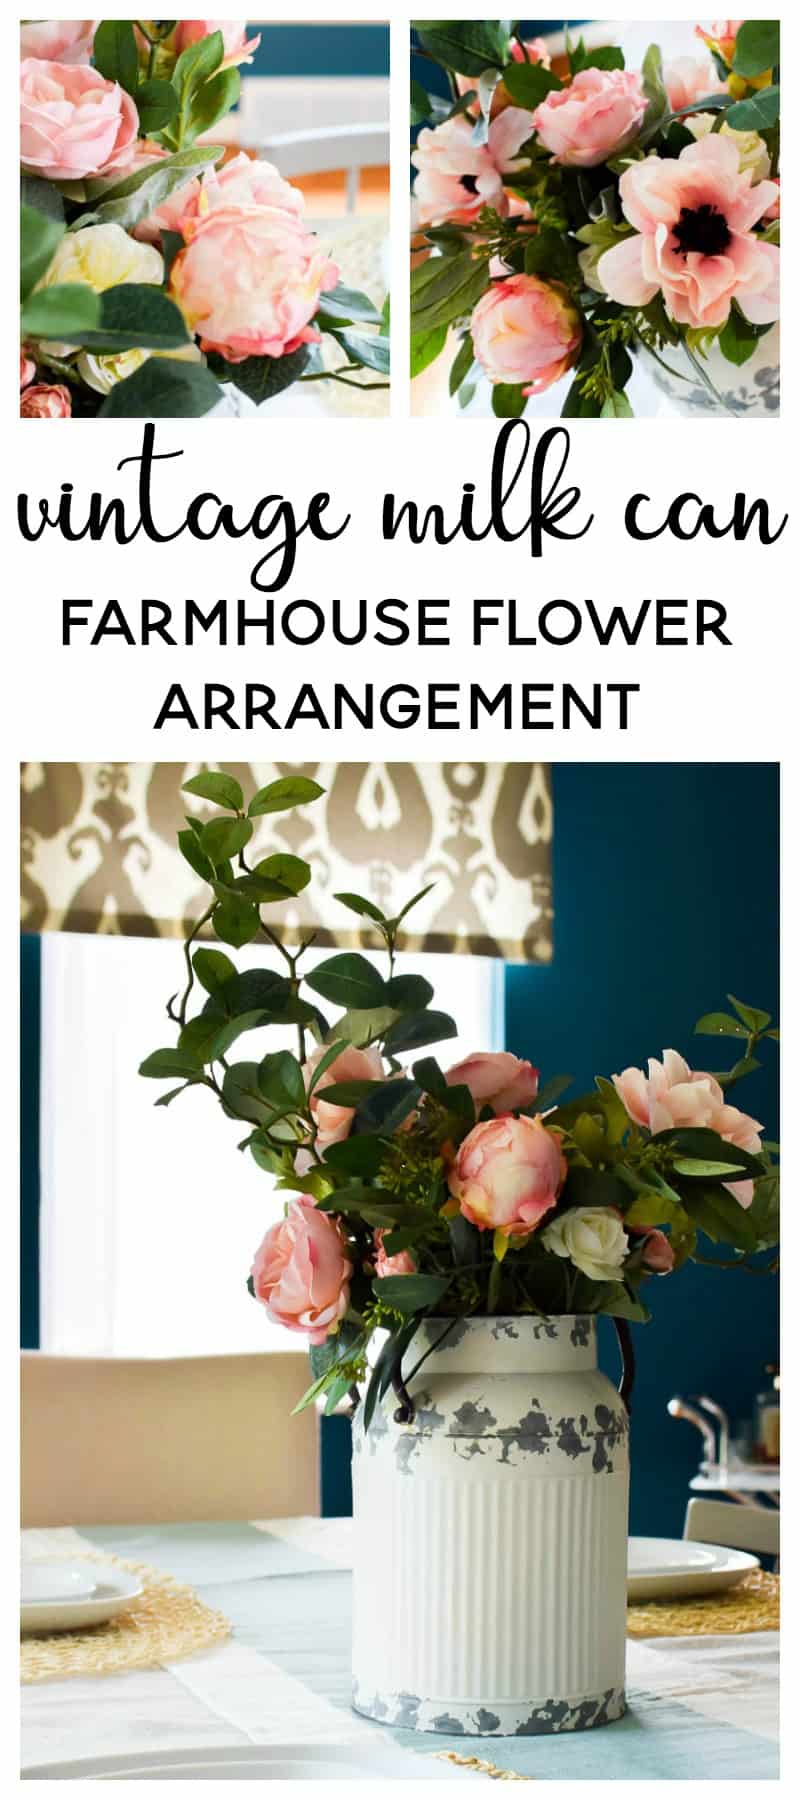
Happy happy Friday!!
It’s an extra special Friday here! I am SO excited to announce that I’ve partnered with Afloral.com to create some beautiful, EASY, and totally doable flower arrangements over the next 4 weeks!
I always see tons of tutorials and inspiration on Pinterest. It’s embarrassing to admit but I’ve tried to replicate flower arrangements I see online and have failed miserably.
But, this is truly a skill that I want to have so I decided to instead of copying another arrangement I would create my own!
The best part of this series of posts…
I’m going to have step-by-step directions and exact products that I used linked in the posts so that you can do it, too!
Y’all, I’m SO excited about these posts. It’s been a long time coming. I’ve had some postpartum issues going on (not to get into too much detail there) and generally having 3 kids and being back at my “real” job has left me exhausted and without much of a creative drive.
The flowers I used for our farmhouse centerpiece
While it may be August now and many of the flowers in these arrangements may be considered “summer flowers”, I think there are some flowers that can be used year-round.
Roses immediately come to mind! You can definitely use roses in your decor year-round. I’m thinking of a deep red or burgundy for winter, pink for spring and summer, and yellow for fall. Choose white roses that can be used all year!
Greenery and stems can be used year-round, too! Having the base of your arrangements be some type of greenery never goes out of season. Switch out the filler flowers based on the season and you have an arrangement that can match the weather.
Another favorite of mine (and I think all of the internet, too) are peonies. Love love love peonies. They come in such a variety of bold or soft colors that it’s impossible to go wrong!
Simple formula for a farmhouse flower arrangement
For the perfect farmhouse flower arrangement, pair lots of greenery with soft or muted color flowers.
That’s my strategy for all four of the arrangements I’m going to show to you. Choose some greenery as a base and add in some roses and peonies in white and pale pink for the perfect pop of color.
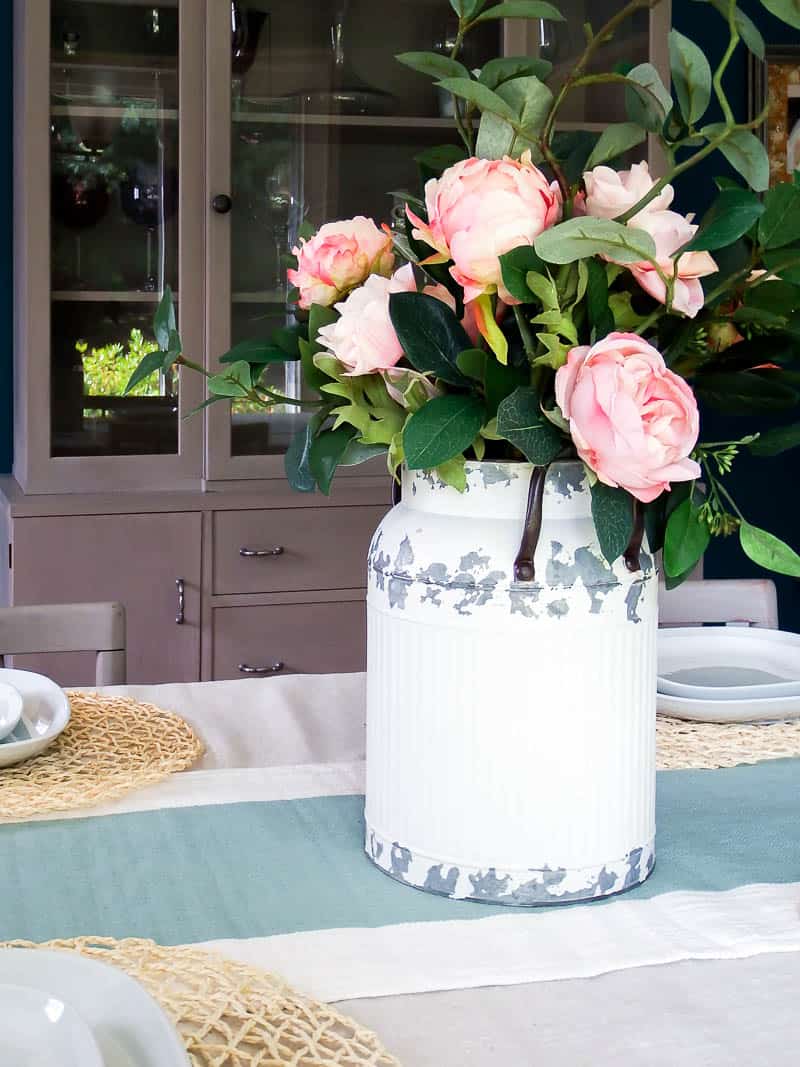
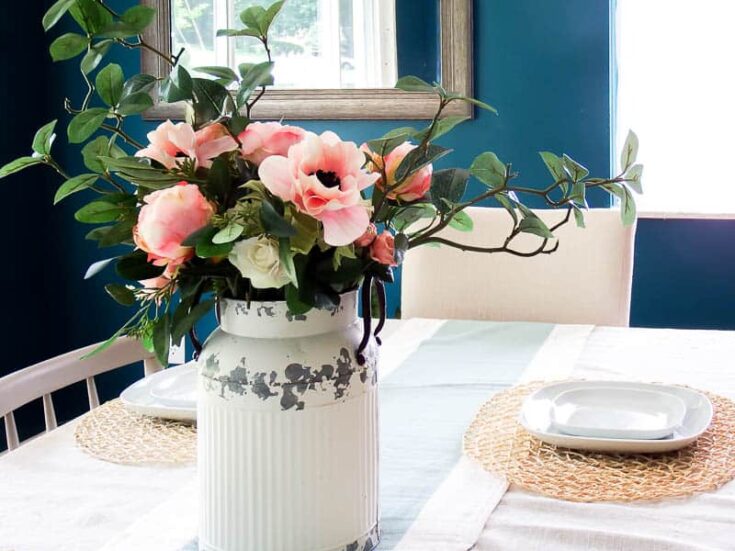
Here’s the farmhouse flower arrangement for this month!
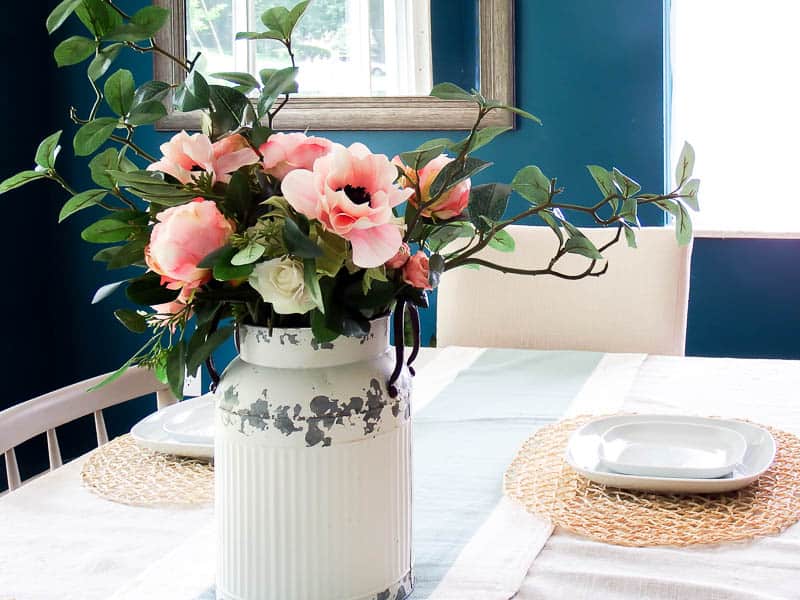
LOOOOOVE love love love.
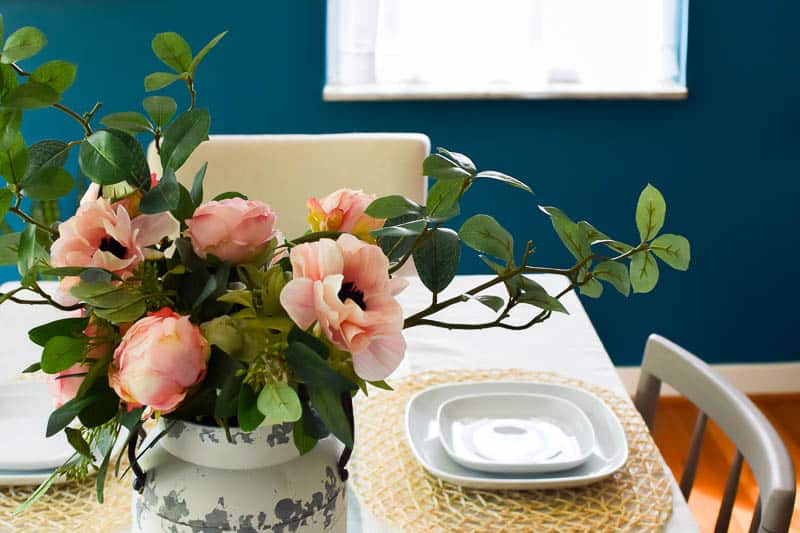
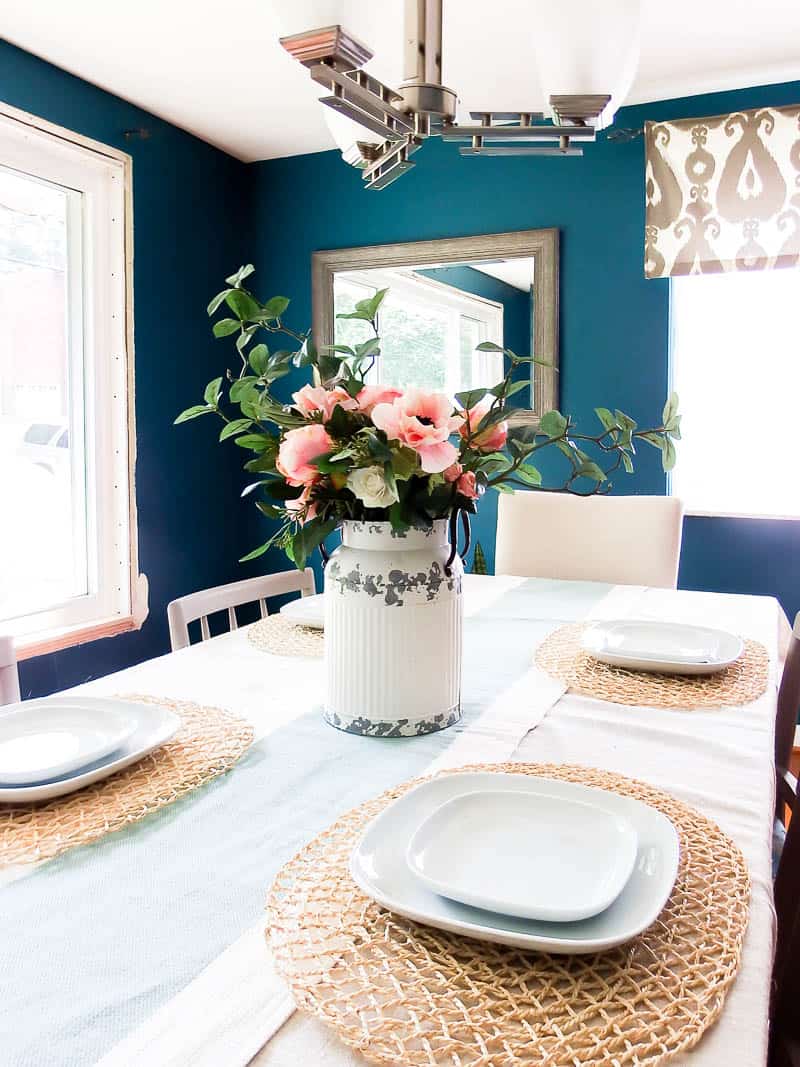
How to create your own farmhouse flower arrangement: step-by-step
Supplies for Farmhouse Flower Arrangement:
- Rustic Milk Can (tons of options linked at the bottom of the post!)
- Filler Flowers
- Anemone Spray (3), (no longer available but this is a white version)
- Peony Bud Spray (4)
- Cabbage Rose (2), (no longer available but this is a similar version)
- Mini Roses (1)
- White Roses (similar here)
- Greenery
- Gardenia Leaf (2) (similar options here and here)
- Seeded Eucalyptus (4)
- Lamb’s Ear (2)
Note: Some items have seasonal availability. If you click over and don’t see the product, follow the categories below to find similar options!
Now, remember, I am definitely 100% not a flower arranging master. But, if I can do it, so can you!! I’m finding that doing this is not really a science but more of an art. And there’s not a right or wrong way to do art, my friends! 🙂
Step 1. Arrange the Largest Greenery First
In my case that was the gardenia spray.
Tip for you! Don’t trim the flower length until you know EXACTLY where you want it. I all to often will just snip inches off of a flower spray only to cut it too short and be stuck with something that doesn’t work!
Even better, don’t trim it at all! Fold the stem in half. If you need to make the spray look shorter or taller, change where you folded it first!
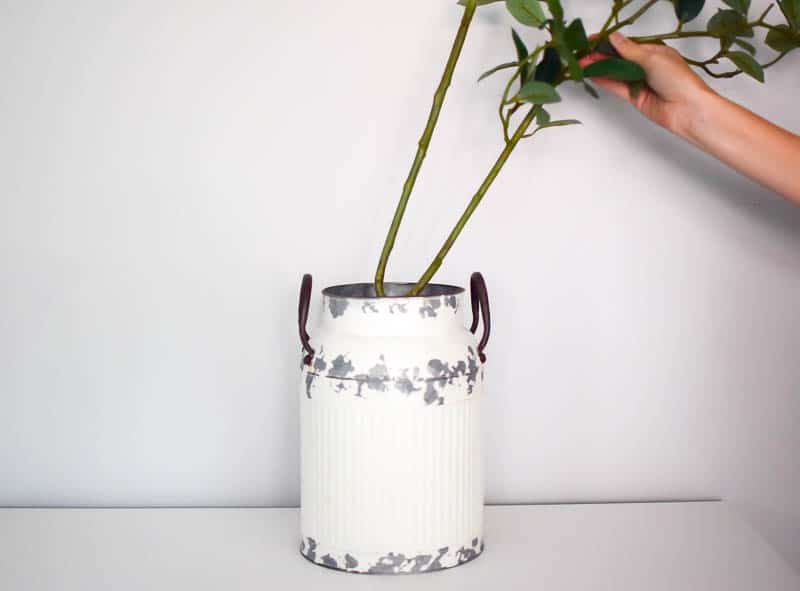
See how I folded the gardenia spray stem? I had to redo where it was folded several times to get the perfect length! If I had cut it, I betcha I would have cut too much 😉
I arranged the first one to stick out on the side:
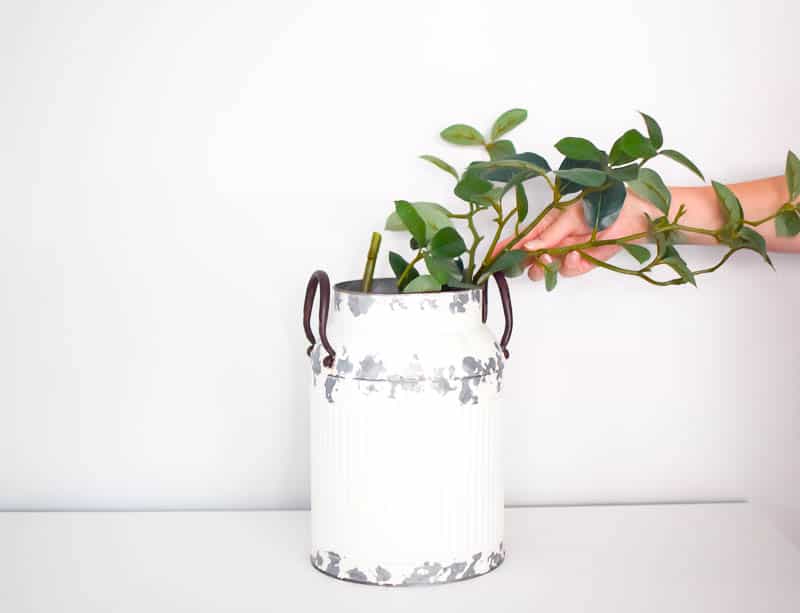
Then, the second one stood more vertical in the milk can:
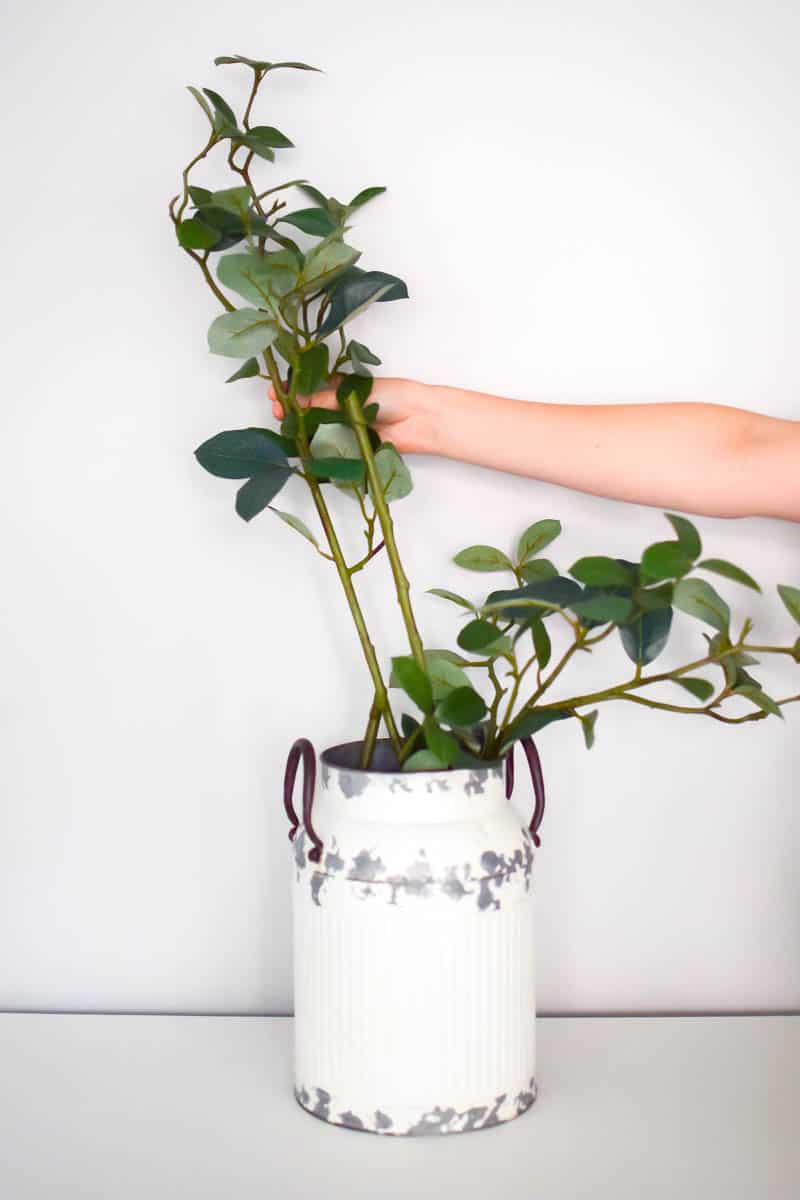
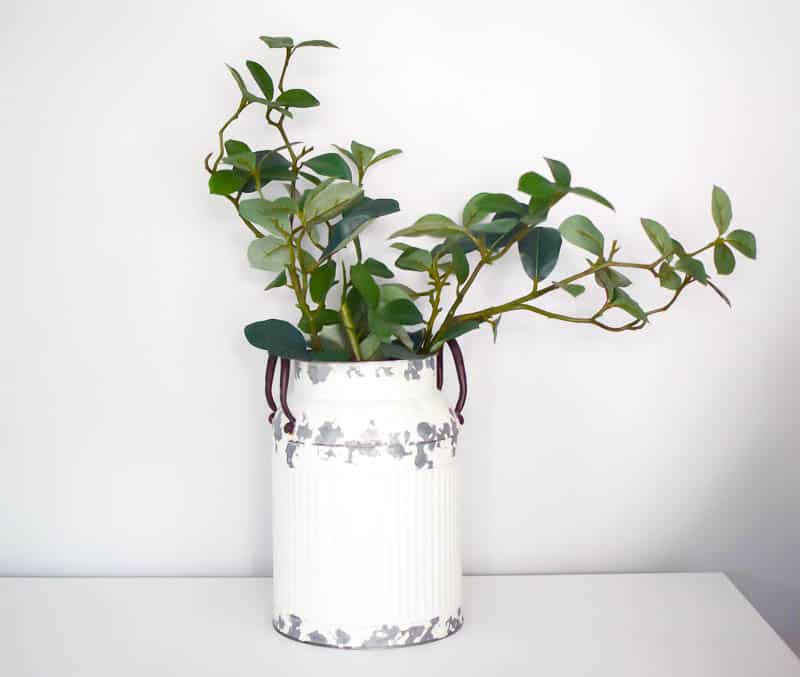
Step 2. Add in Anemones to Arrangement
Before adding in the rest of the greenery, I arranged the anemones because I couldn’t resist their wonderfully unique feel. The bold black center really stands out to me so I wanted them to be a focal feature.
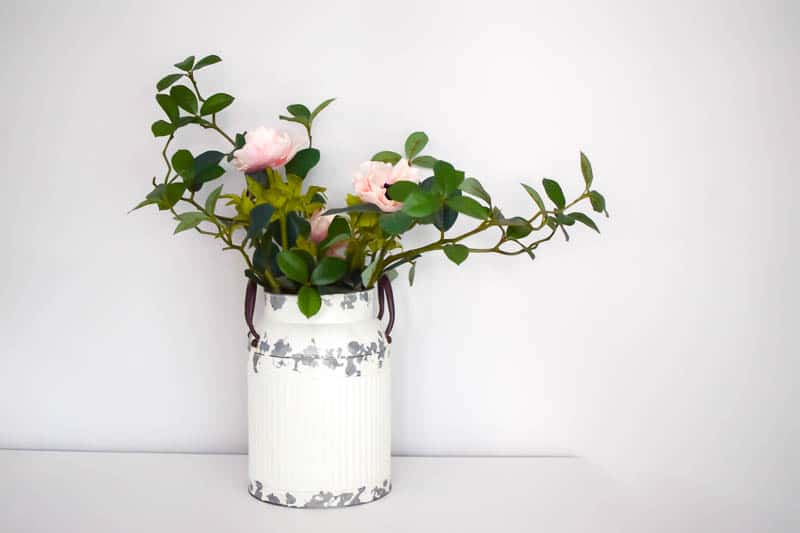
Step 3. Add More Greenery
Next, I added the other greenery (seeded eucalyptus and lamb’s ear). I centered the lamb’s ear in the middle of the milk can. The seeded eucalyptus has a beautiful whimsical feel to it so I let it drape over the sides.
With the greenery complete it was time to add the rest of the filler flowers! This is where it gets fun!!
Step 4. Placing Flowers in the Flower Arrangement
I added the white roses to the center of the milk can. I wanted them to be more in the background of the arrangement, just to give the base of the arrangement some depth from only seeing green.
Last, I snipped the peony buds, cabbage roses, and miniature roses. These stems can be cut smaller than the greenery stems because they are just filling in the arrangement, not providing a base for support.
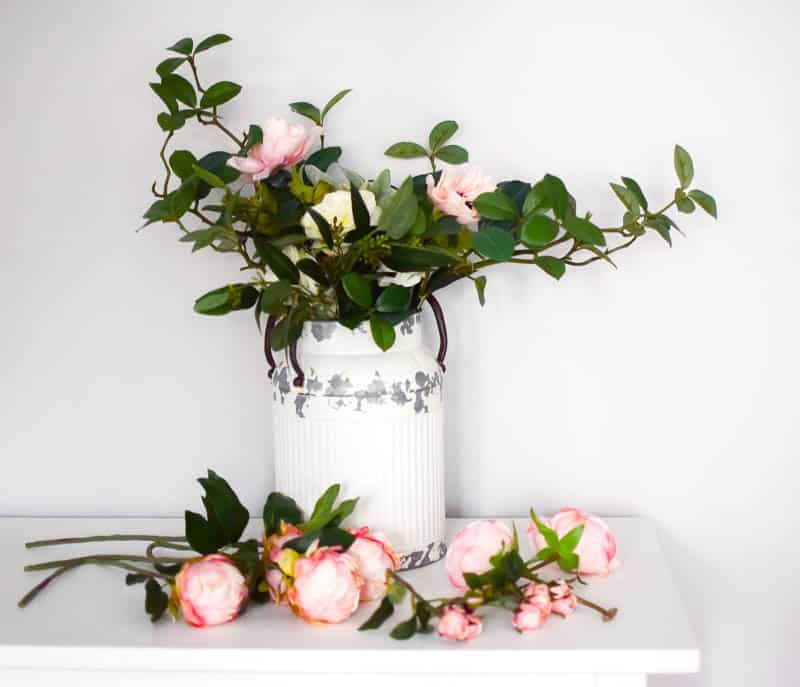
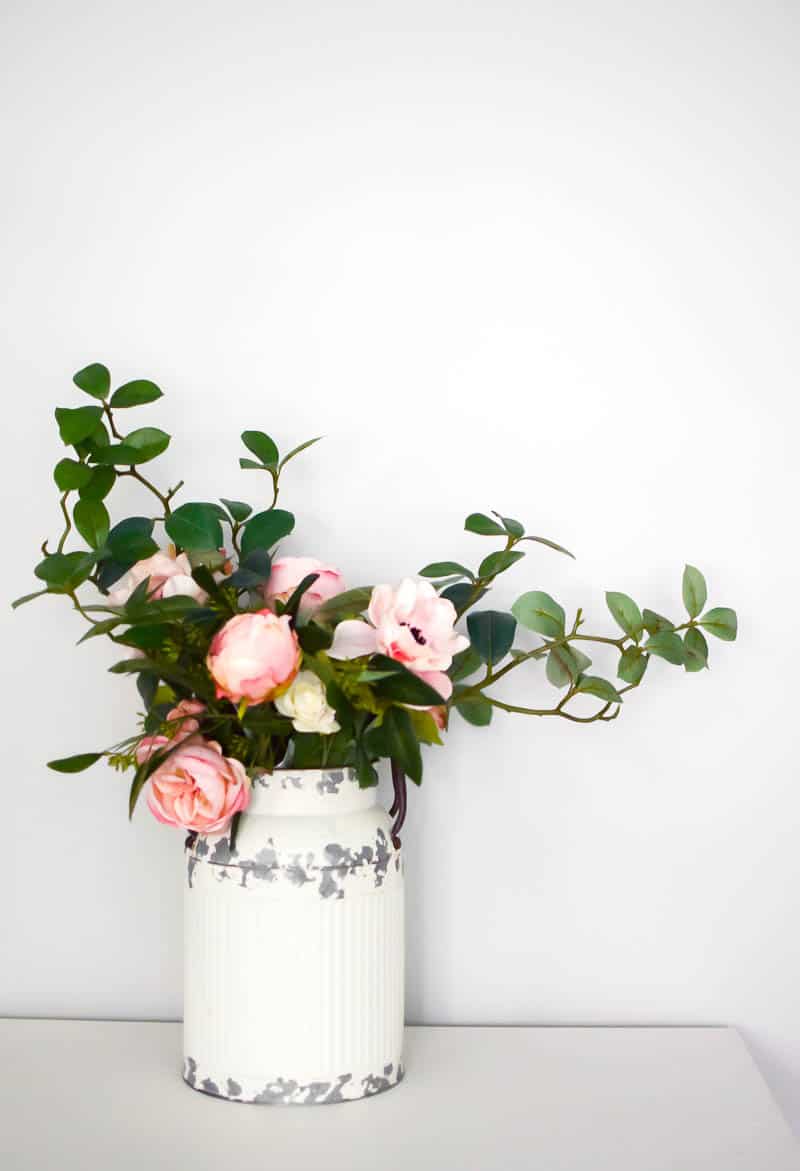
Remember, there’s no exact science to this! I must have moved the peonies and roses around 10 times before I got the perfect design.
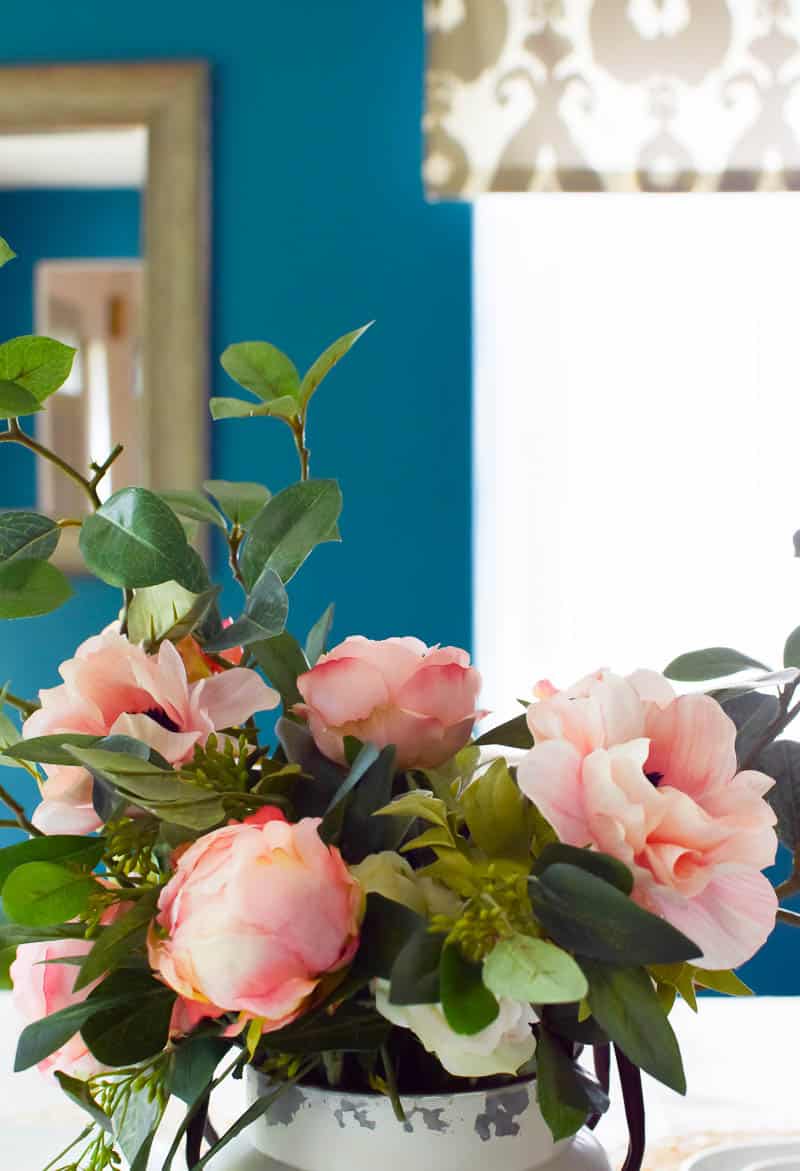
I simply LOVE this arrangement.
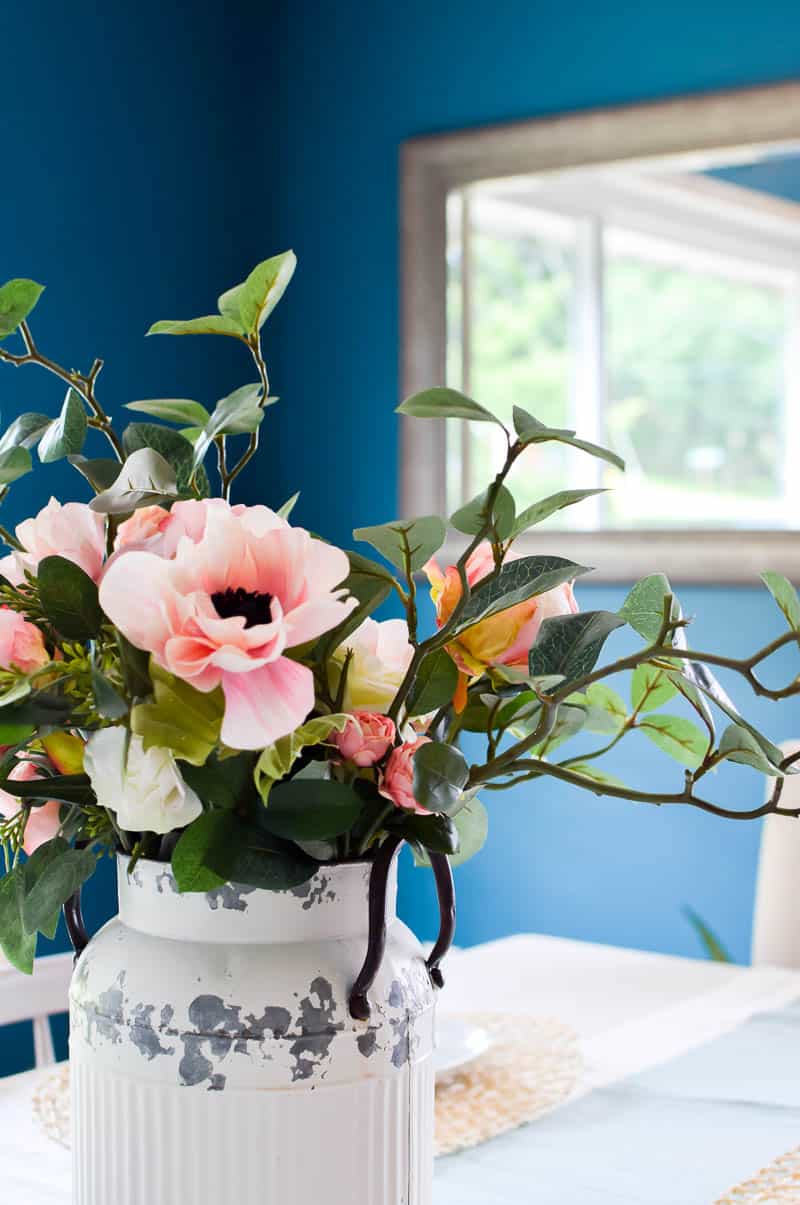
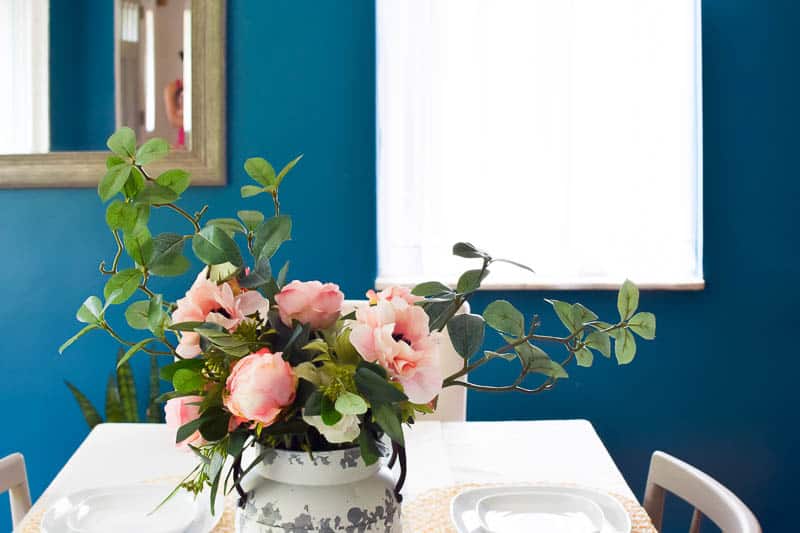
You guys, I can’t say enough about the quality of the flowers! They look SO real! They are nothing like the faux flowers I’ve used before. The colors and small details really make them gorgeous.
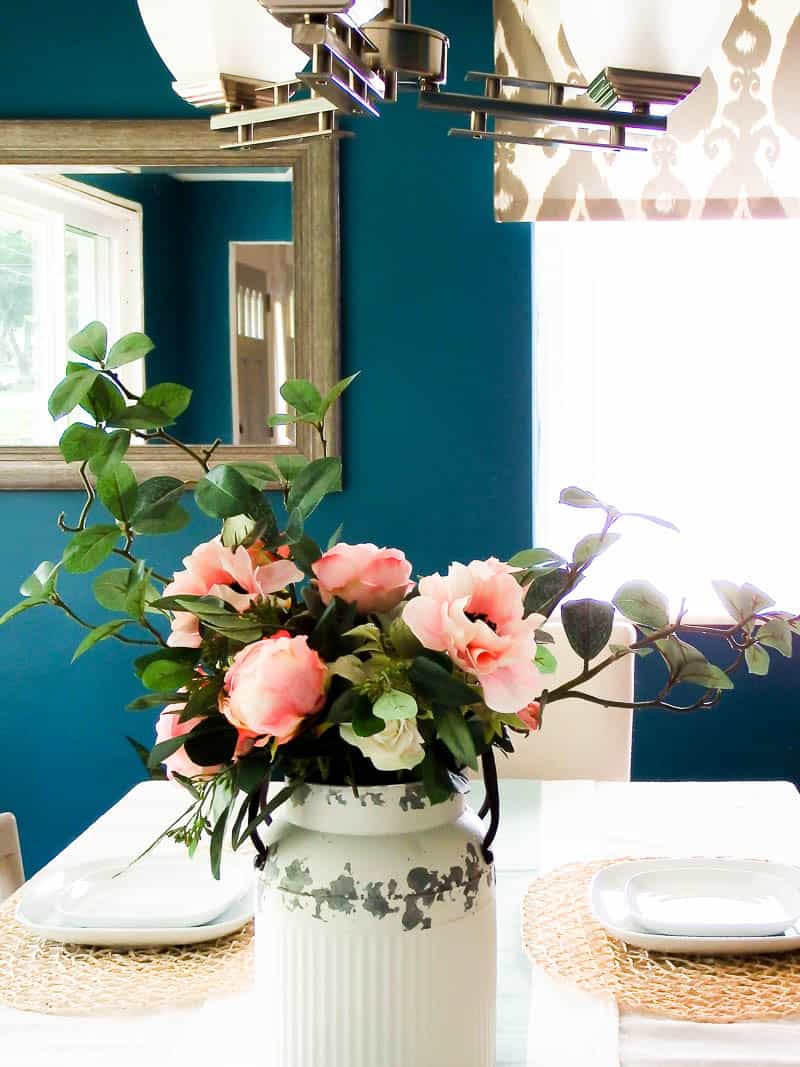
This would look great as a centerpiece like I did here. Or, even as a wedding table centerpiece! I’m picturing a rustic wedding with this in the middle. Perfect!
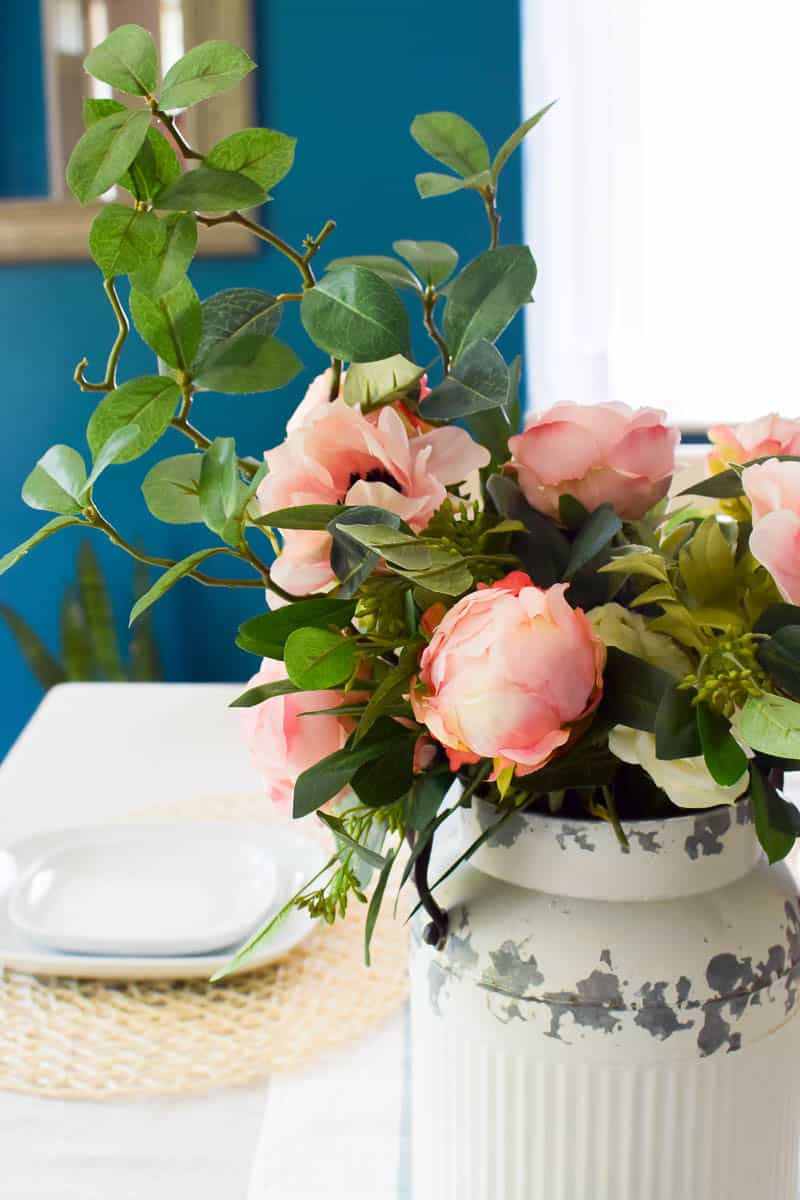
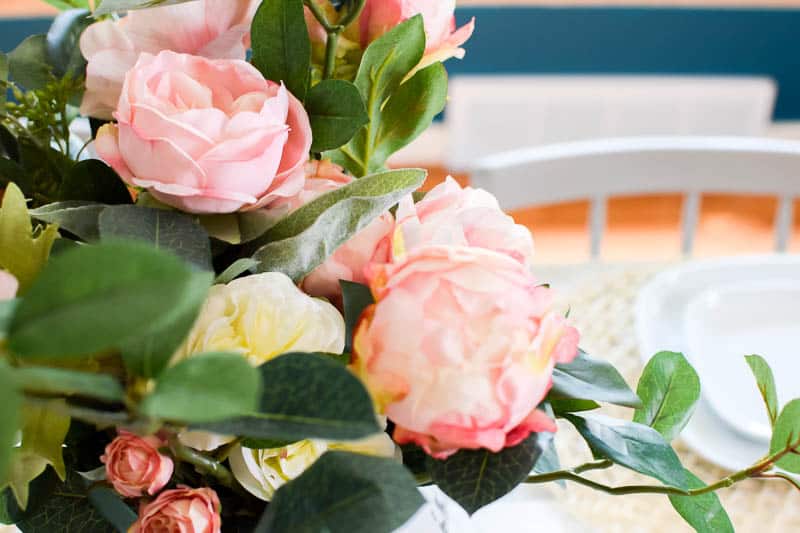
I mean, just look at those details!!
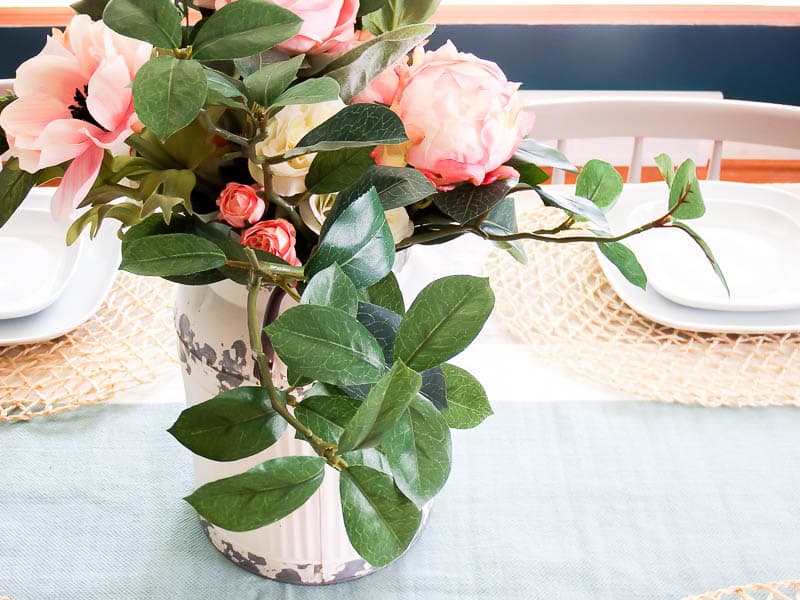
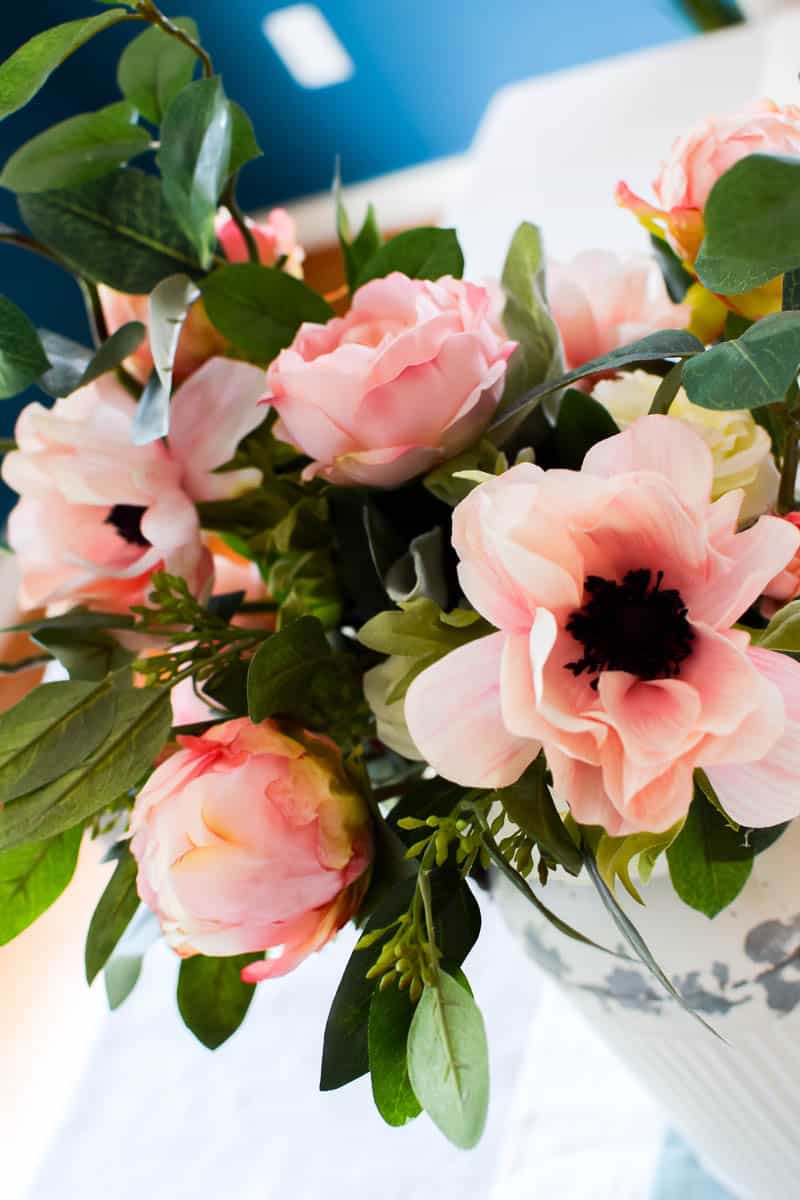
And, the anemone! My favorite part!
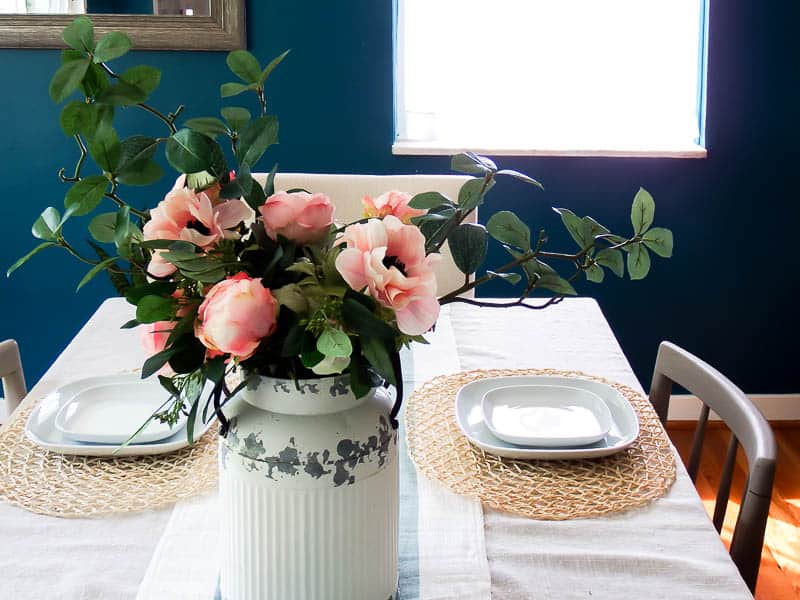
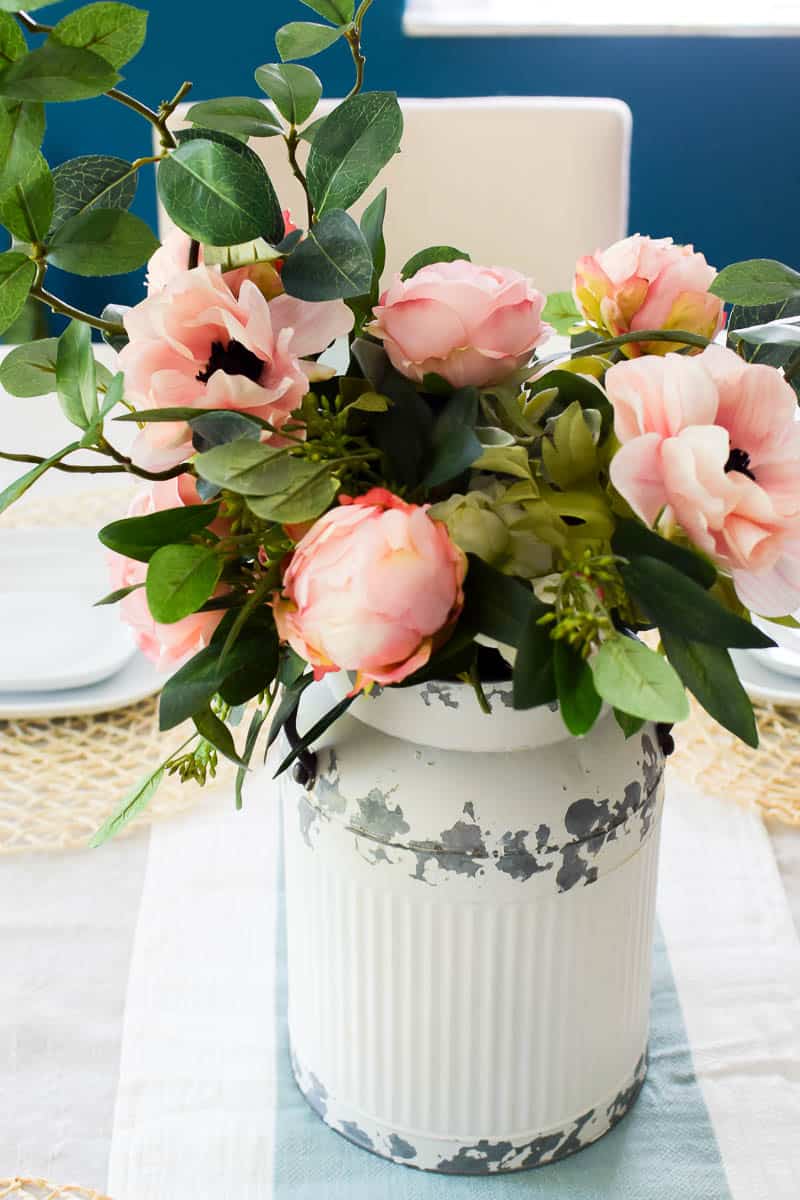
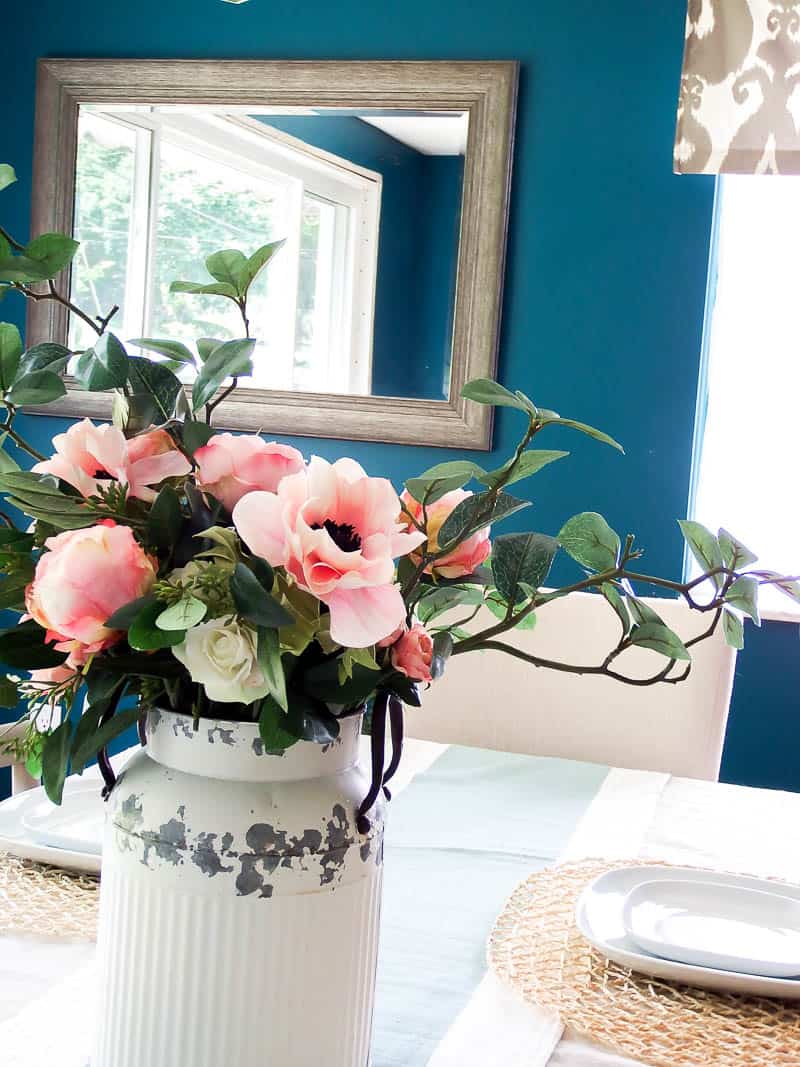
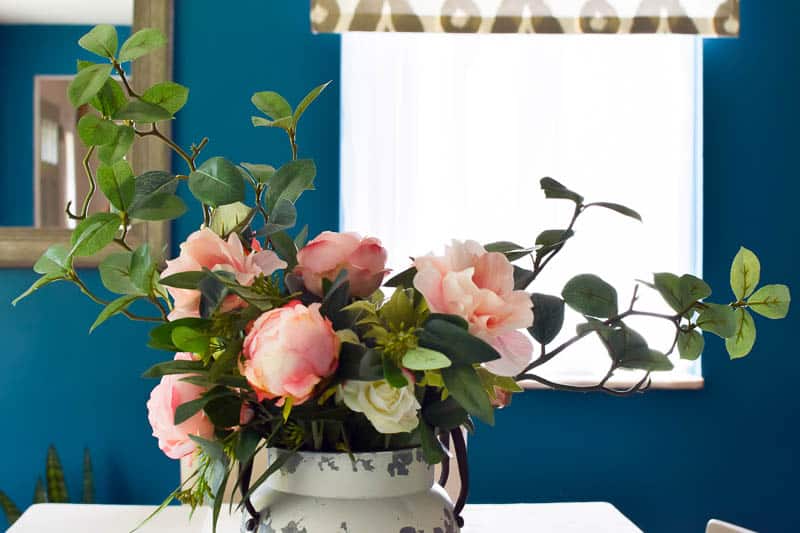
Vintage milk can ideas for your centerpiece
To compliment the beautiful flowers, I used a perfect farmhouse-style milk can (chippy paint and all!)
The exact one I used is no longer available (booo!!) but I’ve found a ton of other options for you to choose from.
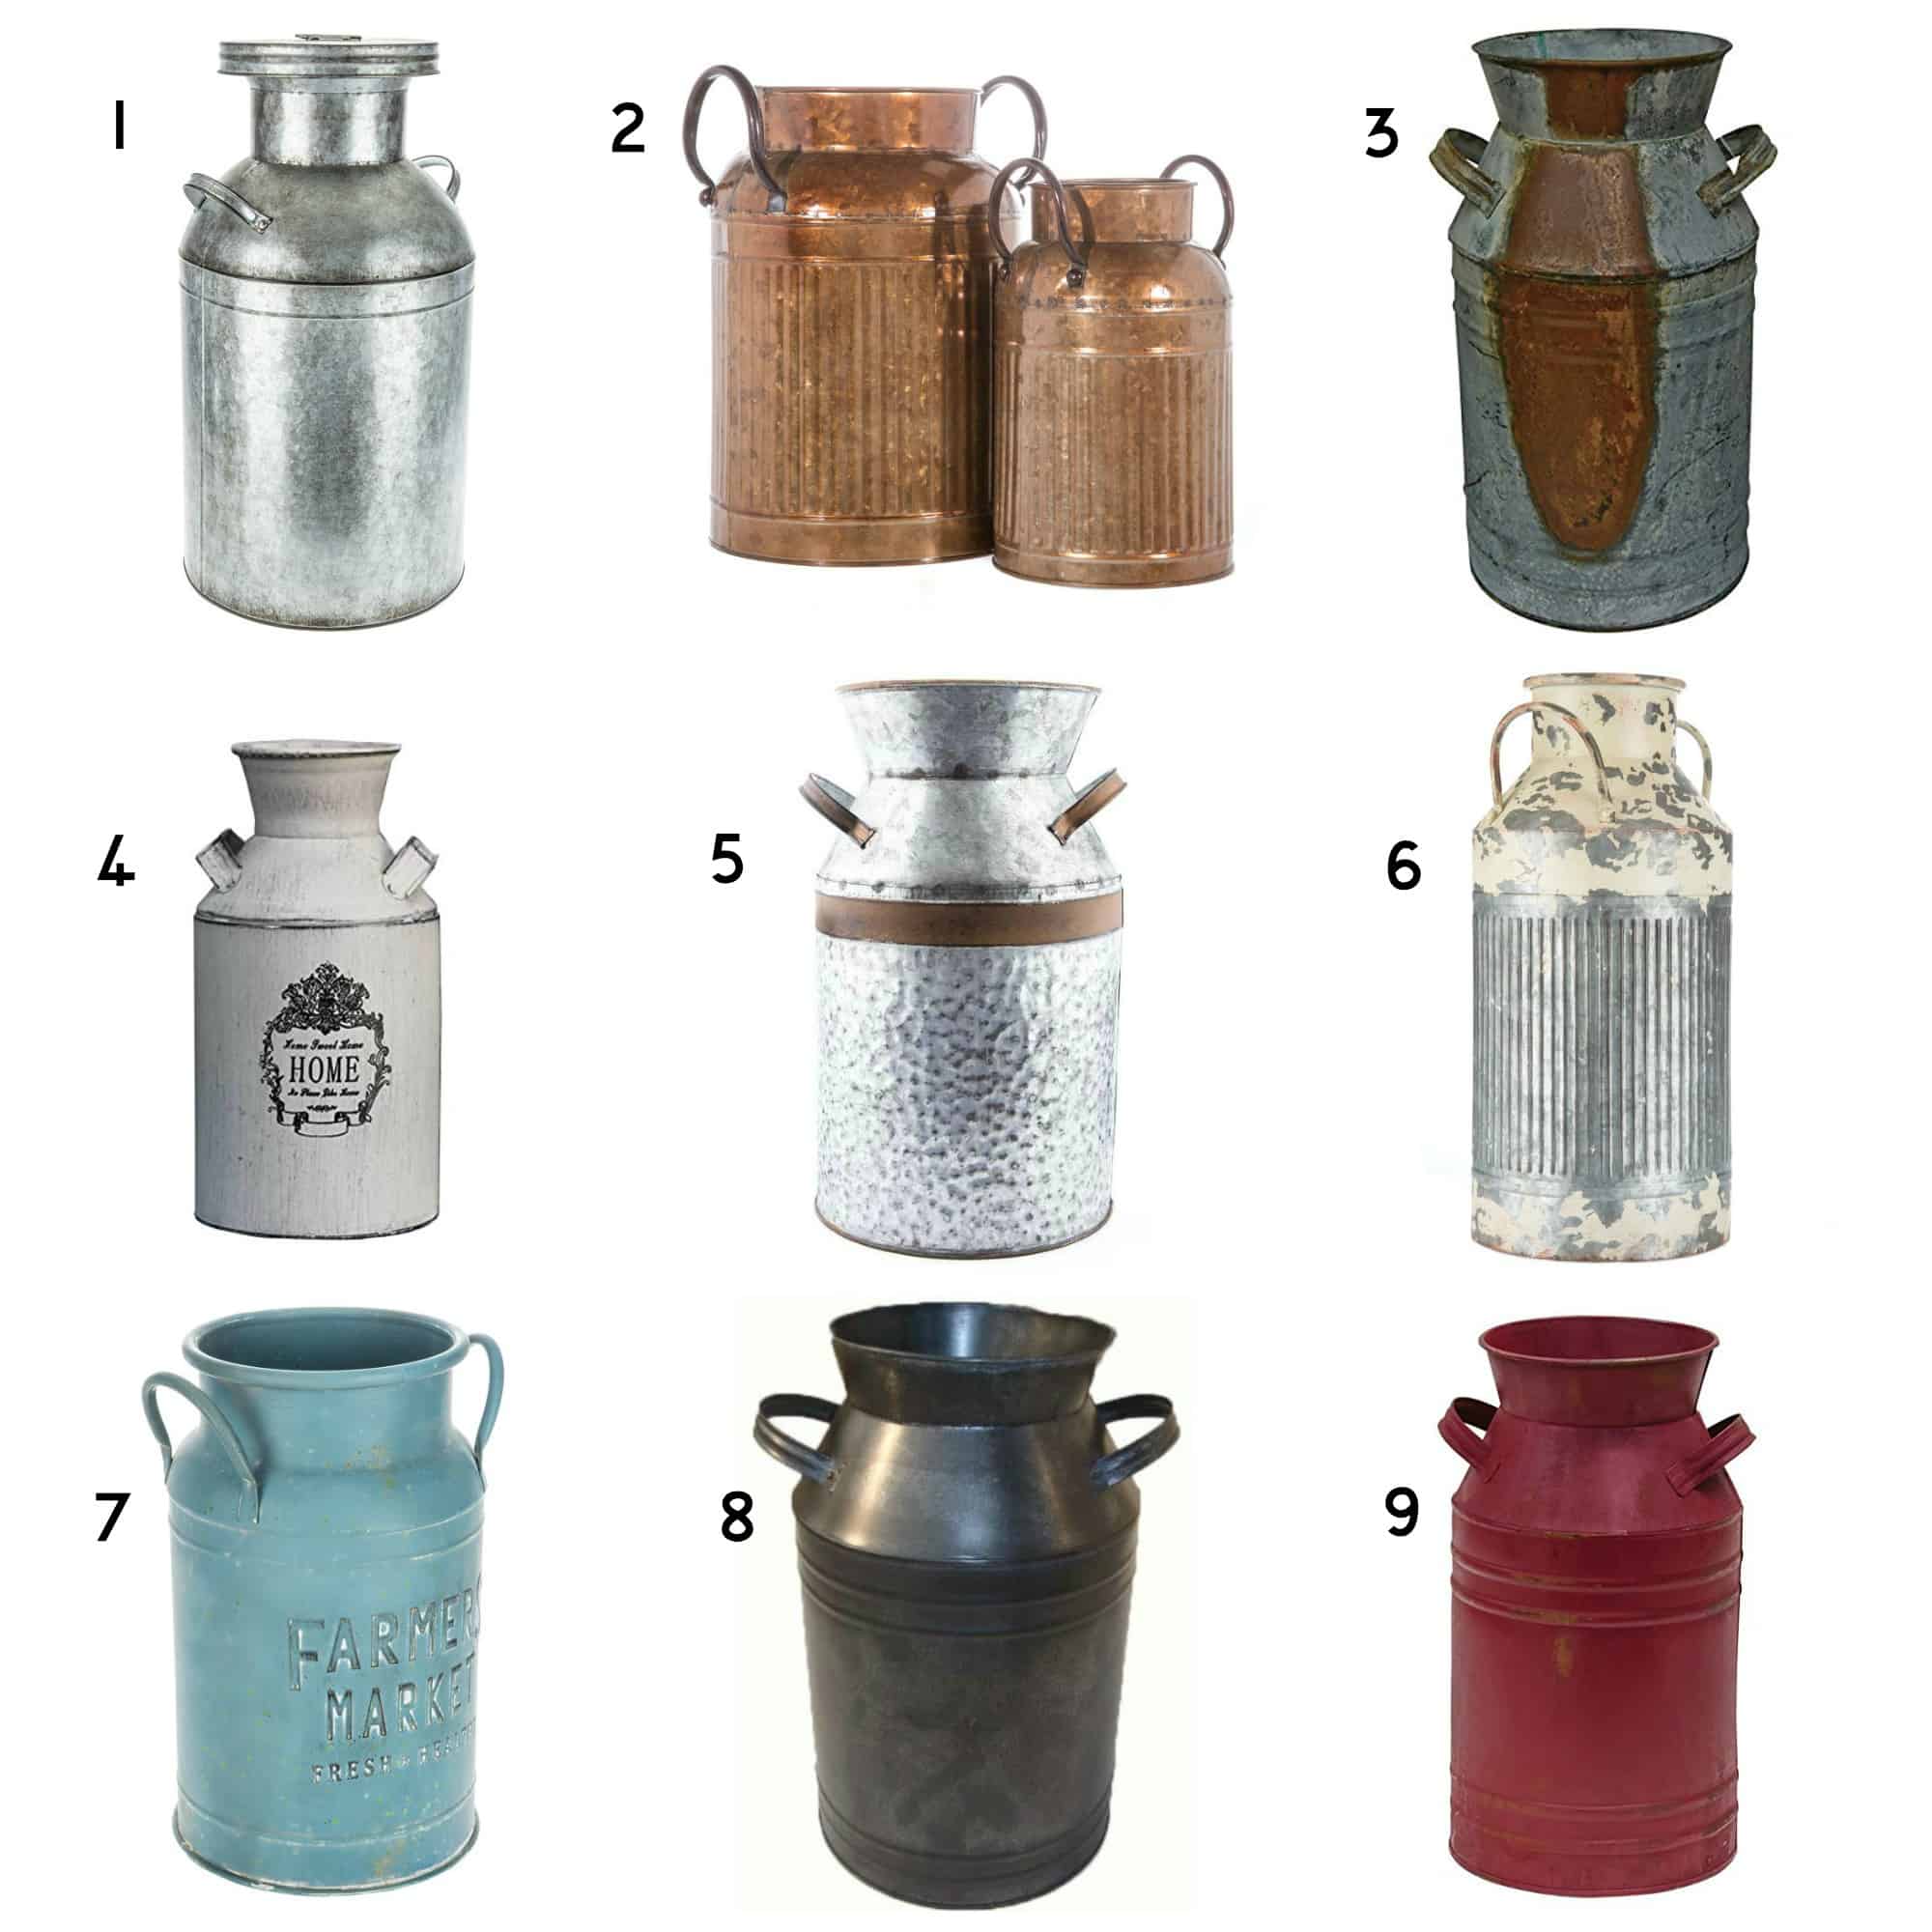
1 | 2 | 3 | 4 | 5 | 6 | 7 | 8 | 9
Alright, friends! I hope you have a wonderful weekend! Hope you were seriously inspired by this farmhouse flower arrangement, I know I was!
Check out these other Floral DIYs!
- DIY Printable for Flower Pot by Making Manzanita
- Easy DIY Flower Wall Decor by Run to Radiance
- Paper Plate Flowers by One Little Project
Remember to check back the next 3 Fridays for some more easy flower arrangement ideas!!
Wishing you a joyful day!

How to Create a Farmhouse Floral Arrangement
Materials
- Anemone Spray (3), (no longer available but this is a white version)
- Peony Bud Spray (4)
- Cabbage Rose (2), (no longer available but this is a similar version)
- Mini Roses (1)
- White Roses (similar here)
- Gardenia Leaf (2) (similar options)
- Seeded Eucalyptus (4)
- Lamb’s Ear (2)
- Peony
- Rose
- Anemone
- Greenery
Instructions
- Arrange the Largest Greenery First
- Add in Anemones to Arrangement
- Add More Greenery
- Put Flowers in the Flower Arrangement



Oh my gosh- SO gorgeous! Definitely going to go make my own! Afloral has such great products! Great job xoxo
Yes, they do! I love afloral. Thanks Mary!
What a gorgeous flower arrangement! I also love the milk can which makes quite a great statement on your dining room table! Your tutorial is so helpful and thorough! Great post!
Thank you Janine!!
Holy cow, those flowers are STUNNING!
Aww thanks Amanda! Afloral has the prettiest flowers!
Super pretty, i have a few dairy cans I could use and create a pretty rose arrangement like yours. Thanks for the inspirations. Maria
Thank you Maria!
Oh my gosh, I am so in love with the milk cans! I have to get one today! The arrangement looks stunning in it! I am so in love with it all!
Thanks so much Carolann!
what a lovely arrangement! the milk can is such a great idea!
Thanks Yuni! The flowers paired perfectly with the milk can!
Nice job on the floral arrangement I really love the milk can a whole lot! It makes the arrangement pop.
Thanks so much Jennifer!!
What a perfectly lovely arrangement…one that will carry you for several months. Thanks for the tips.
Lynn
Yes! I love that I can use it across seasons. Thanks, Lynn!
What a beautiful flower arrangement and boy do they look perfect in your milk can!
Thanks, Sam! They compliment the milk can so well I think.
This is beautiful but what is really catching my eye is your wall color in the background. Would you mind sharing the color and brand?? It’s so perfect!
Thanks so much Amy. I can’t take credit for the wall color – it’s actually my best friend’s home! It’s stunning though, right?! I asked her and she said it’s “Sensual Jade” by Valspar. She also said to try and get a more expensive version of their base paint because she had to use 3 coats to get full coverage since it’s such a vibrant color.
Since your exact milk can isn’t available, could you please provide me with it’s dimensions. I don’t love any of the alternatives you posted.
Thanks!