Rustic DIY Planter Using Book Pages
Let’s decoupage terracotta pots! These rustic planters are made with vintage book pages and look great indoors or out!
It’s time for another Create with Me DIY Challenge. For this month’s challenge, see how I made a rustic DIY planter using book pages!
It’s that time again – time for another Create With Me DIY Challenge. And you guys certainly aren’t making this project easy!!
When I saw that book pages won the vote last month, I had no idea what I was going to make.
So, I naturally searched Pinterest for book page craft projects. There was a pretty garland, DIY flowers, book page Easter eggs, and other various crafts.
But, nothing really stuck out to me and I didn’t want to make something that’s been done before.
Since I have SPRING on my mind, along with the farmhouse nursery project that seems never-ending at this point, I decided to make a planter using book pages.
The perfect little planter using terracotta clay pots that will look so cute on her DIY rustic shelves!
If you’re looking for a fun craft, you’ll love this decoupage terra cotta pots idea! Follow along with these simple steps! Easy peasy!
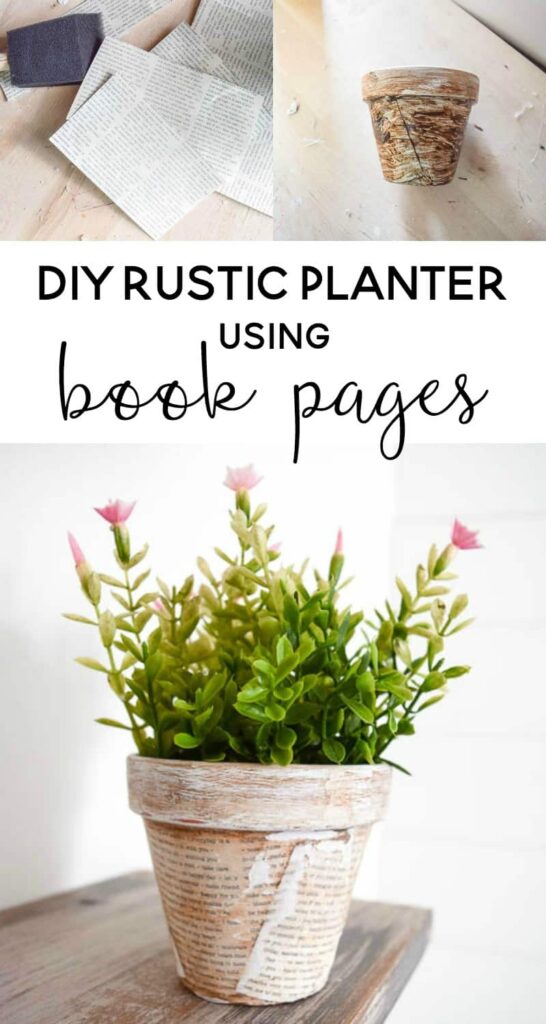
How to Make Rustic Decoupage Terracotta Planters
This post contains affiliate links. Please, click here to read my disclosure policy.
Supplies needed to make decoupage terracotta pots:
- Terra Cotta Pot (you can also sometimes find them at the Dollar Store, like Dollar Tree)
- Rustoleum Chalked Paint in Linen White
- Book pages
- Mod Podge (Matte)
- Foam Brush
- Paper towels
- Antique Wax
- Sandpaper
Step 1: Find book pages (or use cardstock)
First, I have to admit I totally cheated on using book pages. My favorite book ever is Pride and Prejudice. I’ve probably read it 1000 times and know it nearly line for line. My favorite quote from the book:
“In vain have I struggled, it will not do. You must allow me to tell you how ardently I admire and love you”
I was going to rip out the page with that quote on it to use for the planter but I just couldn’t bring myself to do it!!
Then I thought about using a page from the Bible with a verse from our wedding. But, I’m pretty sure that’s definitely not allowed.
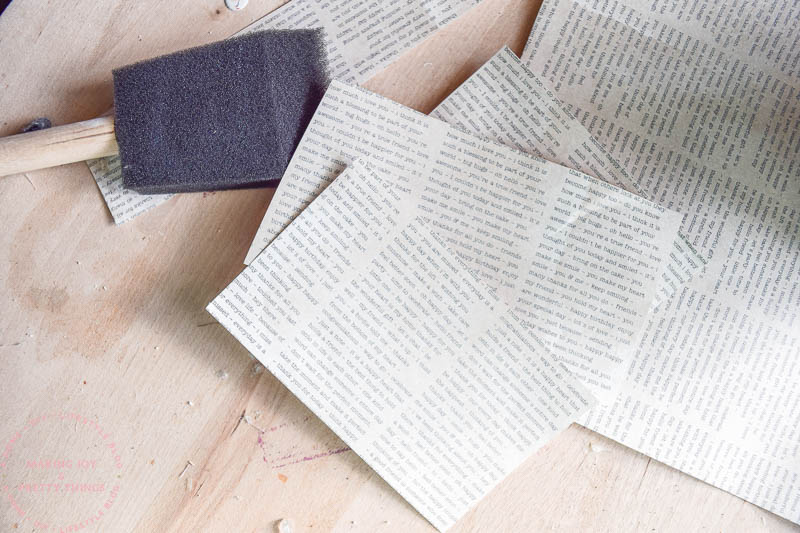
With no spare book pages, I went to Michaels and found book page cardstock. It was 89 cents for one sheet, which was more than enough to cover the planter. You can’t tell from the pictures it’s not real, right?!
Okay, so after I cheated with the book pages, I cut up a few sections to the height of the planter.
If you’re also struggling to bring yourself to cut up real book pages, here are some ideas for other things to use on decoupage flower pots:
- Use book page printed cardstock, like I did
- Use paper napkins, but it works best if you just use the top layer of the napkin piece instead of the whole napkin
- Use patterned tissue paper
- Use flower or vegetable seed packets
Step 2: Paint the terracotta pot & apply book pages with Mod Podge
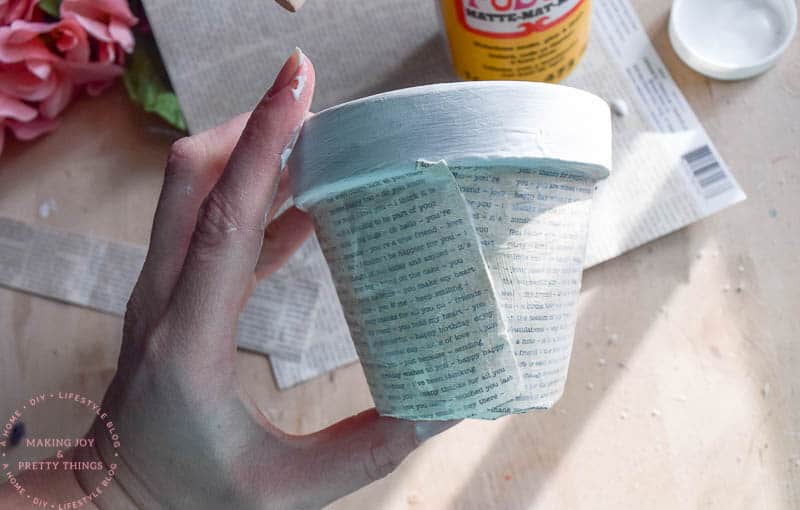
Start by painting the entire pot with chalk paint in Linen White (my FAVORITE) with a paint brush. Apply the white paint on the outside of the pot, no need to worry about the inside of the pot. You could also use spray paint or regular acrylic paint if that is all you have on hand in your craft supplies.
Once the paint is dry, apply a thin layer of Mod Podge decoupage glue using the foam brush to the bottom part of the pot (under the upper rim).
Then, place the pieces of book pages over the Mod Podge. My book page paper pieces overlapped a bit and weren’t completely straight. Work in small sections for best results.
Once everything is covered, apply another coat of Mod Podge over the top of the book pages.
Step 3: Apply antique wax.
After the Mod Podge and paper is fully dried, use a paper towel to liberally apply some antique wax all over the terracotta flower pot. Be sure to get the whole pot, including the upper rim, not just the Mod Podge area.
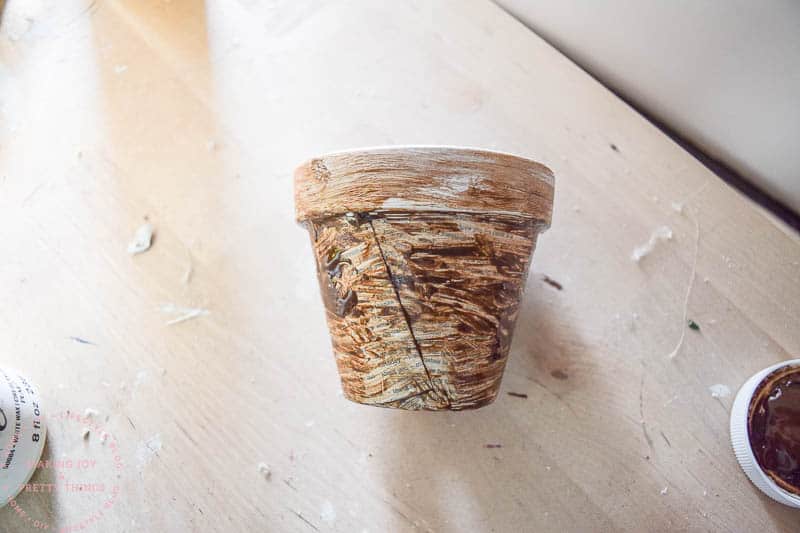
Then, wipe off the excess with a clean paper towel. Don’t leave it on too long! The wax dries really quickly.
Step 4: Sand down the surface of the planter
Last, give the whole decoupage pot a quick sanding. Focus on the seams of the book pages to try and make them look a little more blended and rustic.
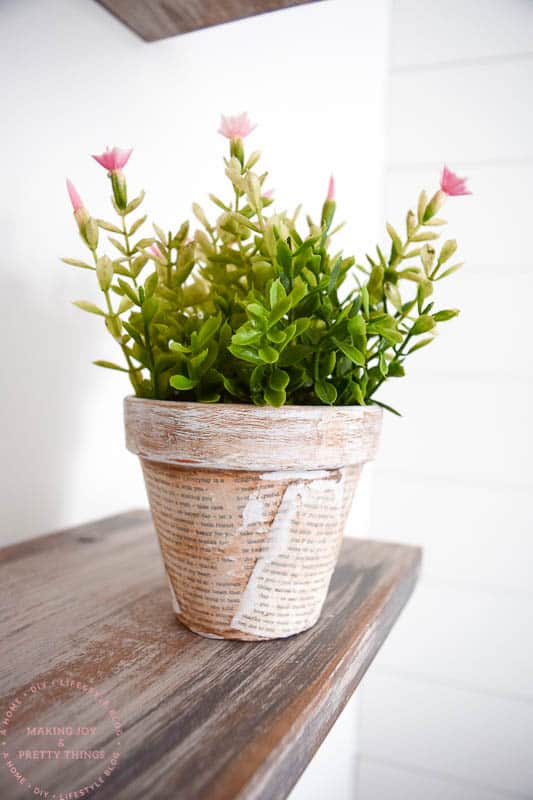
In the spirit of spring, I picked up some pretty faux pink blooms from Michaels and the little decorative pot was complete! This was such a fun way to use book pages, don’t you think? It’s going to look perfect on the nursery’s rustic shelves.
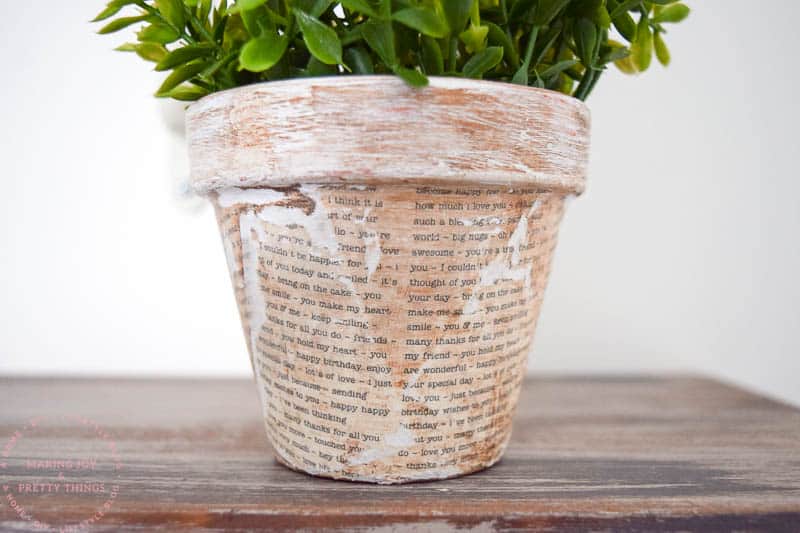
This little pot would also make a great gift idea for Mother’s Day! It is an easy craft that you could totally get the kids involved in too if they wanted to help!
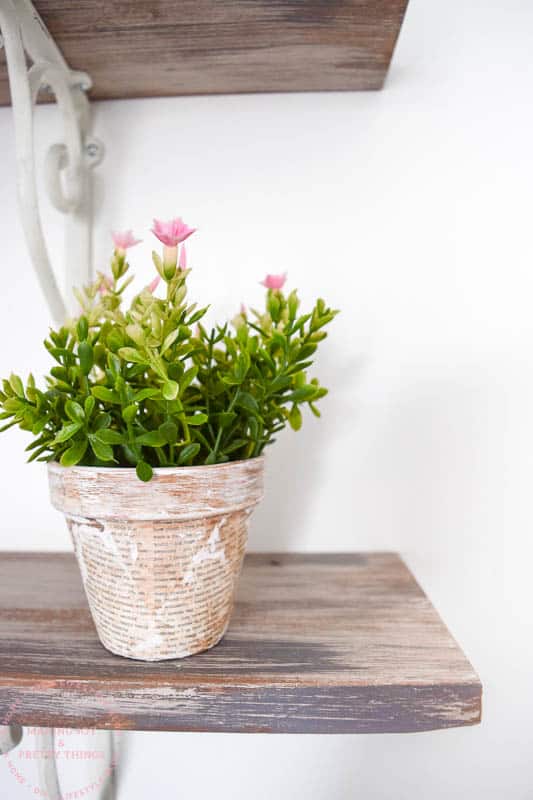
Check out more crafty DIYs below…
- DIY Aged Black Pottery Using a Vintage Vase
- Easiest Thrift Store Vase Fall Floral Centerpiece
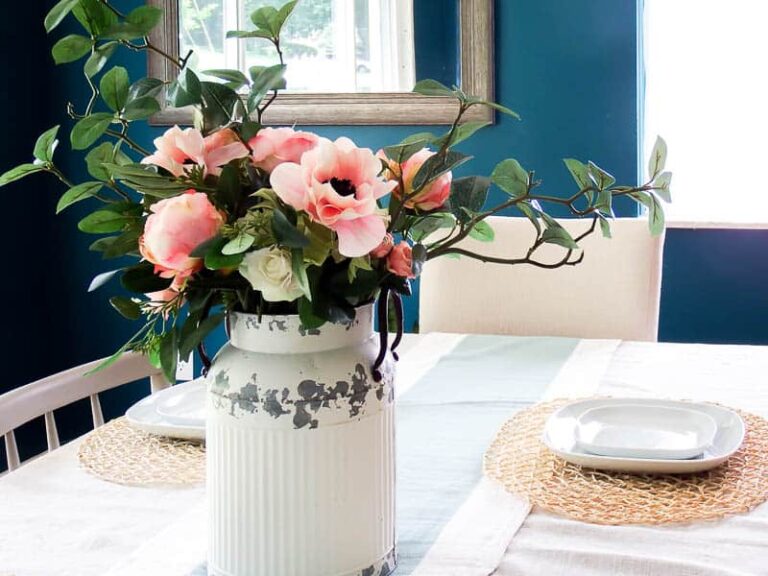
- Vintage Farmhouse Flower Arrangement in a Milk Can
- Simple Floral Farmhouse Wreath
- DIY Pressed Flower Suncatcher (with Real Flowers!)
AND, check out what these other talented ladies came up with this month!! Who knew there was so much you could do with book pages?!
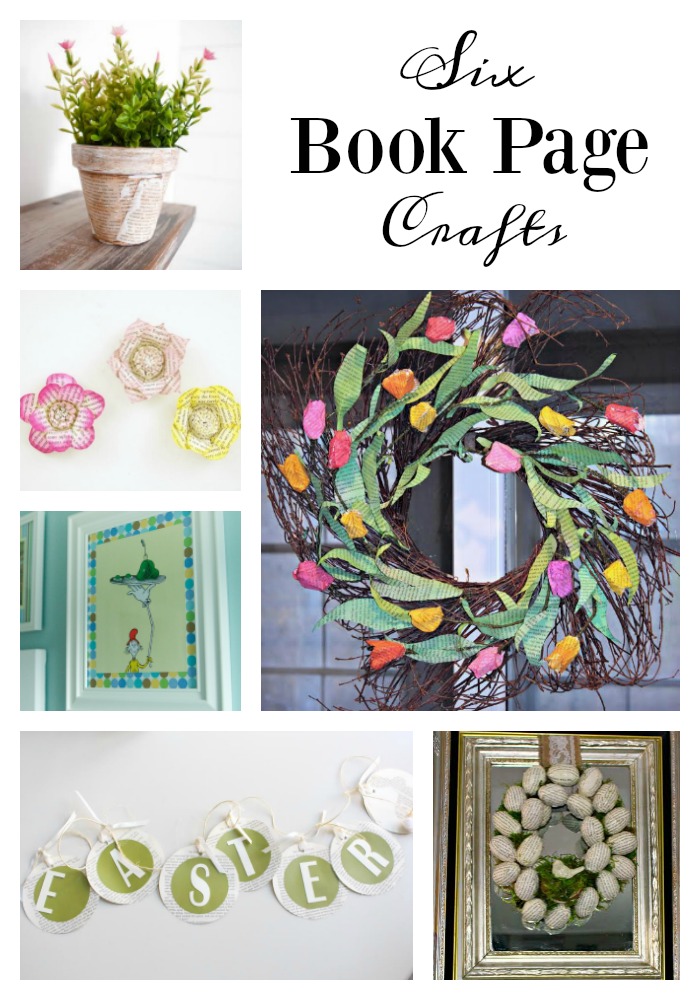
DIY Planter from Book Pages via Making Joy and Pretty Things (that’s me!)
Easy Book Page Art via Little Bits of Home
Paper Tulip Wreath via Knock it Off Kim
Easter Book Page Banner via My Life from Home
Book Page Easter Egg Wreath via Our Crafty Mom
Wishing you a joyful day!

Want to see more of our farmhouse girl’s nursery?
- Farmhouse Girl’s Nursery: The Design Plan
- Farmhouse Girl’s Nursery: Week 1 Progress
- Farmhouse Girl’s Nursery: Weeks 2 and 3 Progress
- Farmhouse Girl’s Nursery Week 4 Progress
- A Farmhouse Nursery Dresser Makeover
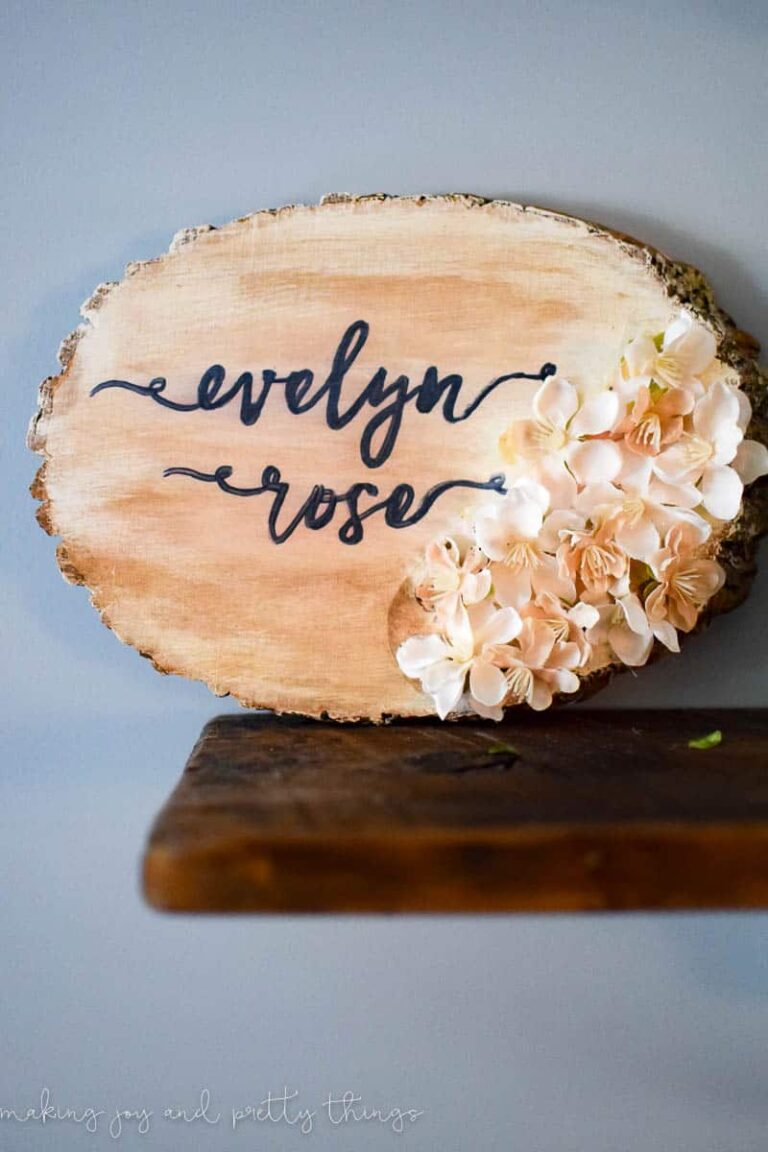
- Personalized Nursery Wood Slice Name Sign
- Floral Wallpaper Ideas for Girl’s Bedrooms and Nurseries
- Lazy Girl’s DIY Typography Art
- DIY Wood Block Candle Holders
- How to do an Old Curtain Rod Update
- How to Make a DIY Triangle Shelf Planter
- How to Make a DIY Shadow Box
- Monthly Baby Photos: How to Make a DIY Letterboard
- How to Make a Wood Bead Chandelier
- Simple Floral Farmhouse Wreath
- Rustic DIY Planter using Book Pages
- How to Make Your Own Rustic String Art
- DIY Fabric Flower Garland
- DIY Wood Bead Hearts
- Farmhouse Girls Nursery Reveal!!
Rustic Decoupage Terracotta Pots

If you love the look of rustic decor, you'll love these DIY decoupage terracotta pots! Use old book pages, mod podge, and some chalk paint to give plain ol' terracotta planters a rustic look.
Materials
- Terracotta Pot
- Rustoleum Chalked Paint in Linen White
- Book pages
- Mod Podge (Matte)
- Foam Brush
- Paper towels
- Antique Wax
- Sandpaper
Instructions
- Gather the book pages. You can pick your favorite book, an old thrifted book, or if you don't want to rip apart a book, buy book cardstock from the craft store.
- Paint the terracotta pot with chalk paint.
- Apply the mod podge and book pages. Once everything is covered, apply a second coat of mod podge. Allow to dry completely.
- Apply antique wax. Before it dries, wipe the excess off with a paper towel.
- Sand down the surface of the planter. Focus on the seams of the book pages to try and make it look a little more blended and rustic.
- Fill the terracotta planter with flowers of your choice (faux or real). You're done!
Looking for more Spring ideas? Check out these articles:


I love it! Such an easy project, too and it will look fabulous in the nursery!
Thanks so much Kim!! It was SO easy to make 🙂
I love this rustic planter! The antique wax really adds to it and you would never know they aren’t realy book pages!
Thank you Michelle!! I’m glad the cheater book pages aren’t noticeable 😉
Sarah, I LOVE this!! The antique wax gives it such a warm and worn look! P&P is my favorite novel, too, and I don’t think I’d be able to bring myself to rip it up, either! I had no idea Michaels had book page card stock – this is awesome! My “crafting book” is one from college that I know I’ll never read again, and don’t feel guilty about cutting up. But when I use this one up, I’ll have to take a trip to the thrift store or someplace to find another one!
Ahh I should have used an old college textbook!! I’d love to rip those up haha!! I’m so glad you like the planter (and Pride and Prejudice, too of course!!)
so cute sarah! that evelyn is one lucky girl!
Thanks Colette!! She is certainly spoiled already 😉
That’s such a cute and easy project – right up my alley! 😉
Thanks for the tutorial.
XO! Vanessa
aww thanks for much Vanessa!! It was SO easy 🙂
What a cute little planter! And I don’t think you cheated at all using the scrap page book pages–that was brilliant in my opinion because then you didn’t have to ruin a perfectly good book! 😉
Right?! What book would you even want to rip up?! So glad you like the planter!
Love these so much! You did such a great job!
Thank you SO much!
What a great idea! These would be lovely as centerpieces at a rustic wedding!
Thanks so much Sarah! I never even thought of using them for a rustic wedding – great idea!
I love the look of book pages — this is such a perfect spring craft!
Thank you so much Lora!!