
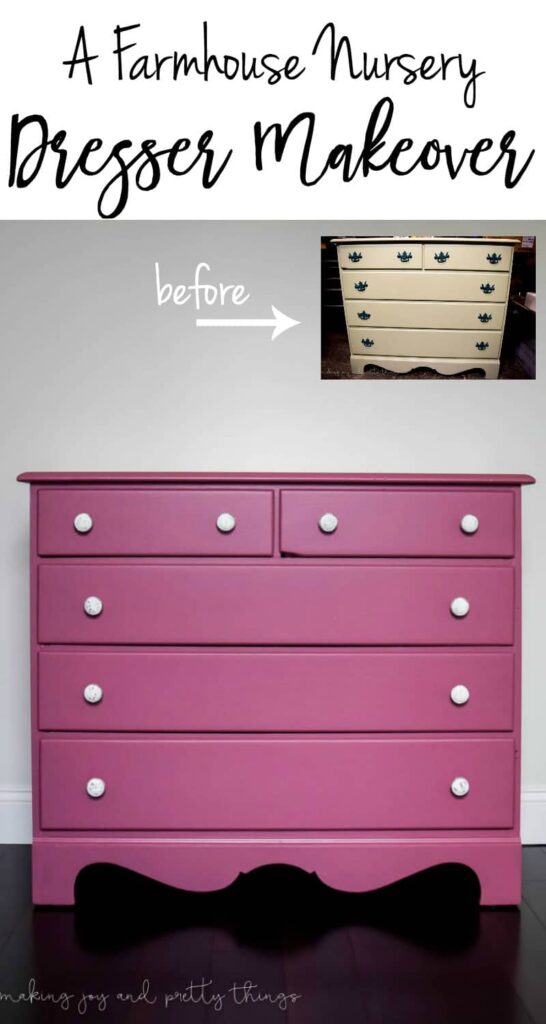
DIY Pink Nursery Dresser Makeover
Learn how we transformed a plain old dresser into a bright and colorful farmhouse nursery dresser! This DIY pink dresser tutorial is easy and fun.
It’s amazing what a coat of paint will do! I can’t wait to share how we transformed a dated, beat-up dresser into a farmhouse nursery dresser for our little girl.
There’s no denying the power of paint. A single coat of paint can transform even the ugliest, most dated piece of furniture into something beautiful.
Better yet, it’s probably the easiest and most cost-effective way to transform anything in your home. A room, a dresser, a picture frame. Imagine the difference paint can make with your DIY projects.
But, I can’t say I’m still not completely shocked by how incredible the dresser for our nursery looks after some paint…
I had been looking on Craigslist and the thrift store for a few weeks for a dresser when I came across this beauty…
DIY Pink Nursery Dresser: Before Pictures
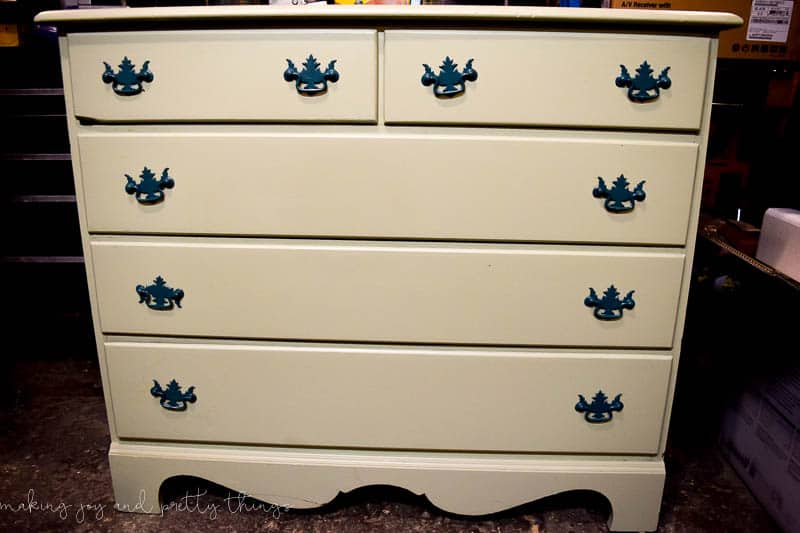
And I mean “beauty” both seriously and sarcastically. This vintage dresser has obviously seen better days.
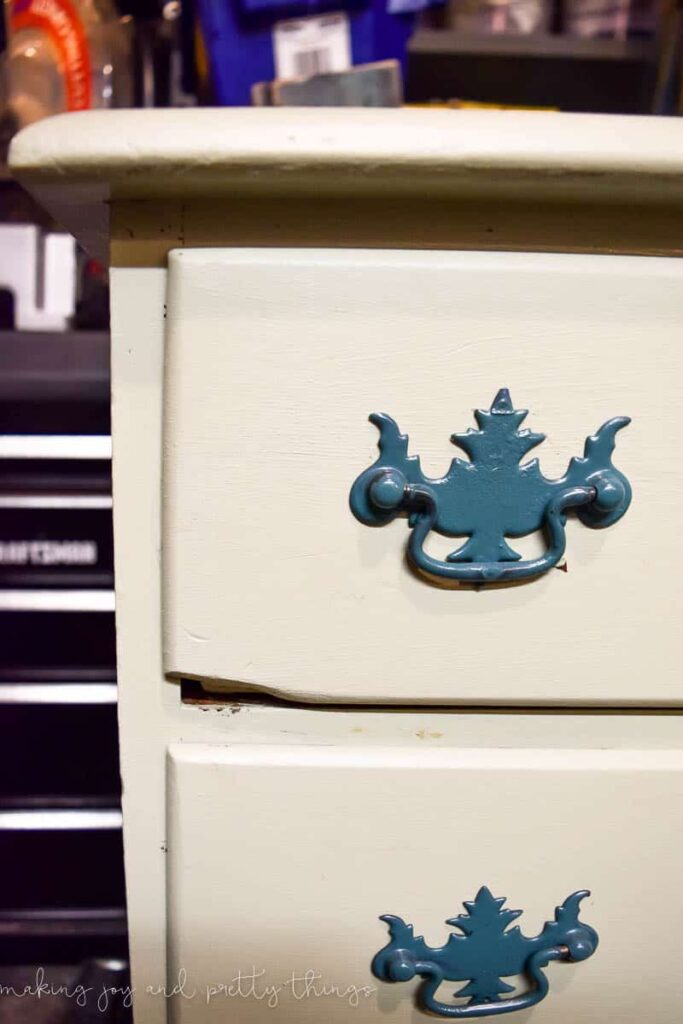
The old green or yellowish green color (puke color?) with the blue pulls on the dresser drawers straight from the 90s doesn’t make it outwardly beautiful.
But, I didn’t see that. I saw its shape. The pretty arch at the bottom, the small piece chipped from the top left drawer, the random marks, and gauges on its surface. Oh, if furniture could talk! Imagine where this chest of drawers had been!
I knew as soon as I saw it in person it would be perfect for our farmhouse nursery. Last week we paid $60 USD for it, which was admittedly more than I wanted to spend.
But, it’s a solid wood piece with plenty of storage that we can use for years to come.
I knew it was going to need a fresh coat of paint, so then came the tough part…choosing the paint color!
This post contains affiliate links. Please, click here to read my disclosure policy.
Farmhouse Nursery Design Plans
I talked a bit about the dresser color decision in the design plan, but, I was so torn about what color to paint it.
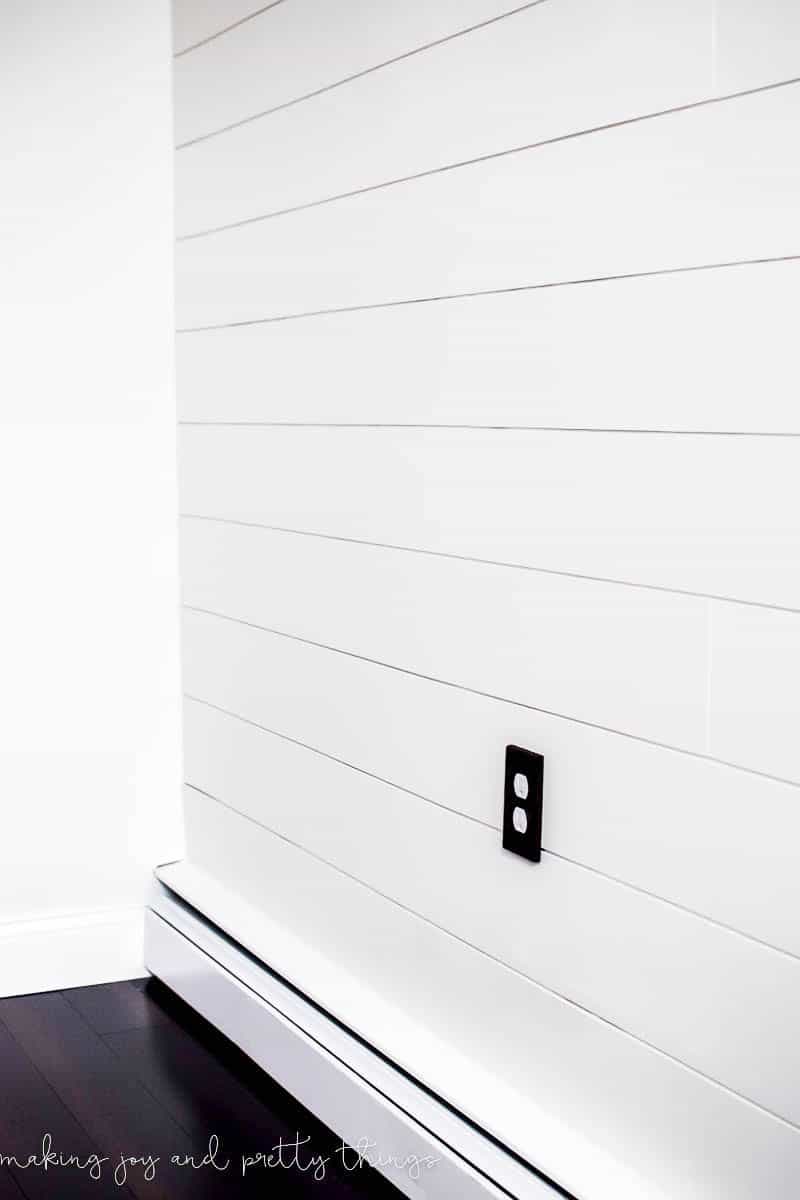
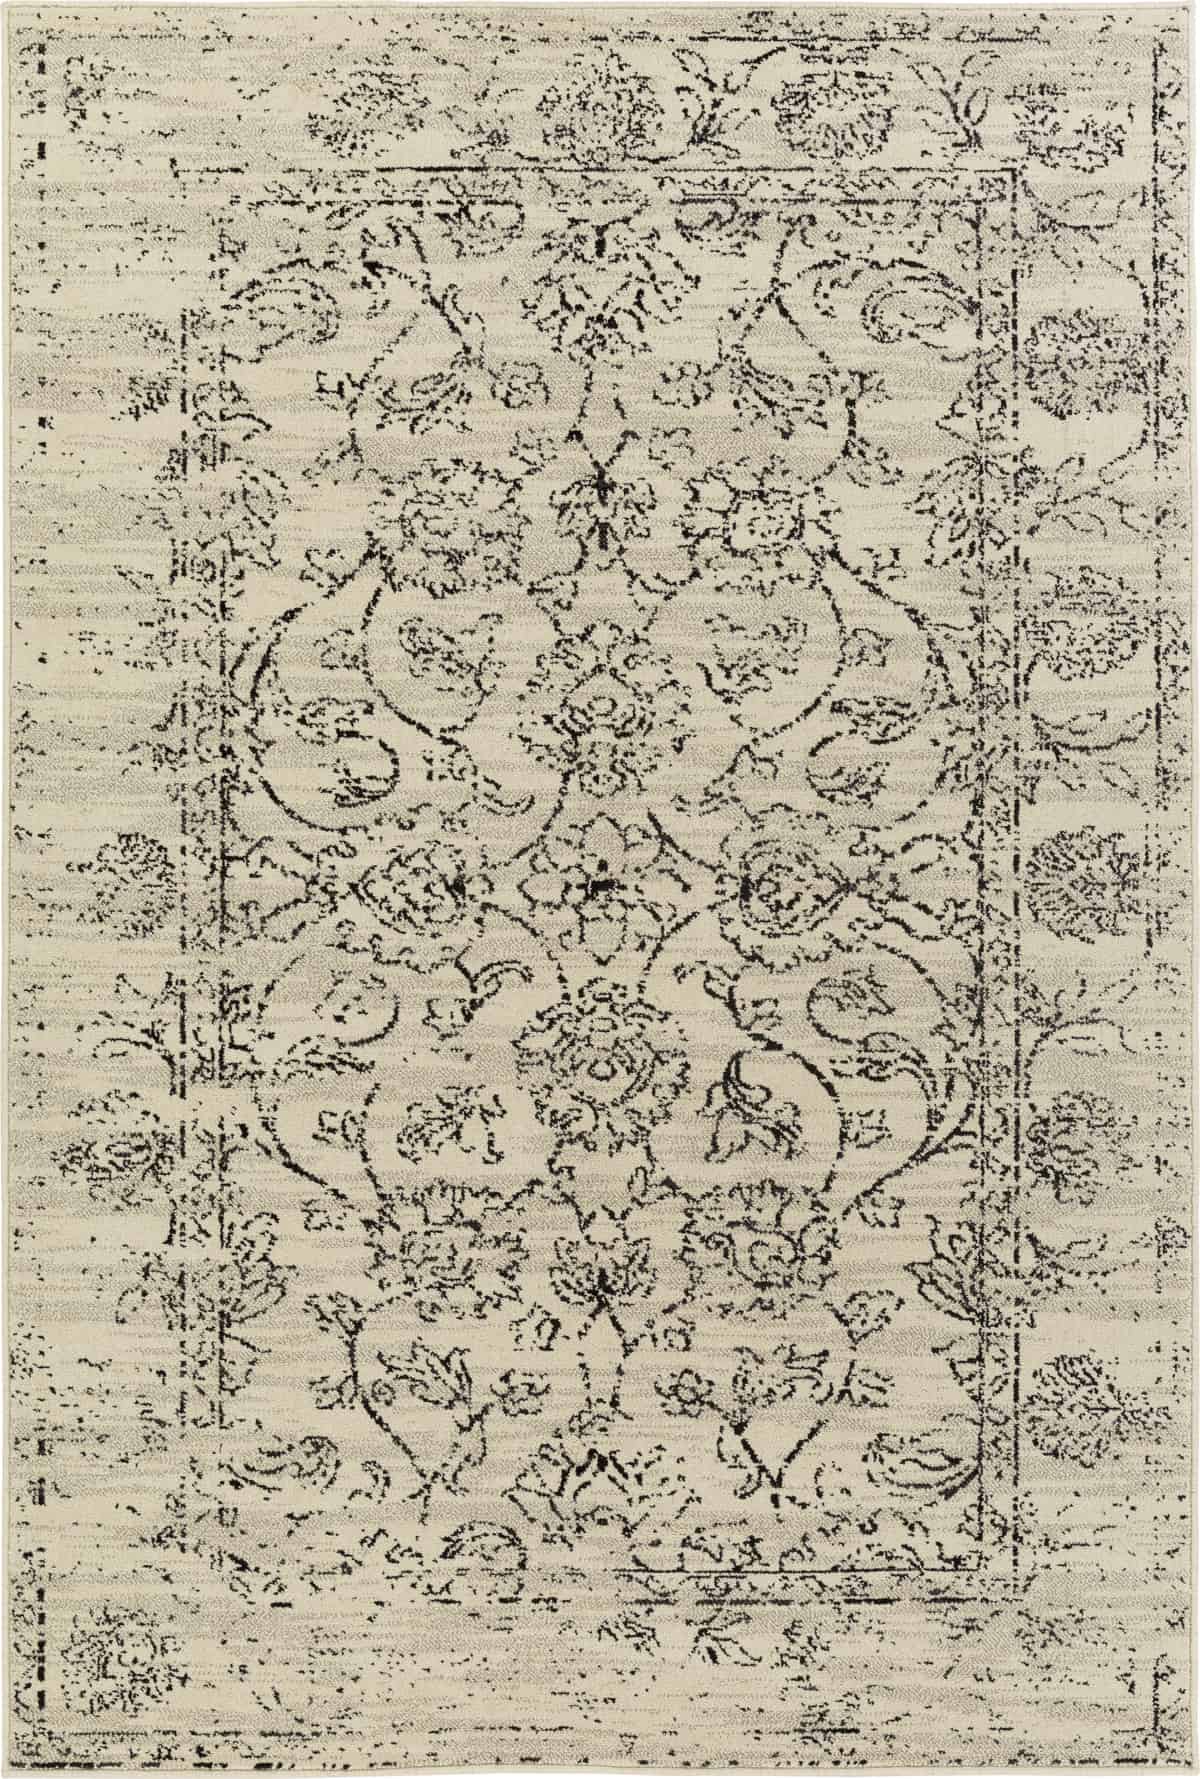
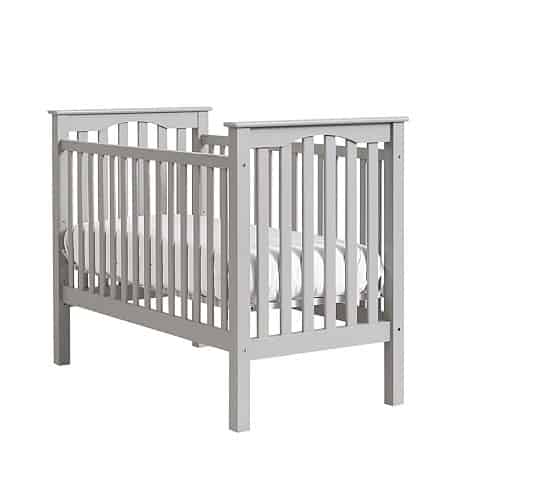
Most of the nursery was neutral. The rug (similar), the crib, the rocker, the curtains. Even the shiplap wall was a creamy off-white (Alabaster by Sherwin-Williams).


I wanted to go bold for a fun pop of color in the room. Which is terrifying to me when it comes to choosing paint. Usually, I like to stick to something safer – like anything gray.
After narrowing it down to two different shades of pink from Sherwin Williams (moss rose and rose embroidery)….


Both pink paint colors are gorgeous, right?
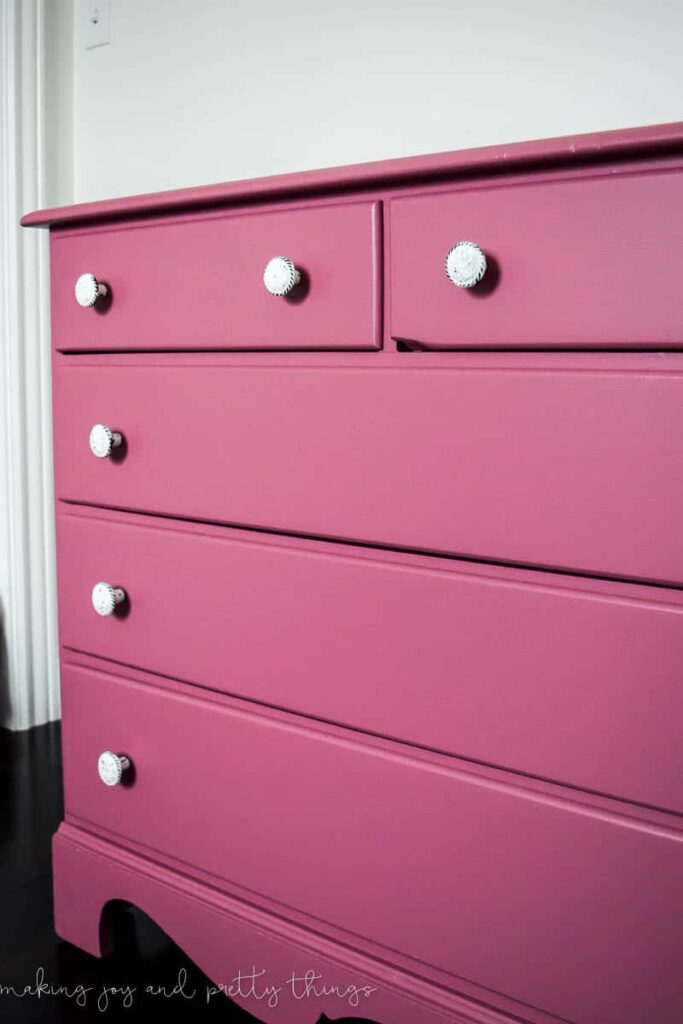
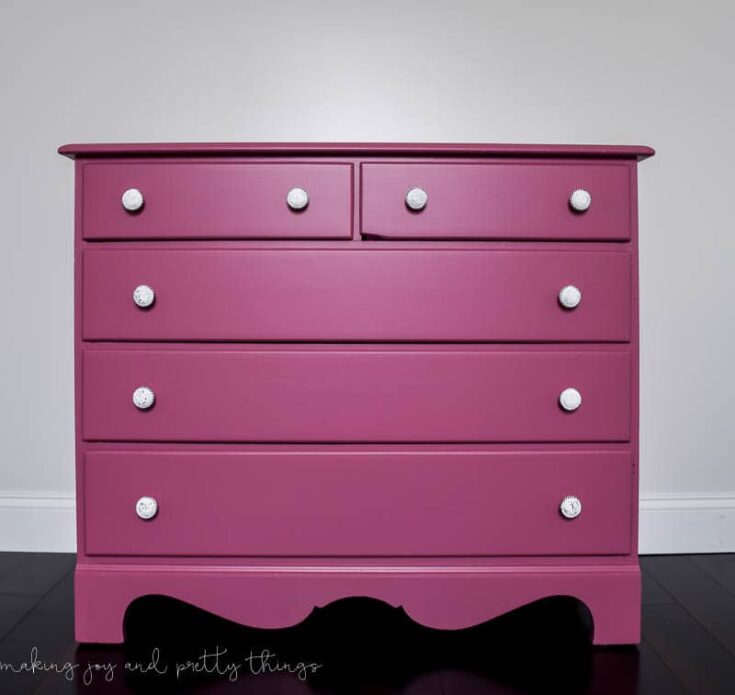
I actually went with the darker of the two pink paint colors… MOSS ROSE!!
You guys, I was seriously so nervous to see what this color would look like on the dresser. Would I hate it?
Could it be painted a gray color over the dark pink after I inevitably freaked over the boldness of the color?
Well, much to my surprise, I LOVE LOVE LOVE the color.
DIY Pink Dresser Makeover: How to Update a Thrifted Dresser
Supplies for painting furniture:
- Screwdriver
- Spackling
- Utility knife
- Sandpaper
- Paint
- New hardware
Step 1. Remove old hardware
Start by removing the old hardware from the wood dresser with a screwdriver. Typically you’ll find screws to loosen the hardware on the inside of the dresser drawers.
Step 2. Fill holes and gouges
Next, we used spackling to fill in some of the bigger gouges on the top of the dresser and the drawer fronts. Overall it was in pretty great shape, so we didn’t do a whole lot of filling.
Step 3. Sand
After it dried, we sanded the whole dresser down (especially focusing on the parts where we had used the spackle).
With the sanding, we were just trying to get a smooth surface and remove any grim and old finish from the surface. We weren’t necessarily trying to sand off all of the previous layers of paint and get down to raw wood. That isn’t necessary for most furniture paints.
After sanding the dresser, be sure to wipe it clean to remove any sanding dust before painting.

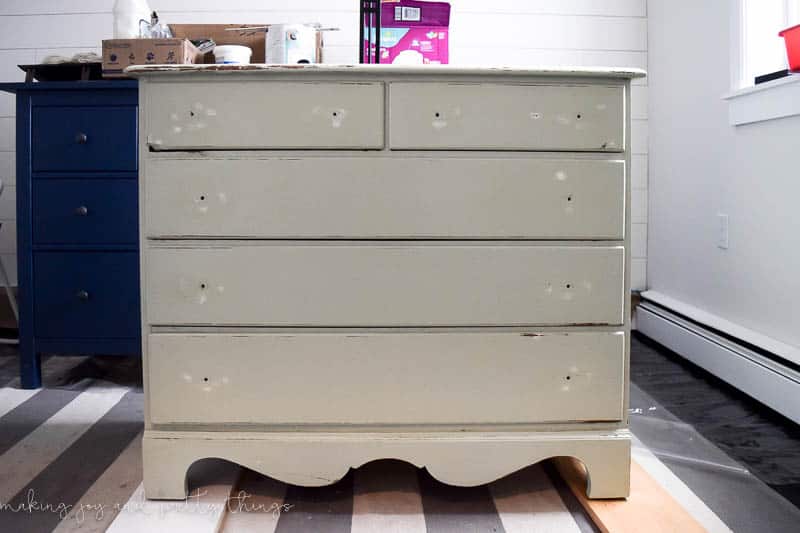
Here’s what it looked like after we were done sanding and it was ready to be painted!
Step 4. Paint dresser pink
Now is the fun part…giving the dresser new life with paint! We used high-quality latex paint for painting the dresser (ya know, just regular wall paint), but you can also use chalk paint when painting furniture!
You have a couple of different methods of painting furniture to choose from:
Using paint sprayer for painting dresser:
- Set up a well-ventilated area or work outside to prevent paint fumes from building up if you’re using a spray gun for the paint.
- Cover surrounding areas with drop cloths or plastic sheets to protect them from overspray.
- Remove the drawers from the dresser completely while painting.
- Fill the paint sprayer with the desired paint color, following your manufacturer’s instructions.
- Start spraying the dresser by holding the sprayer about 6-8 inches away from the surface and using even, overlapping strokes.
- Apply thin coats of paint, allowing each coat to dry before applying the next one. Multiple thin coats will provide better coverage and a smoother finish.
- Pay attention to any intricate details or corners, ensuring even coverage and avoiding drips.
- Allow the dresser to dry completely according to the paint manufacturer’s recommendations.
- Clean the paint sprayer thoroughly after use.
Using a paint brush to paint the dresser:
- Remove the dresser drawers completely while painting.
- Stir the latex paint well before starting with a stir stick.
- Dip the paintbrush into the latex paint, removing any excess on the rim of the paint can.
- Start painting the dresser using long, even strokes, following the grain of the wood.
- Work in small sections, ensuring even coverage and avoiding drips.
- Allow the first coat to dry completely before applying a second coat of paint (if needed).
- Apply multiple thin coats for a smoother and more durable finish on your dresser.
- Pay attention to any intricate details or corners, ensuring thorough coverage.
- Let the final coat dry according to the paint manufacturer’s recommendations.
- Clean the paintbrush thoroughly with water and mild soap.
To Prime or Not To Prime
Priming before painting a dresser is generally recommended, Using a coat or two of high-quality primer provides several benefits such as better adhesion, improved durability, and enhanced coverage.
However, the need for priming can depend on the specific condition of the dresser and the type of paint you plan to use. We didn’t end up using primer and it worked fine!
Step 5. Seal dresser
Sealing furniture painted with latex paint is not always necessary, because latex paint is typically durable and can provide a protective finish on its own. But if you want to add a protective sealer, it doesn’t hurt!
Sealers, like a clear wax or polycrylic, can offer additional benefits such as increased durability, easier cleaning, and enhanced resistance to scratches and moisture.
Follow the manufacturer’s instructions for proper application and drying times. It’s worth noting that some sealants may slightly alter the color or sheen of the paint on the furniture, which would totally suck. So testing on a small inconspicuous area before applying it to the entire piece is recommended.
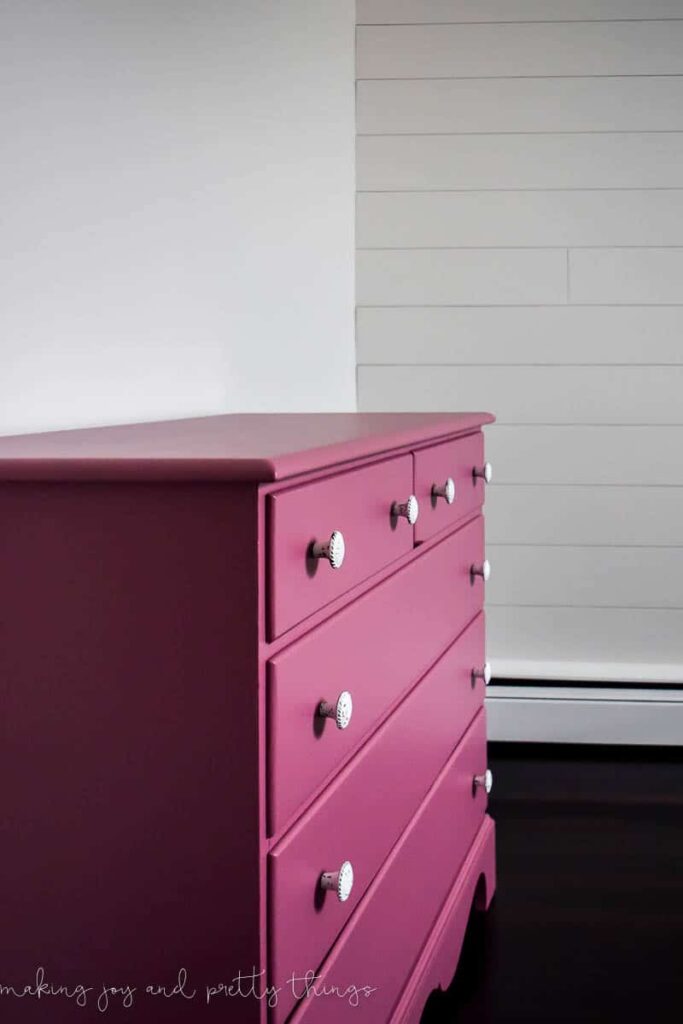
The Finished Product: DIY Pink Dresser for Our Farmhouse Nursery
I just LOVE how it turned out. Isn’t it so pretty?!
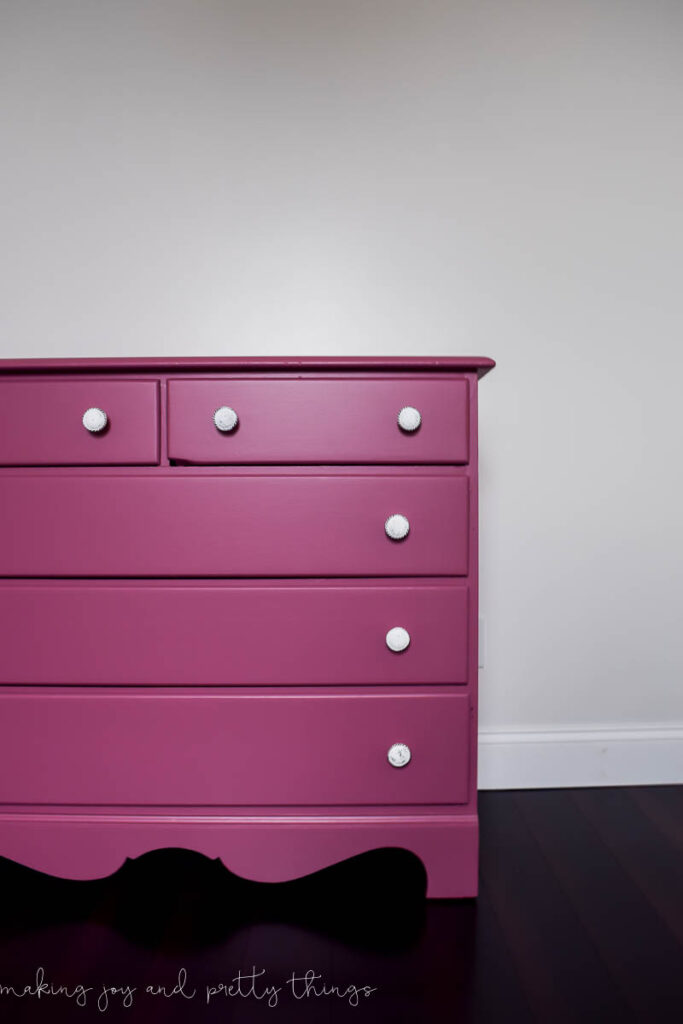
It looks so perfect against the creamy walls and new shiplap wall we just installed.
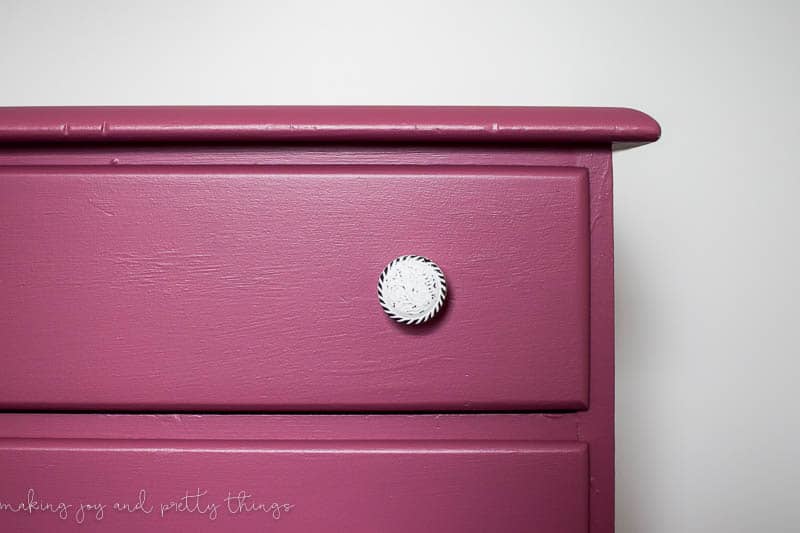
Of course, I traded out the tired blue handles with some rustic knobs I found at Hobby Lobby (for 50% off, seriously don’t buy knobs unless they’re on sale). They are the perfect finishing touch!
I went back and forth on whether I wanted to sand it down after painting. This would have given it a more distressed look, similar to this furniture project.
I decided not to distress the furniture piece in the end. But, I don’t have a particularly good reason as to why I chose not to distress it except I loved how it looked after painting and I didn’t want to mess anything up 🙂
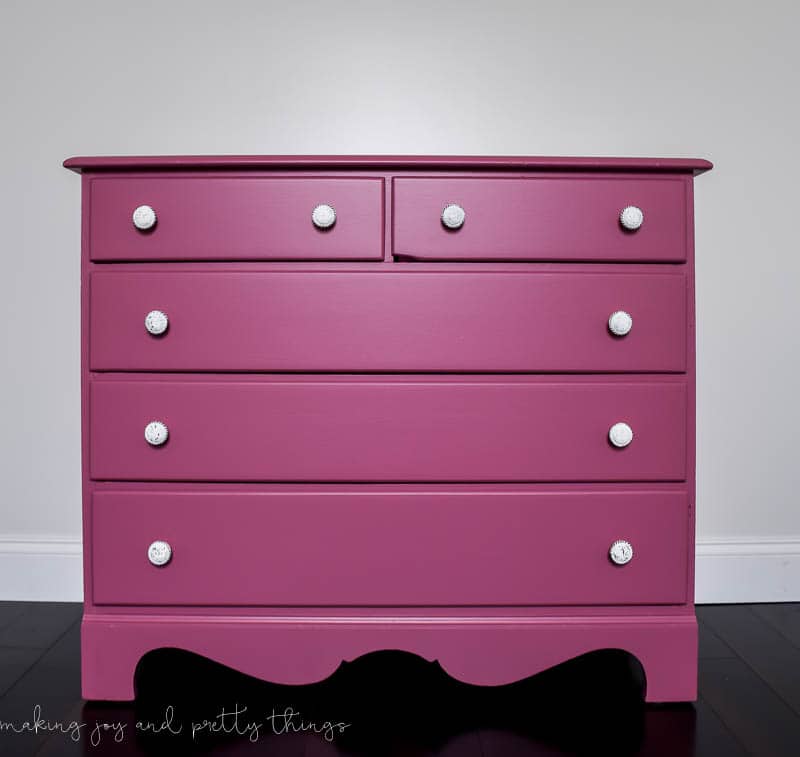
I am SO happy with the dresser makeover. I could not picture it looking better than it does.
Do you think you could go bold with a furniture makeover and do your own DIY pink dresser? Or are you a gray kinda girl, too 🙂
Wishing you a joyful day!

Want to see more of our farmhouse girl’s nursery?
- Farmhouse Girl’s Nursery: The Design Plan
- Farmhouse Girl’s Nursery: Week 1 Progress
- Farmhouse Girl’s Nursery: Weeks 2 and 3 Progress
- Farmhouse Girl’s Nursery Week 4 Progress
- A Farmhouse Nursery Dresser Makeover
- Personalized Nursery Wood Slice Name Sign
- Floral Wallpaper Ideas for Girl’s Bedrooms and Nurseries
- Lazy Girl’s DIY Typography Art
- DIY Wood Block Candle Holders
- How to do an Old Curtain Rod Update
- How to Make a DIY Triangle Shelf Planter
- How to Make a DIY Shadow Box
- Monthly Baby Photos: How to Make a DIY Letterboard
- How to Make a Wood Bead Chandelier
- Simple Floral Farmhouse Wreath
- Rustic DIY Planter using Book Pages
- How to Make Your Own Rustic String Art
- DIY Fabric Flower Garland
- DIY Wood Bead Hearts
- Farmhouse Girls Nursery Reveal!!
How To Paint Dresser
Materials
- Spackle
- Paint
- Sealer
- Primer (if needed)
- New Hardware
Tools
- Screwdriver
- Utility knife
- Sandpaper
- Paint brush or paint sprayer
Instructions
- Remove old hardware
- Fill holes and gouges in the dresser
- Sand to smooth spackle and remove old finish (don't need to sand down to raw wood)
- Prime if needed (we didn't)
- Paint dresser with a paint sprayer or paint brush
- Seal dresser with a protective finish


Oh my goodness, I LOVE the color. It is so bold and fun and beautiful; just perfect for your baby girl! And those rustic knobs are stunning – what a nice find at Hobby Lobby for half off 🙂
Best,
Kelly
Thank you so much Kelly!! I’m so happy with the color we chose and how it looks on the dresser. Hobby Lobby has the best knob selection!
I LOVE the color! It’s a slight break from the traditional pink that gets used in girl nurseries, but still super sweet and feminine.
Thank you!!! Yeah, I’m not a fan of pink really in general but I like the “rose” color a lot!
The color turned out great and you didi pick a perfect piece! Lines and solid wood are the most important details for me when choosing furniture to makeover.
Thank you!! I feel like you can’t find furniture like that anymore (solid wood with pretty details). It’s one of my favorite pieces in the nursery!
It is 100% perfect for a baby girl’s nursery. I absolutely love that color!
Thank you SO much Jenn!! I’m so glad the rose color looks as pretty as it does 🙂
The dresses really turned out beautiful! I’m usually not a big fan auf pink either, but actually painted my baby’s changing table pink also. Well, the dresser, that we converted into a changing table, was actually painted long before we knew we’d have a girl. 😉
XO! Vanessa
So we basically have the same thing…a dresser turned changing table painted pink 🙂 Great minds thinks alike!