DIY Fabric Flowers No Sew Garland
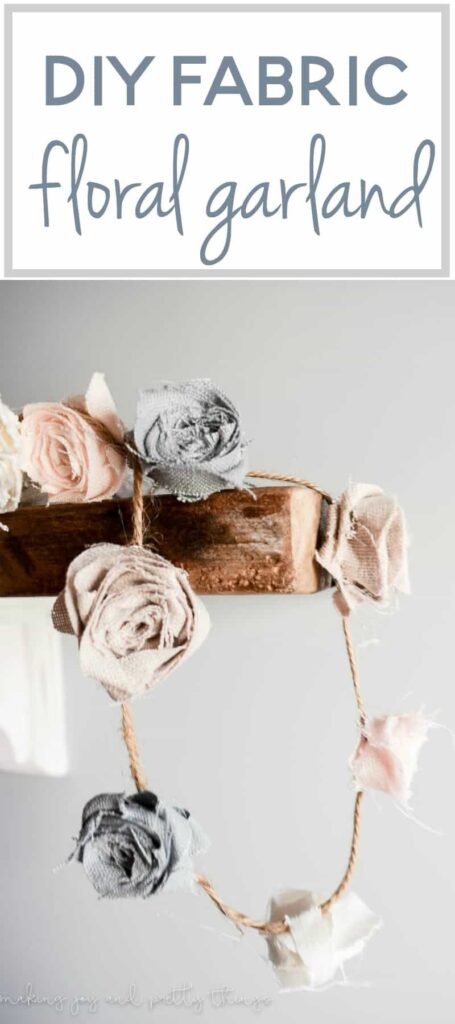
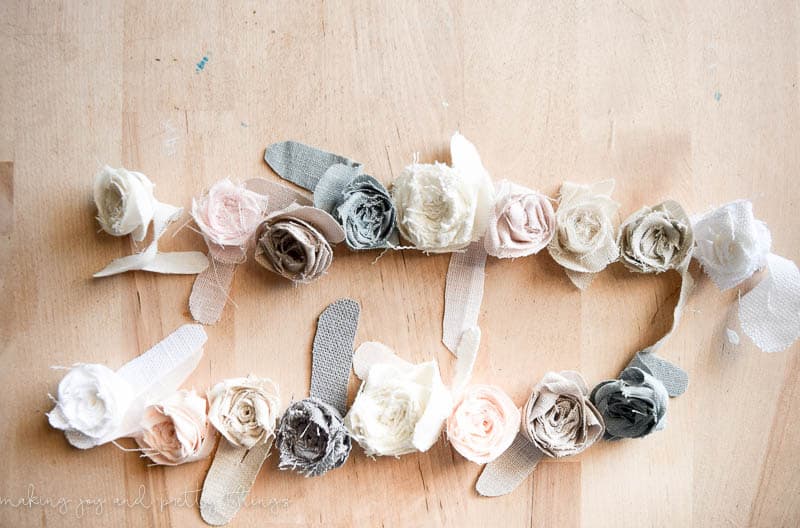
I can’t wait to show you how I made this DIY fabric flowers no sew garland from inexpensive linen samples. It adds the perfect rustic touch to our farmhouse-style nursery.
Welcome back for another month of Create with Me Challenge! You all voted for us to use fabric this month, so here are some DIY fabric flowers made into a no sew garland!
Last month, I made a personalized nursery wood slice name sign and I can’t wait to dive into this month.
I’m not gonna lie, I was a bit nervous when I found out fabric won the vote last month. I don’t think I’ve ever worked with fabric, unless I was buying it for someone else to sew something for me.
My sewing machine is still in its original box from 3 years ago…. It’s definitely on my bucket list of things I want to learn to do!
Why I Chose a No-Sew DIY
I can’t sew, I had to think outside the box for this month’s challenge. If you remember, we are in full swing into nursery renovations so learning how to sew was not an option.
I knew I wanted to make something that would fit right into our farmhouse nursery design plan. Because I have a preggo brain and can literally only focus on the nursery 99% of the time. It’s a serious problem.
Even though next to nothing has been done for her nursery as of late, I’m still dreaming of exactly how I want the shelves in her room to look. I’ve picked up a few little decor items here and there to decorate the shelves (read: Hobby Lobby and Michaels for the win!).
Since I haven’t completely figured out exactly how to style them (you know, since they’re not cut/stained/painted/hung), I thought I could somehow incorporate fabric for a fun design element on the shelves.
Settling on a Design
That’s when I thought of a fabric floral garland that could sit on a shelf, weaving in and out of various rustic objects.
But, I have zero fabric. Like, none.
Solution? Sample sizes. I chose to go with linen fabric for all of the flowers because I love the texture of linen and thought it would look more rustic than standard cotton.
This post contains affiliate links. Please, click here to read my disclosure policy.
Supplies for No Sew DIY Fabric Flowers
- Linen Fabric Samples
- Scissors
- Hot Glue Gun
- Twine
Step 1. Grab Linen Samples for DIY Fabric Flowers
I browsed through the colors and picked out various shades of white, beige, gray, and light pink to go with the general theme of our nursery.
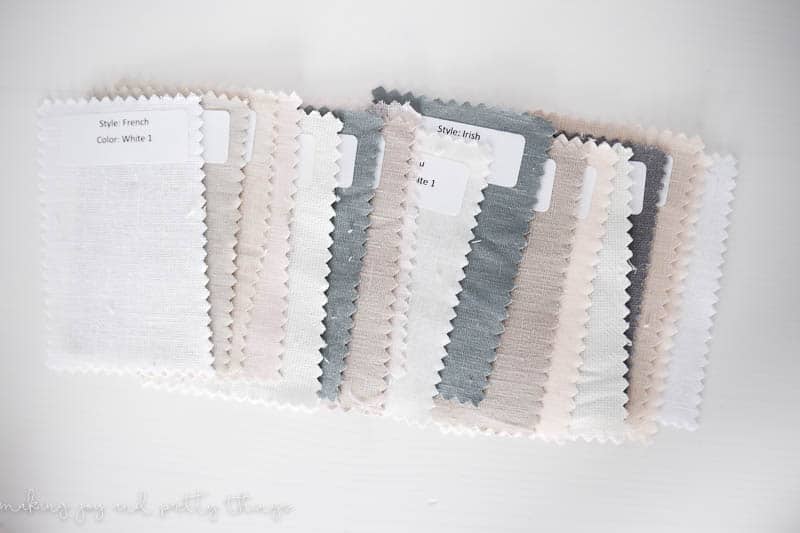
I didn’t know that linen came in different weights (I’m not sure that’s even the correct term?). So, some of the flowers are thicker than others due to the thickness of the different pieces of linen.
Step 2. Prepare the Linen for No Sew Flowers
I started by cutting each sample into an oval shape.
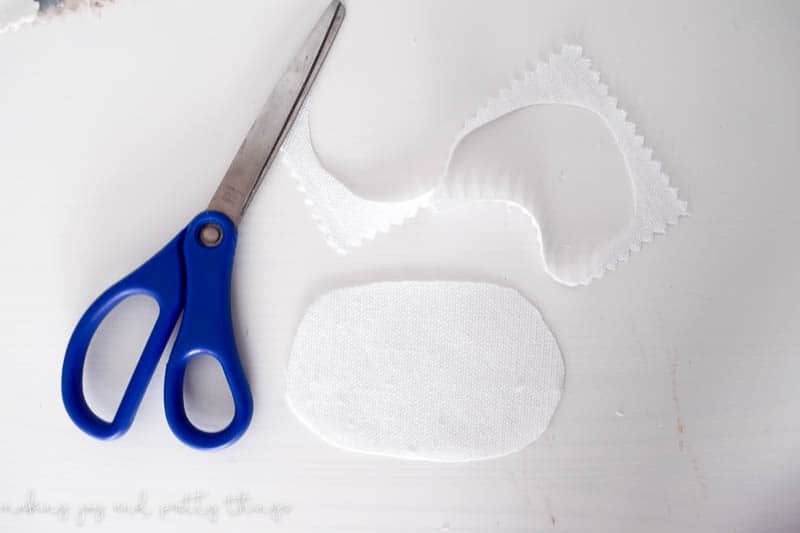
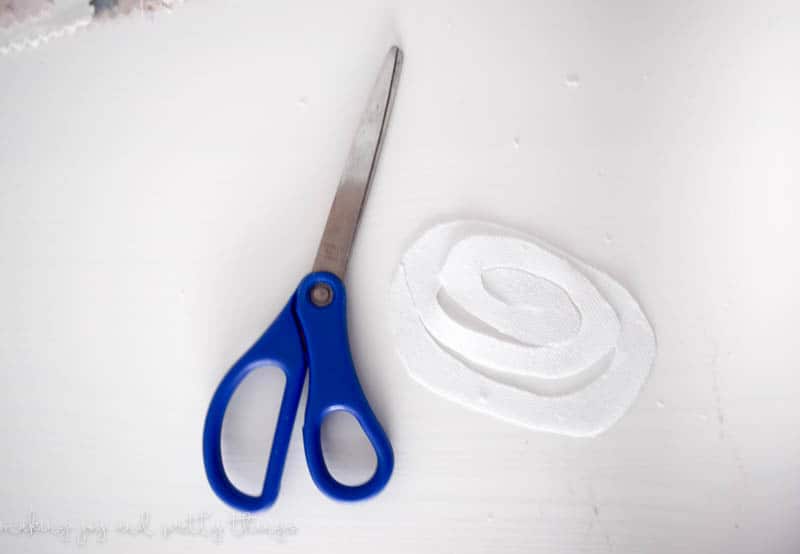
Then, I cut the oval into a spiral. Start at a random point and just cut a finger width away from the edge, continuing until you reach the center.
Step 3. Wrap Linen into a Flower
Next, starting at the beginning where you started your spiral cut, wrap the linen around itself a few times.
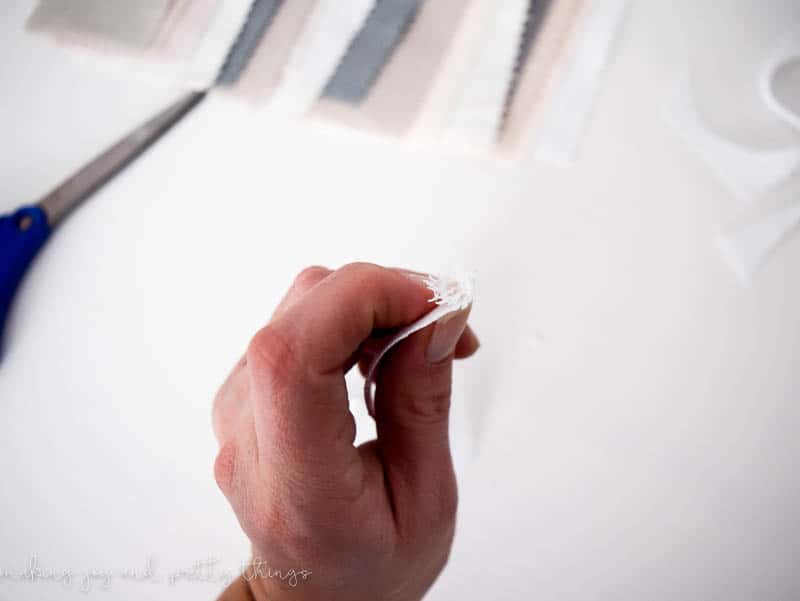
Once you have something like the above picture, you can just keep wrapping around like that until the end. Or, you can randomly twist the fabric 360 degrees to add some depth. It’s hard to depict in pictures but I did my best below.
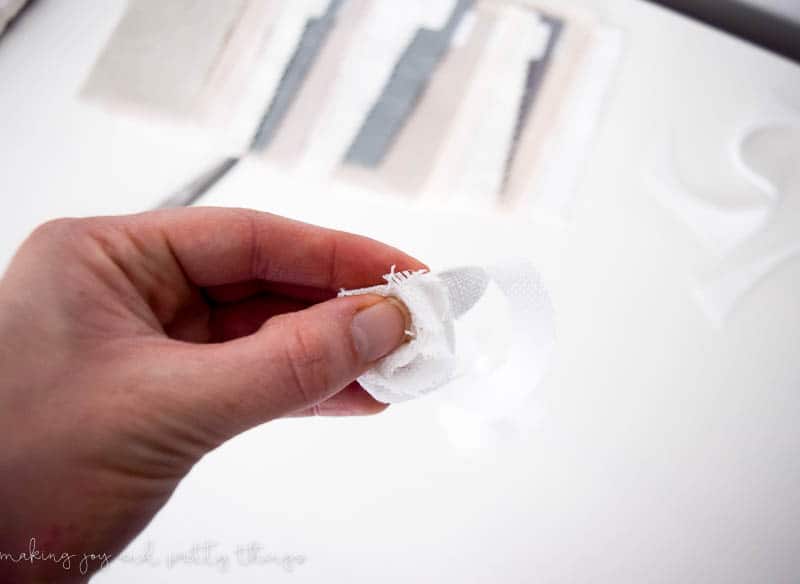
Putting twists here and there while you’re wrapping basically just makes the flower appear larger. It was really helpful with the super thin linen fabric but not really necessary with the thicker linen.
Once you get to the end of the fabric, you’ll have a little piece left over that you can put on the “back” of the flower for now.
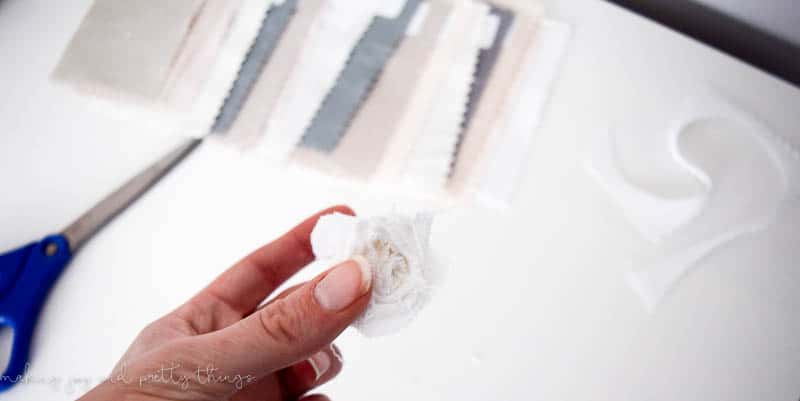
Keep making all of your flowers this way!
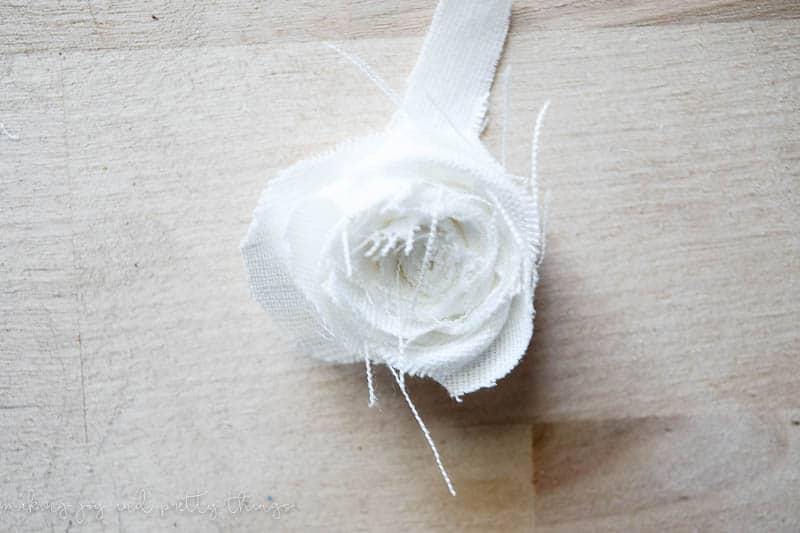
Step 4. Hot Glue the Fabric Flowers
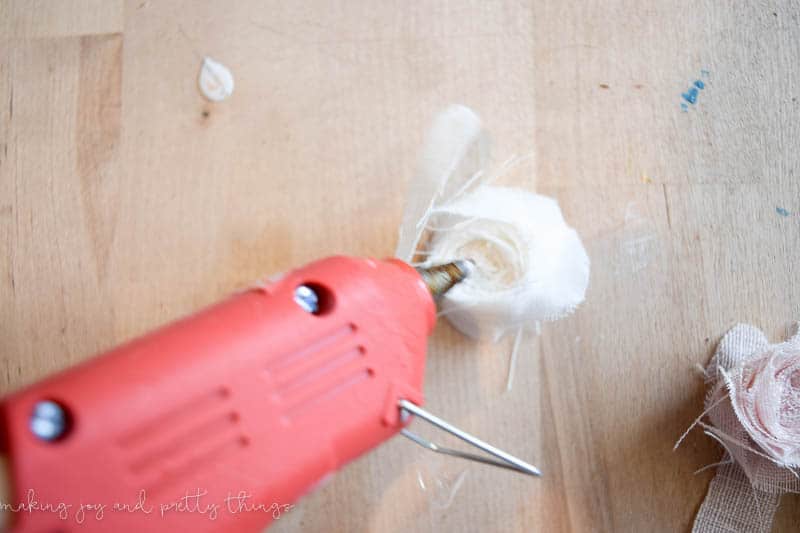
Next, grab your handy glue gun and glue the extra fabric piece to the back of the flower. I used a pretty decent size glob of glue, letting it penetrate the flower a bit to hold all the petal loops together.
This is what keeps together the no-sew DIY fabric flowers together!
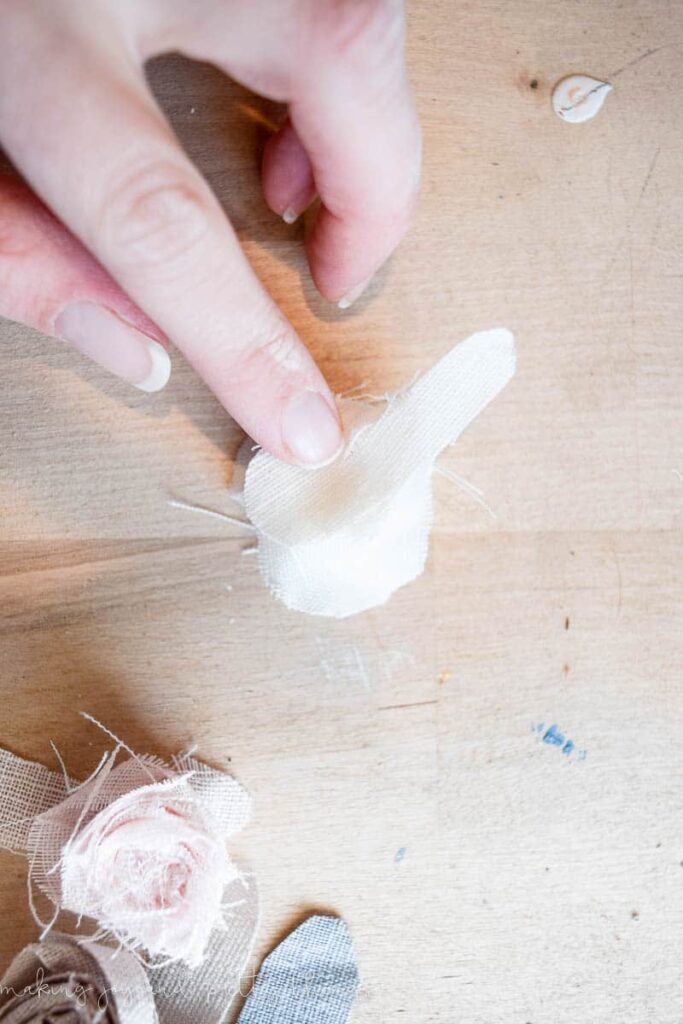
You will still have the extra little flap hanging off to the side, which is what you need to attach it to the twine.
Step 5. Attach Twine to DIY Fabric Flowers
Once you have all the flowers glued, grab some twine and your glue gun again. Laying the flower on its front, place some glue over the back of the flower. Place the twine in the glue and fold the extra flap piece over the twine to secure it in place.
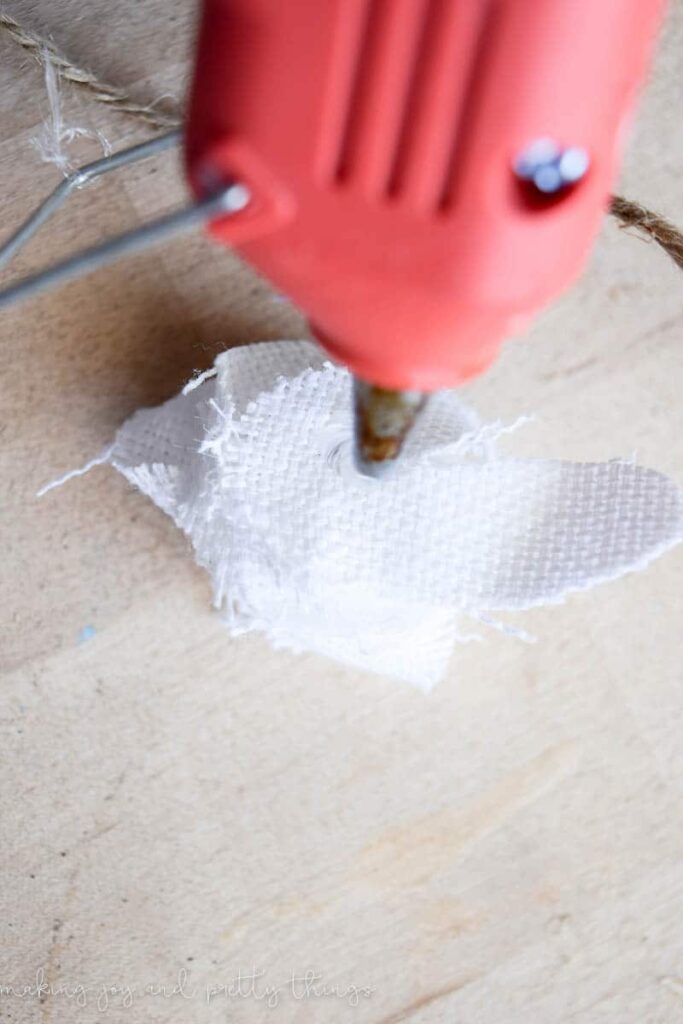
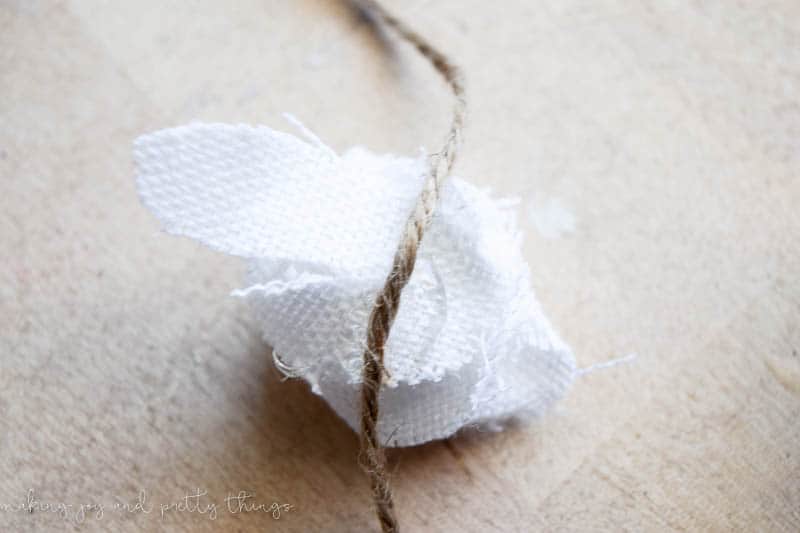
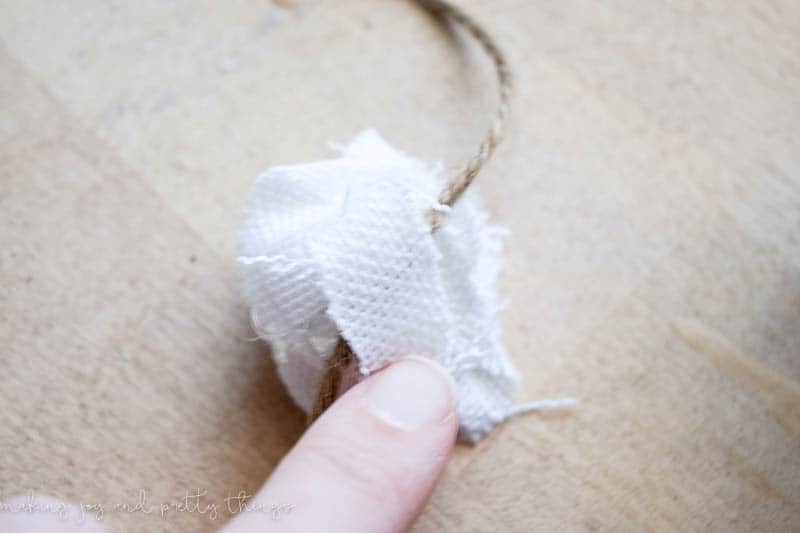
Keep repeating this until all of your flowers are glued onto the twine. You know me, so I definitely didn’t measure at all or try to keep them exactly equally spaced. I figured the garland would be sitting on the shelf so it didn’t have to be perfect!
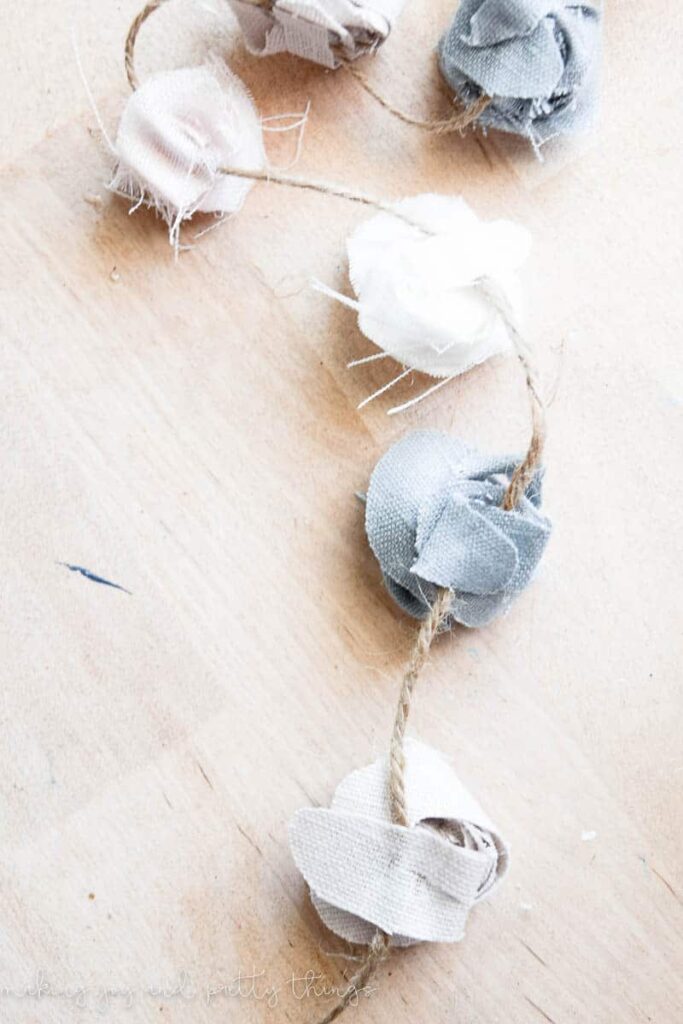
I am so happy with how the flower garland turned out! It’s rustic yet girly, the perfect combination for our farmhouse nursery.
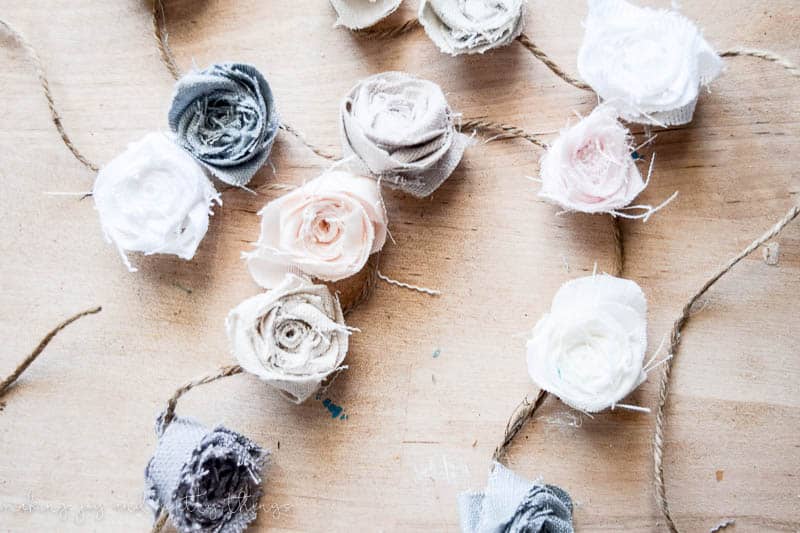
Unfortunately, since the shelves in her nursery aren’t up yet, I don’t have any pictures to show you styled next to other rustic pieces.
I did a few shots with my dining room farmhouse shelves, just to give you a bit of an idea.
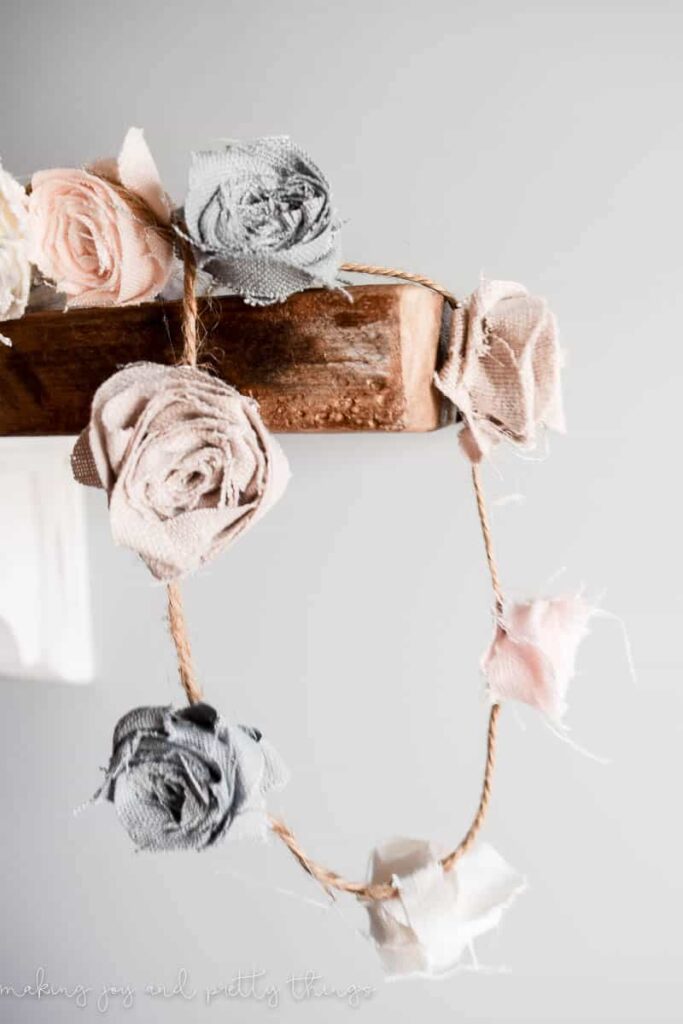
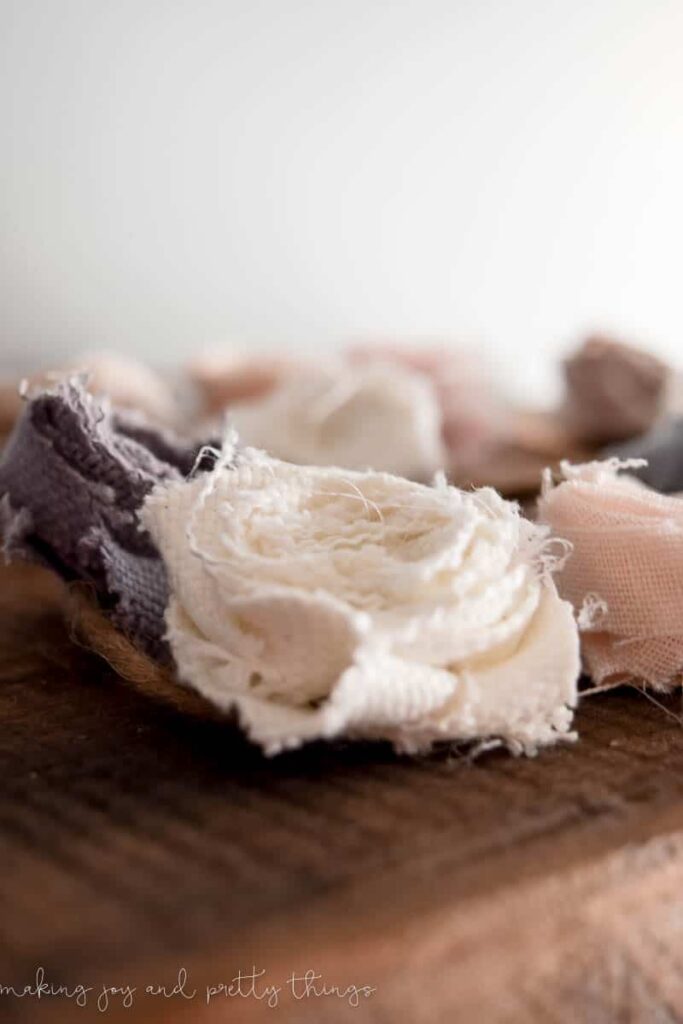
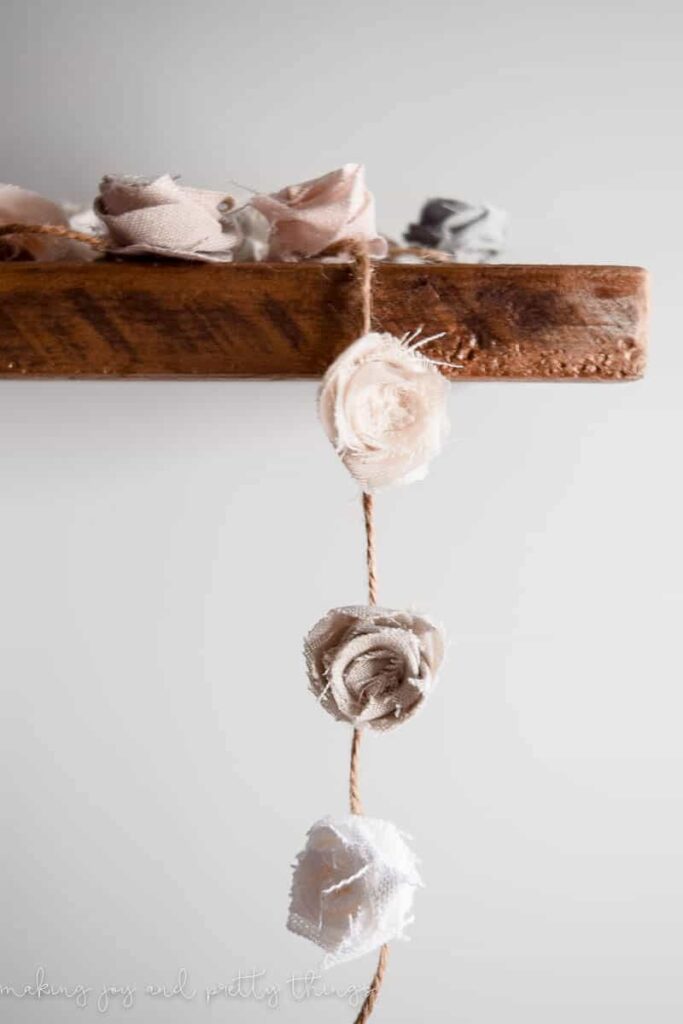
Be sure to vote below to let us know which material you would like us to use for our next challenge!
Images via Freeimages.com, Amazon, and Hobby Lobby.
Be sure to check out what these other talented ladies came up with this month!
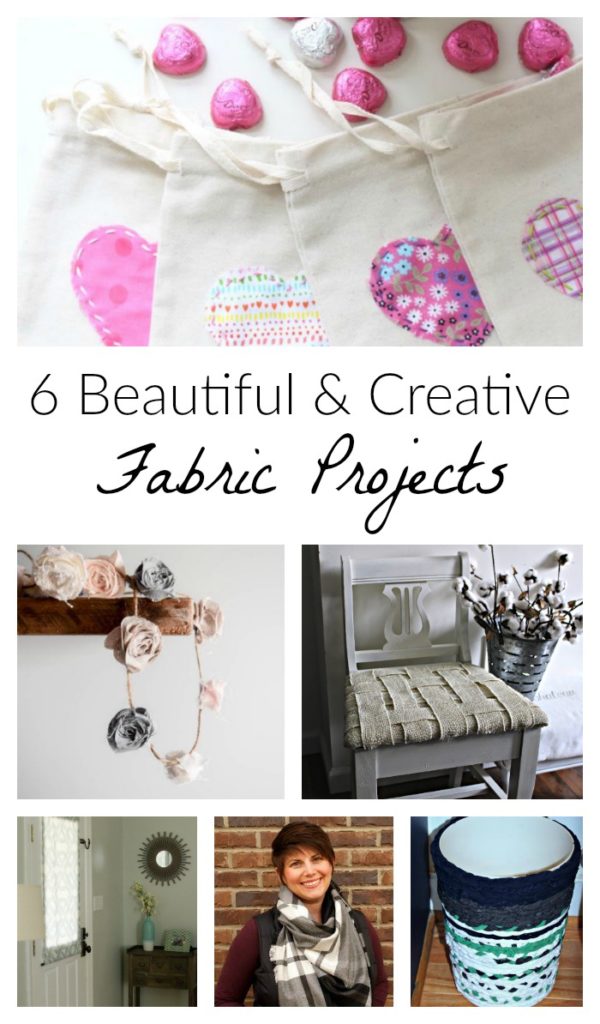
Fabric Heart Treat Bags via My Life from Home
DIY Fabric Garland via Making Joy and Pretty Things (that’s me)
Updated Chair with Burlap via Our Crafty Mom
Simple Window Curtain via Little Bits of Home
No Sew Fabric Rope Basket via Knock it Off Kim
Wishing you a joyful day!
Want to see more of our farmhouse girl’s nursery?
- Farmhouse Girl’s Nursery: The Design Plan
- Farmhouse Girl’s Nursery: Week 1 Progress
- Farmhouse Girl’s Nursery: Weeks 2 and 3 Progress
- Farmhouse Girl’s Nursery Week 4 Progress
- A Farmhouse Nursery Dresser Makeover
- Personalized Nursery Wood Slice Name Sign
- Floral Wallpaper Ideas for Girl’s Bedrooms and Nurseries
- Lazy Girl’s DIY Typography Art
- DIY Wood Block Candle Holders
- How to do an Old Curtain Rod Update
- How to Make a DIY Triangle Shelf Planter
- How to Make a DIY Shadow Box
- Monthly Baby Photos: How to Make a DIY Letterboard
- How to Make a Wood Bead Chandelier
- Simple Floral Farmhouse Wreath
- Rustic DIY Planter using Book Pages
- How to Make Your Own Rustic String Art
- DIY Fabric Flower Garland
- DIY Wood Bead Hearts
- Farmhouse Girls Nursery Reveal!!
DIY Fabric Flowers No Sew
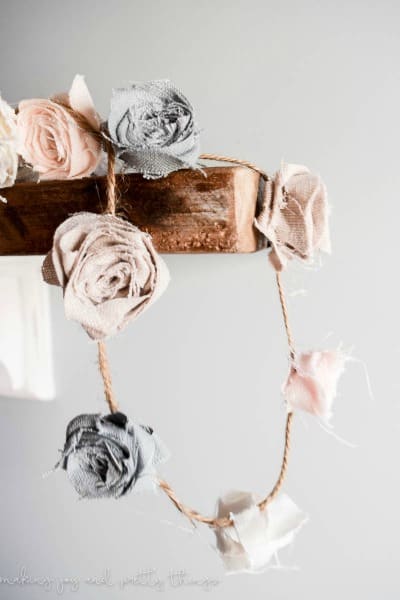
I can't wait to show you how I made this DIY fabric flowers no sew garland from inexpensive linen samples. It adds the perfect rustic touch to our farmhouse-style nursery.
Materials
- Linen Fabric Samples
- Twine
Tools
Instructions
- Grab Linen Samples for DIY Fabric Flowers
- Prepare the Linen for No Sew Flowers
- Wrap Linen into a Flower
- Hot Glue the Fabric Flowers
- Attach Twine to DIY Fabric Flowers


This is adorable!! I am totally a “no sew” kind of gal too! This is going to look perfect in the nursery!
Thanks Chelsea!! I’m so excited to put it on her shelves in the nursery!
Hey girl- love the garland! SO cute!
Thanks so much Shawna!!
Your garland is so pretty! I love the colors you chose – so soft and perfect for a nursery!
Thank you Emily!! The colors really match perfectly with her whole nursery theme.
Thank you for sharing your adorable craft. I’ve been working on it all day. Where did you find your linen scraps? I bought linen by the yard at a fabric store and it was expensive! I just wanted to share my experience. I decided that I like the flowers smaller so that they don’t flip over when draped we’re hanging, so I used fabric squares that were 3″ x 4″ to start. Also, I found it easiest to keep the hot glue gun handy and put the occasional dab in the fabric as I went along. For what it’s worth!
Thanks again, they turned out super cute!
Hi Jen! I got the linen samples at instalinen.com. I spent about $20 I think and got a ton of samples! I love all of your tips! Looking back I totally should have used the glue gun as I went along. Since the garland just sits on a shelf the flowers stay together but if you do move them a lot they can come unraveled.
I tried making these and they just didn’t come out right 🙁 I’d love more pictures or tips!