Simple DIY Flower Wreath
This simple DIY flower wreath is perfect for spring and summer and took only a few minutes to make!
Who here is ready for Spring?! If you’re jumping up and down and screaming “ME!” then you and I are on the same page 😉 If you aren’t then this DIY flower wreath will get you ready!
I feel like we have been waiting for Spring to arrive for moooonths. And it’s FINALLY here. Or at least that’s what the calendar and Google tell me.
I can’t complain too much, though. The sun has peaked out from behind that clouds and I was able to take the boys outside for a bit today.
There’s something magical that happens to these boys when they’re given trucks and dirt. They play together, they work together, and there’s no screaming. And it lasts for SO LONG. Amazing.
Goodbye Winter – Hello Spring!
While outside, I saw a few of our little bushes had fresh green sprouts on them and a couple of my flowers had a little green coming out of the ground. I do love the new life and refreshing feeling you get from a simple change, from saying “it’s winter” to “it’s Spring”.
And all of this rambling has basically nothing to do with this wreath. Except that I guess you could consider it a spring wreath. I just had to comment on the fact that it’s SPRING!
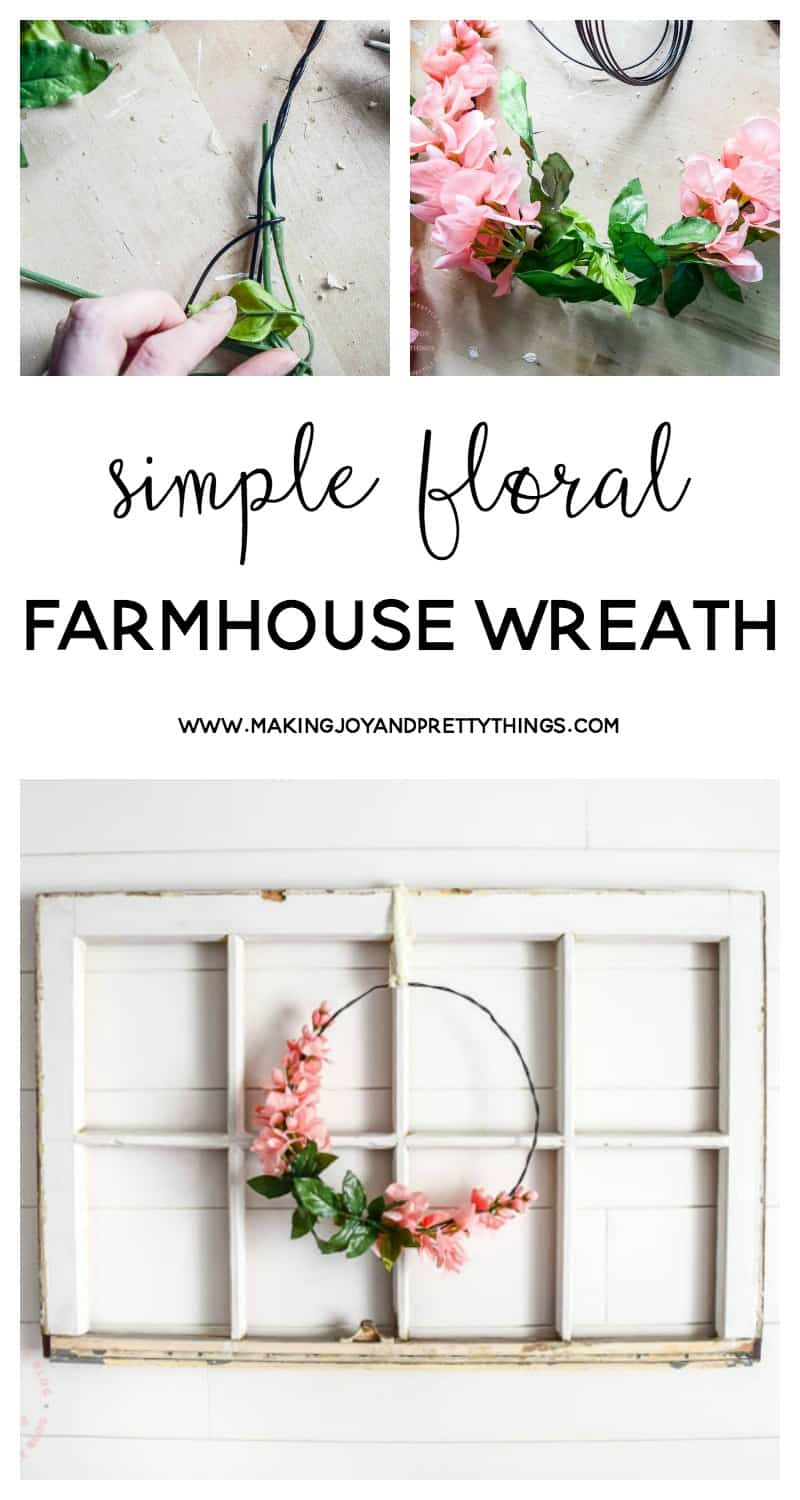
This wreath was made for our farmhouse girl’s nursery to hang on an antique window above her crib. I wanted something simple but still with the pop of pink that fit so well in her nursery.
It took me probably 20 minutes total to make, and I LOVE how it looks in her room.
This post contains affiliate links. Please, click here to read my disclosure policy.
Supplies for DIY Flower Wreath:
Step 1. Wrap Wire into a Loop
I started by using 12 gauge decorative wire (similar item). I wanted something that was simple and plain and wouldn’t take away from the pretty flowers.
After pulling out a decent amount from the roll, I held it up against the old window so I could see how big to make it. I didn’t measure at all, just kind of eye-balled it.
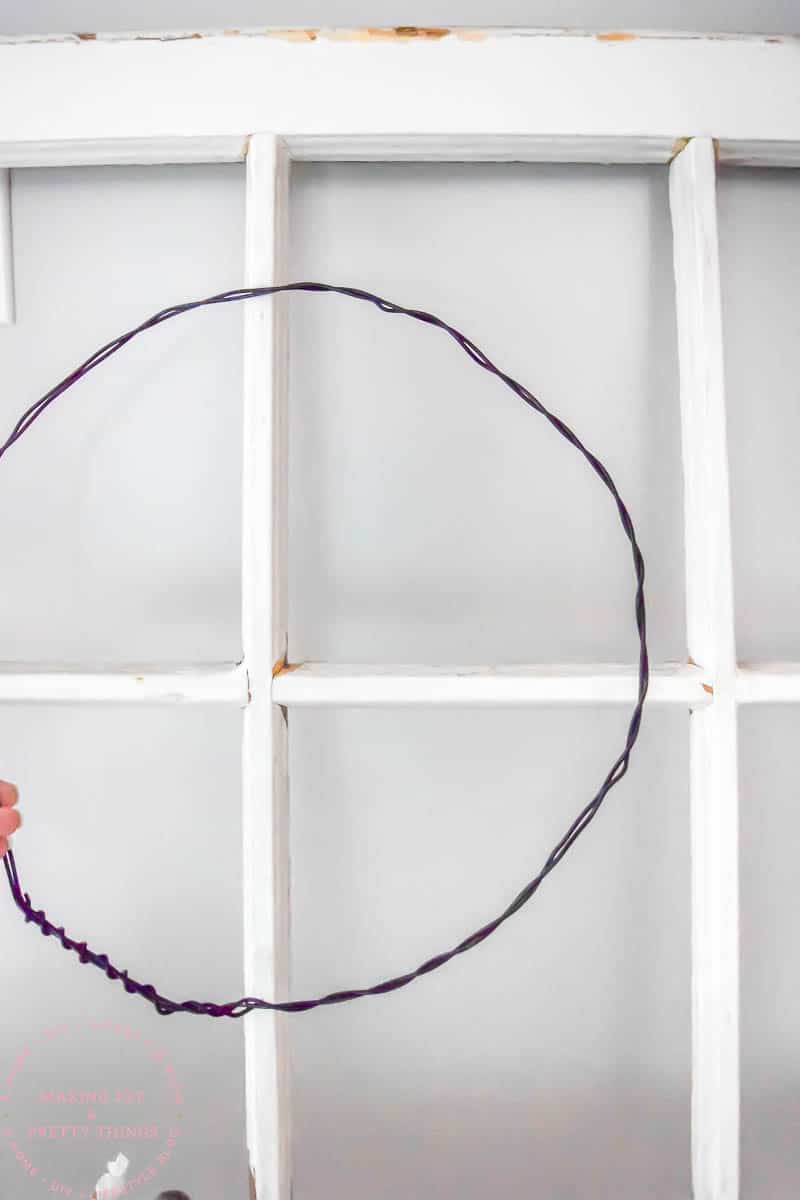
Once I had one loop measured, I repeated the same loop with the wire again, crossing the two pieces together, just to give it more depth and interest.
Last, I snipped the ends and wrapped them around. Be careful! The wire can be pretty sharp.
Next, it was on to the flowers!
Step 2. Cutting Flowers for the DIY Wreath
Big surprise here – I picked them up at Michaels. Unfortunately, they’re only sold in stores so I can’t link to the exact product. But, the flowers were part of their Spring collection (so on sale right now!!) and also considered “Bushes” (not sure how?).
I loved these particular flowers because near the big green leaves the flowers were in full bloom. Then, continuing to the tip, they got smaller and smaller until they were just little buds. SO pretty.
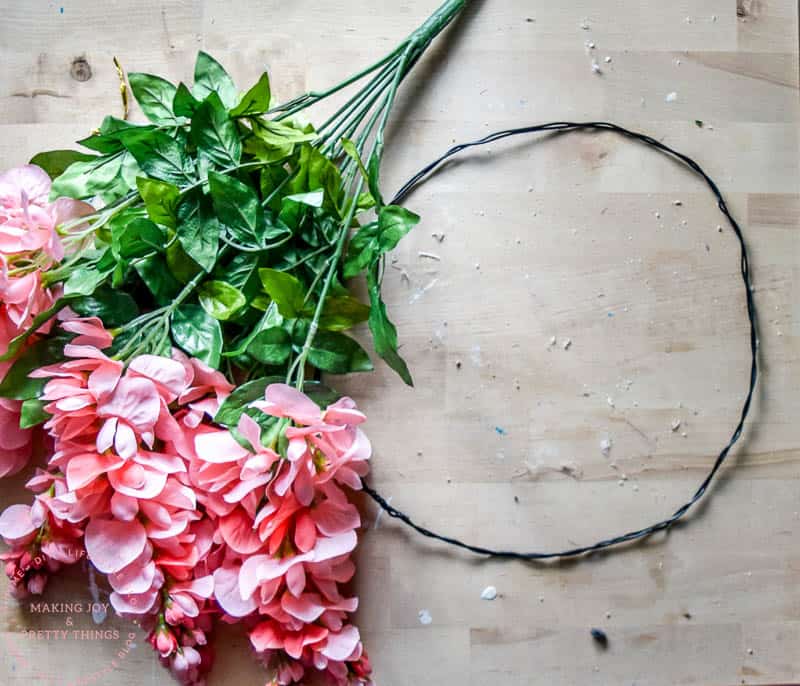
I cut two sections off to use for the wreath, cutting just past the green leaves to basically include two whole sections.
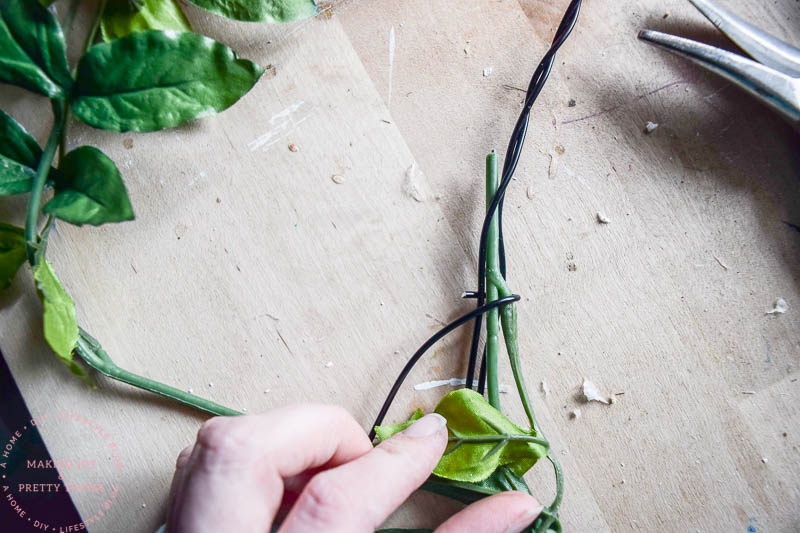
Using the same decorative wire cut into smaller pieces, I wrapped the wire around the first floral section in 3 different places to make sure it was held on tight.
Step 3. Adding Flowers to the Wreath
Next, I attached the second floral section going the opposite way as the first. So, both green ends are overlapping. I used the same procedure as the first section to get it to stay on. Try to hide the wire a bit underneath big leaves or larger flower sections. Though since I used the same wire as the wreath base itself, it really isn’t all that noticeable anyway.
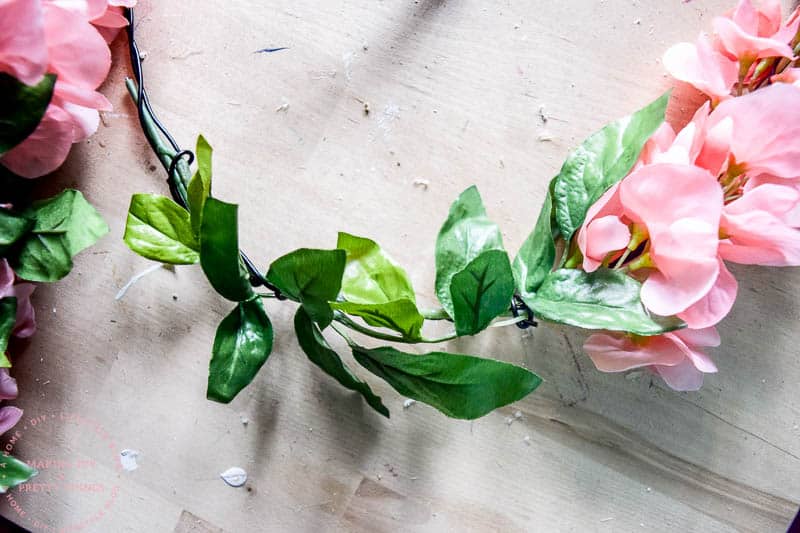
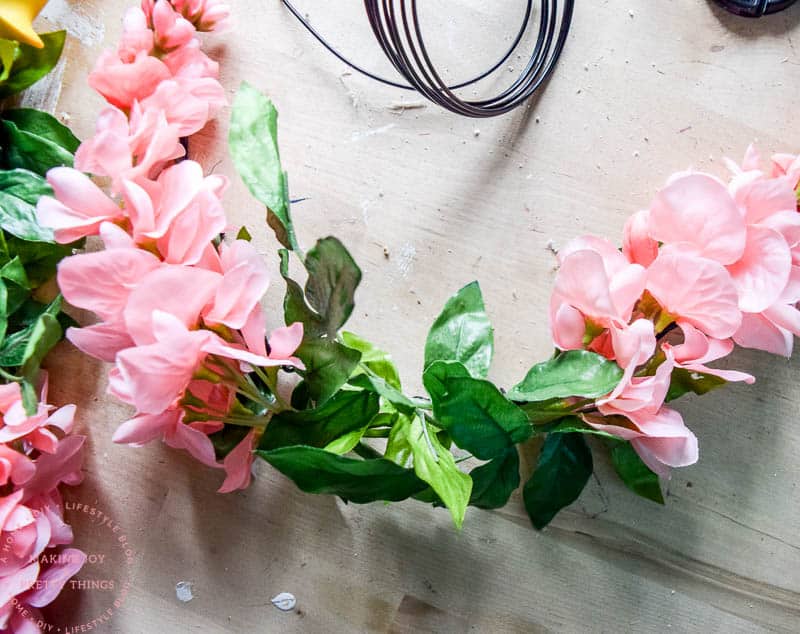
And that is all, my friends! Really easy, right?
Once we had the window mounted to the wall, I used some lace scraps to hold the wreath to the window.
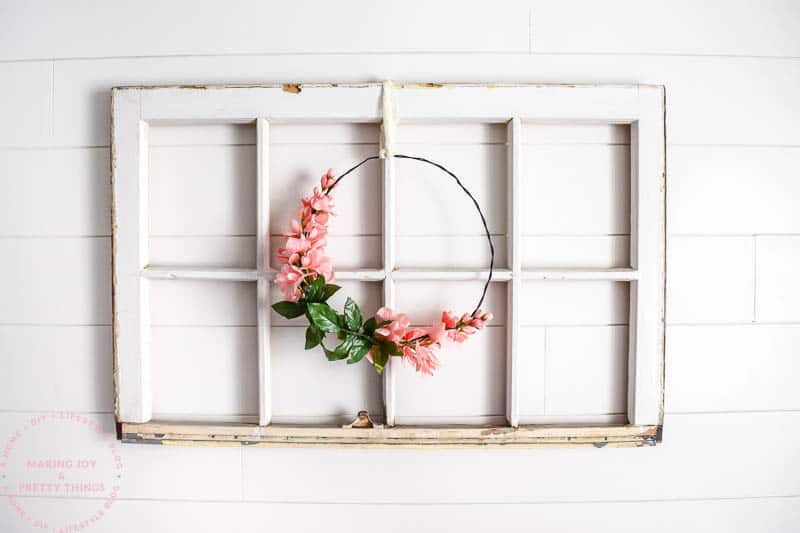
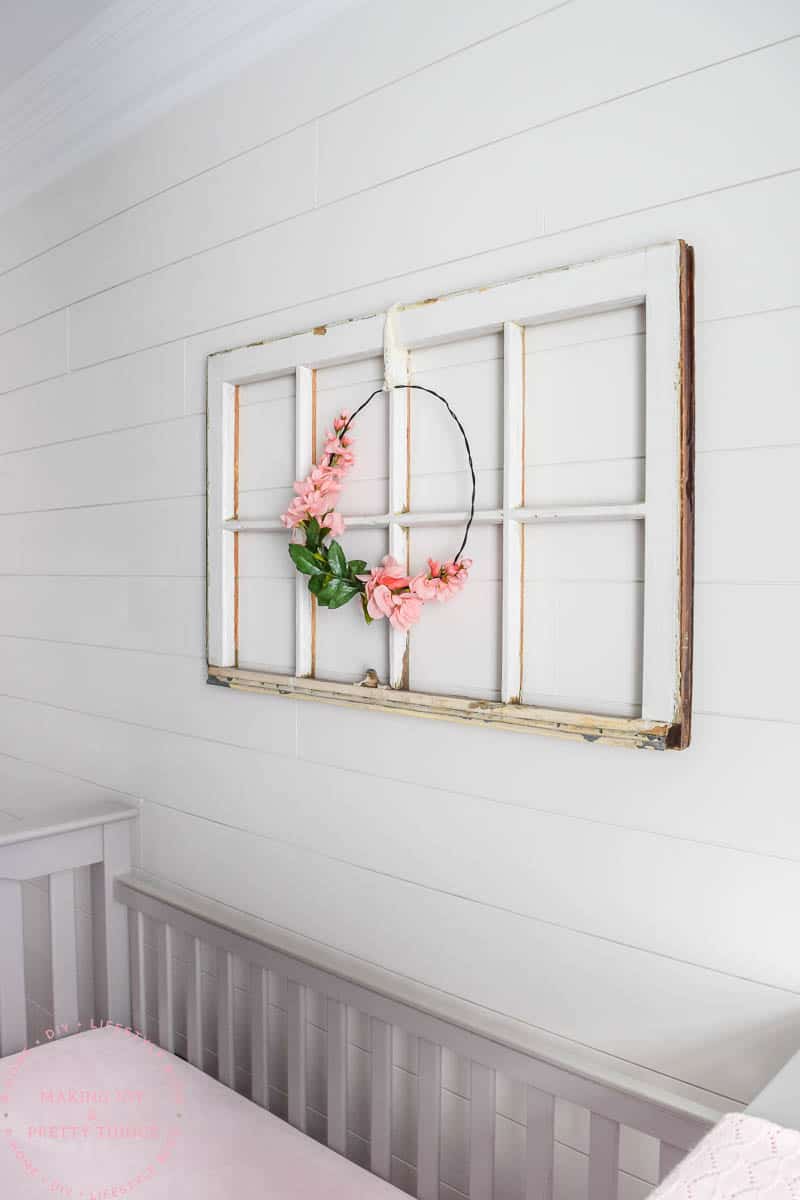
I’m completely in love with how it looks on the window and in her room in general. It’s the perfect accent to the window!
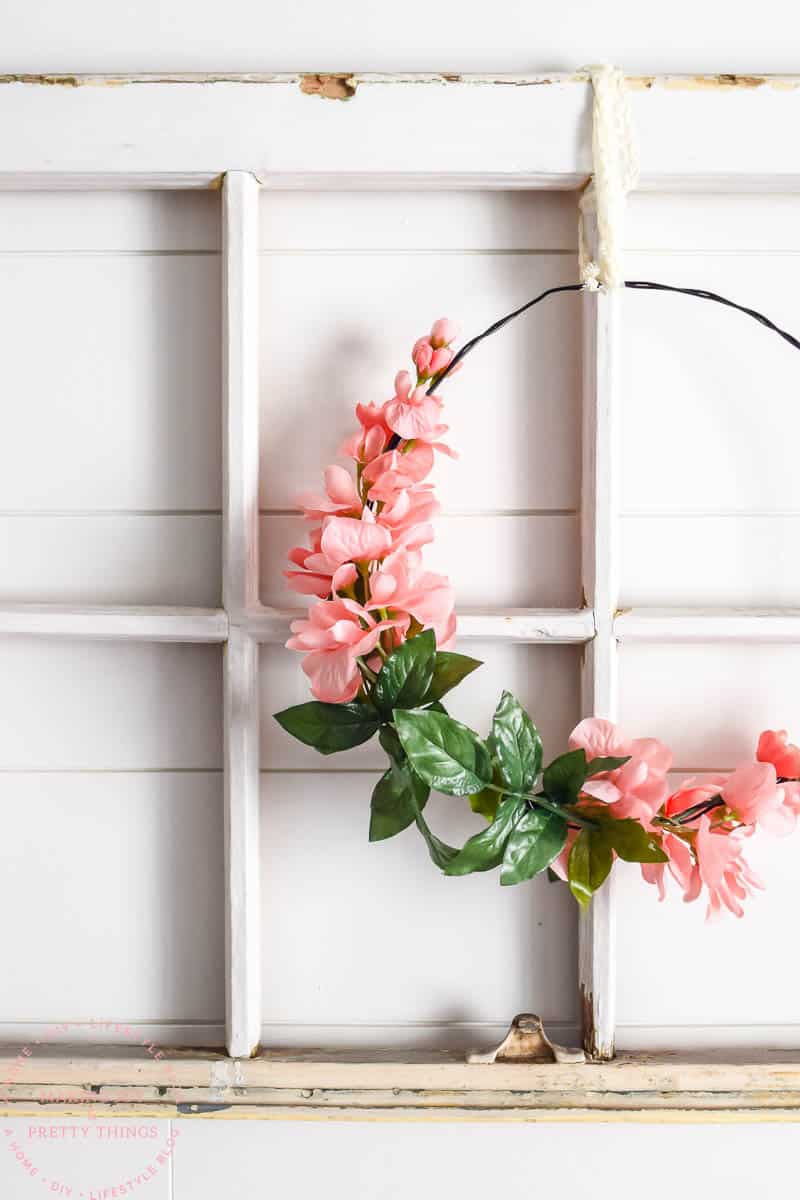
You could also just use plain greenery (like eucalyptus) to make an even simpler farmhouse-style wreath.
In case you missed it, check out the full farmhouse girls nursery reveal!!
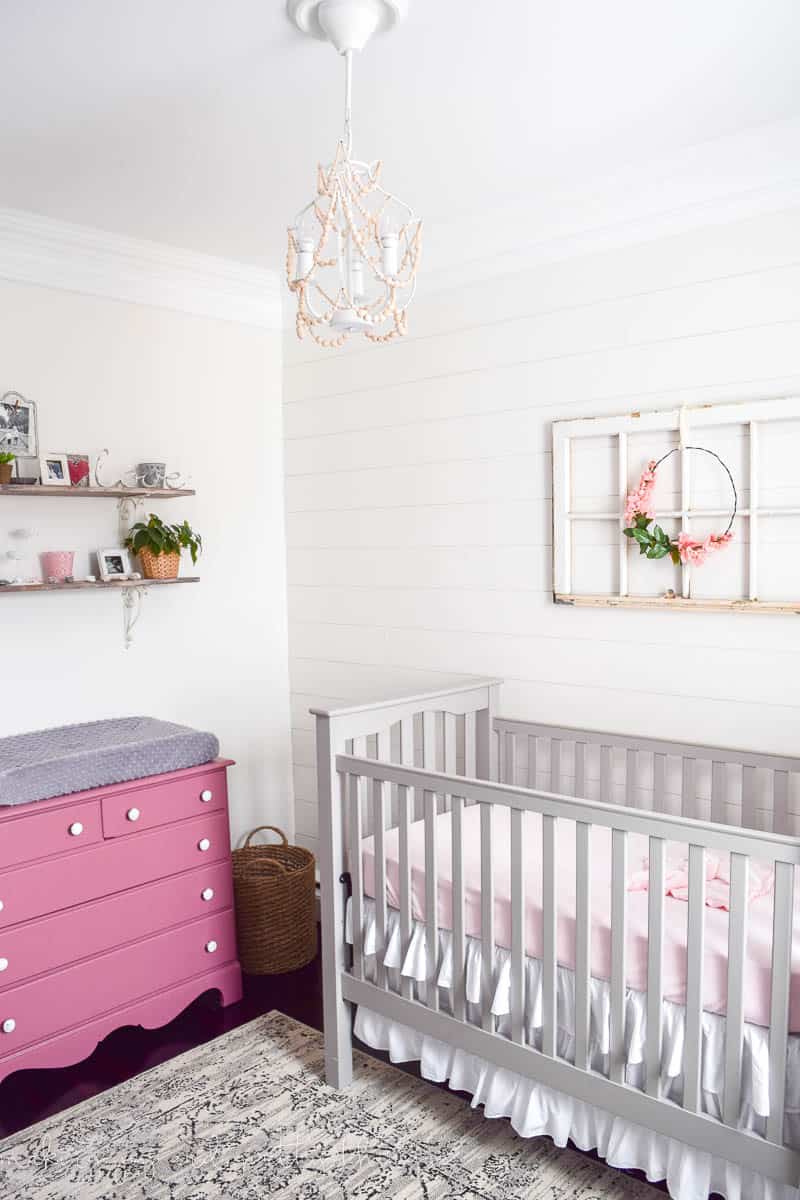
Hope this inspires you to get some spring crafting creativity going! I know a season always feels a little more significant when I intentionally try to enjoy it with a DIY.
Here are a few DIYs I absolutely loved and just scream spring!
- DIY Tropical Spring Centerpiece | Clean and Scentsible
- Seasonal DIY Textile Artwork | Grace in My Space
- Easy Spring Mason Jar Centerpiece | She Gave it a Go
Wishing you a joyful day!

Want to see more of our farmhouse girl’s nursery?
- Farmhouse Girl’s Nursery: The Design Plan
- Farmhouse Girl’s Nursery: Week 1 Progress
- Farmhouse Girl’s Nursery: Weeks 2 and 3 Progress
- Farmhouse Girl’s Nursery Week 4 Progress
- A Farmhouse Nursery Dresser Makeover
- Personalized Nursery Wood Slice Name Sign
- Floral Wallpaper Ideas for Girl’s Bedrooms and Nurseries
- Lazy Girl’s DIY Typography Art
- DIY Wood Block Candle Holders
- How to do an Old Curtain Rod Update
- How to Make a DIY Triangle Shelf Planter
- How to Make a DIY Shadow Box
- Monthly Baby Photos: How to Make a DIY Letterboard
- How to Make a Wood Bead Chandelier
- Simple Floral Farmhouse Wreath
- Rustic DIY Planter using Book Pages
- How to Make Your Own Rustic String Art
- DIY Fabric Flower Garland
- DIY Wood Bead Hearts
- Farmhouse Girls Nursery Reveal!!
DIY Flower Wreath
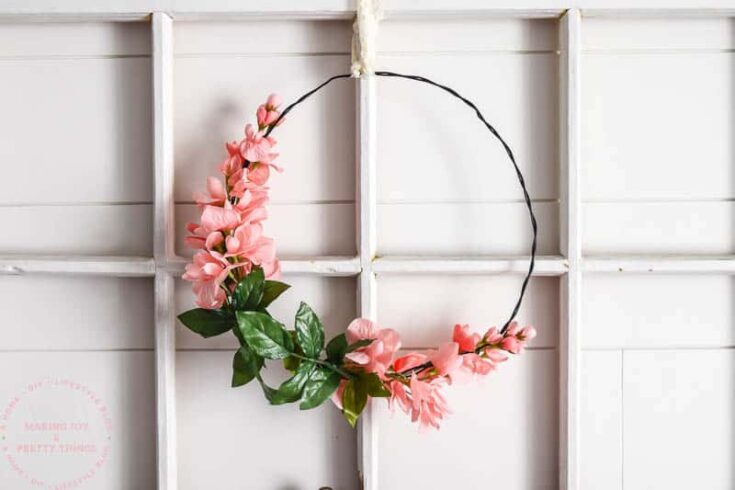
This simple DIY flower wreath is perfect for spring and summer and took only a few minutes to make!
Tools
Instructions
- Wrap WIre into a Loop
- Cut Flowers for the DIY Wreath
- Add Flowers to the Wreath
Looking for more Spring ideas? Check out these articles:


I really need to get more into wreaths. this is great inspiration! beautiful job.
Aww thank you Morgan! I’m a bit addicted to wreath-making 😉
hey girl- love the wreath!
Thank you SO much Shawna!
Simple wreaths are far prettier than elaborate ones, love this!
I totally agree! Thanks Roxanne!
Lovely!! I loved it the first time I saw it on IG!!
Thanks so much Lora!
It’s totally a spring wreath and okay to ramble about the weather changes 🙂 Love this DIY; it’s so girly and fun!
Best,
Kelly
Thanks so much Kelly!! I’m glad you’re okay with my ramblings 😉
So pretty!You should sell your creations on Etsy! I would love this wreath for my nursery but I unfortunately am not crafty or great at DIY projects!
Thanks so much Ashley!! I’ve thought about starting an Etsy shop but I can barely do the blog let alone have deadlines and customers right now haha. And I bet you are crafty and creative! I didn’t know I was until like 3 years ago. Just try something 🙂